
Finishing the kitchen stools
all oiled up and ready to go

[ soundtrack : John Dowland - Can She Excuse My Wrong|Vivid Consort & David Bergmüller ]
****
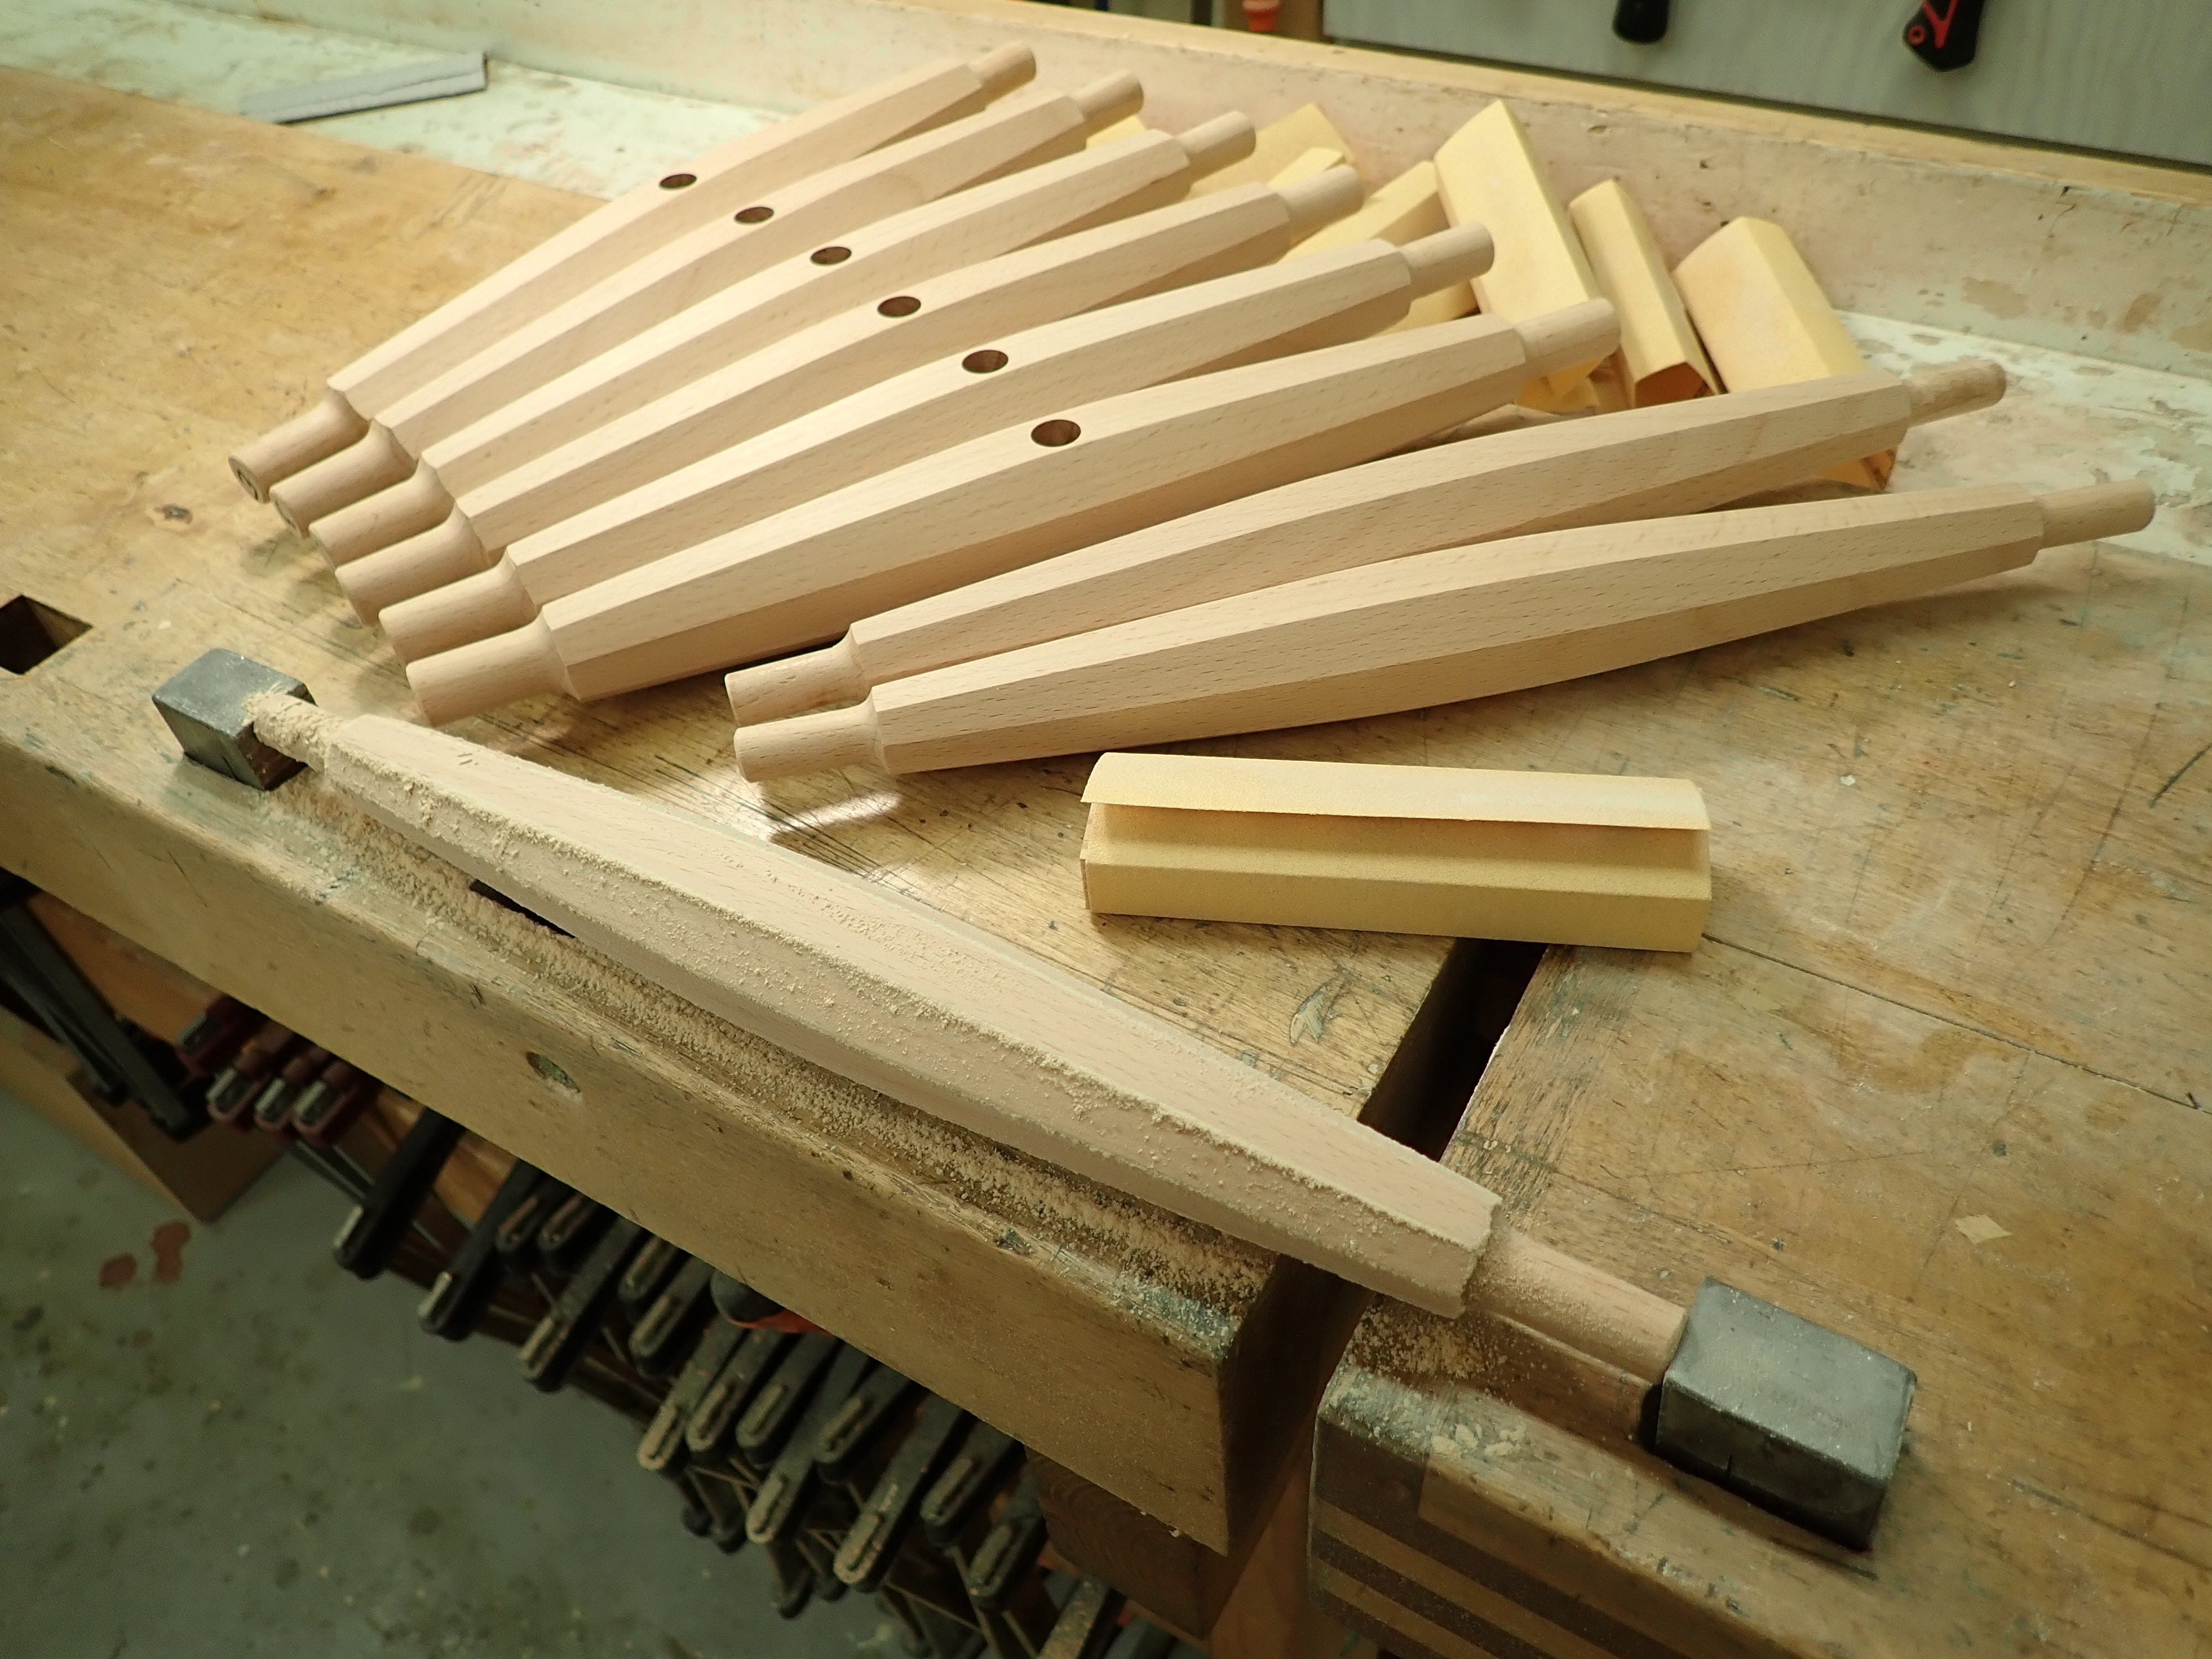
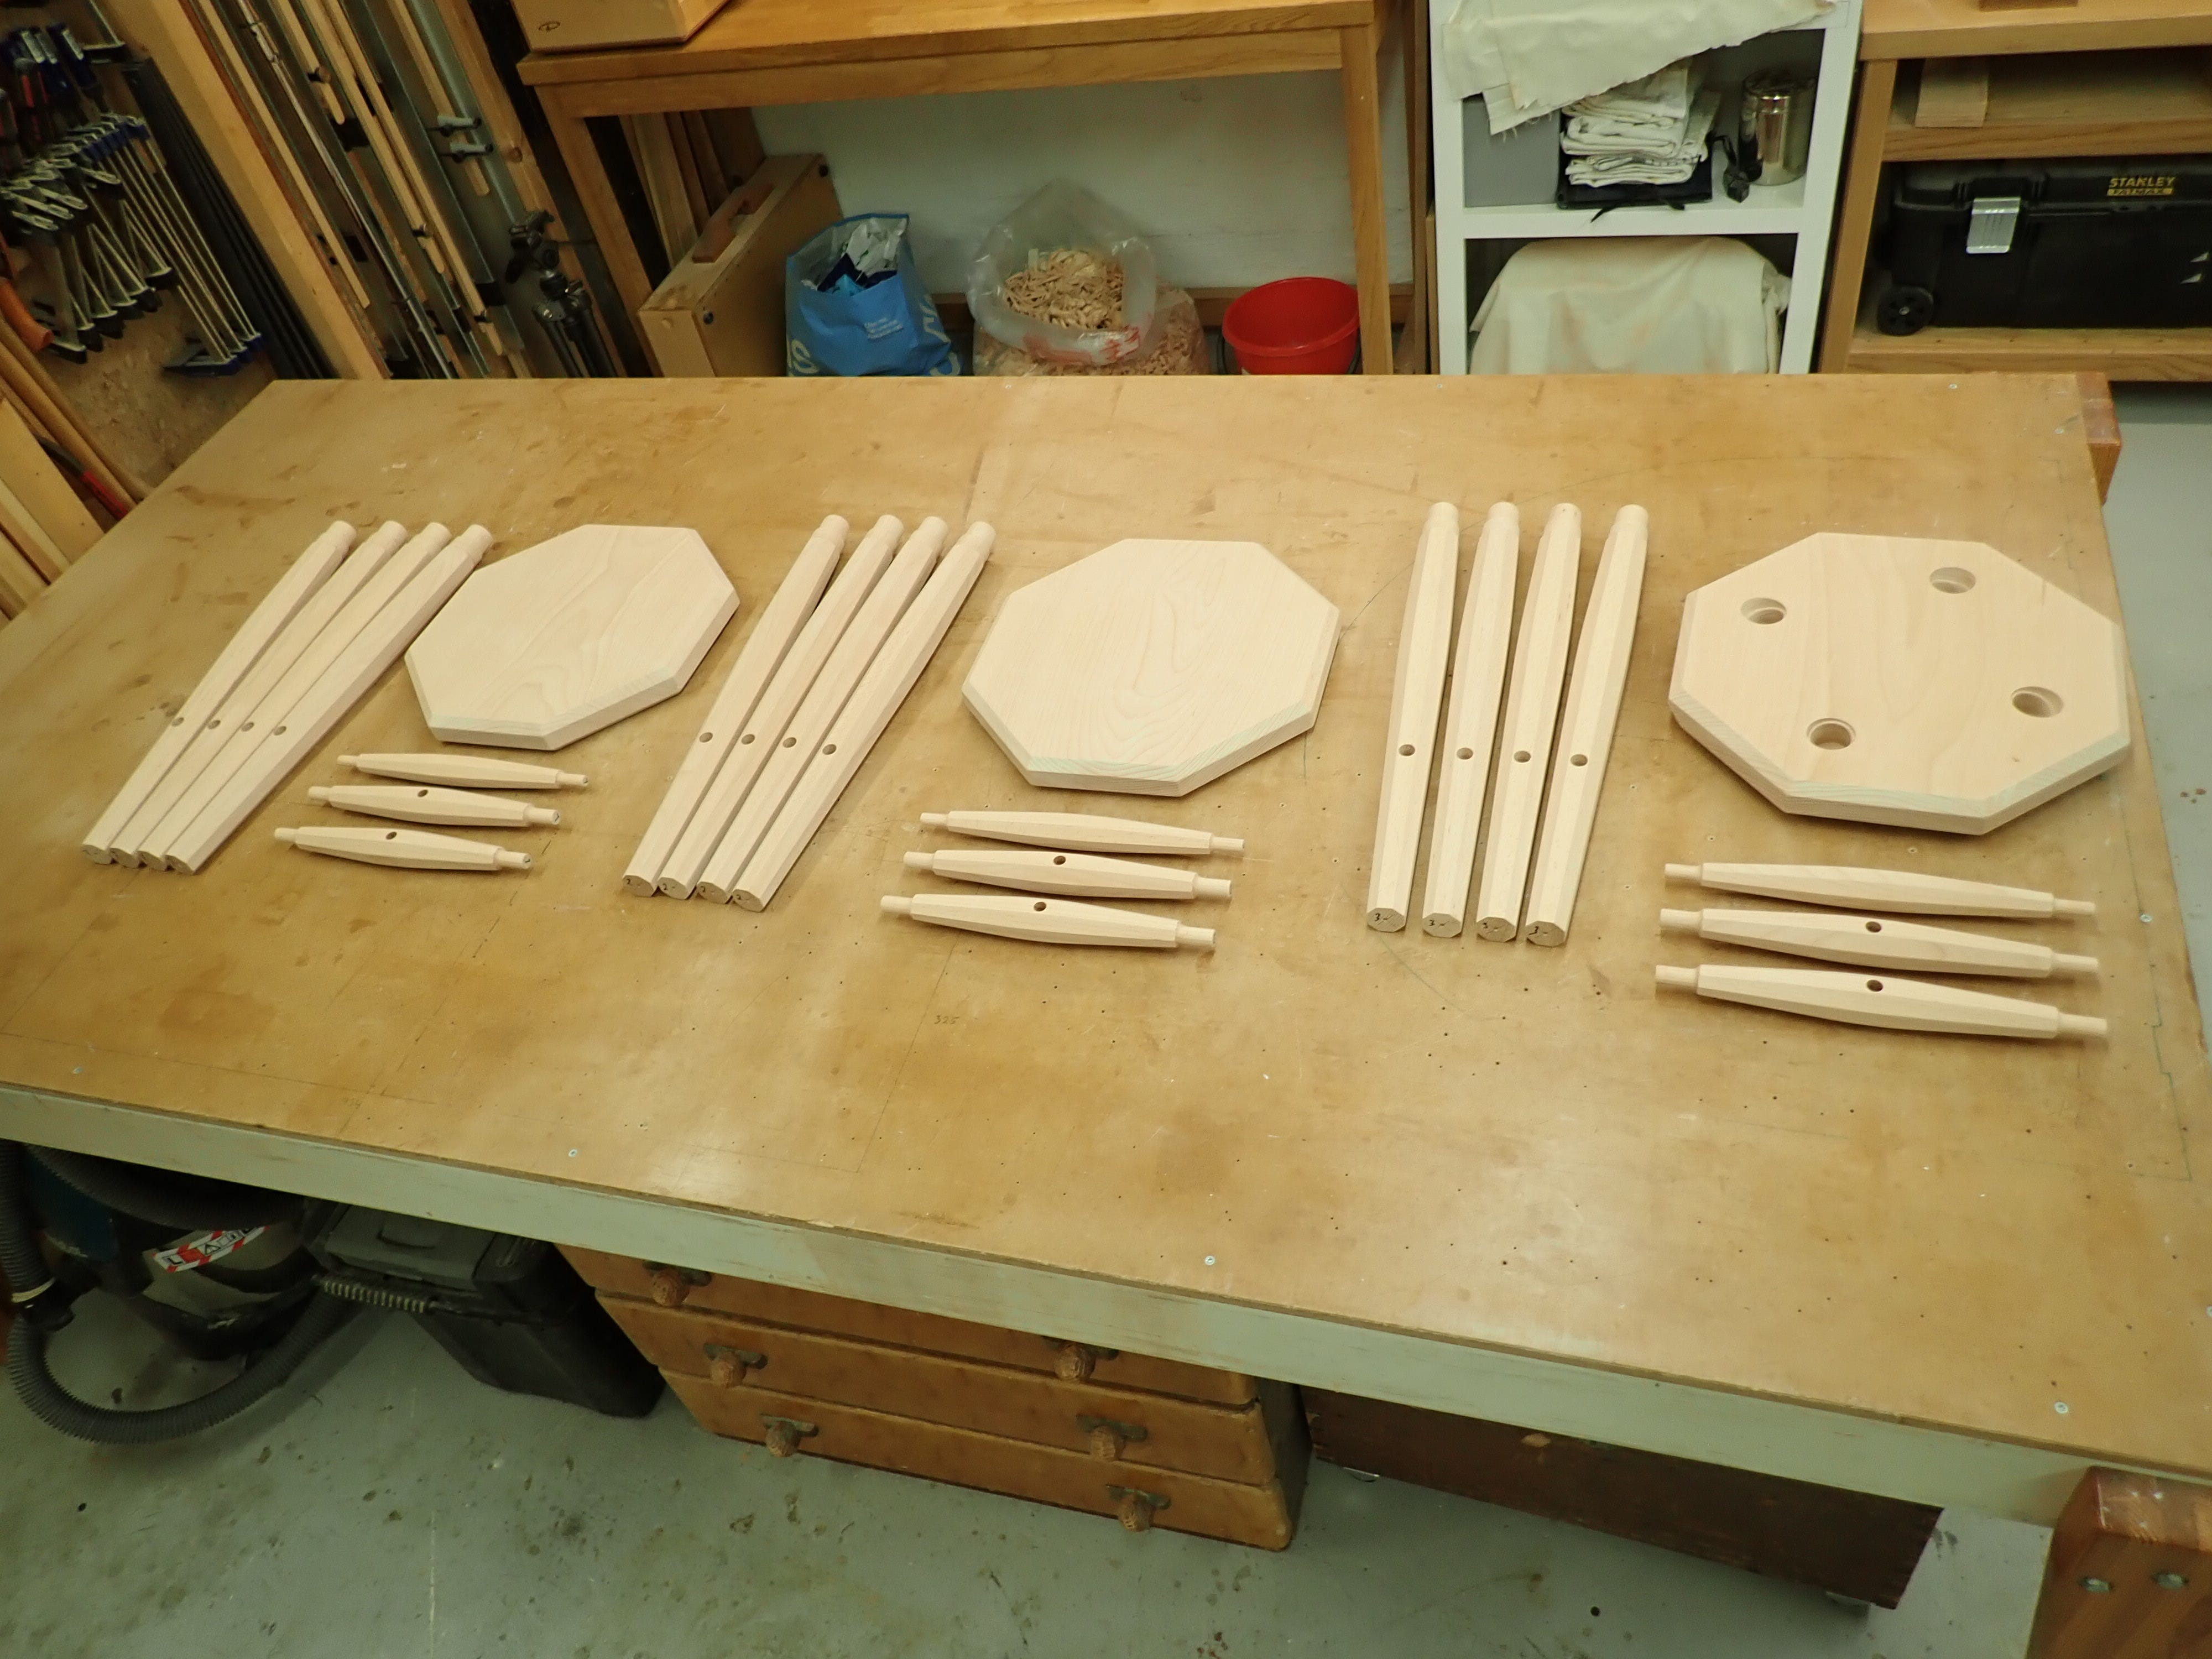
Previously, I’ve written about making the double-tapered legs, the stretchers with their mortise & tenons and shaping the seat. The time has come for assembly and finishing, but first I must sand all the parts.
At this stage it’s very tempting to rush ahead and reach for the glue brush (“I can always sand afterwards!“) Do yourself a favour: Get the sanding done while the parts are still separate — it’s much more convenient.
I only used 120 & 180 grit for the undercarriage parts; they’ll seldom be closely inspected down there, under the seat.
Now I’m almost ready for gluing …
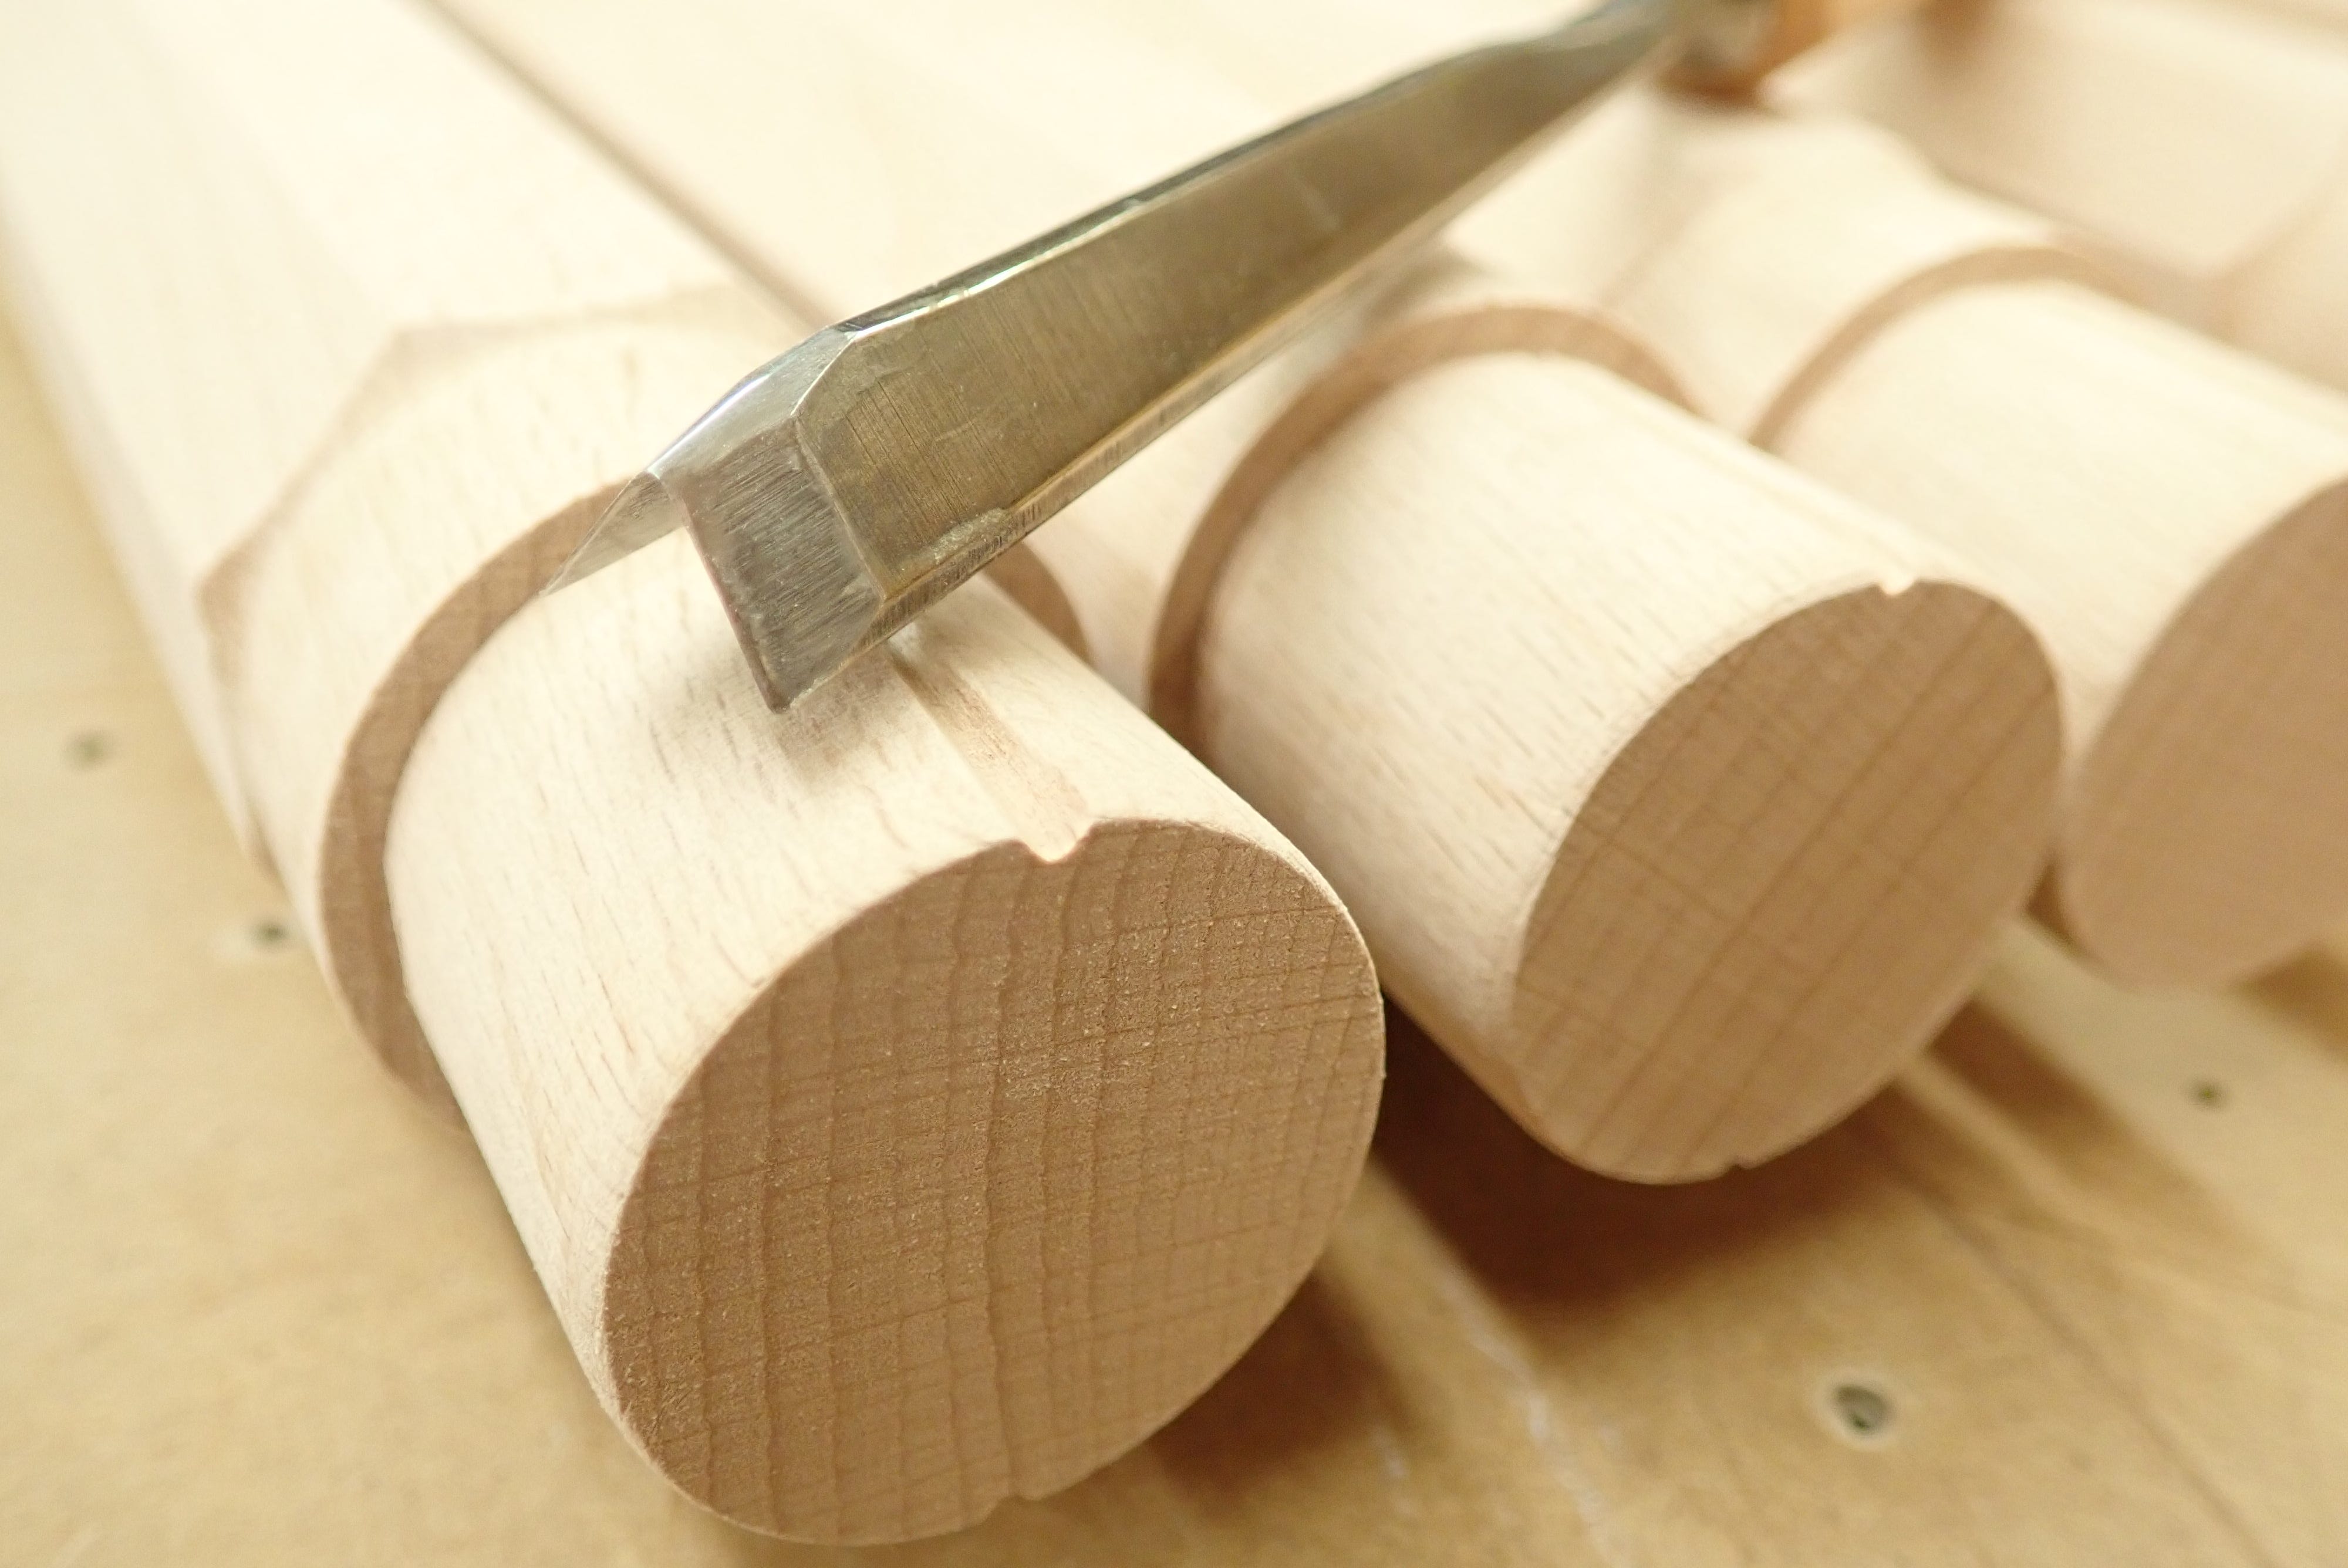
… except for cutting a couple of grooves in the tenons so the glue/air can escape from the mortise. The fit is tight and it’s easy to get ‘hydraulic lock’.
I used West System Epoxy with the fast (205) hardener. This gives me about an hour’s working time which is plenty. There is a trick to this: Beech is a ‘dry’ wood and will absorb a surprising amount of epoxy through the endgrain. This is a good thing; it reinforces the wood around the joint, in practice making a composite material on the spot, anchoring the glue-bond deep in the wood. When applying the glue I repeatedly feed the endgrain until it’s saturated. Just make sure to assemble the parts before the glue gels.
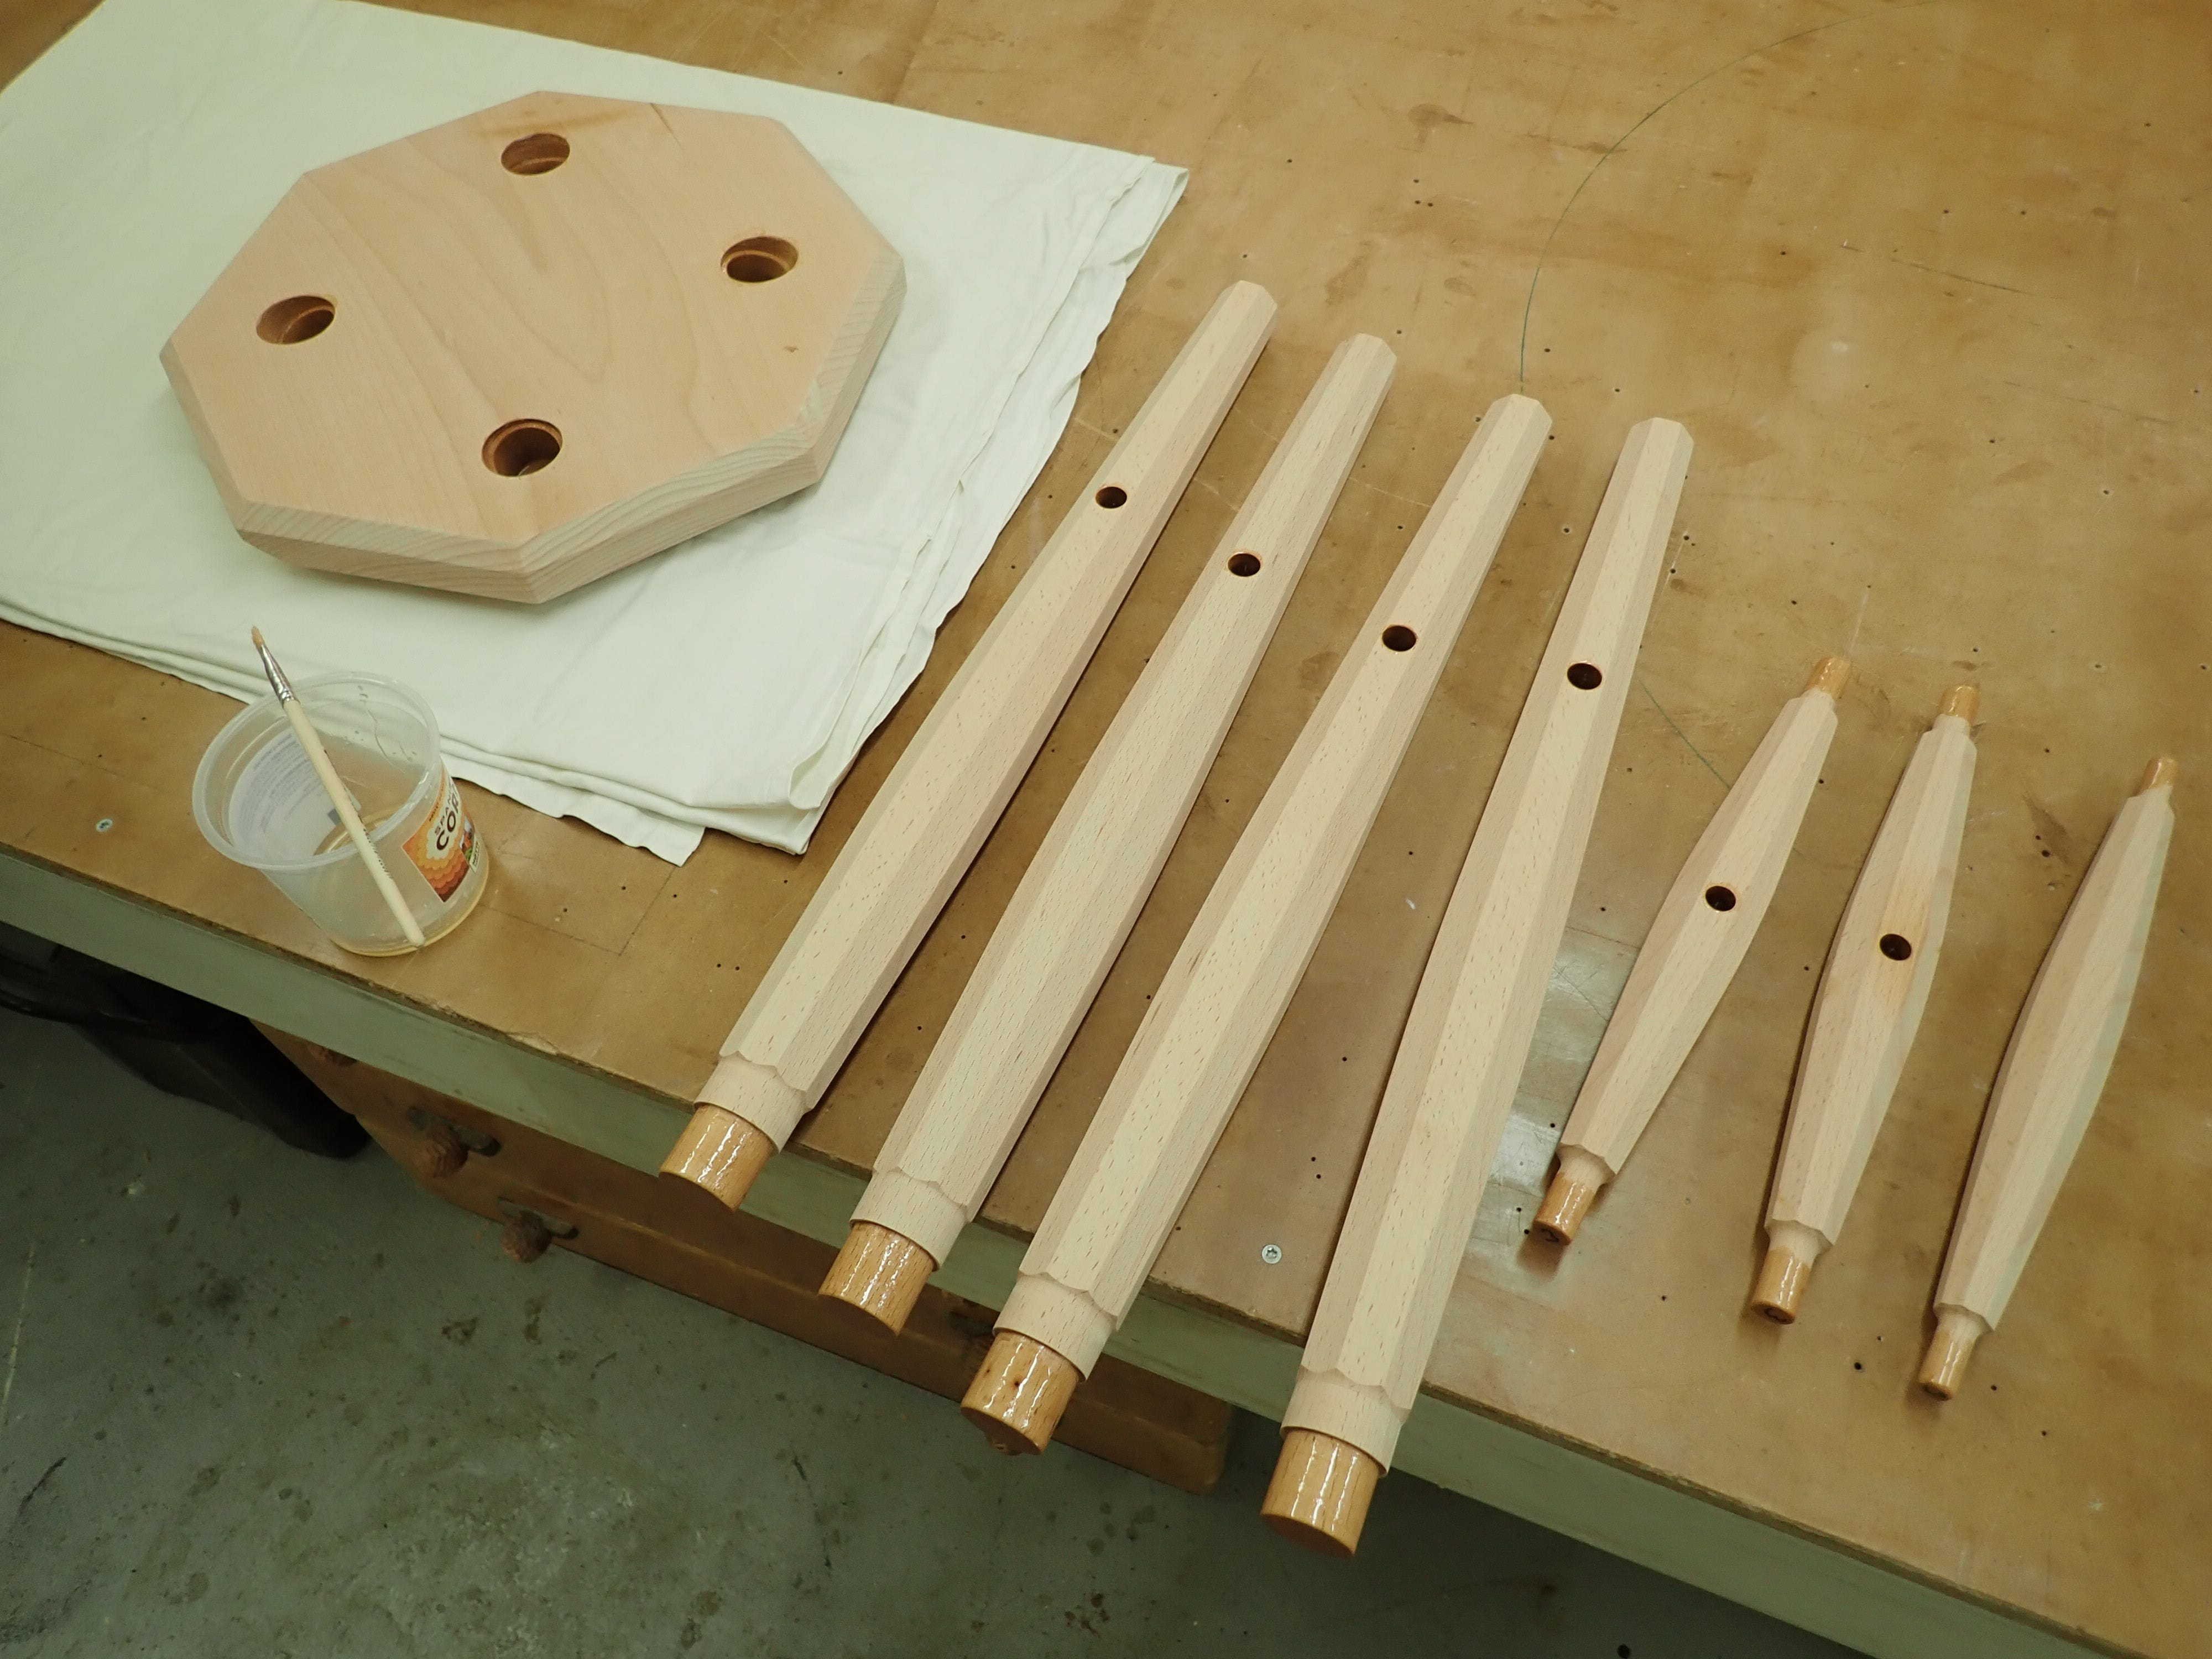
The parts fitted well together, so after knocking the legs in I didn’t need any clamps, straps or other ‘persuaders’ — I just left things in peace overnight.
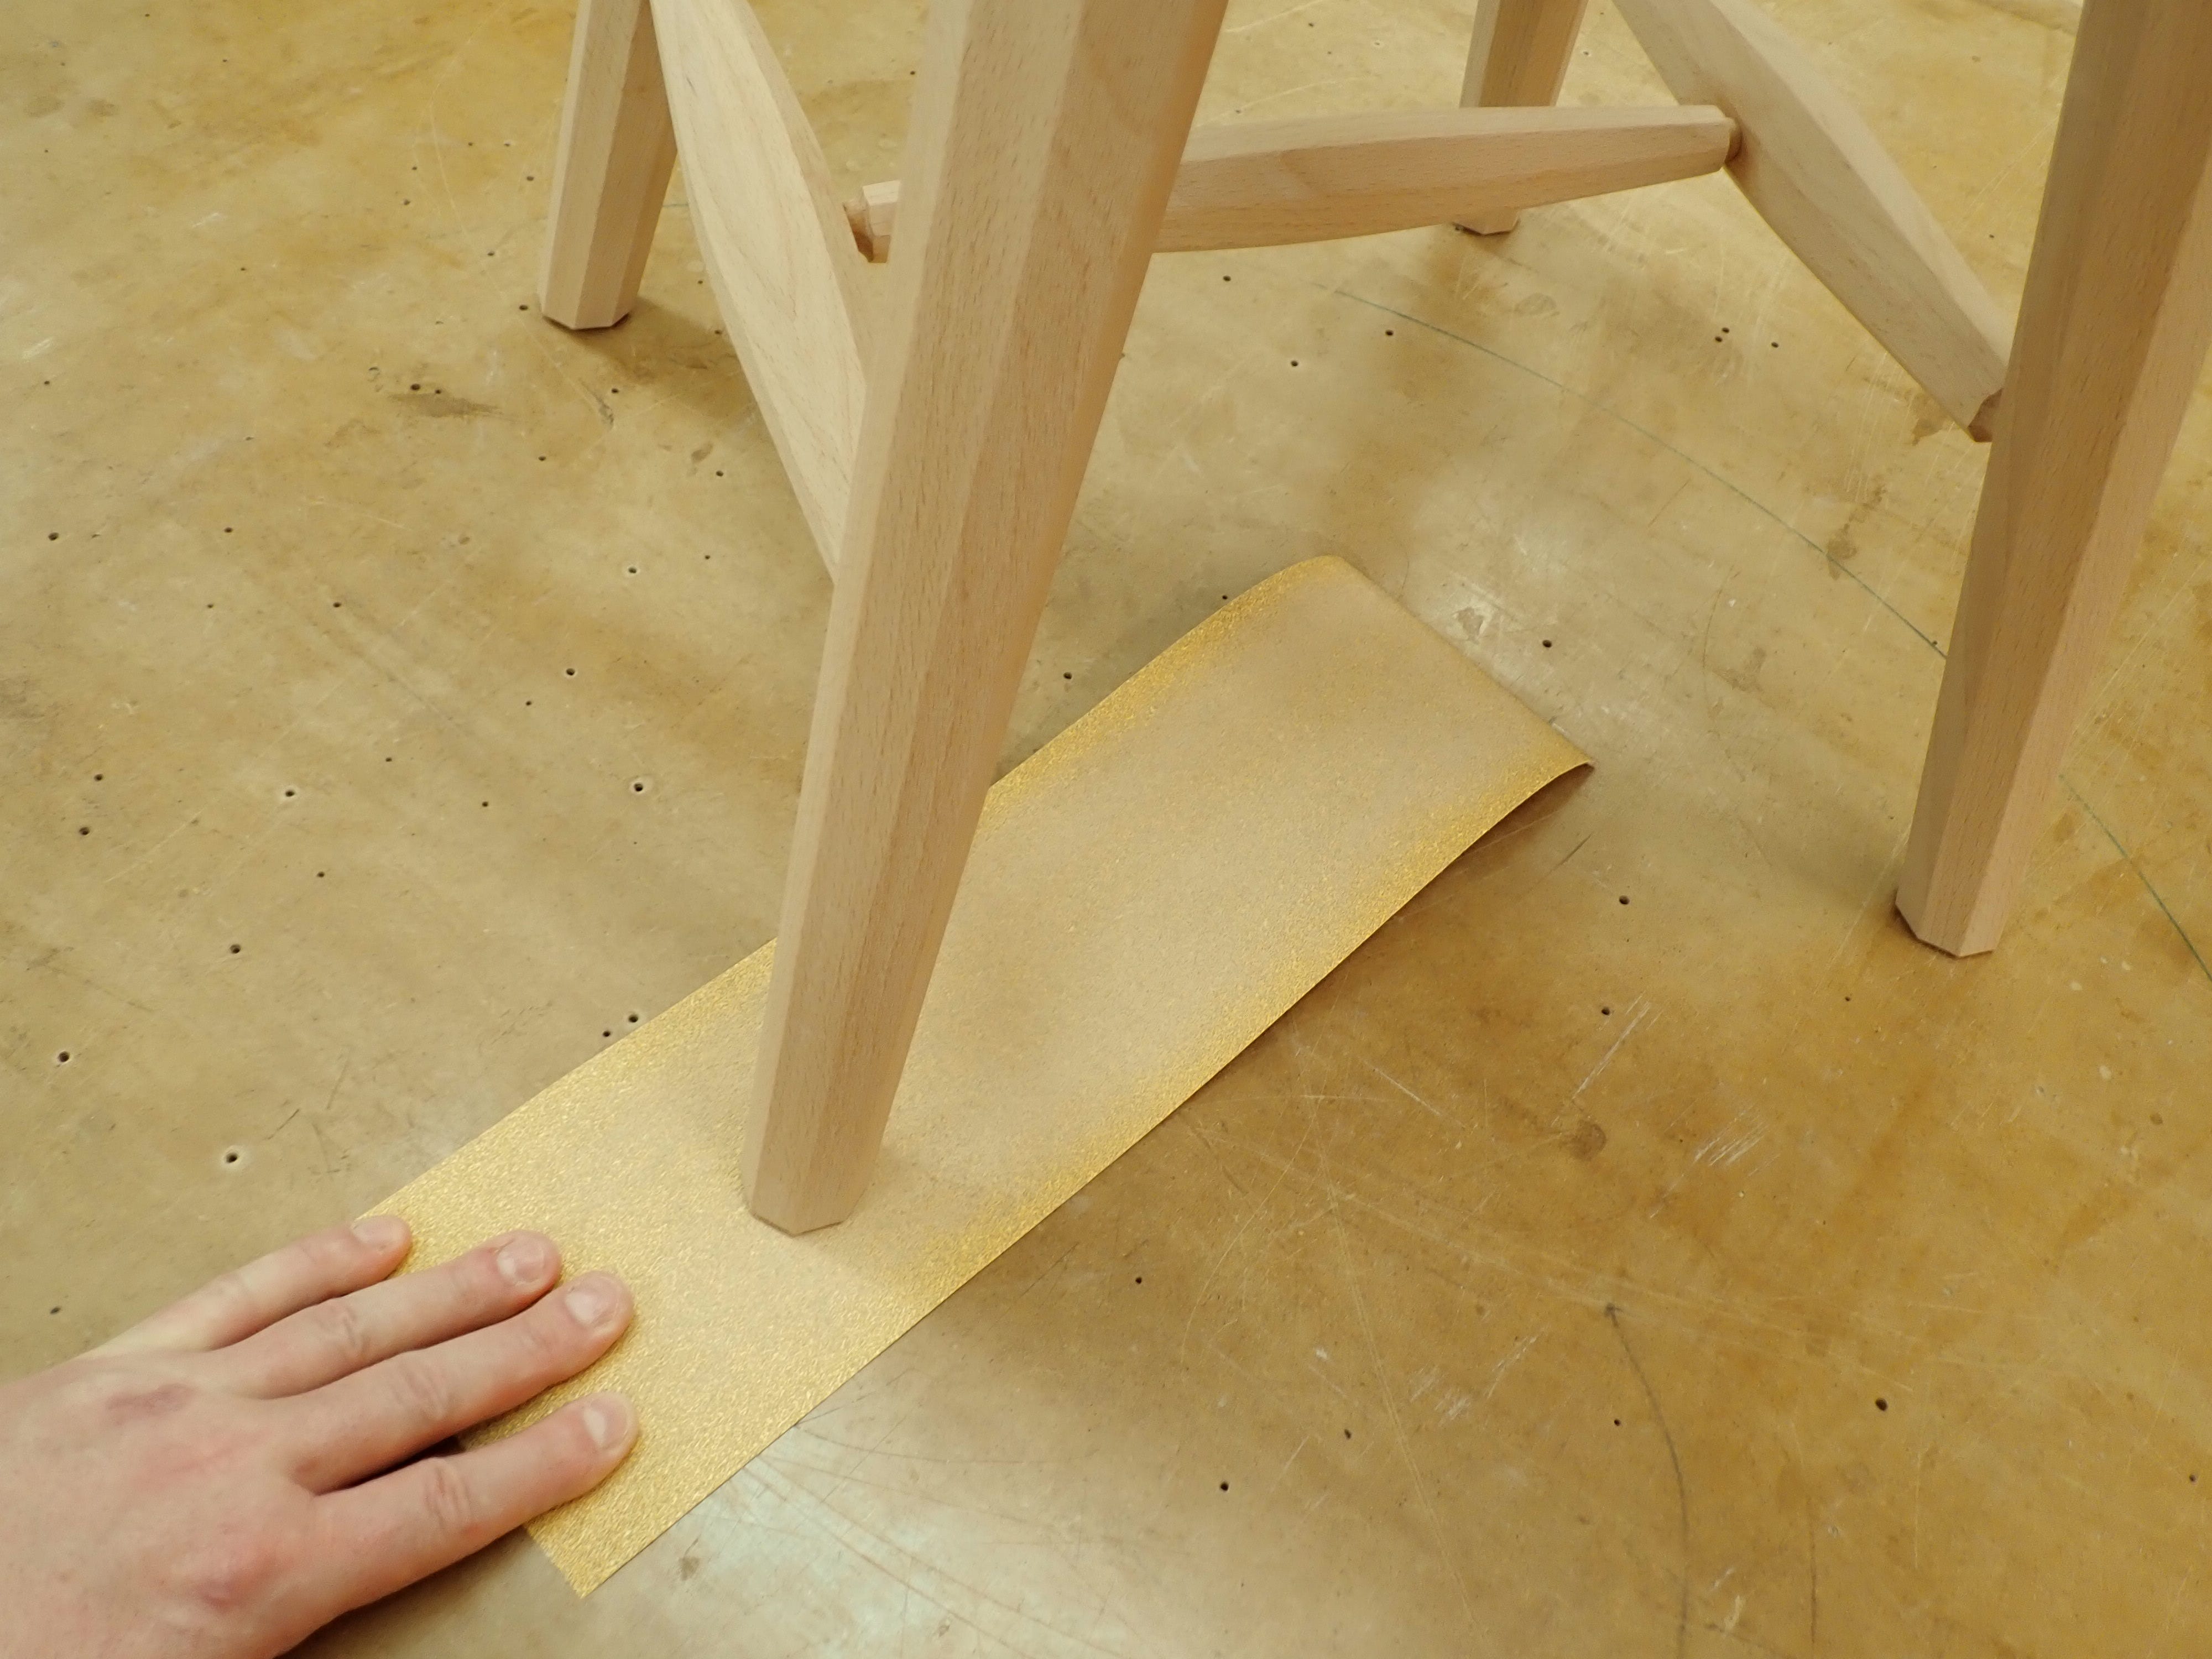
After marking and sawing - flatfooting - the legs …
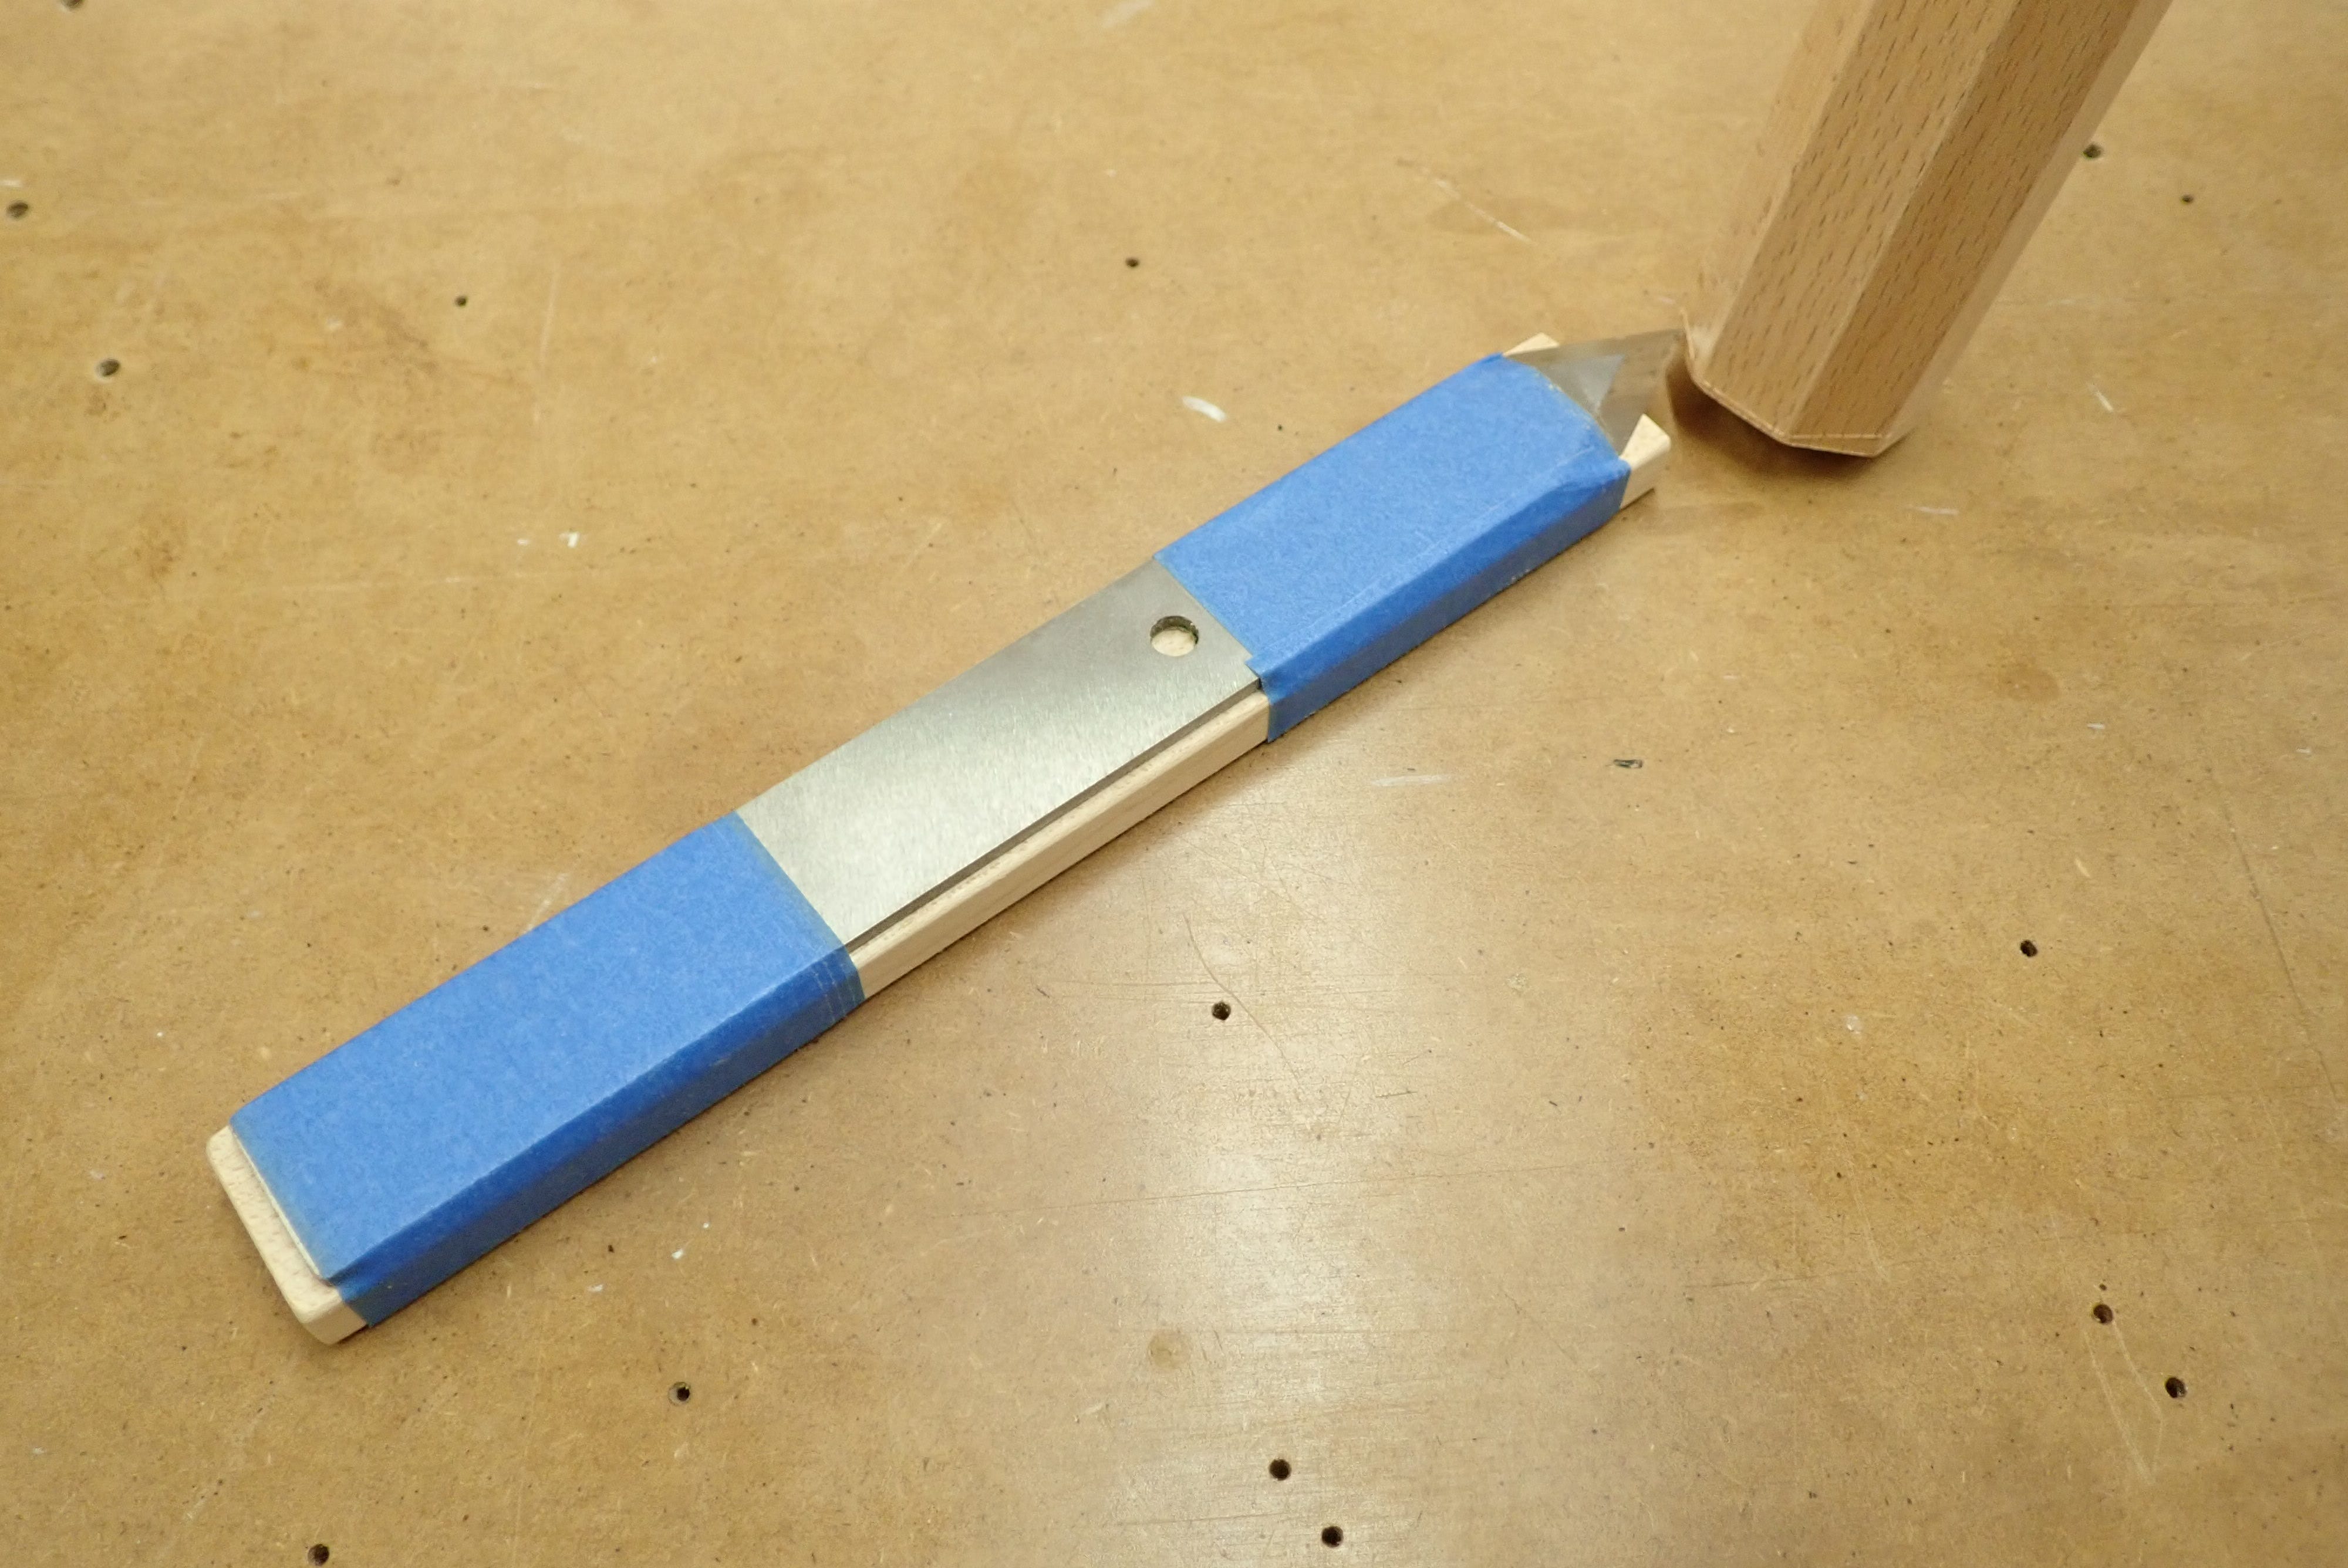
… I use a bit of coarse sandpaper to make the final adjustments (by repeatedly pushing the leg away from me with the hand that is holding the camera :-)
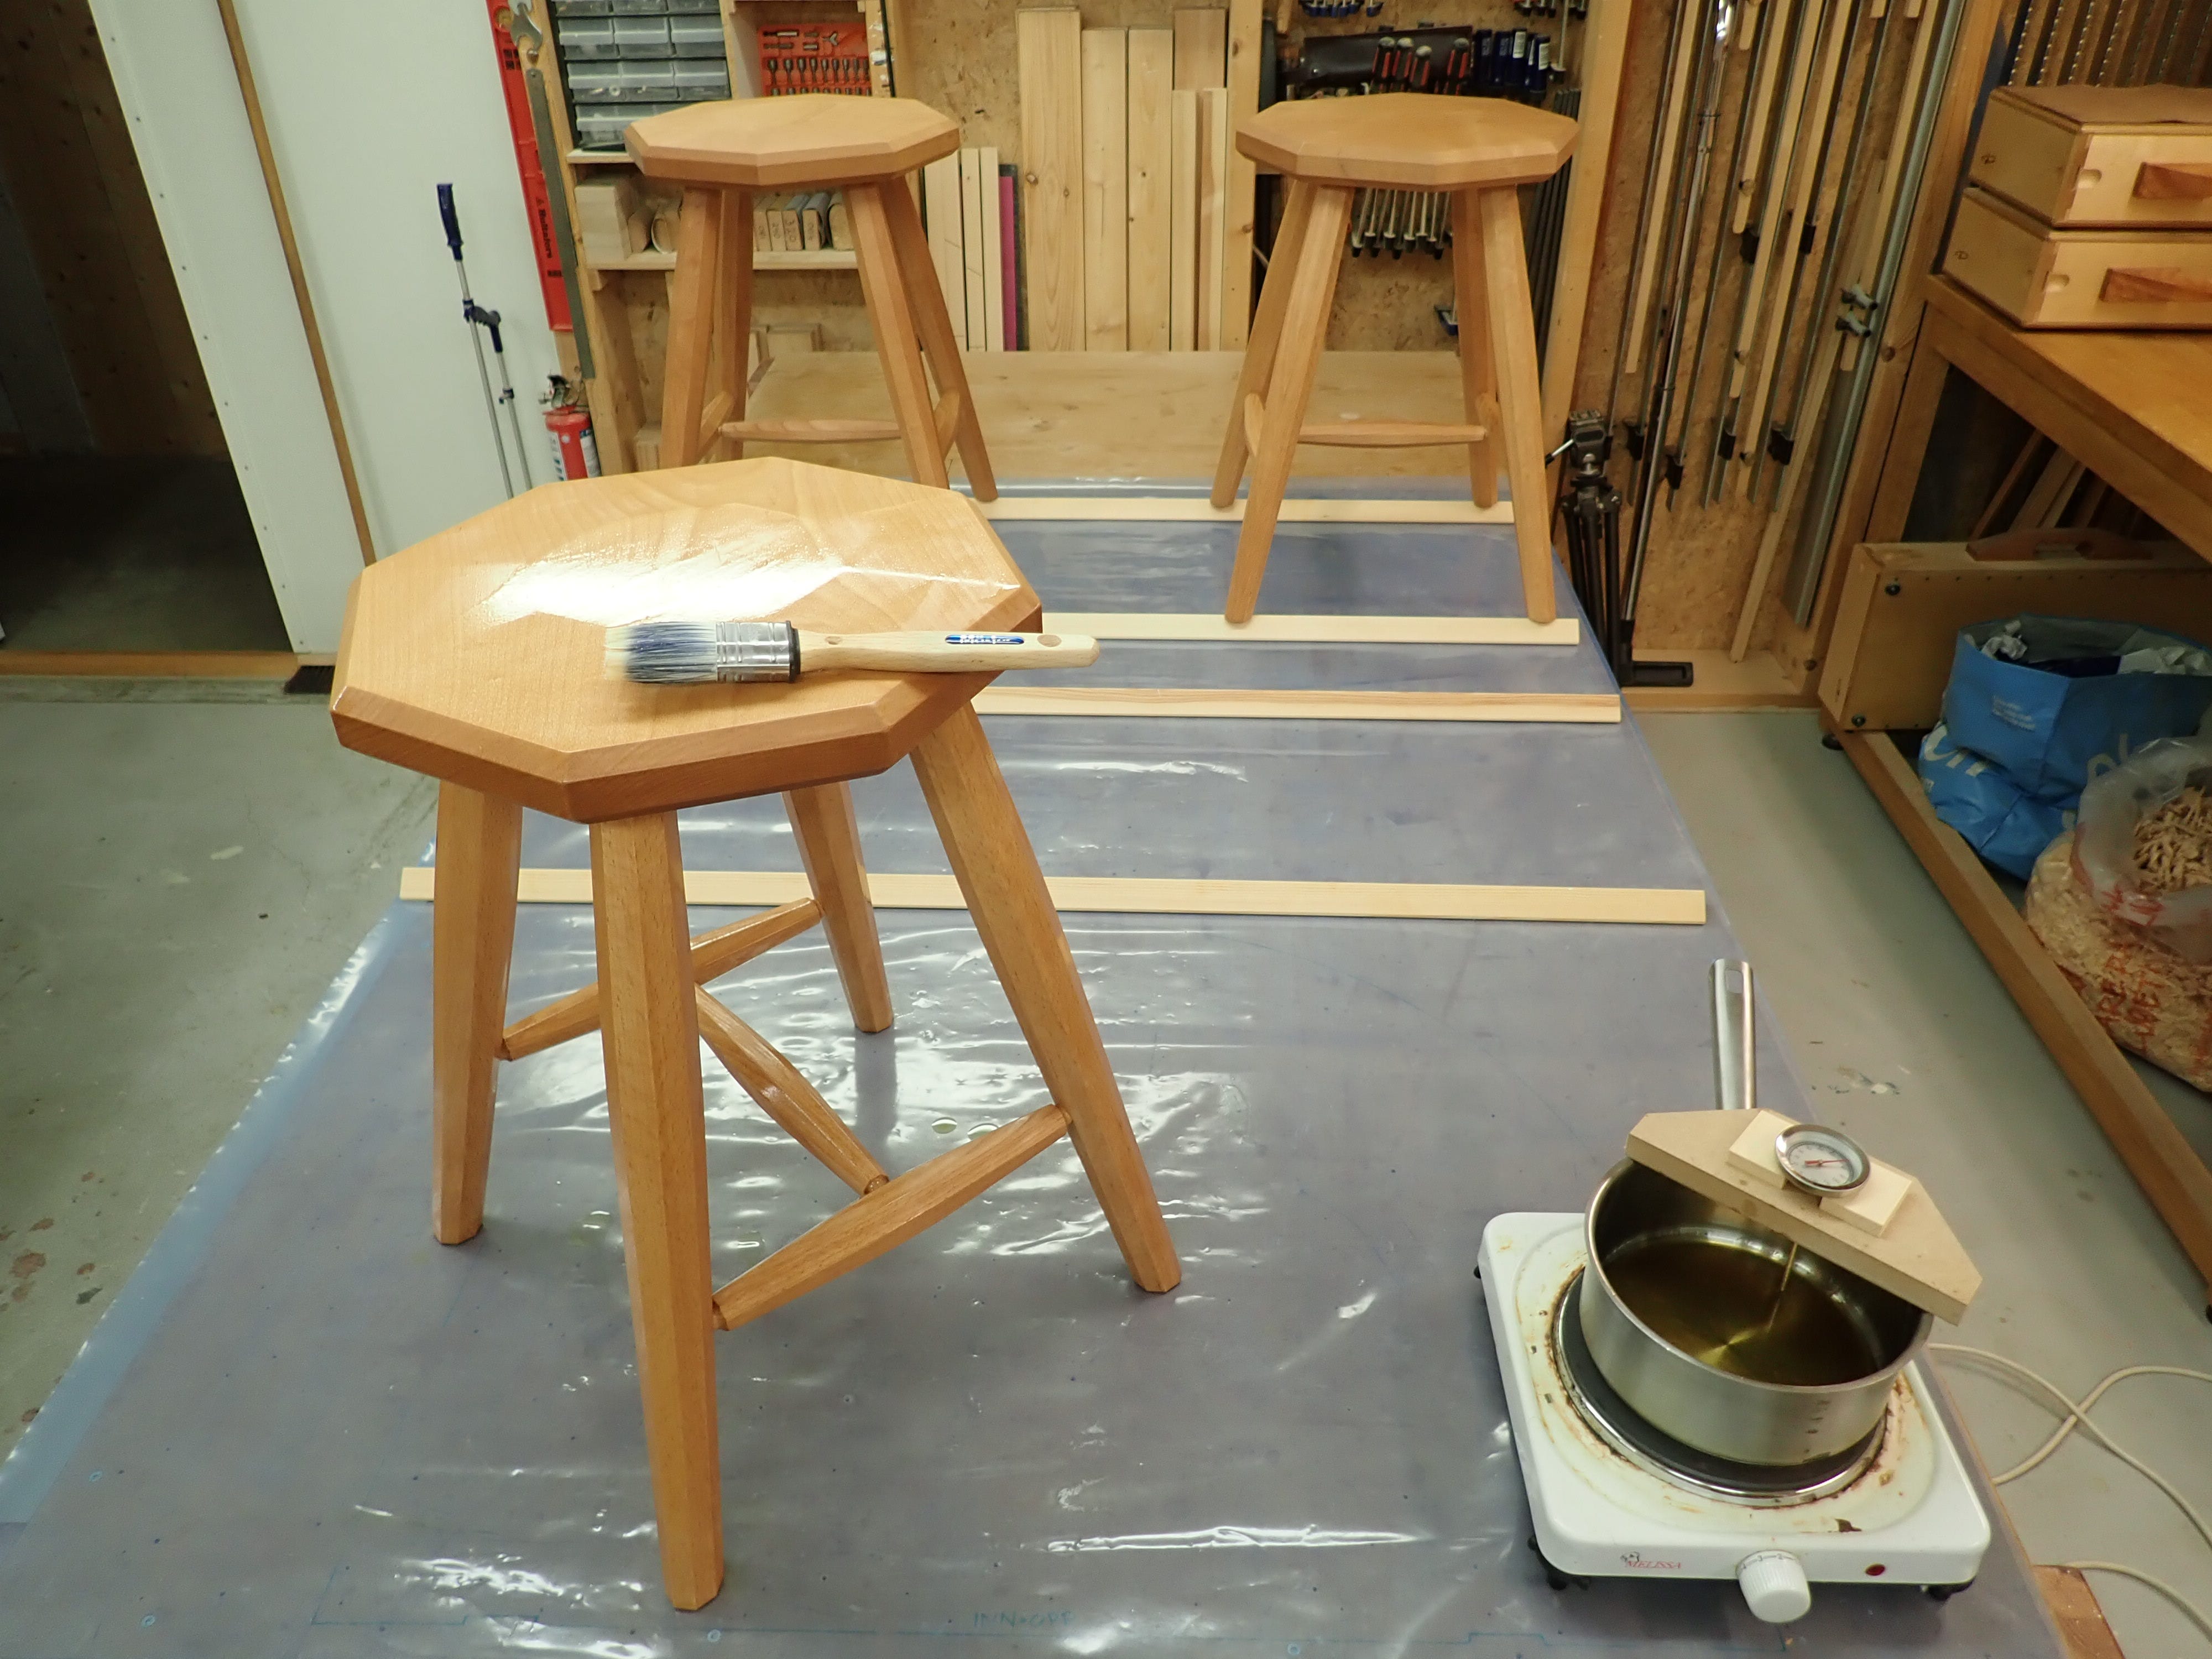
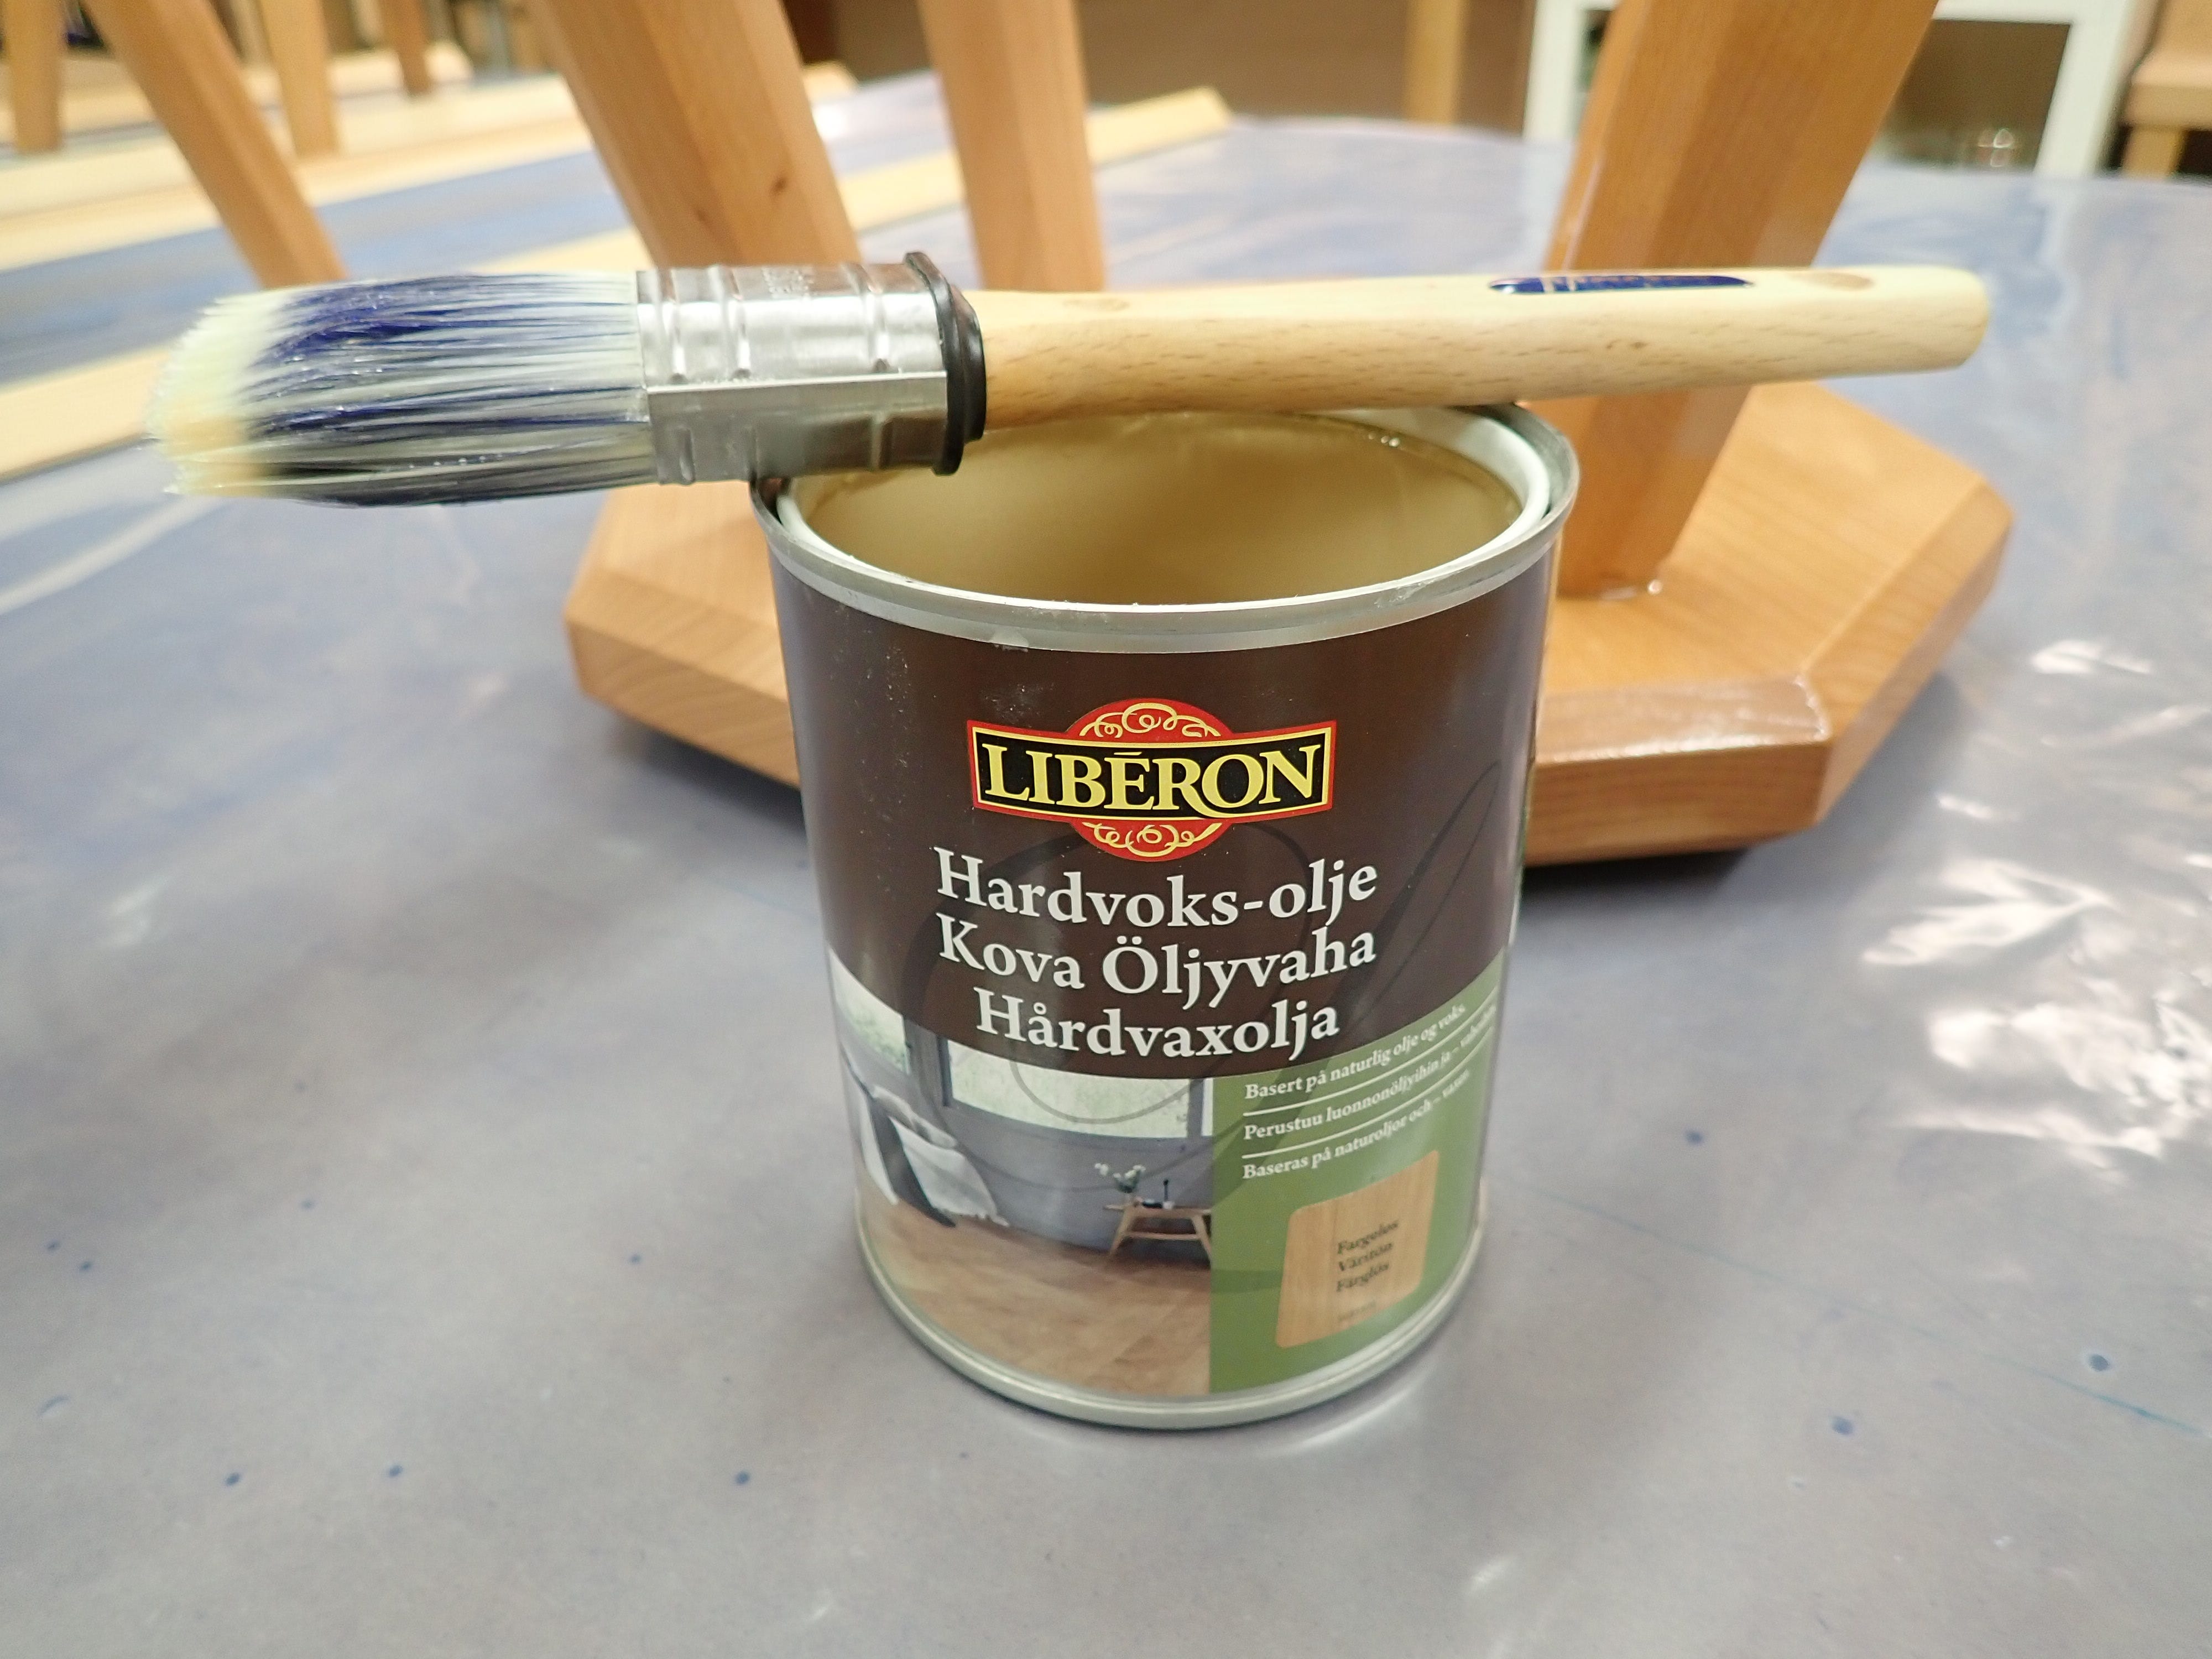
The first coat of finish consists of Selder’s boiled linseed oil heated to 90°C.
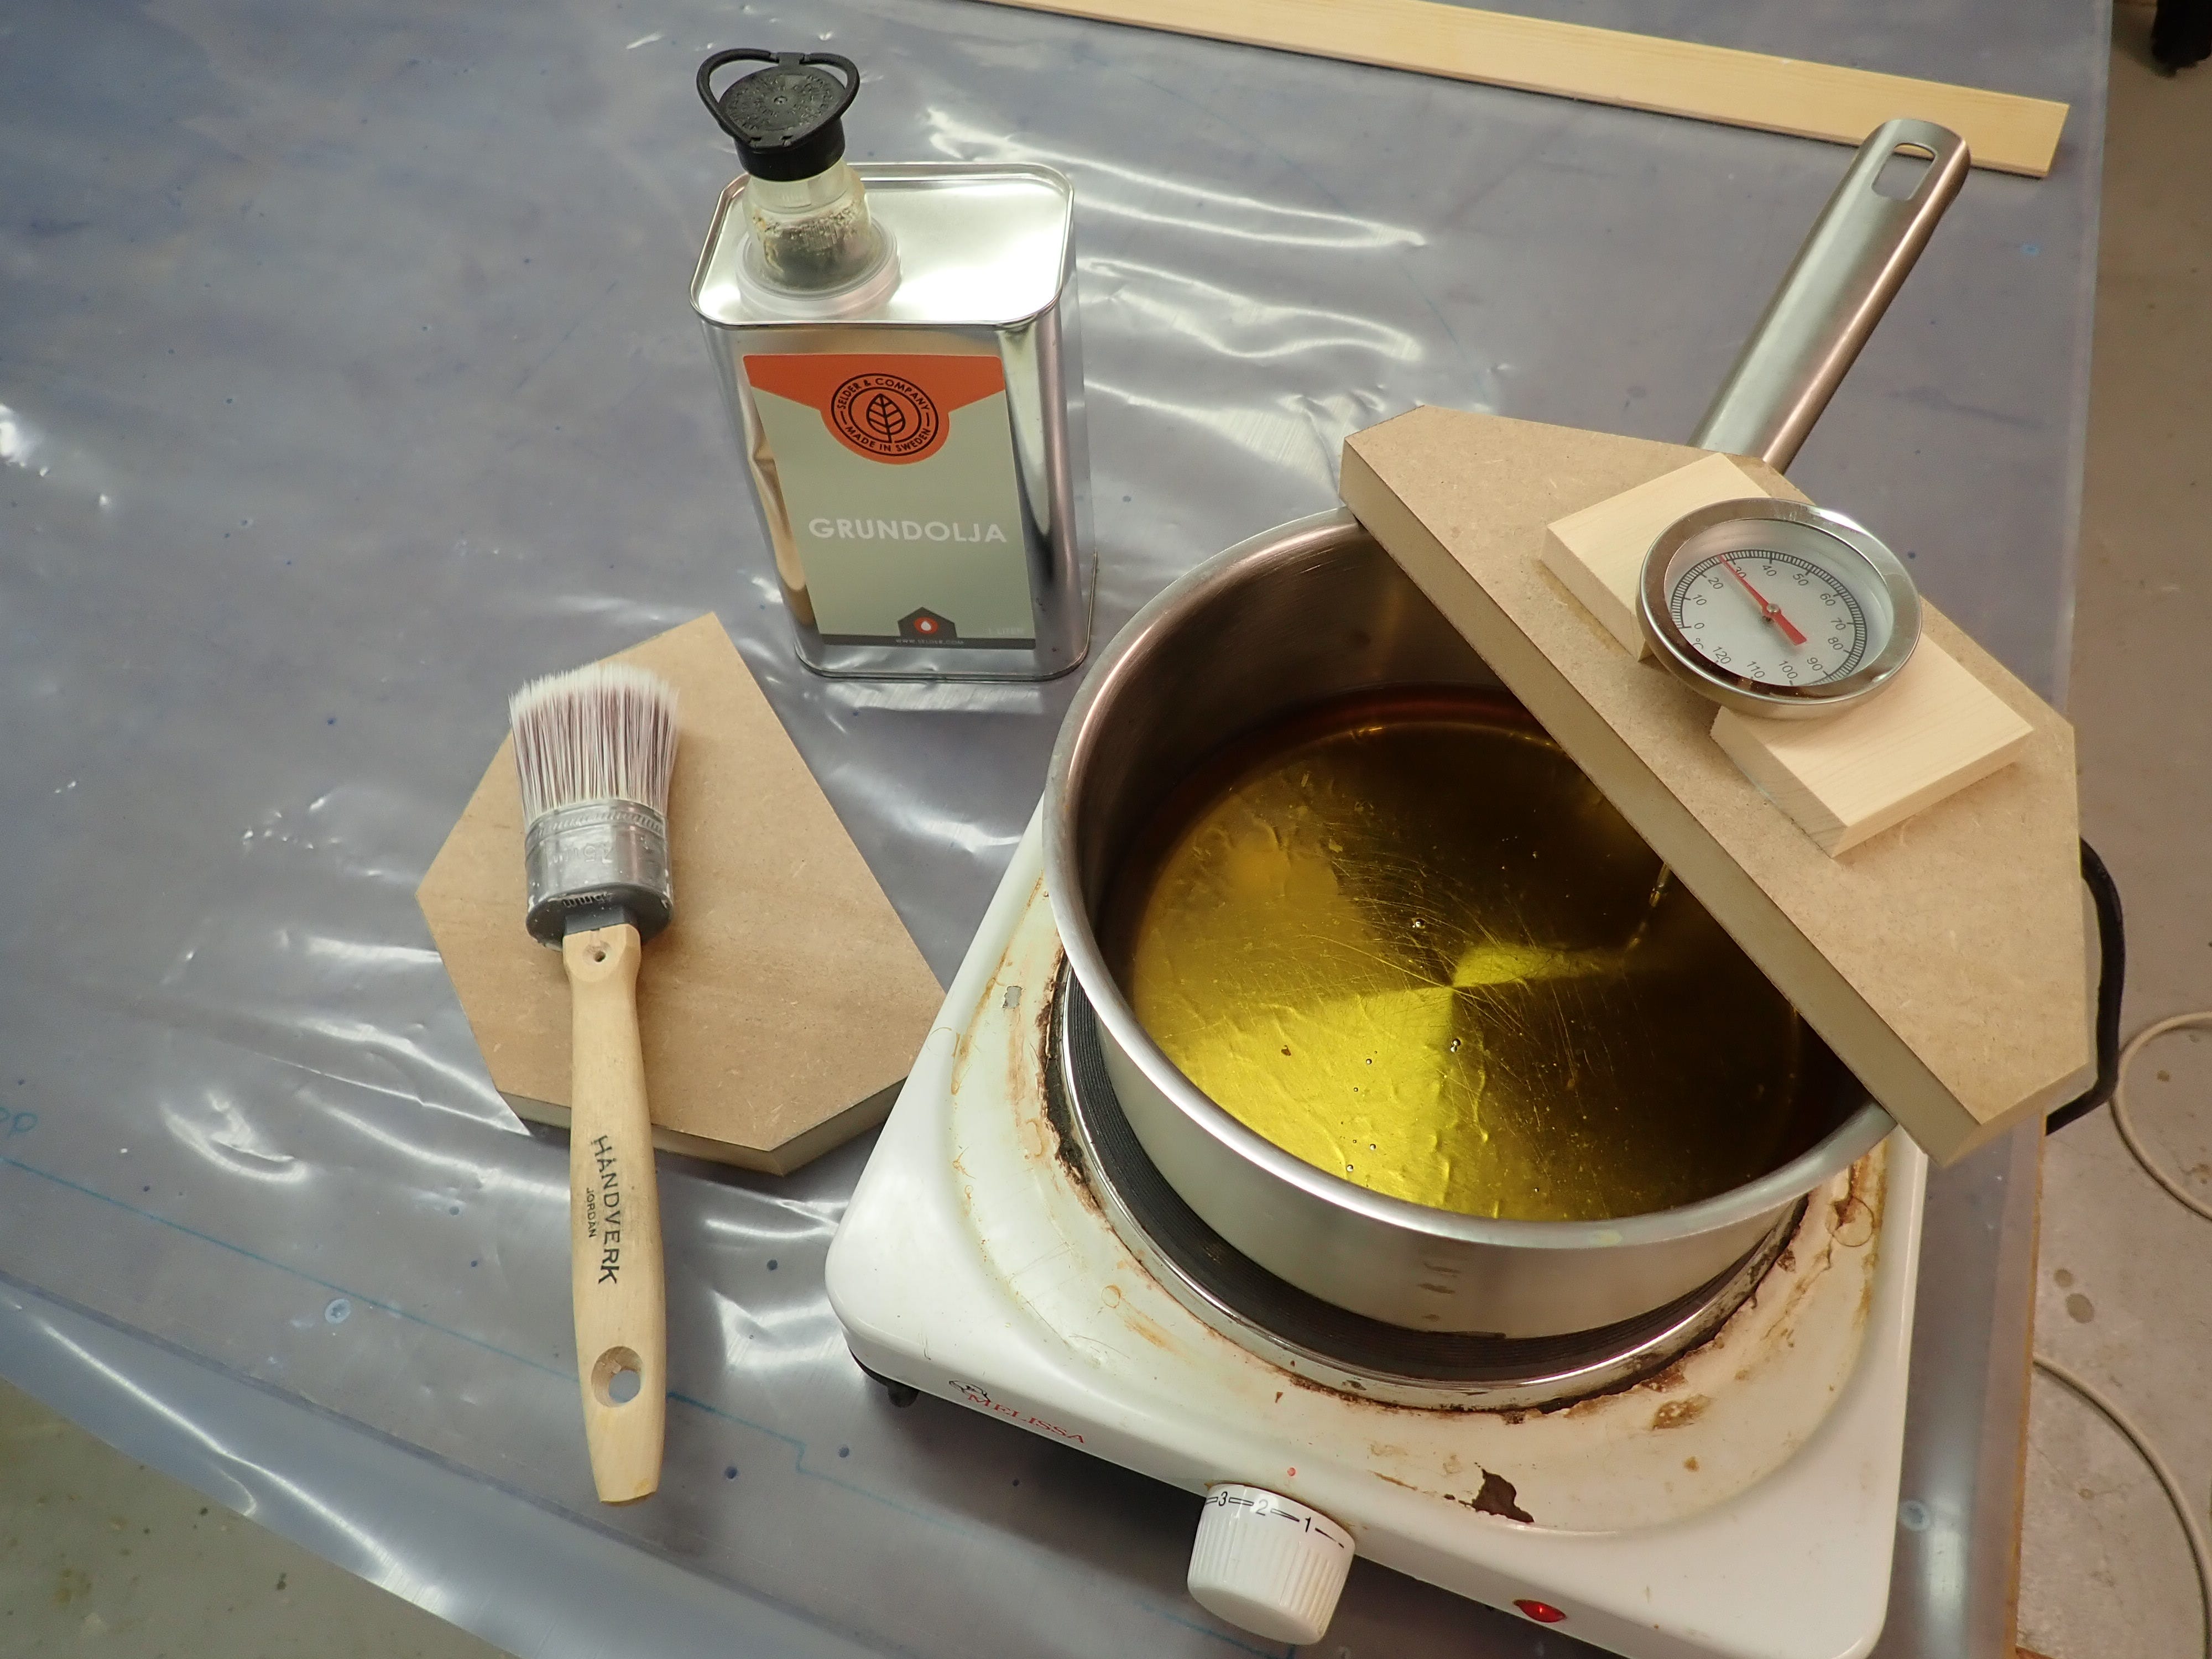
The warm oil soaks into the surface, penetrating deep into the grain — very satisfying. Thirsty, this beechwood. After letting the oil soak for a while, I wiped the surplus off with paper towels and let it dry overnight.
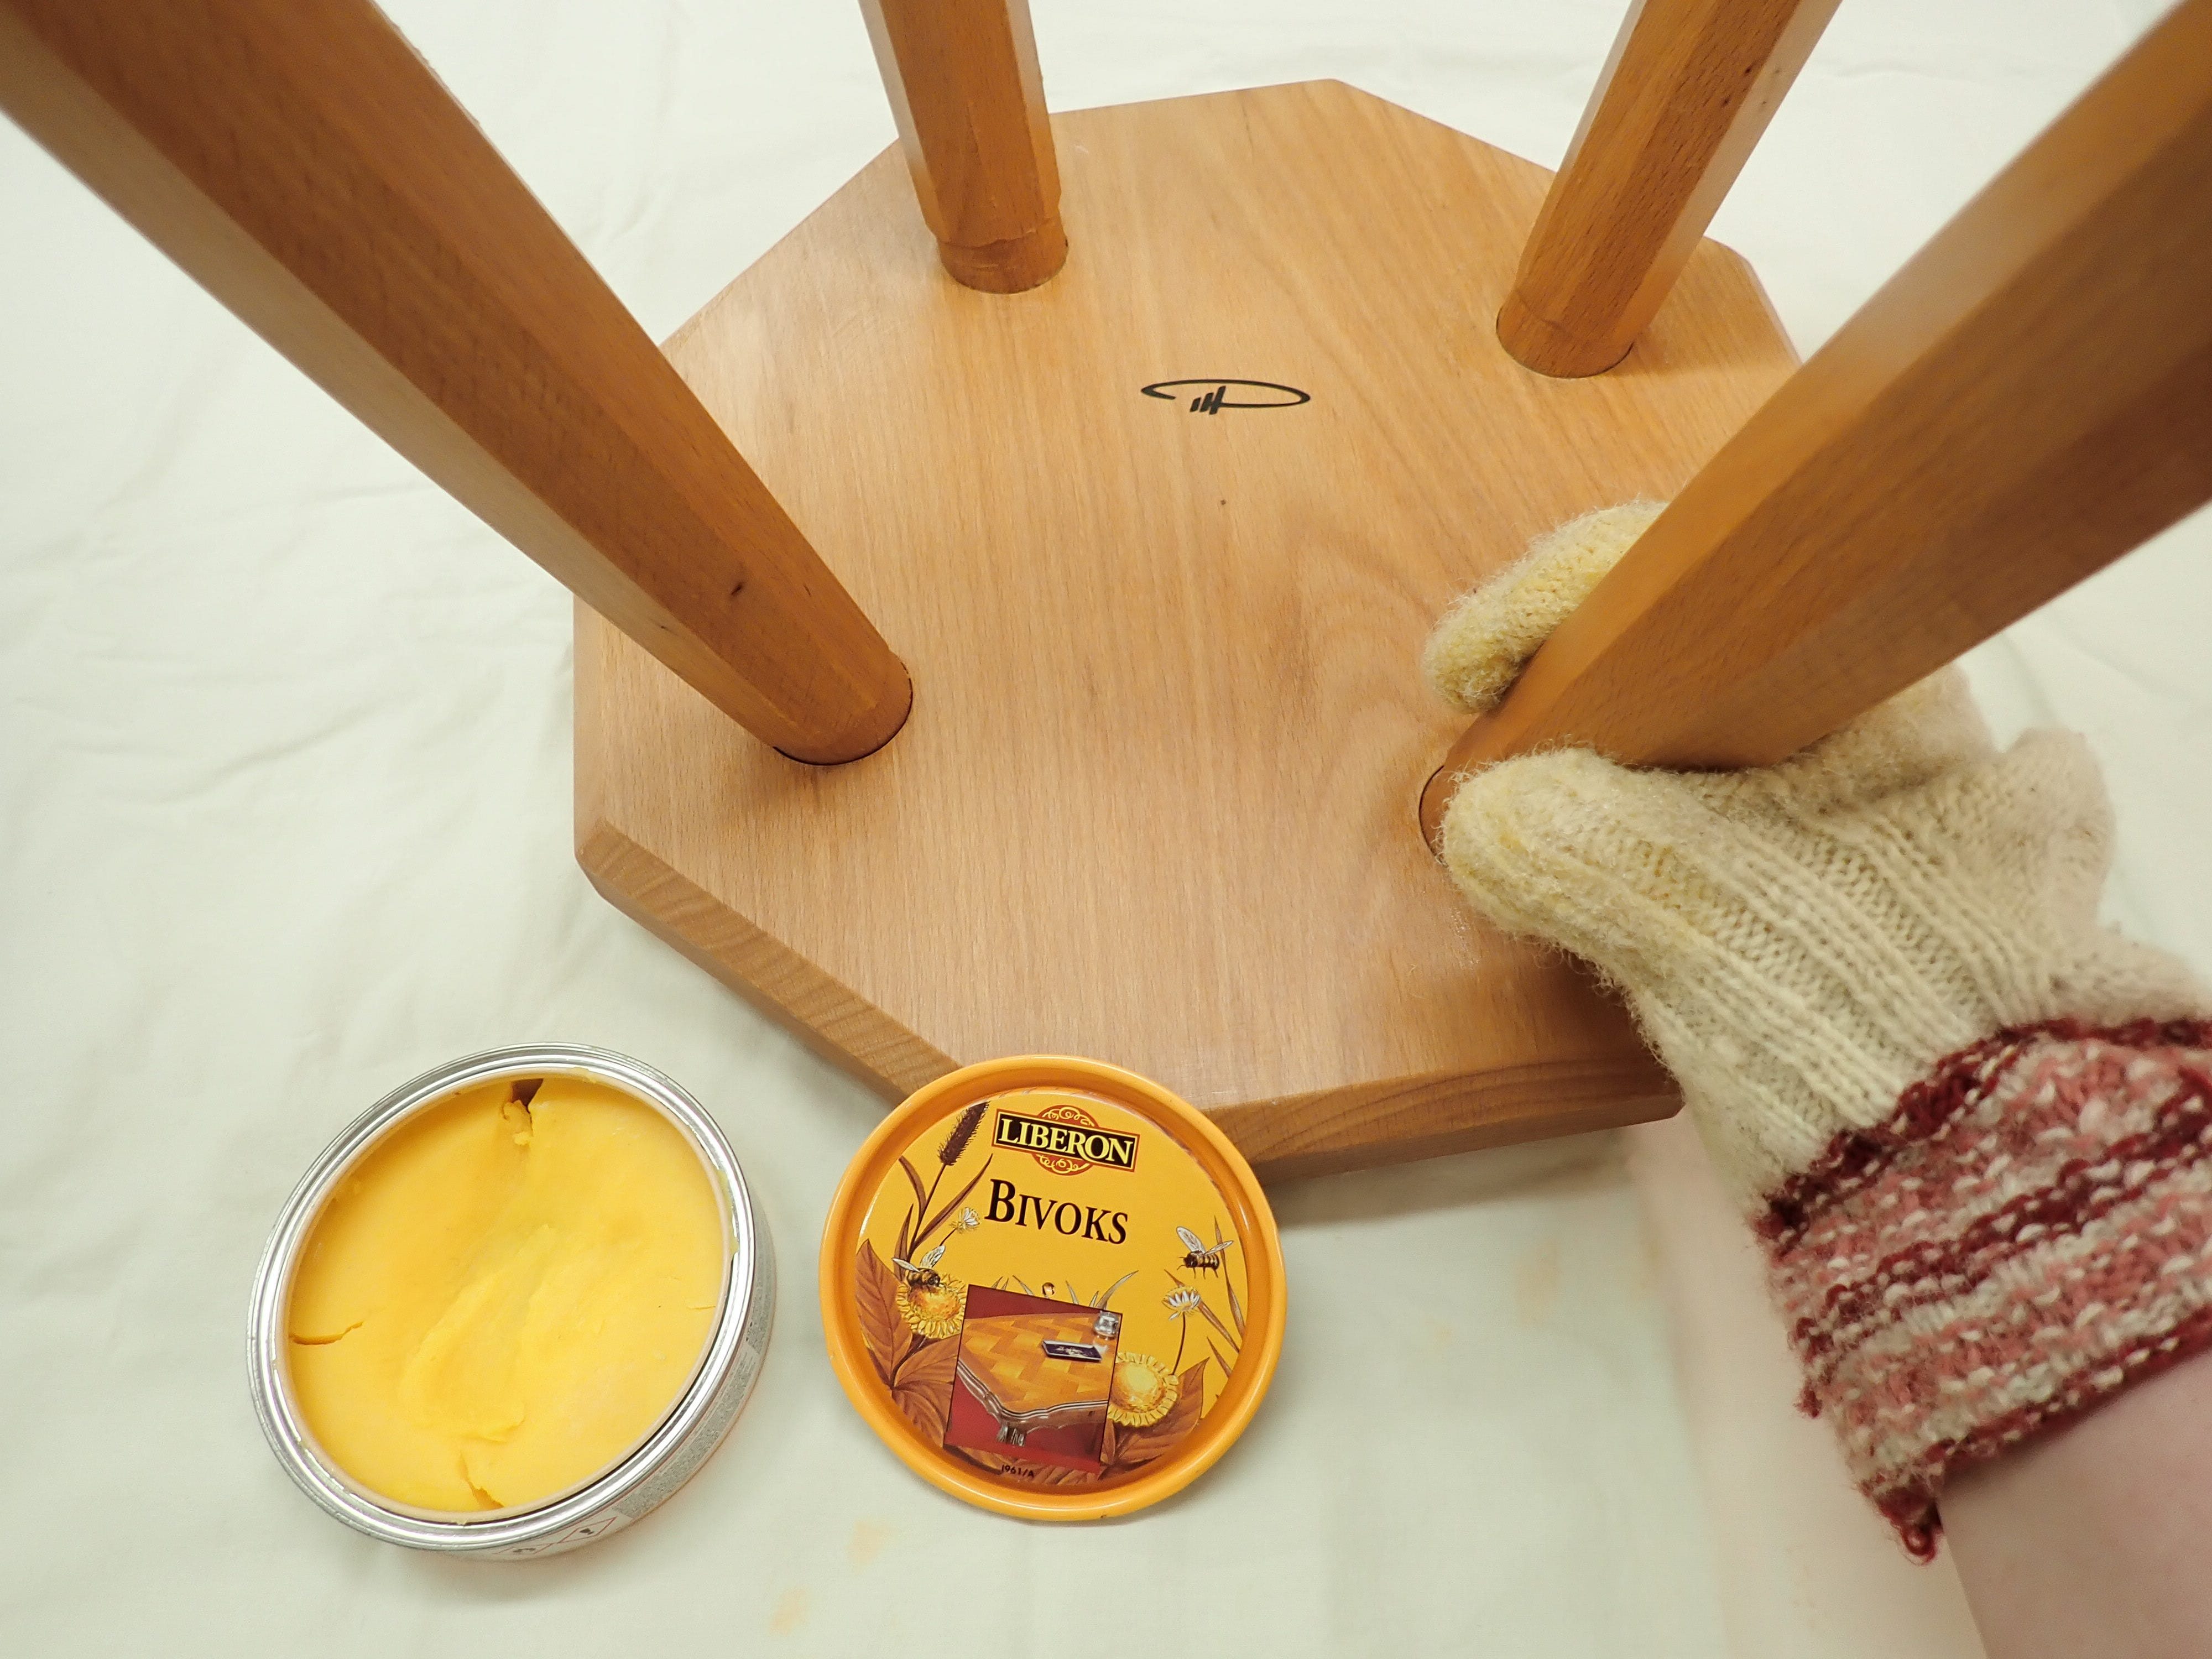
The oil was dry next day, so I could apply an oil/wax emulsion.
Slather on, let soak, wipe off, let dry.
Next day, to give a slight lustre, I rubbed on a coat of beeswax. I’ve found it practical to use an old woolen sock as a glove when applying wax on complex/non-flat shapes. It’s less cramp-inducing than having to pinch a piece of fabric between your fingers. I used a couple of washcloth-sized bits of thick, fluffy felt to buff out the wax afterwards, one in each hand — wax on, wax off.
It’s a nice finish, unobtrusive and pleasant to the touch, but very revealing; there’s no hiding mistakes, dings & dents or a scratchy sanding job.
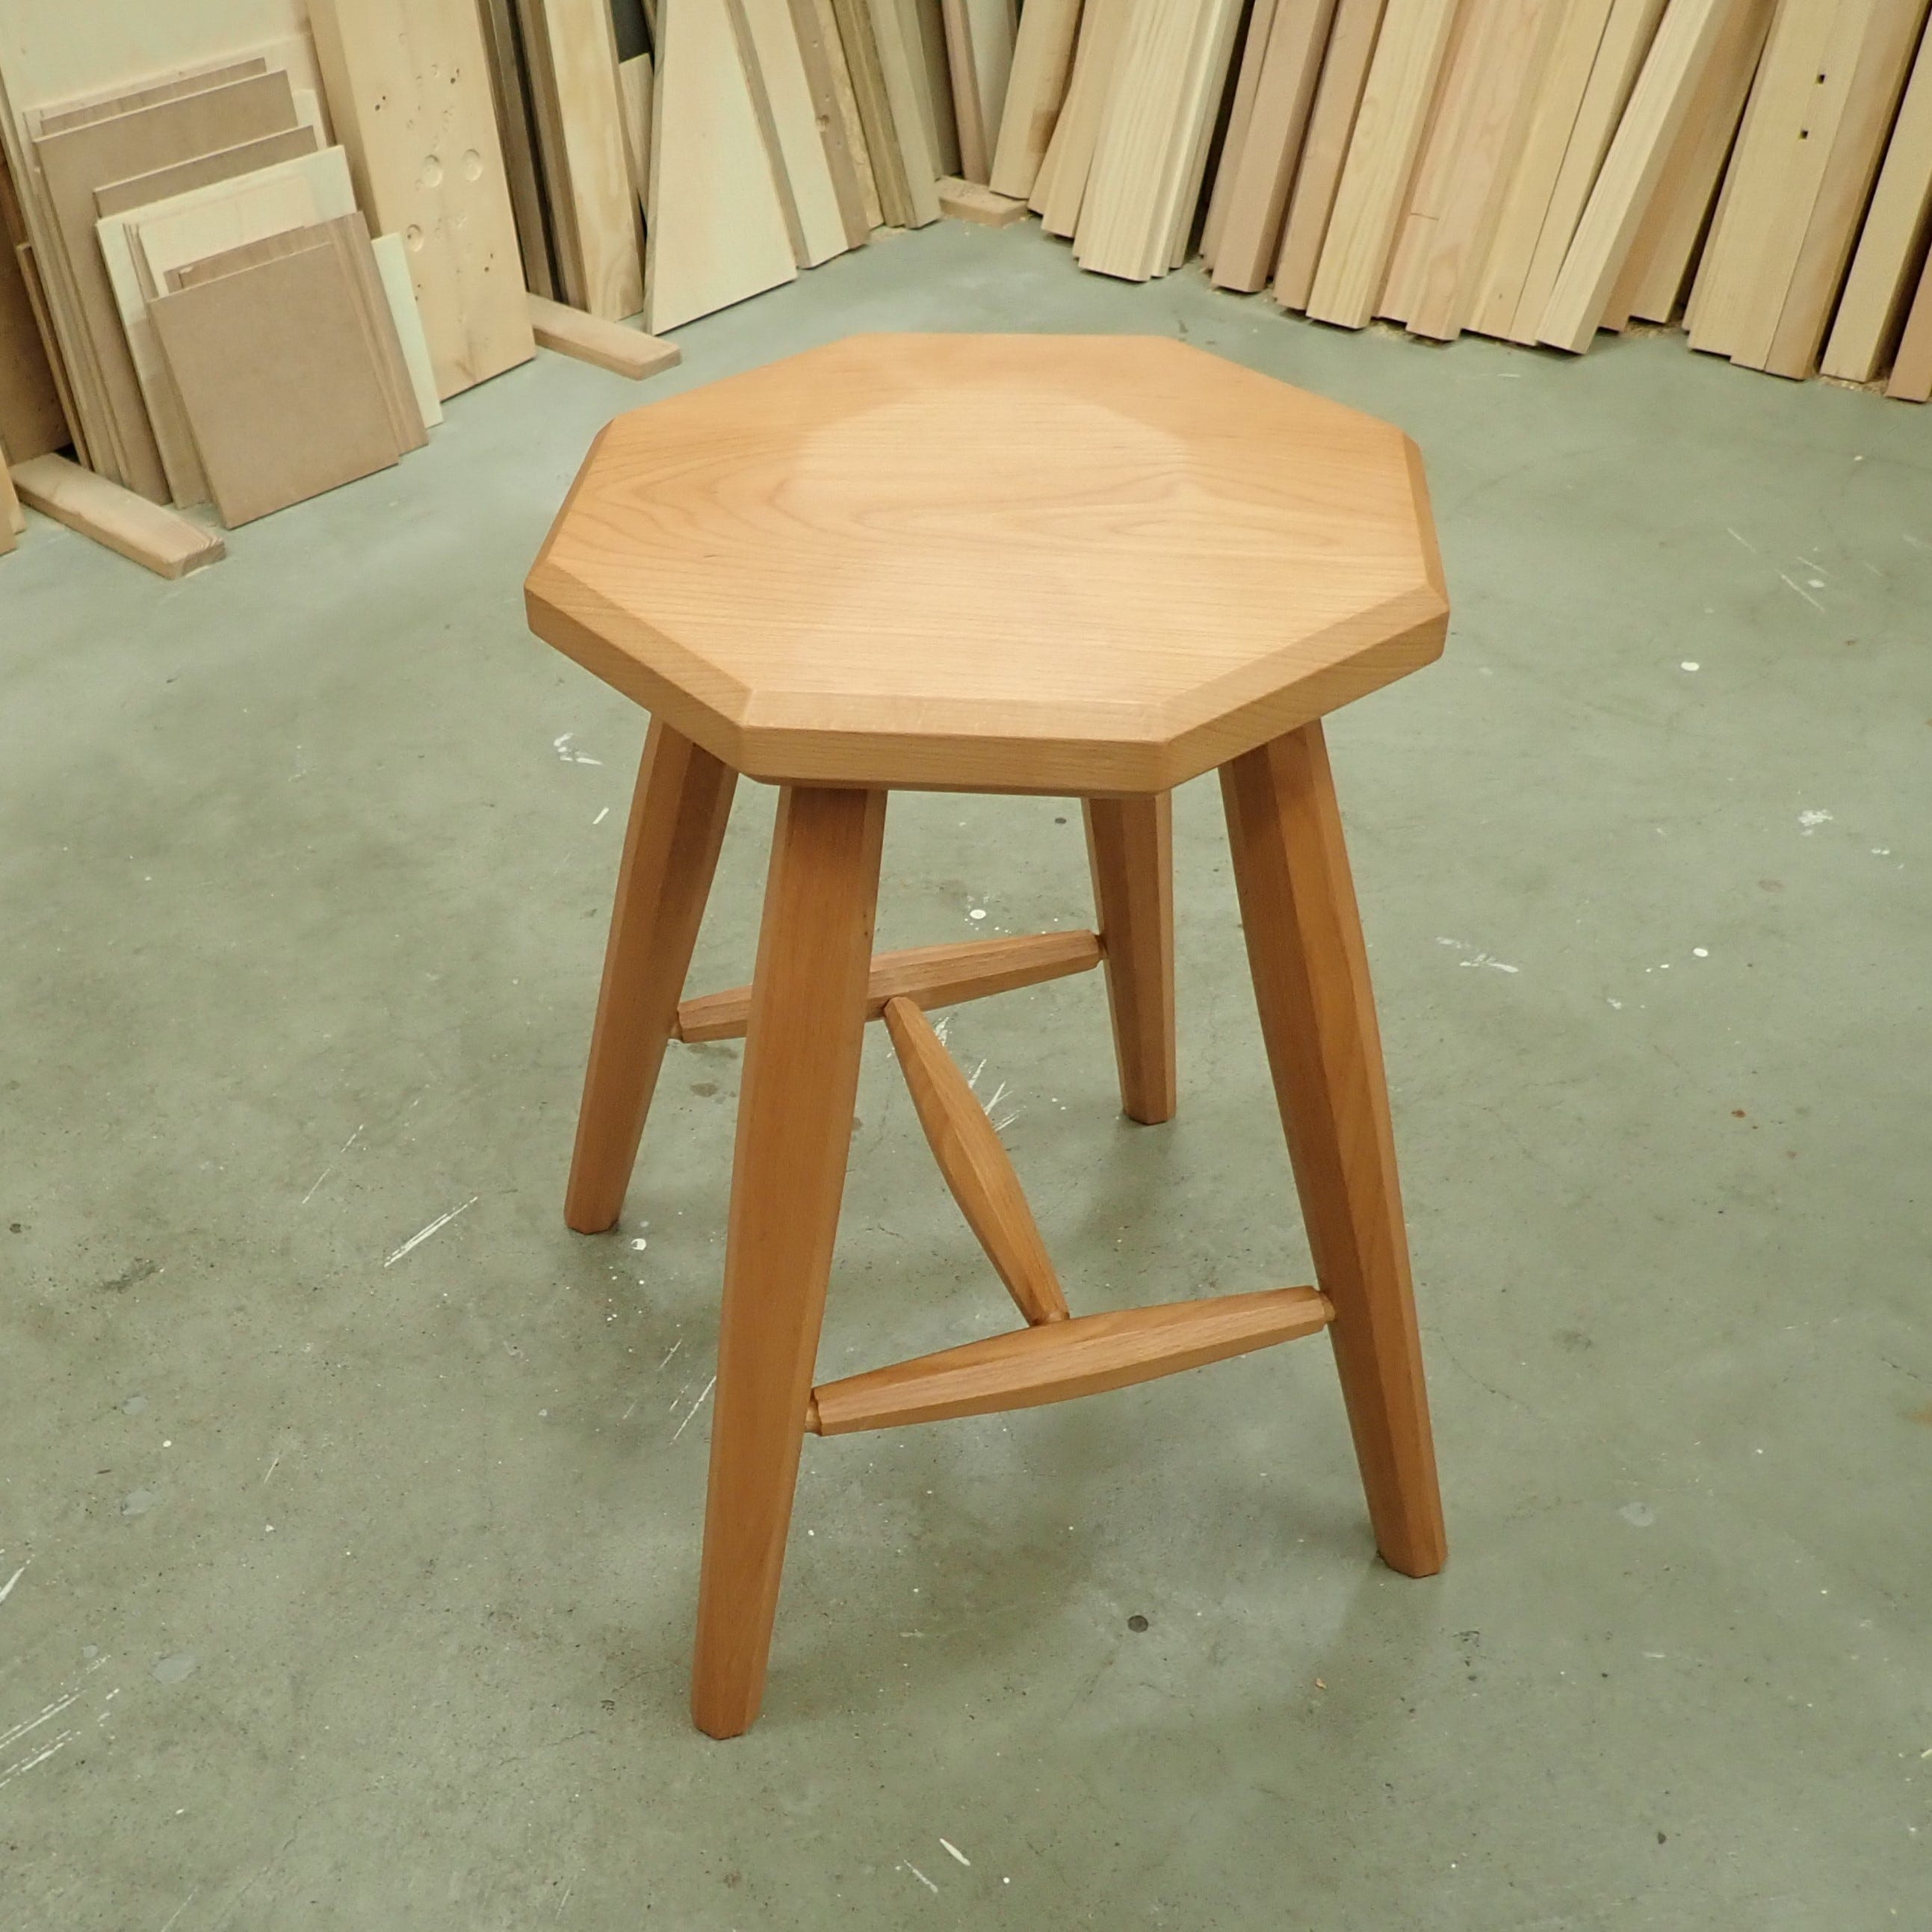
I’m fairly pleased with this improvised ‘design’. I like the stance and the overall proportions but I think I’ll put the seat on ‘untwisted’ next time — it’ll look tidier that way. Even tho’ the seat is 10cm/4” higher than the standard 45cm/18” it doesn’t pinch the back of your thighs, thanks to the sloping surface and bevelled edges. There are some minor tweaks I want to do next time I make something like this; shaving a couple of millimetres off the legs and stretchers, adjusting the seat’s edge-bevels … but all in all; not too shabby.
****
I like the "twisted" look, that's fun and unique!
I like the finish as well! I've had a lot of success with pure linseed oil, followed by oil / wax, with a topcoat of beeswax. I've been quite happy with that system and it seems to hold up well.
Thanks - I've never seen someone apply BLO before a hard wax finish before. What's the benefit over just two layers of the hard wax - penetration? Cost?
Does it alter the look of the finish vs hard wax alone?