
Please, have a seat!
shaping a slab of beech

[ soundtrack : Sodade - Cesaria Evora ]
****
I’m making some medium-height stools - seat at 55 cm/ 22” - of the kind that might be useful in a kitchen or a workshop; an occasional seat for use at the bench or by the countertop. I’m not sure that the height is optimal, but I’ll find out soon enough. The process is the point of this project; I want to try out some ideas and practice some new techniques.
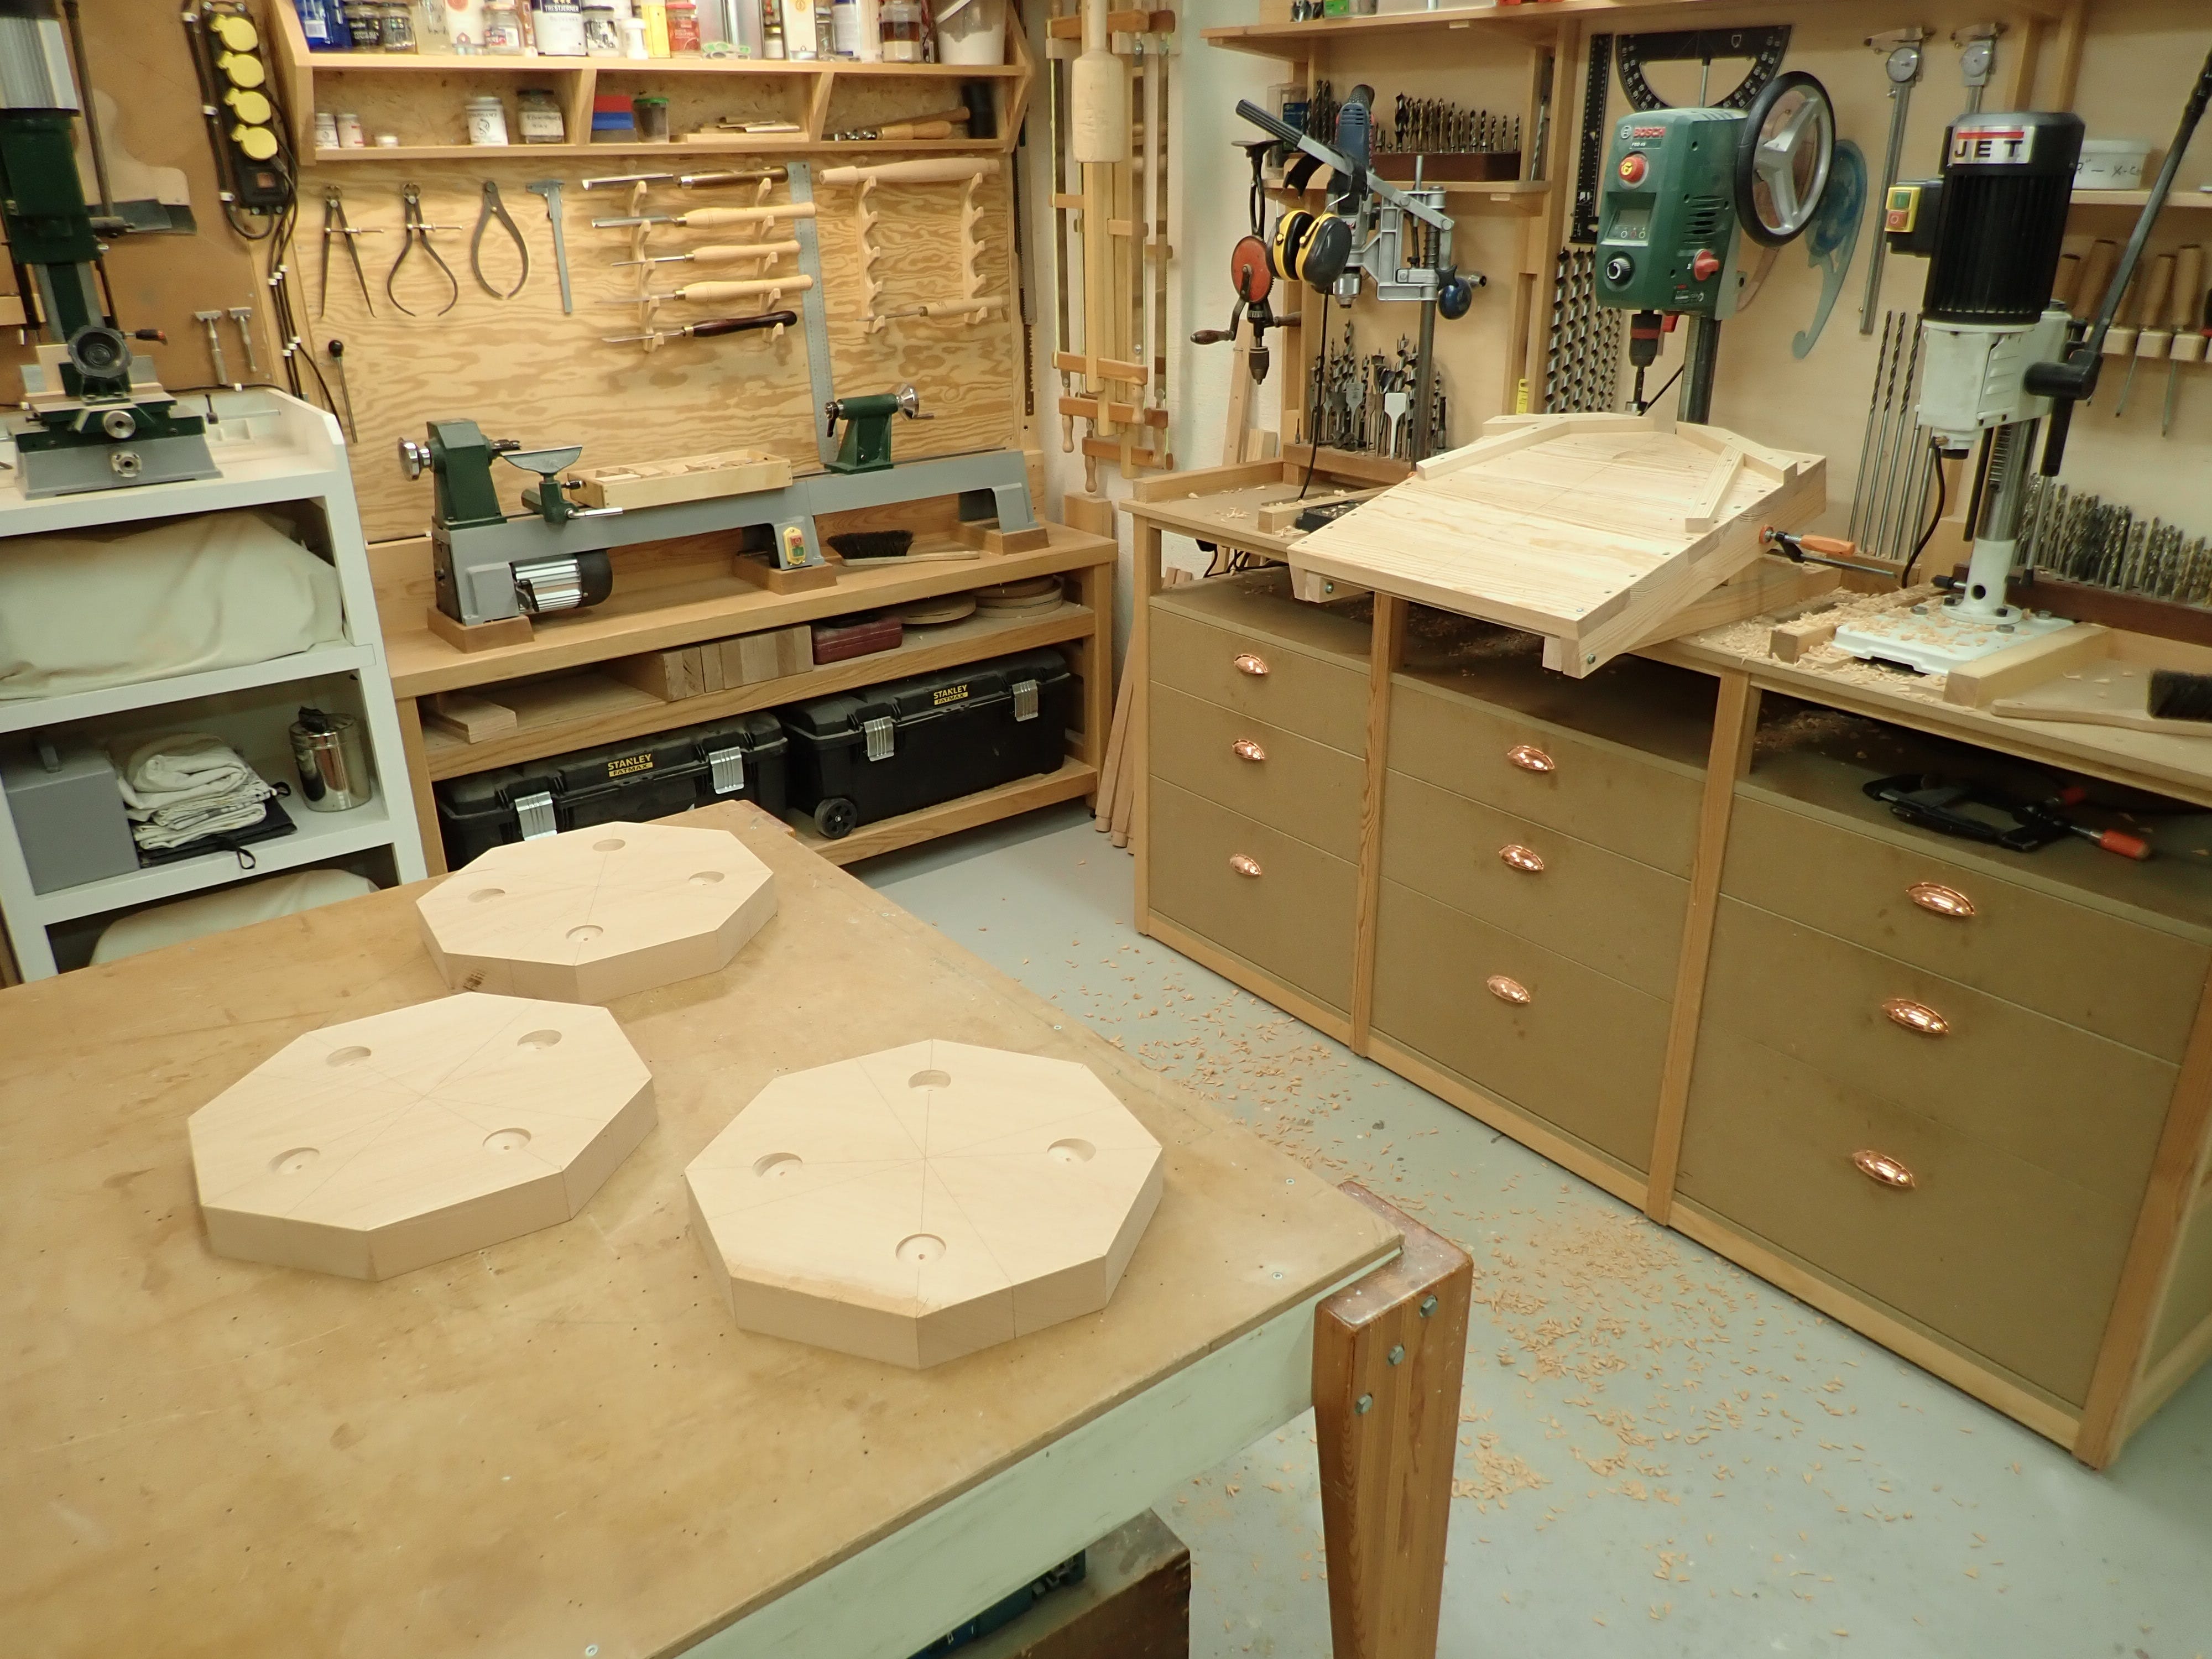
I’m using some old 2” beech leftovers, bone dry now in midwinter. The air is so dry now that my shop hygrometer registers zero — i.e. below its measuring range. I amuse myself by breathing on it and watching it jump up to 90% — simple minds, simple pleasures. One of the short, leftover planks was ca. 38 cm wide and ca. 122 long, so I decided to make three octagonal seats, 36 cm wide, since that shape seems to be the flavour of the month around here.
One of the seat-blanks had a unsightly crack, so I’ll keep that for my own shop-use; the other two I can give away if they turn out alright.
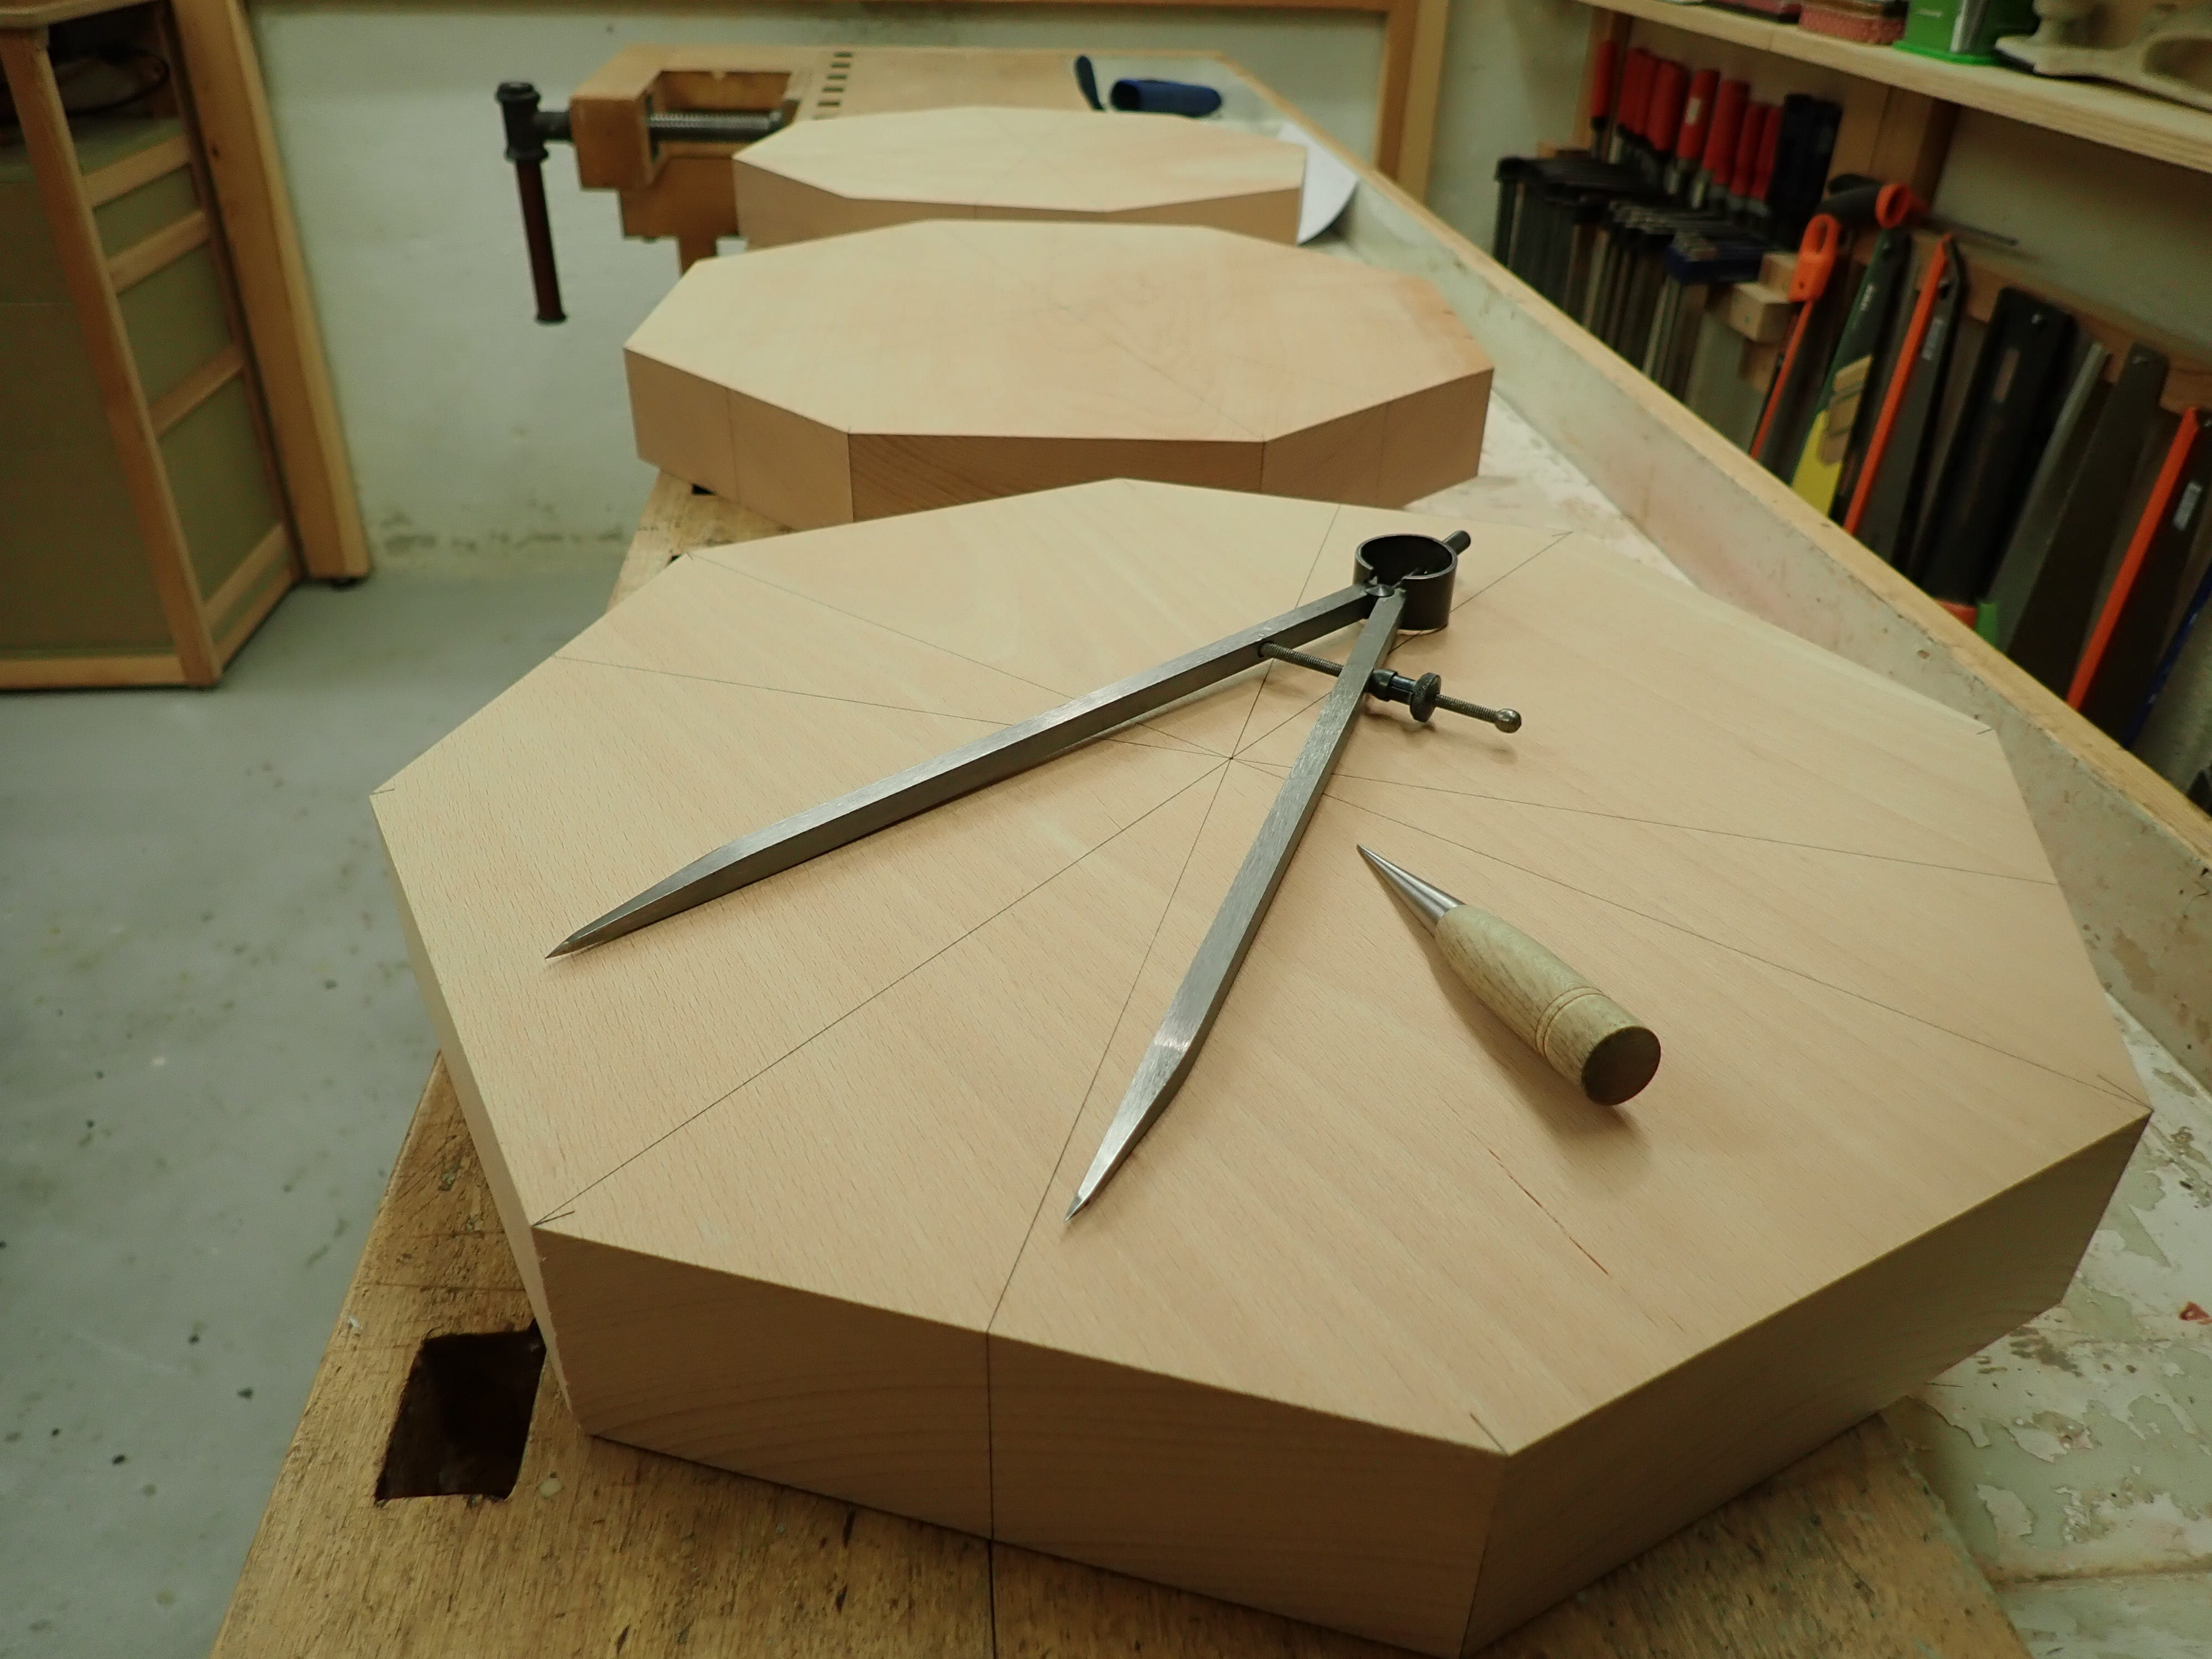
You can span an octagon from side to side, or from corner to corner. On which line should I place the legs?
I chose to place them ‘in the corners’ — mostly just to see how it would turn out … perhaps it will look a bit more ‘dynamic’ / less slab-sided?
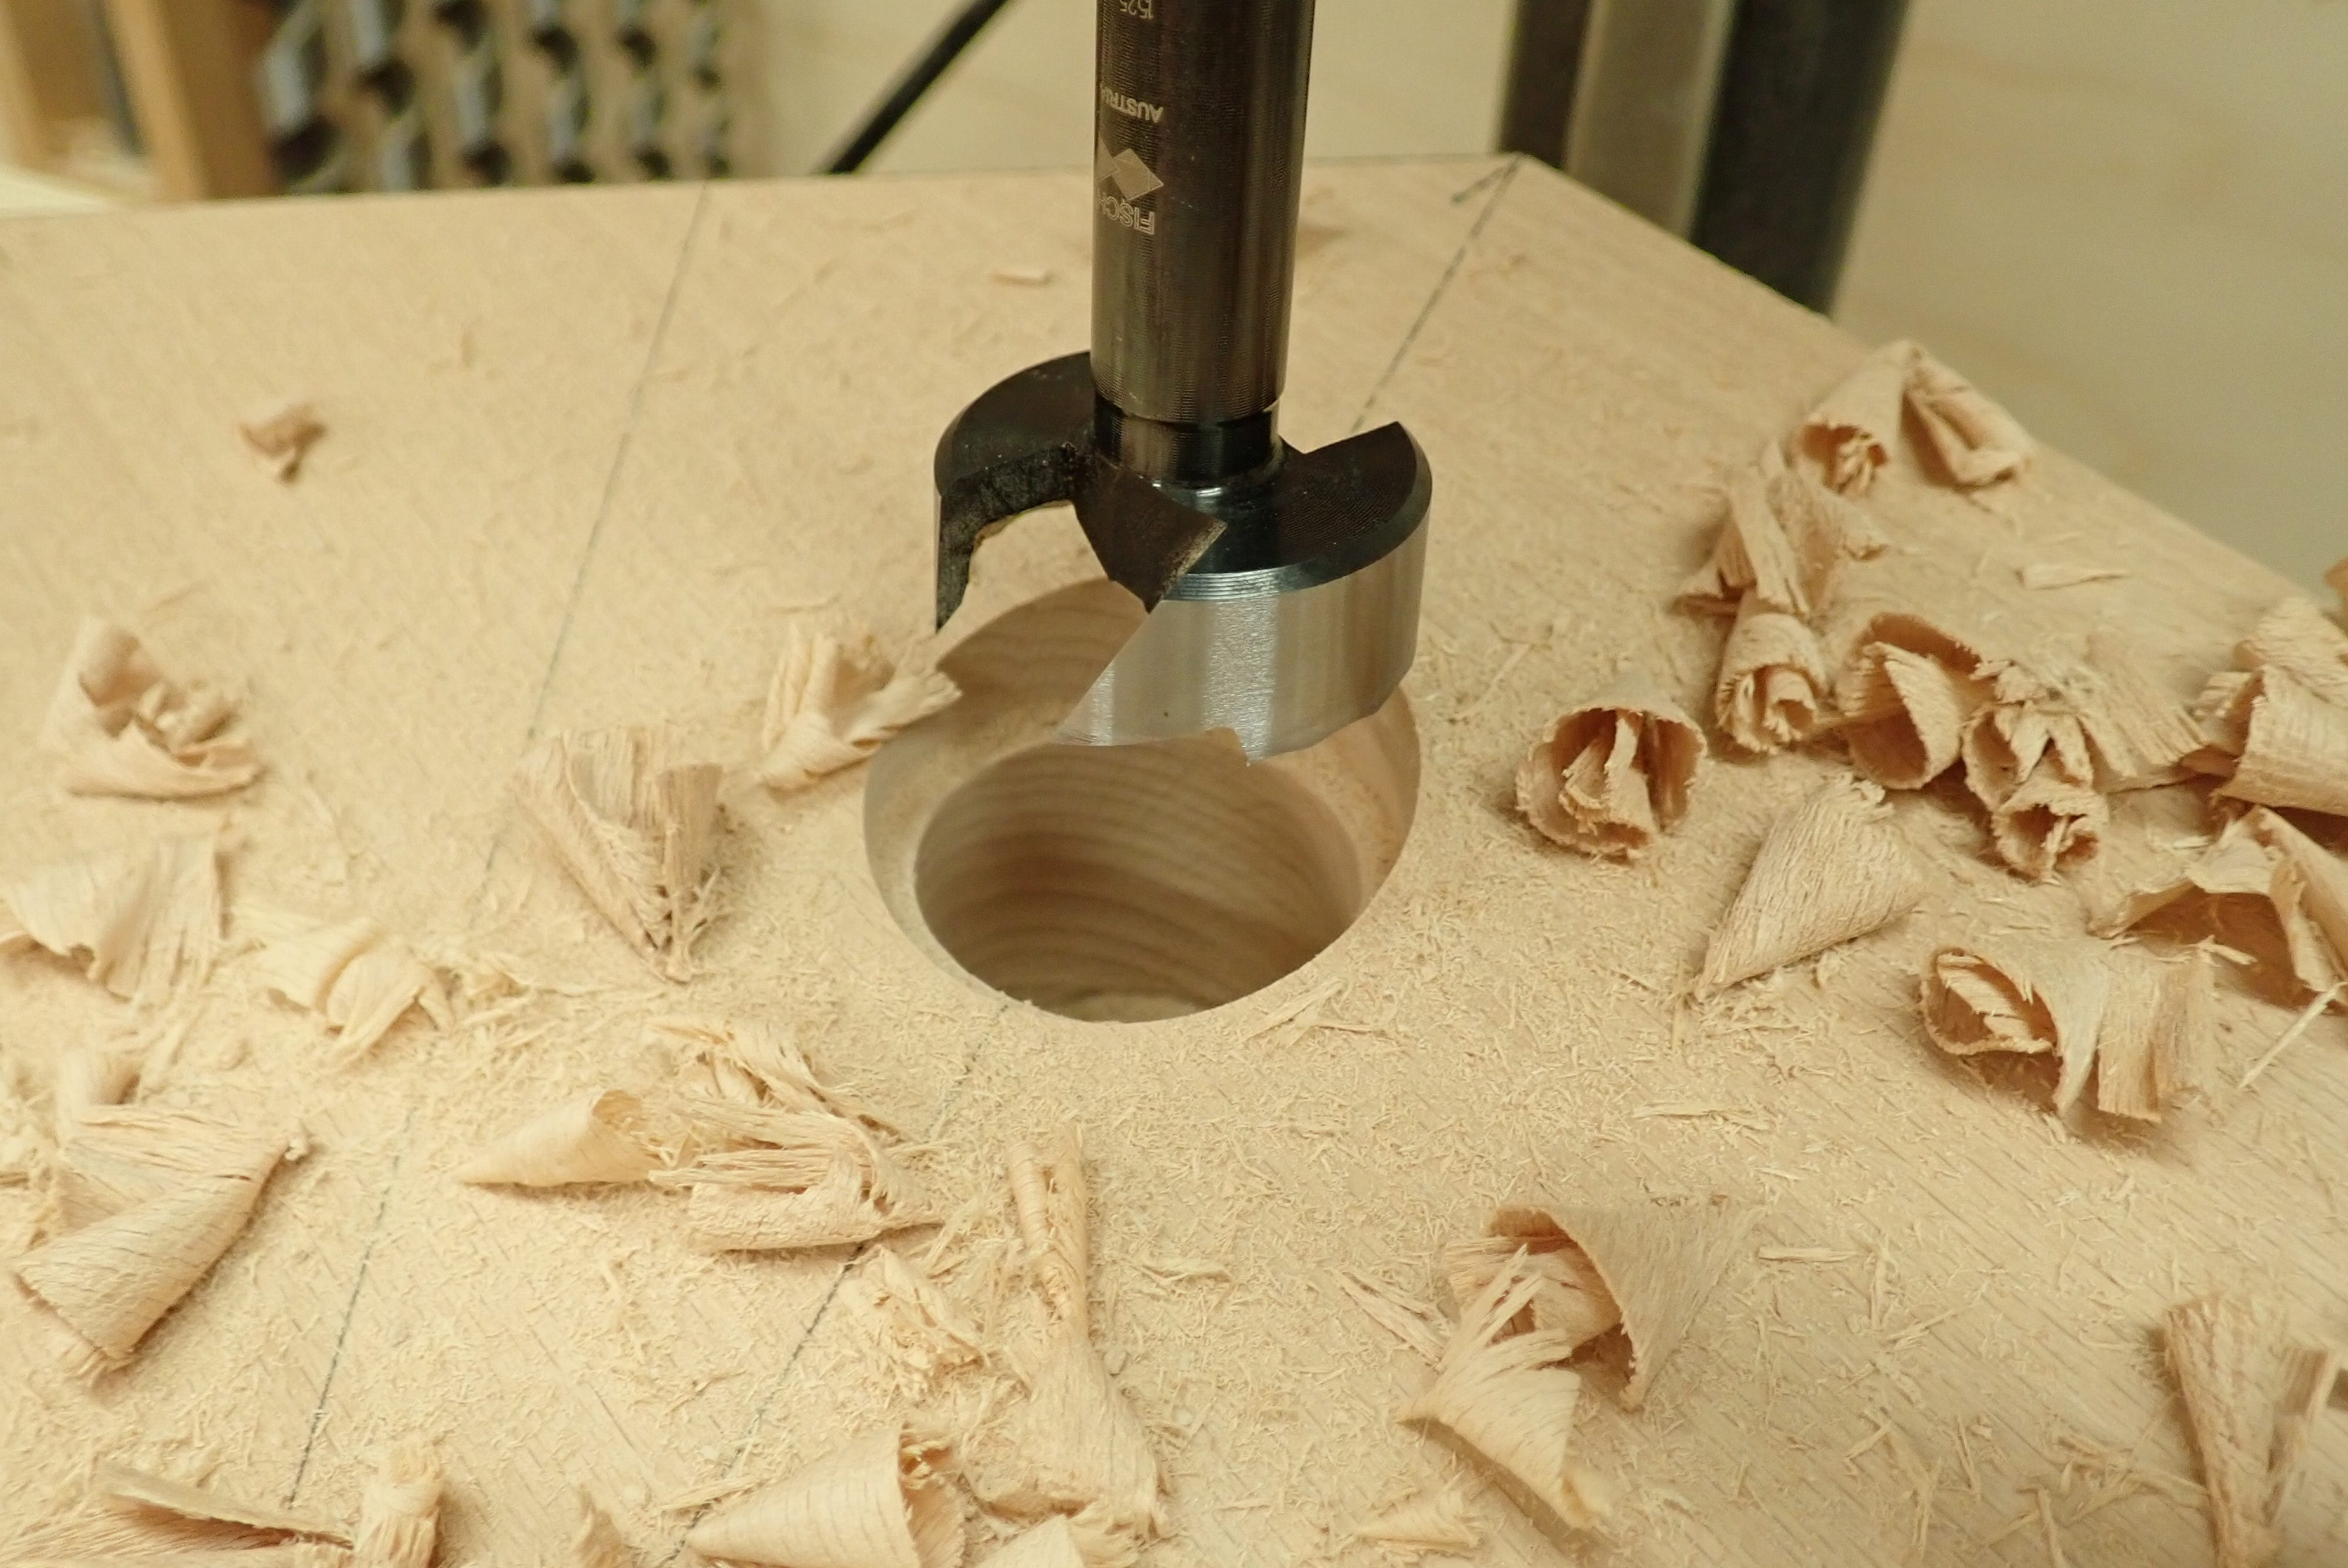
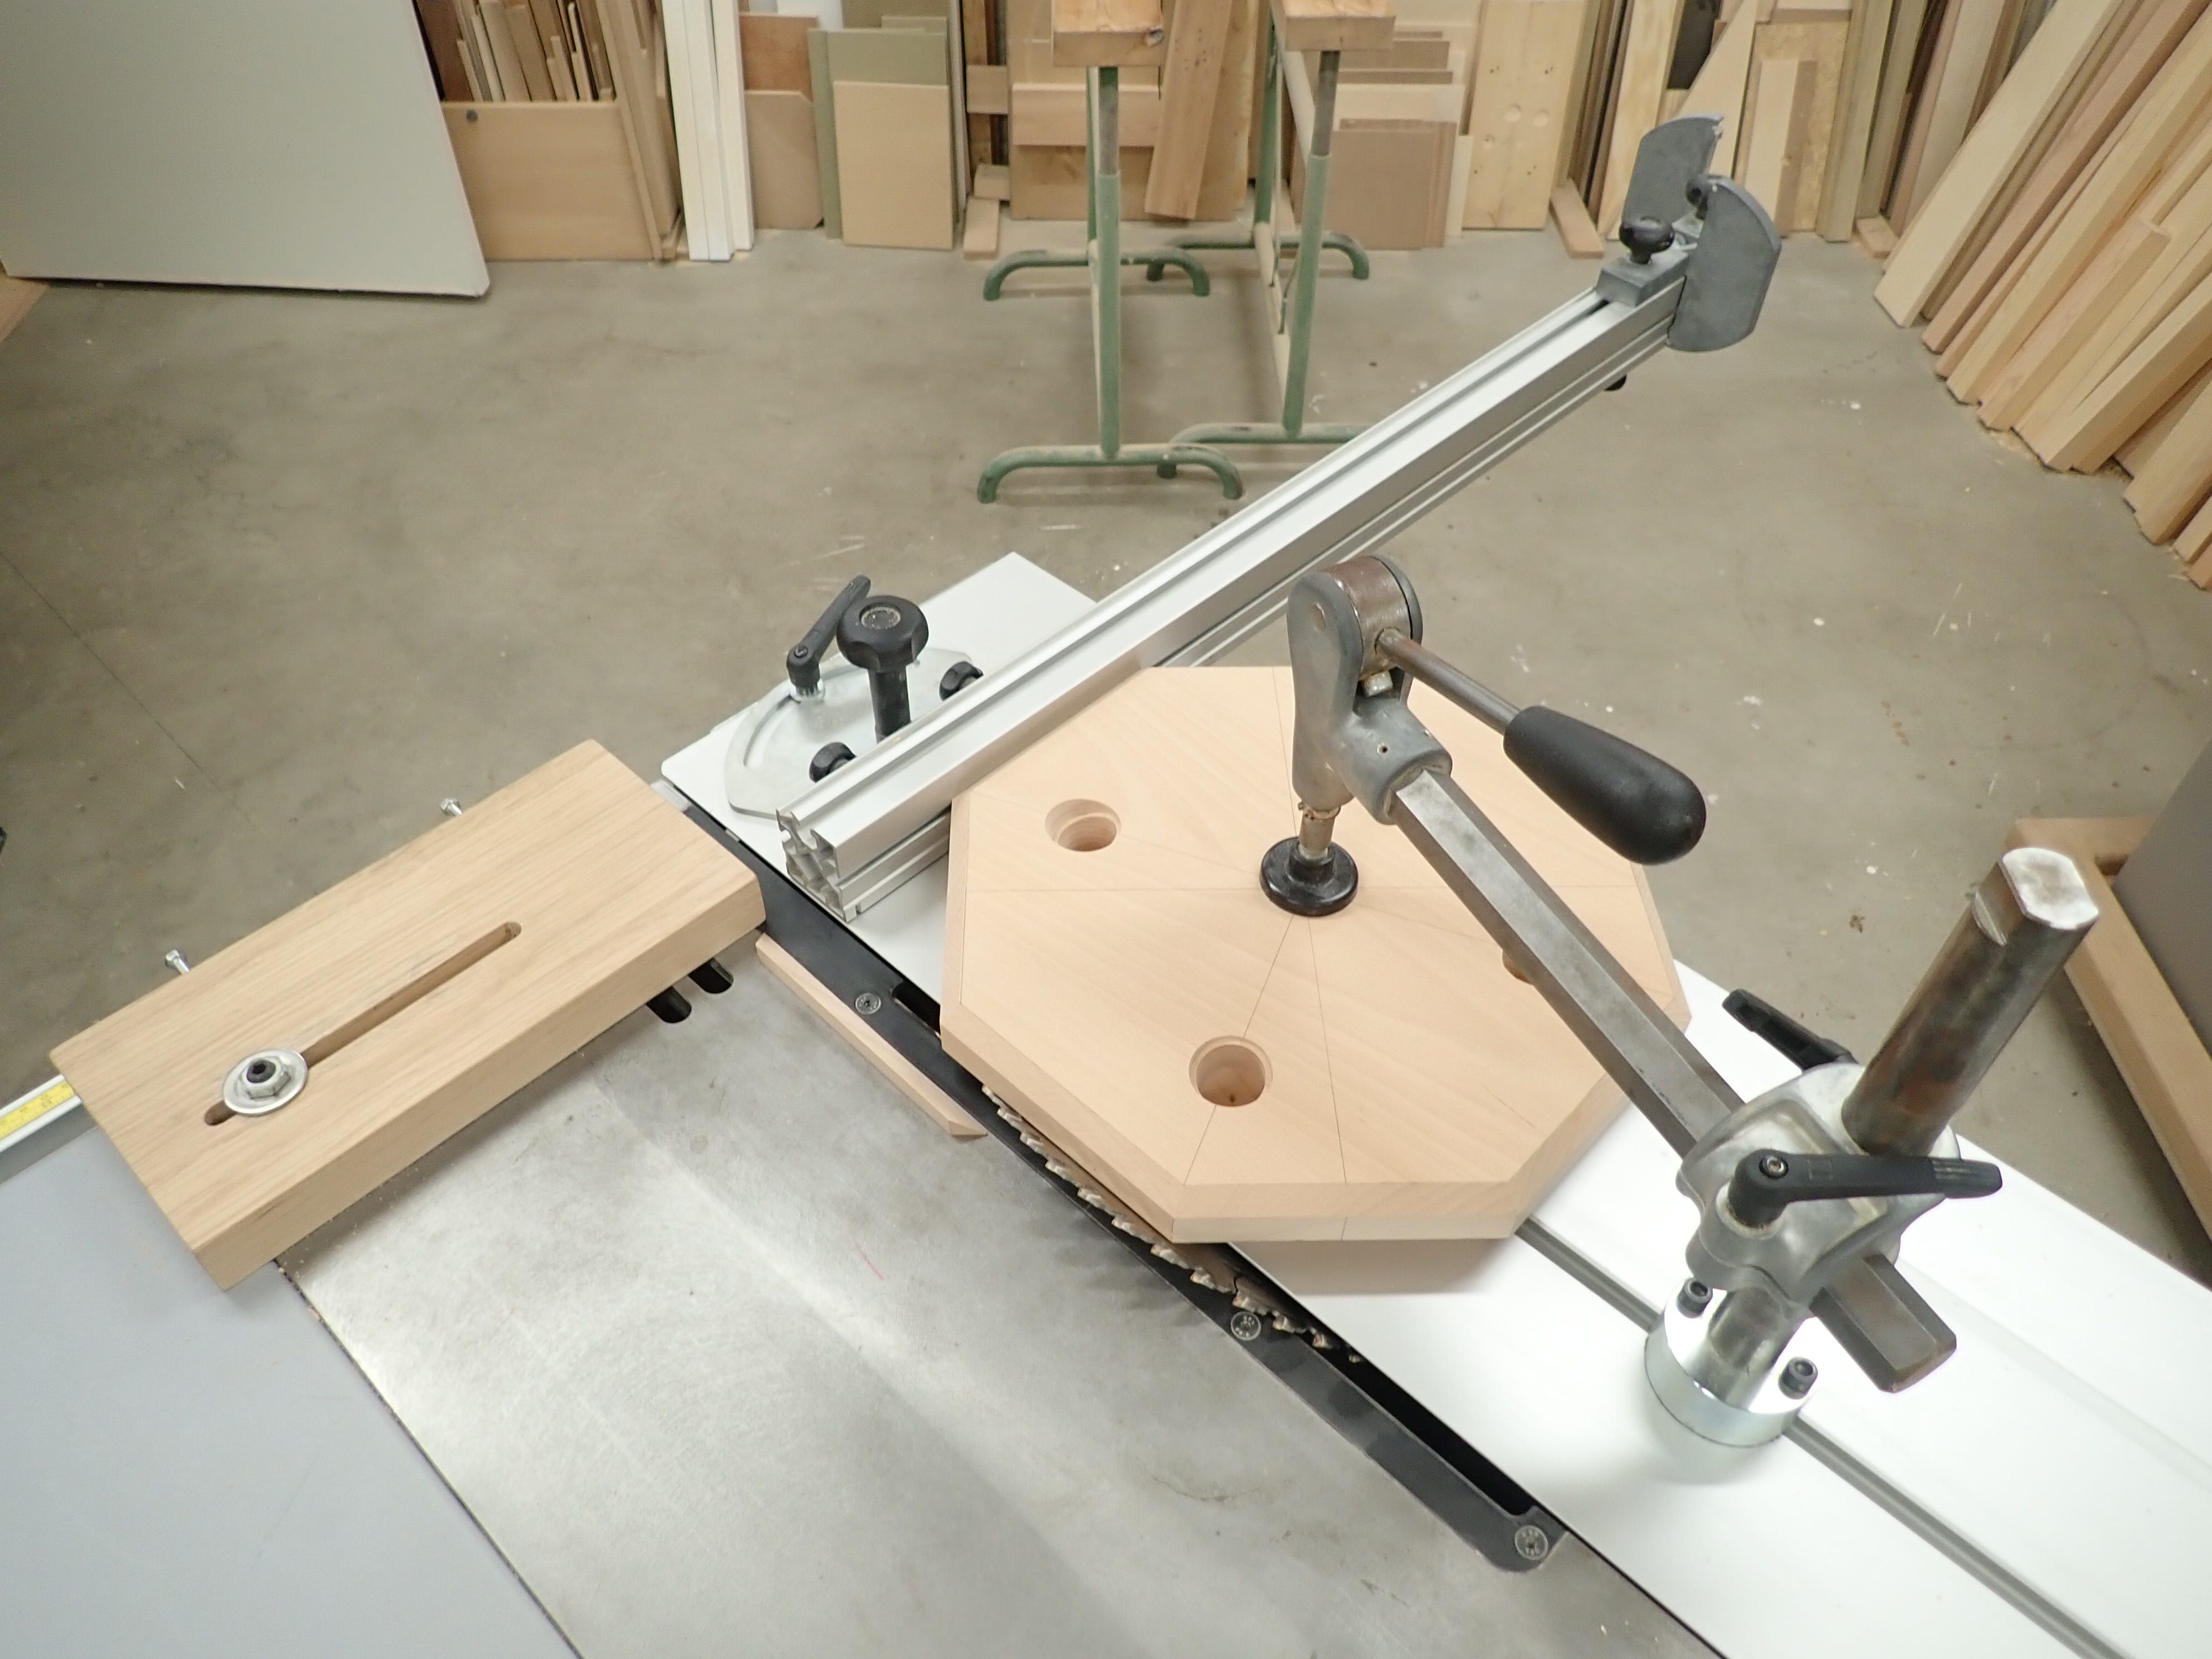
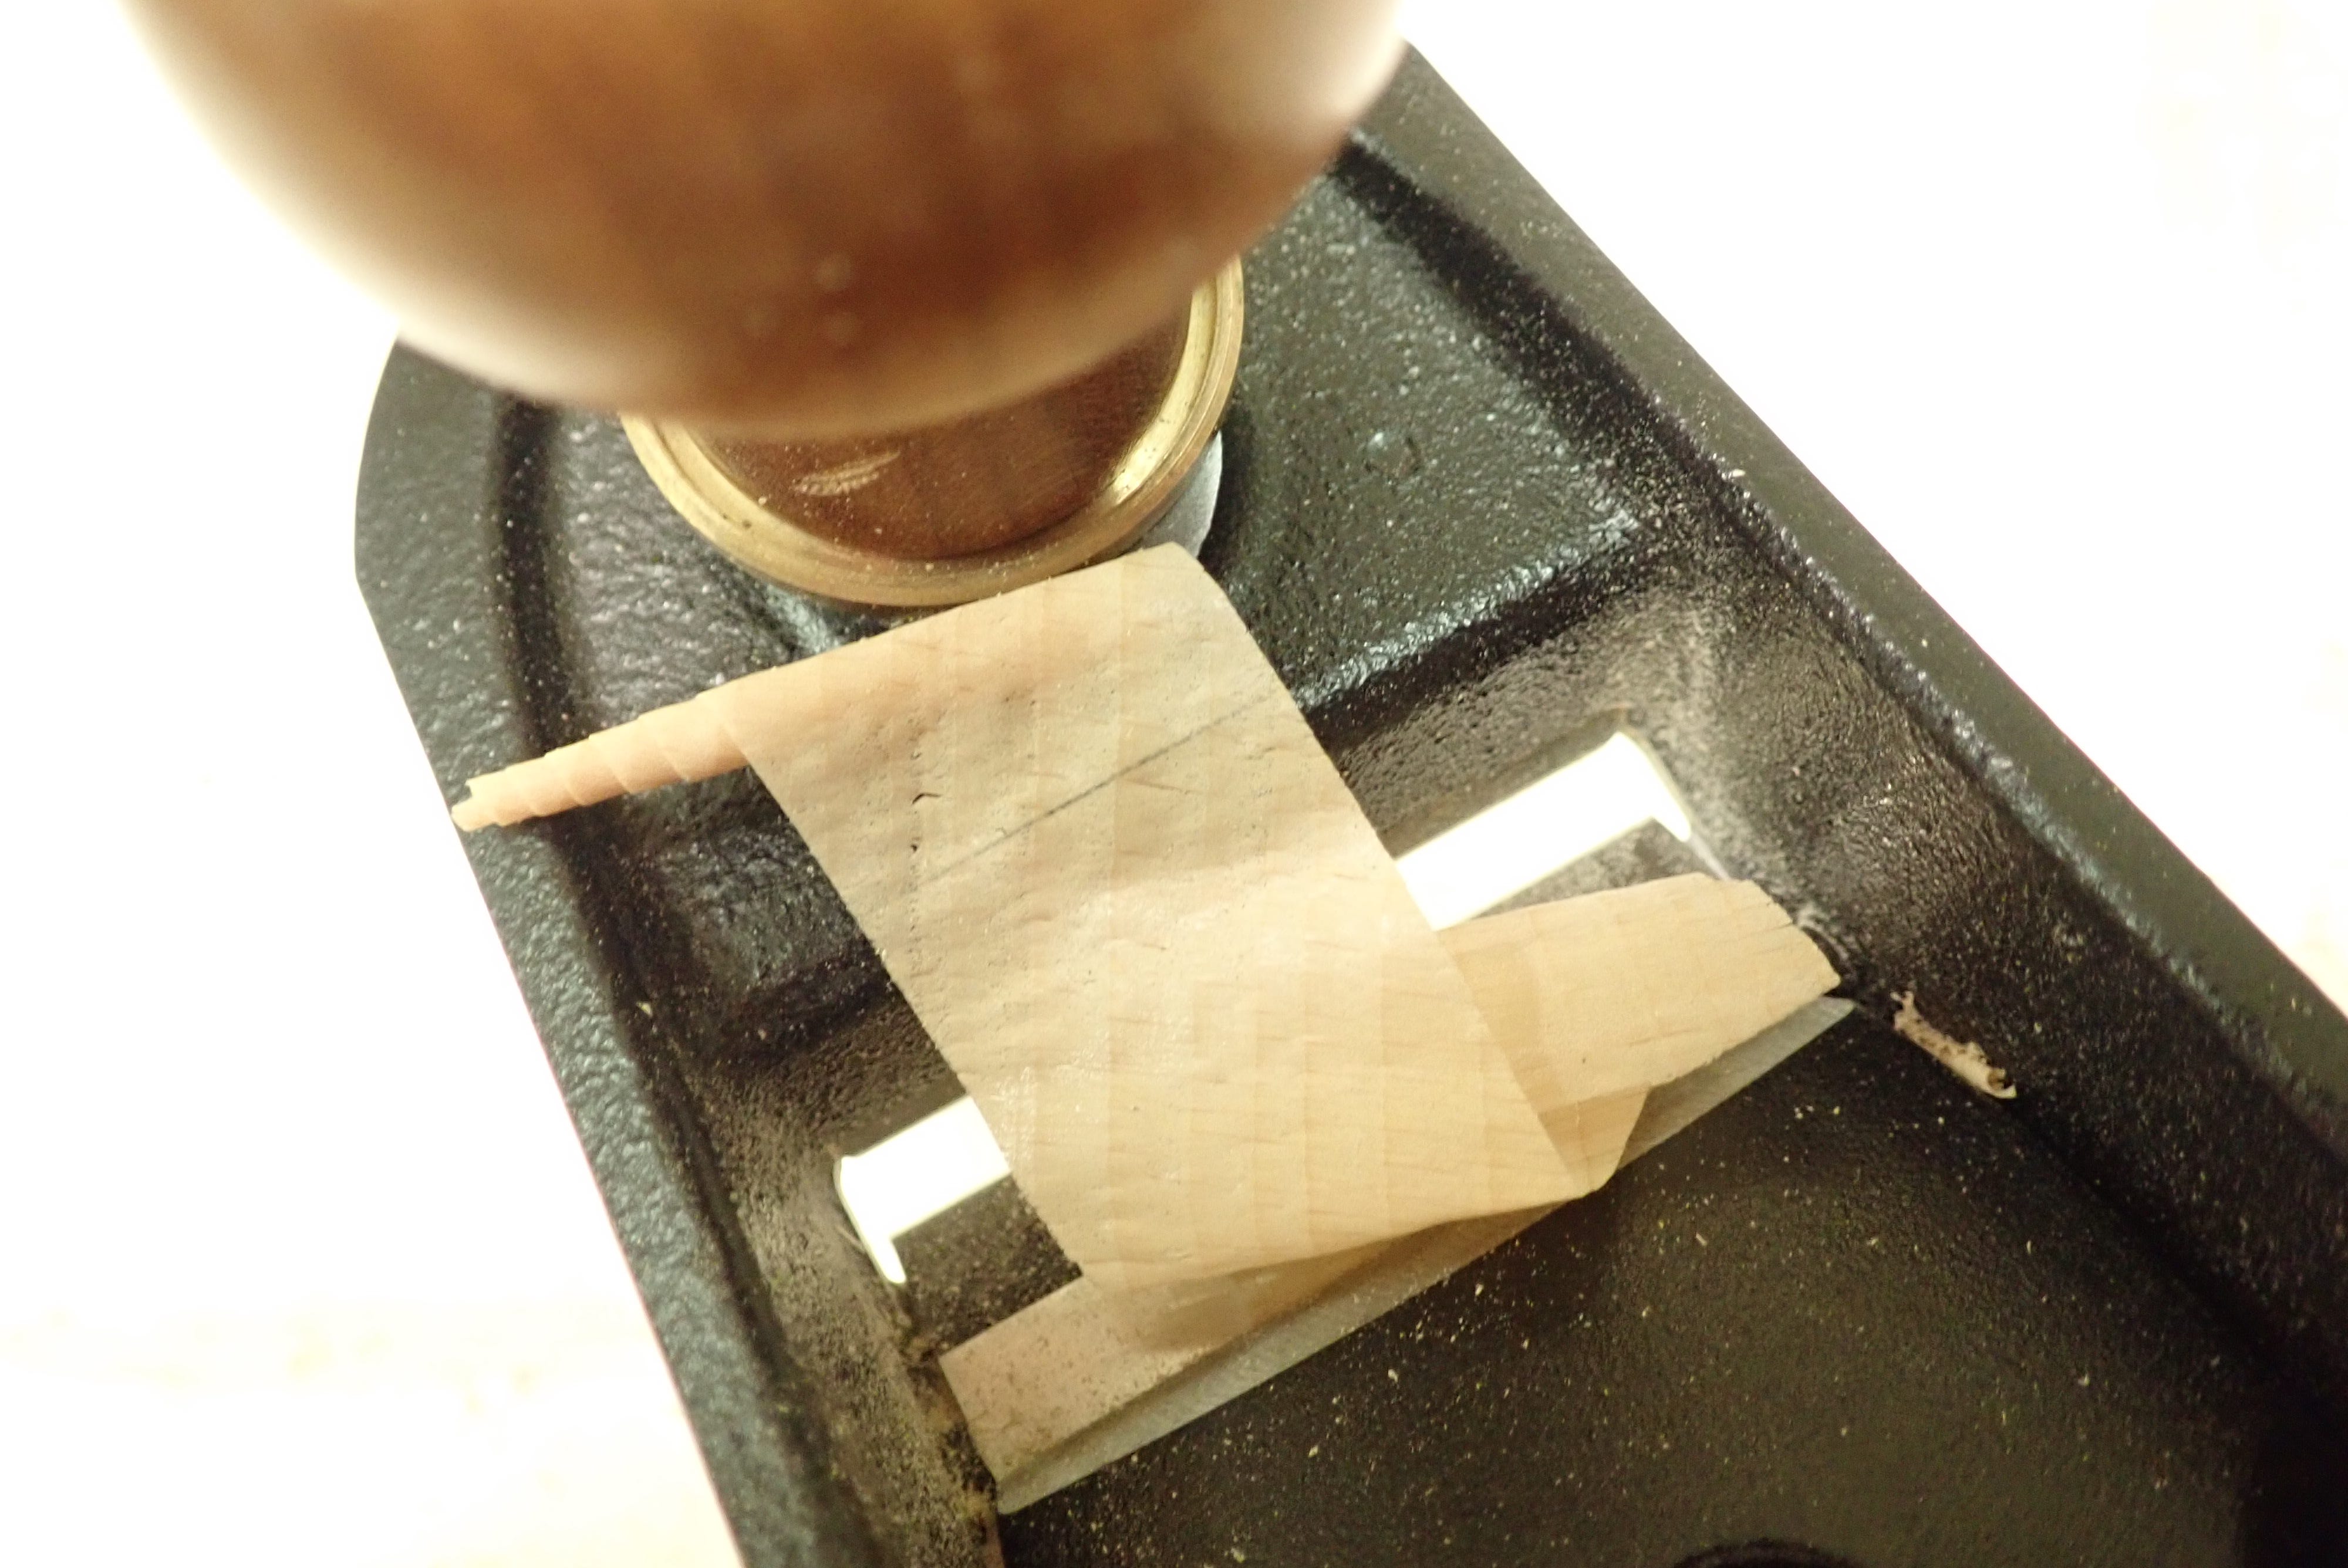
I used my tilting table contraption for drilling the mortises — as usual.
Rake & splay — both 11°.
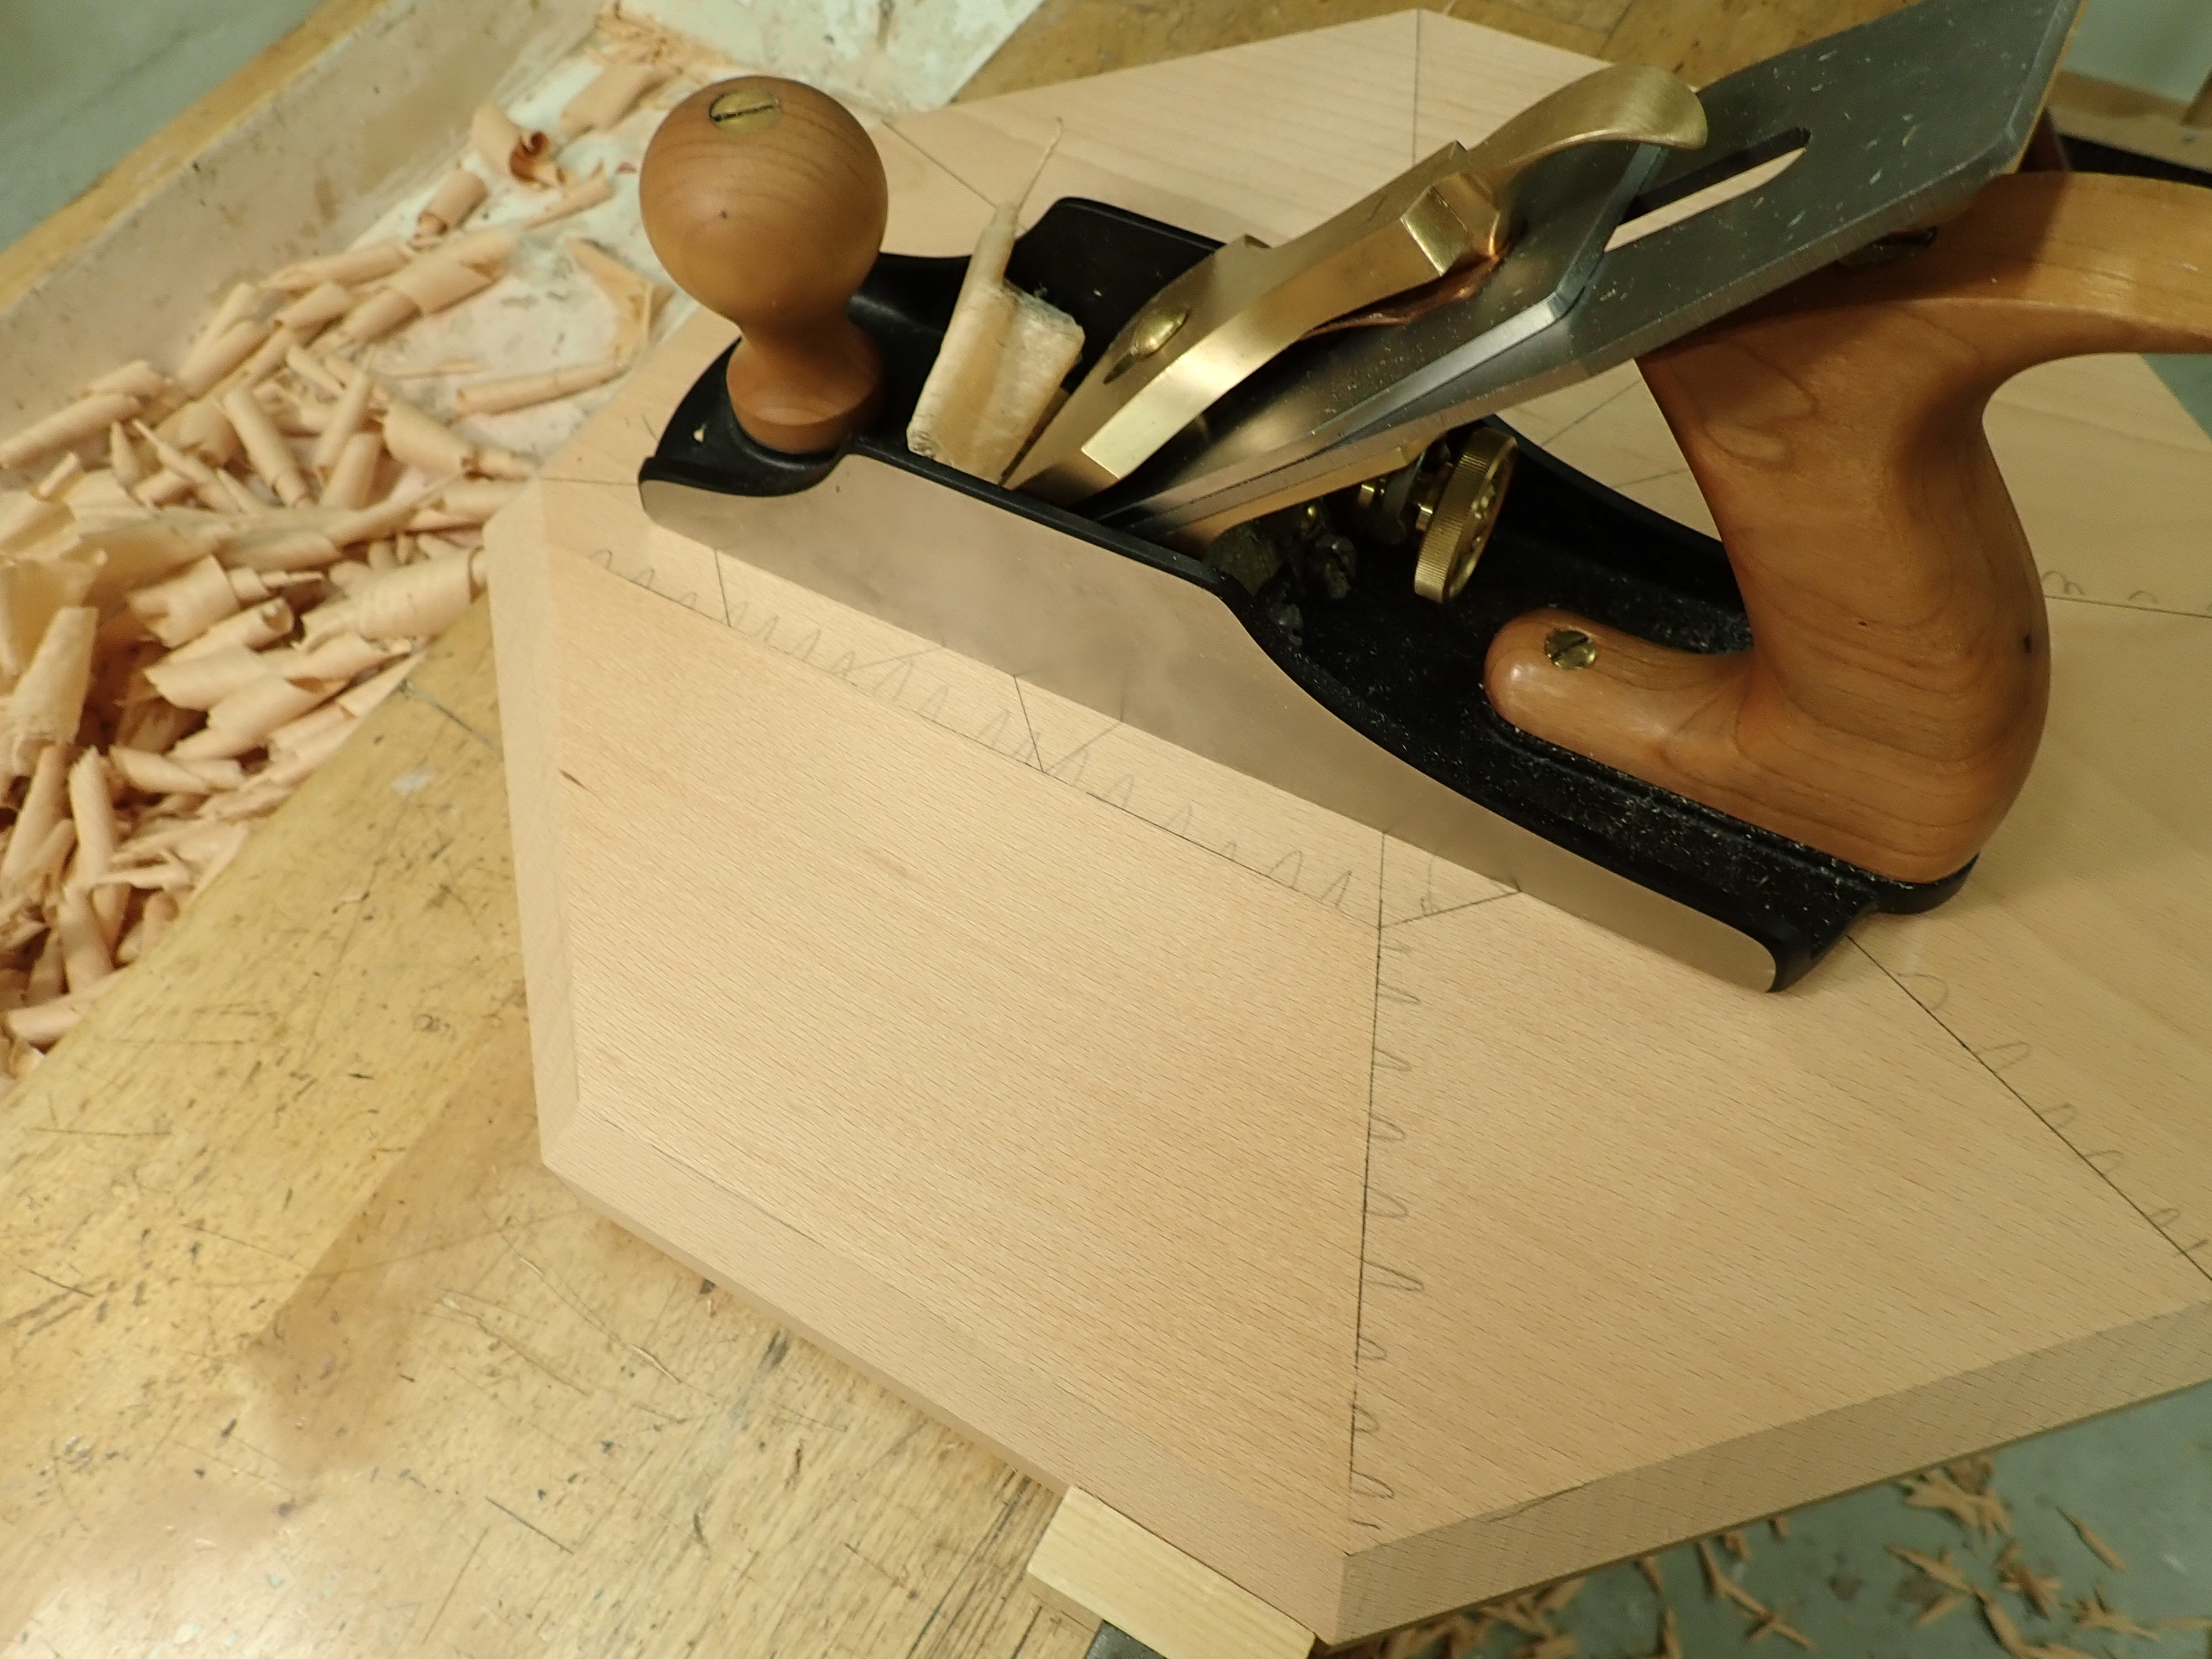
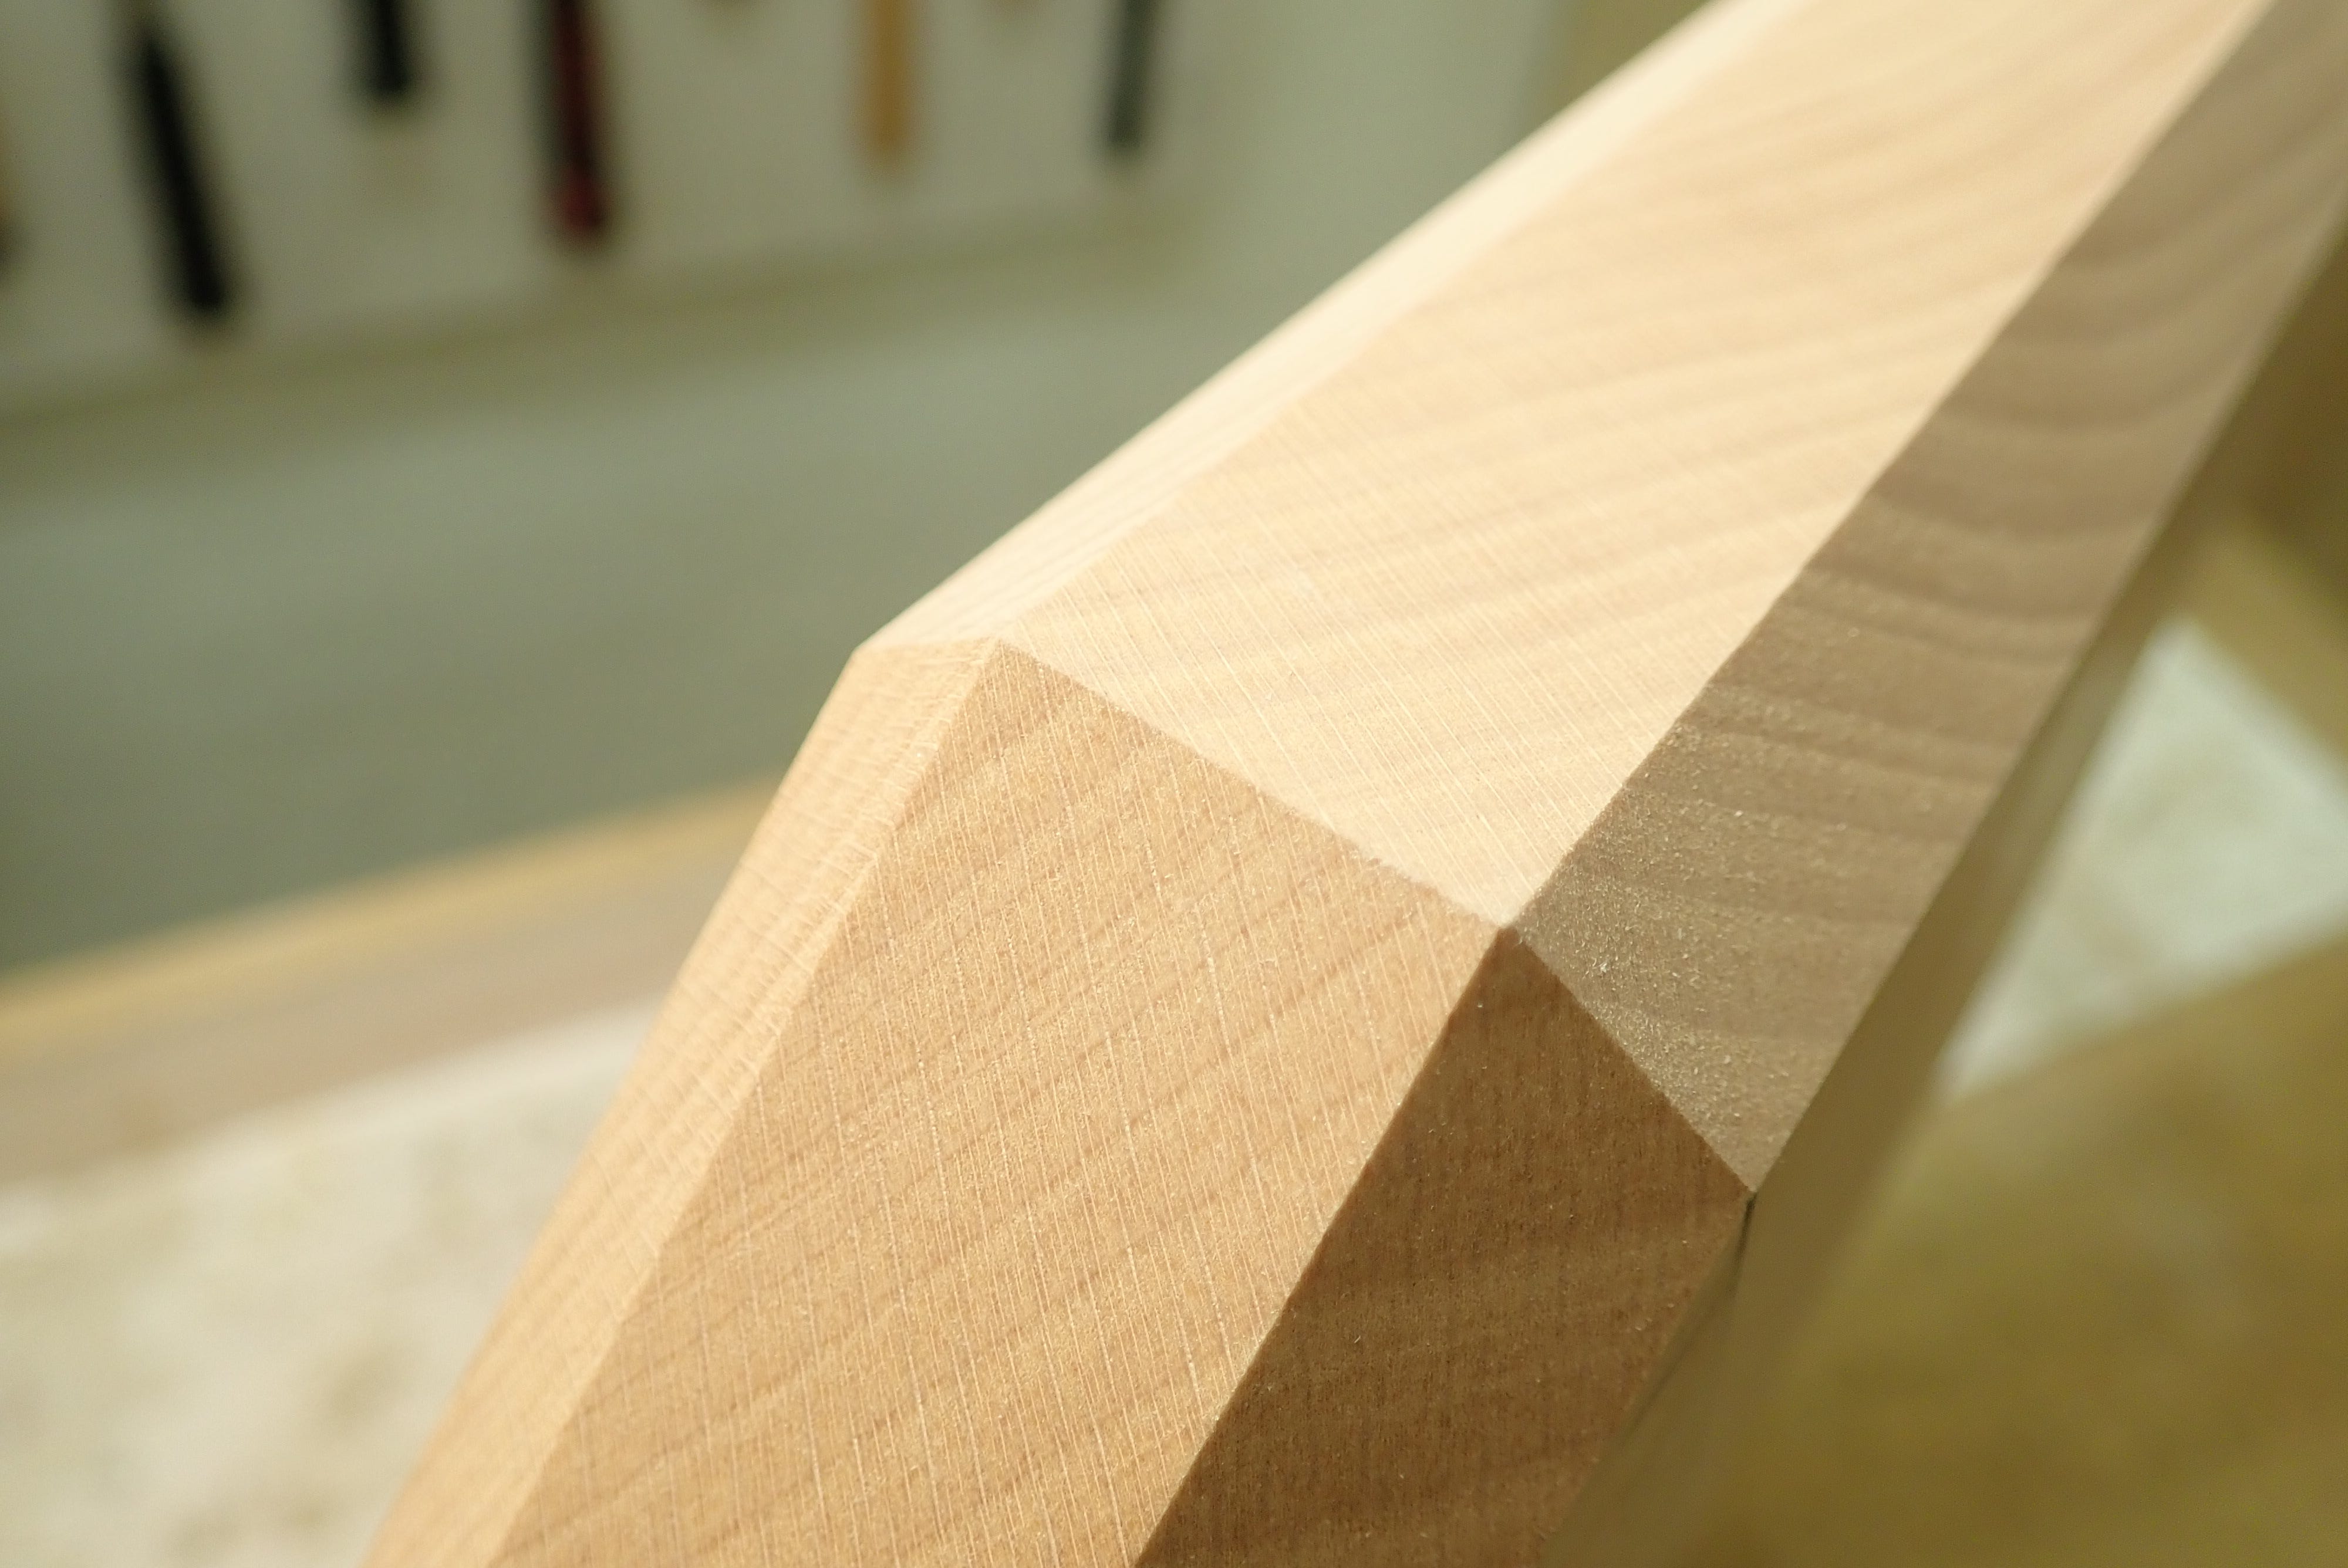
Beech is a bloody hard wood, so I didn’t fancy doing any scorpin’ to saddle the seats. Besides, I think that a hollow would be out of place on such a small, ‘uni-directional’ seat, but I still wanted to do some sort of fancification, so I laid out a spider’s web with the idea of planing facets on the surface.

I started by cutting the 45° edge-chamfers on my table saw ...
… before going to work on the facets. I’ve described this kind of operation in greater detail previously, so I won’t bother talking you through the process …
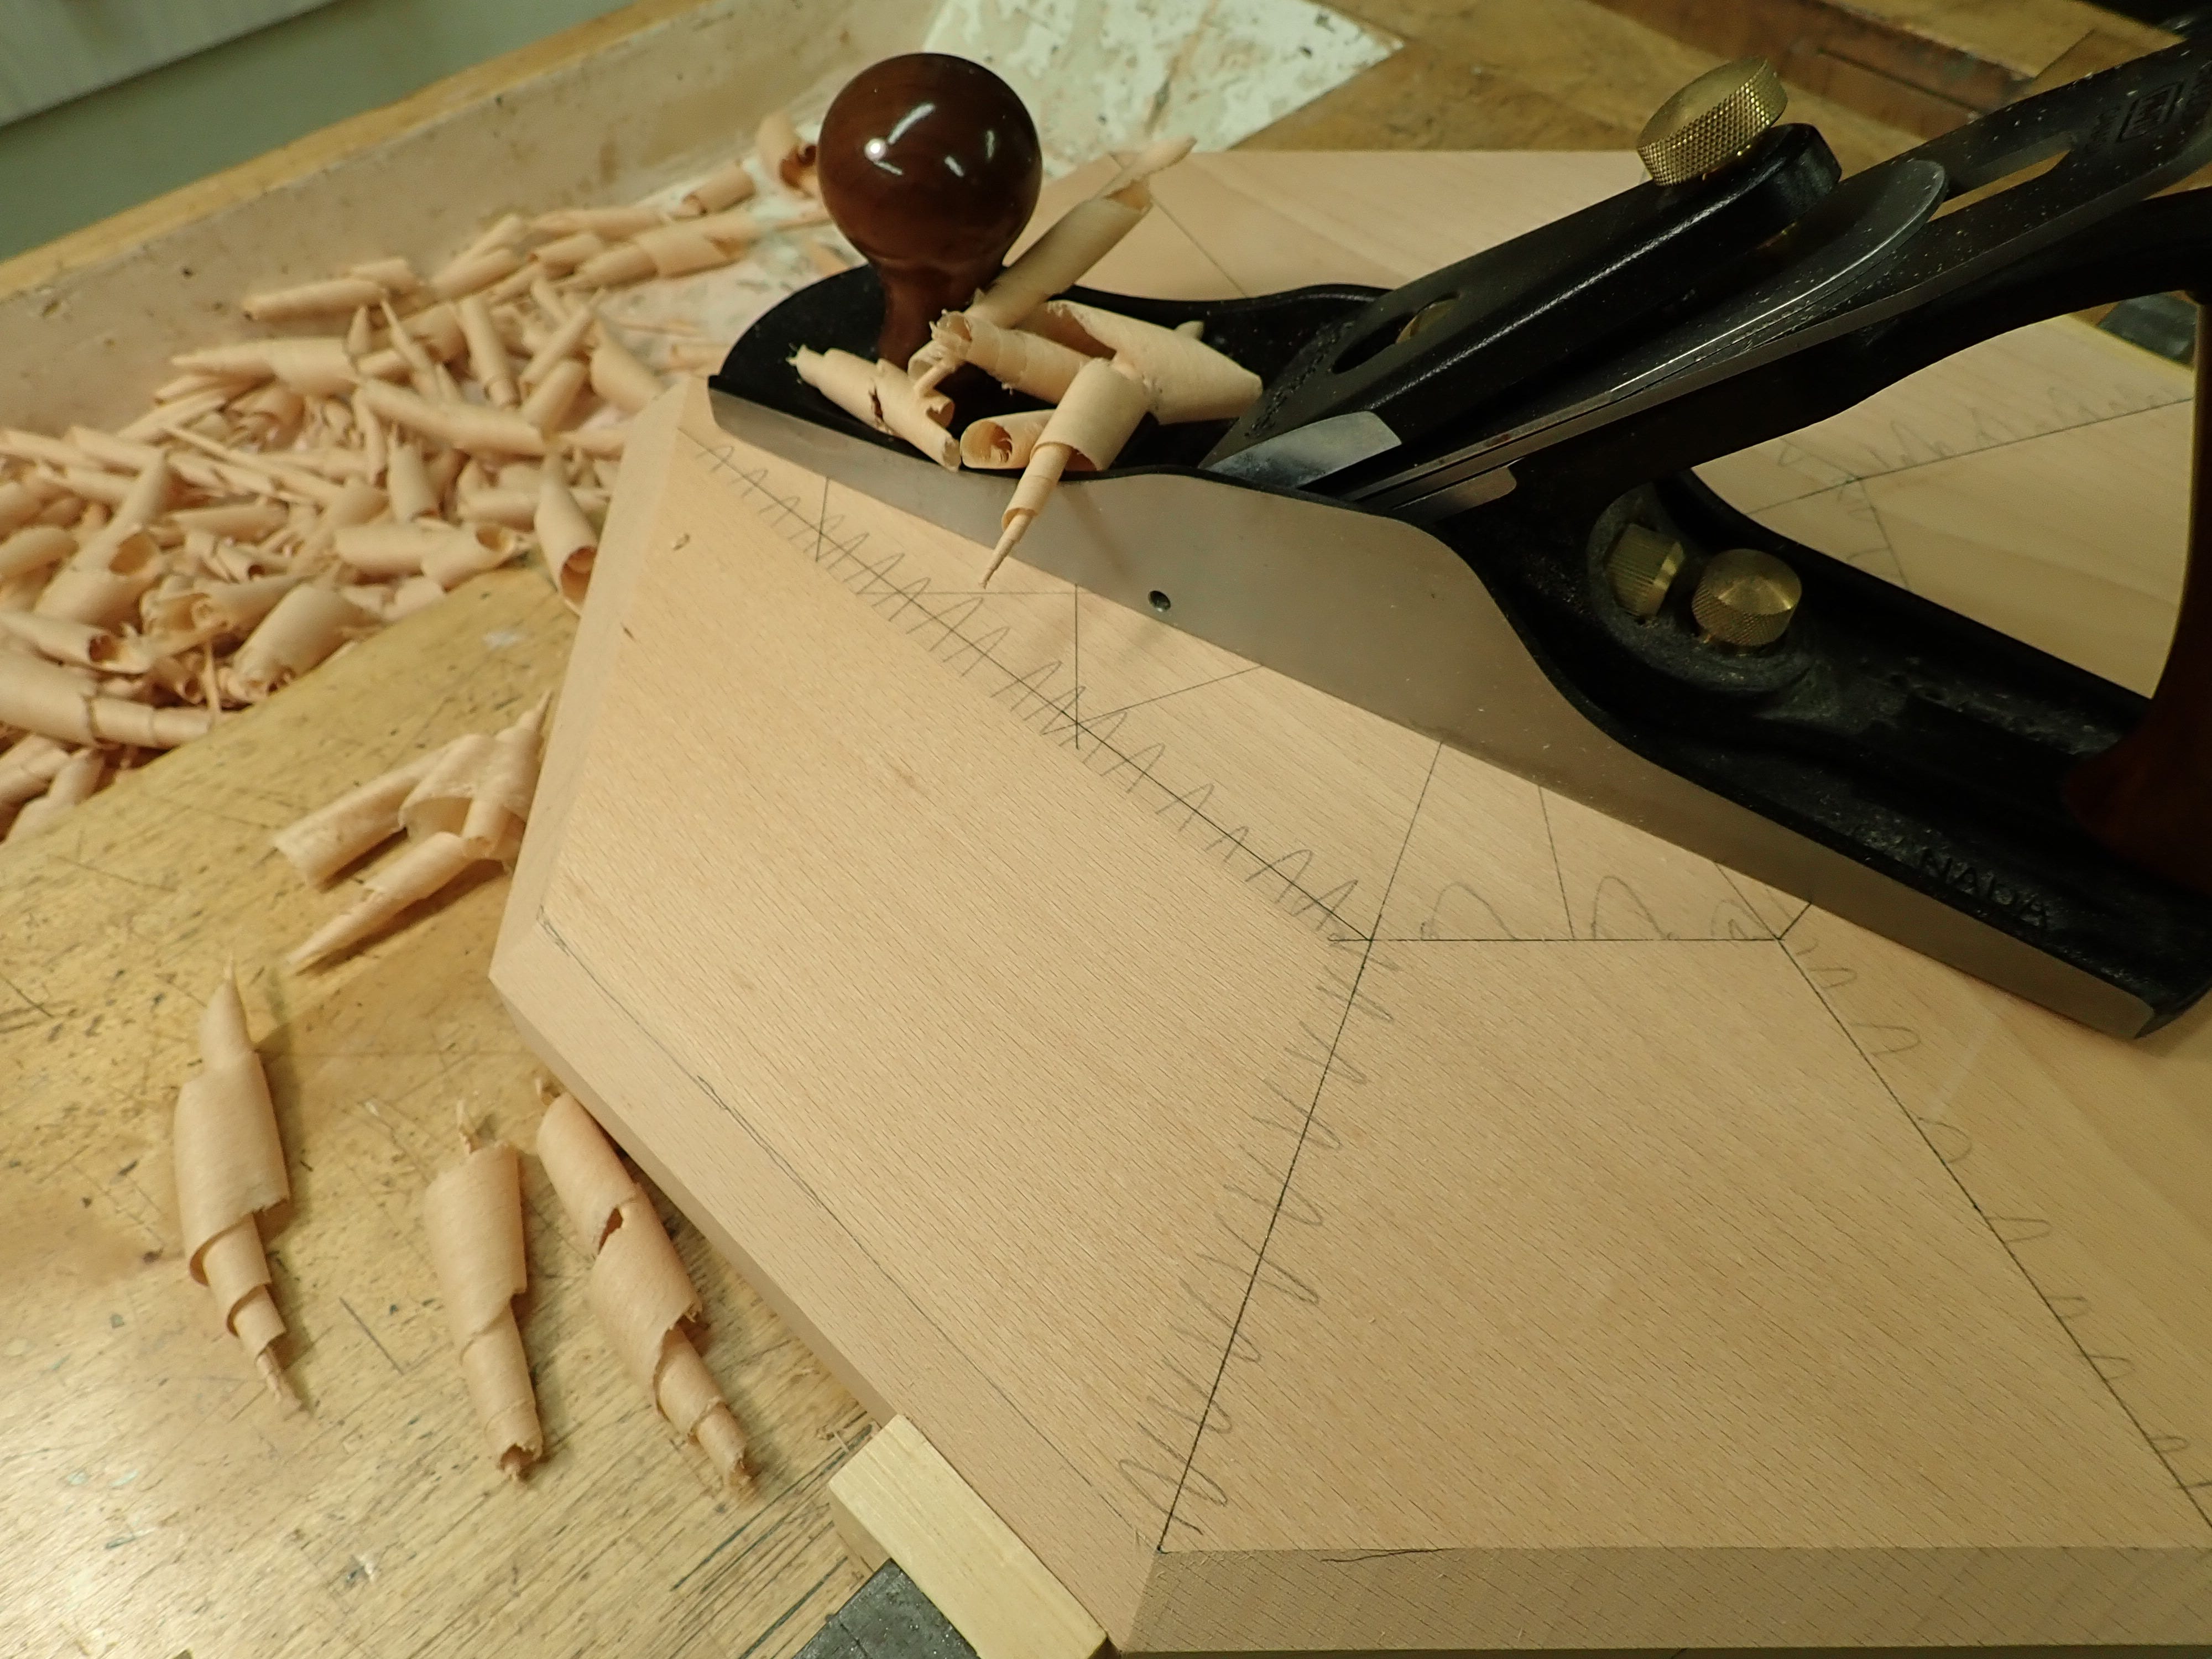
… but rather trust that the pictures …
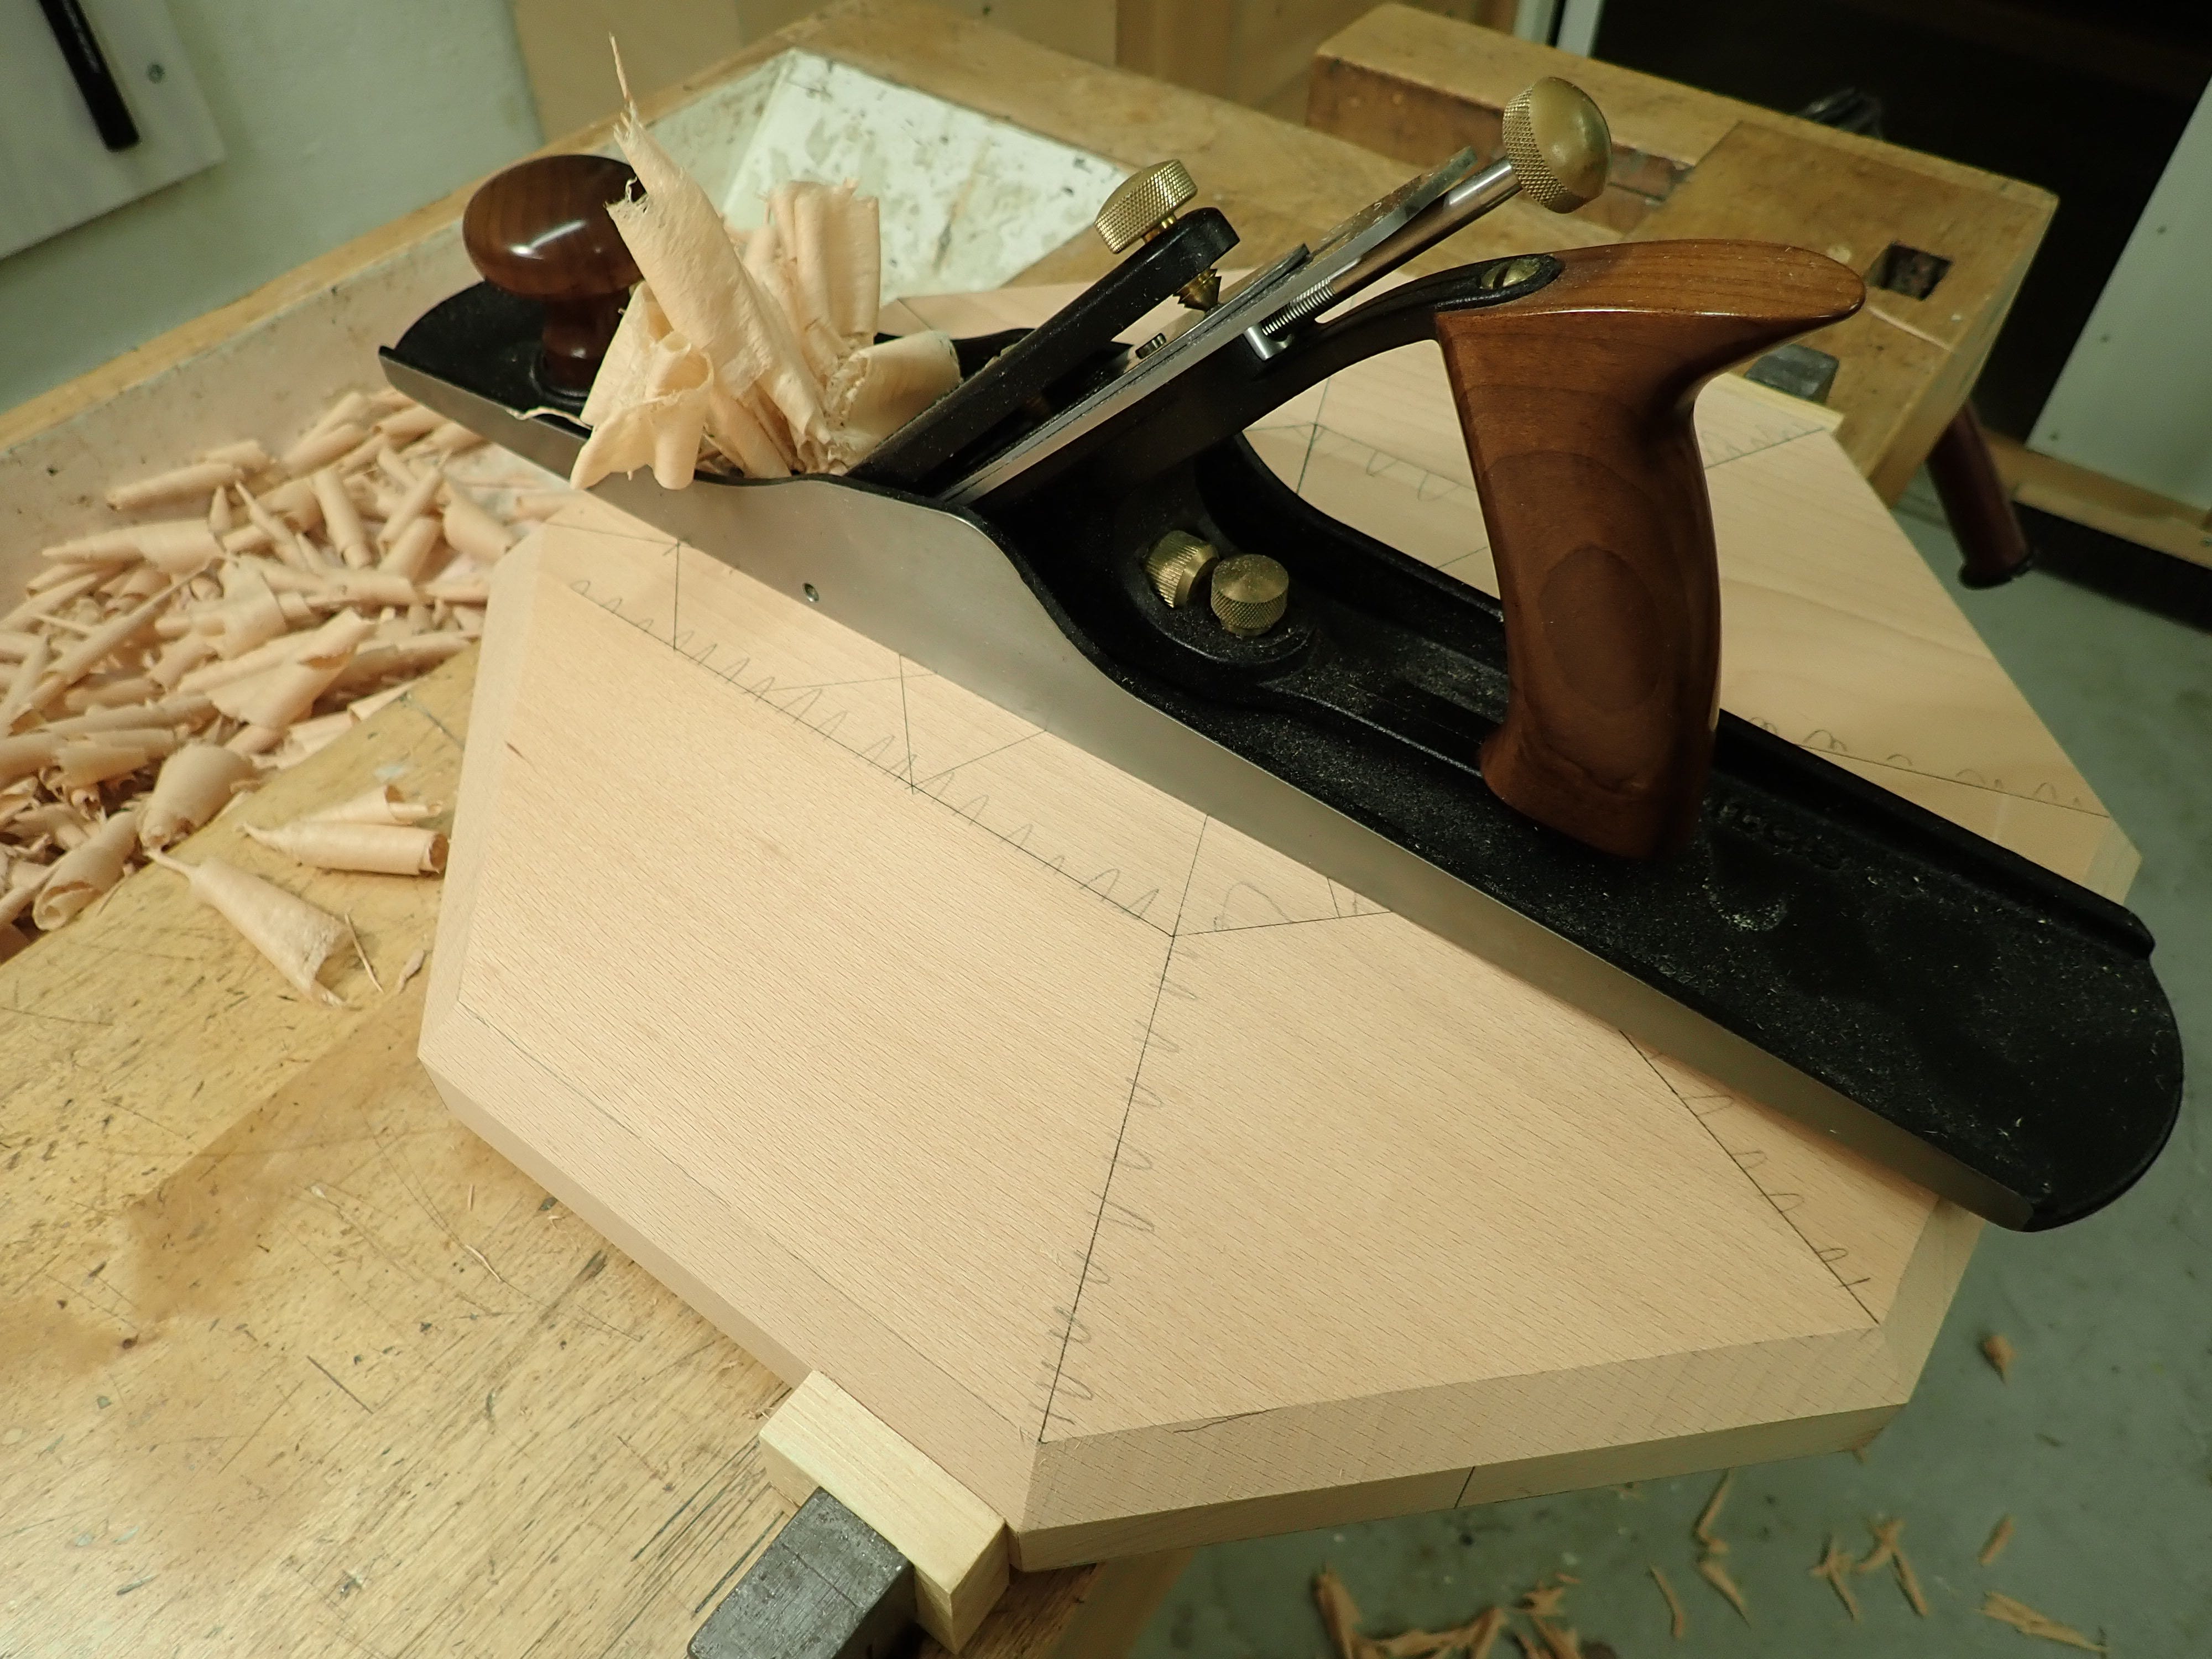
… speak for themselves.
Et voilà!
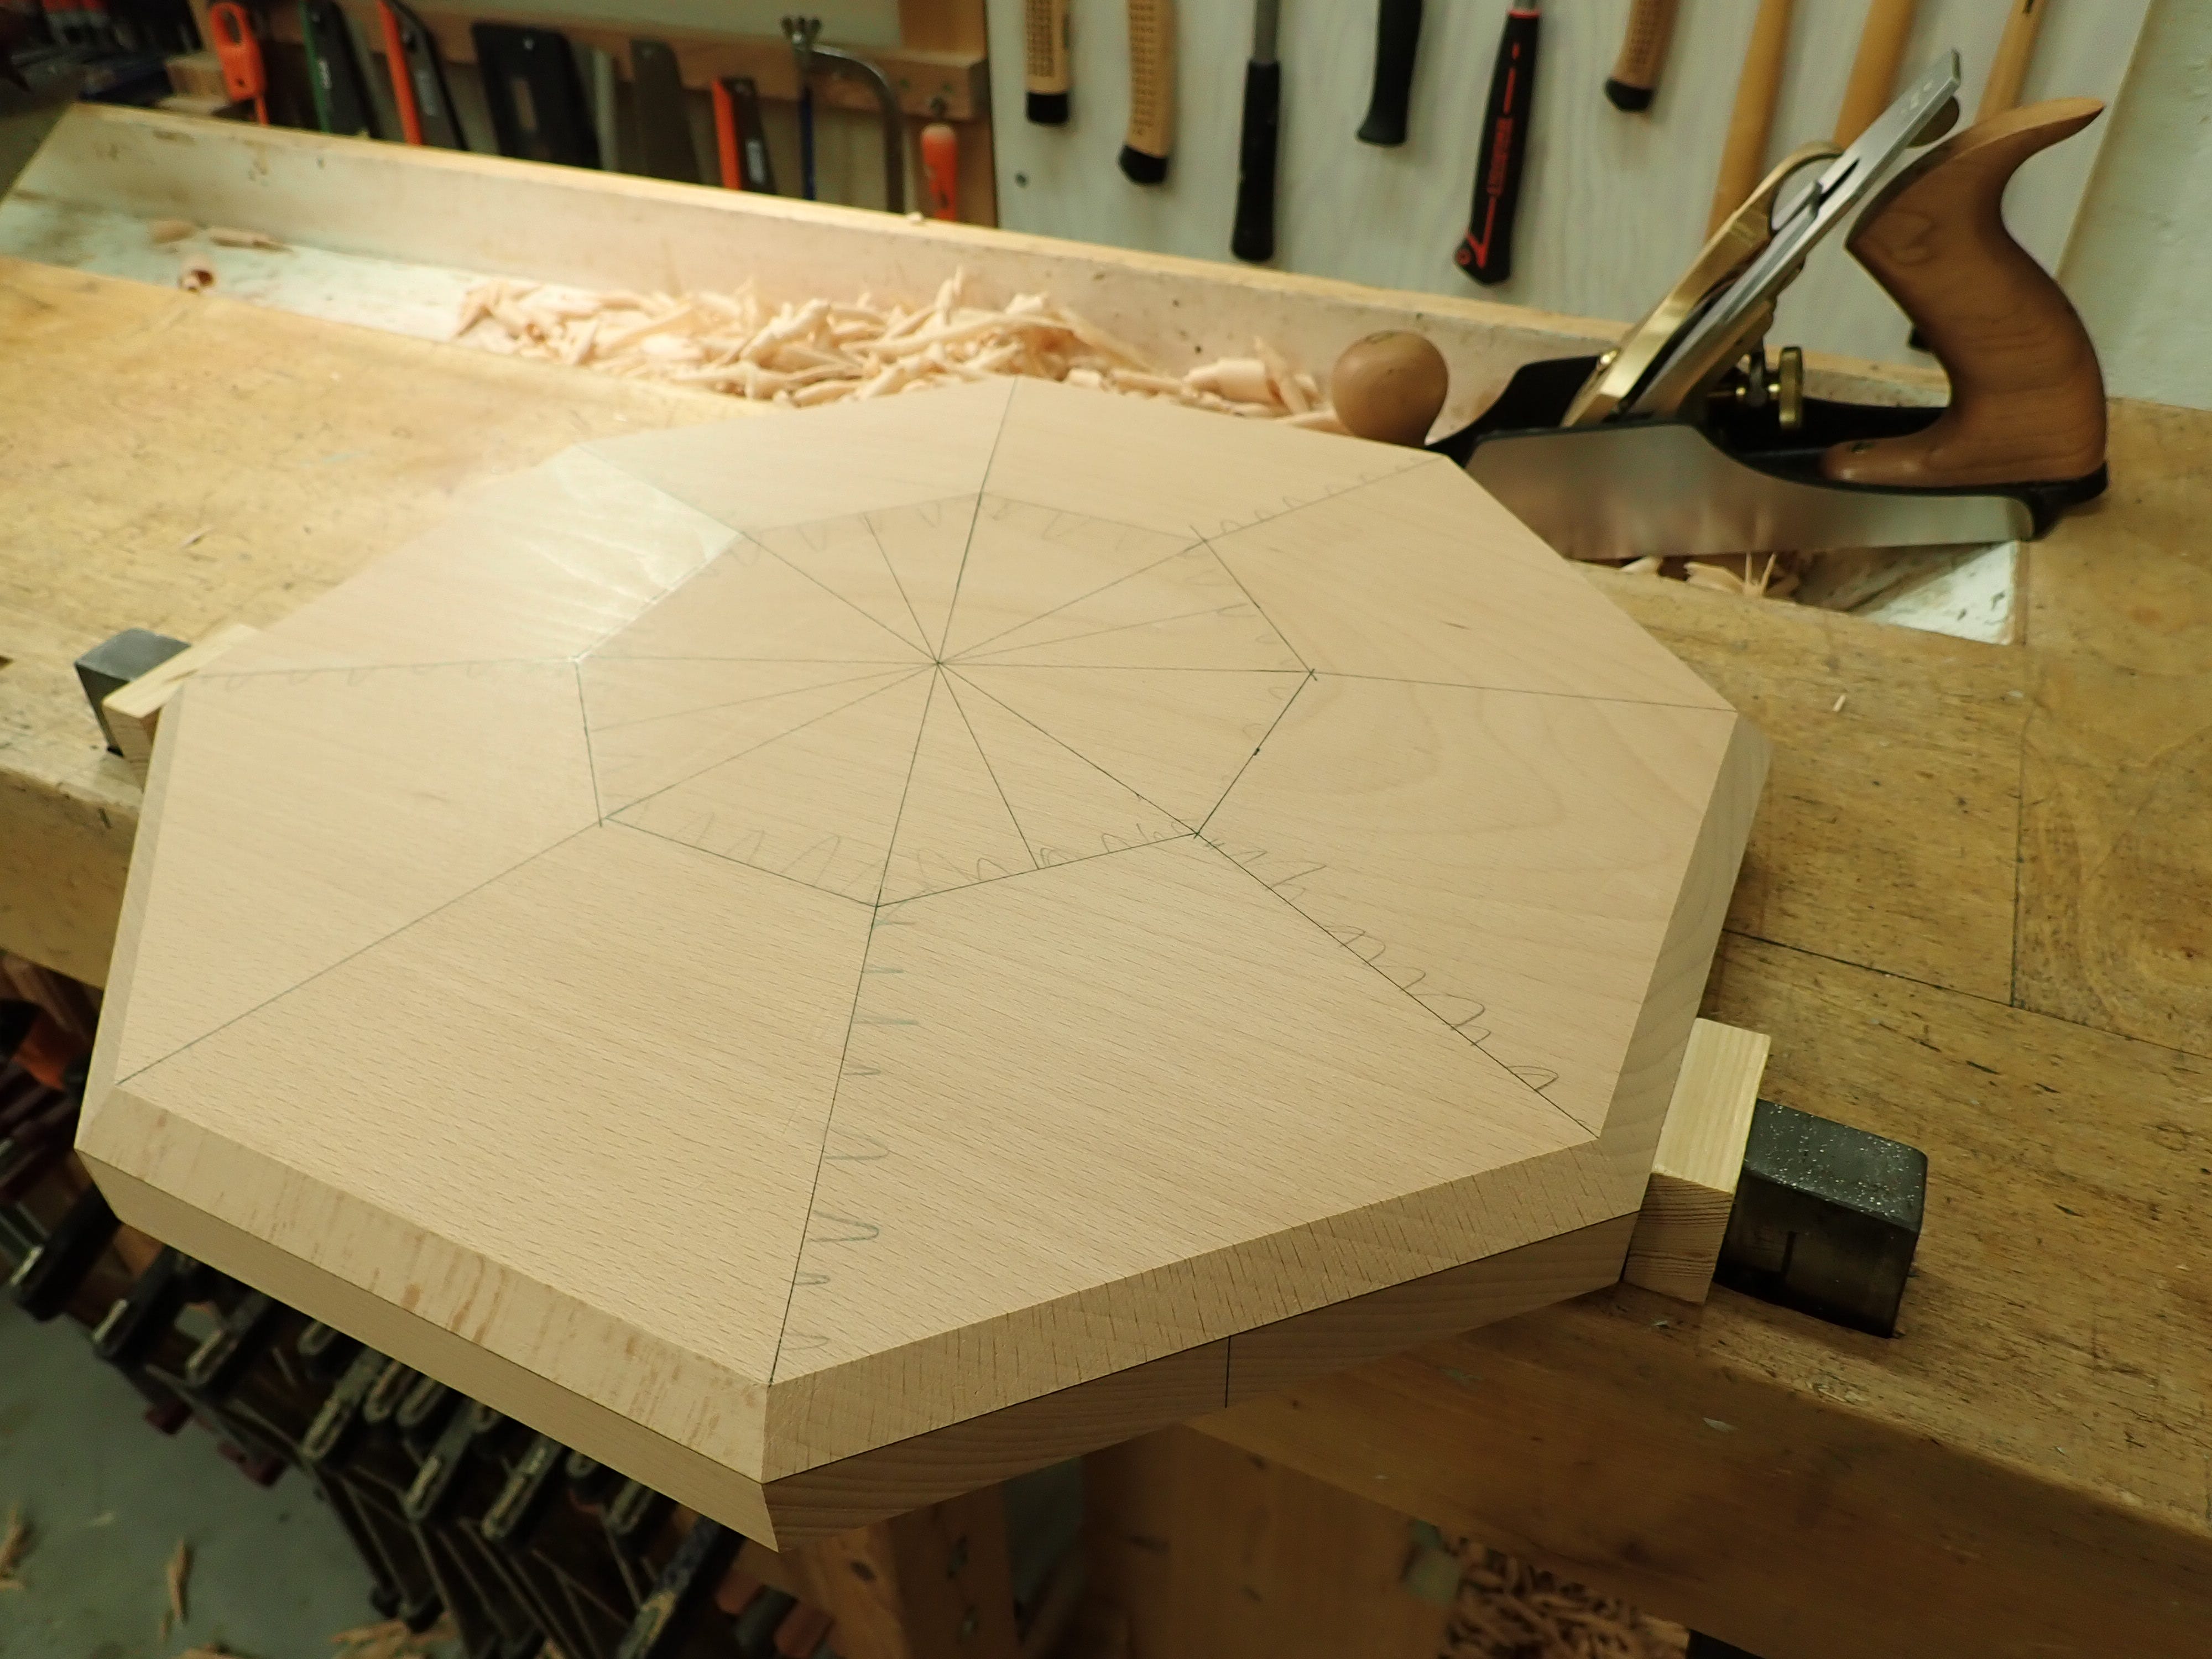
As you can see, I ditched one row of facets — it was too much, and the exceedingly small difference in angle between the two surfaces made them indistinct.
Then, I cleaned up the sawn surfaces on the edges and chamfers with a small block plane.

You don’t need a closed-up mouth on your plane when working endgrain — there are no long fibres needing to be forced upwards, only a thin, cross-cut sliver of ‘standing straws’. What you do need is a wicked sharp iron.
This leaves deliciously smooth and crisp edges. I’ll soften the arrises very slightly with a fold of P400-paper.
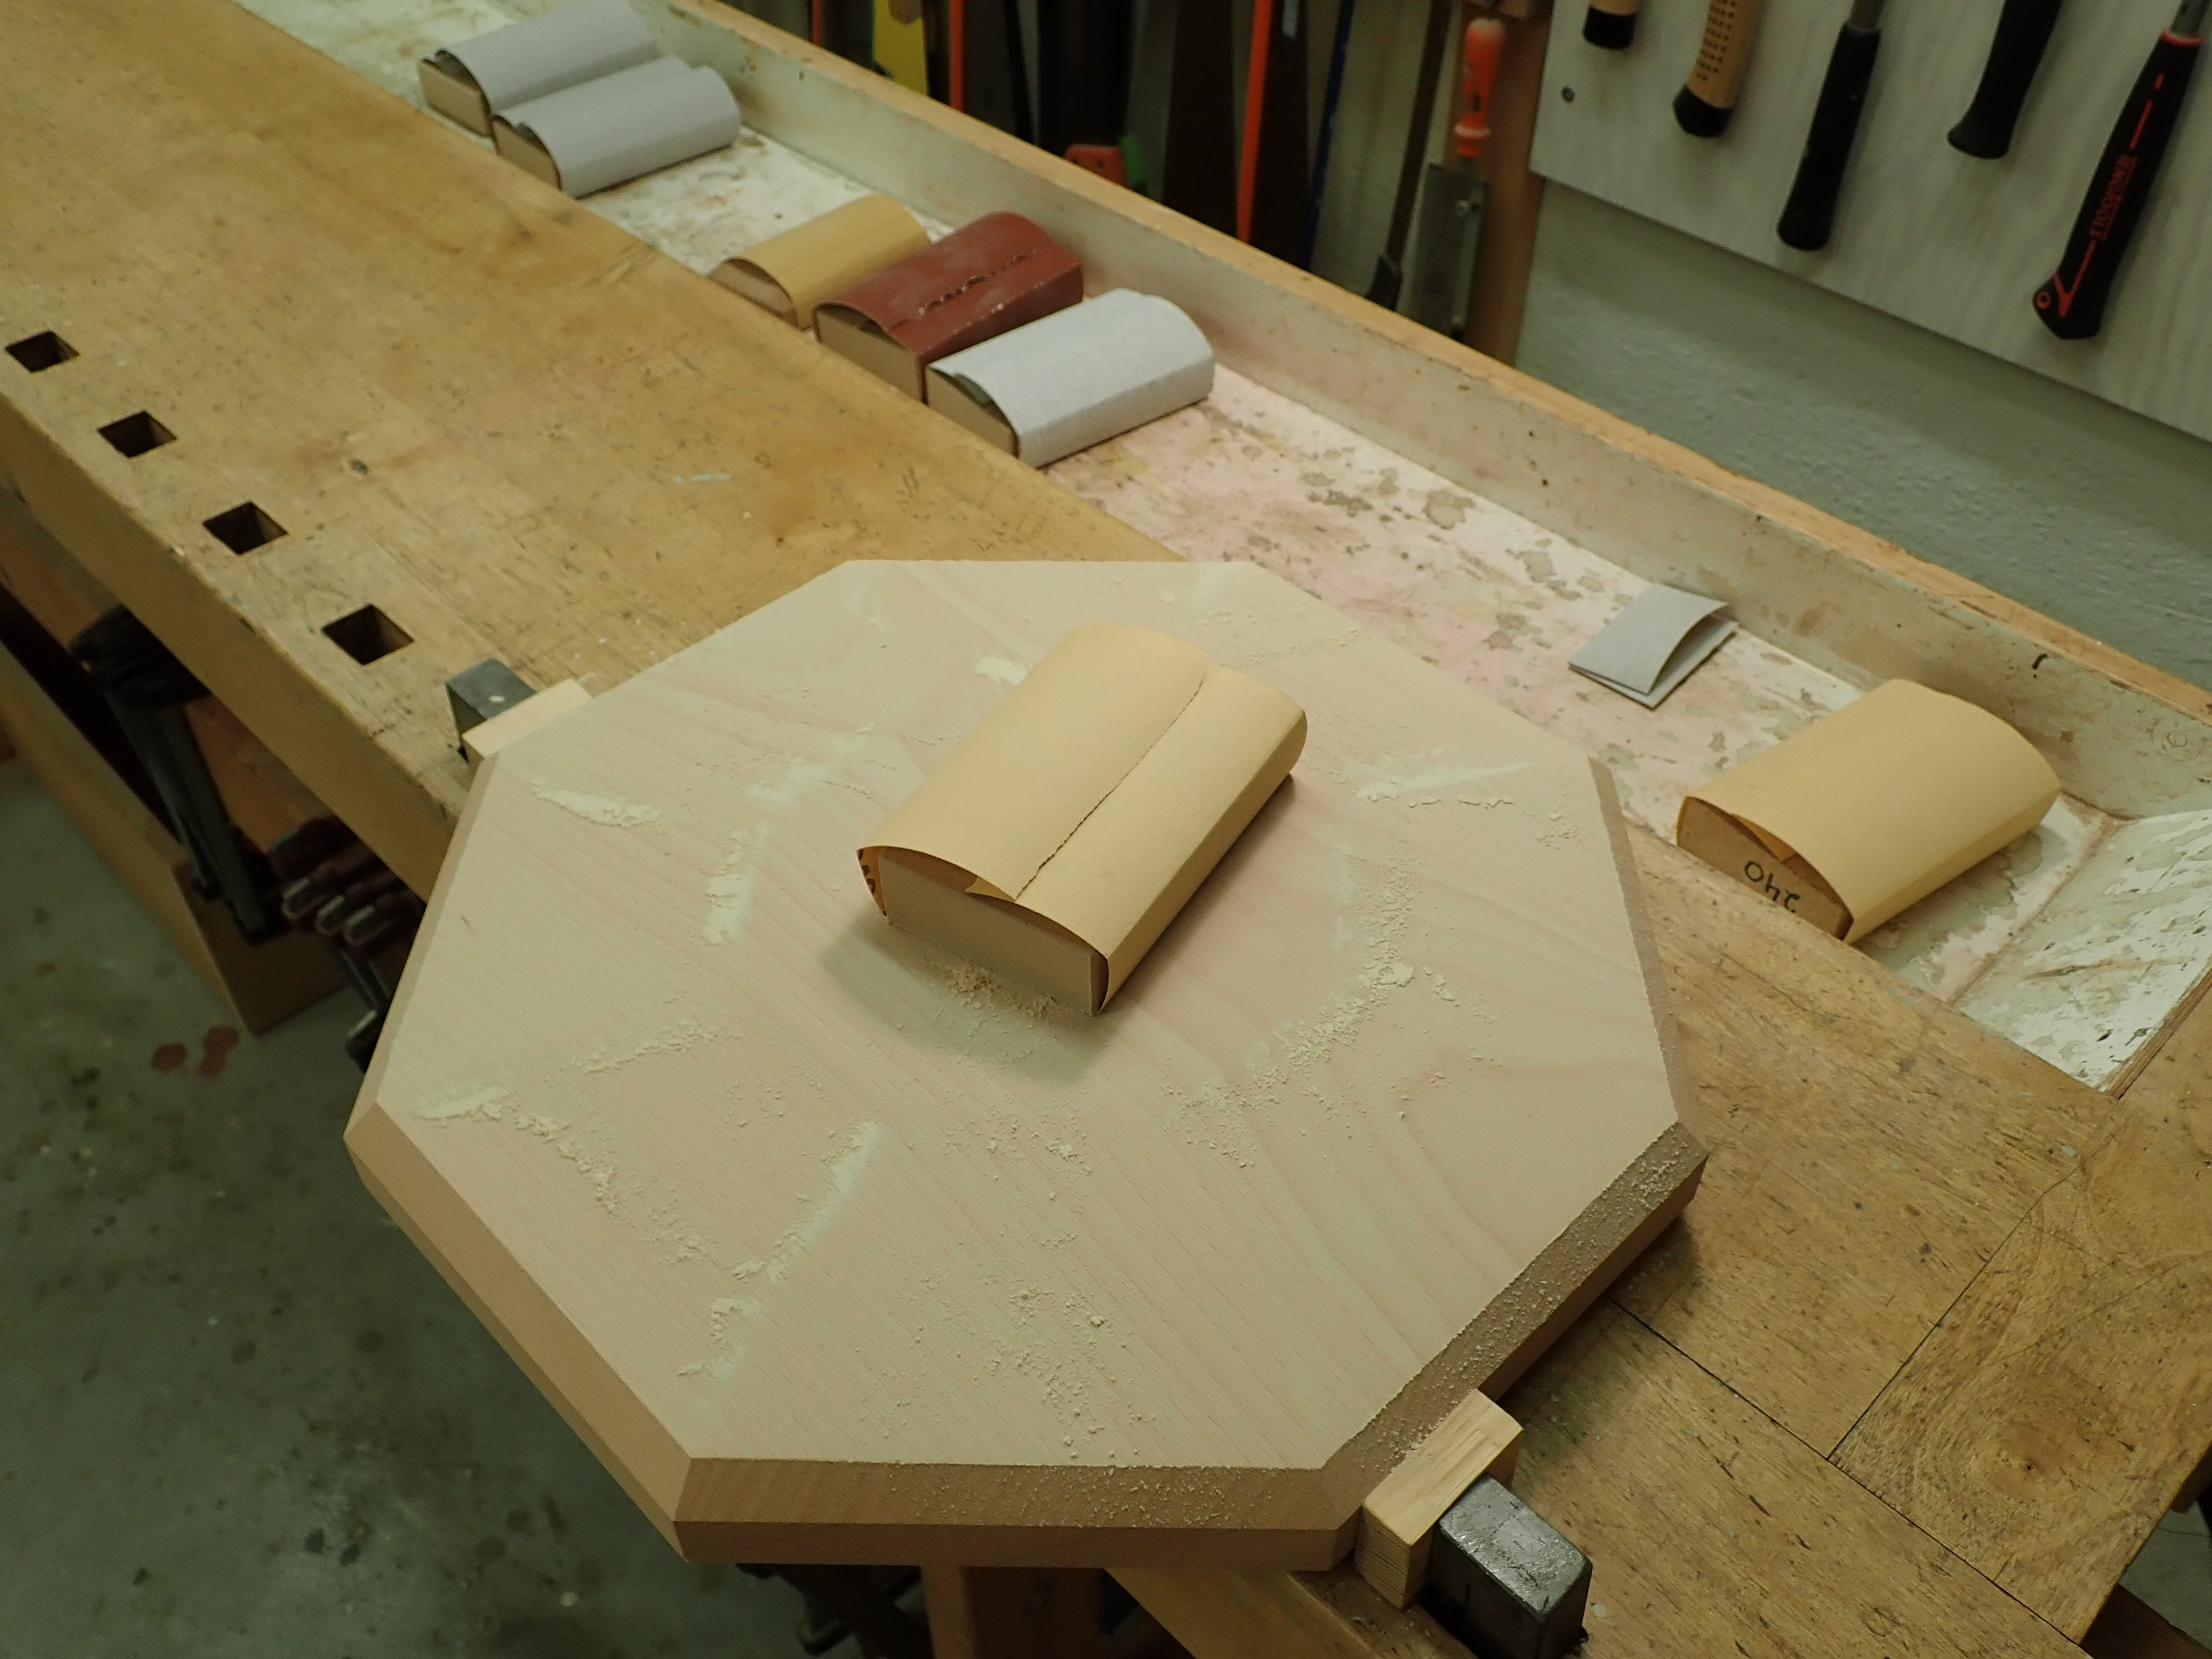
After planing as prettily as I could, I sanded my way down through the grits; beginning at 120 and ending with 400. The seat will be the most visible part of the stool, so I’d better do a proper job of it; the legs and stretchers are less visible down there at floor-level, so I won’t put that much effort into them.
I made some sanding blocks out of 25mm MDF; the flat hardness of that material is beneficial for ‘precision sanding’ such as this. My regular cork blocks would be too soft — it’s all about not rounding over the arrises!
I think it turned out quite well :-)

****
I like the large facet detailing
This is geometry porn, they're going to make exceptional seats.