


Straight & square
jointing an edge by hand

[ soundtrack : Henry Purcell - Come, ye sons of art, away (1694) - The English Concert - Trevor Pinnock - The English Concert Choir ]
***
This is a reheated and slightly extended version of a piece that I originally posted early last year.
***
Recently I needed some properly edge-straight boards for a big routing frame. How do you make boards really edge-straight? By increments! There is no magical machine that will deliver perfectly straight and true work-pieces - wood is simply too idiosyncratic - but a good jointer/thicknesser will quickly get you pretty close, which is a blessing if you’re trying to make a living out of this kind of mental disorder.
If you don’t have a machine to help you with the donky work, I have seen people attach sturdy, substantial fences to their planes that can be pressed flat to the face side of the board, and thus help to keep the cutting edge square and true. Or you could just have at it by hand and eye: Strike a line, cut close, plane true, measure, refine and repeat until satisfied!
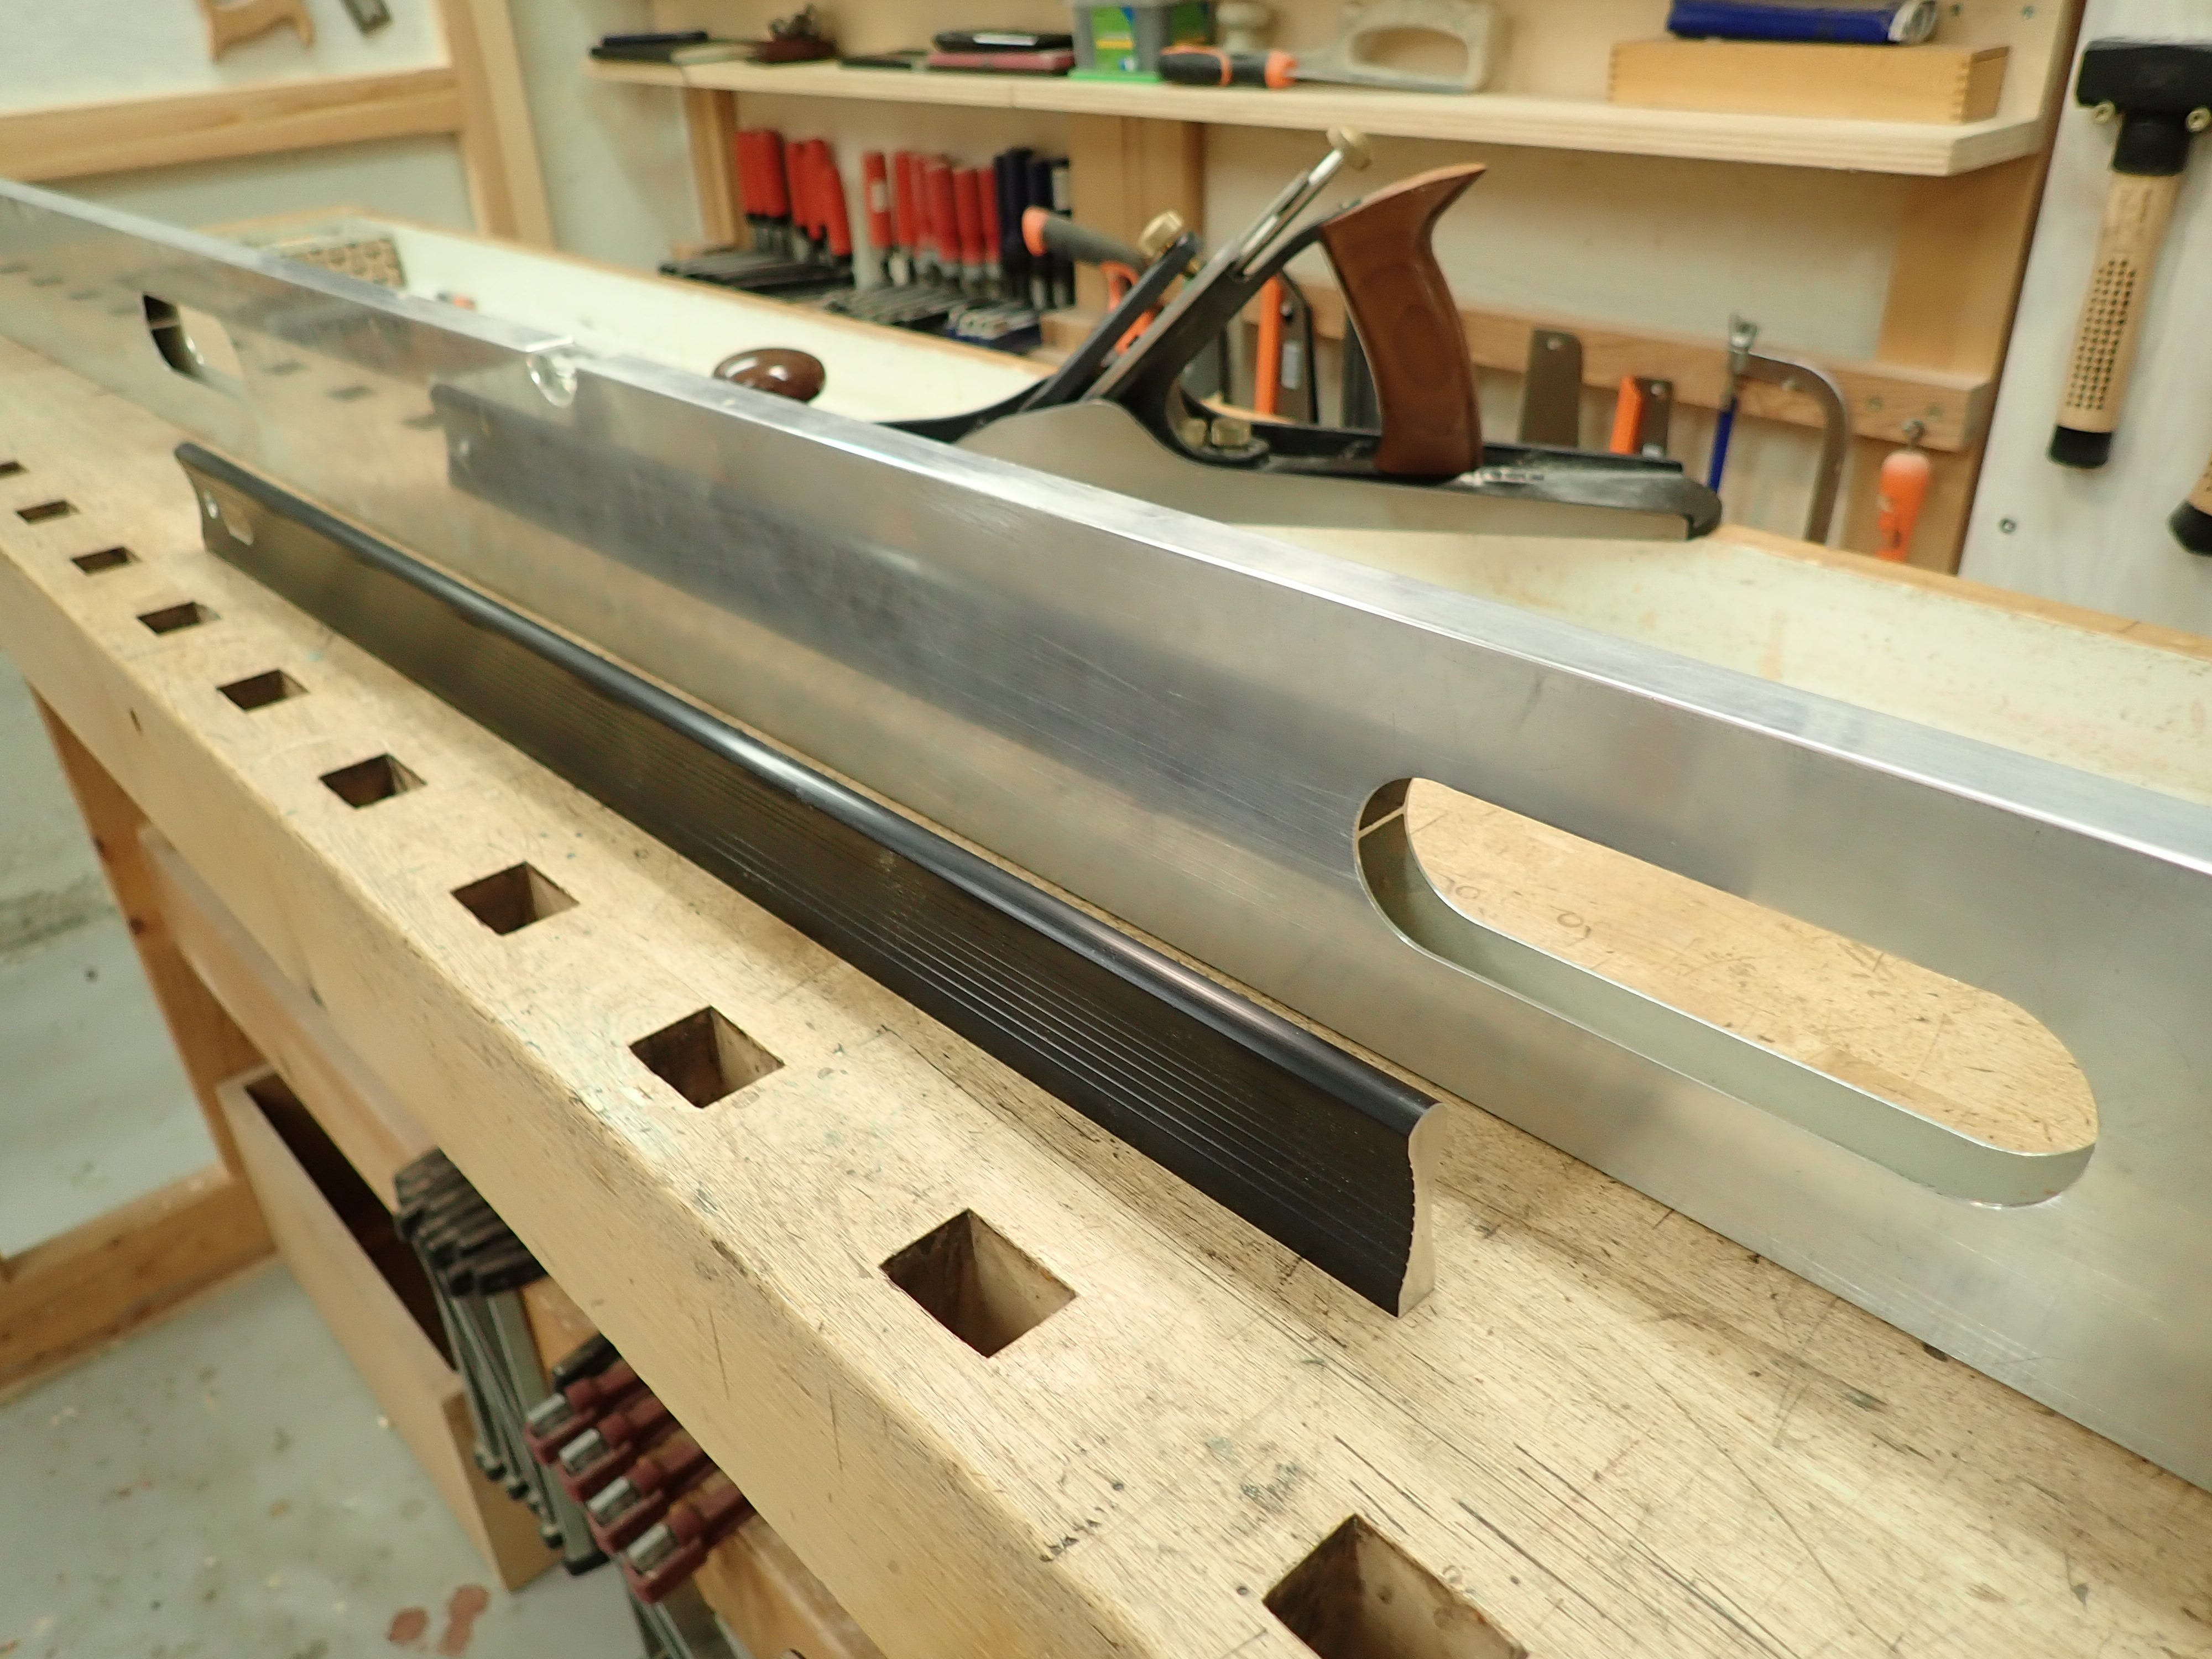
My little jointer/thicknesser-combo does a decent job, but when I really need precision I take out my longest hand plane and the long shop straight edge. ‘Long’ being the operative word here.
When I place the straight edge on top of the board’s edge, I don’t stoop down to look if I can see any light seeping through, I grip it by the end and wriggle it slightly sideways, observing at which point it pivots. That’s the high spot! This is a basic geometric property, despite being trivial and obvious if you ever start thinking about it. Basic truths are seldom difficult to grasp. It’s usually lies that need the cloak of ‘complexity’.
You can use the same procedure when fitting two boards together. Not that this will ensure ‘straightness’ — only ‘compatible fit’. One board might be convex and the other complementarily concave, yielding a good (if not straight) fit. It does not really matter unless you for some reason need true, geometrical straightnesss — in which case you’ll need three boards for comparison (I won’t go into the intricacies of this in text, but this video does a good job of explaining the basic principles of metrology).
So let’s say I have a convex board: highest in the middle. To straighten it out I would take my finely set long plane and take a short pass over the highest point. Then I would take a slightly longer pass; starting a bit in front of and continuing a bit beyond the previous pass. Repeat with ever-lengthening passes until you take a full-length pass. Then check for straightness again. Better?
When edge-jointing or fitting boards for the glue-up of a … table top, let’s say … it’s been customary to advocate for a slight ‘hollow fit’ — i.e. that the ends are tight, but that there’s a coupla hairs gap in the middle (that would easily be clamped tight during the glue-up). This was explained to me by my teacher, thirty years ago, as an allowance for the fact that wood will dry faster through the end grain, and so this praxis would compensate for the faster shrinkage of the boards closest to the open end grain. It seems a valid point, at least back in the day, when all wood was air-dried and you could reliably guesstimate that whatever furniture you built would dry another 4-to-8 percentage points MC before settling down around its final equilibrium. But with the kiln-dried wood of our time, stored patiently in-shop to acclimatize? Perhaps not so much. Know you wood and make your own judgements!
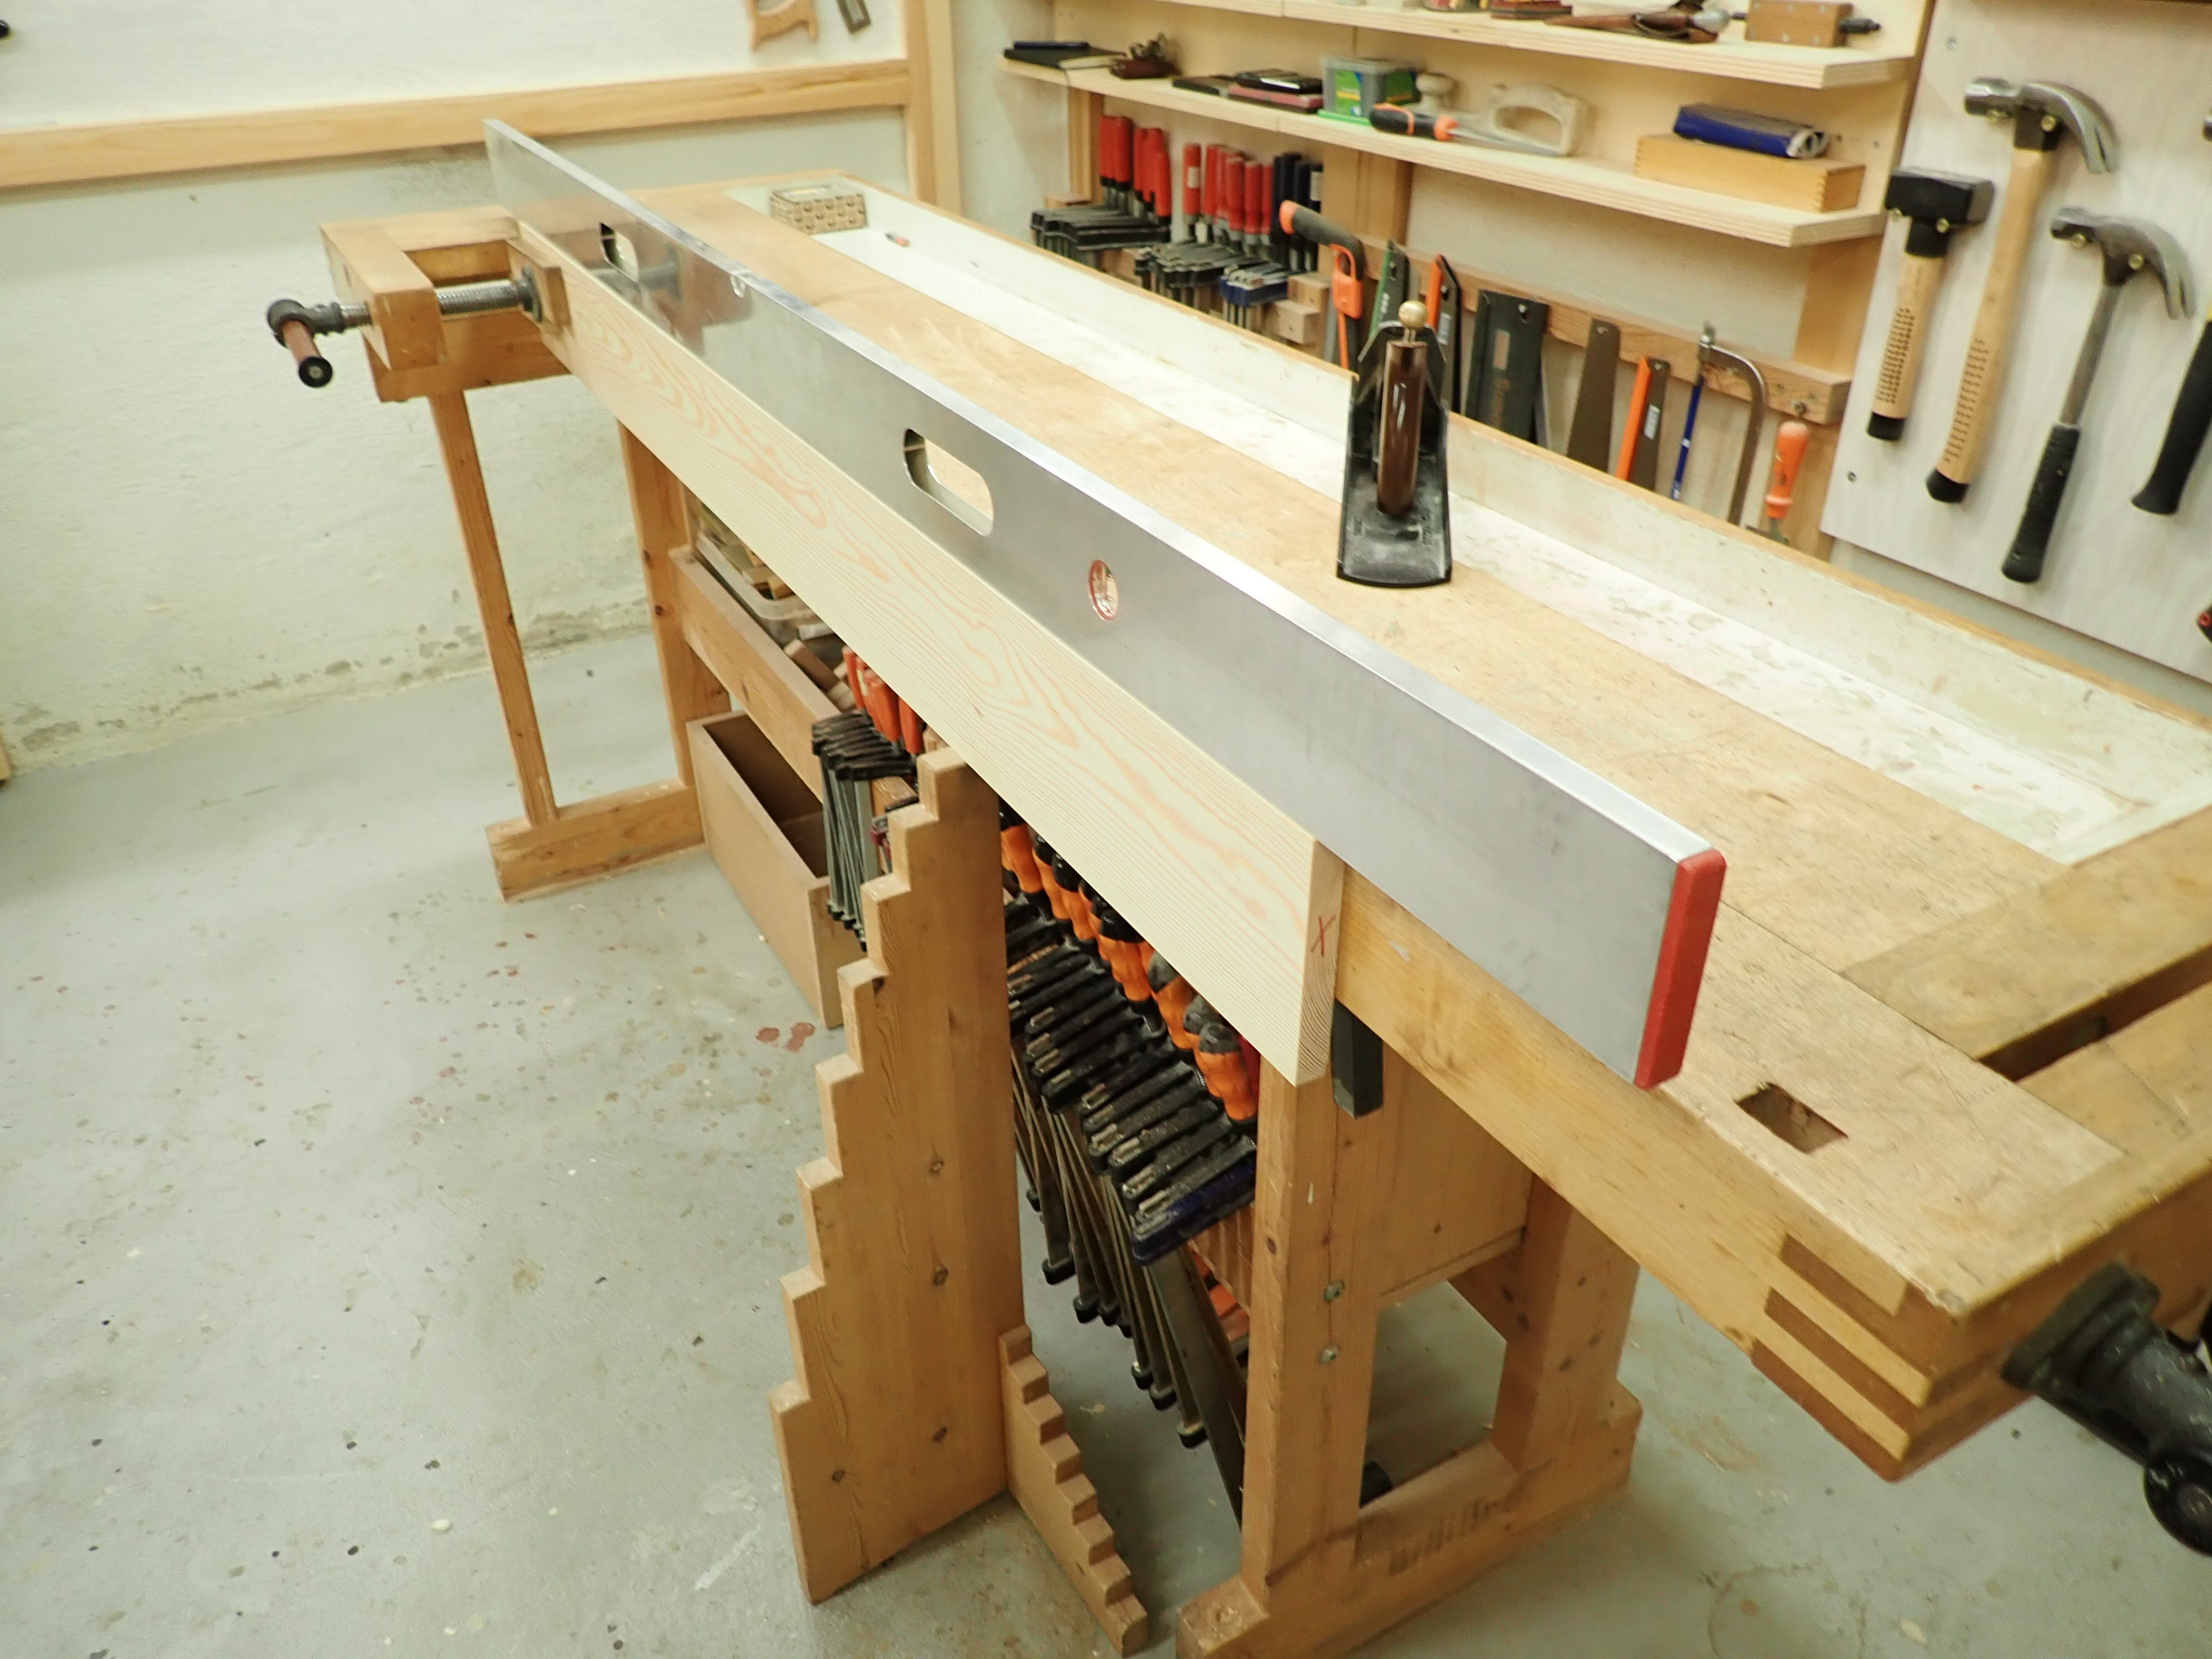
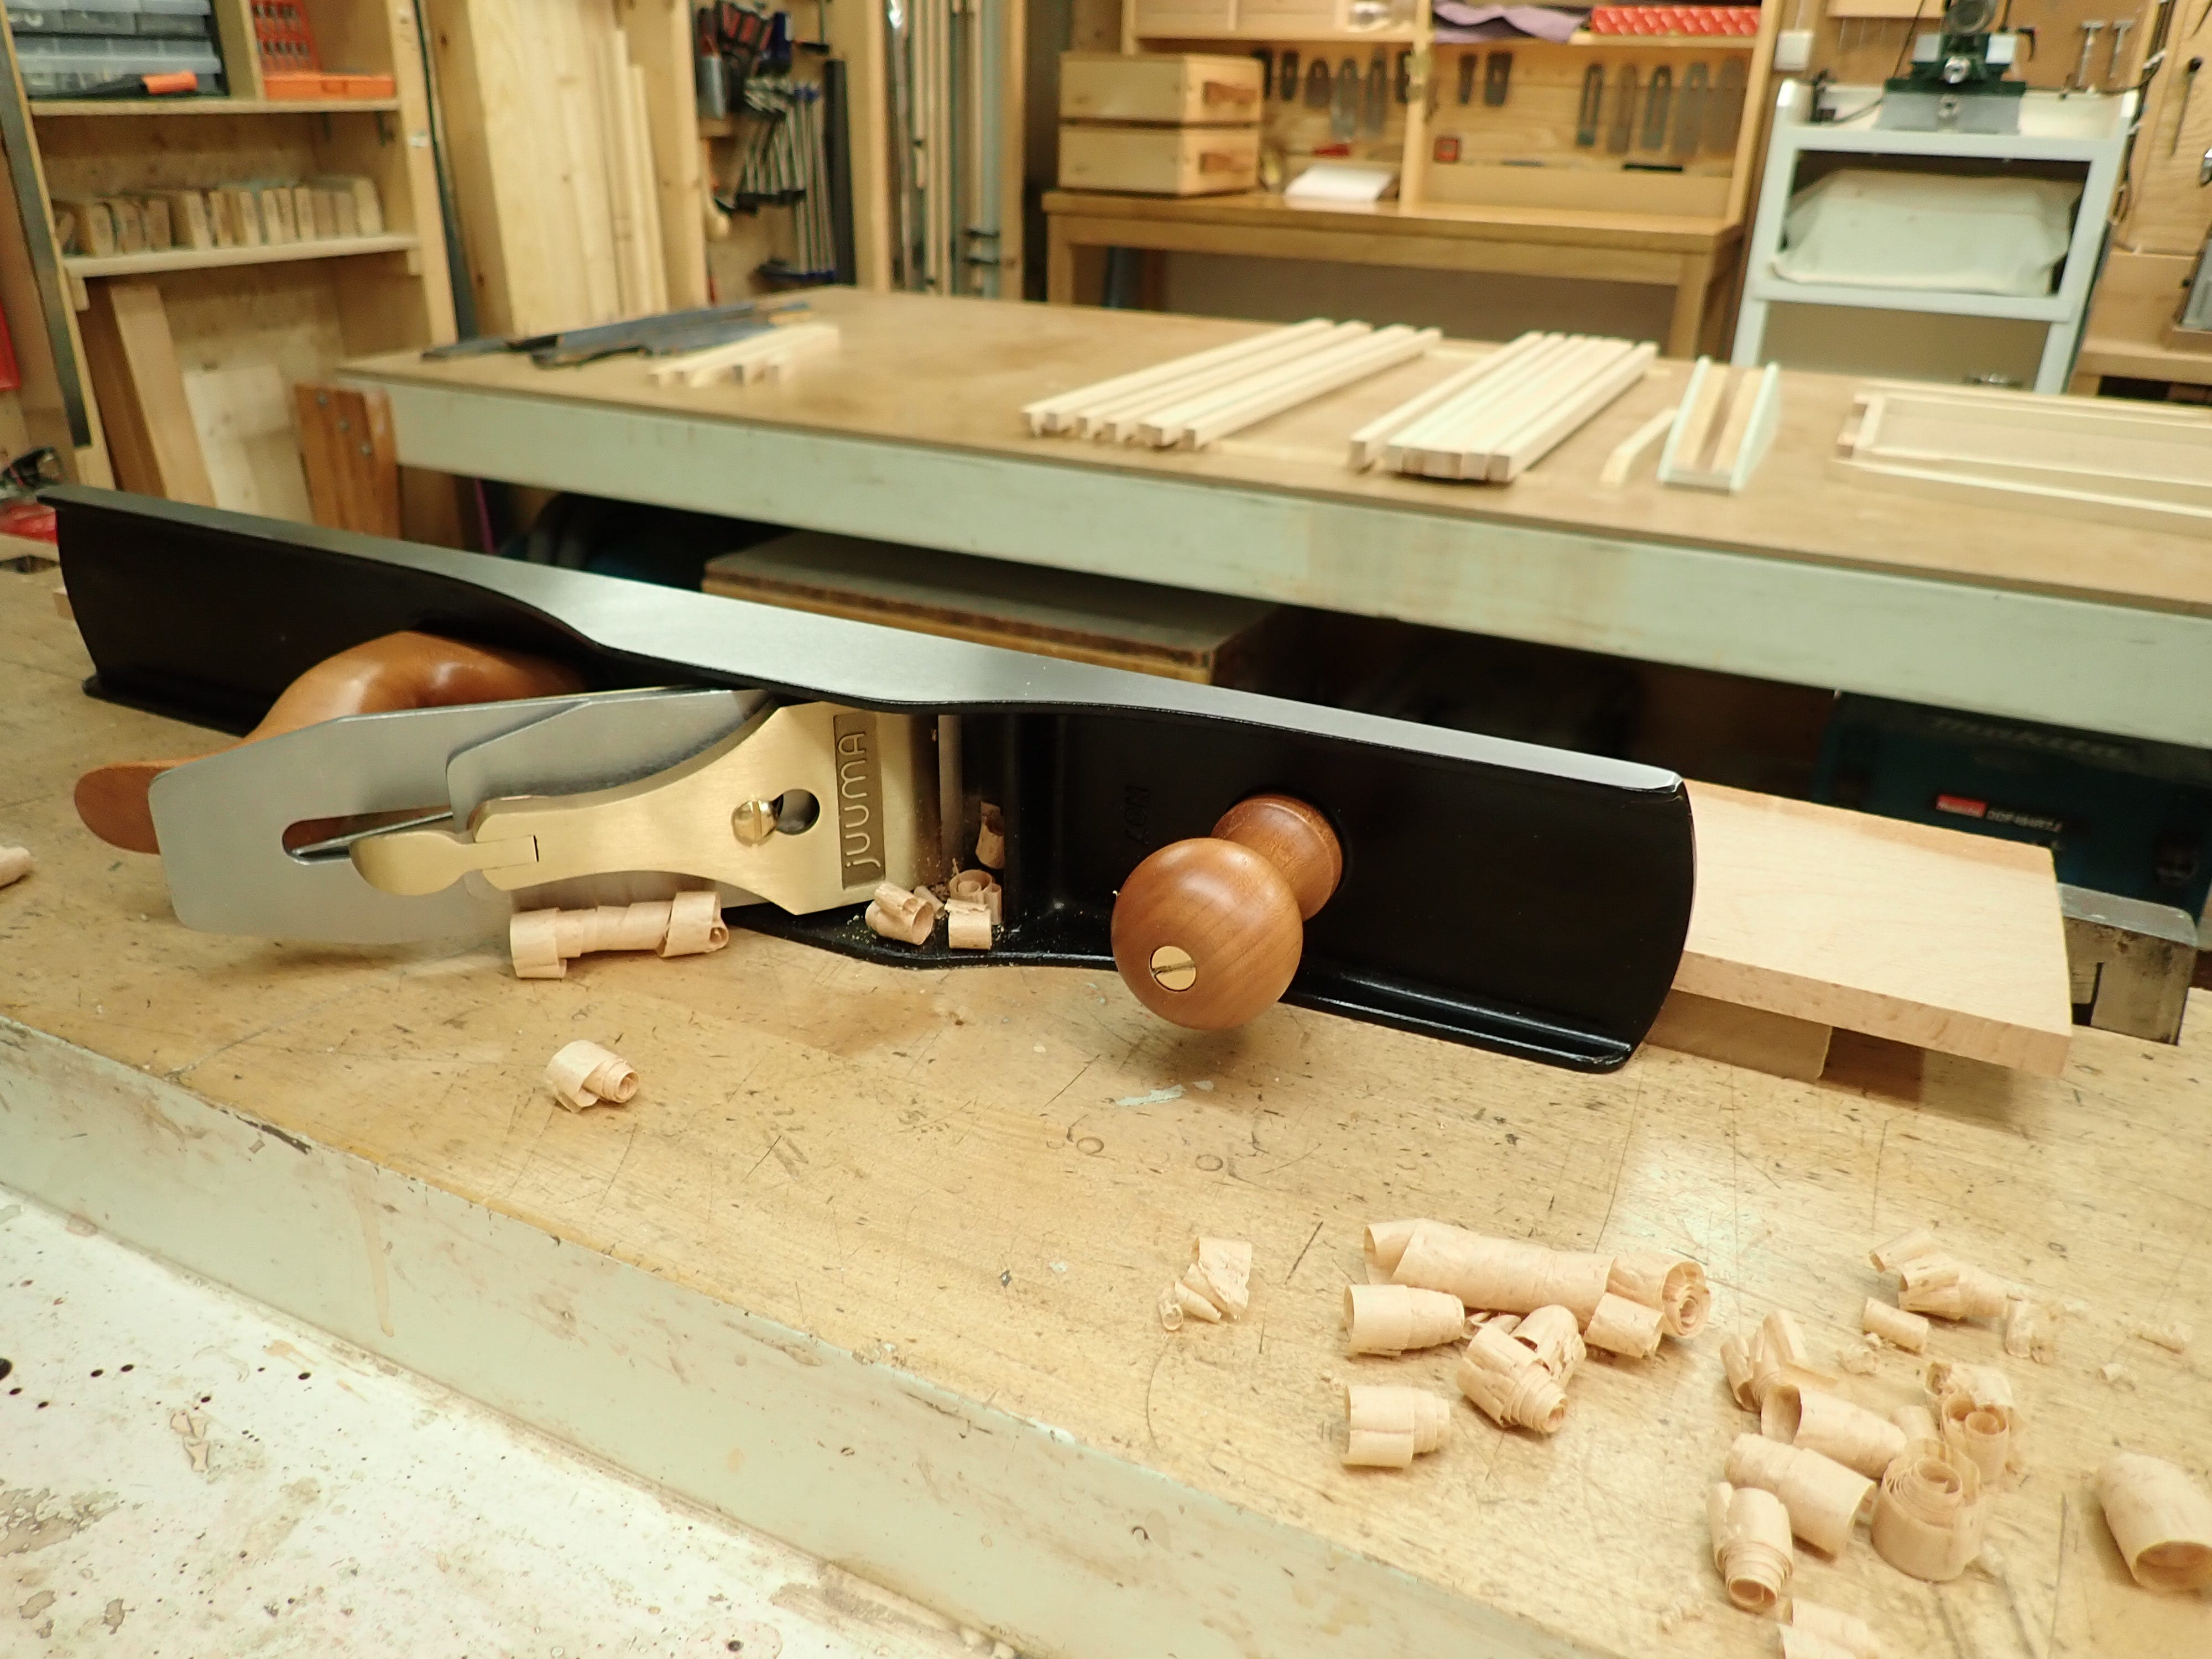
This picture shows four sources of straightness. Can you spot the non-obvious one?
Two straight edges, obviously — one long, the other short — both treated deferentially. Then, in the background, there’s the ‘long plane’ — what our Russian neighbours call a ‘rubanok’ (рубанок = hand plane) — giving name to our Norwegian long plane: ‘rubank’. But let’s not forget my bench: I keep it flat, smooth and level in two planes — it is my primary reference surface. I’ll dust it off with a flourish of my bench brush and a swipe of my palm before I put a piece down and wriggle its tail to get a feel for how it’s shaped — it will pivot on the high spot. Quick and dirty, but often good enough.
The bench being perfectly level helps imprint a feeling of ‘flatitude’ onto my muscle-memory, or rather an ingrained sense of ‘horizontal’? It’s hard to put into words, but if you spend your days relating to a flat, horizontal surface it just seems to become part of you. Musicians develop a fine ear for pitch and timbre, painters a keen eye for colour and light, and my bench keeps me steady and true — you’ll be surprised by what we can do!
Straightness. How straight does it have to be? Attaining straightness involves work and time. Do you need to? If not; settle for straight enough — much more convenient! Knowing ‘how good’ something needs to be is valuable knowledge — it saves you toil and the customer money. Inversely; chasing perfection is often a waste of time and resources, however satisfying, I’ll be the first to admit.
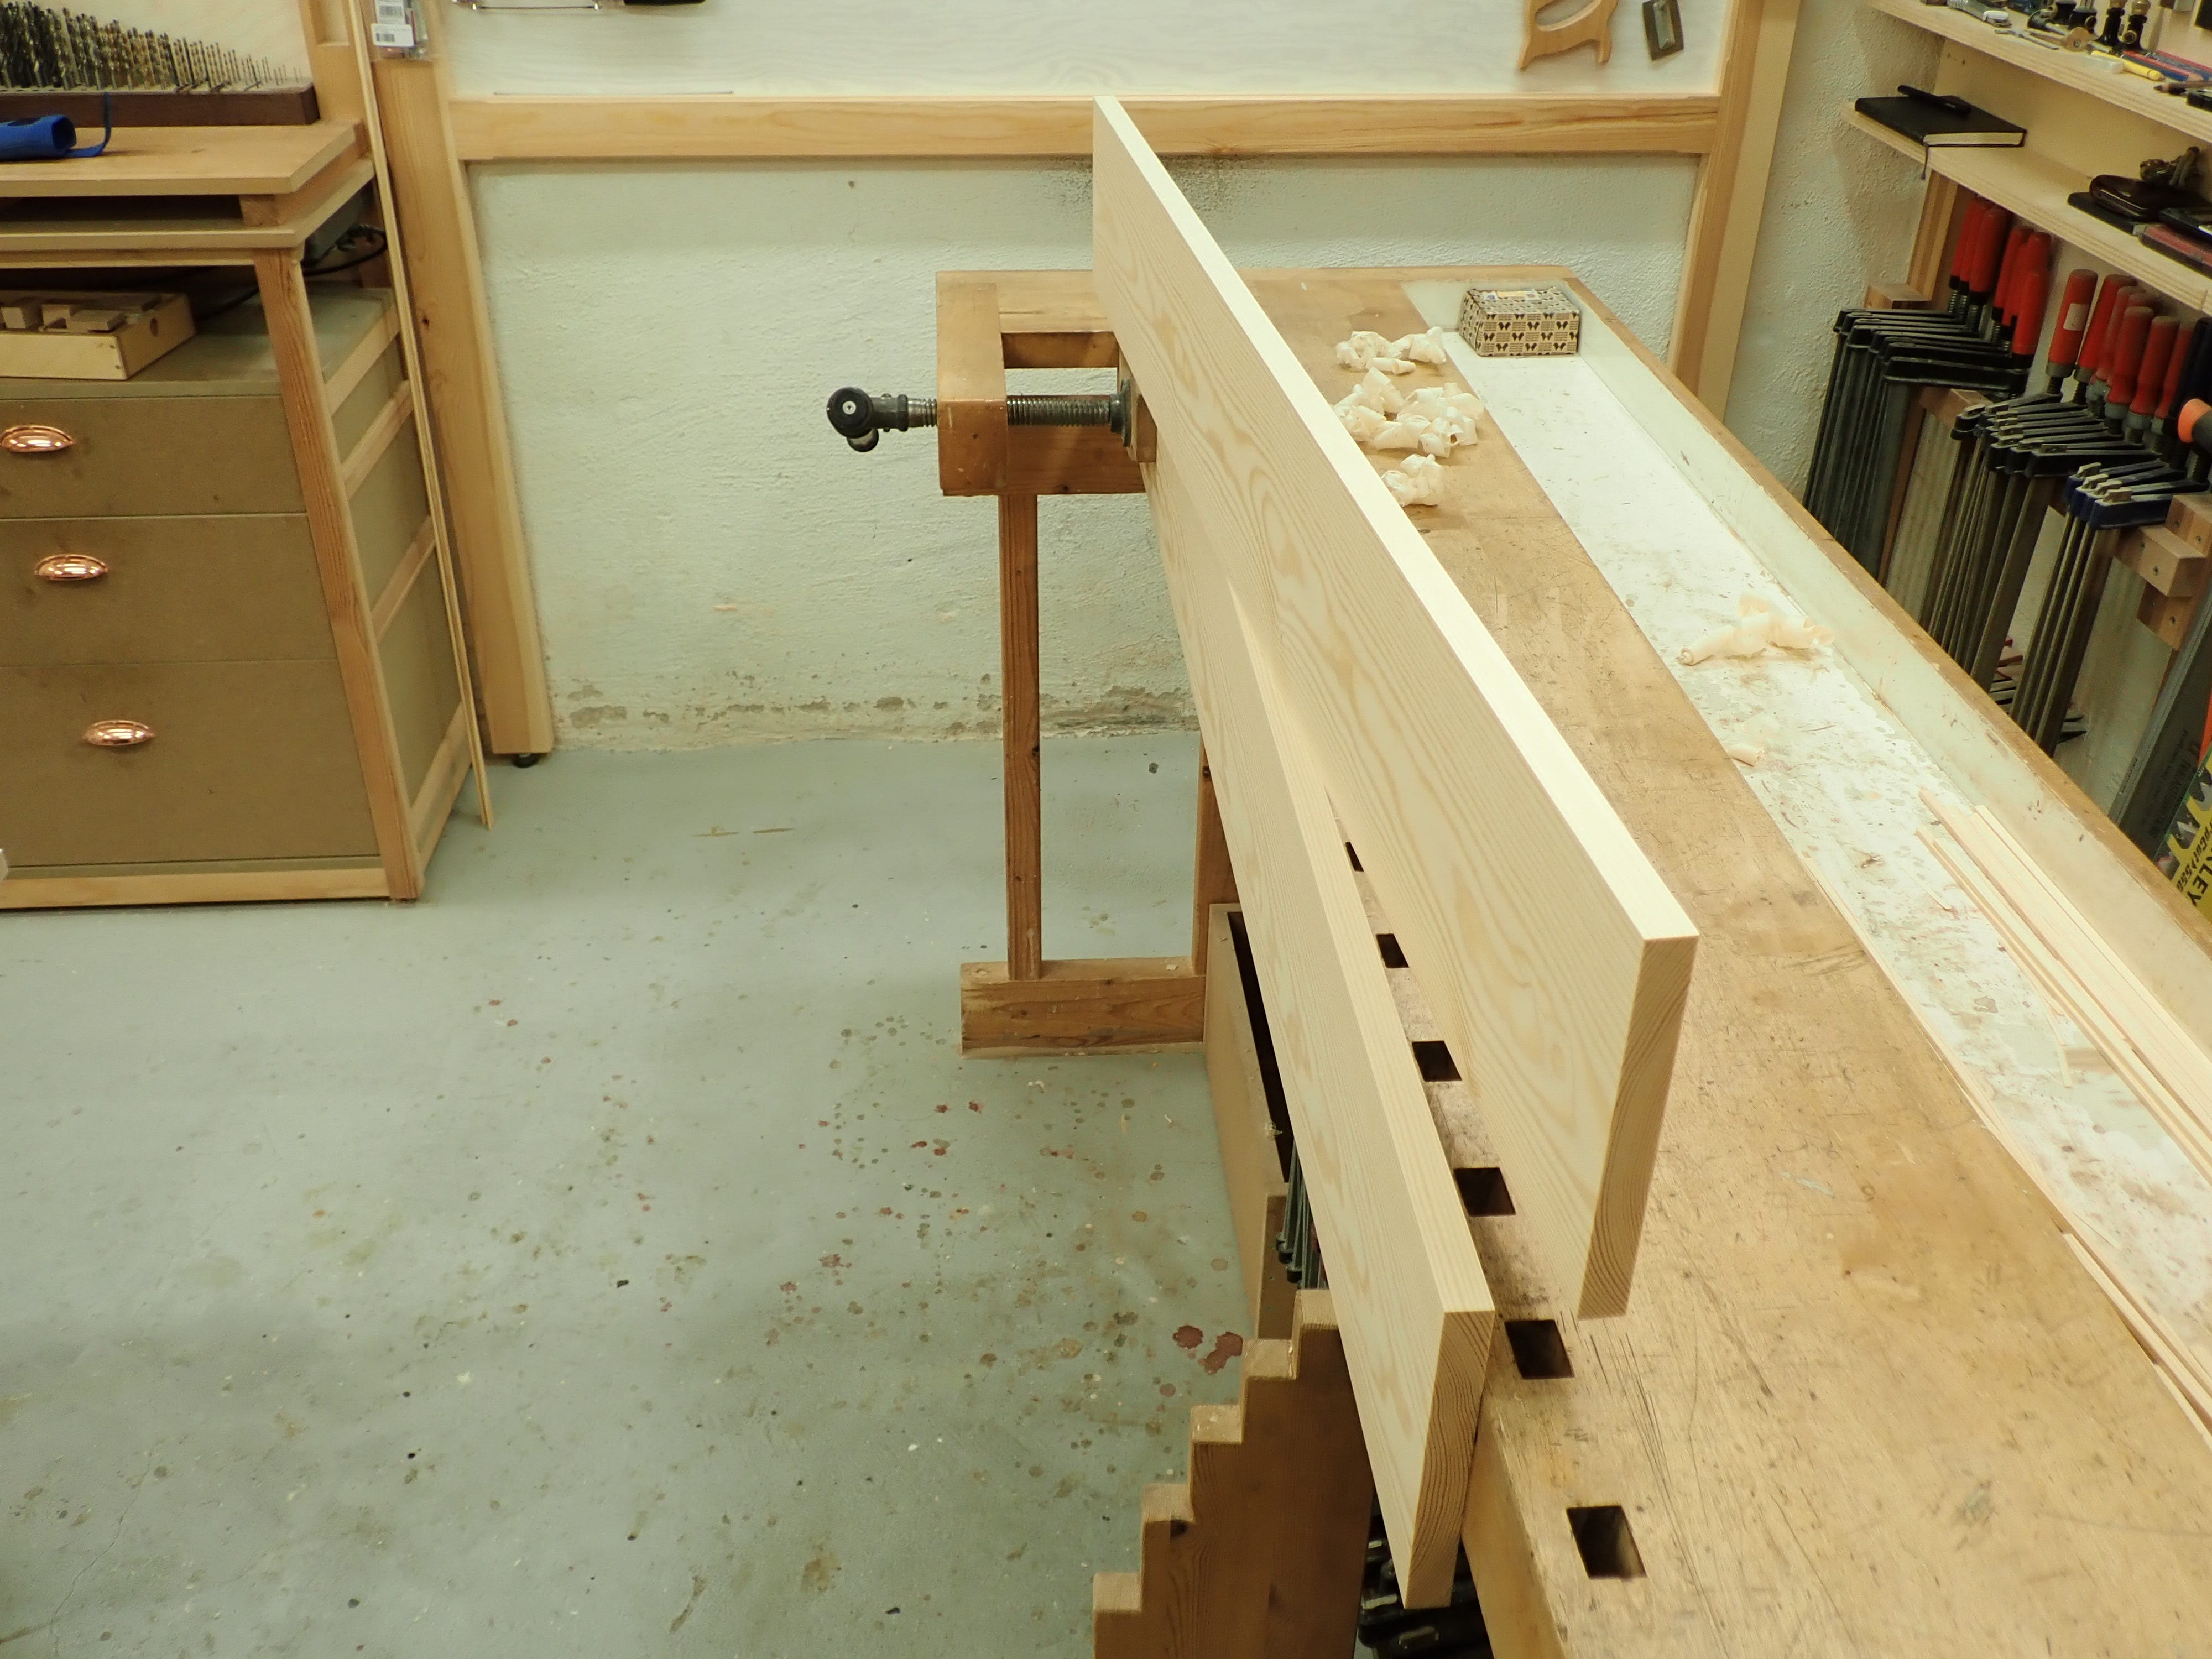
Now that’s straightened out; how about square?
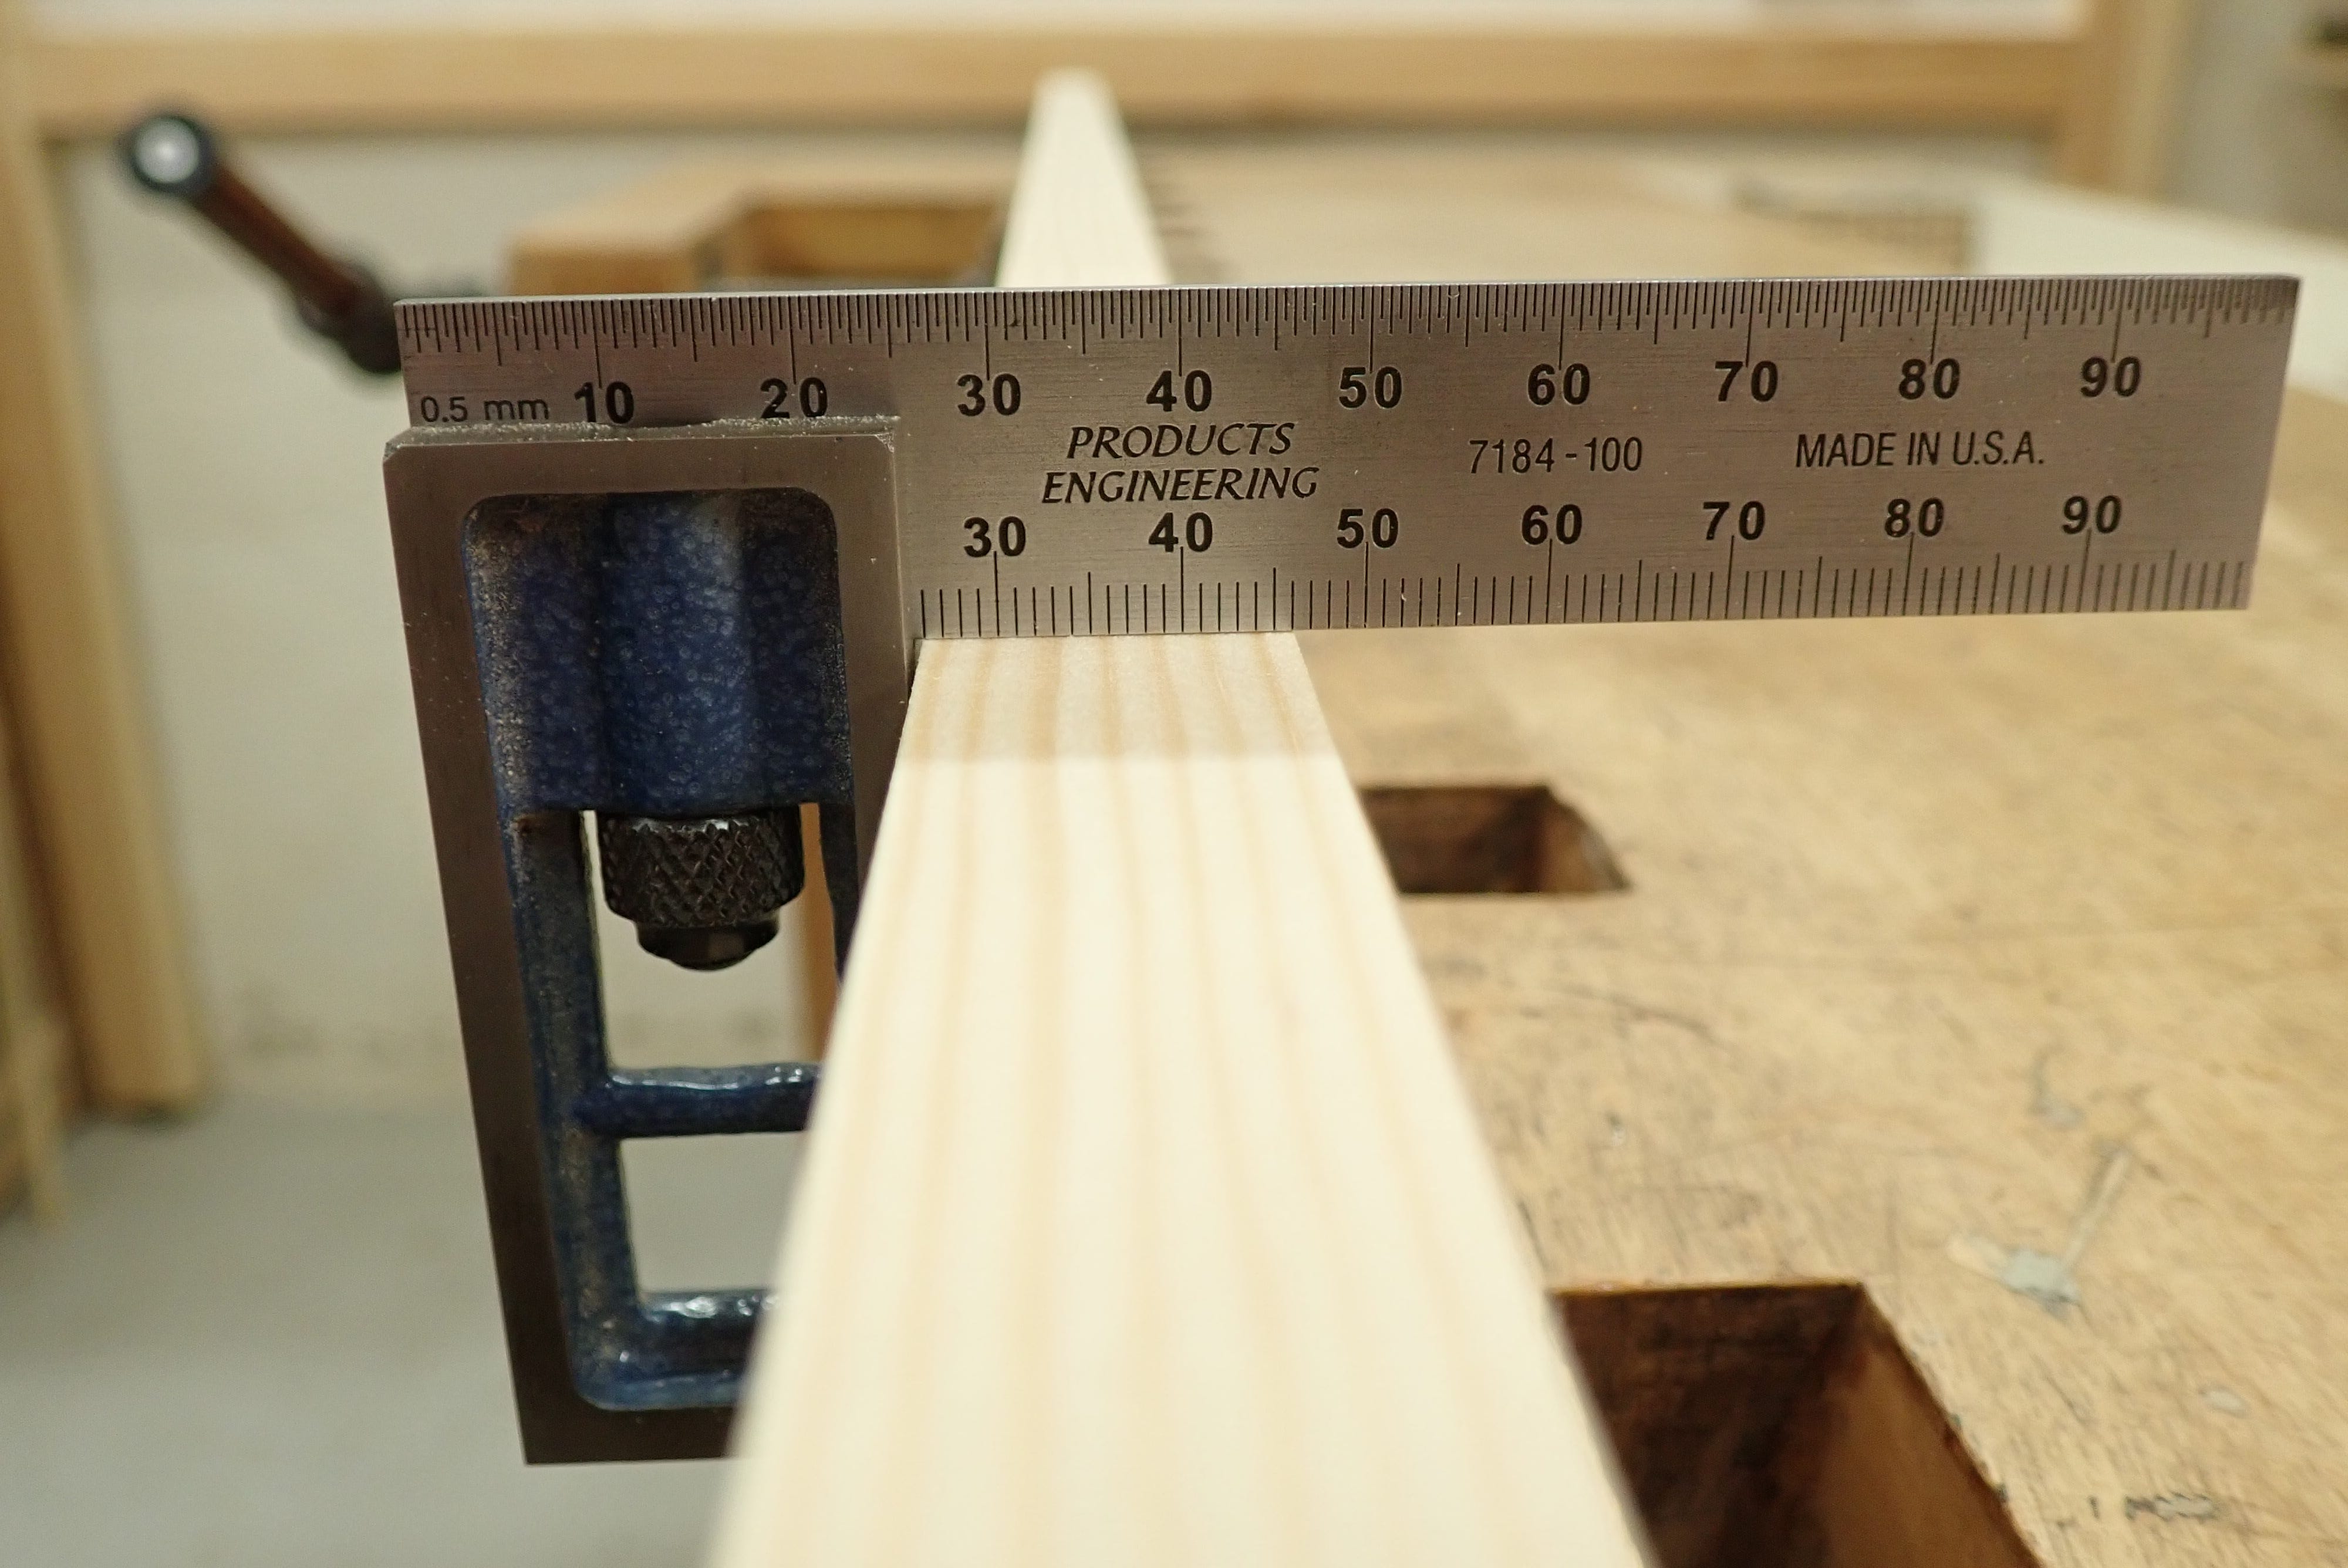
Can you guess what we call the tool used to measure squareness? Answers on a postcard addressed to “Mr. Snide Bevel, c/o the Lost Cause Workshop on Besserwisser Boulevard“. They come in many types and sizes and I think it’s amazing how few of them are actually square.
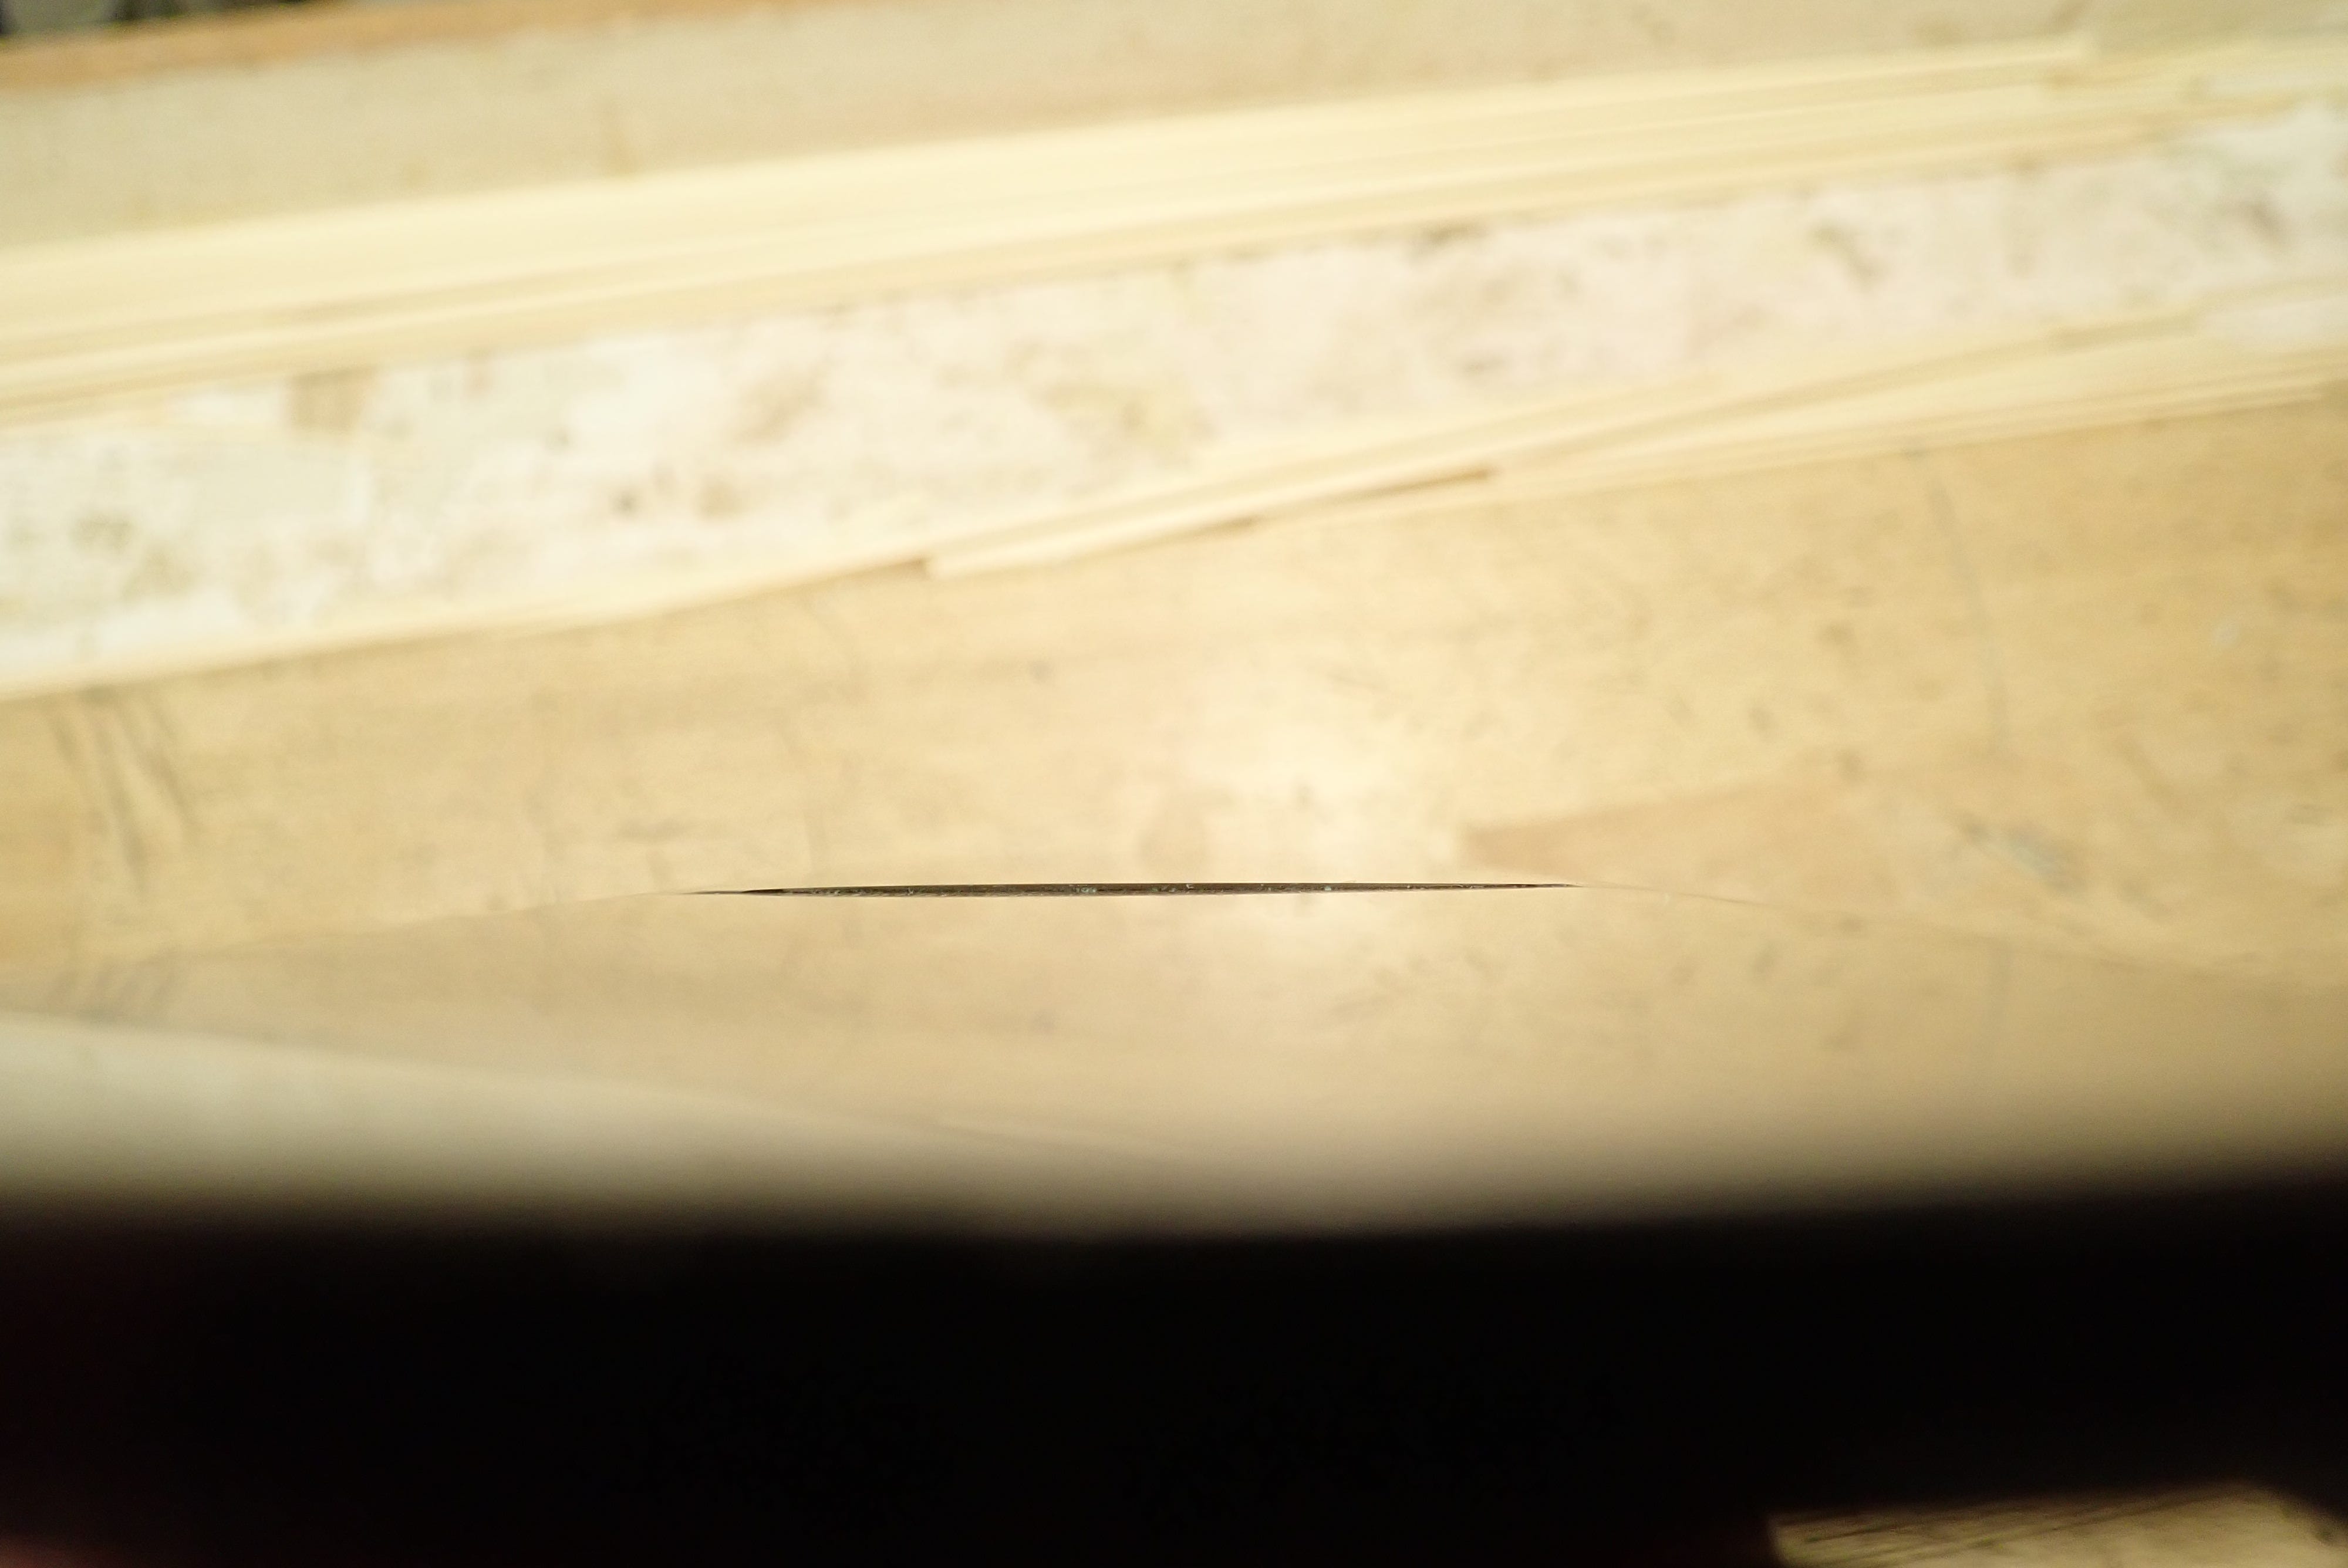
Its basic use is self-explanatory, but here are some practical tips anyway: You’ll get the most accurate reading if you hold the wood and square up against a light (so it’s backlit). This might be too time-consuming and maybe you’ll prefer to just bend down and squint.
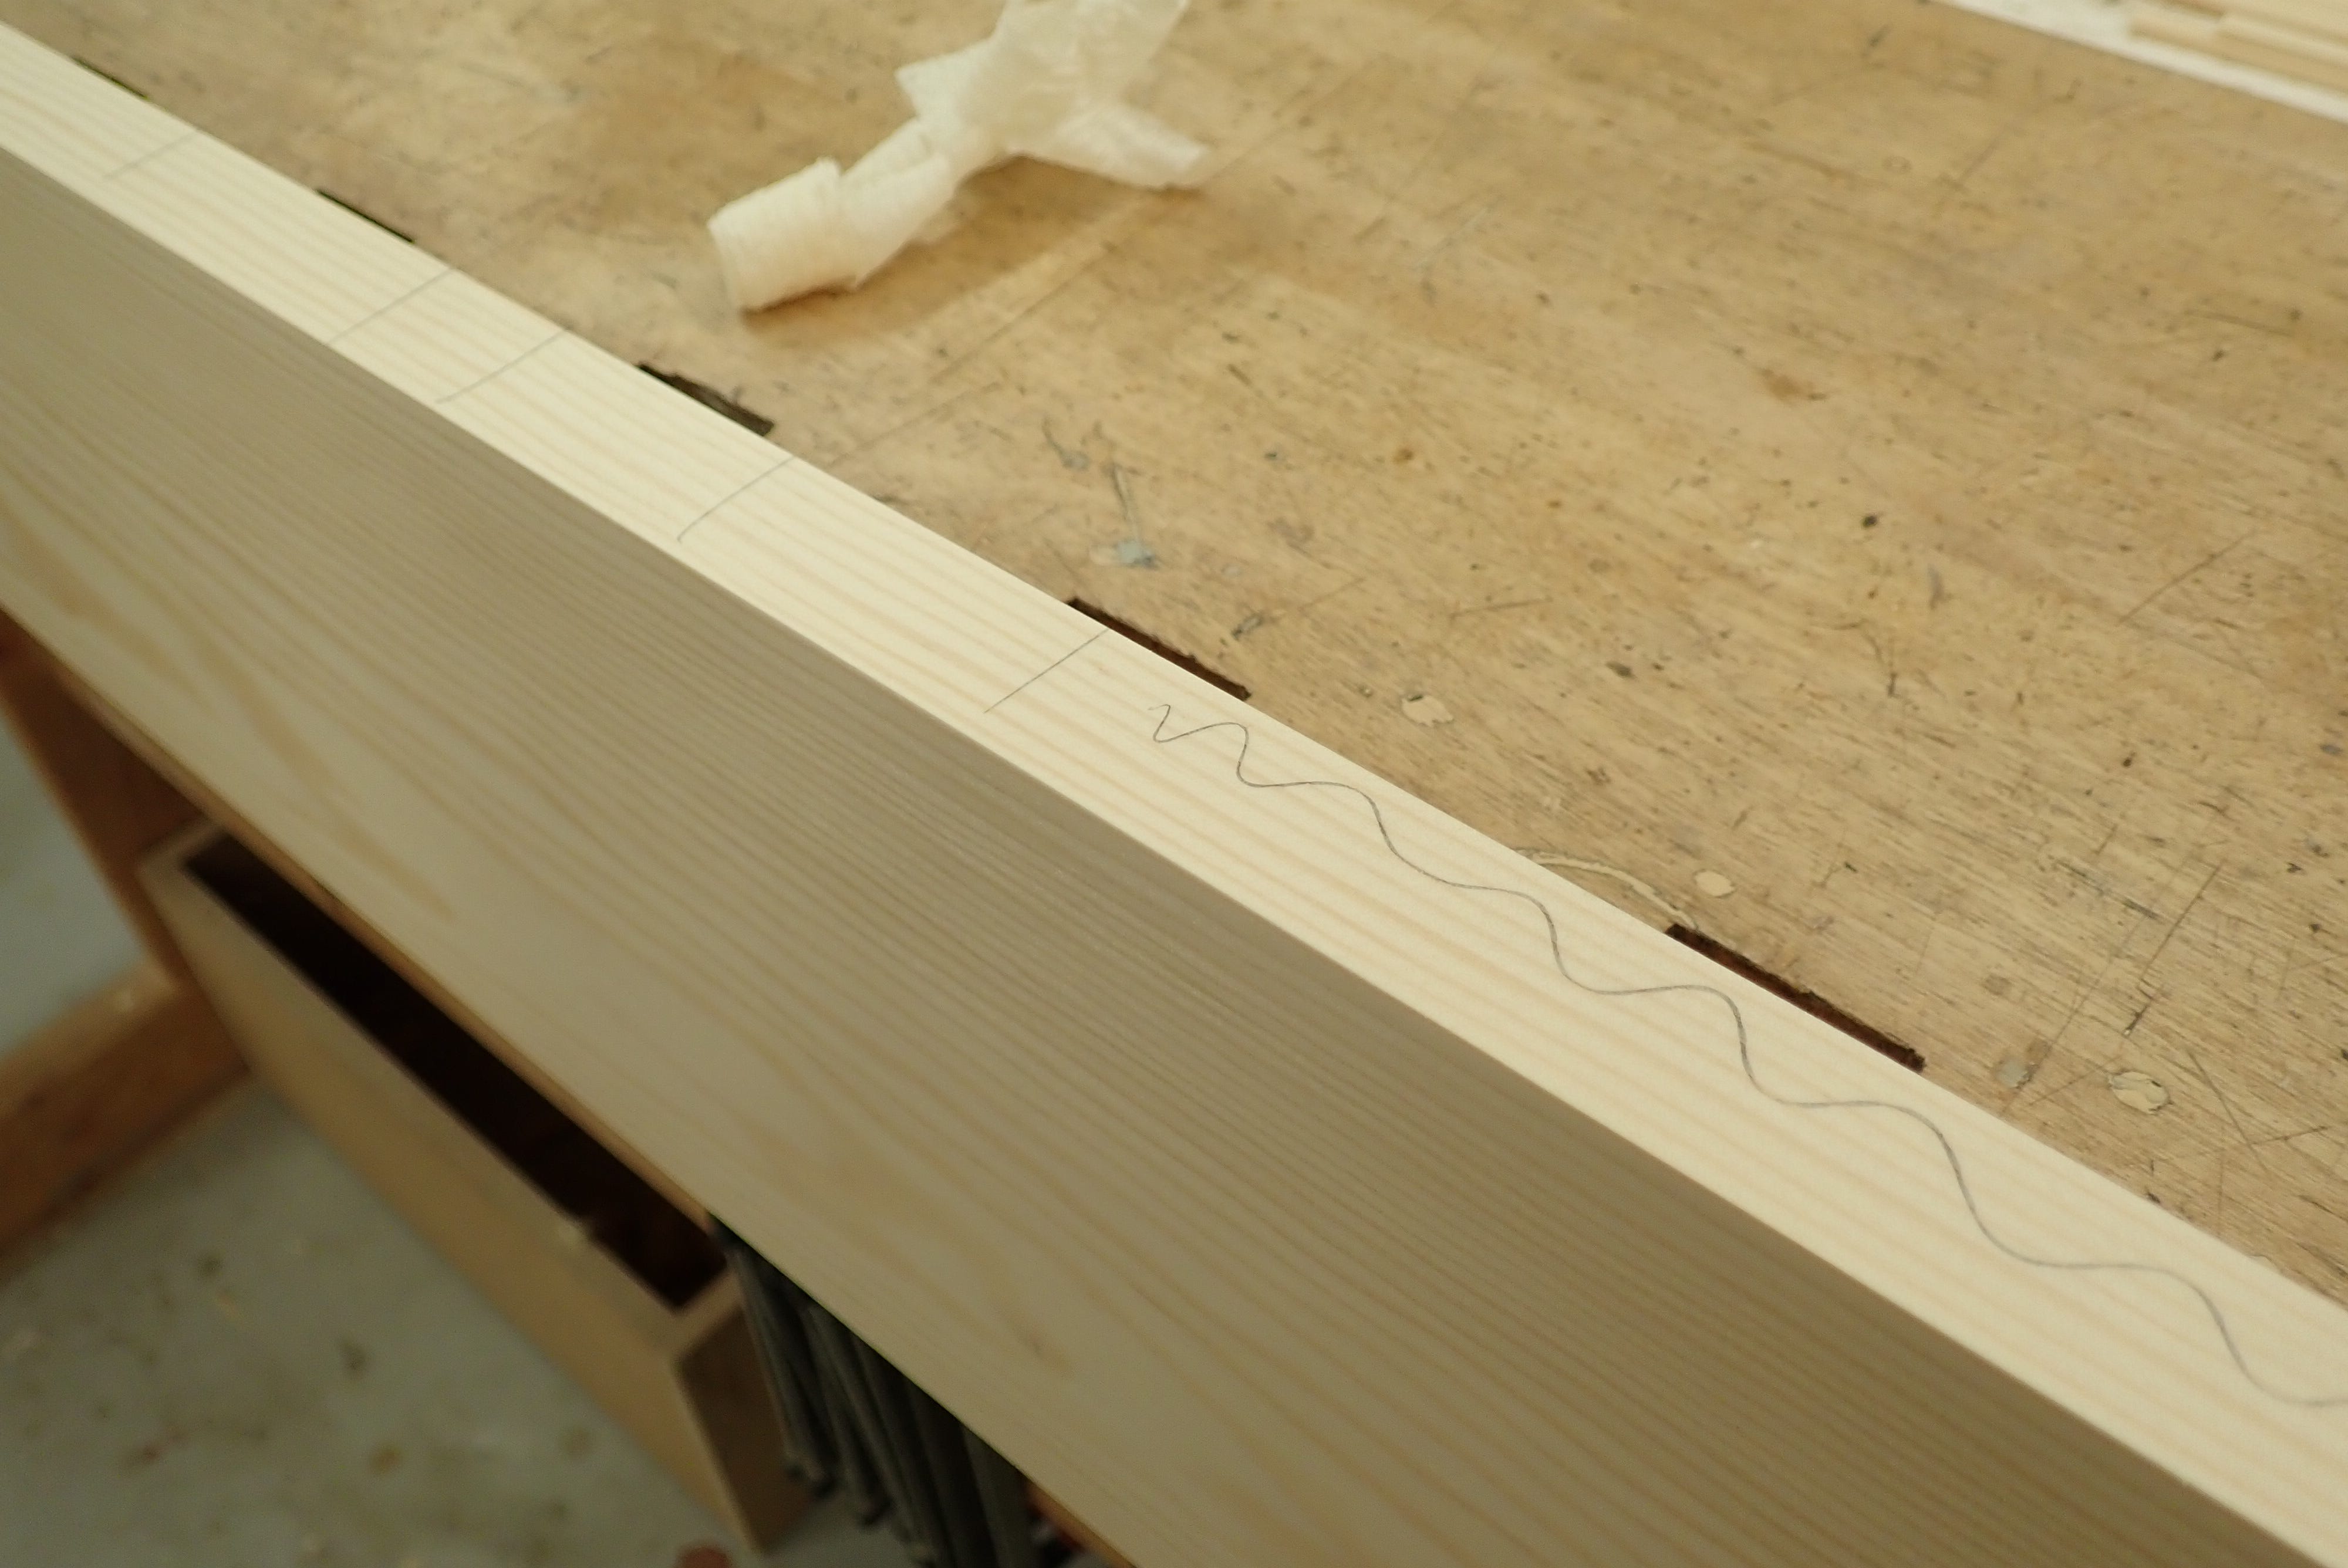
When checking squareness along an edge I like to mark the high spots (that need to be planed away) with a wavy pencil line. Straight lines across the edge means it’s square.
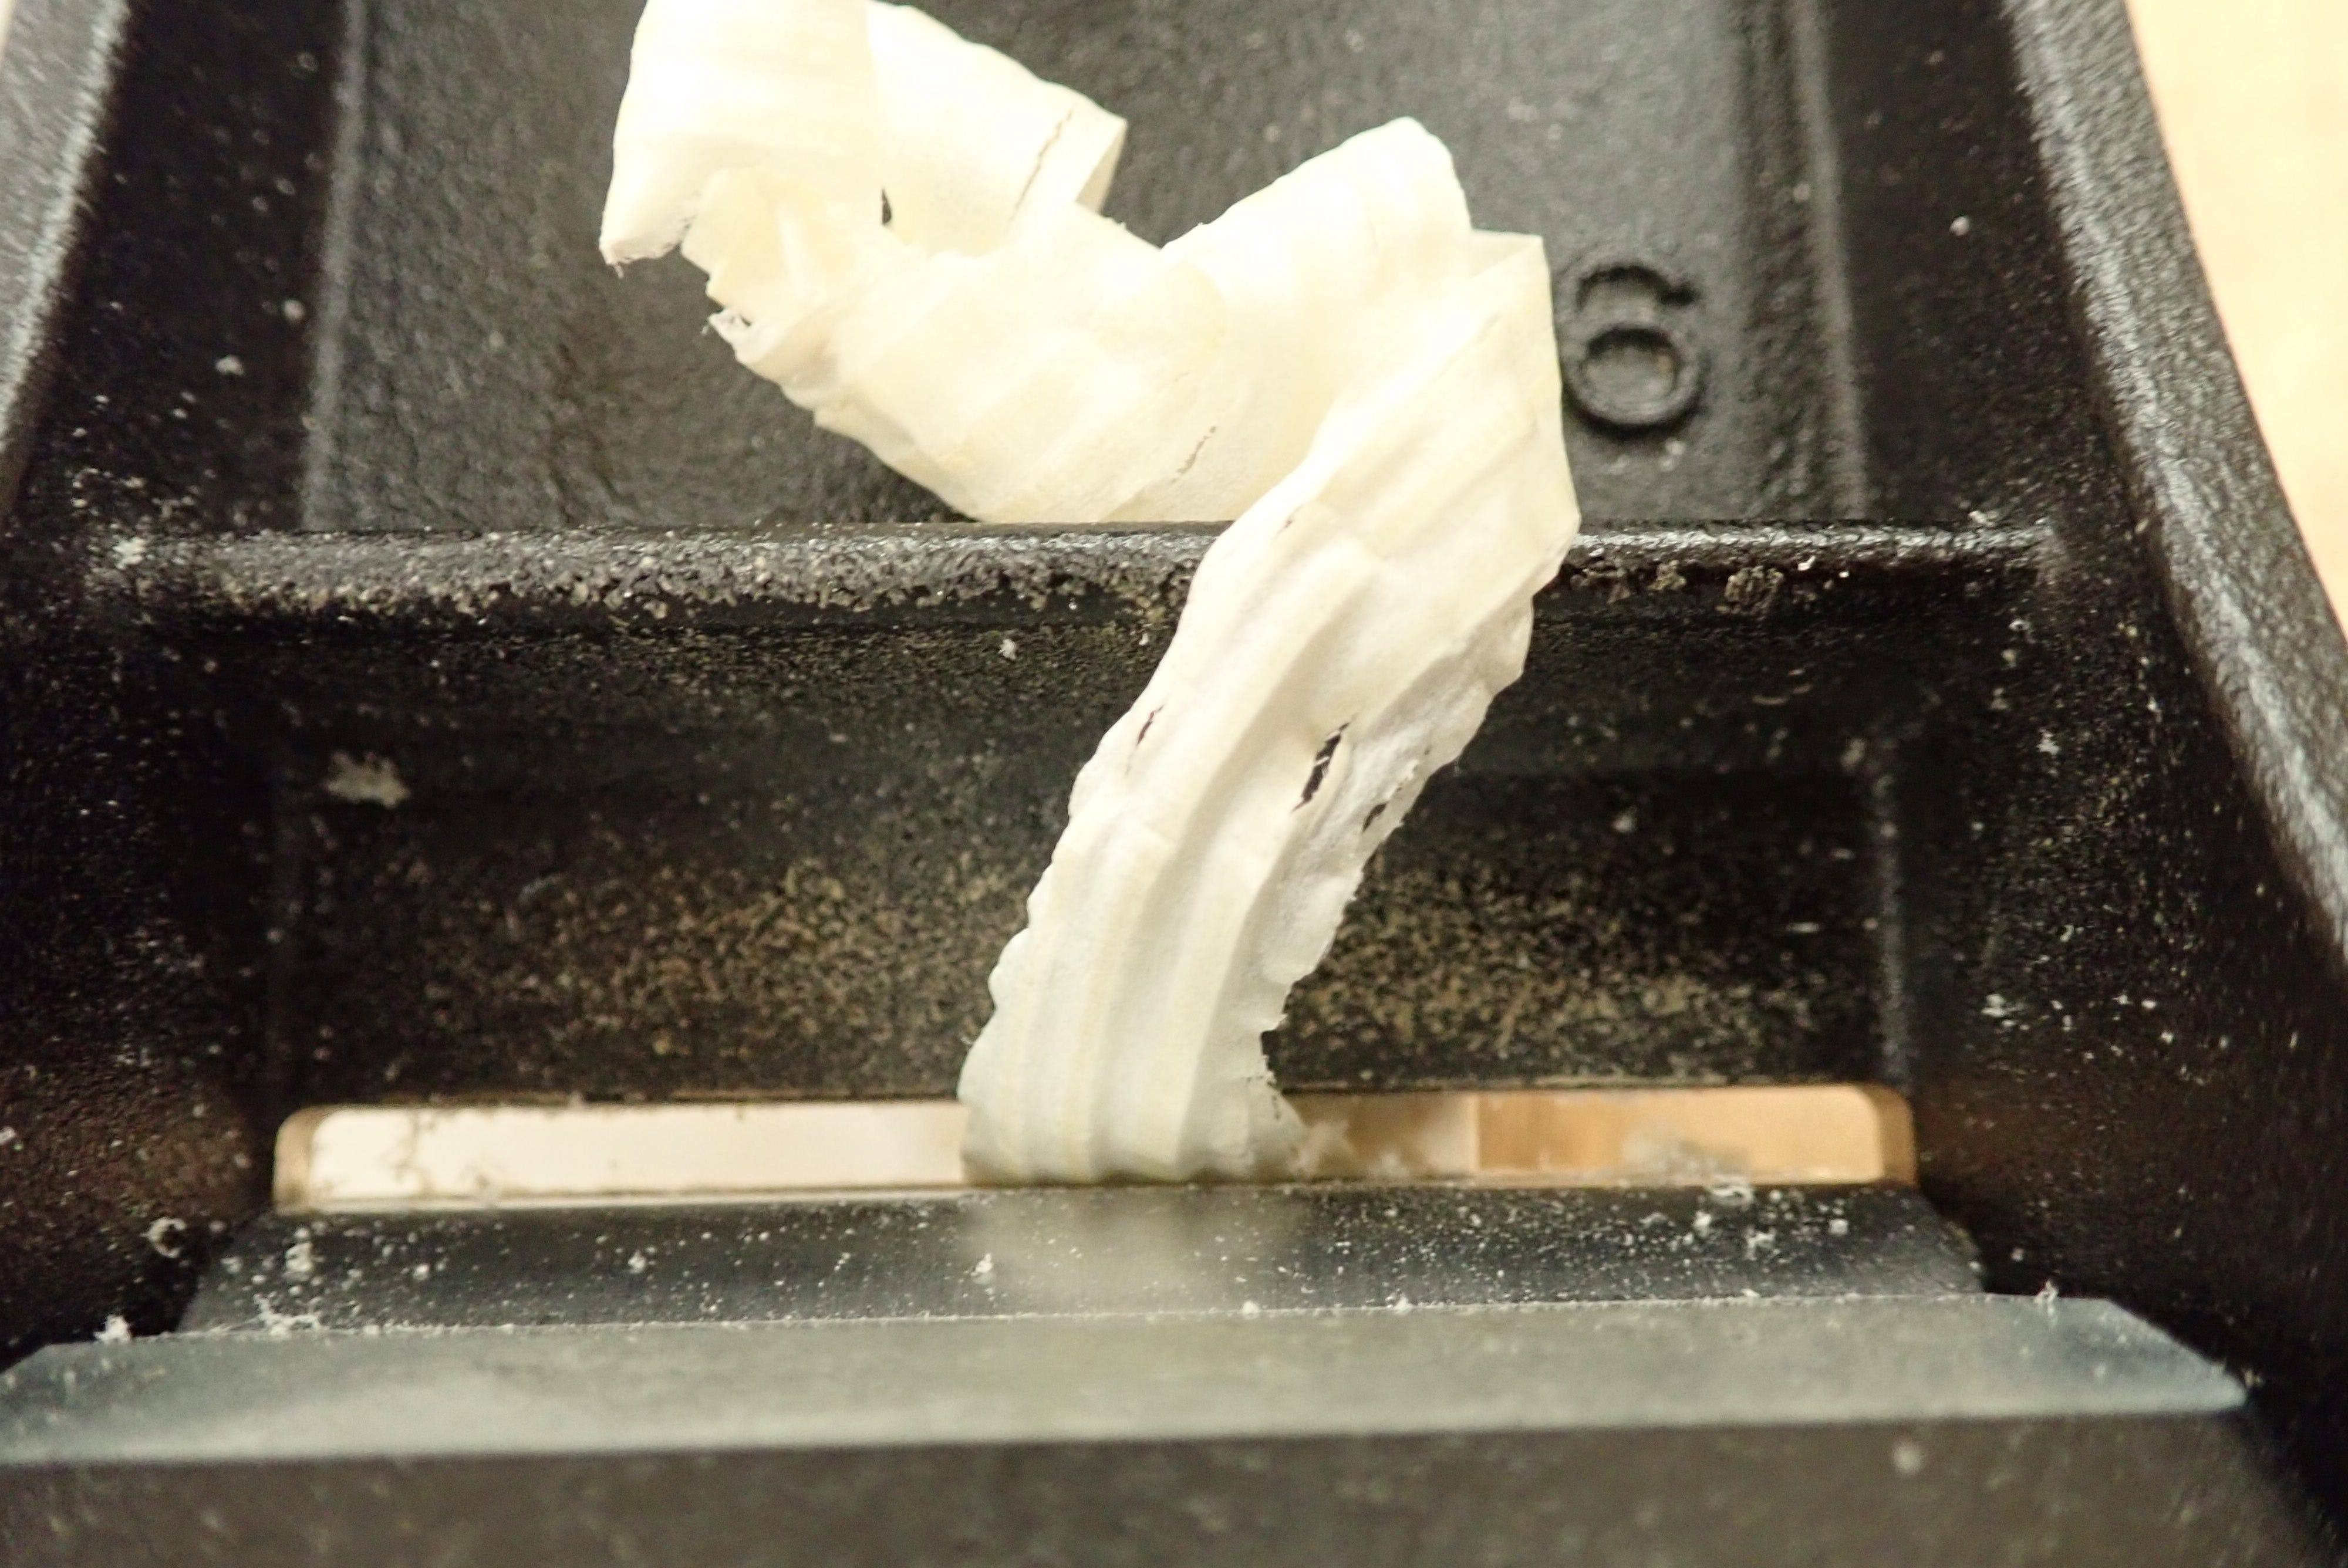
So … how do you plane it squarer? By tilting your plane? By offsetting the plane’s lateral blade adjustment? No! By taking advantage of the fact that your jointer plane should be set up with a slightly cambered blade! Here’s a picture of the quite pronounced camber on my FrankenStanley jack plane, just to illustrate:
The camber on your jointer plane should be very slight in comparison. The next thing to keep in mind is how you hold the plane when running it along the edge: Try holding it with your left thumb pressing down on the front knob (or on the ‘forefoot’ itself), and your two other strong fingers tucked underneath the sole, rubbing up against the board.
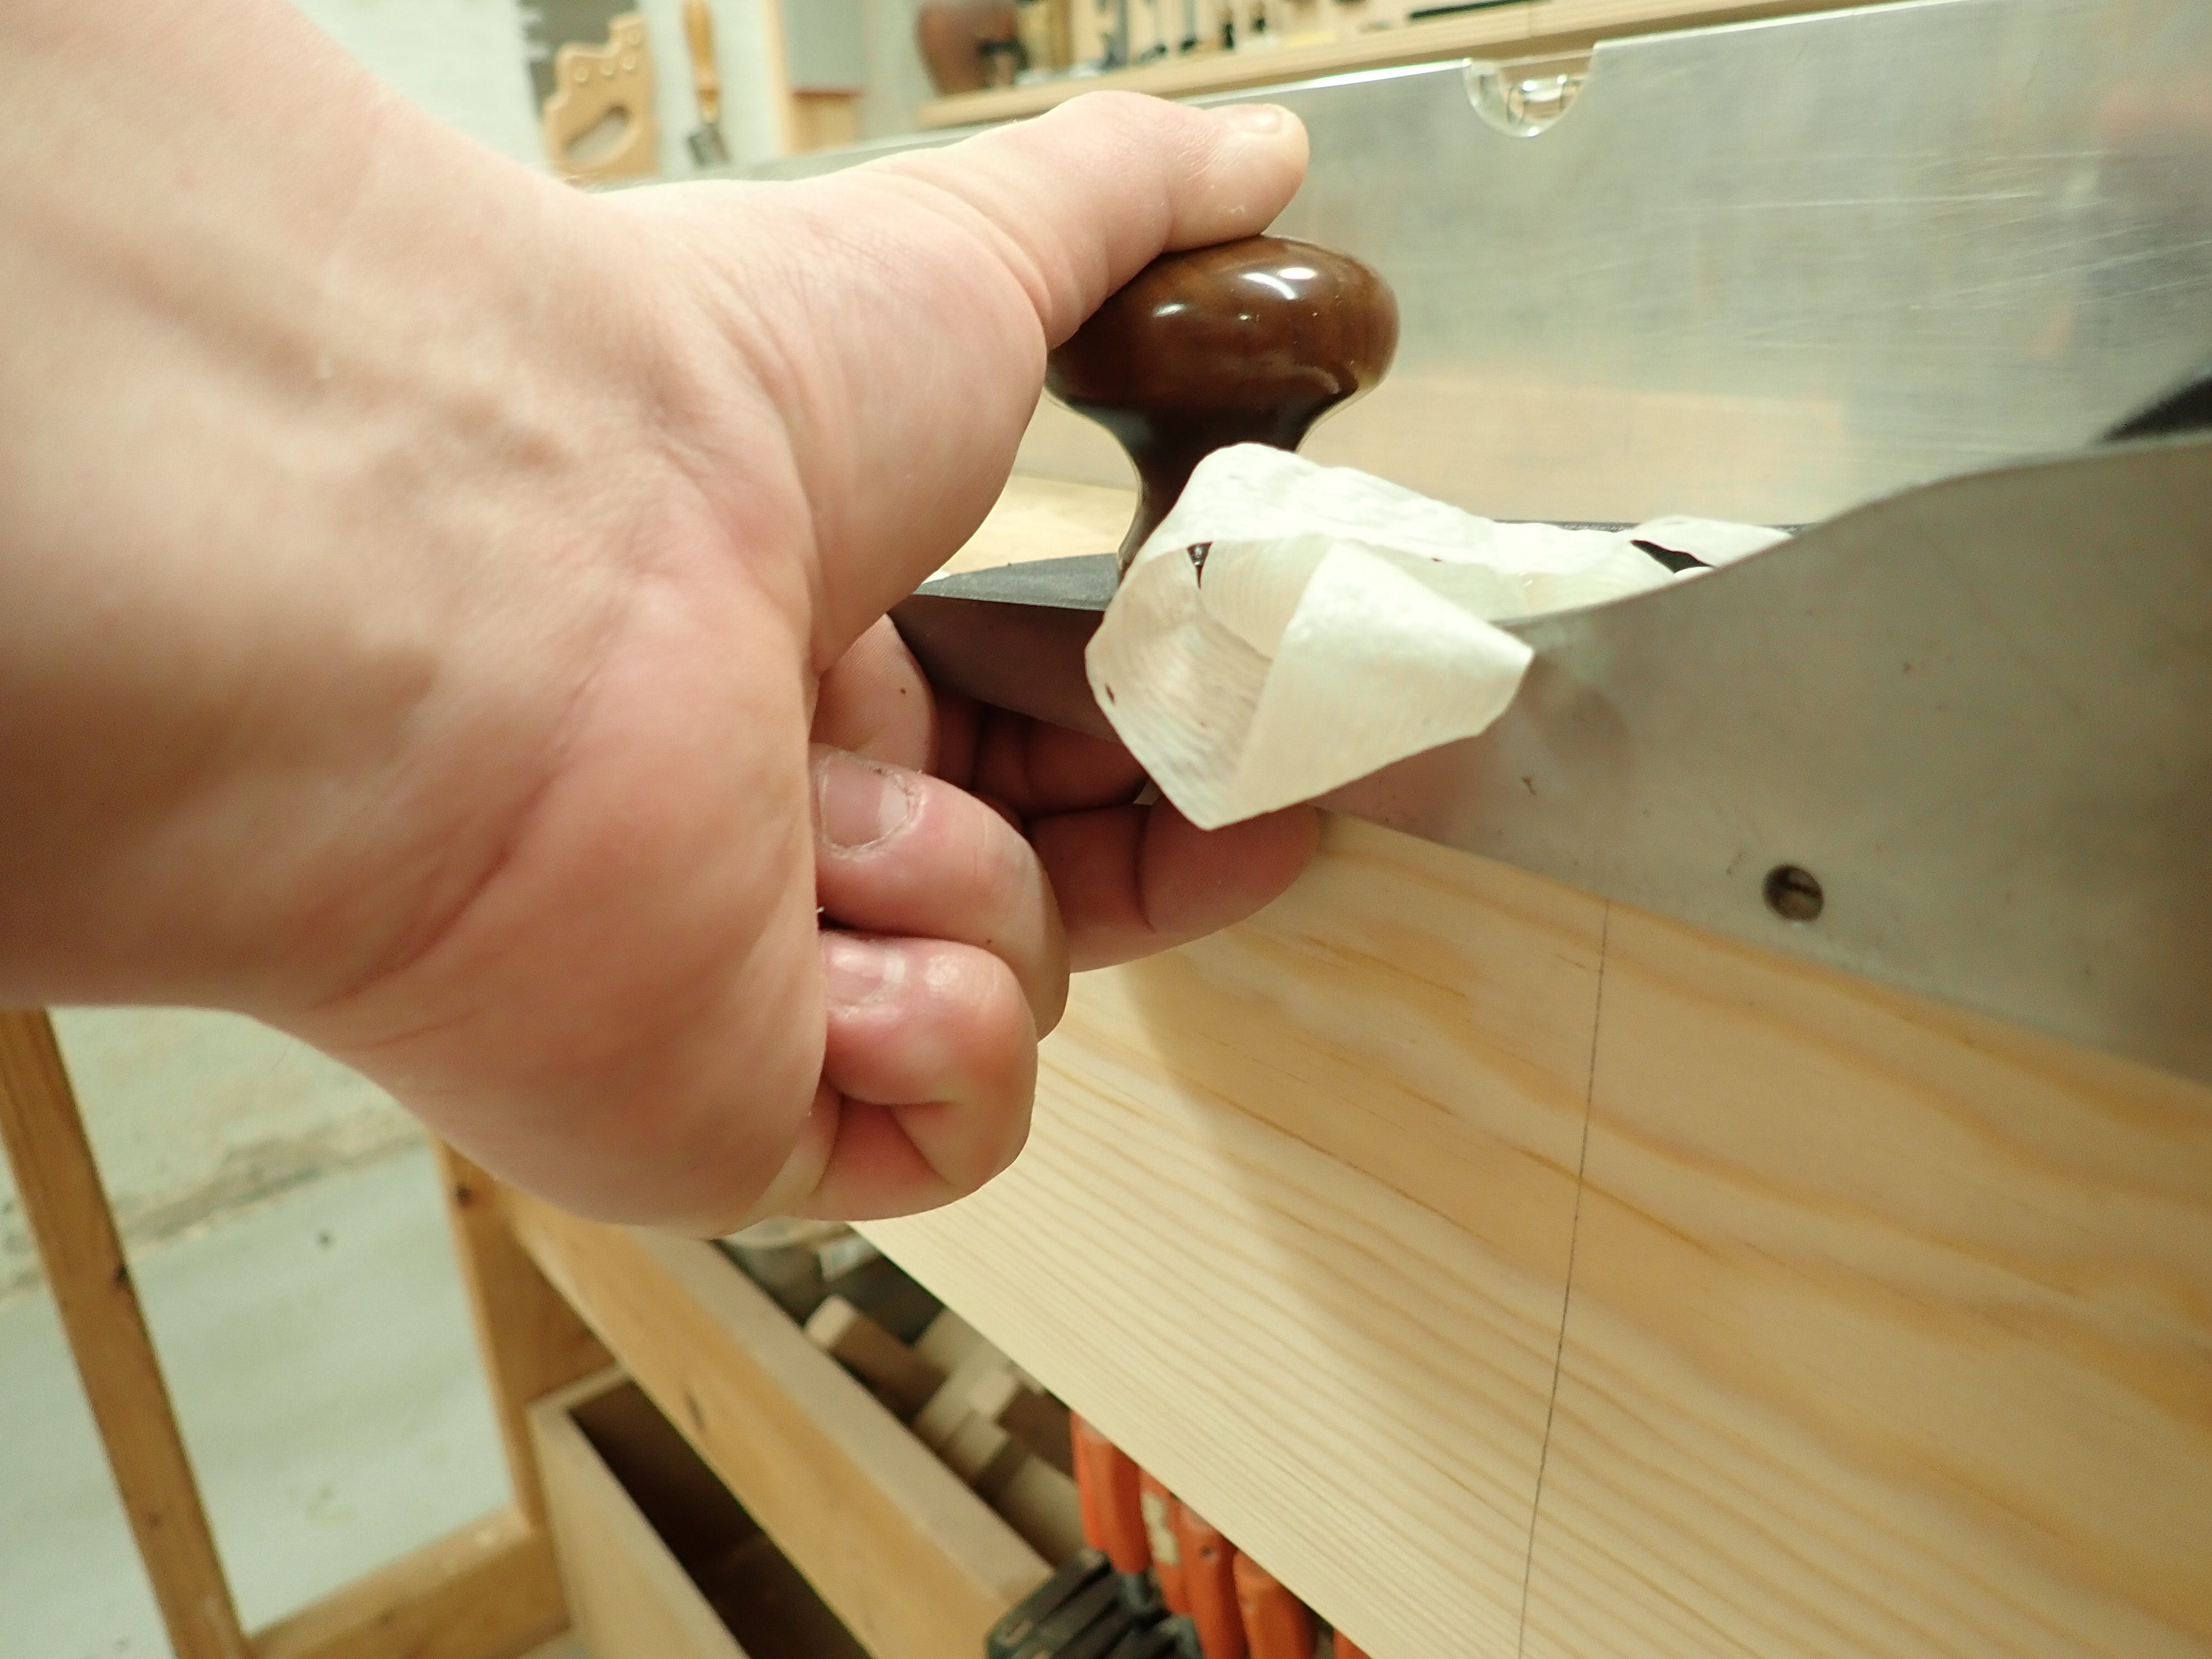
This allows you to control the plane’s (sideways) position on the edge as you take your pass. If the plane/blade is centered on the edge, it will take a symmetrical/even shaving. If it’s moved over to one side, the cambered blade will take a heavier cut on that side — and hopefully correcting the out-of-squareness. This is sometimes called the camber shift method.
Or to illustrate the effect schematically:
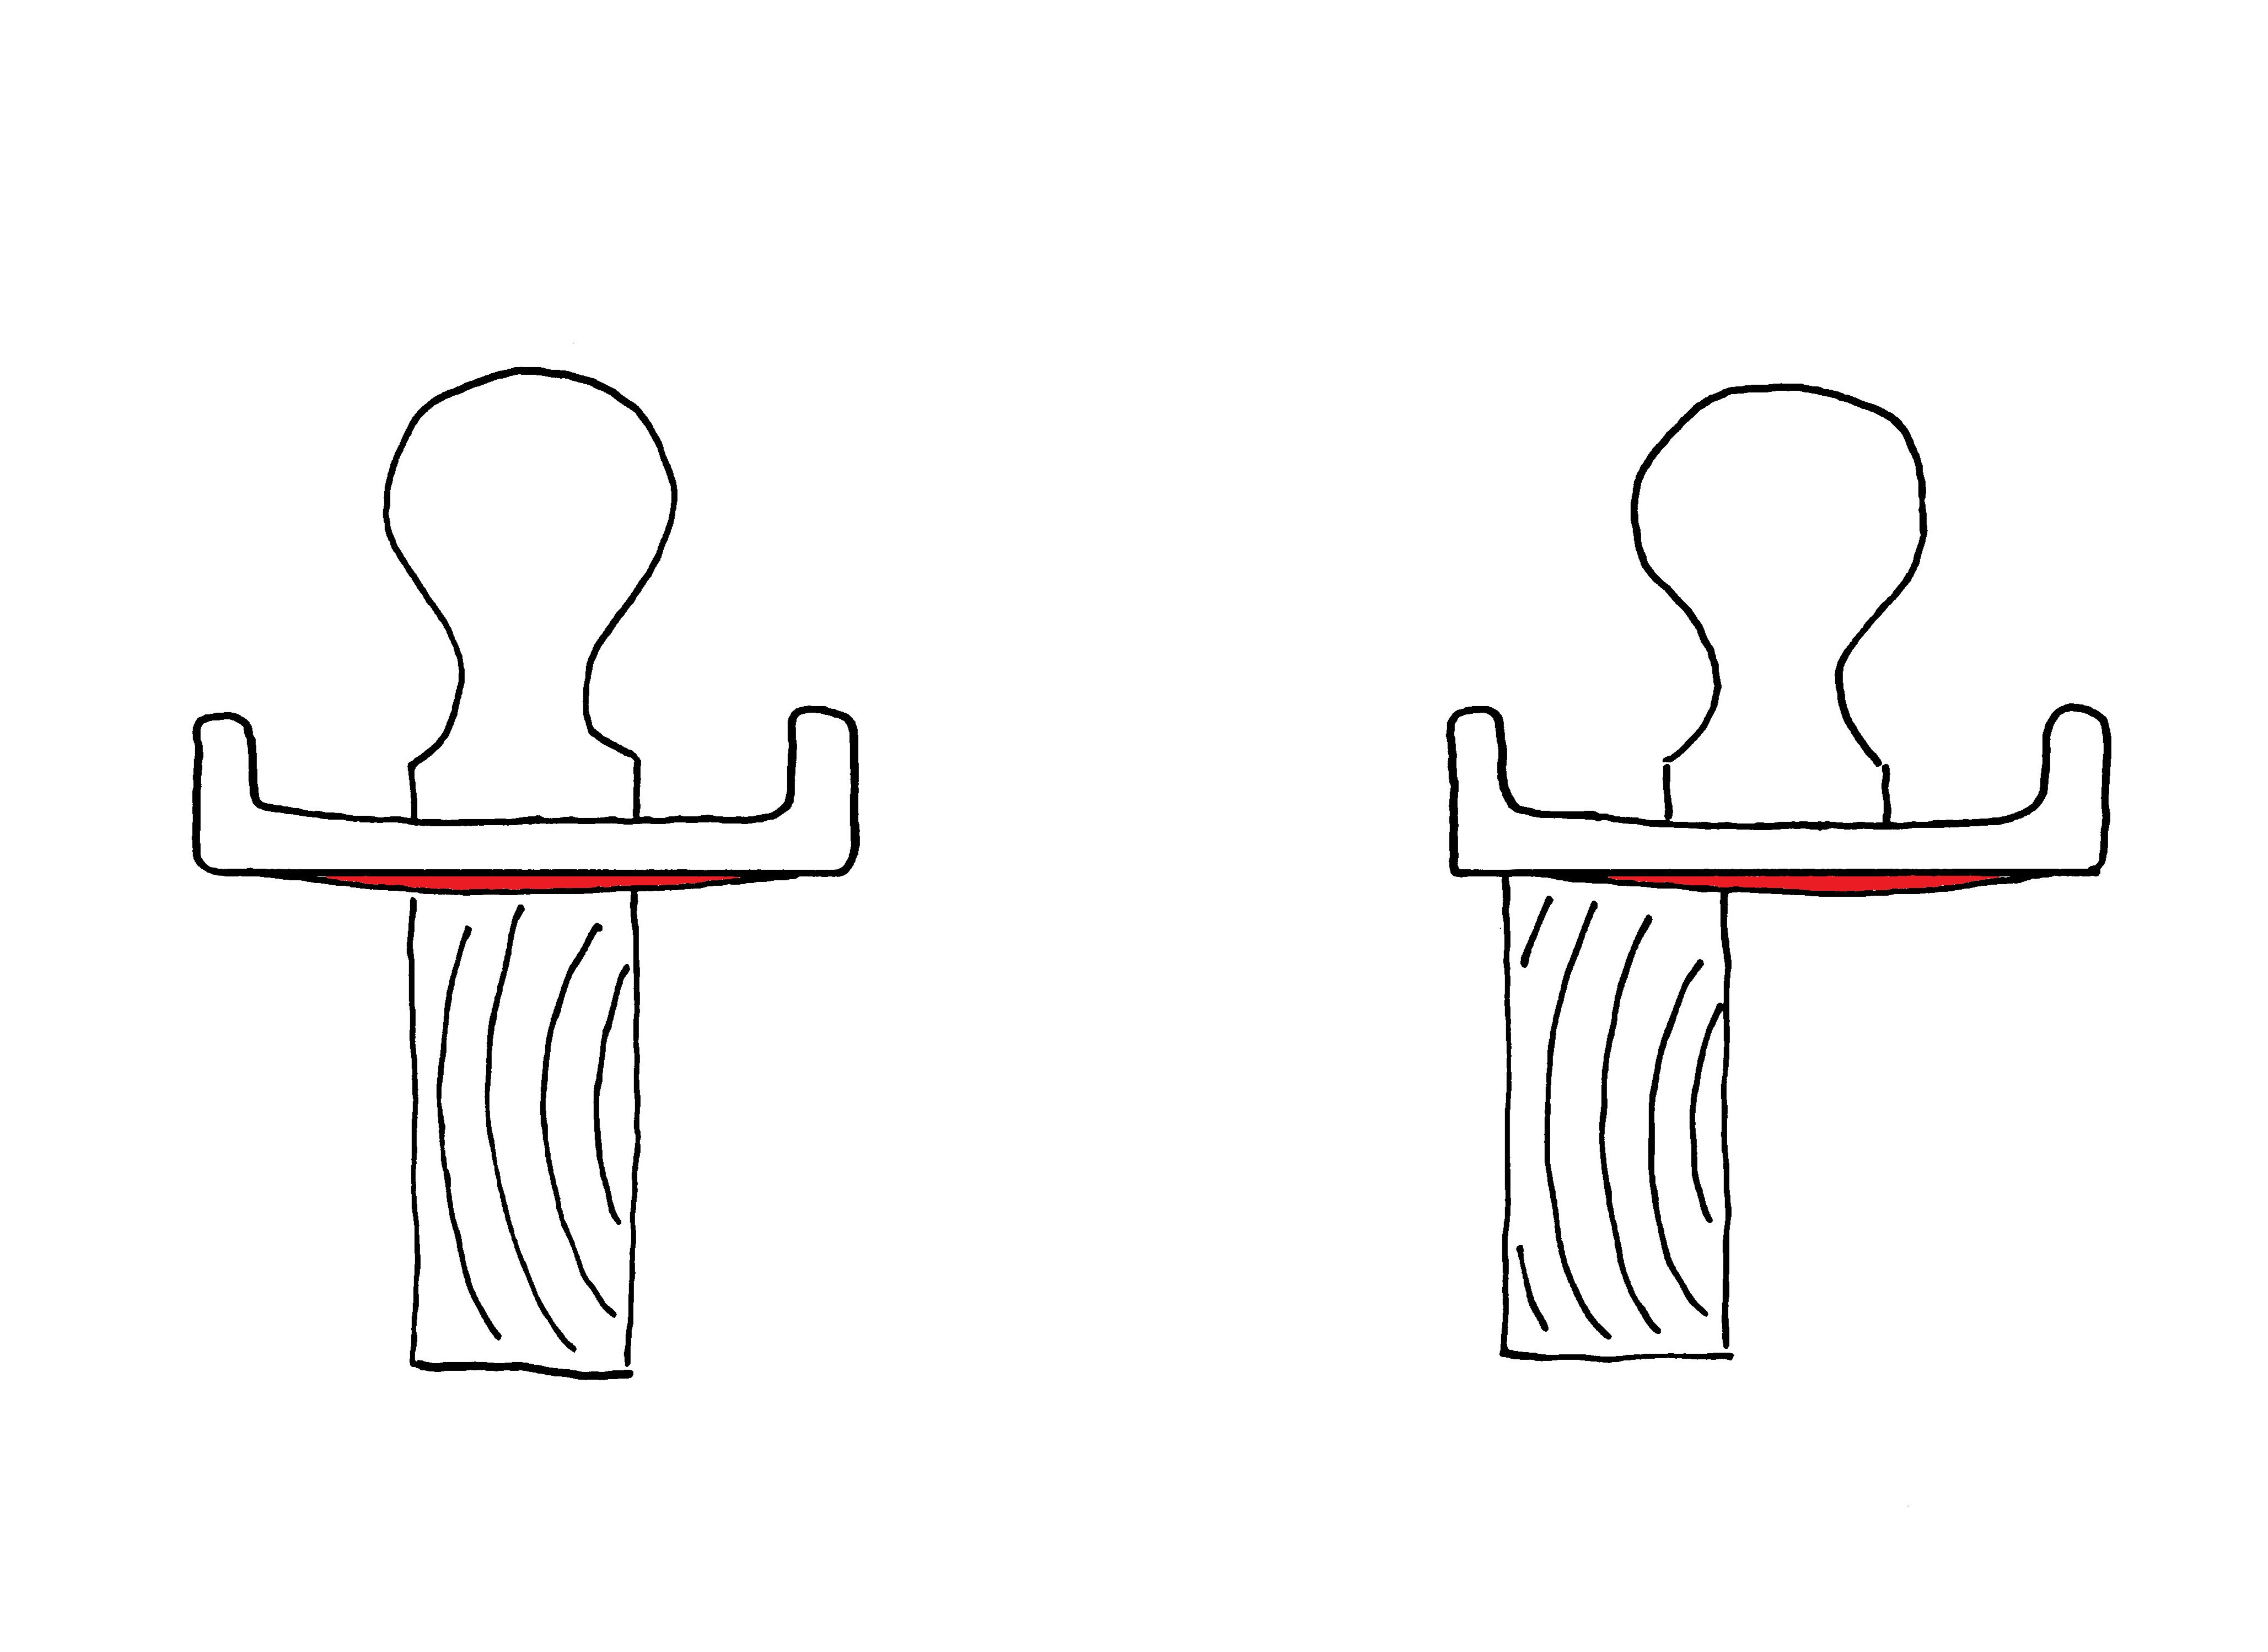
By shifting the plane sideways as you move it along the board you should, with experience, be able to square off the edge. When you think you’re good, finish off with one continuous, full-length, centered pass before you check for squareness again. It takes some years of practice to do this consistently well, but so does playing the trumpet.
***
Addendum: The technique described above works well on stock that’s not too thin - from 3/4” or 19mm let’s say - but gets increasingly wobbly as the edge you’re trying to joint gets narrower. Fret not! The solution is to lay your thin thickness flat on the bench and use your plane on its side; think of it as shooting long-grain.
You’ll need to elevate your work-piece so the plane iron can get at’er, but that’s easily done by putting a bit of scrap under it.
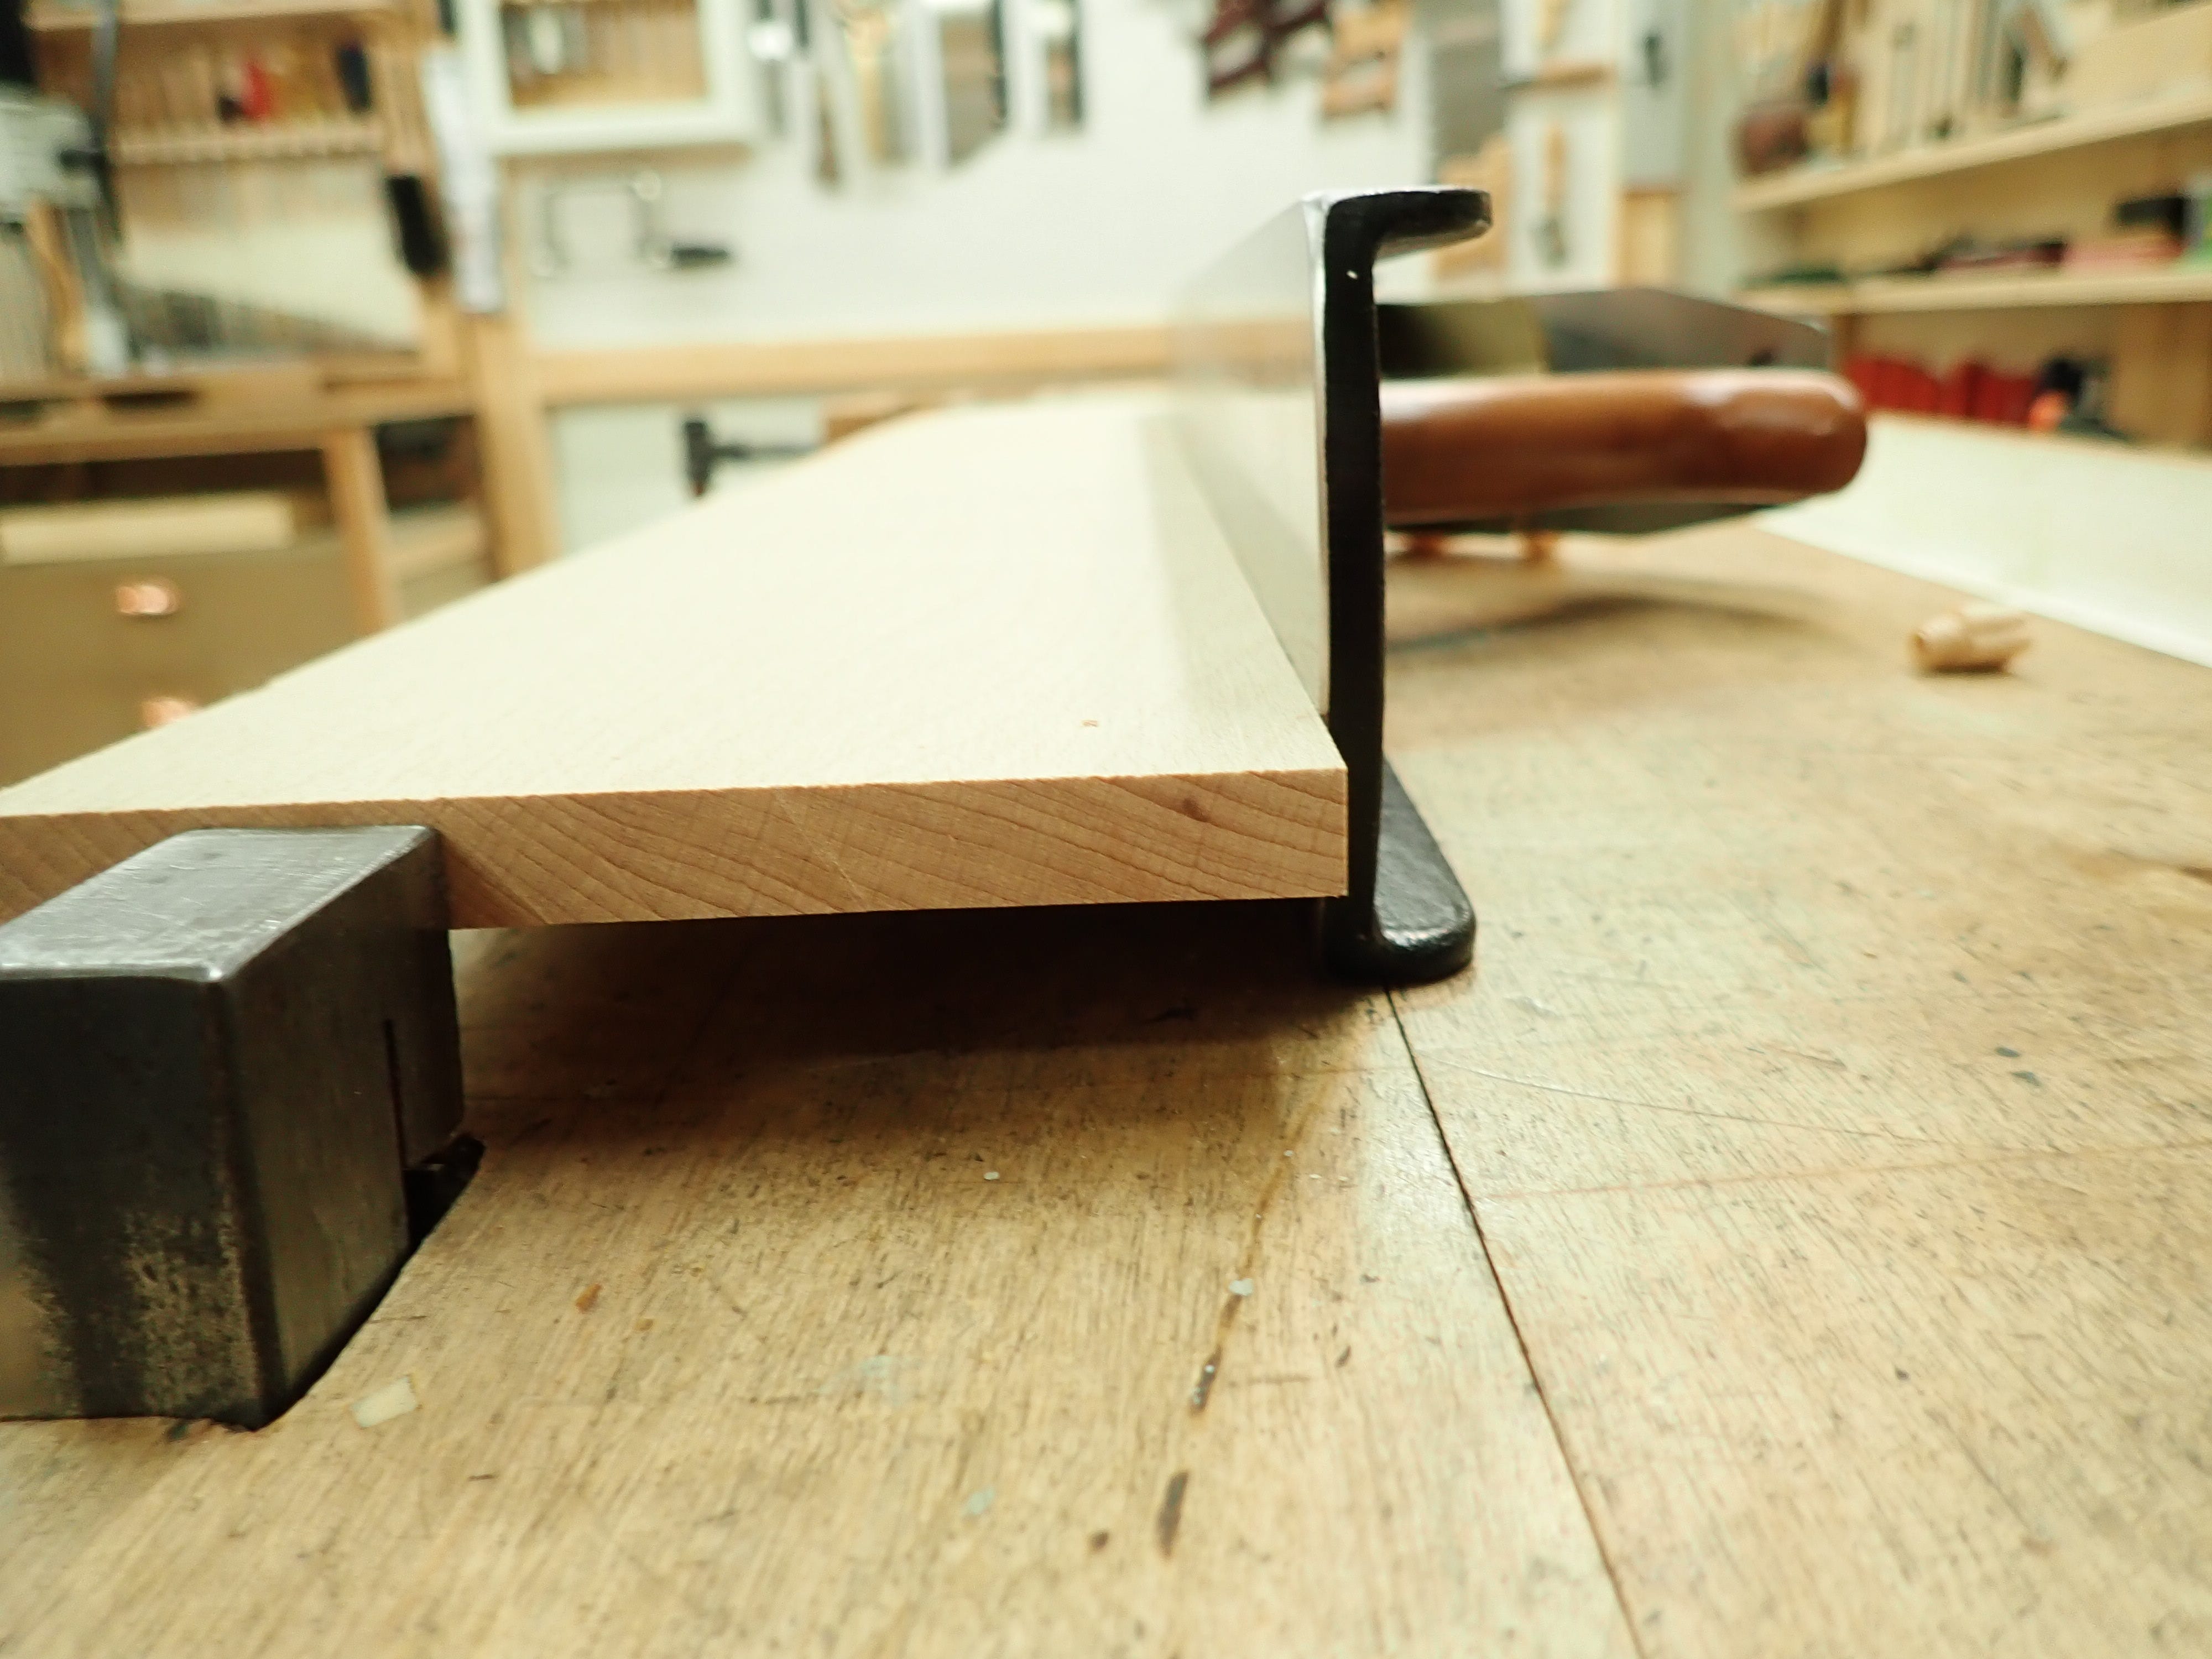
Mind! that the plane is cutting off-centre, so either compensate with the plane’s lateral adjustment or swap out the blade for an un-cambered one.
Good luck!
***
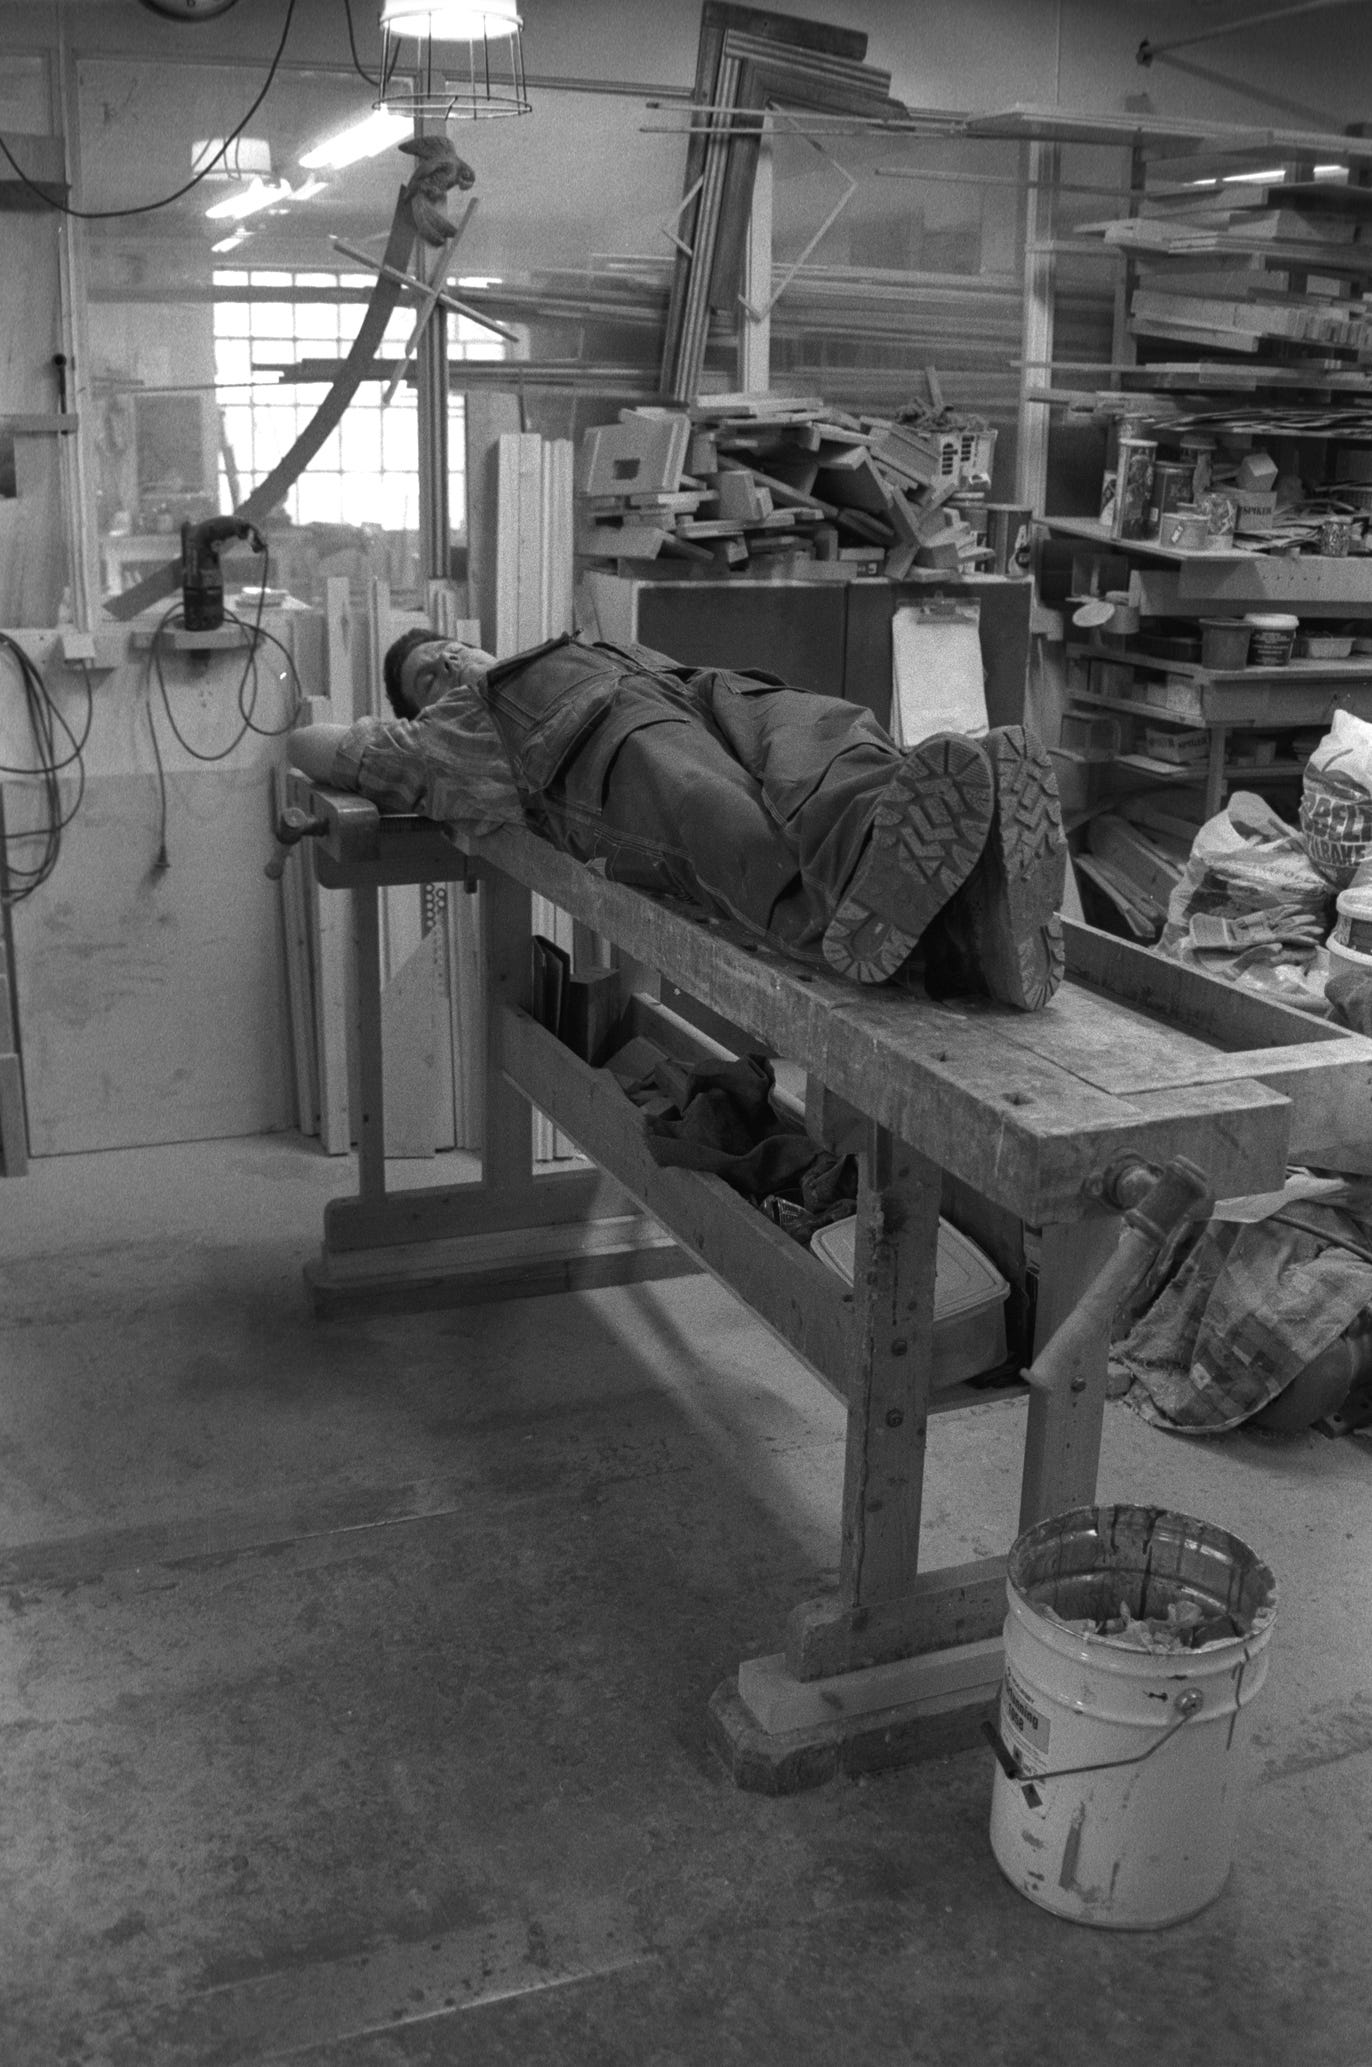
Look at all that space.
Thanks Walter, handy post. I like the tip about pivoting a straight edge to find the high spots. I currently just use the edge of my #7 jointer.