
Shaping a seat
pentagonal pine

[ soundtrack : J.S. Bach - French Suite No. 5, Allemande - Murray Perahia ]
****
This post is too long for email — open in browser for full length.
****
I’ve started a new, after-hours chair-making project. Thus far, I’ve only made seats with undercarriages: the milking stools were simply three sticks stuck into an oddly shaped seat, while the sawhorses were basically an elongated version of a Brettstuhl with tapering, octagonal legs (but without a backrest). My latest endeavour, the kitchen stools, had shapely legs, H-stretchers and a fancy, faceted seat. Time to try making something with a backrest and a slightly more complicated (unsymmetrical) undercarriage.
I have a pair of blue, Swedish stick-chairs that I rescued from a skip (dump-ster) ten years ago. I use one at my desk and the other in my bedroom.
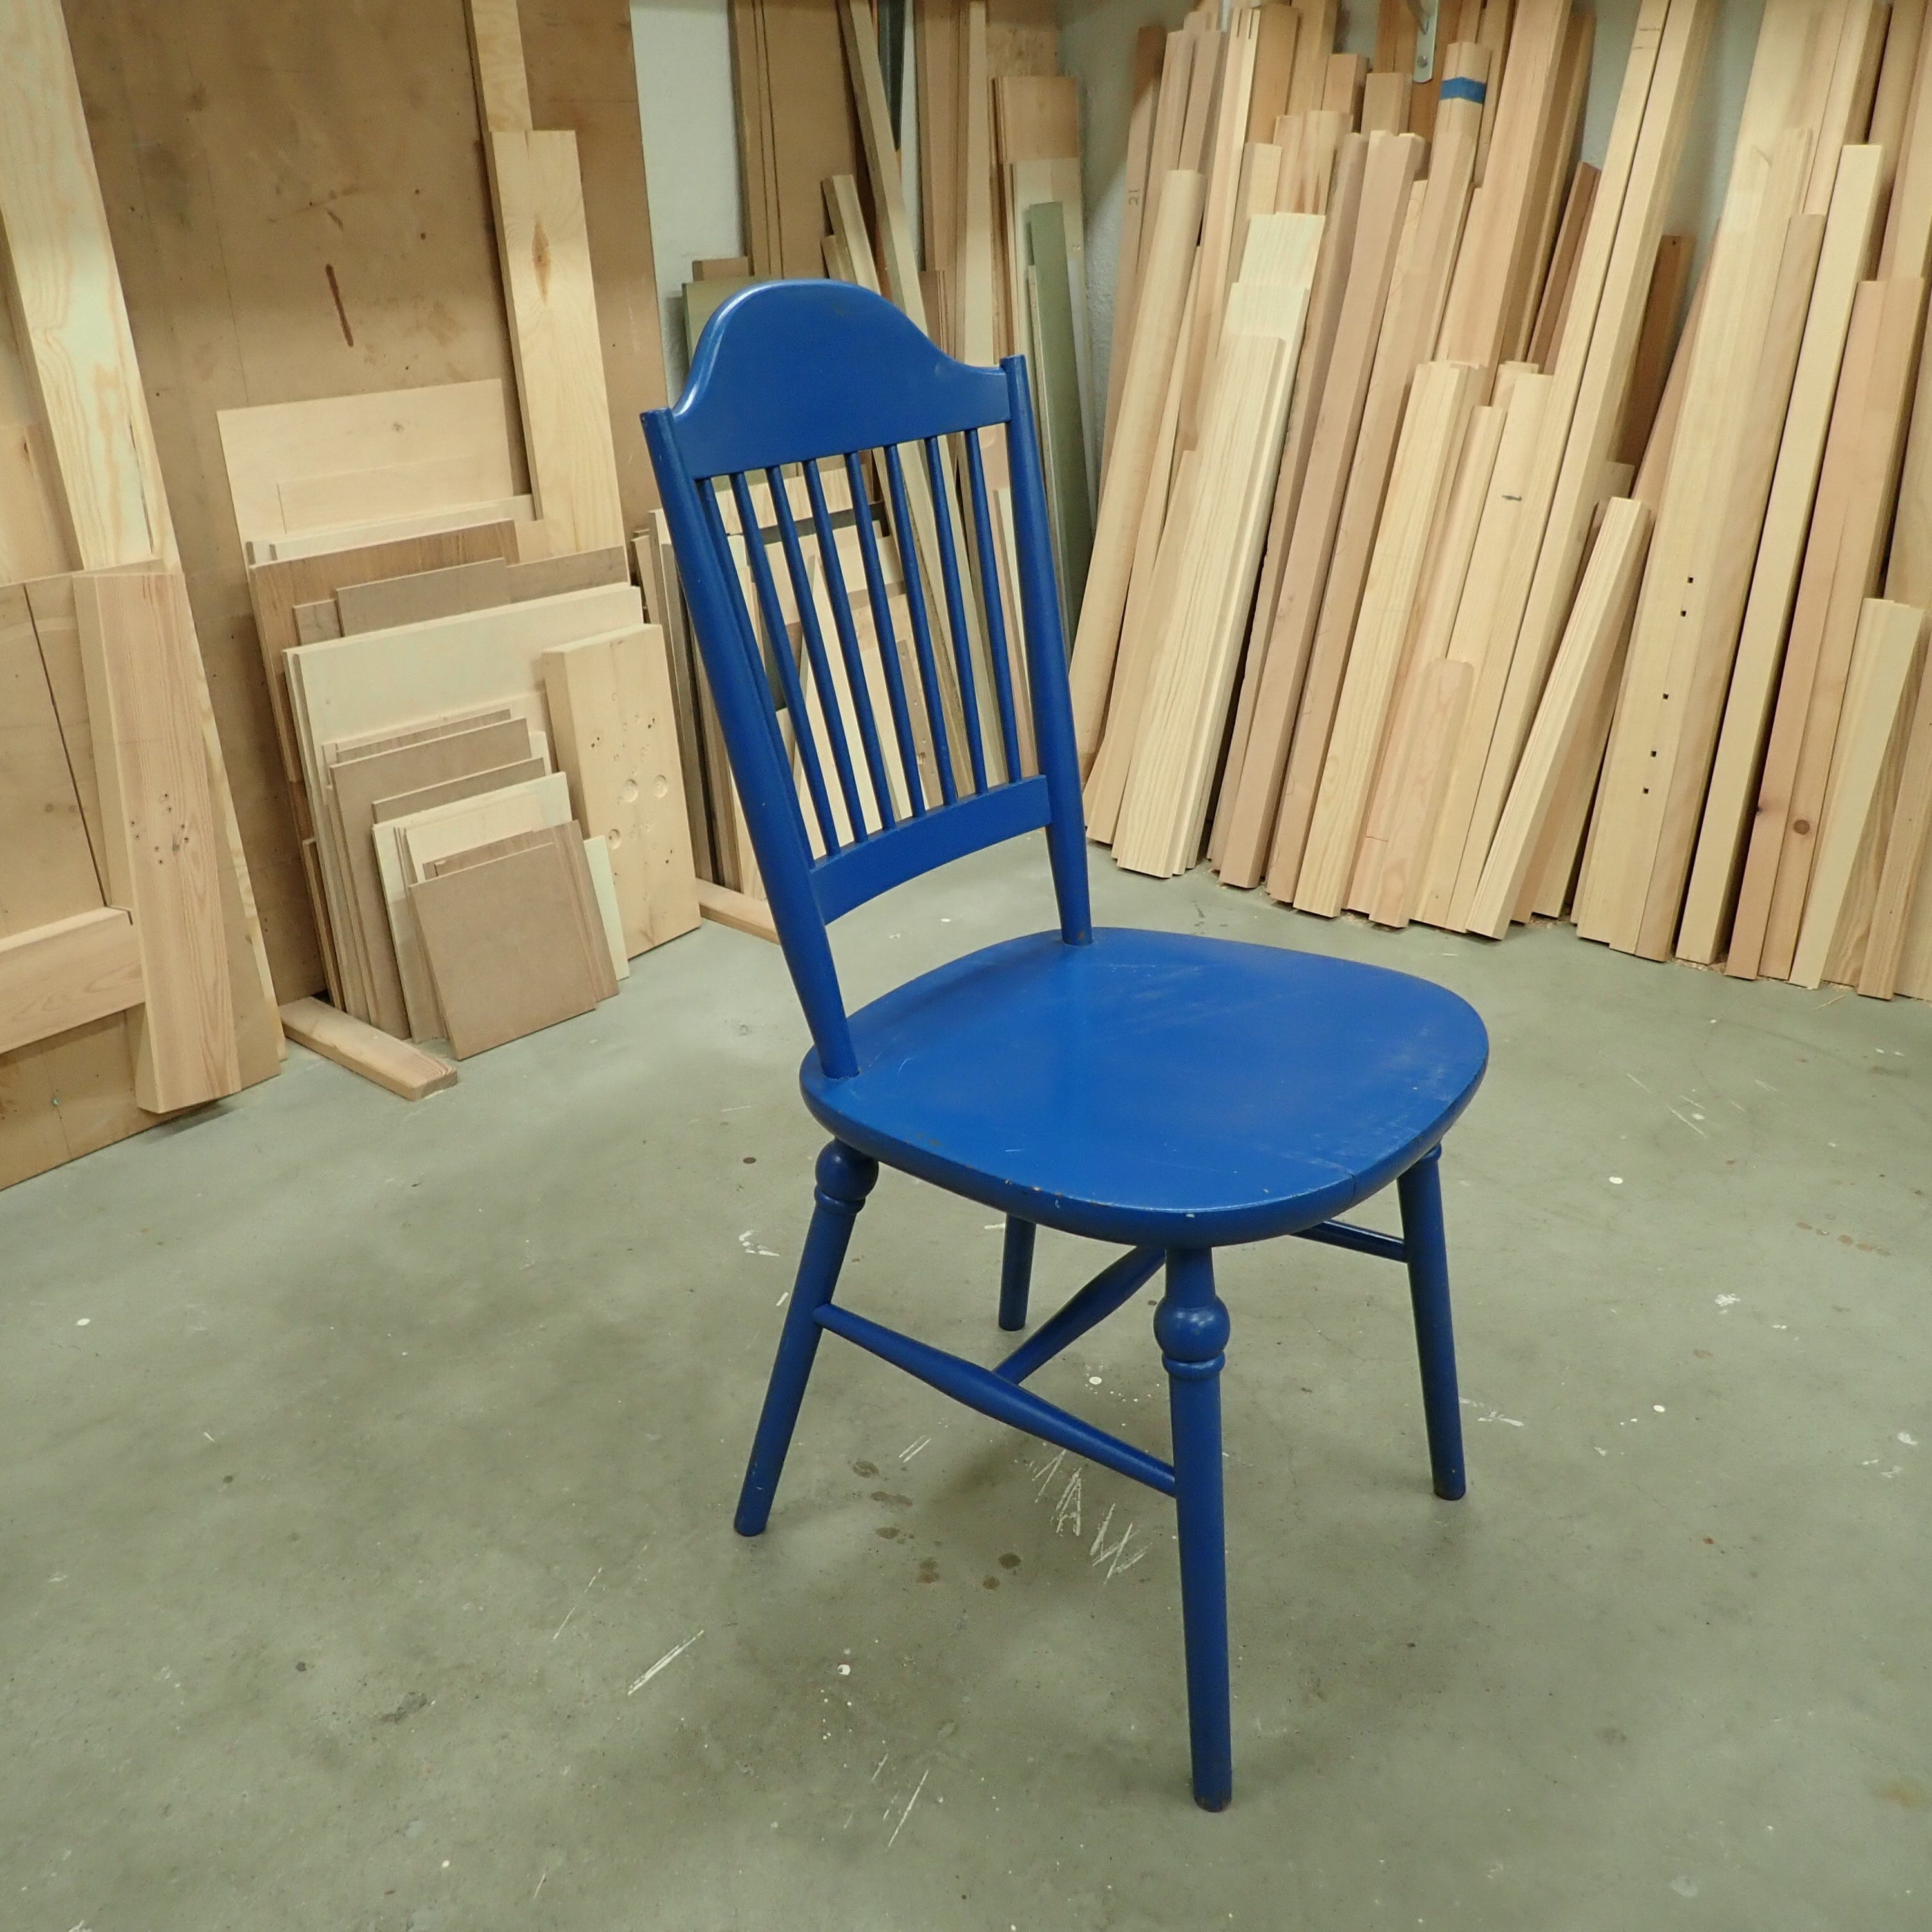
They’re made at Nässjö Stolfabrik and seem to originally have had turned finials atop of the backrest staves to match the knobs on the legs.
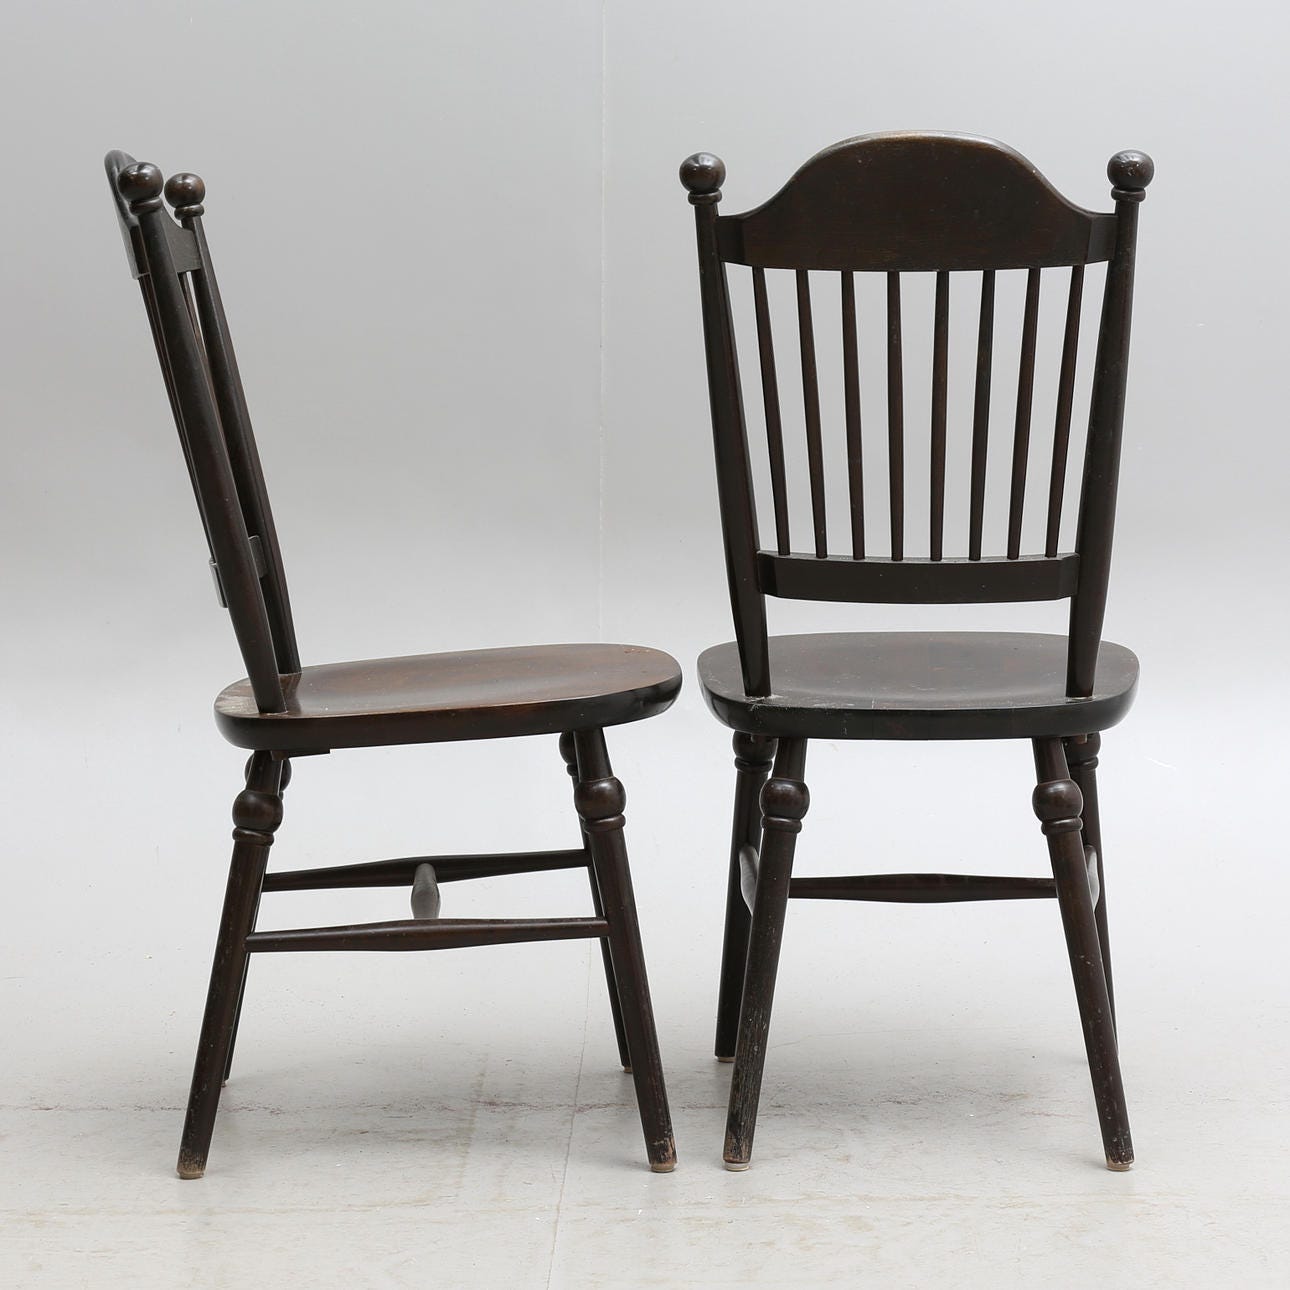
They’re entirely unremarkable chairs, and that is perhaps why I like them. Everyday things shouldn’t try too hard (it was not I who painted them blue)! I find their proportions and stance harmonious and pleasing, even if the turned knobs on the legs (and ditto finials) are a bit meh!
My plan is to use this chair design as a starting point for my own, first proper chair. I’m not going to make a copy; I just need a ‘point of departure’, and I suspect I will depart quite considerably; I have a few ideas and techniques I want to try out. It’ll be more like a chair mockup, to see if I can get a grip on the geometry of the thing. I’ll use pine leftovers to save money and effort.
The original chairs are made of hardwood (birch, I suspect) and the seat is glued together of flatsawn boards. The dry winter air is merciless …
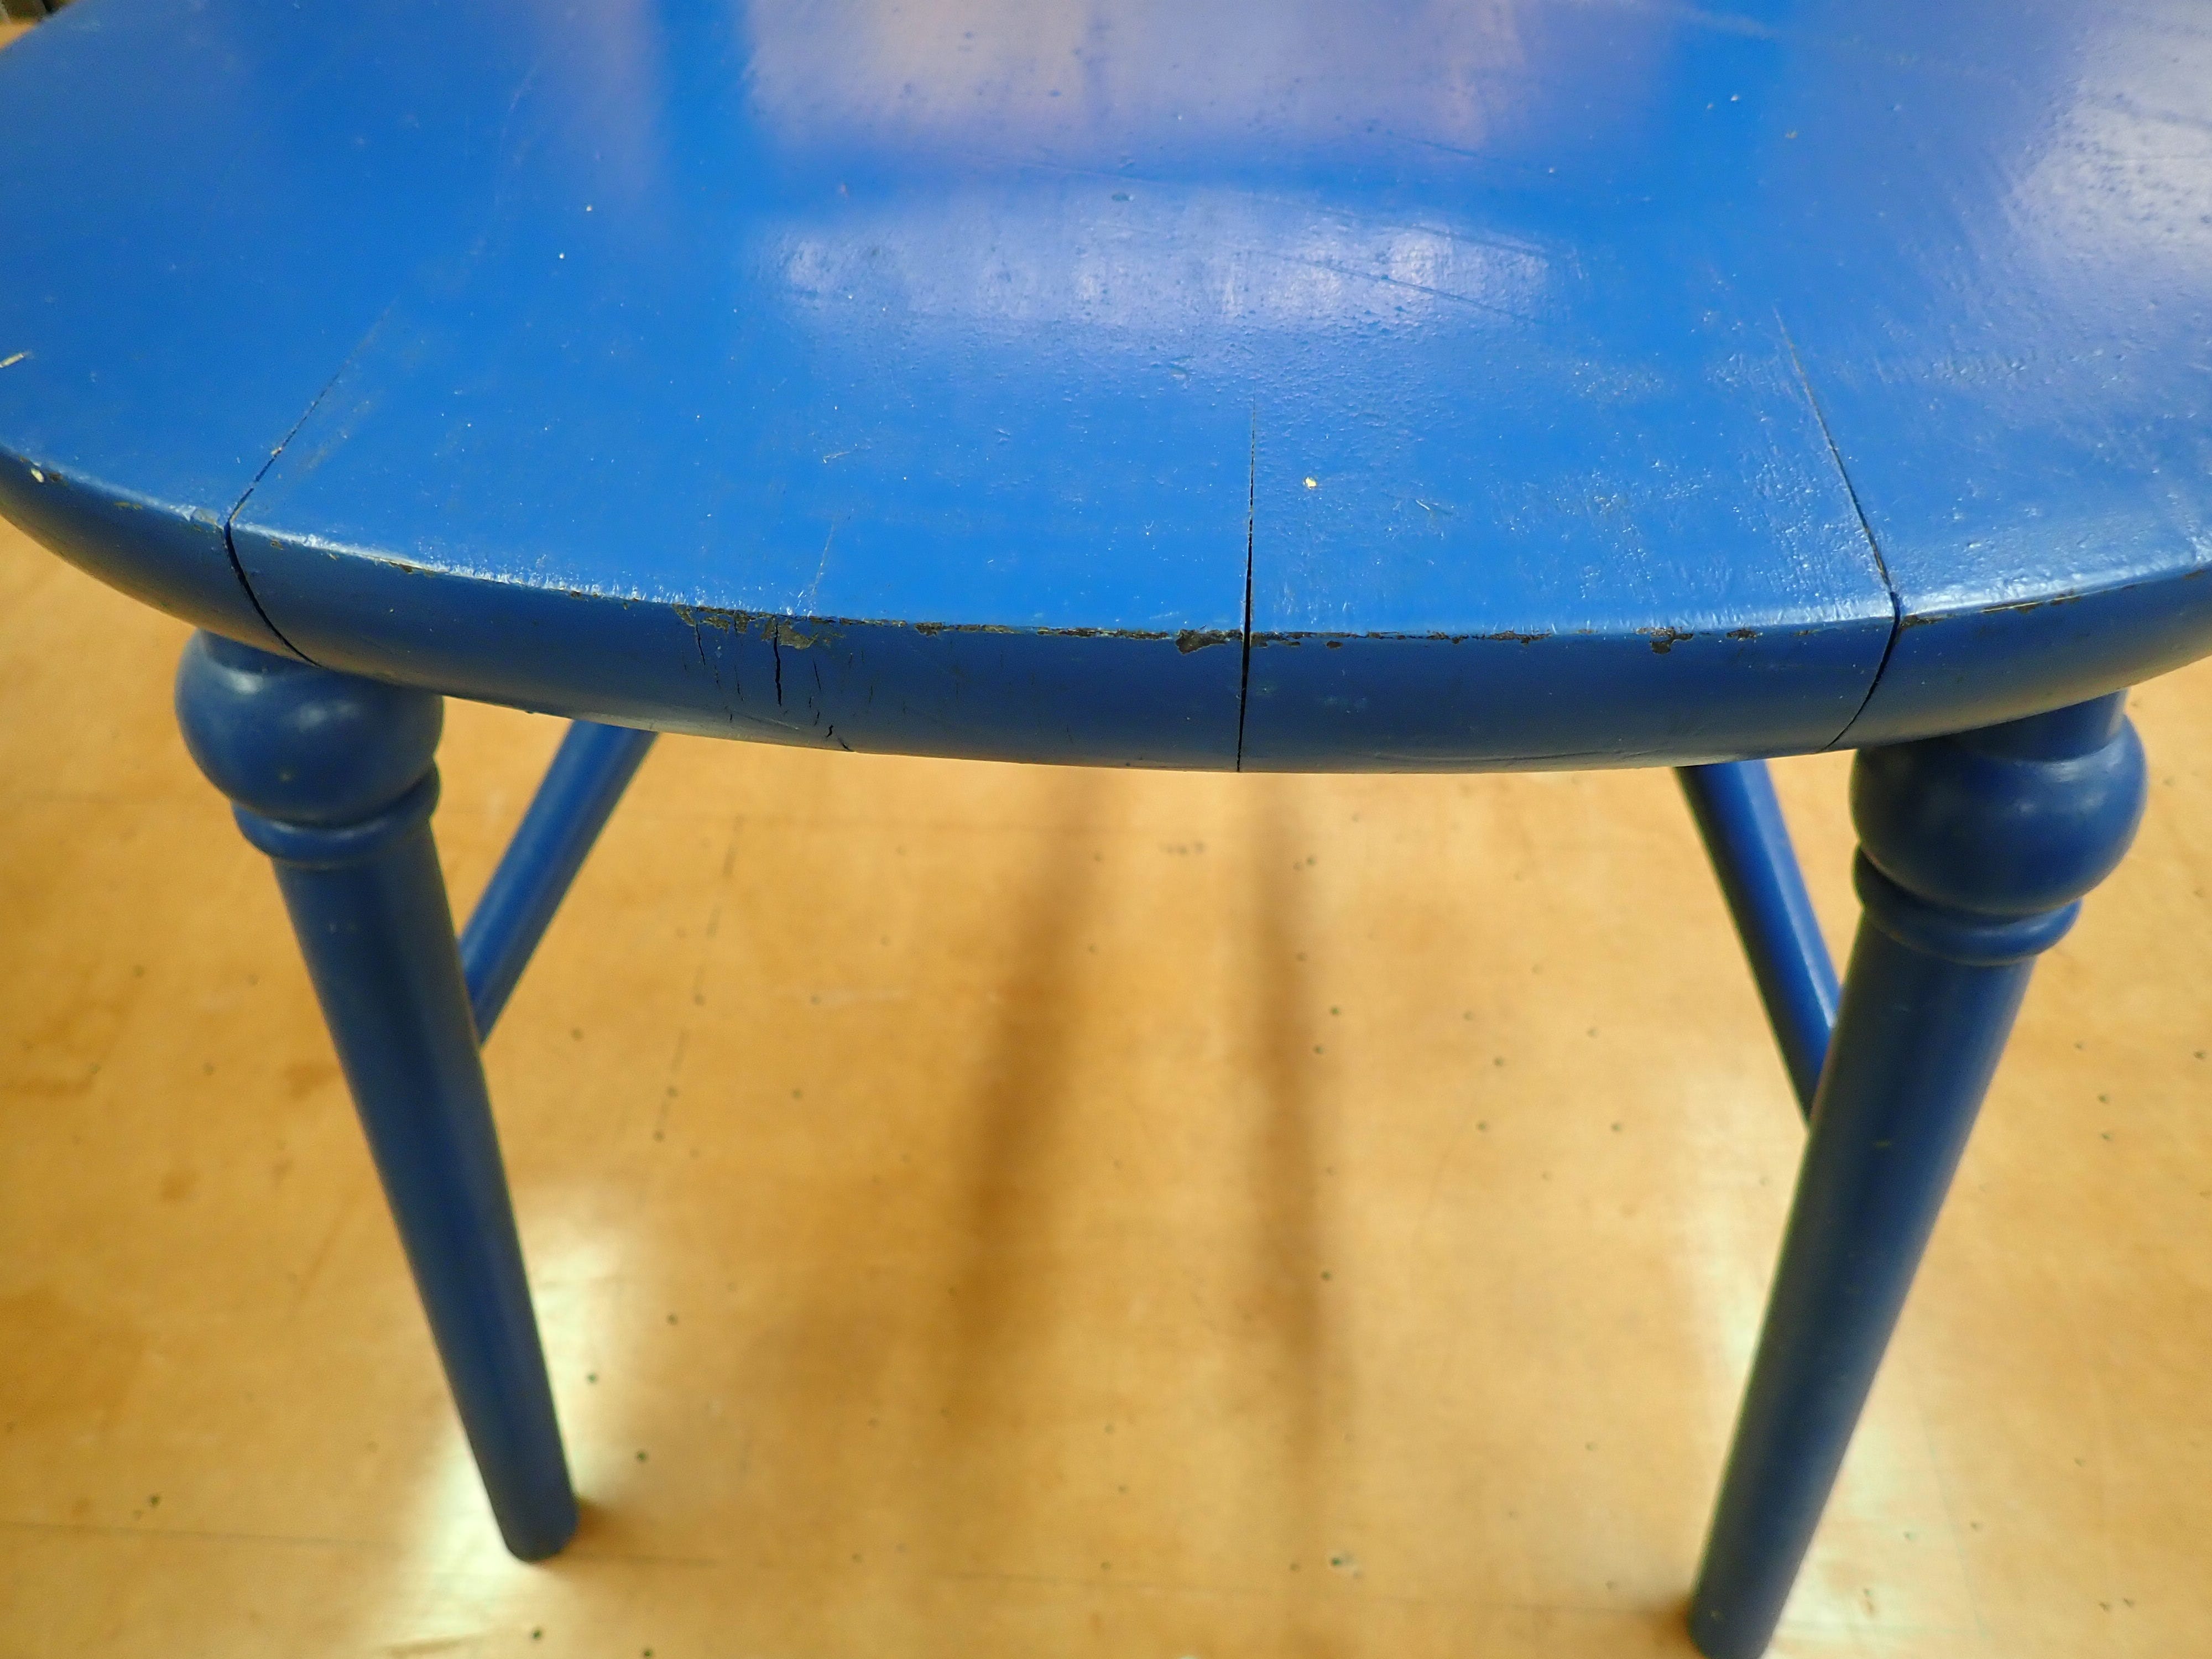
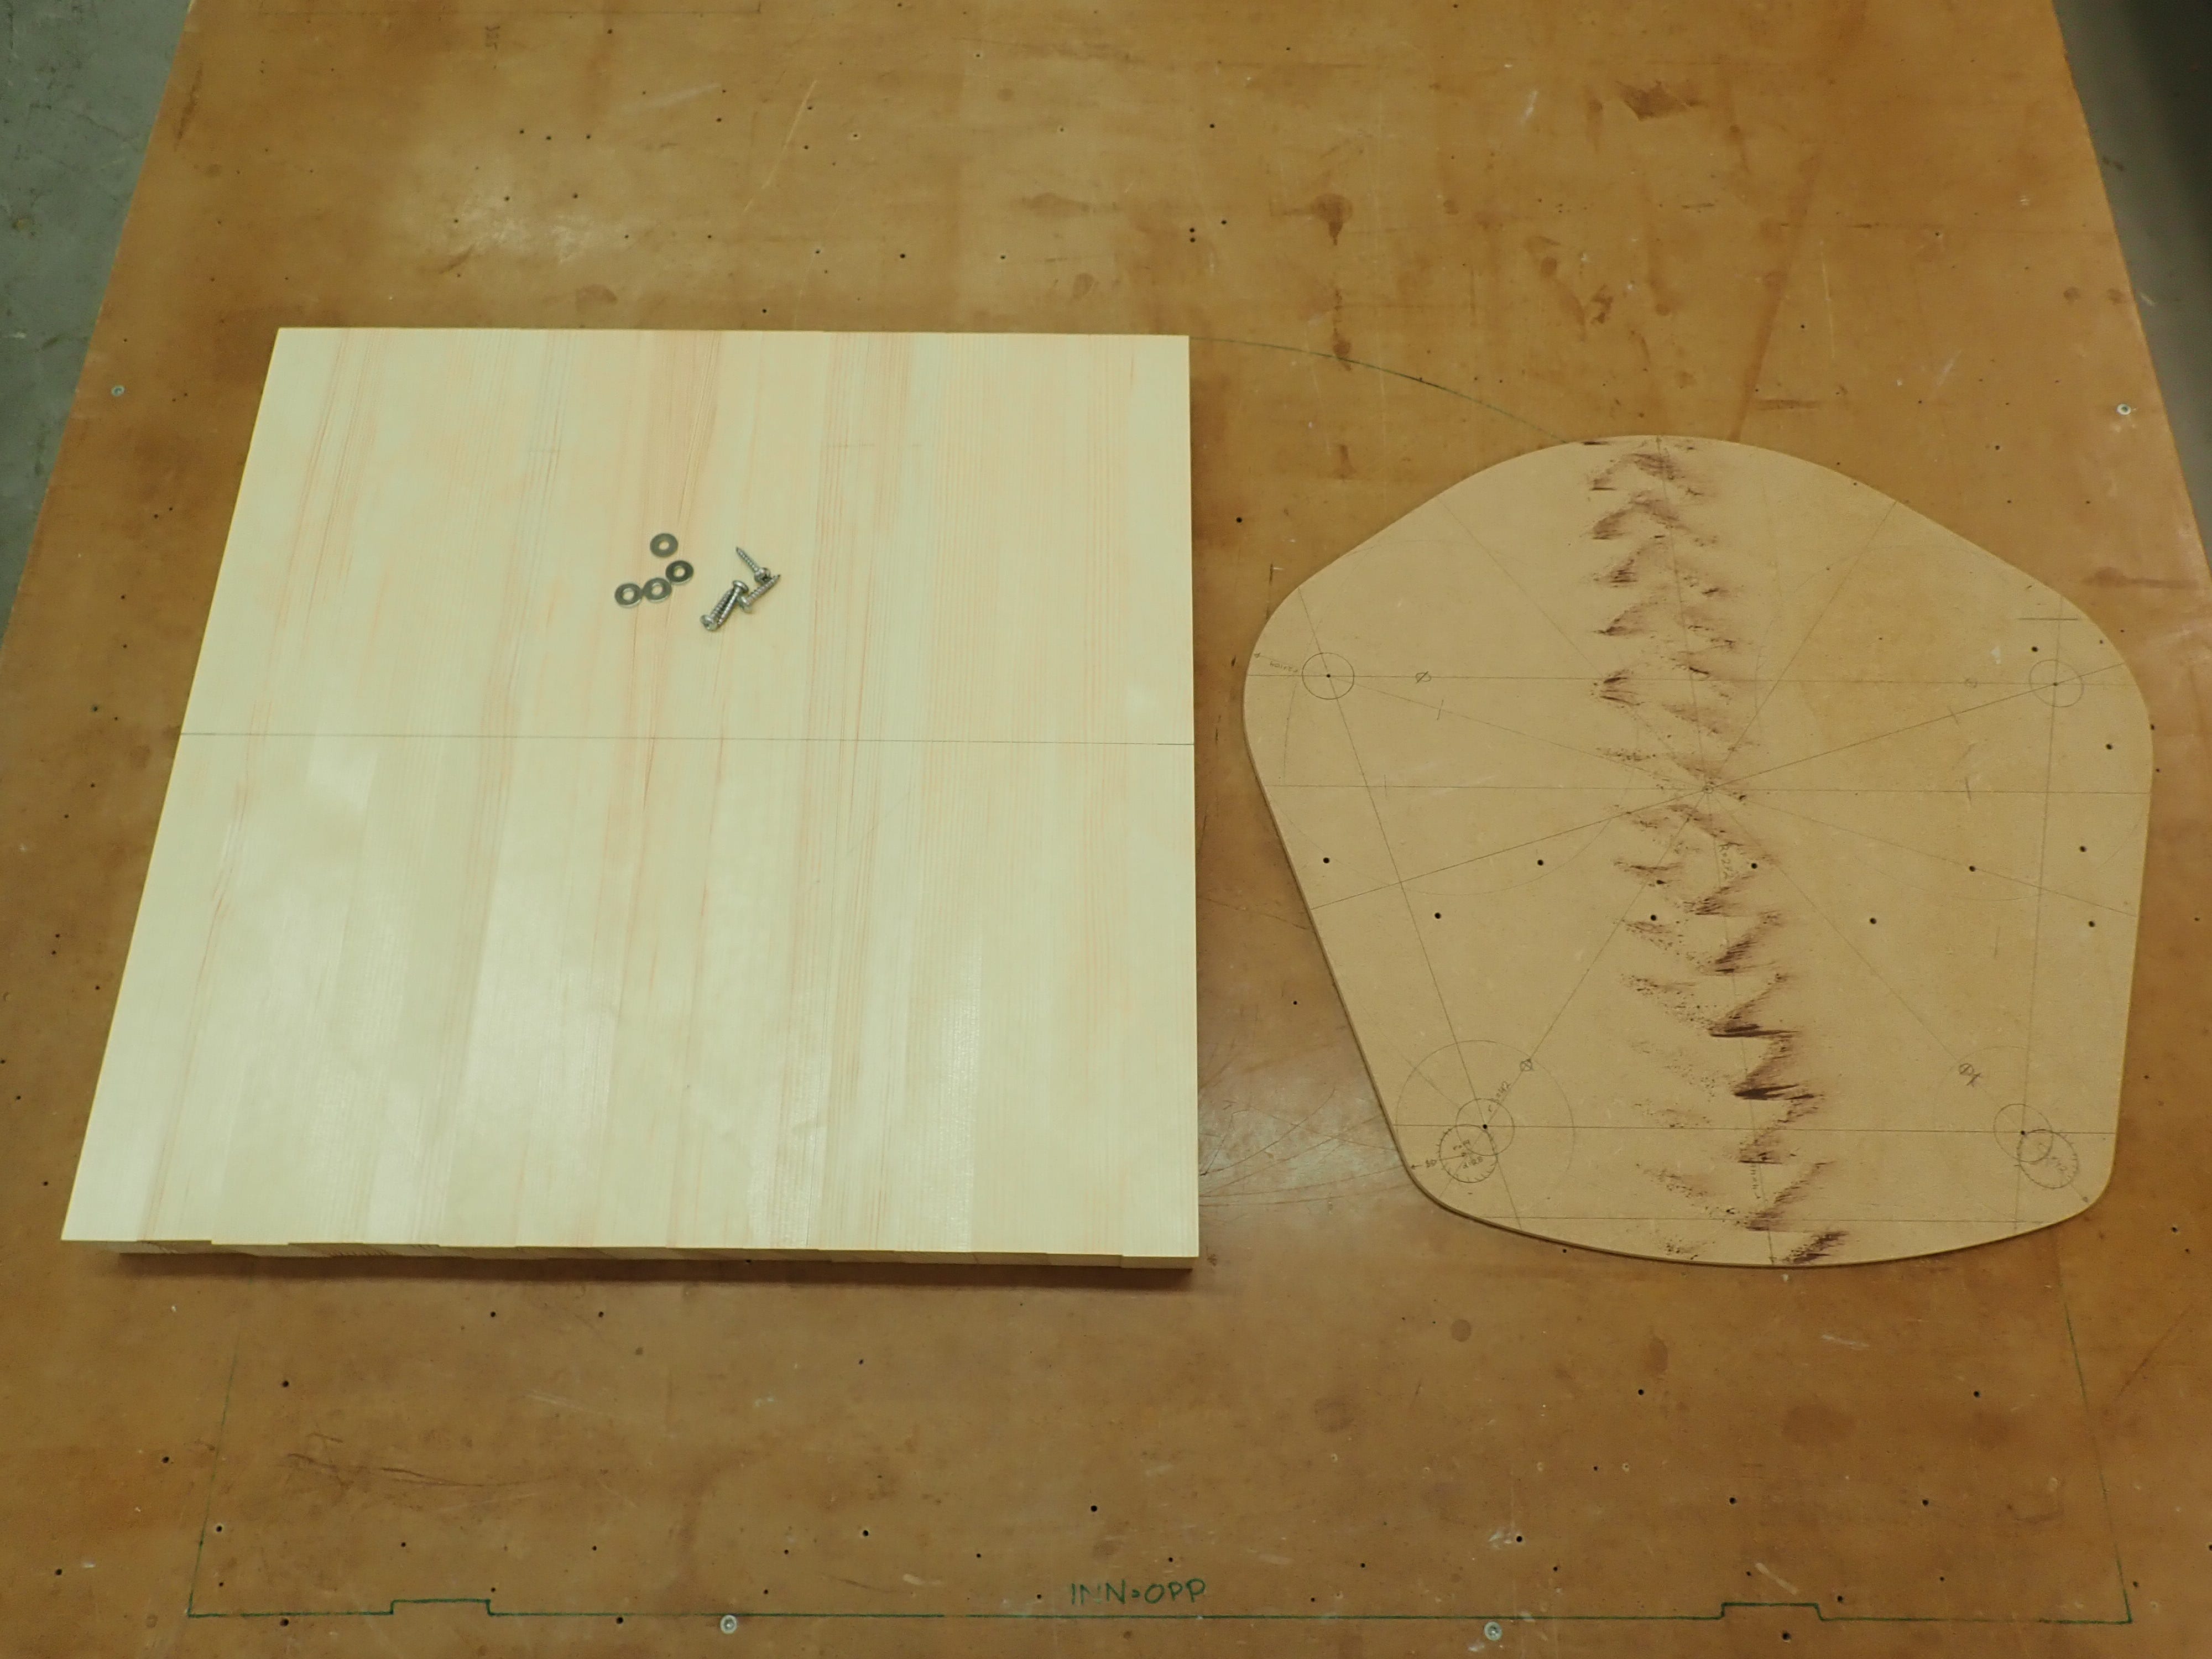
… so I’ll make my seat from staves glued on edge.
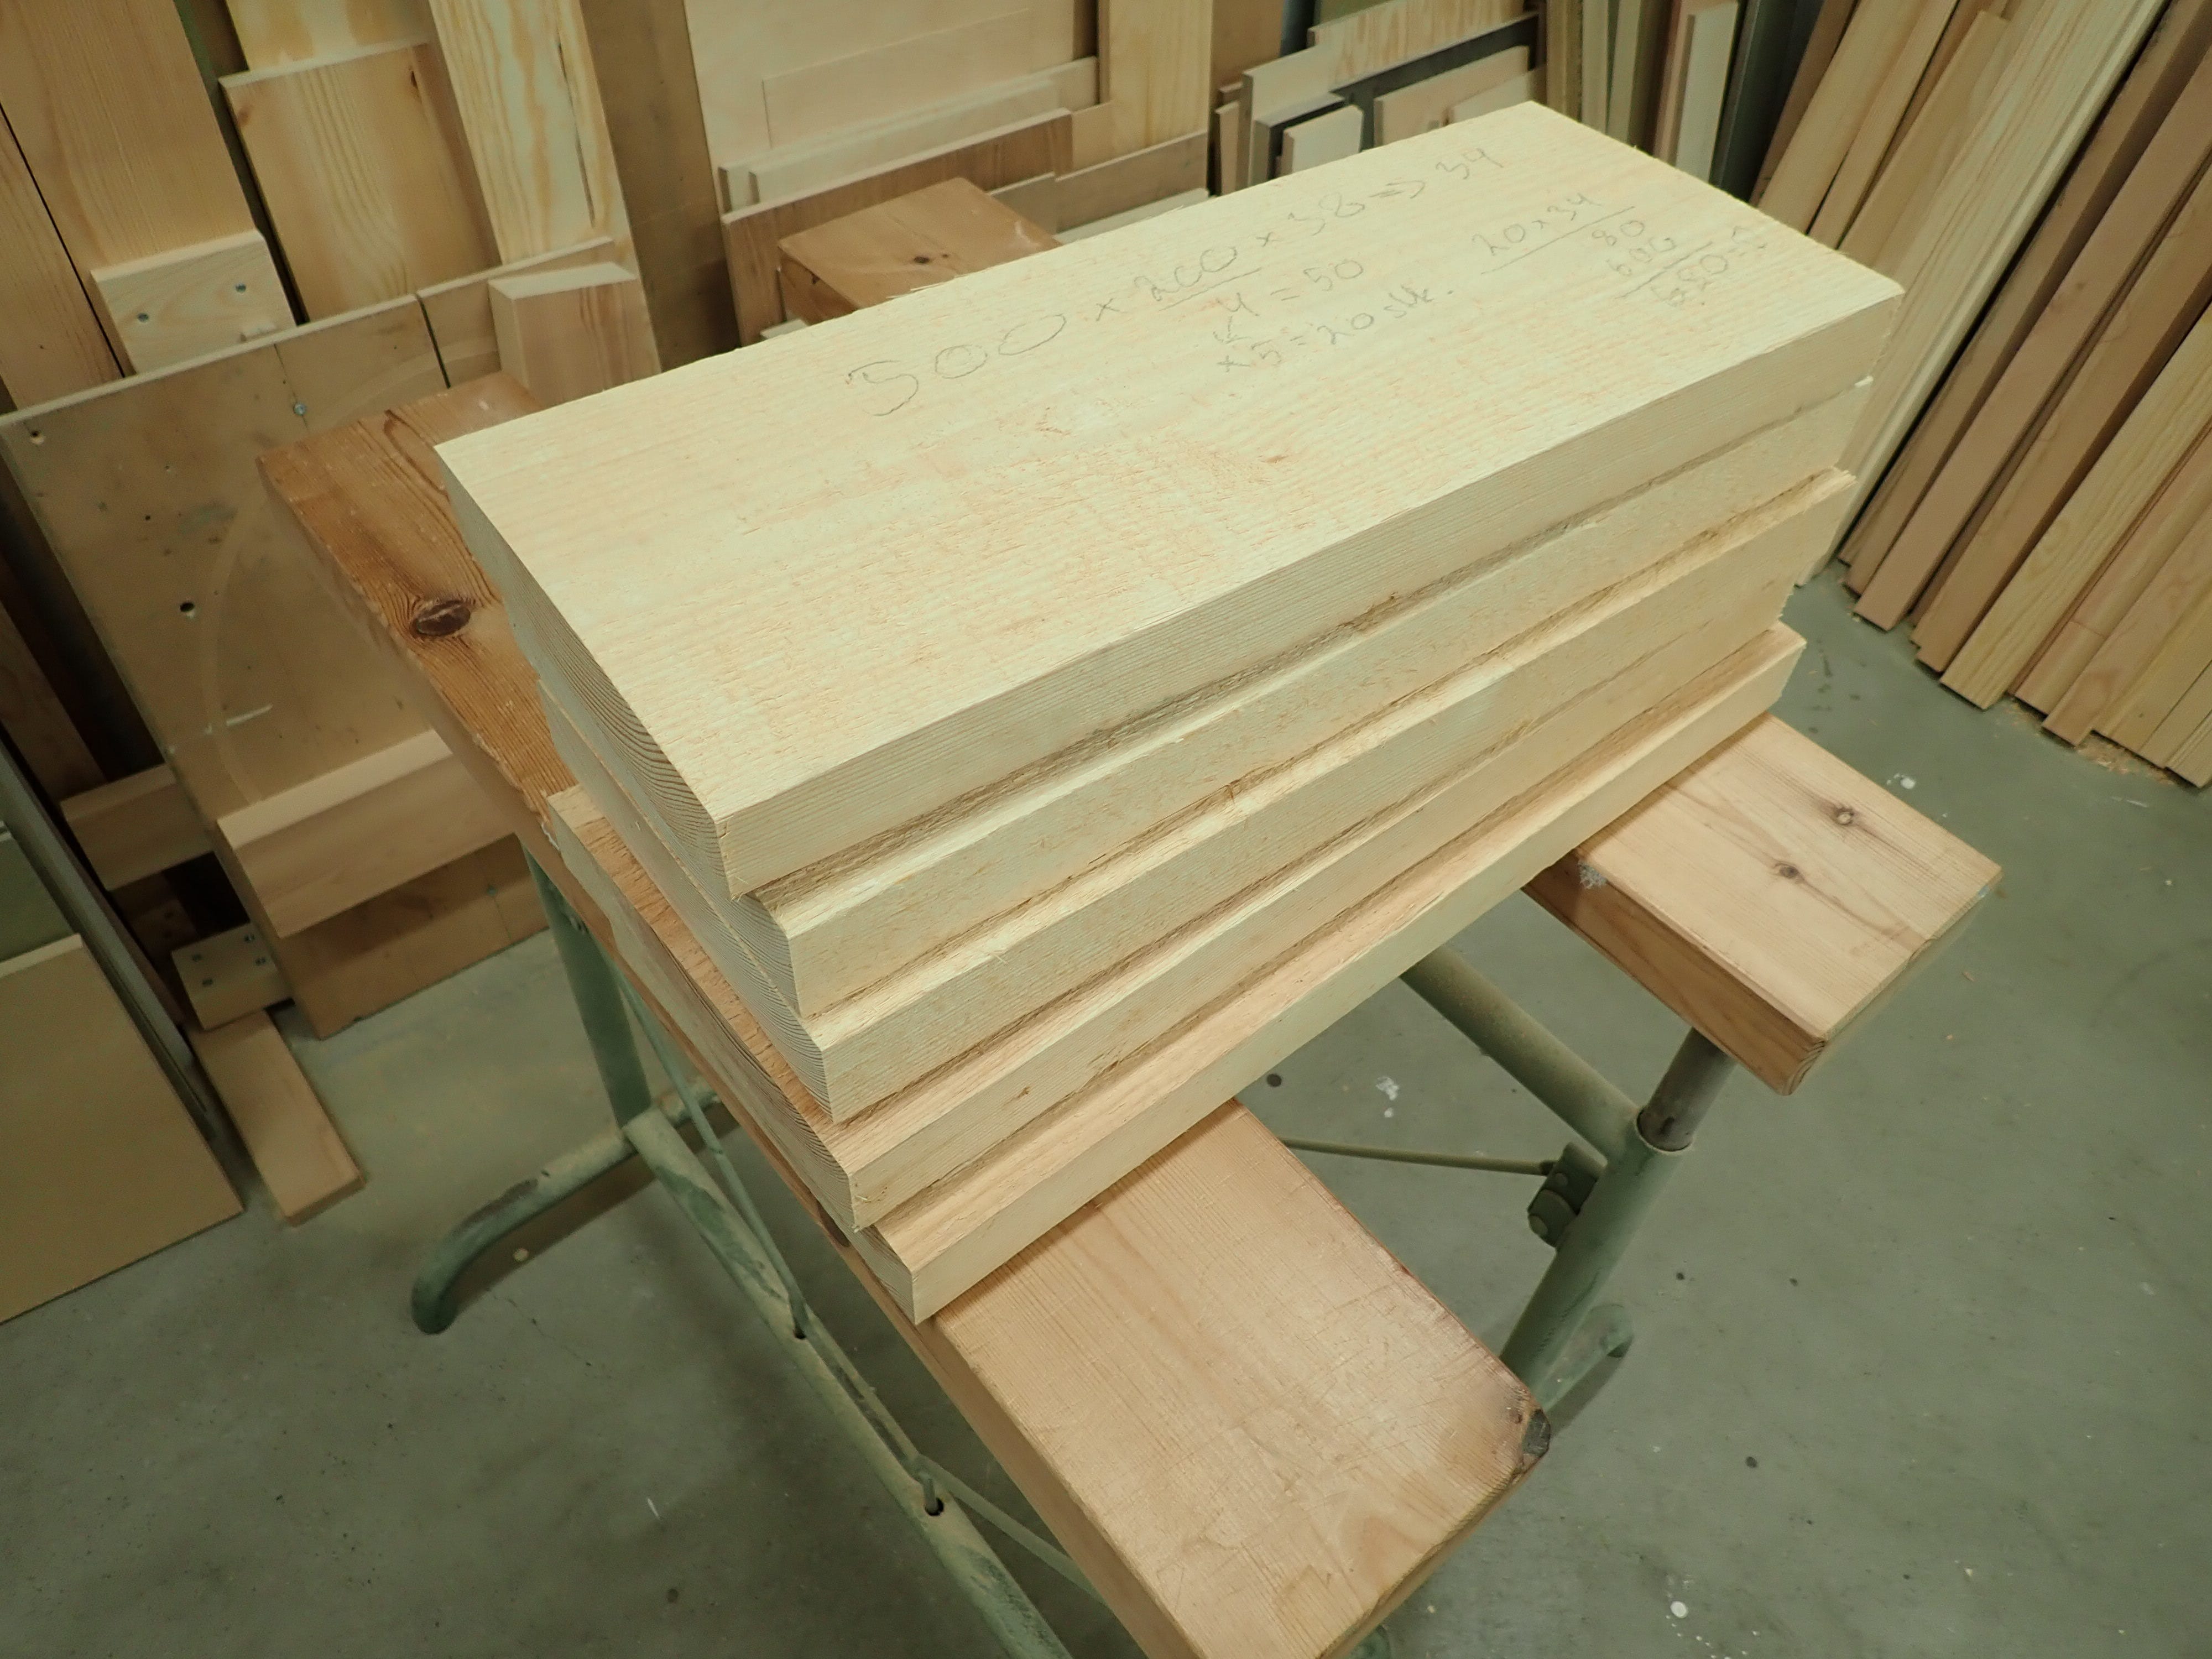
With careful preparation the glued joints will be stronger than the surrounding wood. As my old shop teacher used to say: “You gotta have glue-faith!“ (Du må ha lim-tru!)
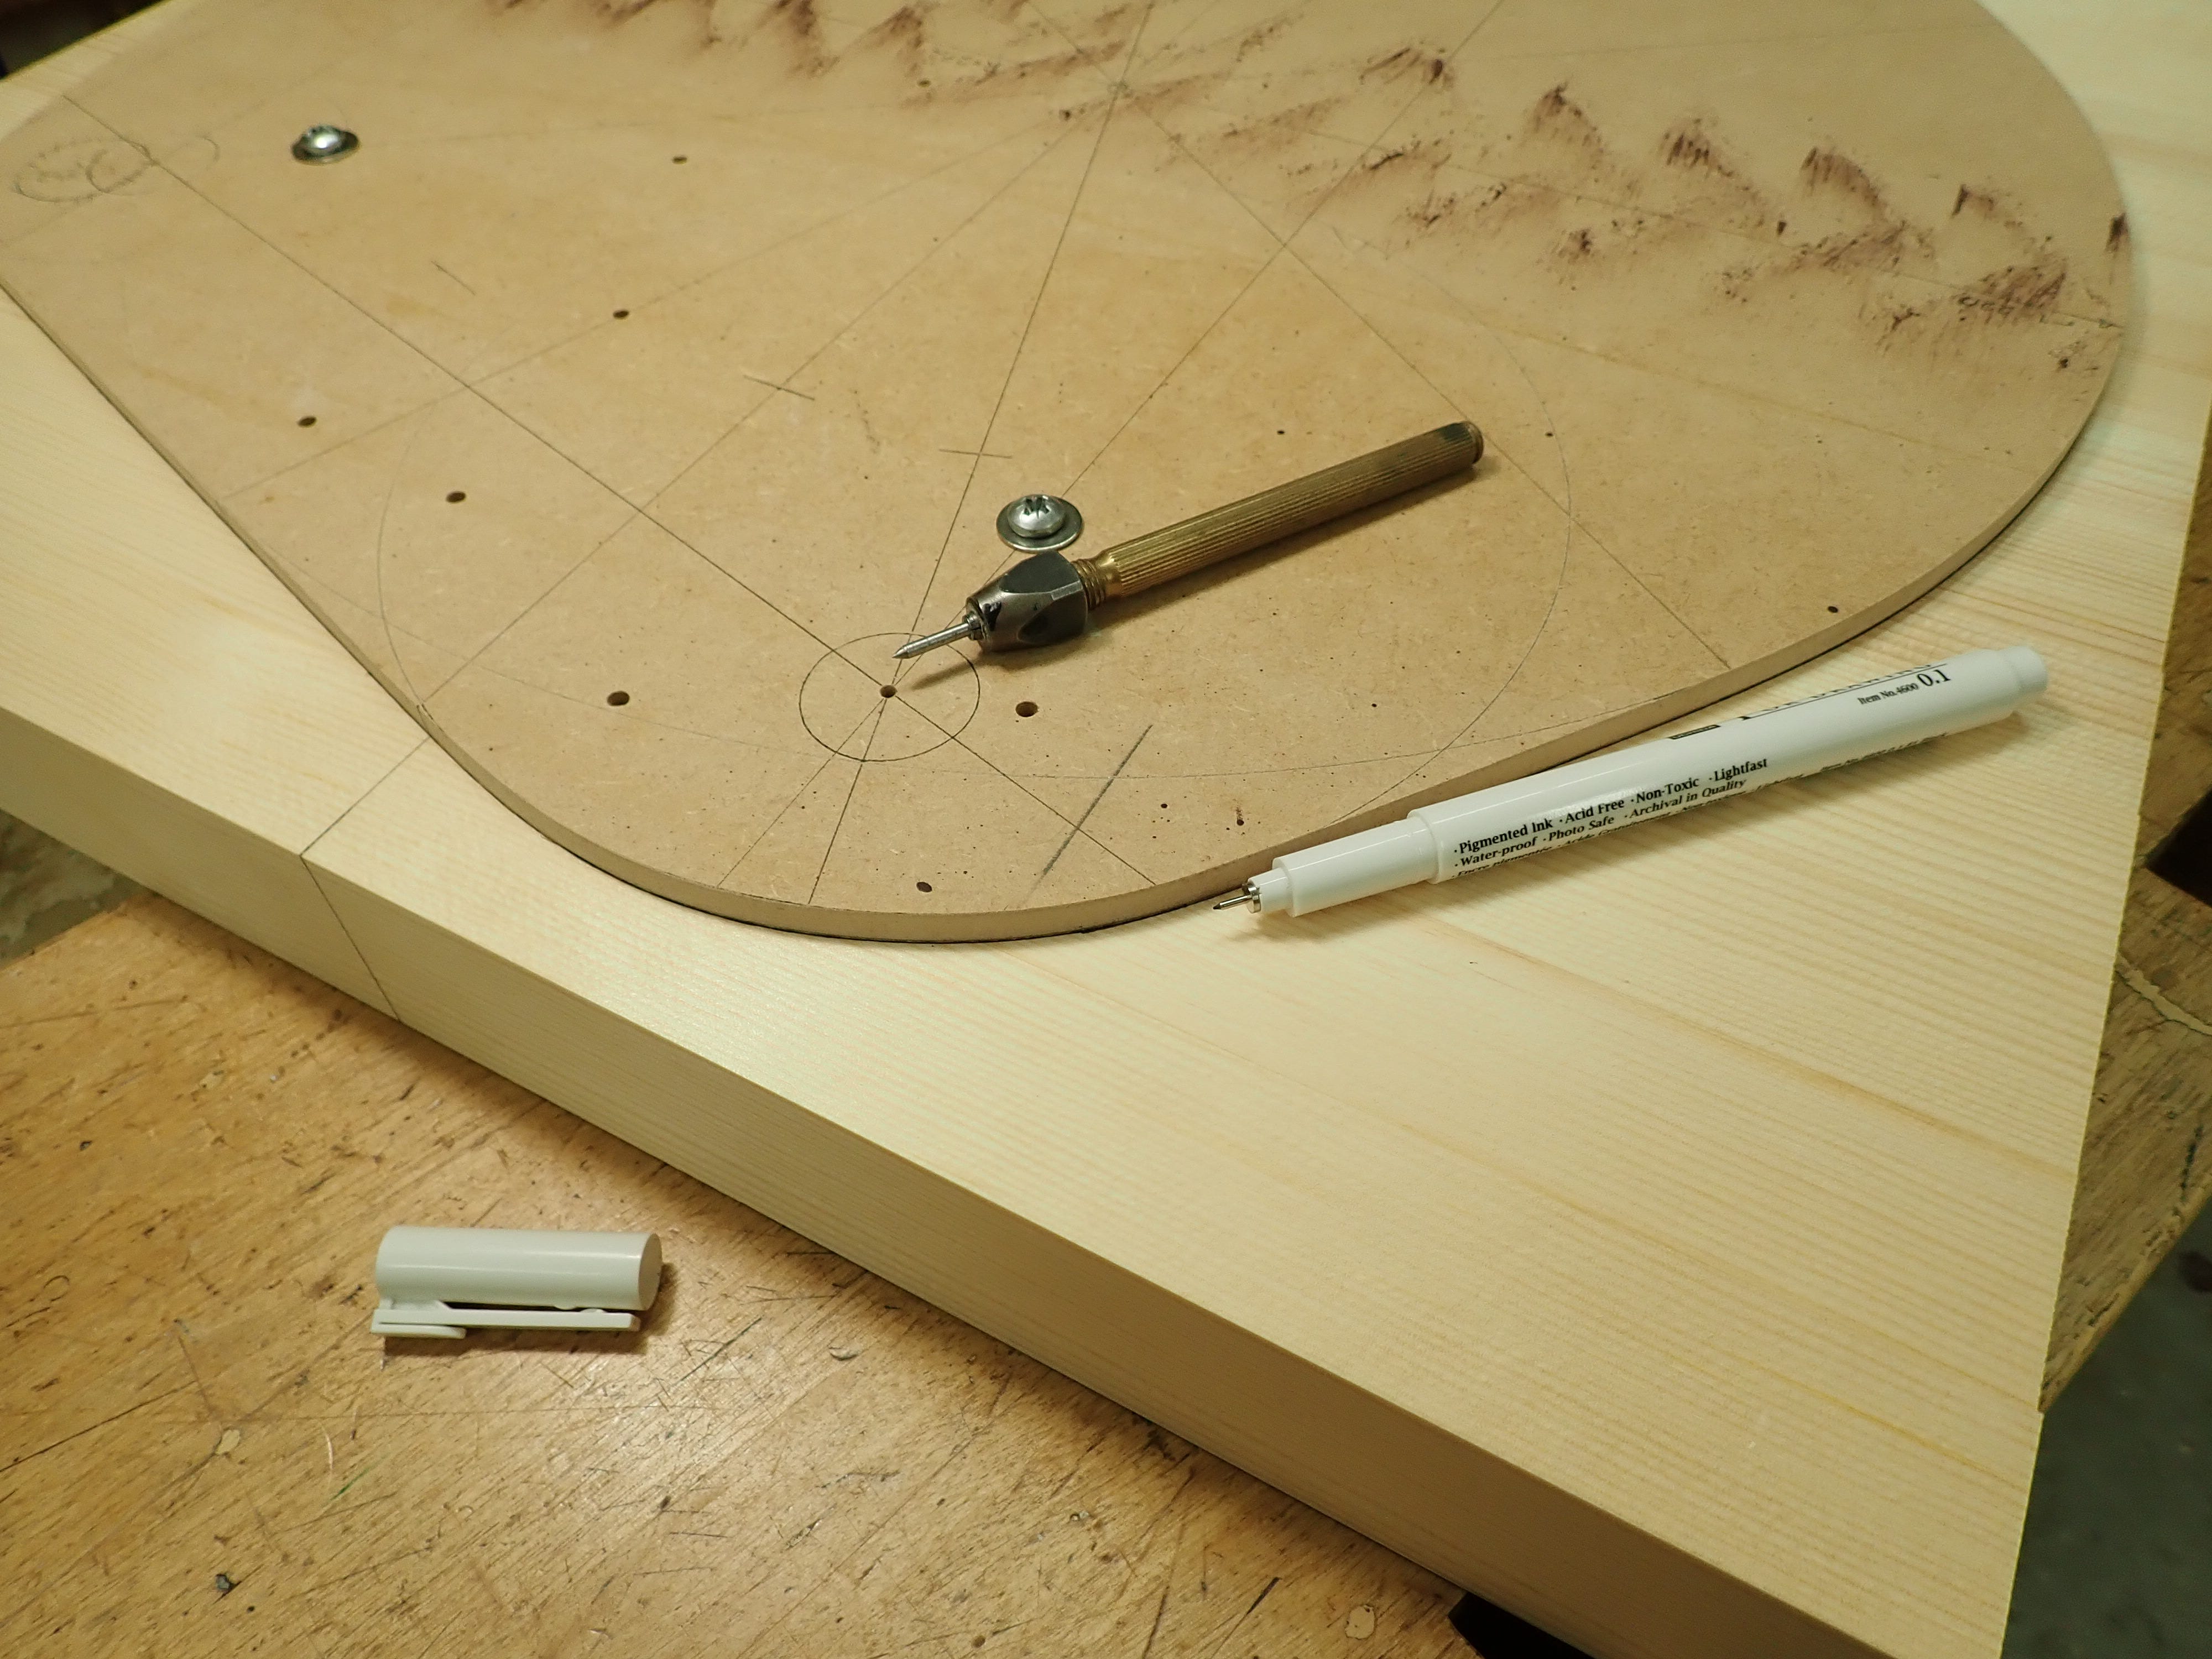
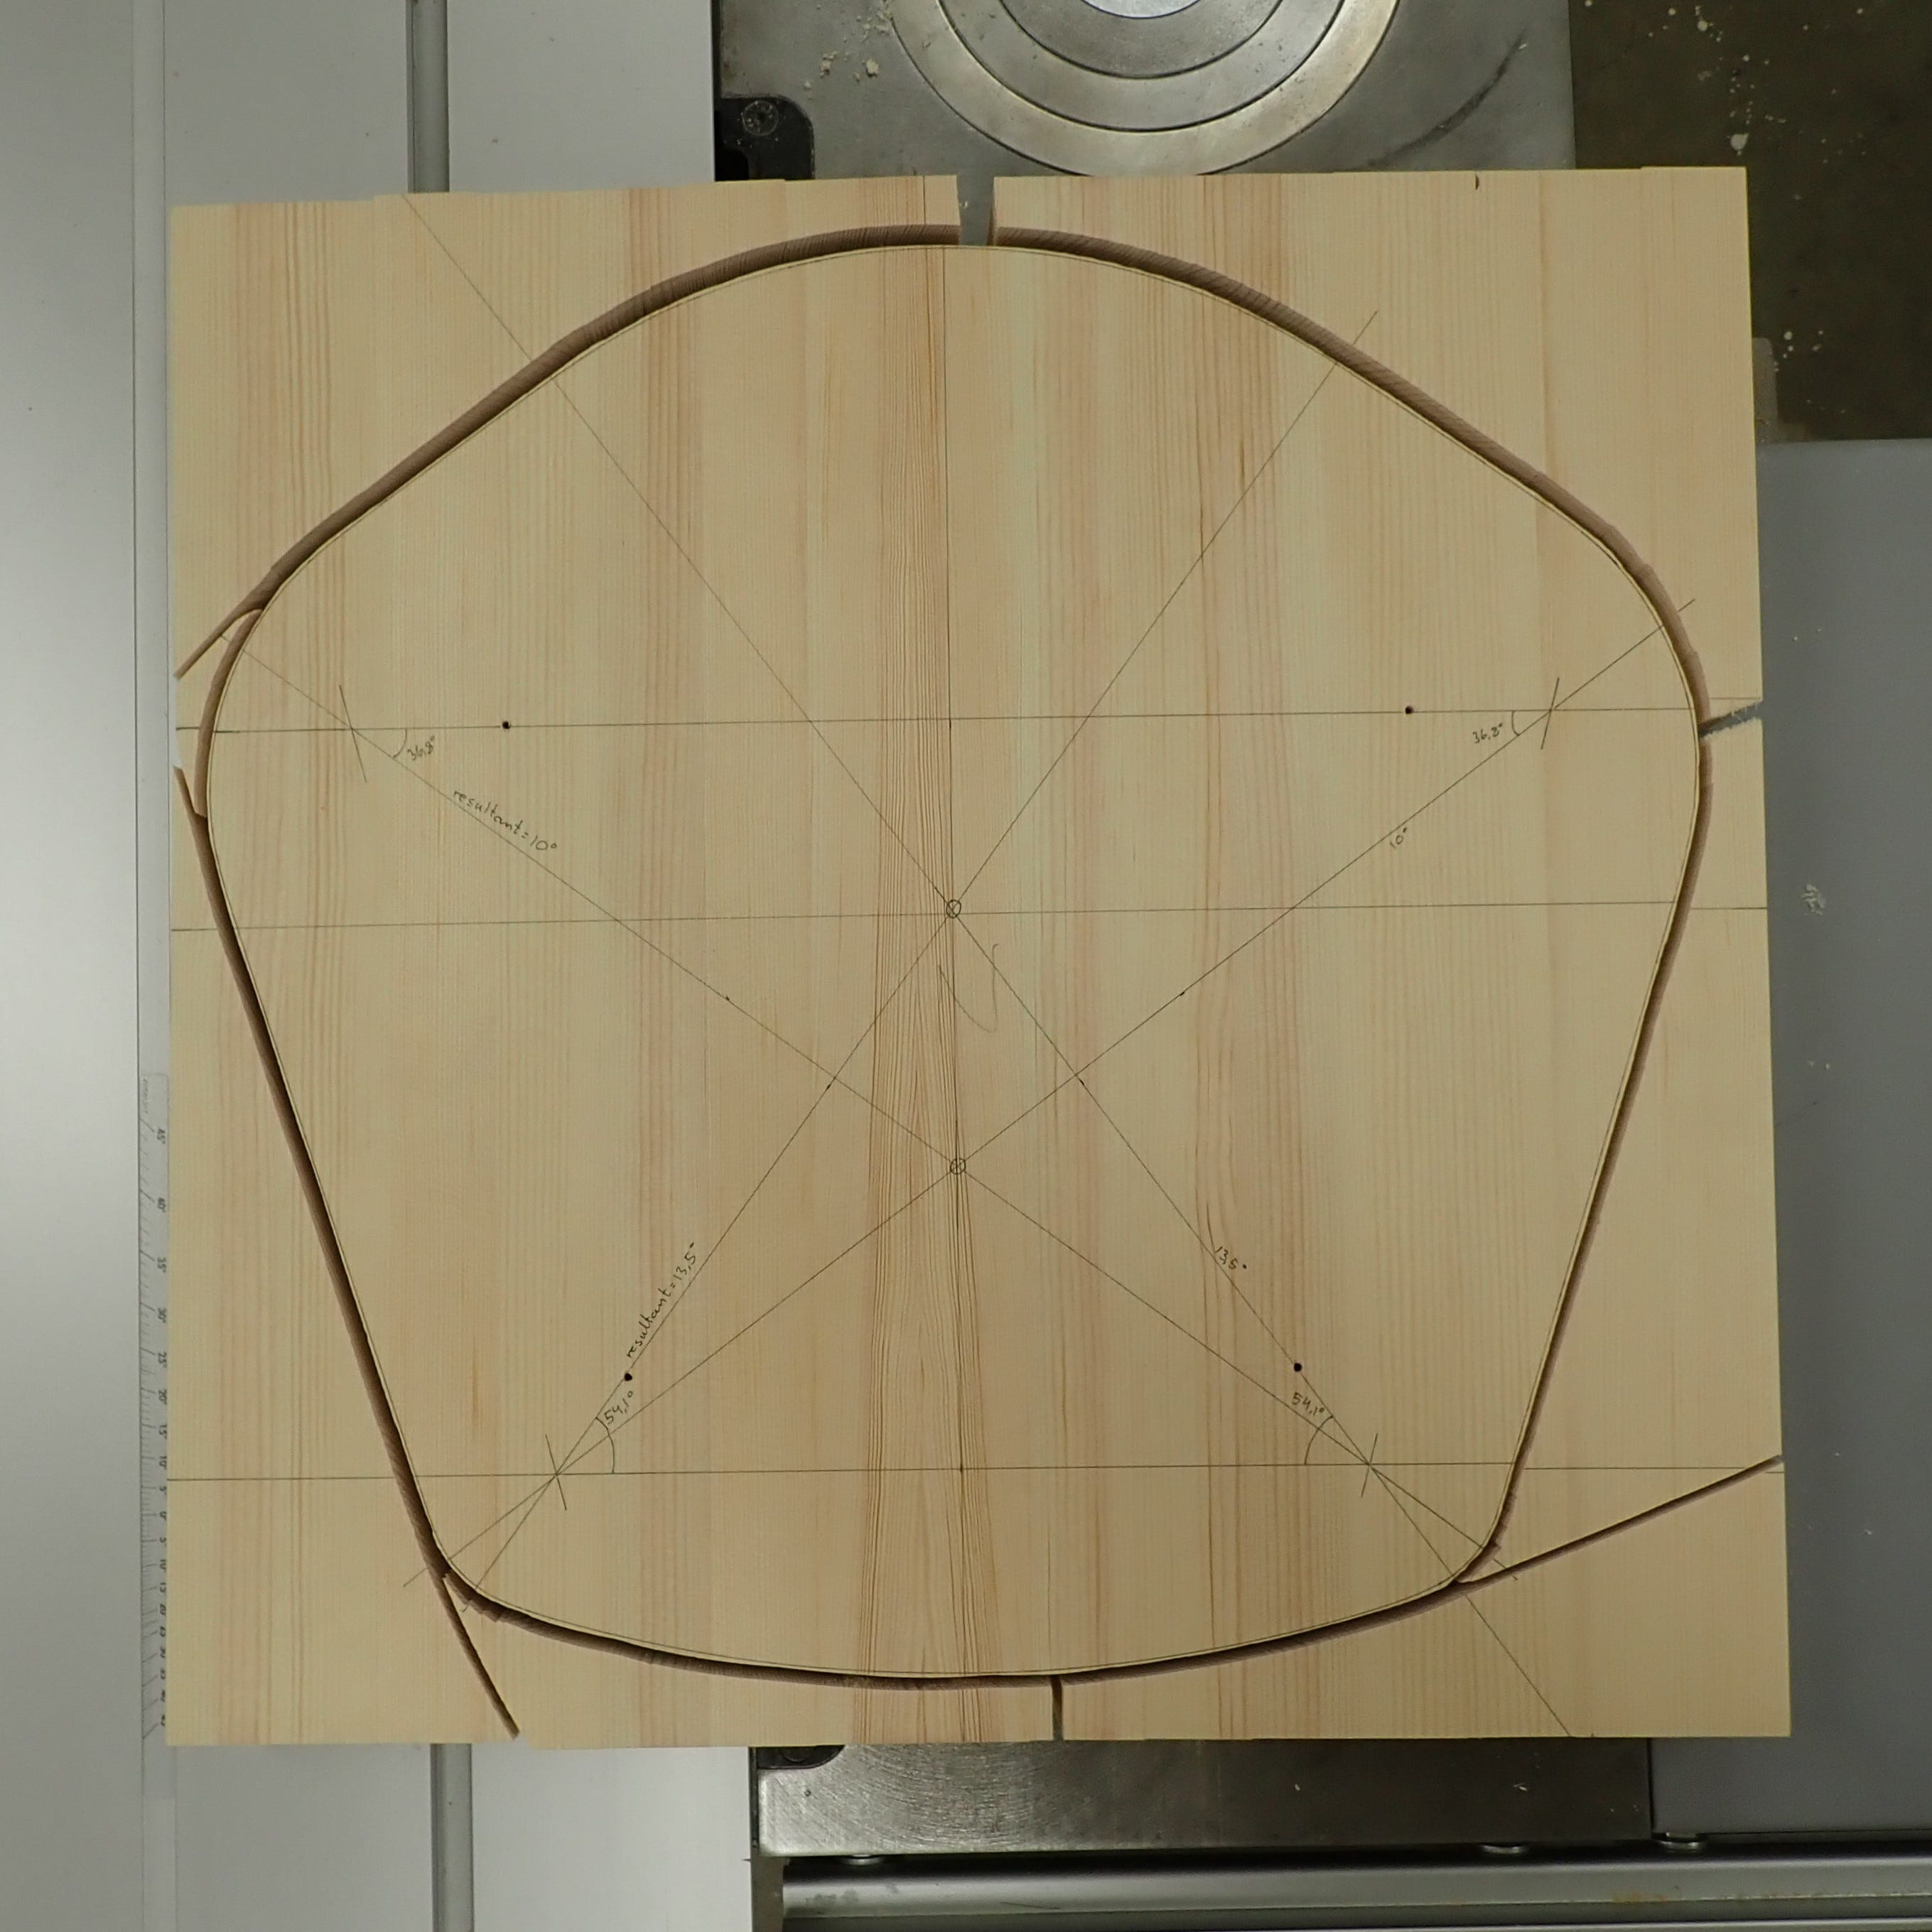
Then, I drew a seat shape based on the pentagon on a scrap of 6mm MDF.
I enjoy messing around with compasses — Noli turbare circulos meos!
I have this idea that a receding front edge on a seat would be more comfortable for your average ‘manspreader’. There are two kinds of chairs/seats I dislike: post & rung chairs where the front legs protrude up into your thighs, and chairs that are enclosed on three sides (armrest sticks go all the way to the front). Both are poor ergonomic design. Unless I am on public transport or at a crowded table I will sit with my legs comfortably apart and I prefer chairs that facilitate this. Heck, I even find armrests too restrictive — I need my wriggle room.
The MDF template serves several purposes: Firstly to mark the contour of the seat and the position of the leg-mortises.
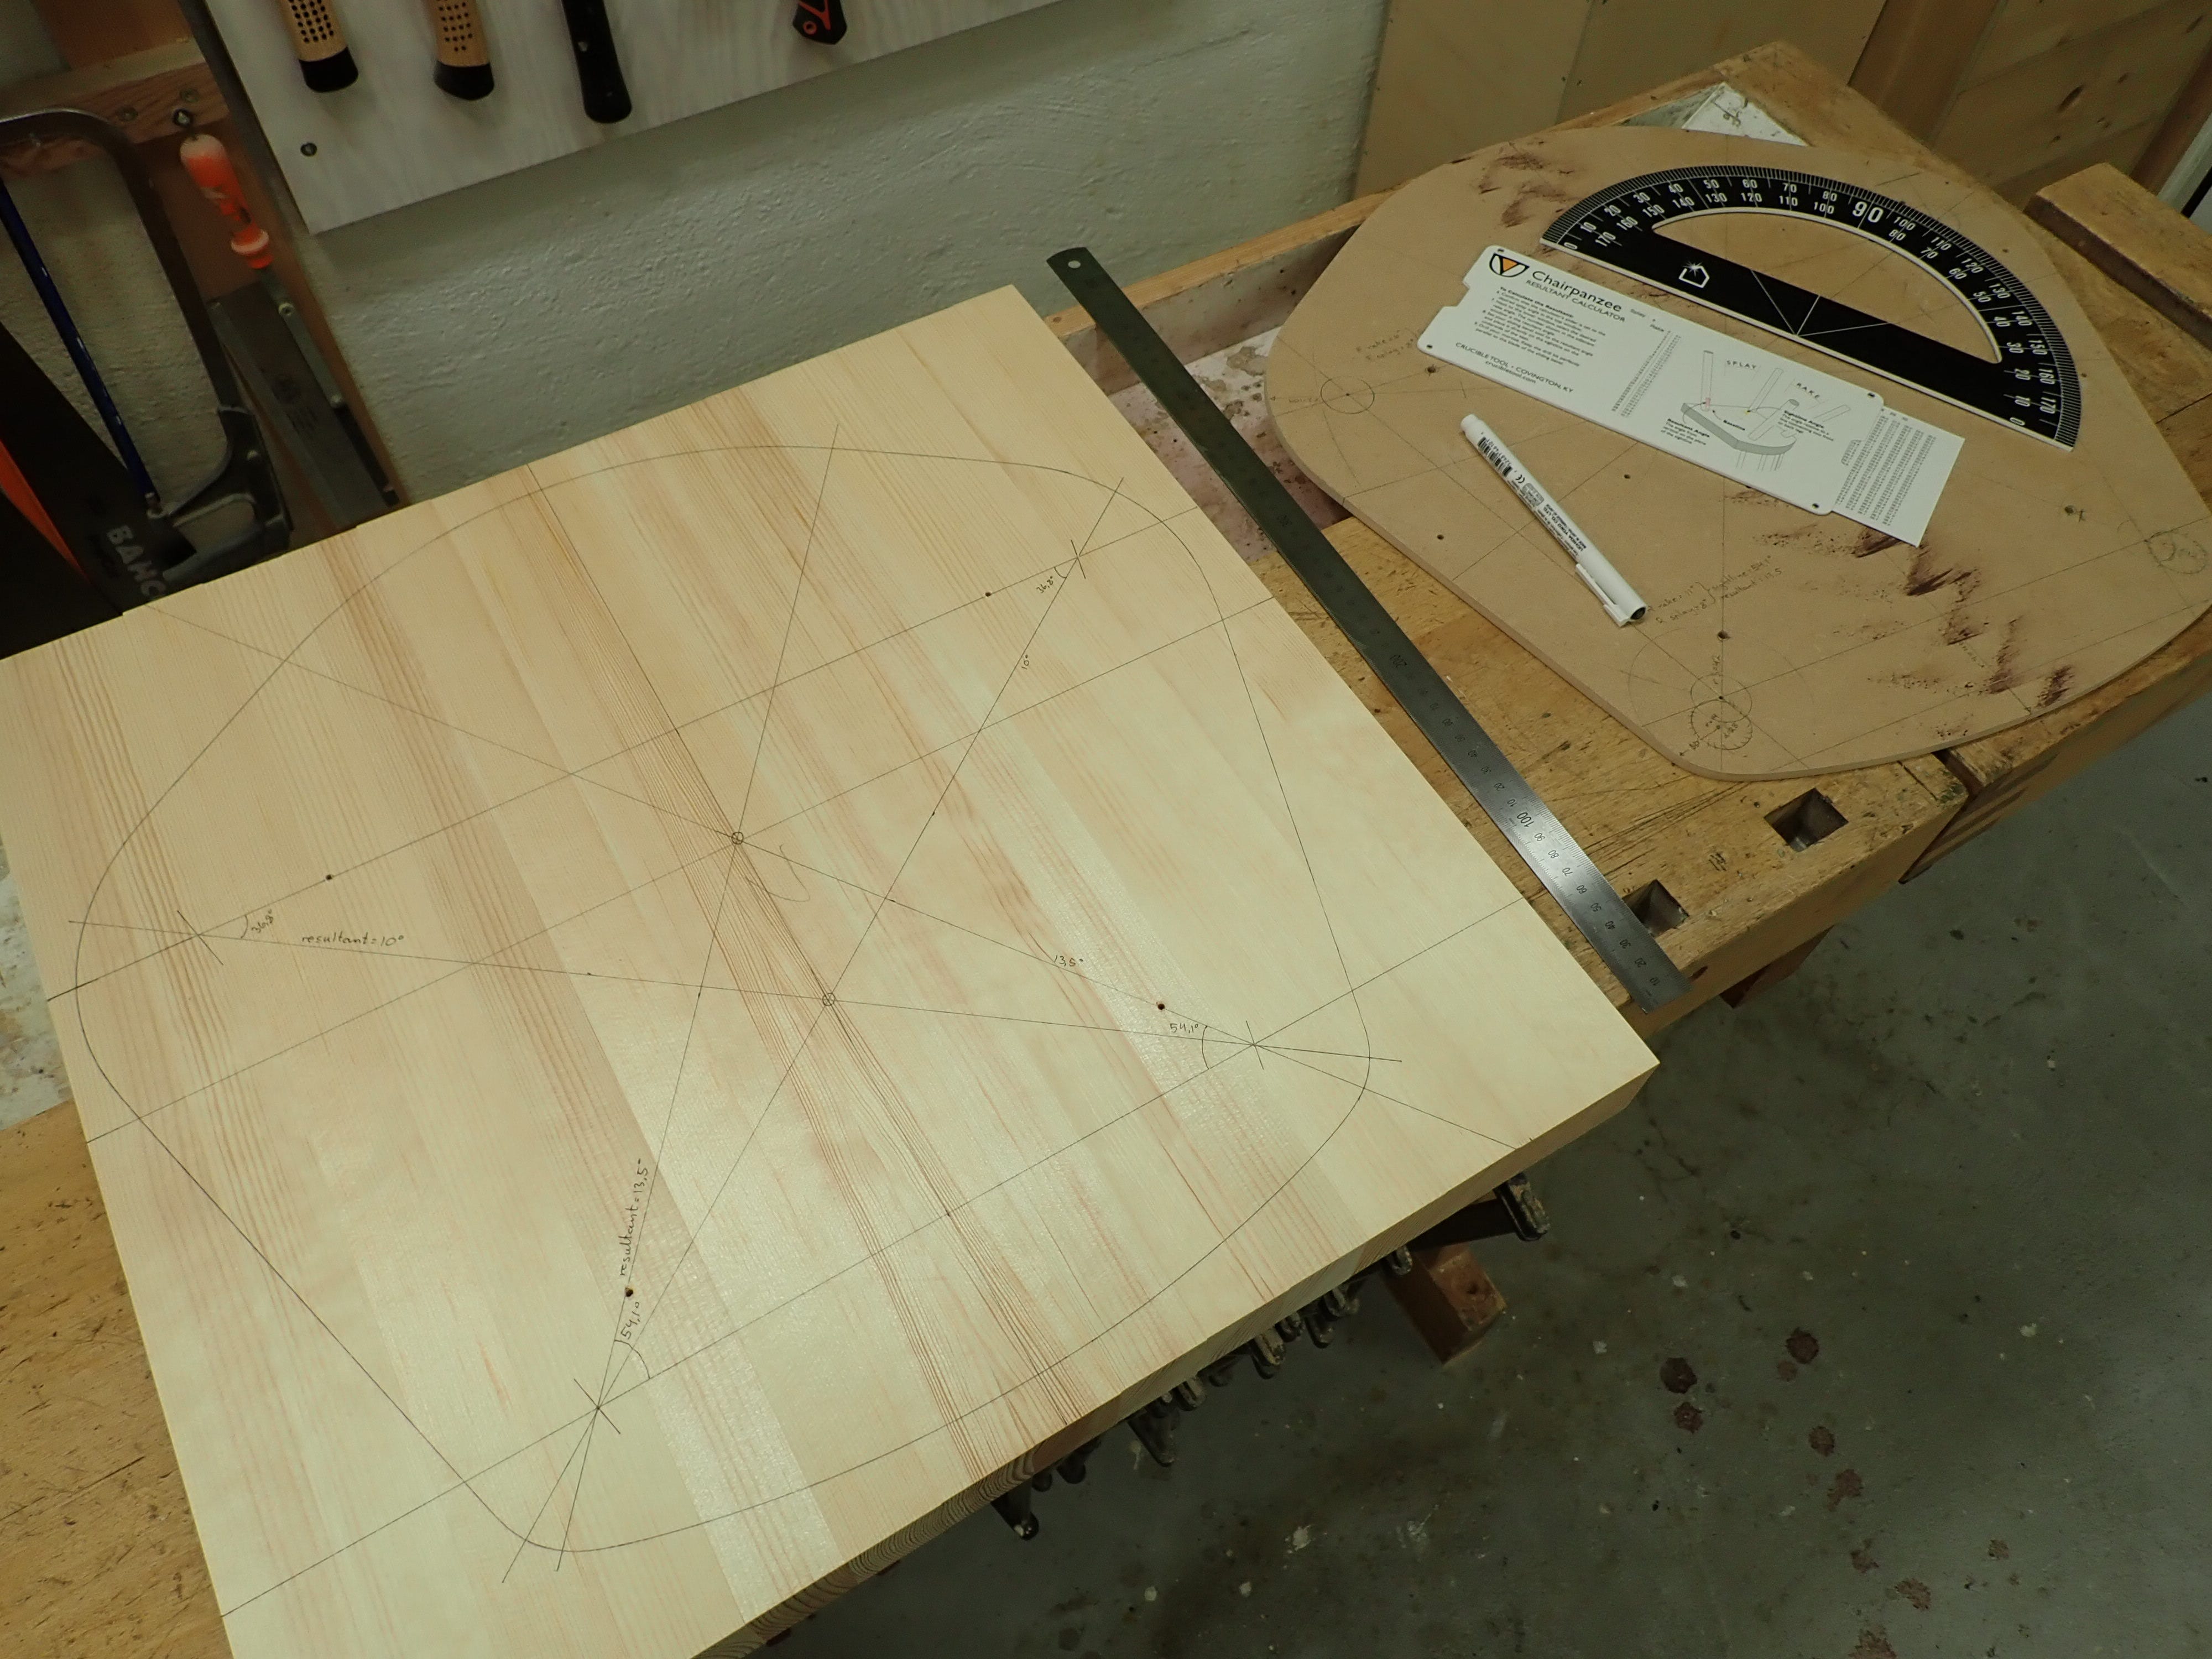
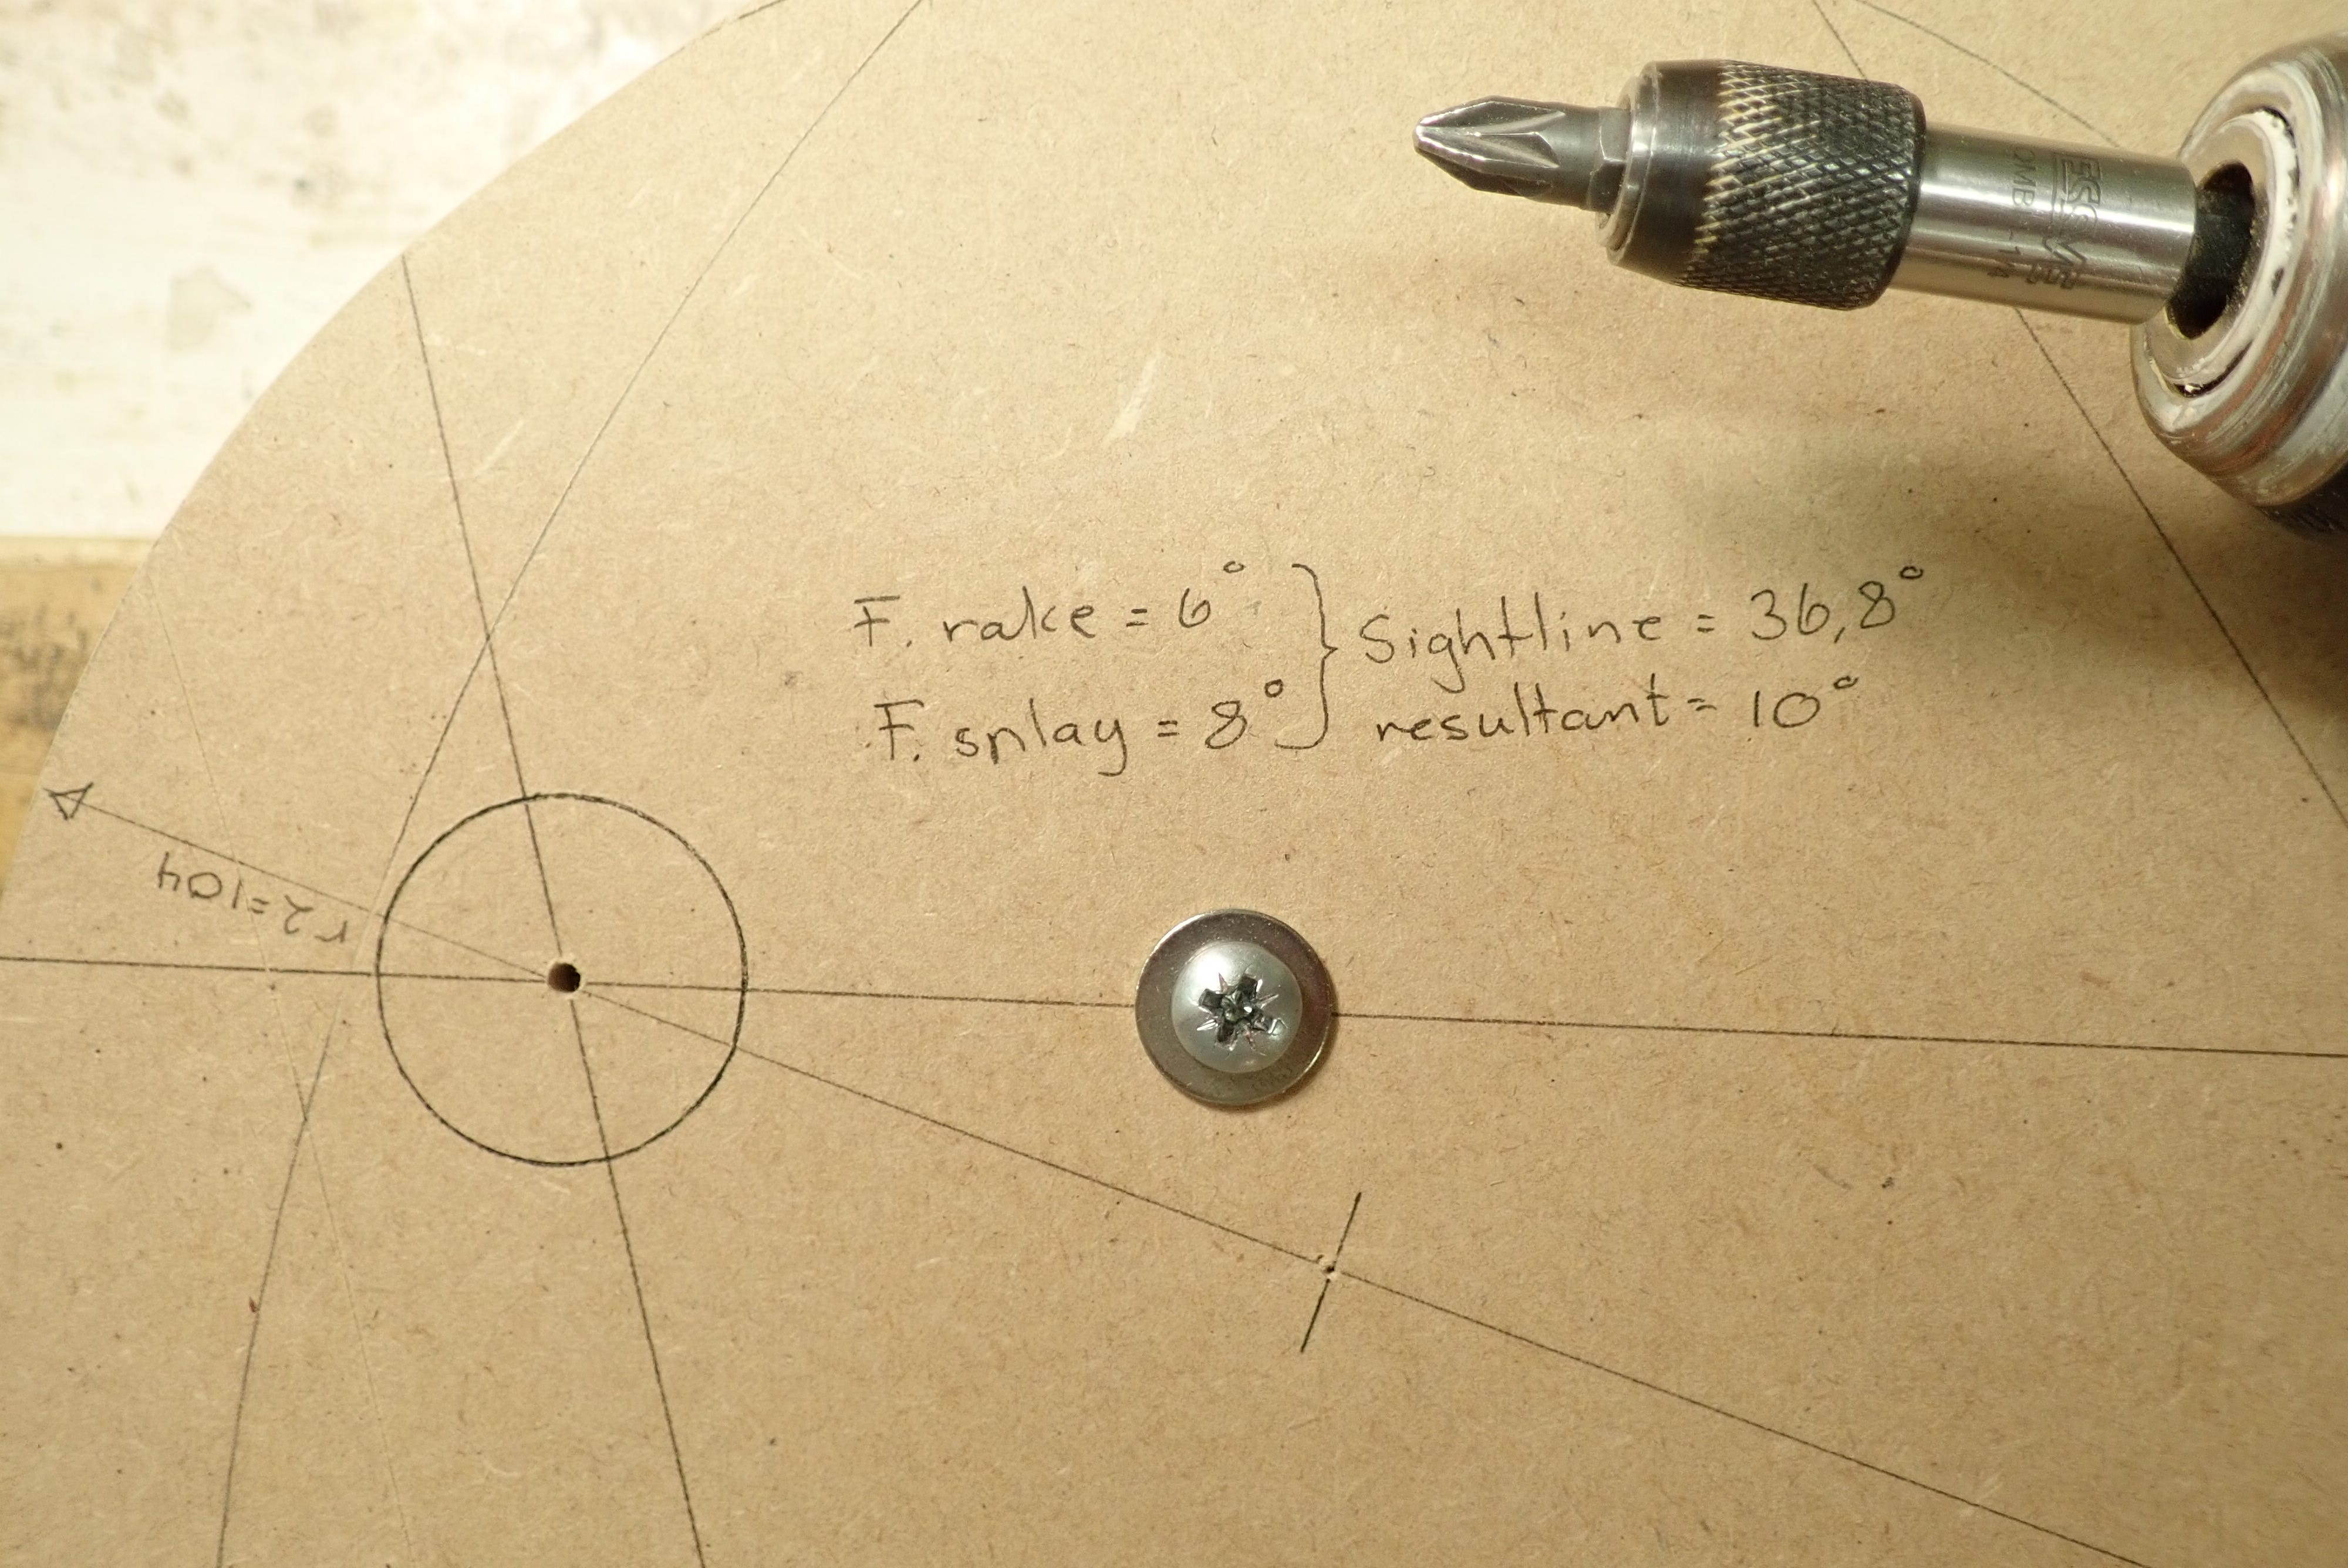
After deciding the rake & splay of the legs, I used the Chairpanzee mechanical calculator to figure out the sightlines and resultant angles — a brilliant tool from Crucible Tools.
Cut out the seat blank — keep a mm or so outside the line.
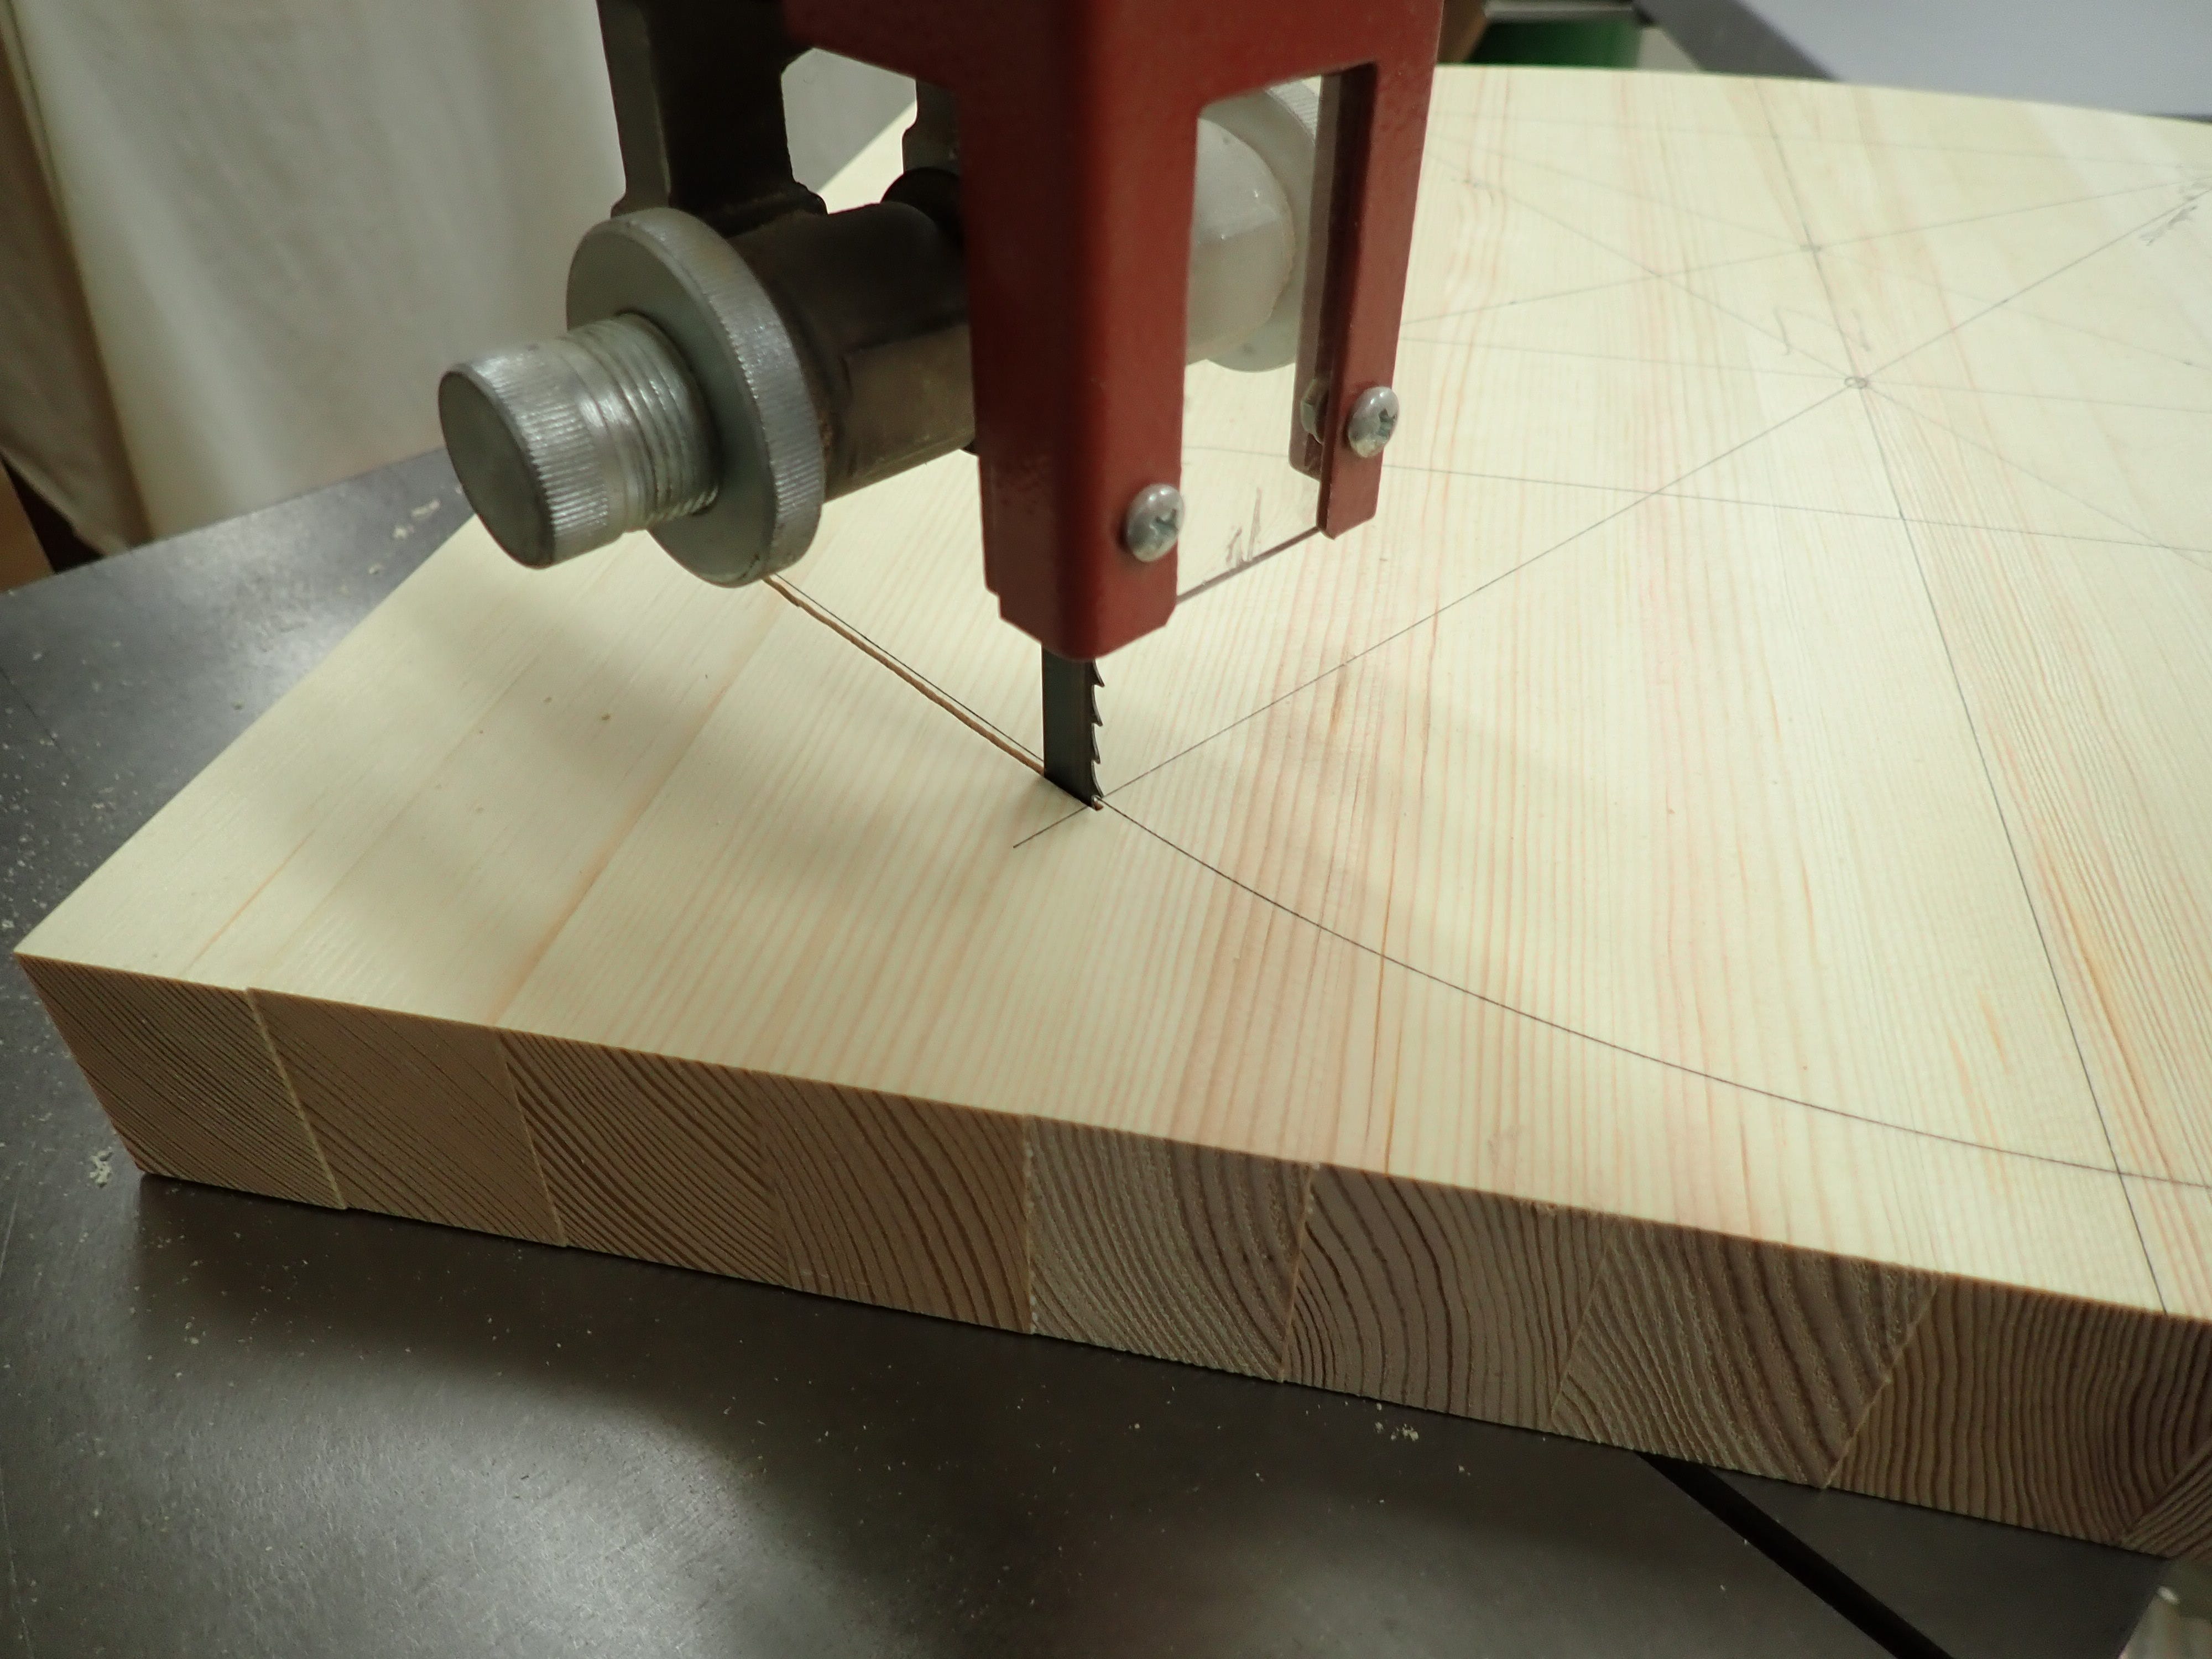
I don’t know why I find this picture so satisfying.
I make a note of the geometry on the MDF template for future reference ...
… before using it as a routing template.
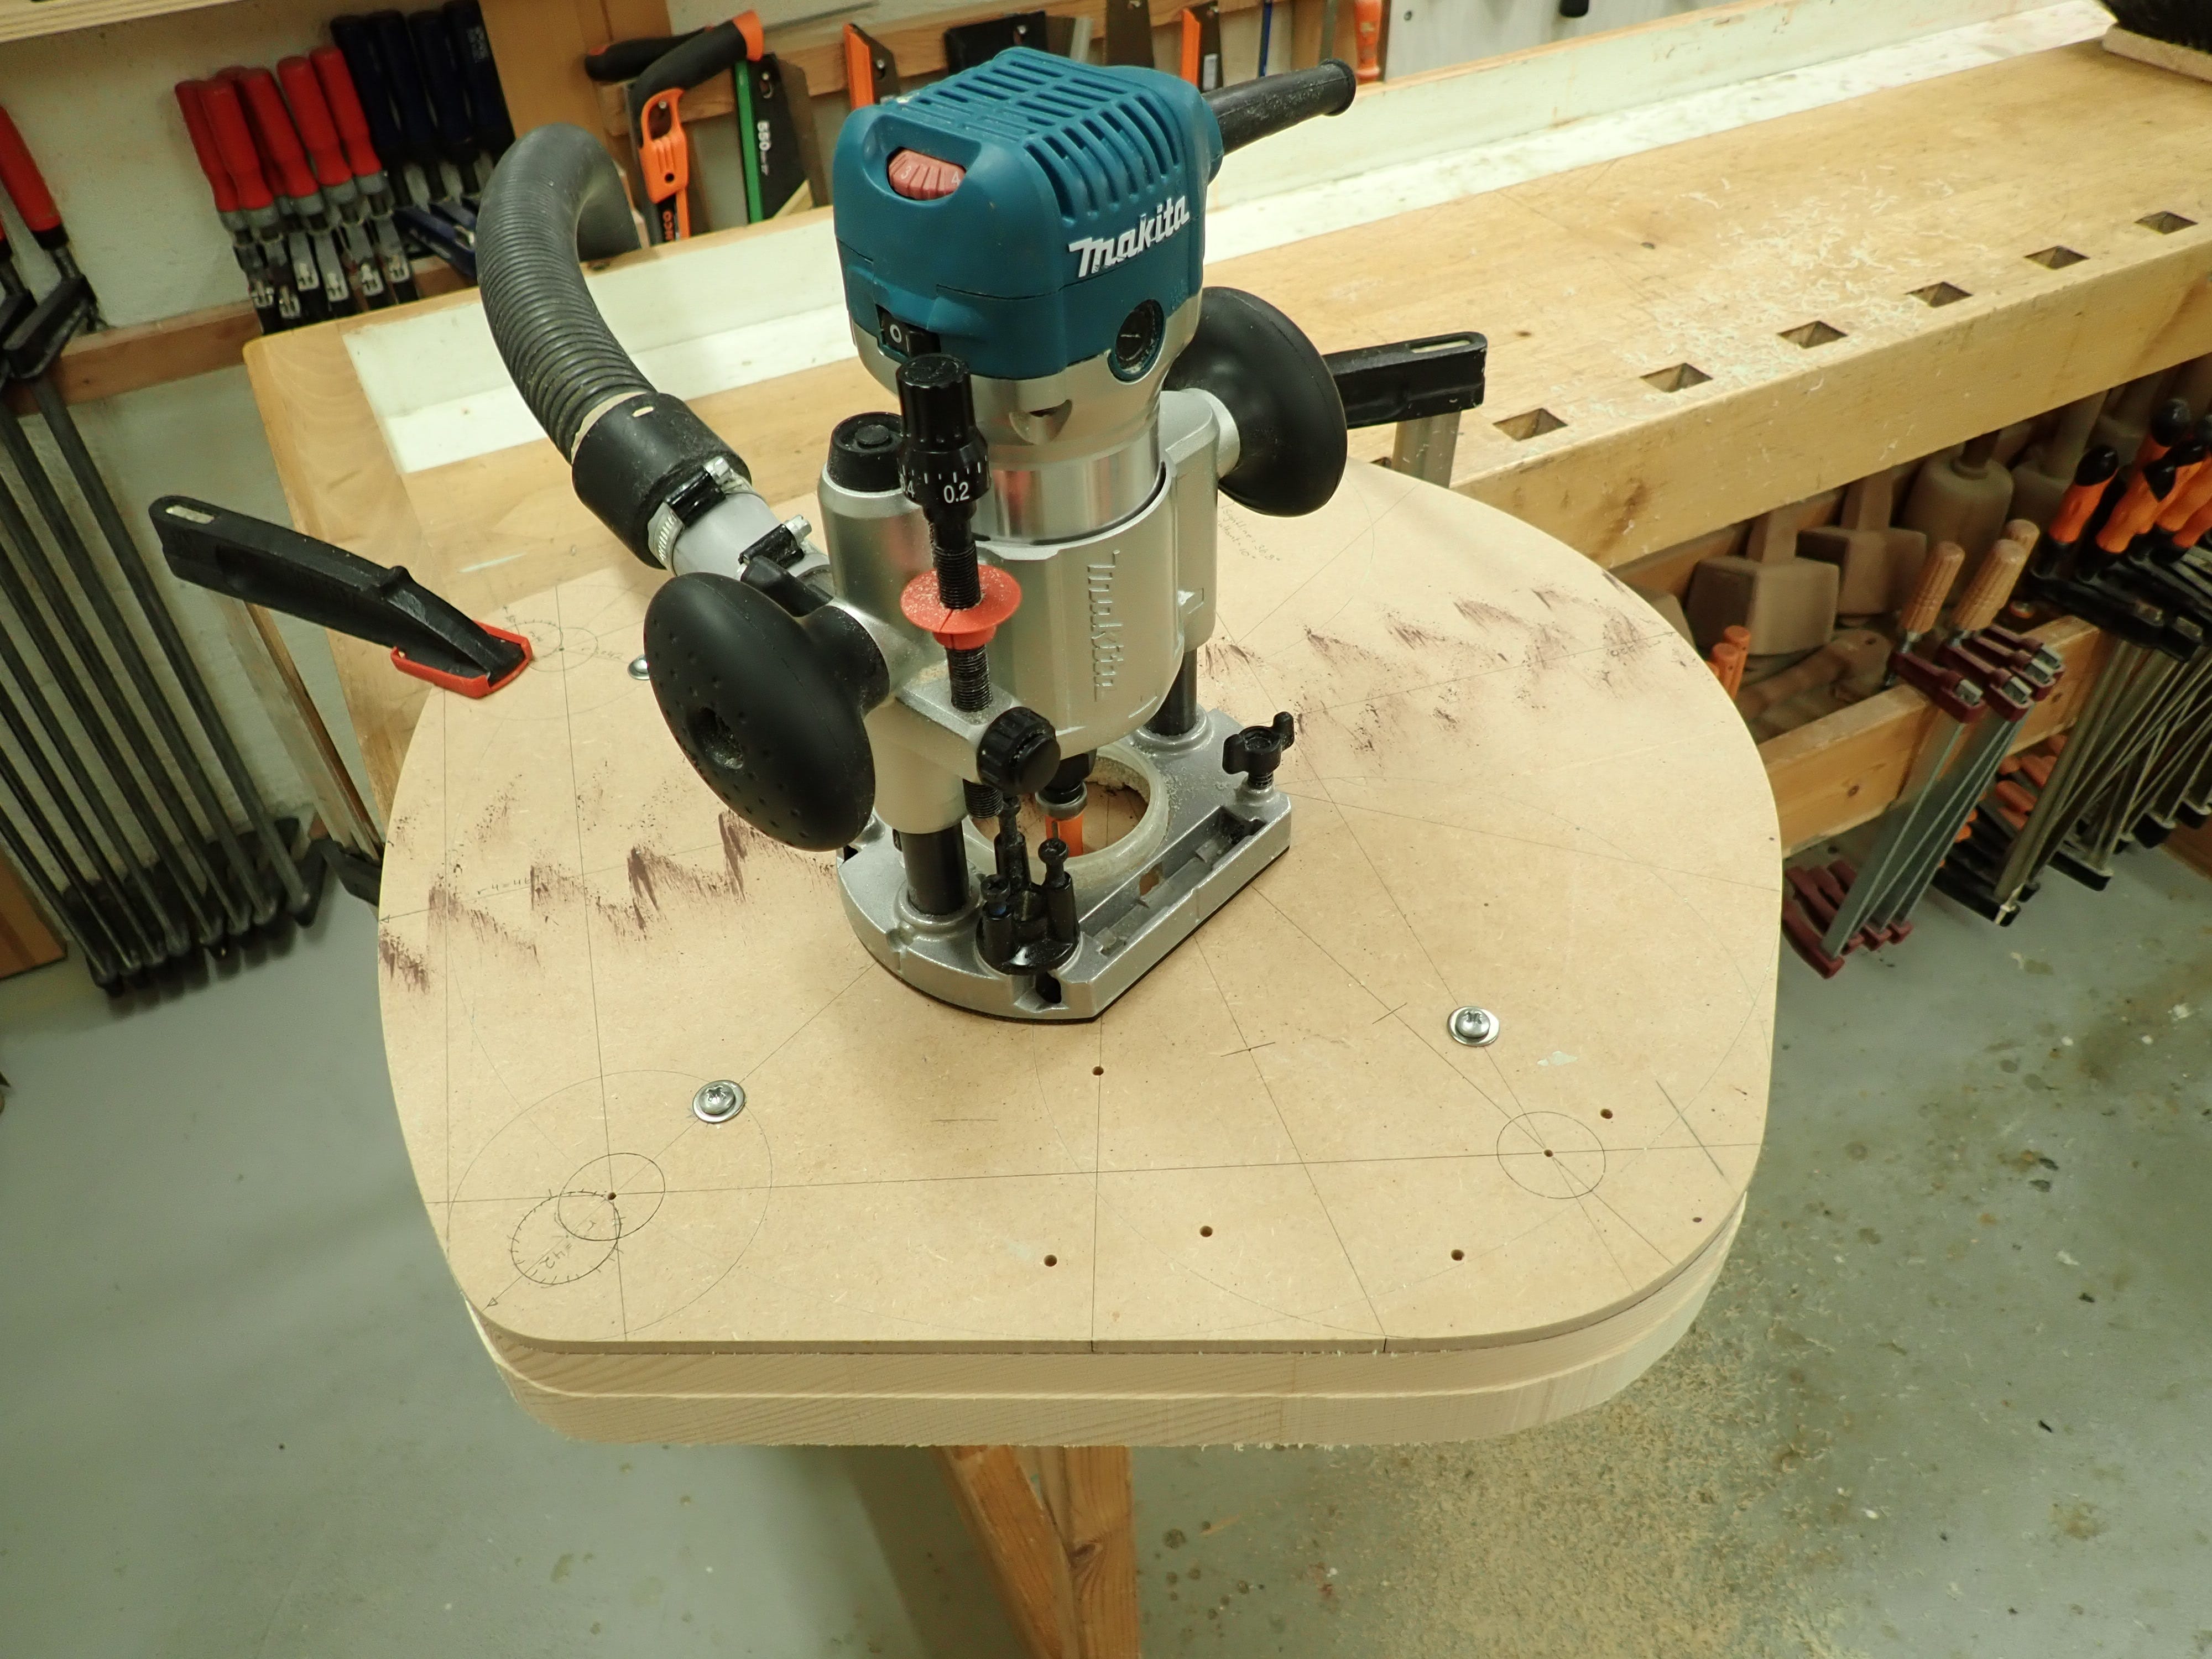
I had to make two passes: First with the guide against the template …
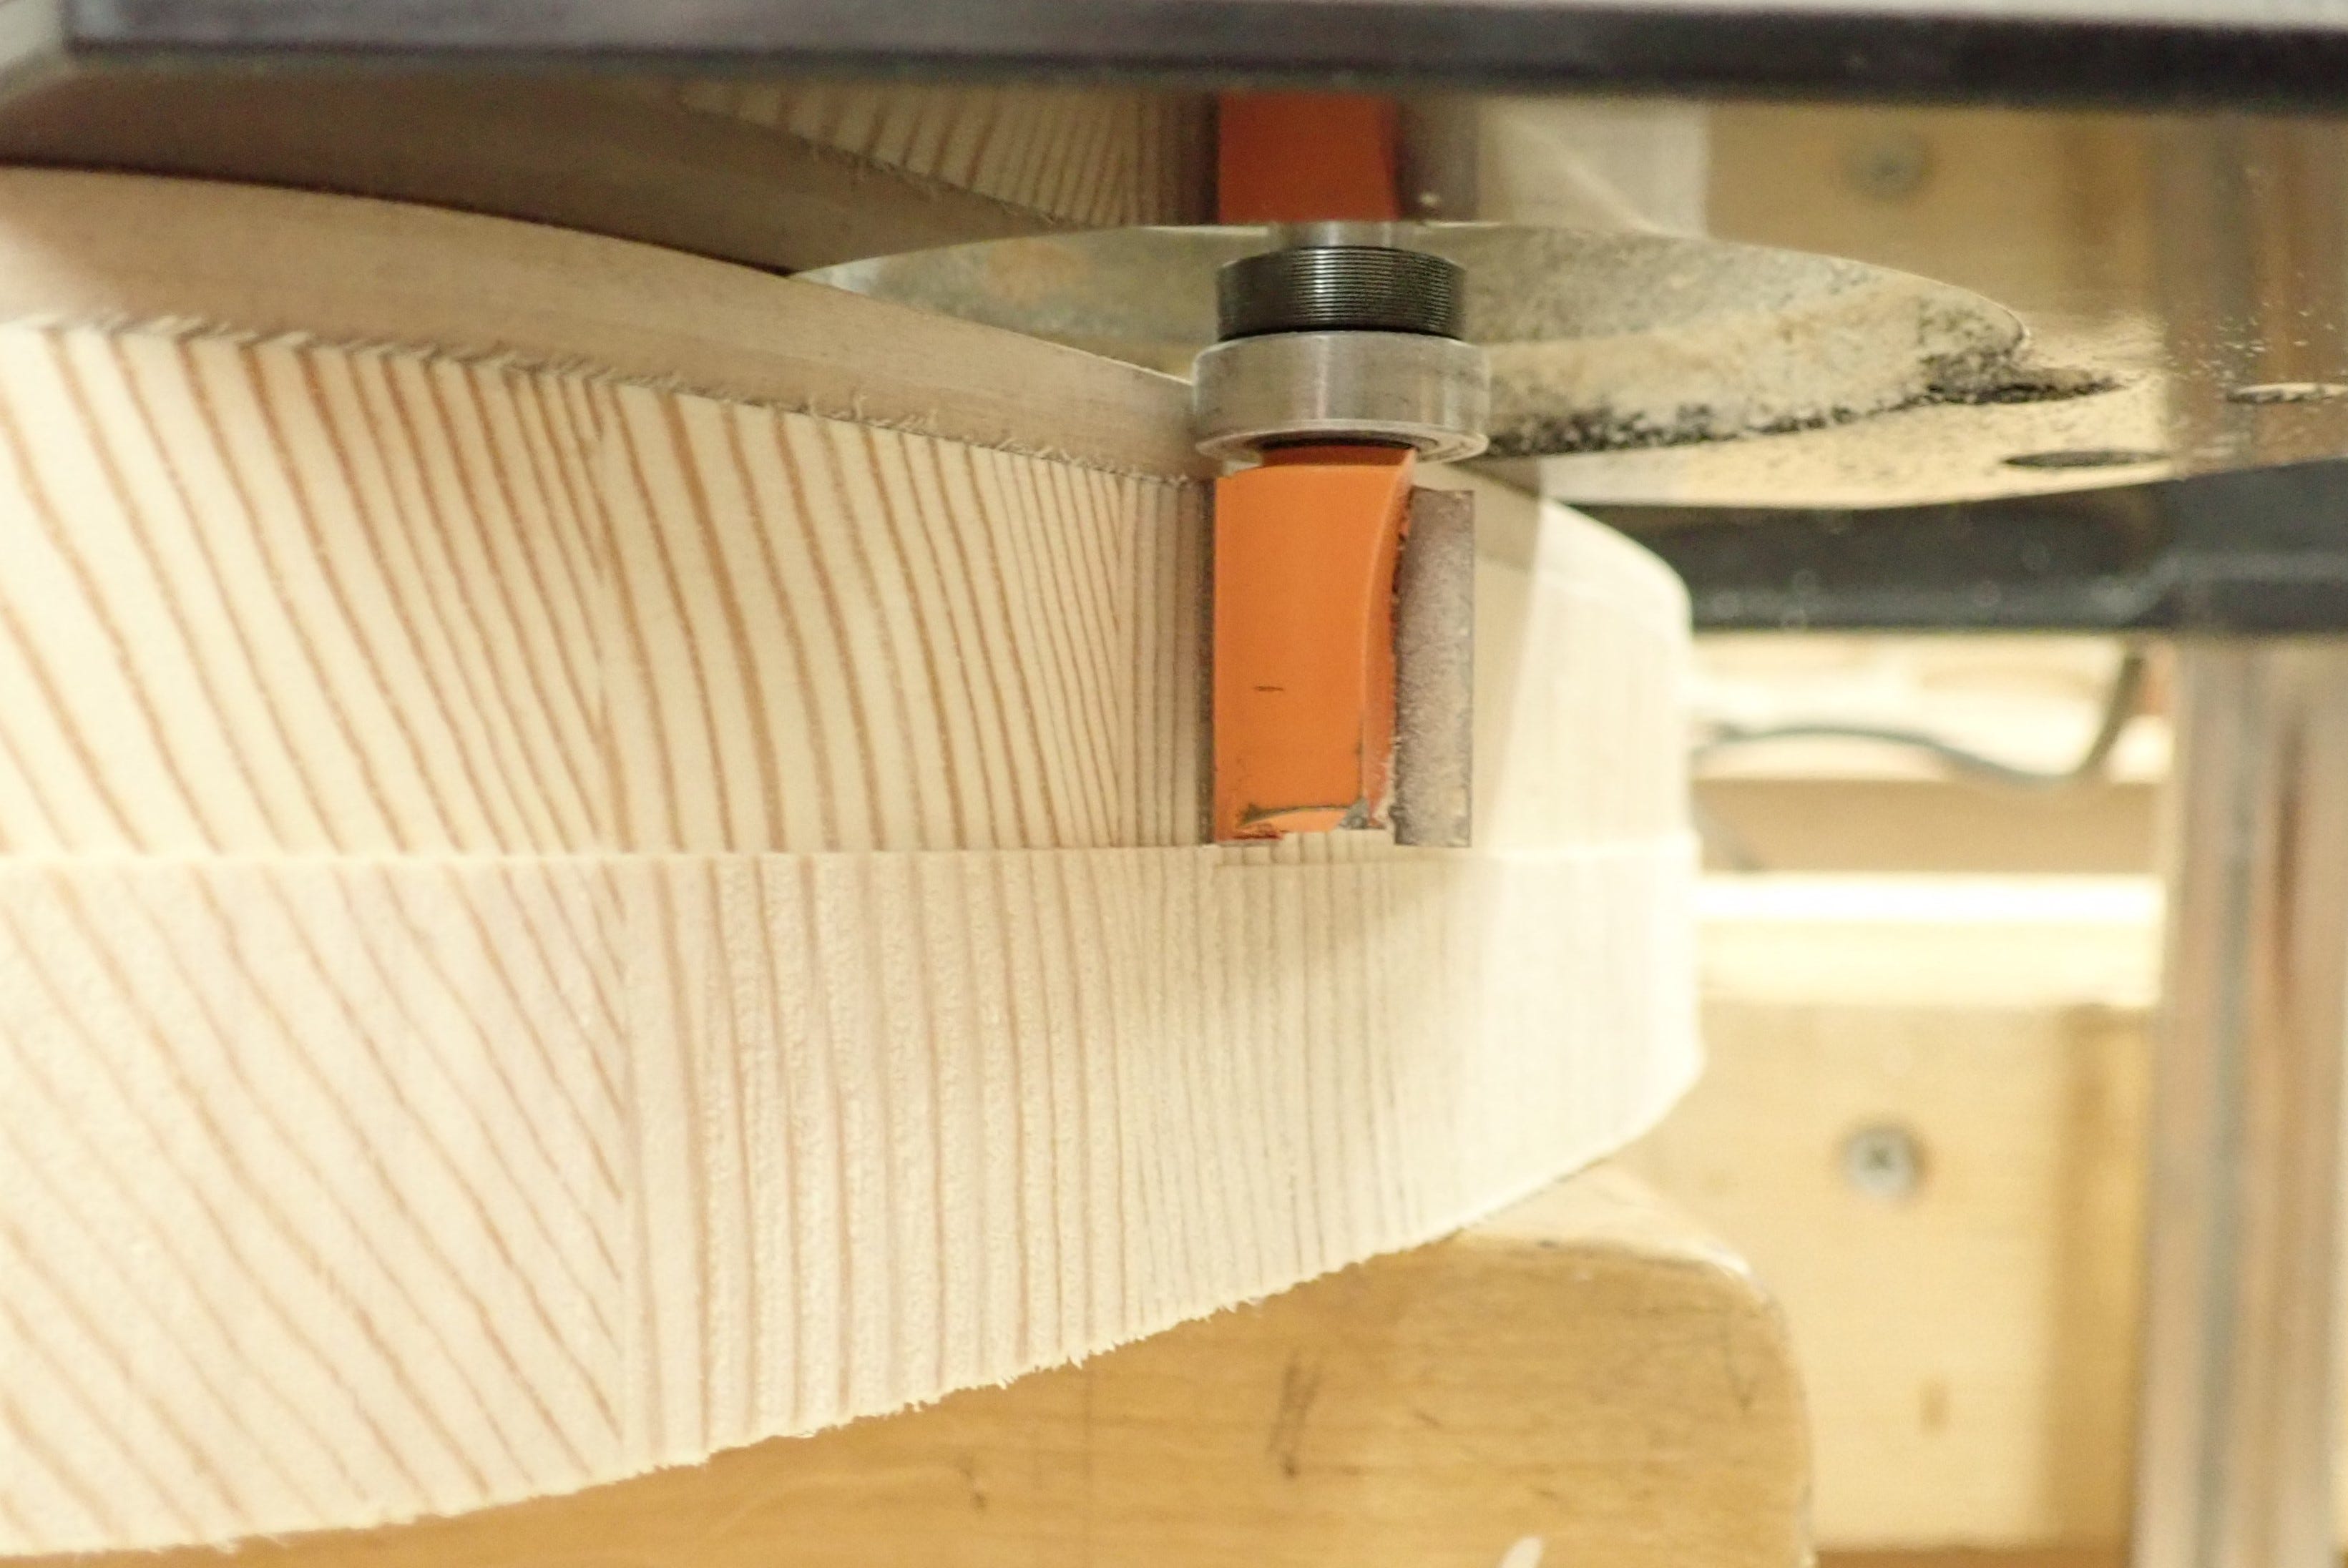
… then, with a longer router bit, using the newly routed surface as a guide:
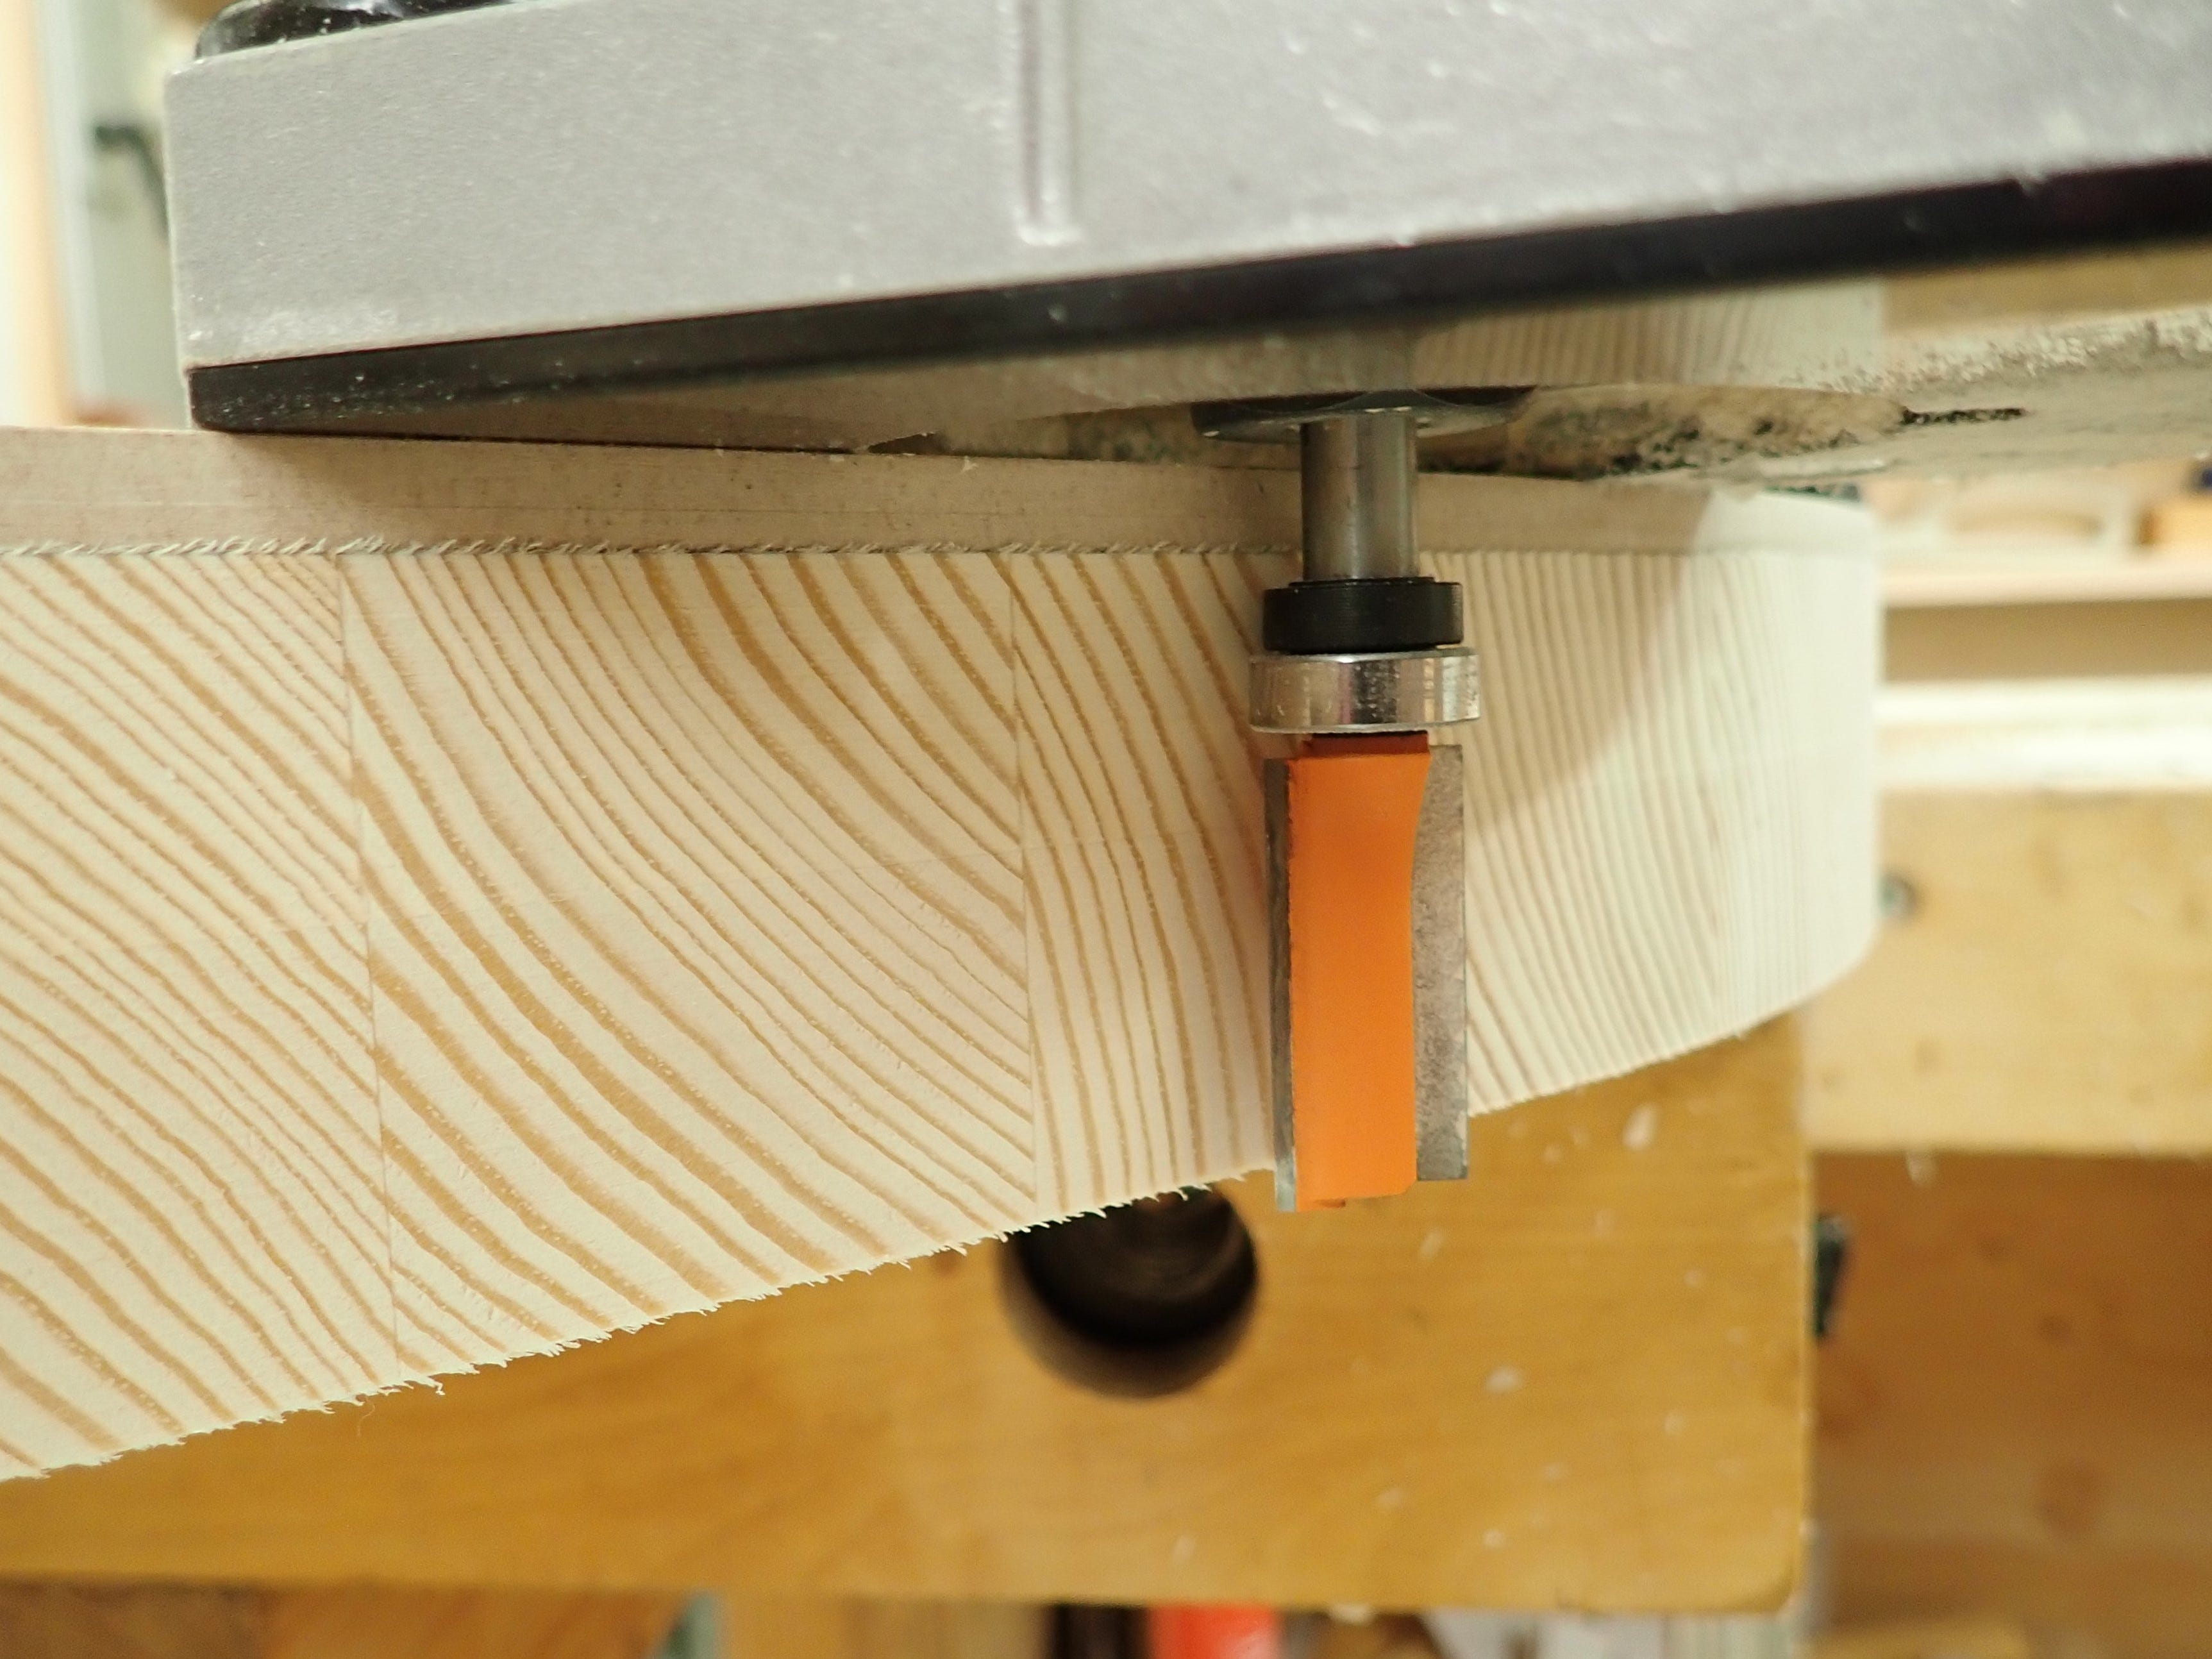
So far, so good.

****
I really want to see the finished article.
Or progress. To see how the chair comes to life!
I admire anyone who can build real things with their hands.
I've played that piece myself, and had the honor of seeing Murray Perahia live several times.
You have excellent taste in music.