

[ soundtrack : He Didn't Return From Battle - Vladimir Vysotsky - (1969) English Subtitles ]
***
Hand planes are essential tools for the cabinetmaker and the more general woodworker’s trade. They come in a very great variety, adapted to a myriad uses. Even the small subset we call ‘bench planes’ vary considerably in size and usage, and can be set up in distinctly different ways to accomplish distinctly different tasks.
My plan was to finish writing about the ‘door-job’ with a post about how I flattened off and smooth-planed the various parts before finishing and mounting hardware. As I spent a lazy hour or so on Saturday afternoon (Mahler’s 9th on the radio!) fiddling about and honing my planes for Monday’s work, I realized that what I was doing might be worth a post in itself.
It’s difficult for me to judge what my readers might find interesting or even ‘educational’. Some of you are very proficient woodworkers while others are absolute beginners. How to square that circle? I won’t even try. I’ll just keep wittering on in excruciating detail about the bleedin’ obvious and if you like it; Bully for you!
As I mentioned, I’m about to flatten off (Norw. ‘avrette’) and smooth-plane (‘pusshøvle’) the door-frames (the big, swinging flat things) that are hinged to the casements (that are fixed into the opening in the wall). The goal is to make things flat and smooth while removing as little material as possible — because that’s work, and we want to do as little of that as possible; not only because we’re lazy, but because it’s the practical definition of efficiency.
How much you have to remove depends on how accurate your joinery is. When I do stock prep I usually add 0,2 - 0,3 mm for smooth-planing (‘høvlingsmonn’), so a nominal thickness of 40mm is machined to 40,3 mm. My point being this: I just need to remove thin shavings, and I want to leave a flat surface without need of sanding. Not everyone will be able to work to these tolerances, or even find it necessary — often it isn’t, but I find that good accuracy saves time in every step of a production, by reducing the need for adjusting and fitting individual parts, and as mentioned; reducing the amount of material that needs to be removed (work).
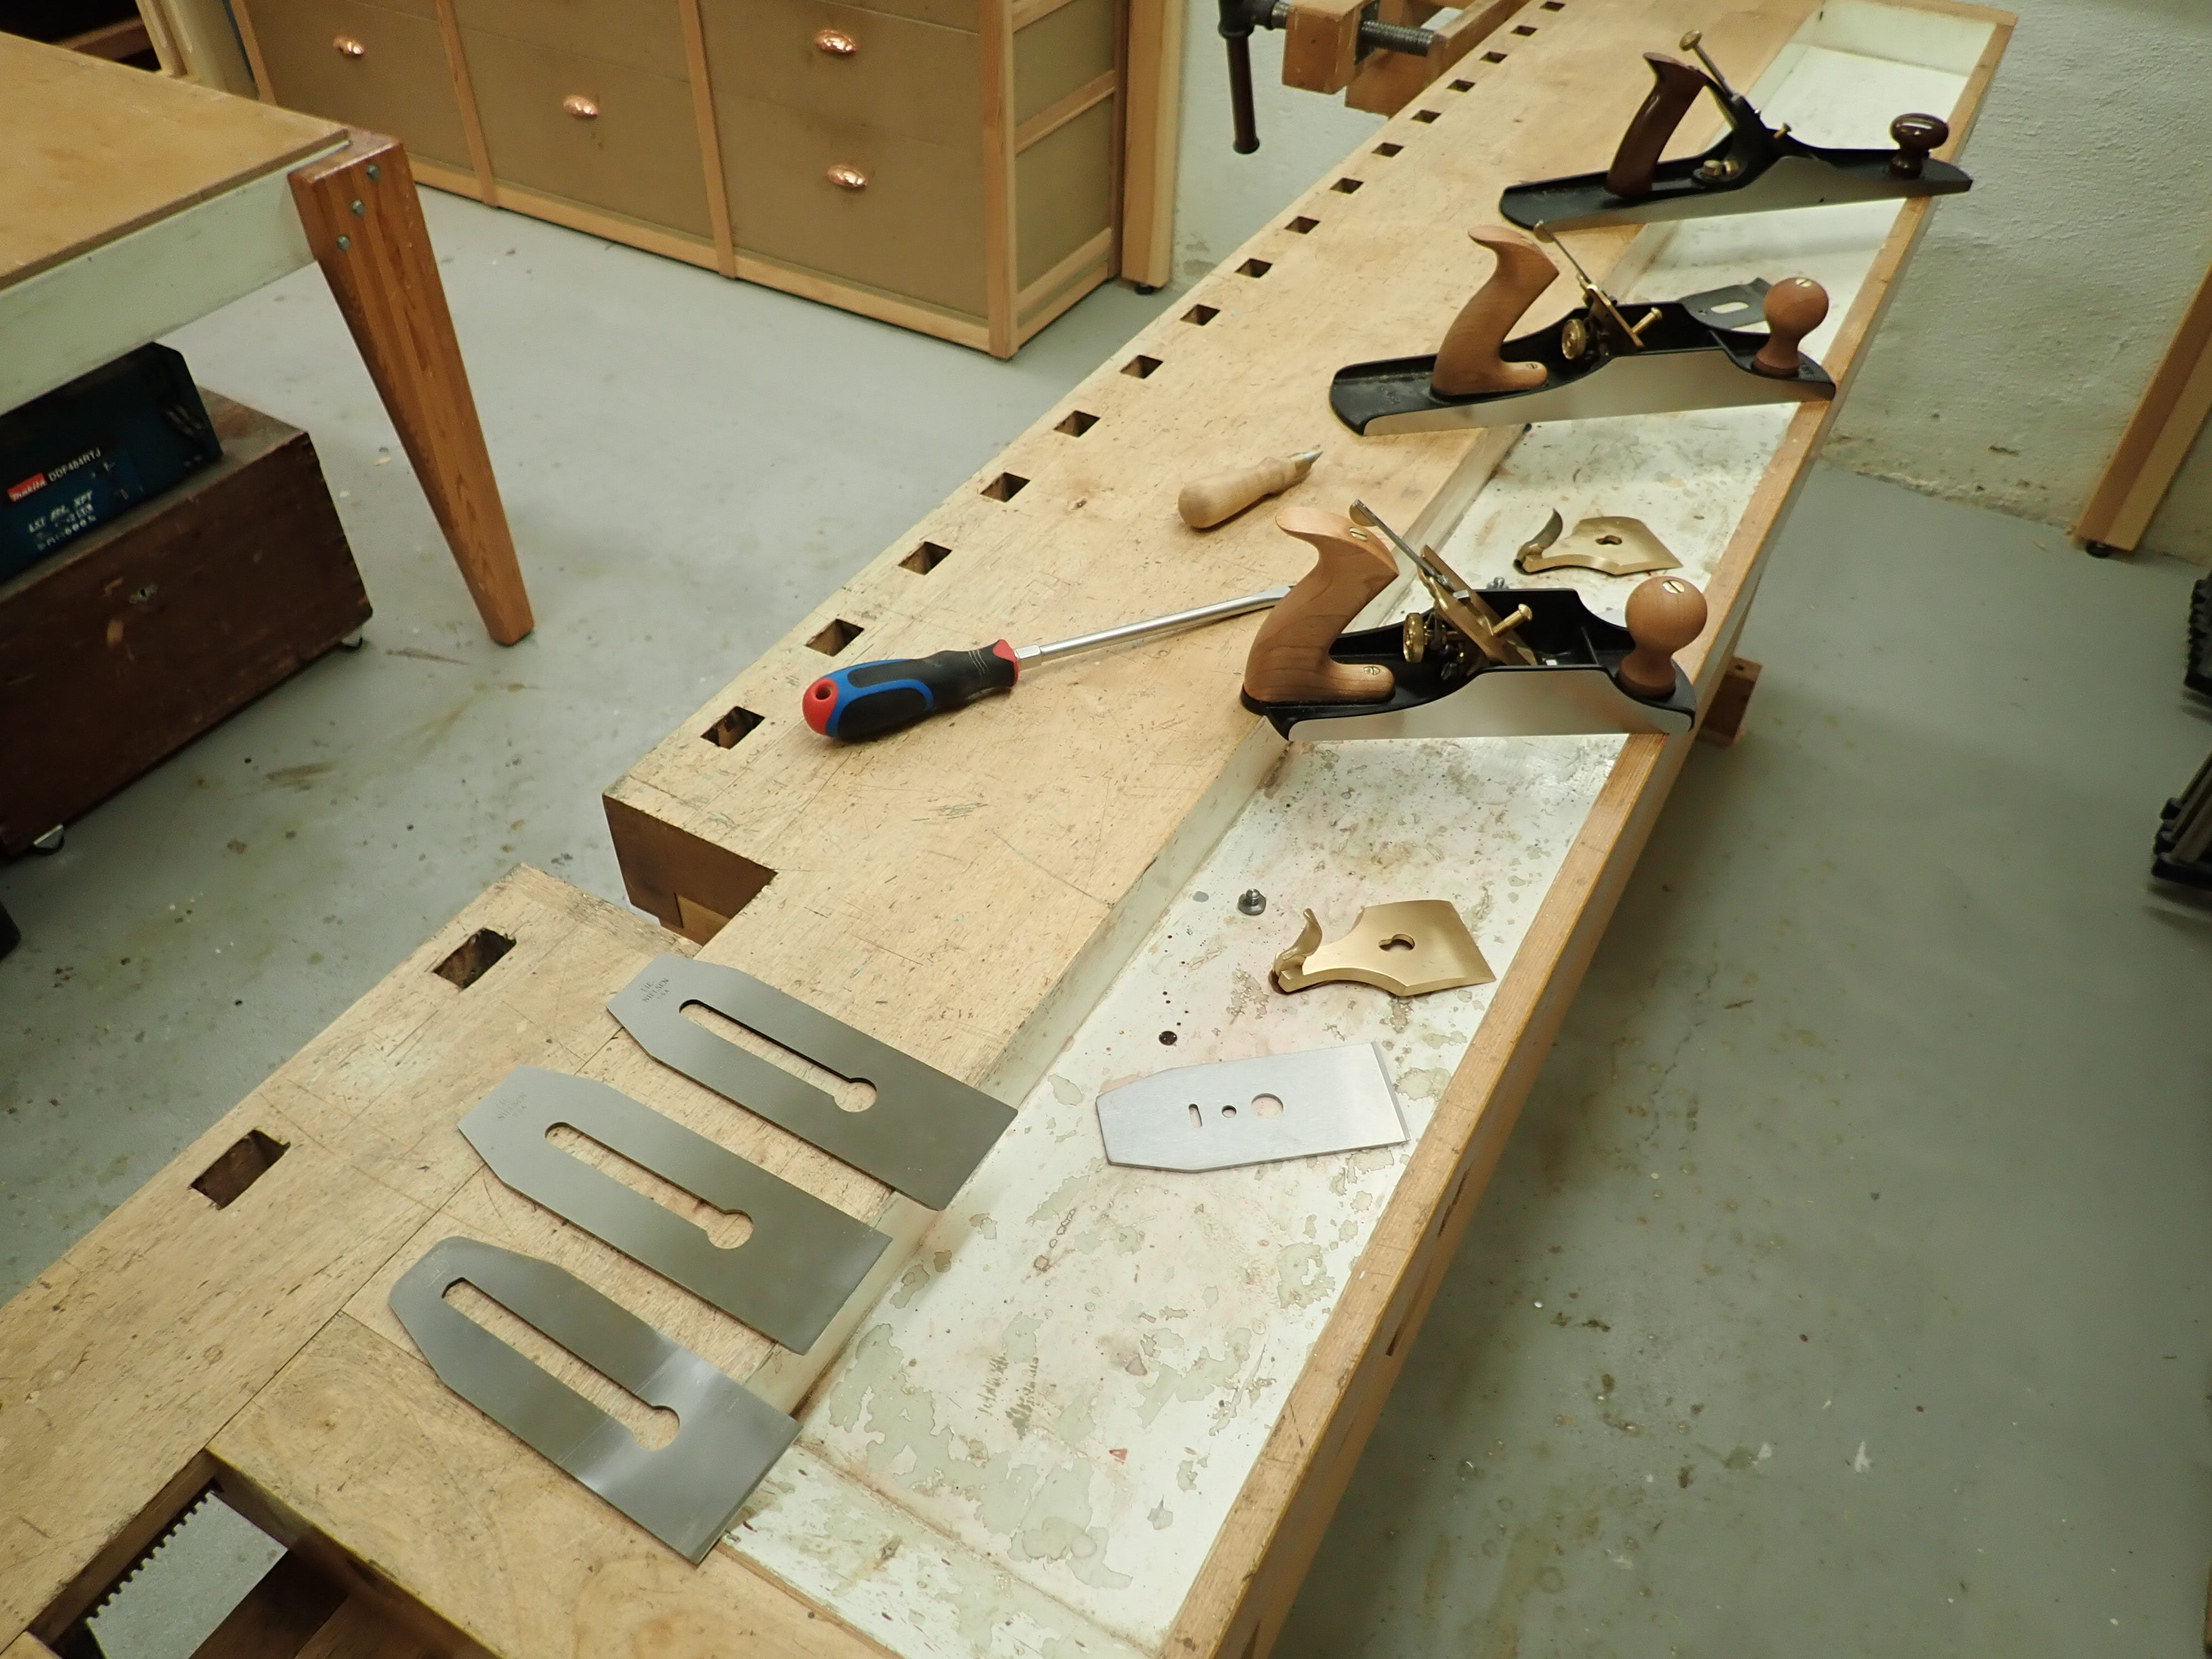
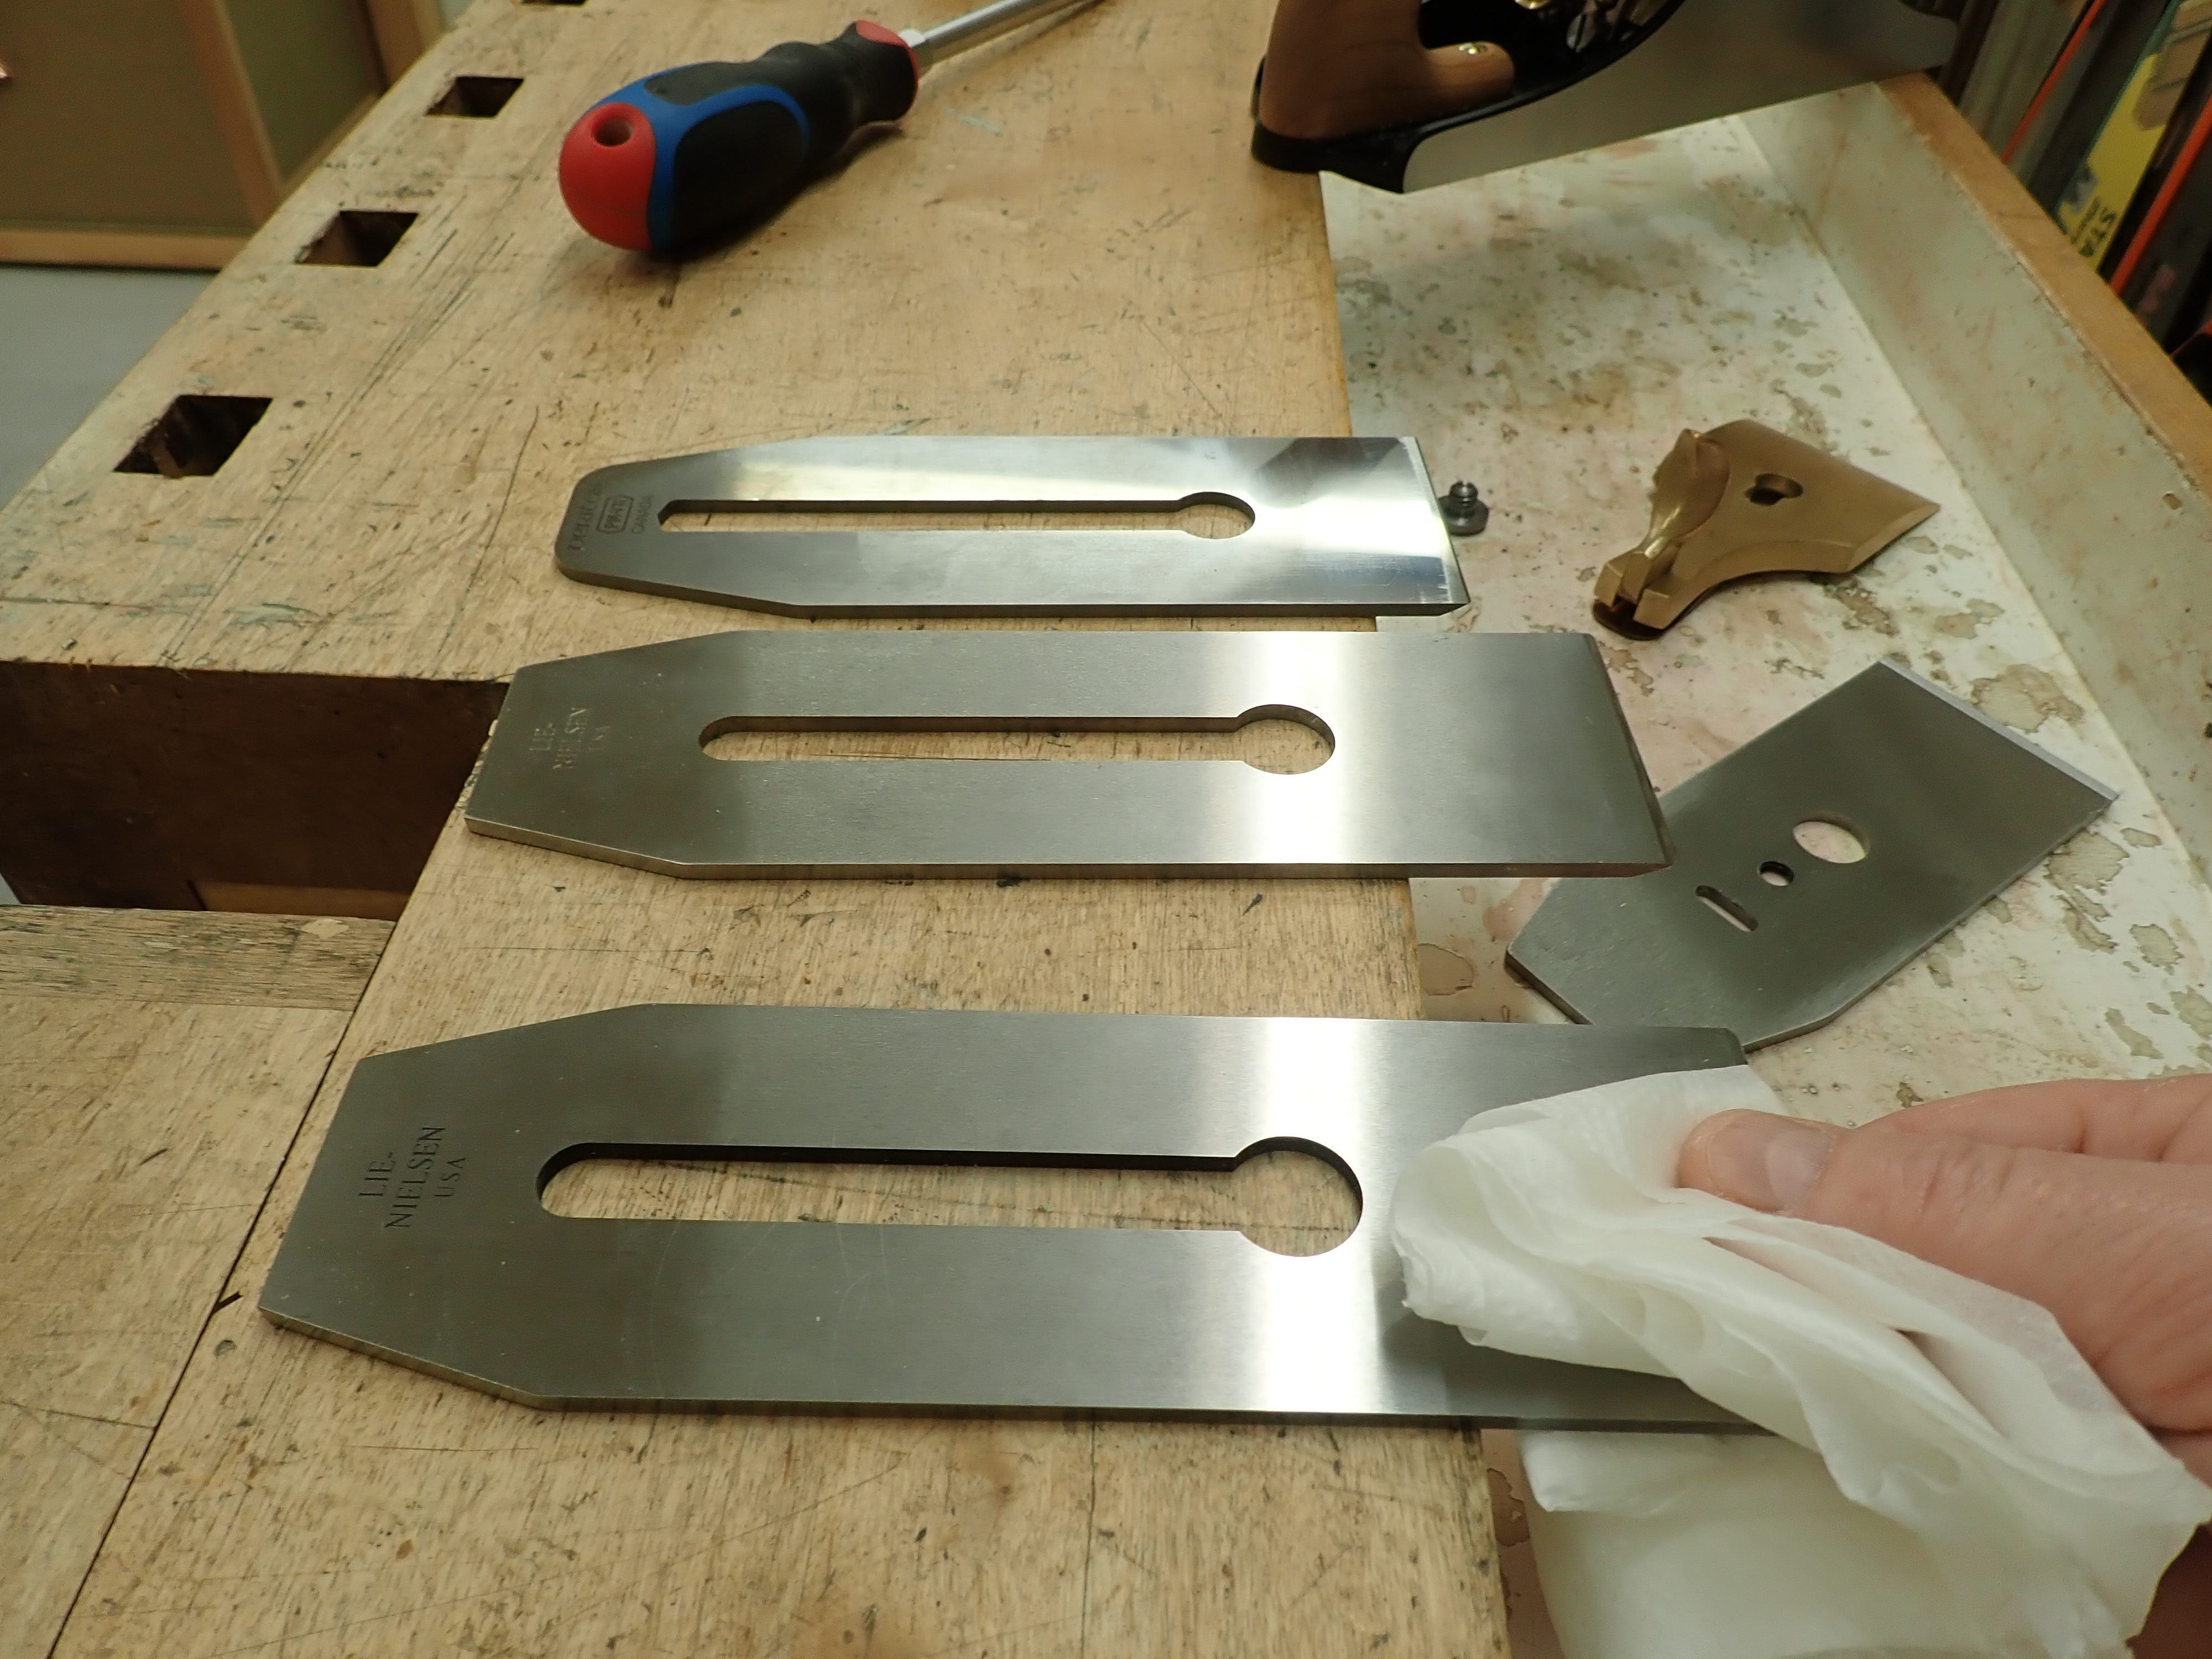
Since I mostly work in more or less resinous pine, I like to clean my irons with denatured alcohol to get rid of the sticky build-up that accumulates around the cutting edge; there is no need to clog up my abrasives with that gunk.
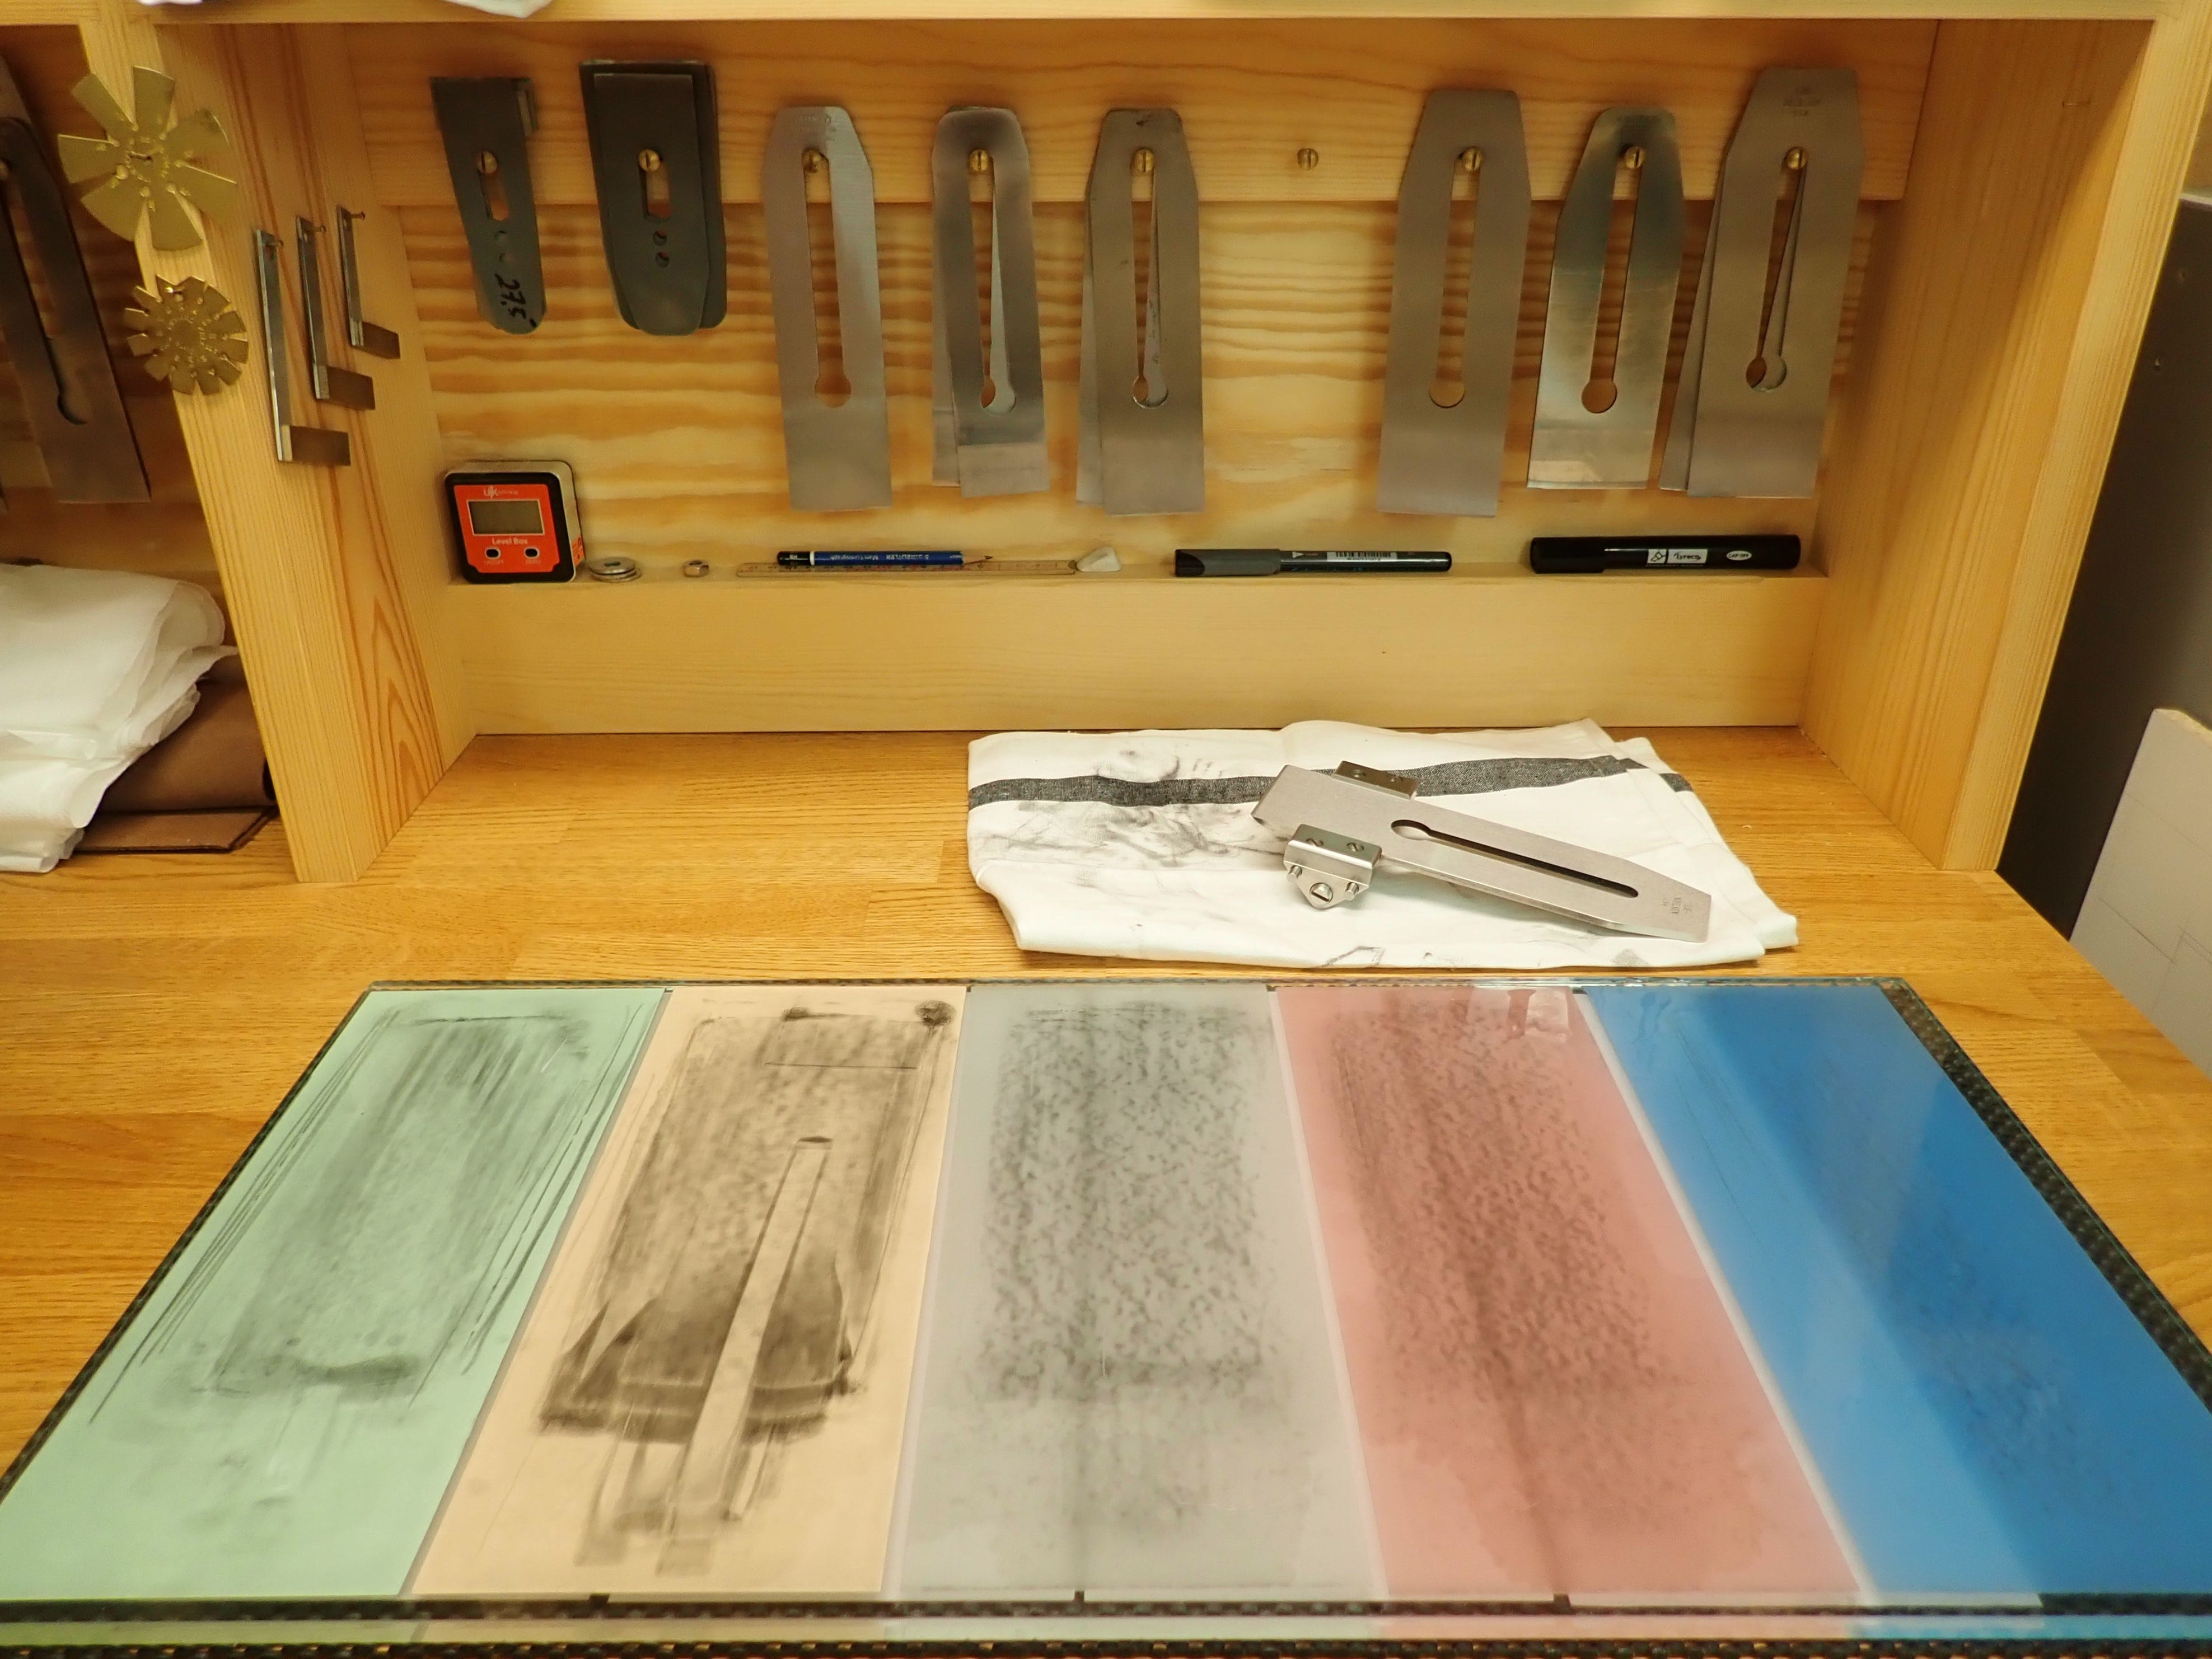
Use whatever honing medium you will; I use self-adhesive abrasives on glass with a Lie-Nielsen honing guide for my plane irons.
What’s more, I use 2 back-bevels and 3 front-bevels. That’s exactly how fancy I am and I don’t care who knows it! Truth is: it saves me time.
For smooth-planing I keep my cutting edges straight (‘un-cambered’) but rounded over at the corners so as not to leave ‘steps’ along the wood.
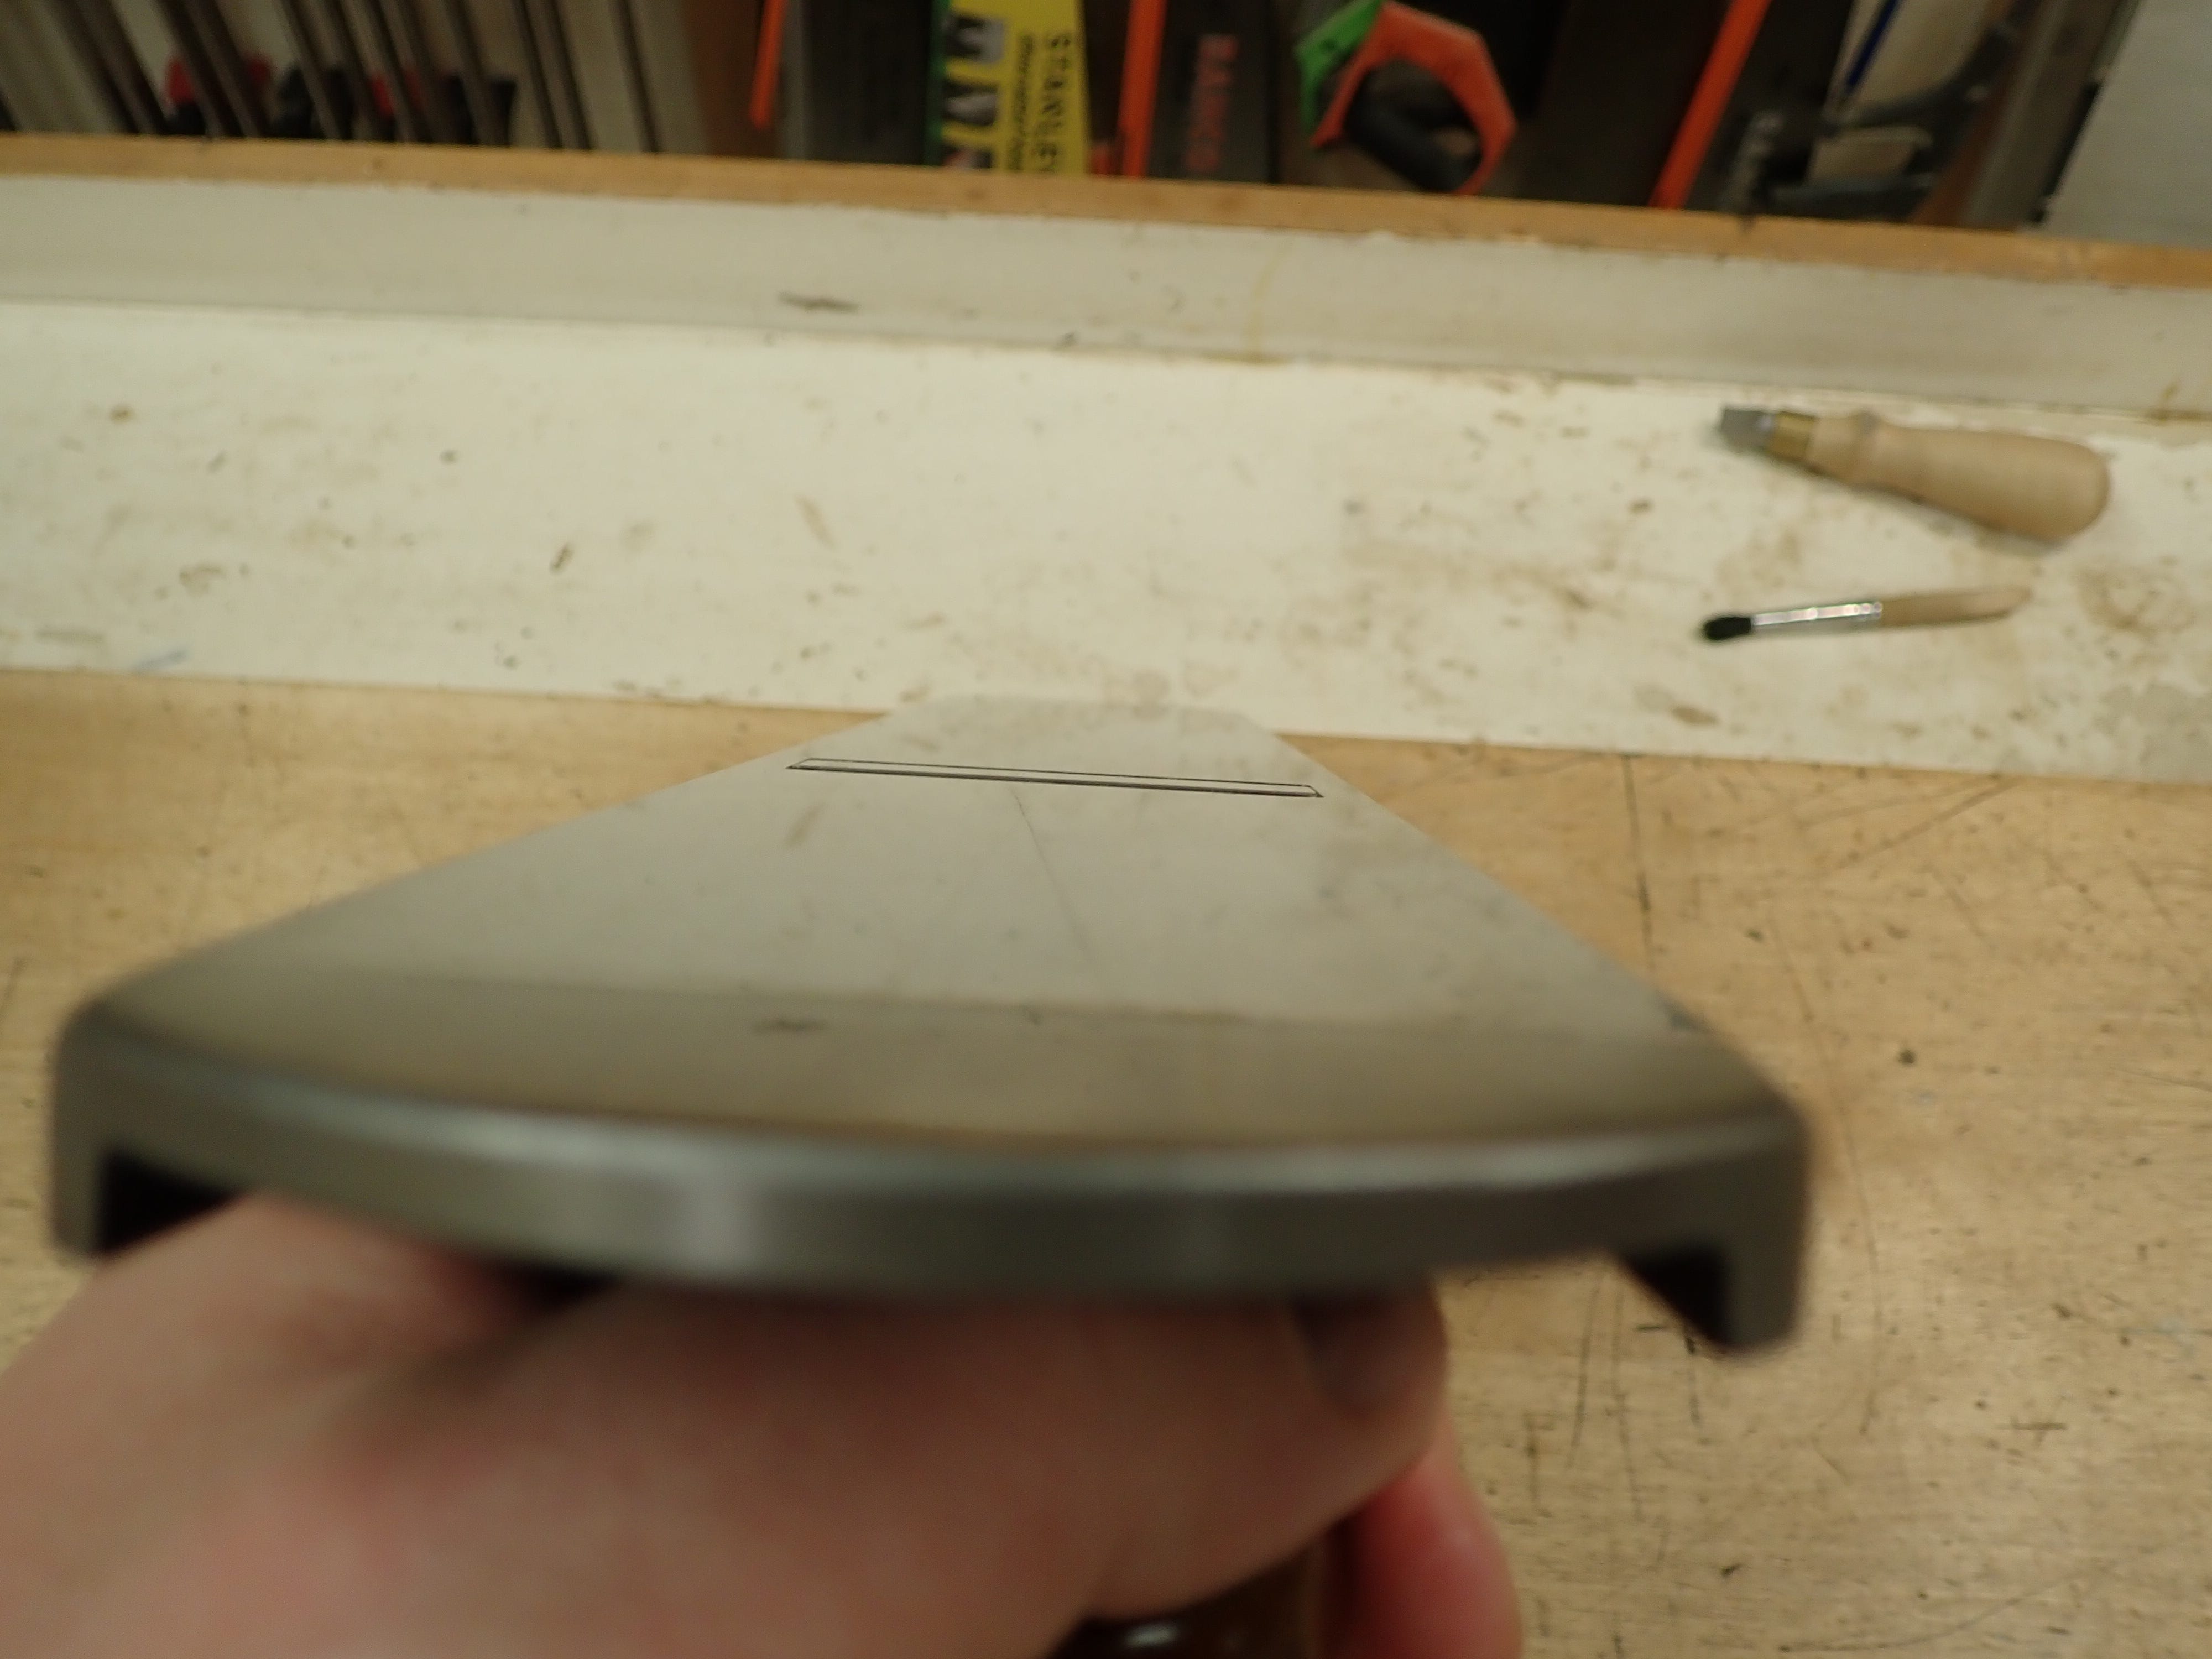
When setting the chip-breaker, I judge its position by squinting at the shiny strip of exposed back-bevel …
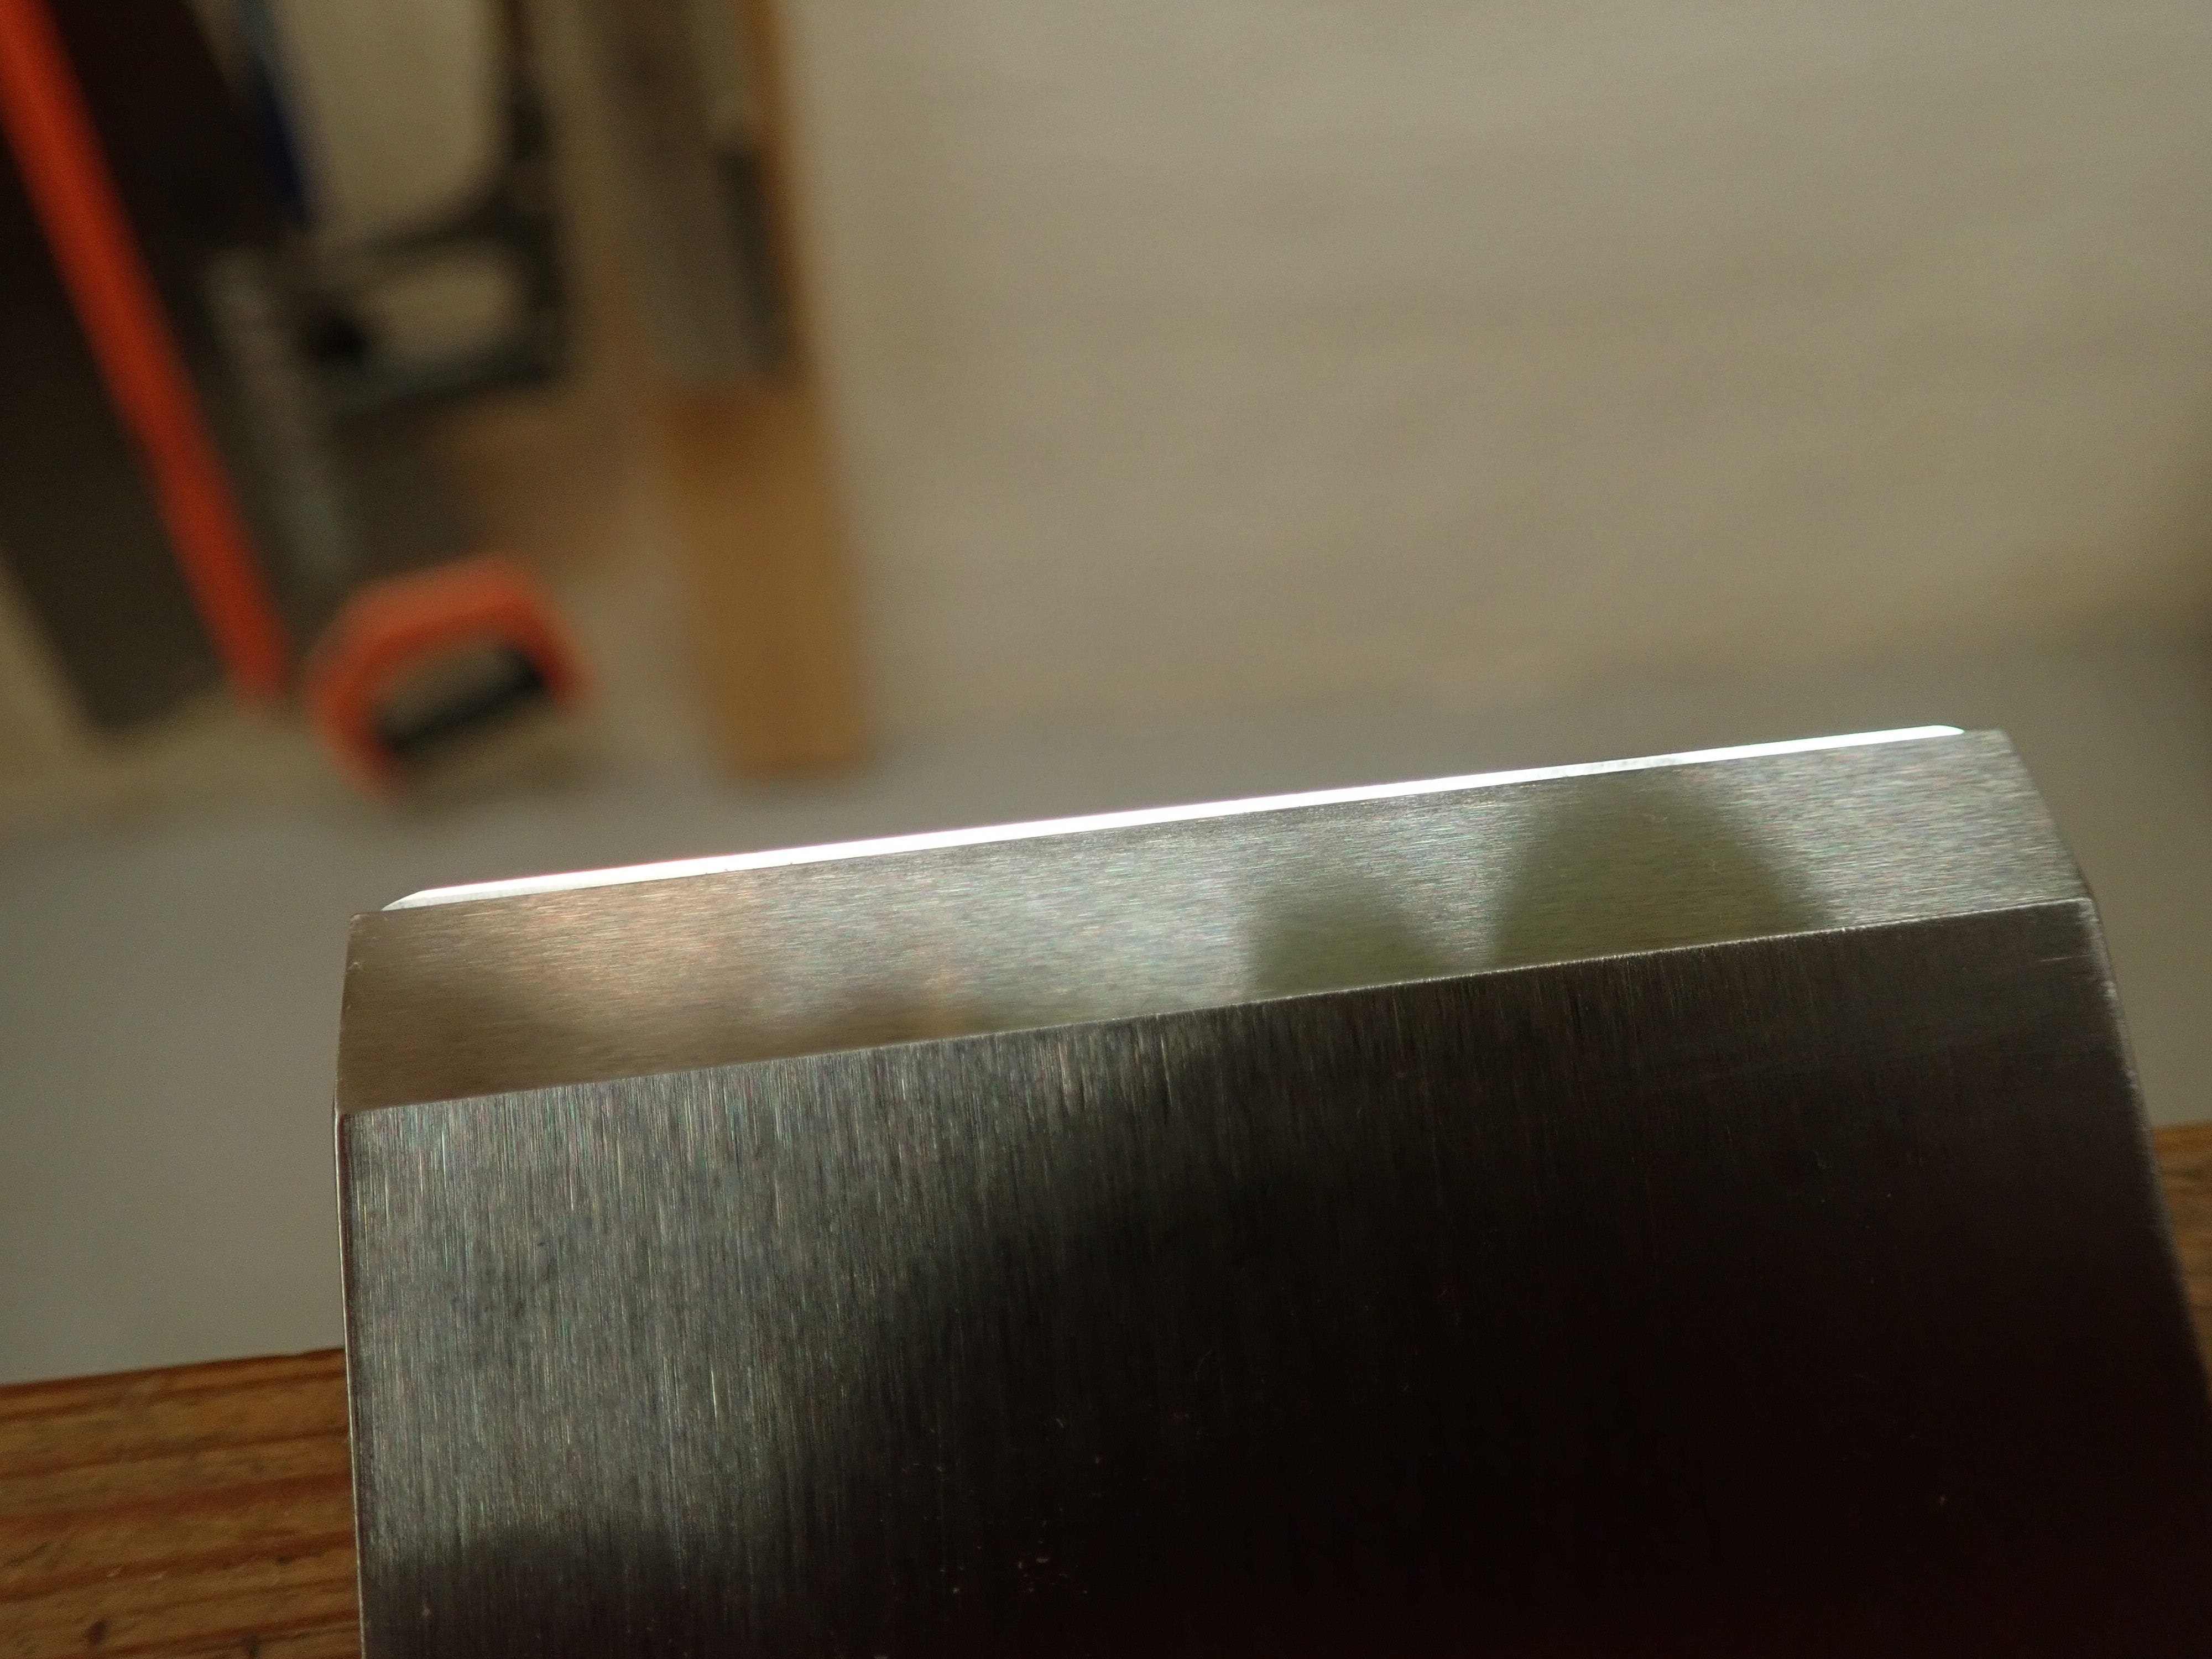
… and since I’m planing easy-going pine, I don’t have to set it very fine — a shy millimetre will do nicely. Different wood species benefit from different settings (chip-breaker, mouth opening, honing- & cutting angles …) but that’s a story for another day.
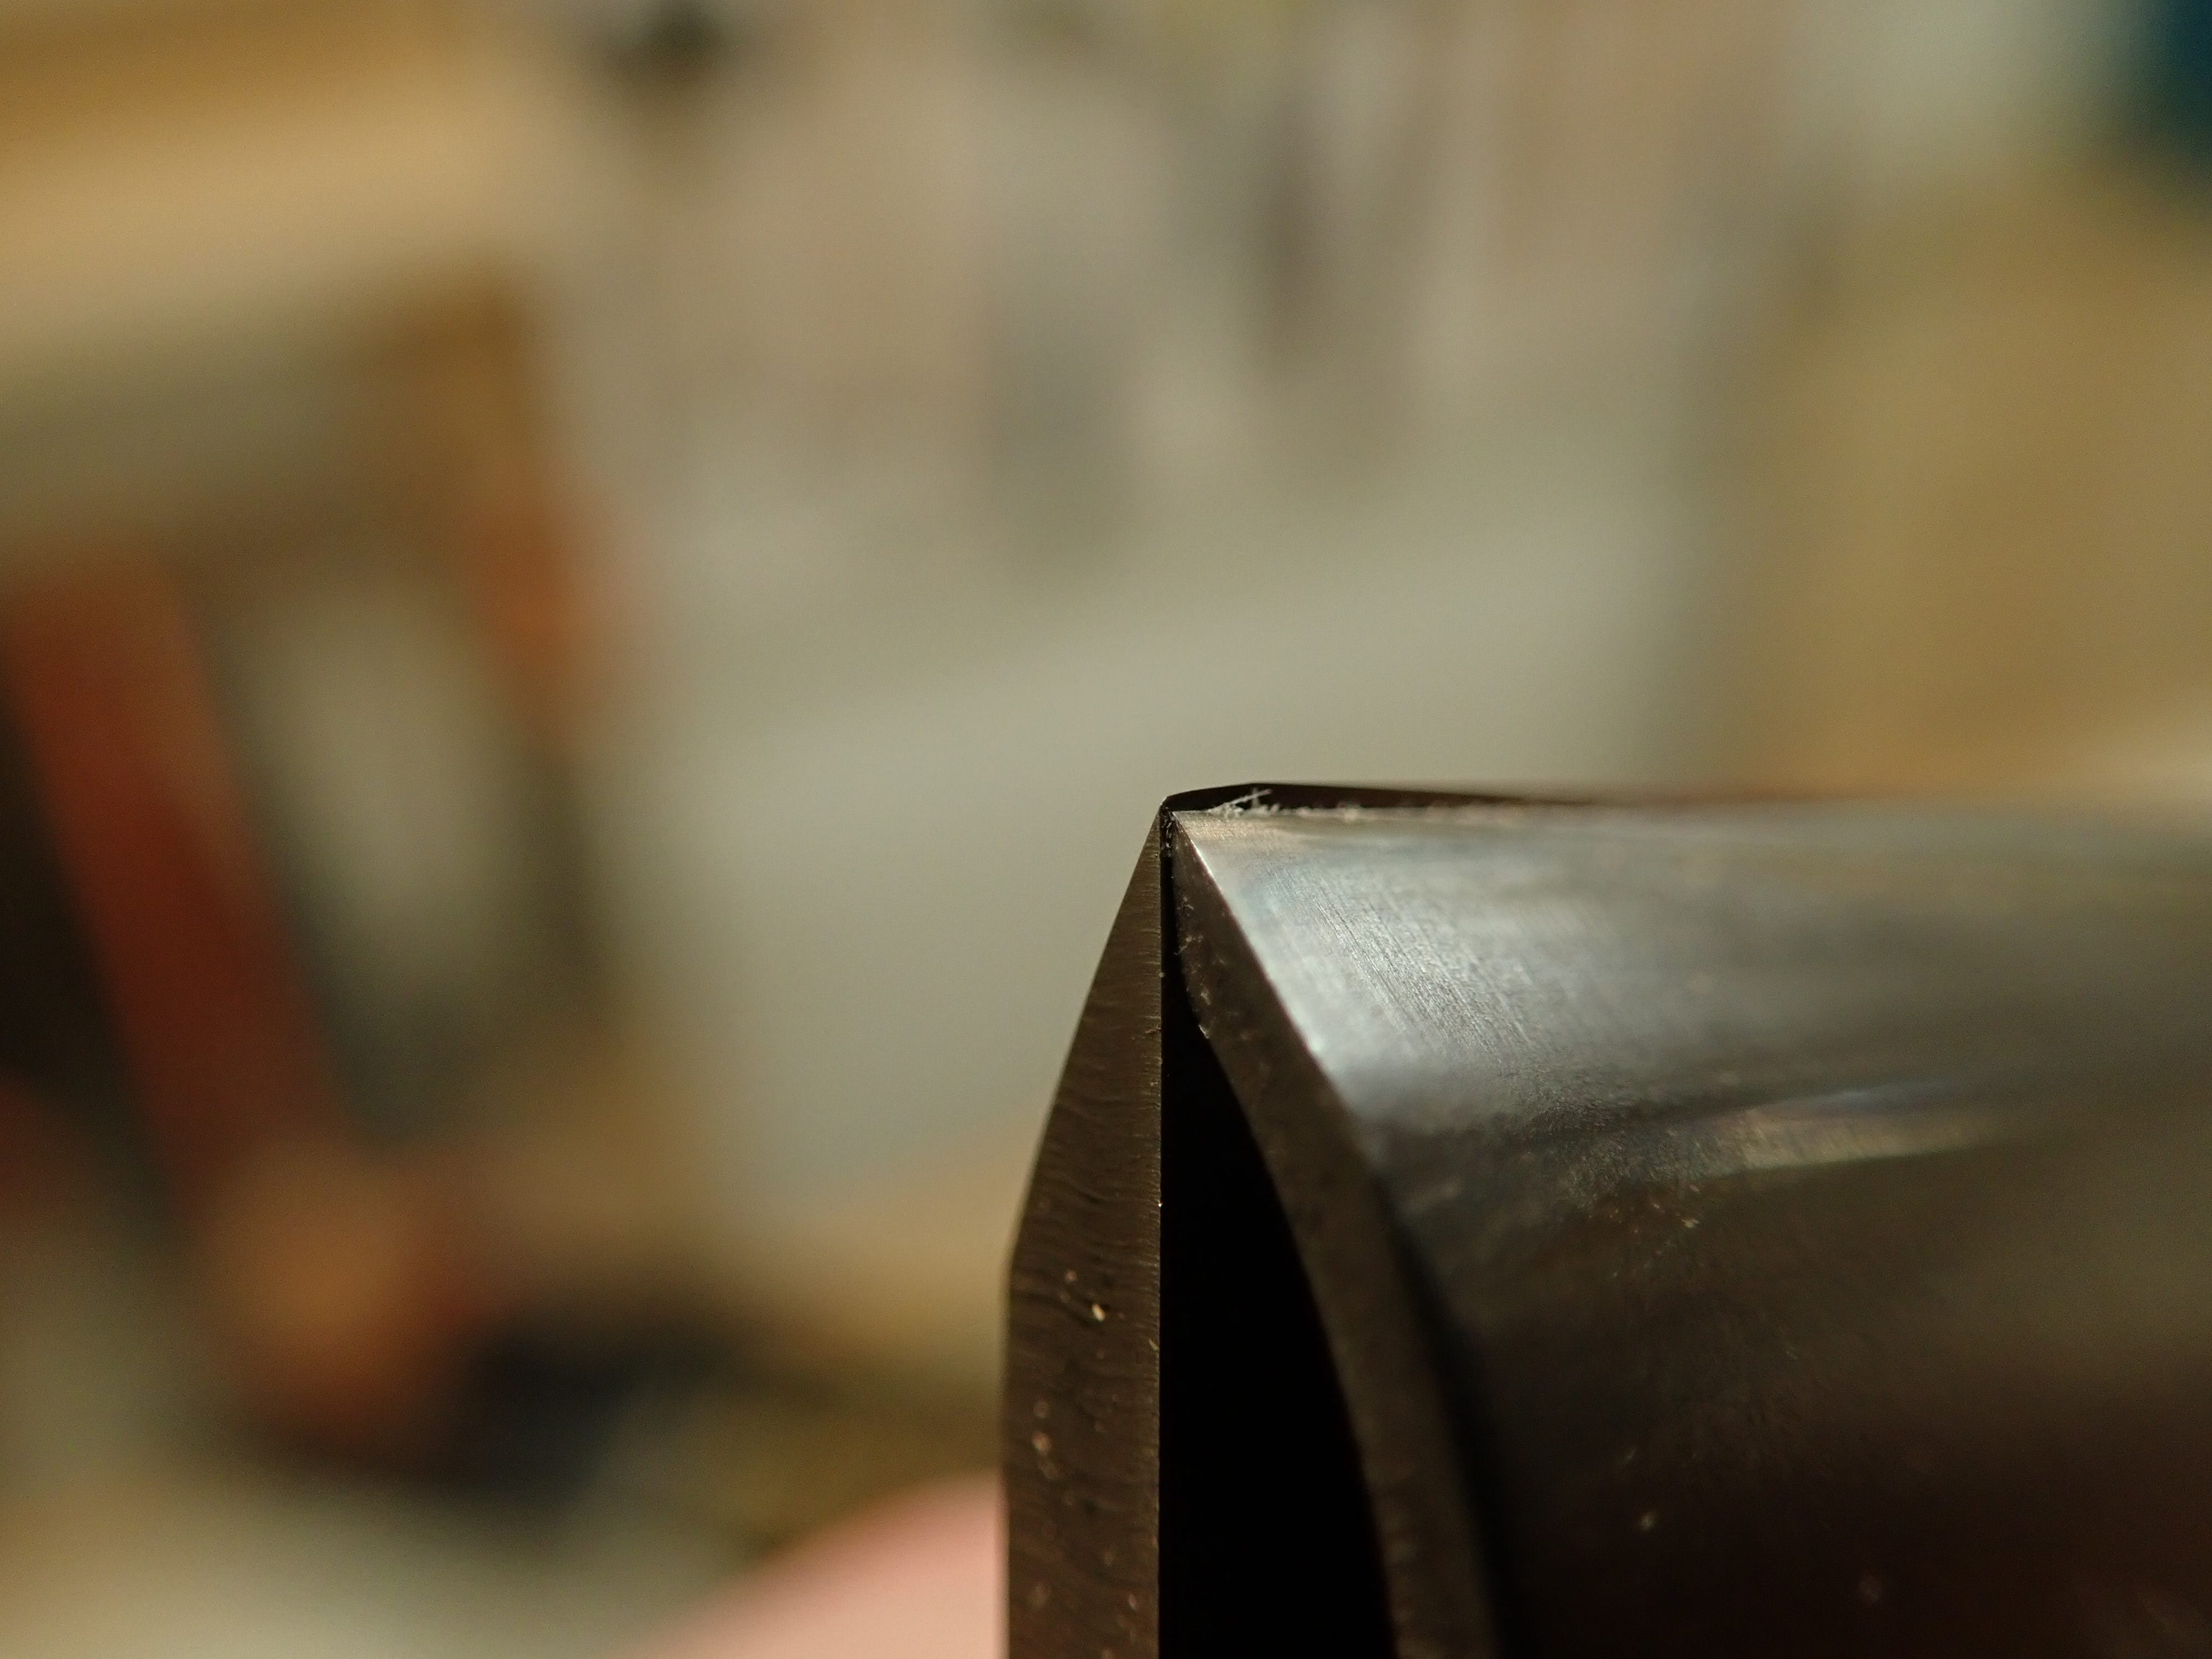
I install the blade (‘iron’) and adjust its rough setting by eye, squinting down the plane’s sole against my white-painted tool tray. Did you think that colour was a coincidence?
Then I strap down one of my ‘plane-setting pieces’; a straight- & fine-grained oddment of wood that I use for fine-adjusting the settings of my planes.
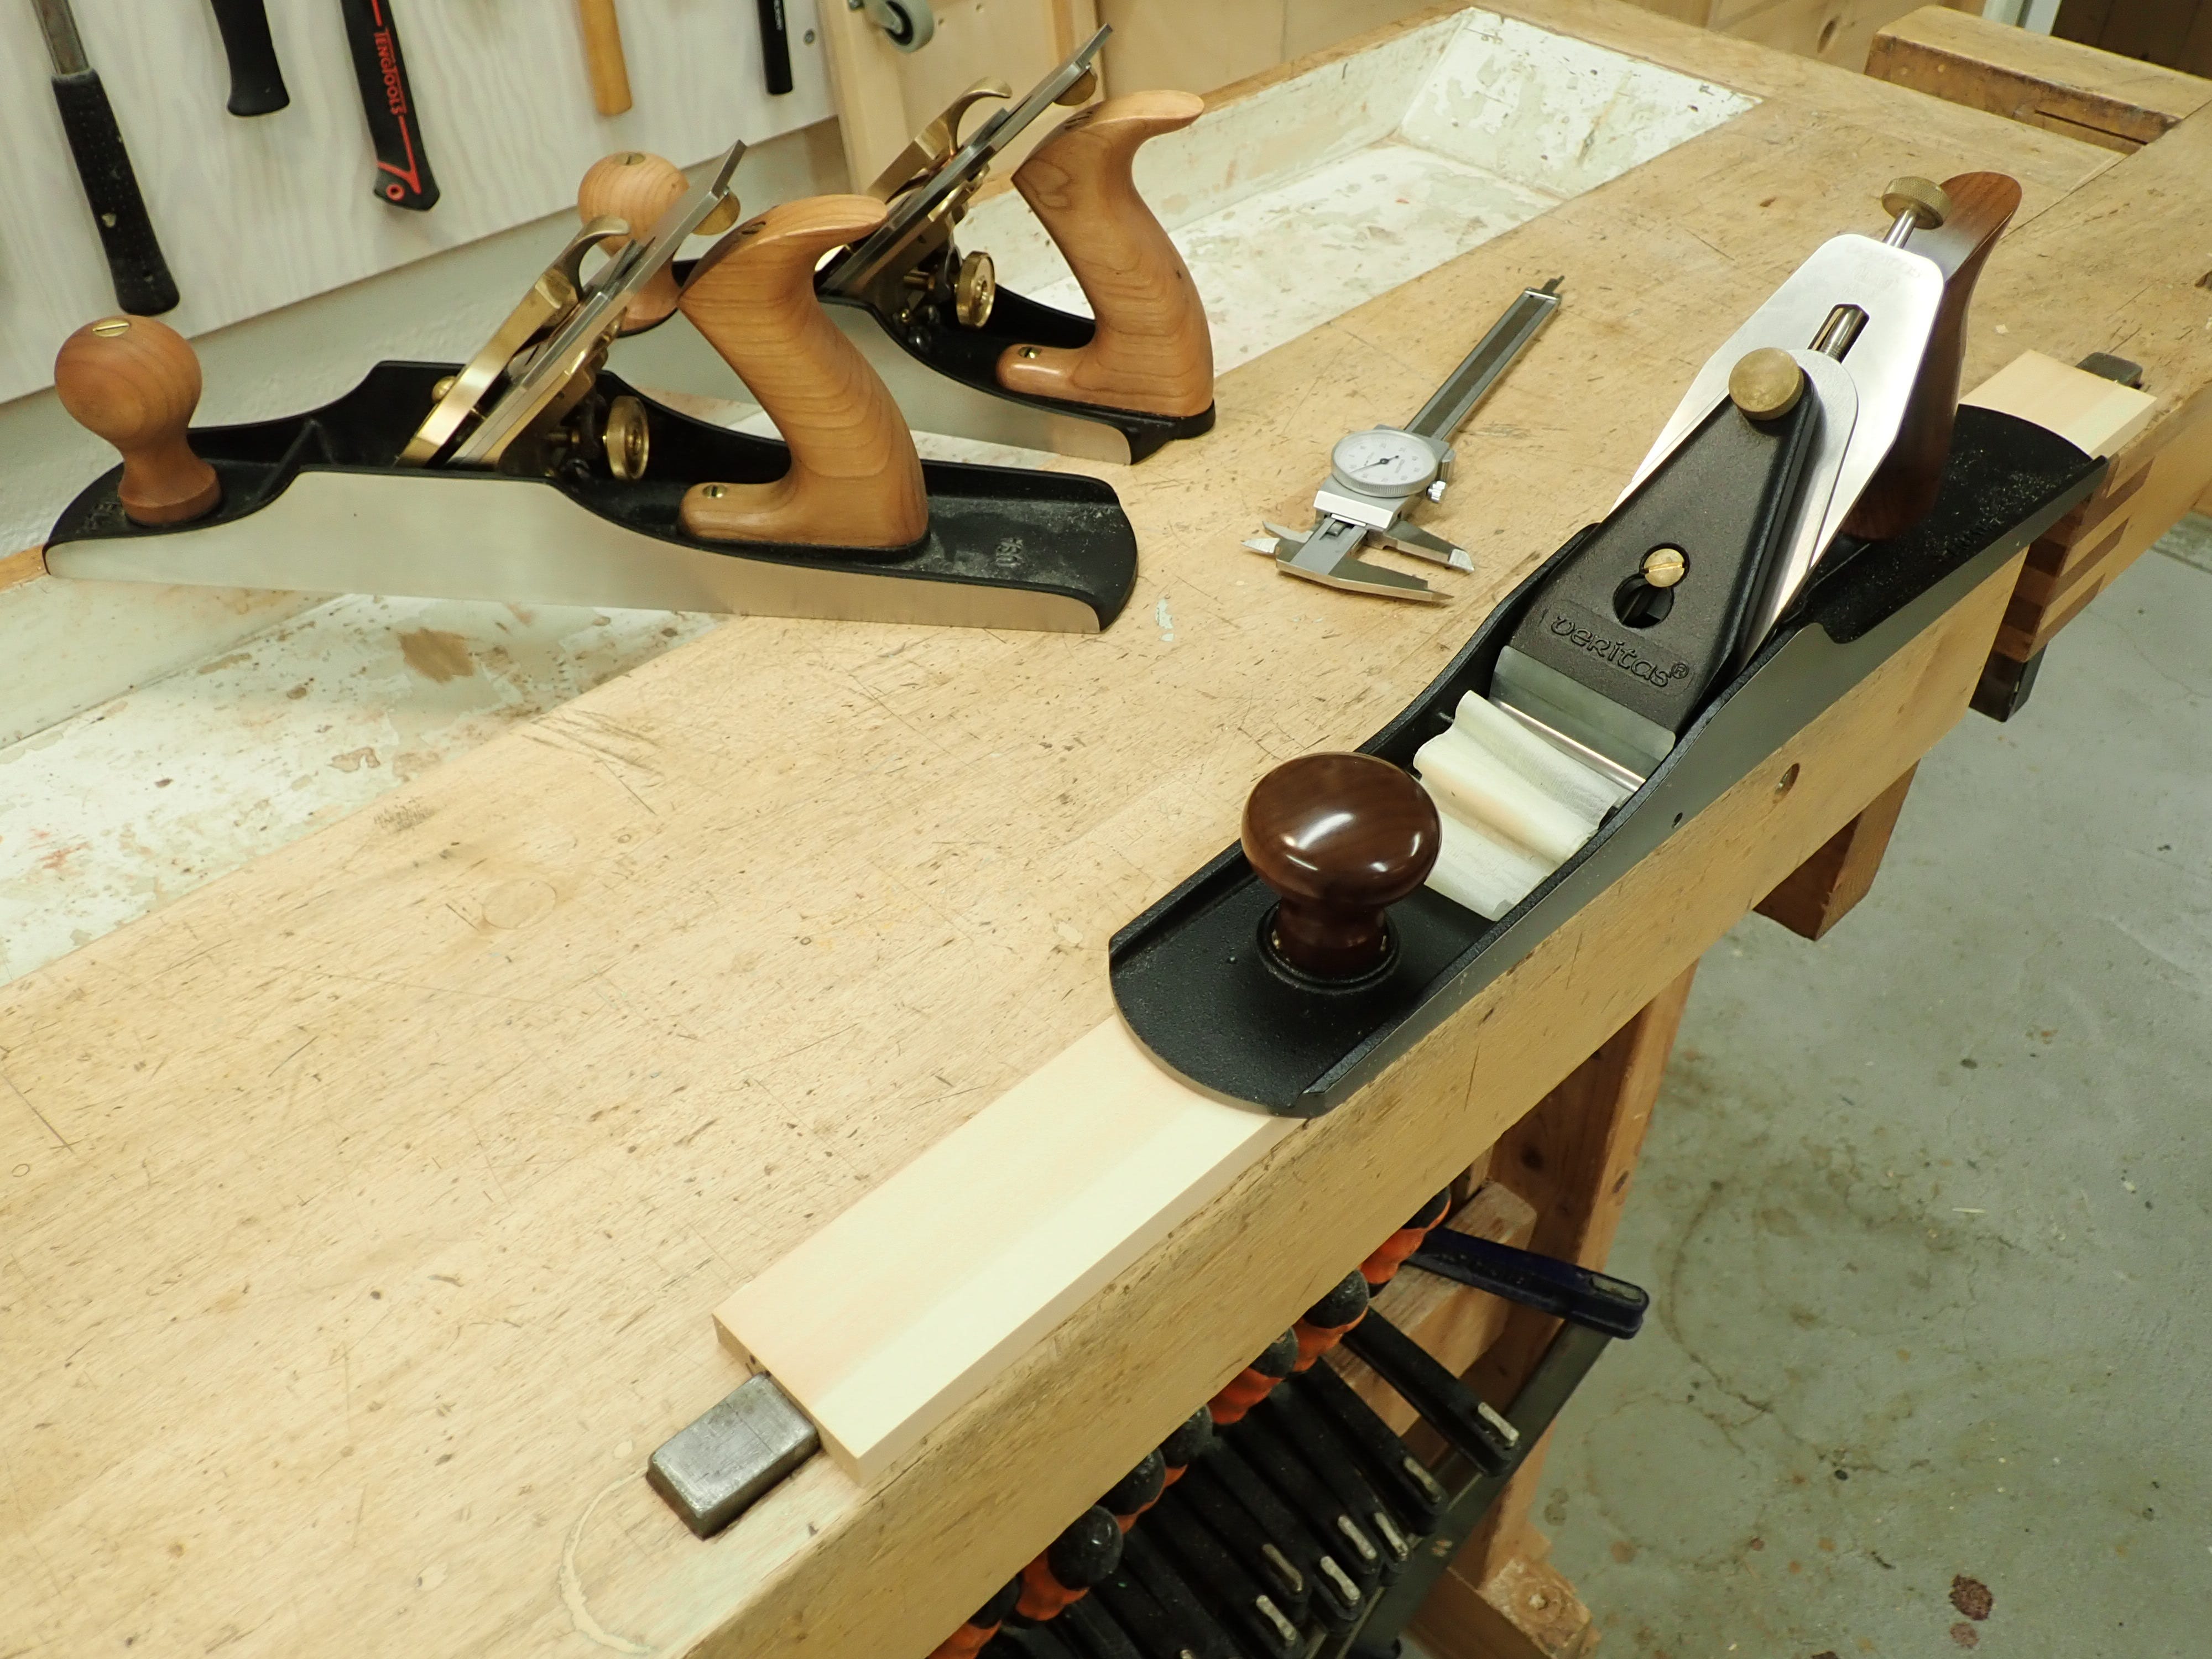
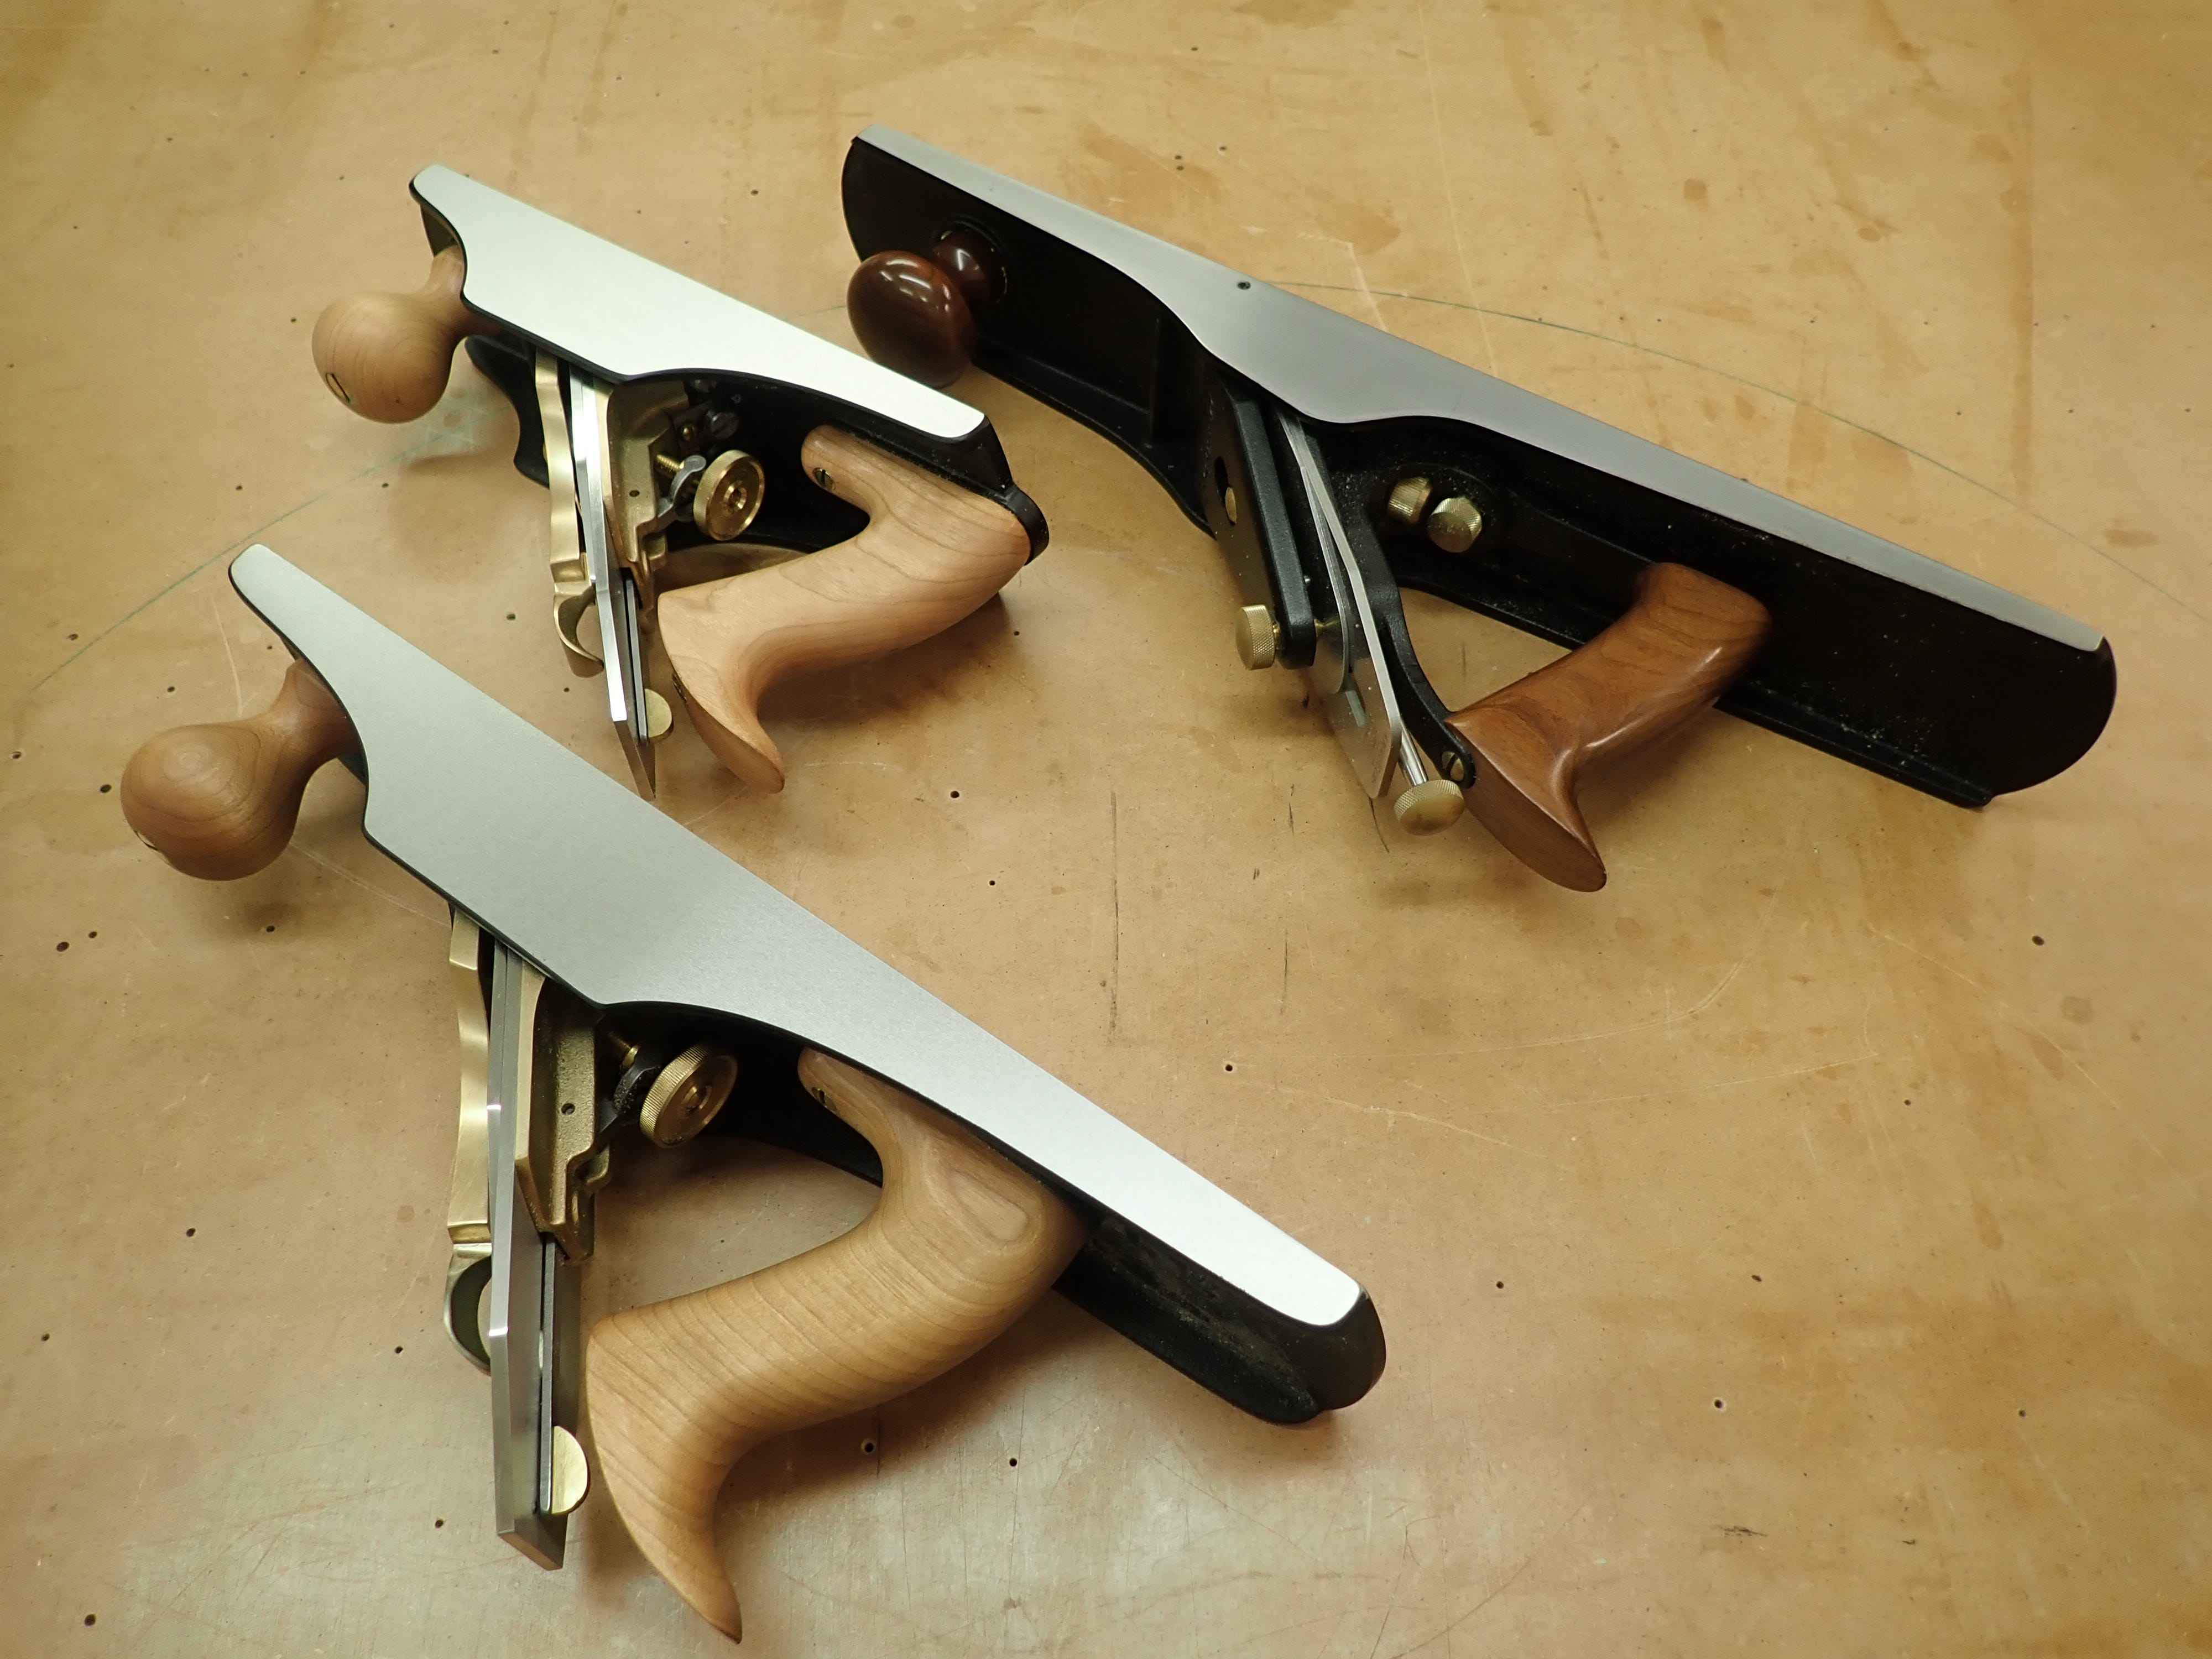
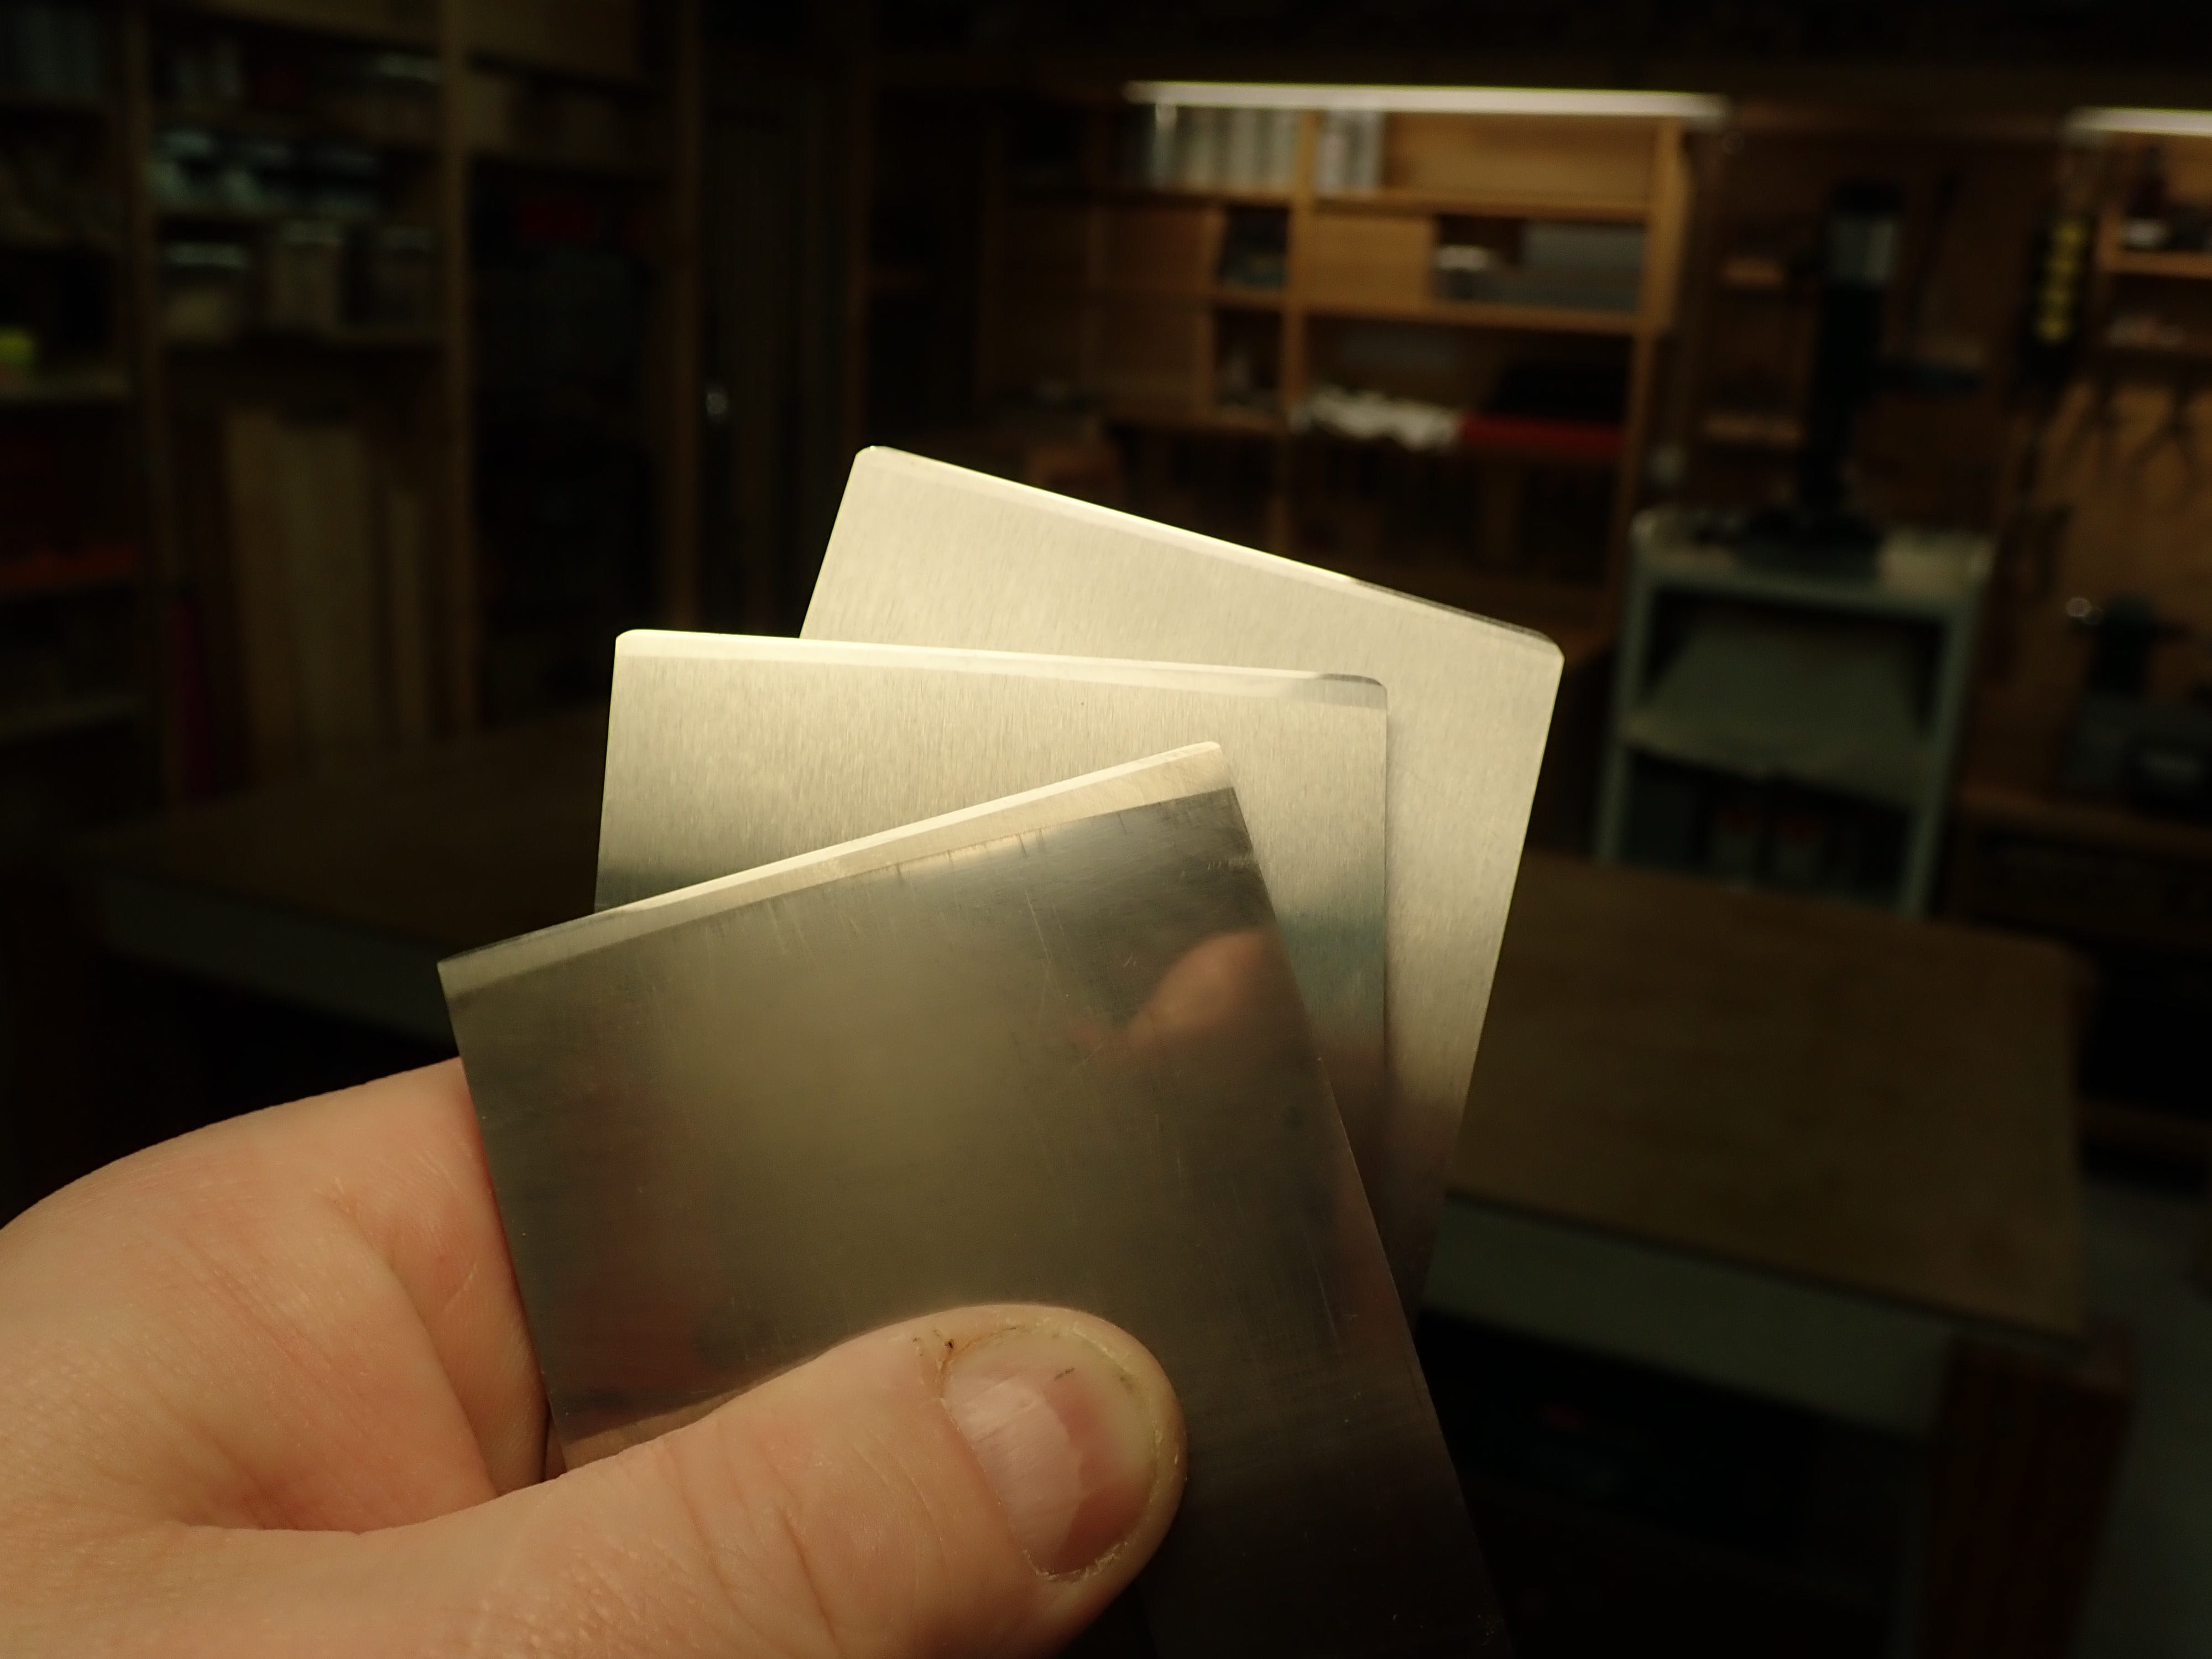
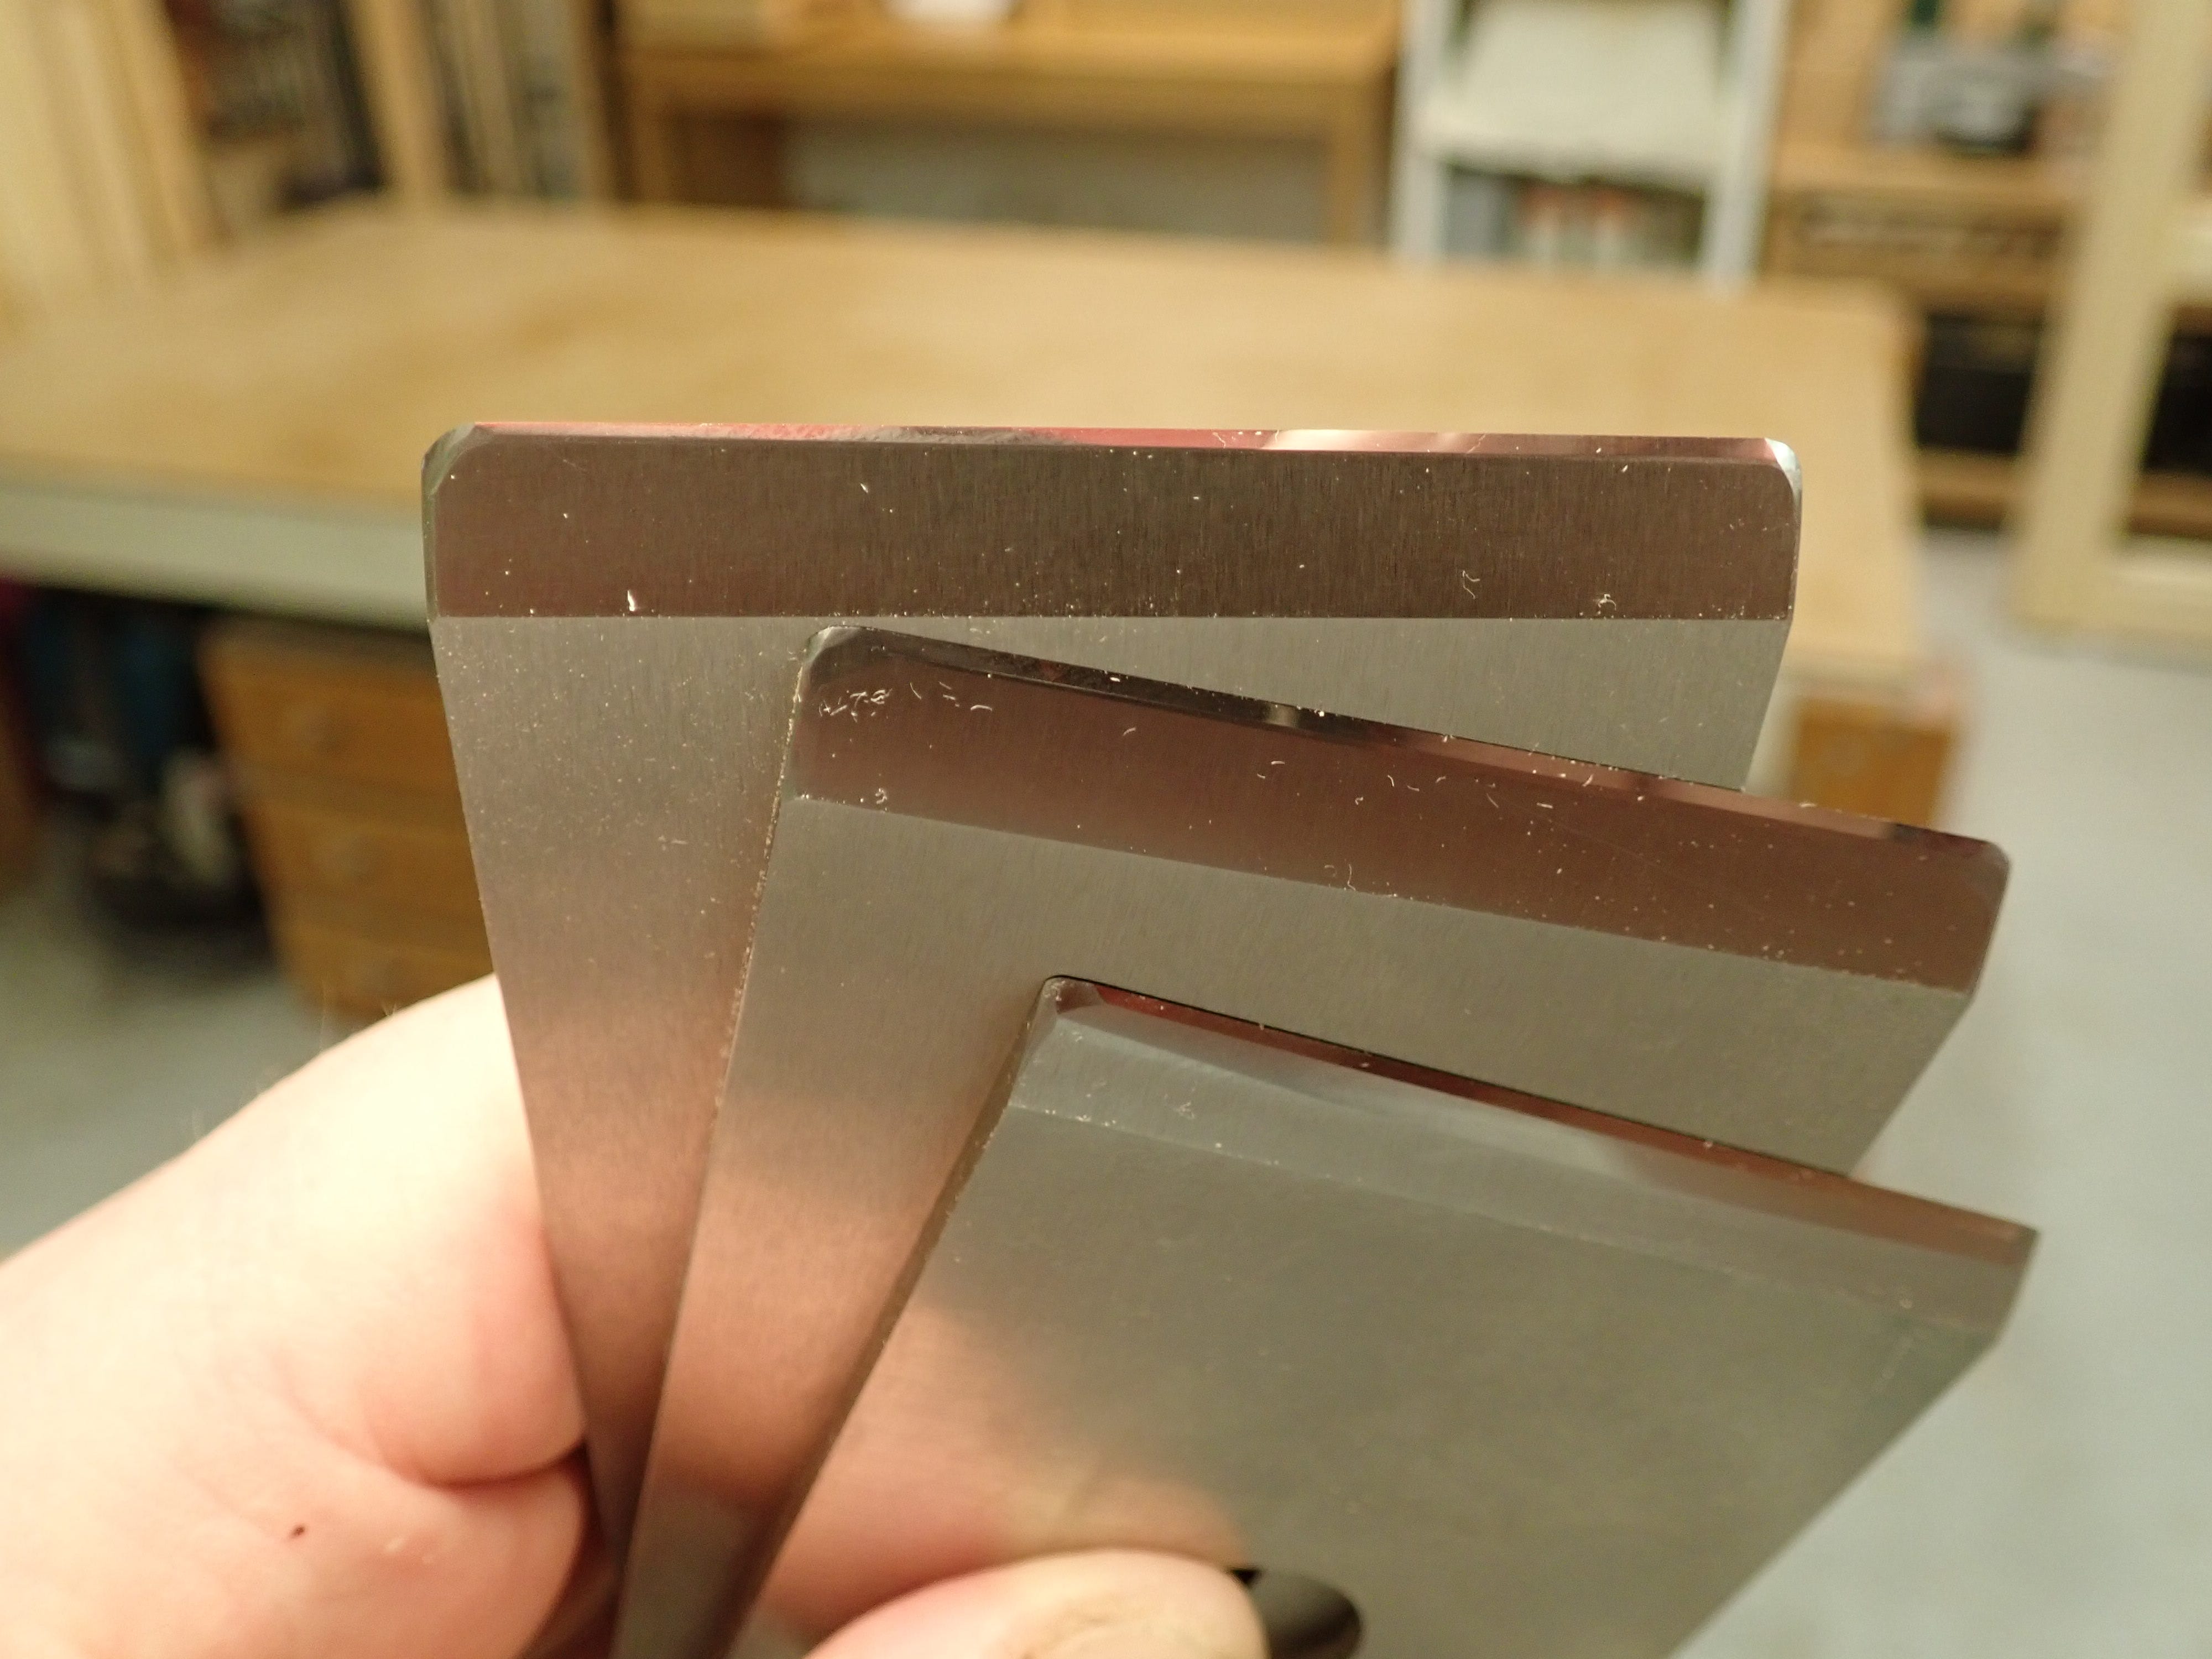
I will use my three planes in slightly different ways: The # 6 try plane (‘long-nosed Dora’ — one of my most favourite planes ever) is for ‘general flattitude’ and I set her to take about a tenth of a millimetre (0,10 mm).
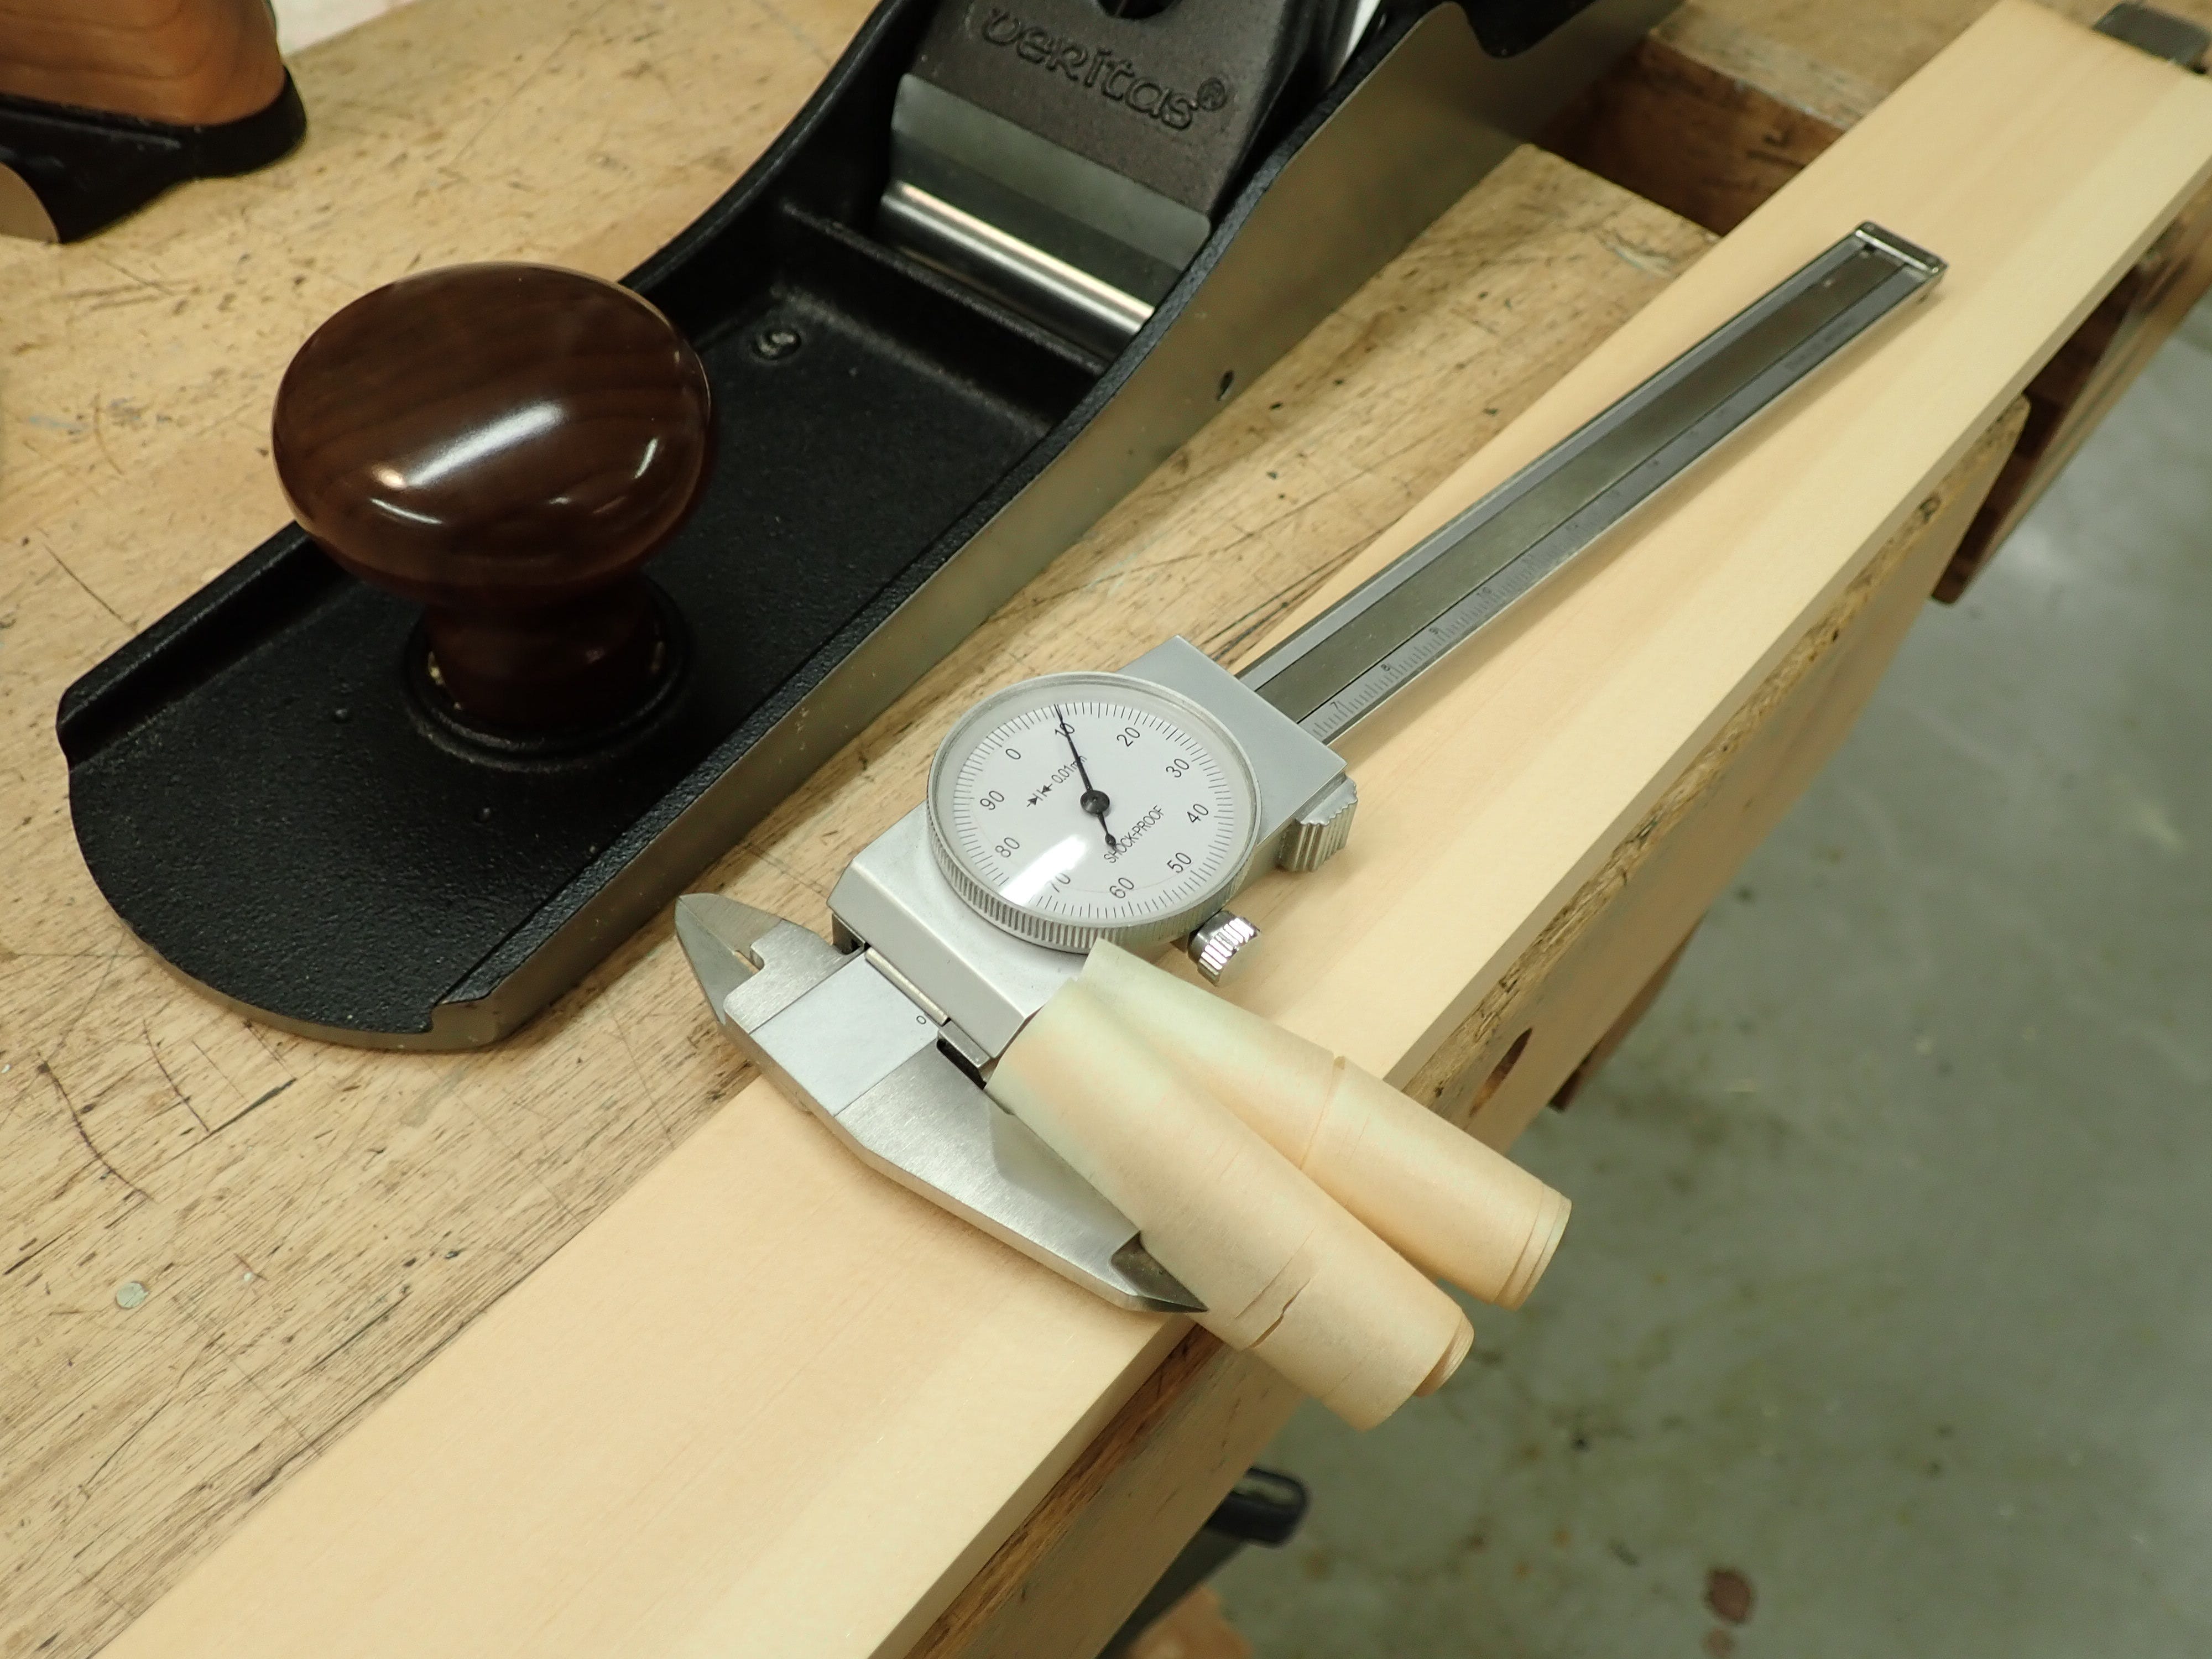
I will use the L-N # 5½ for ‘licking over’ (How would you phrase it?) I set it to take ca. 0,05 mm.
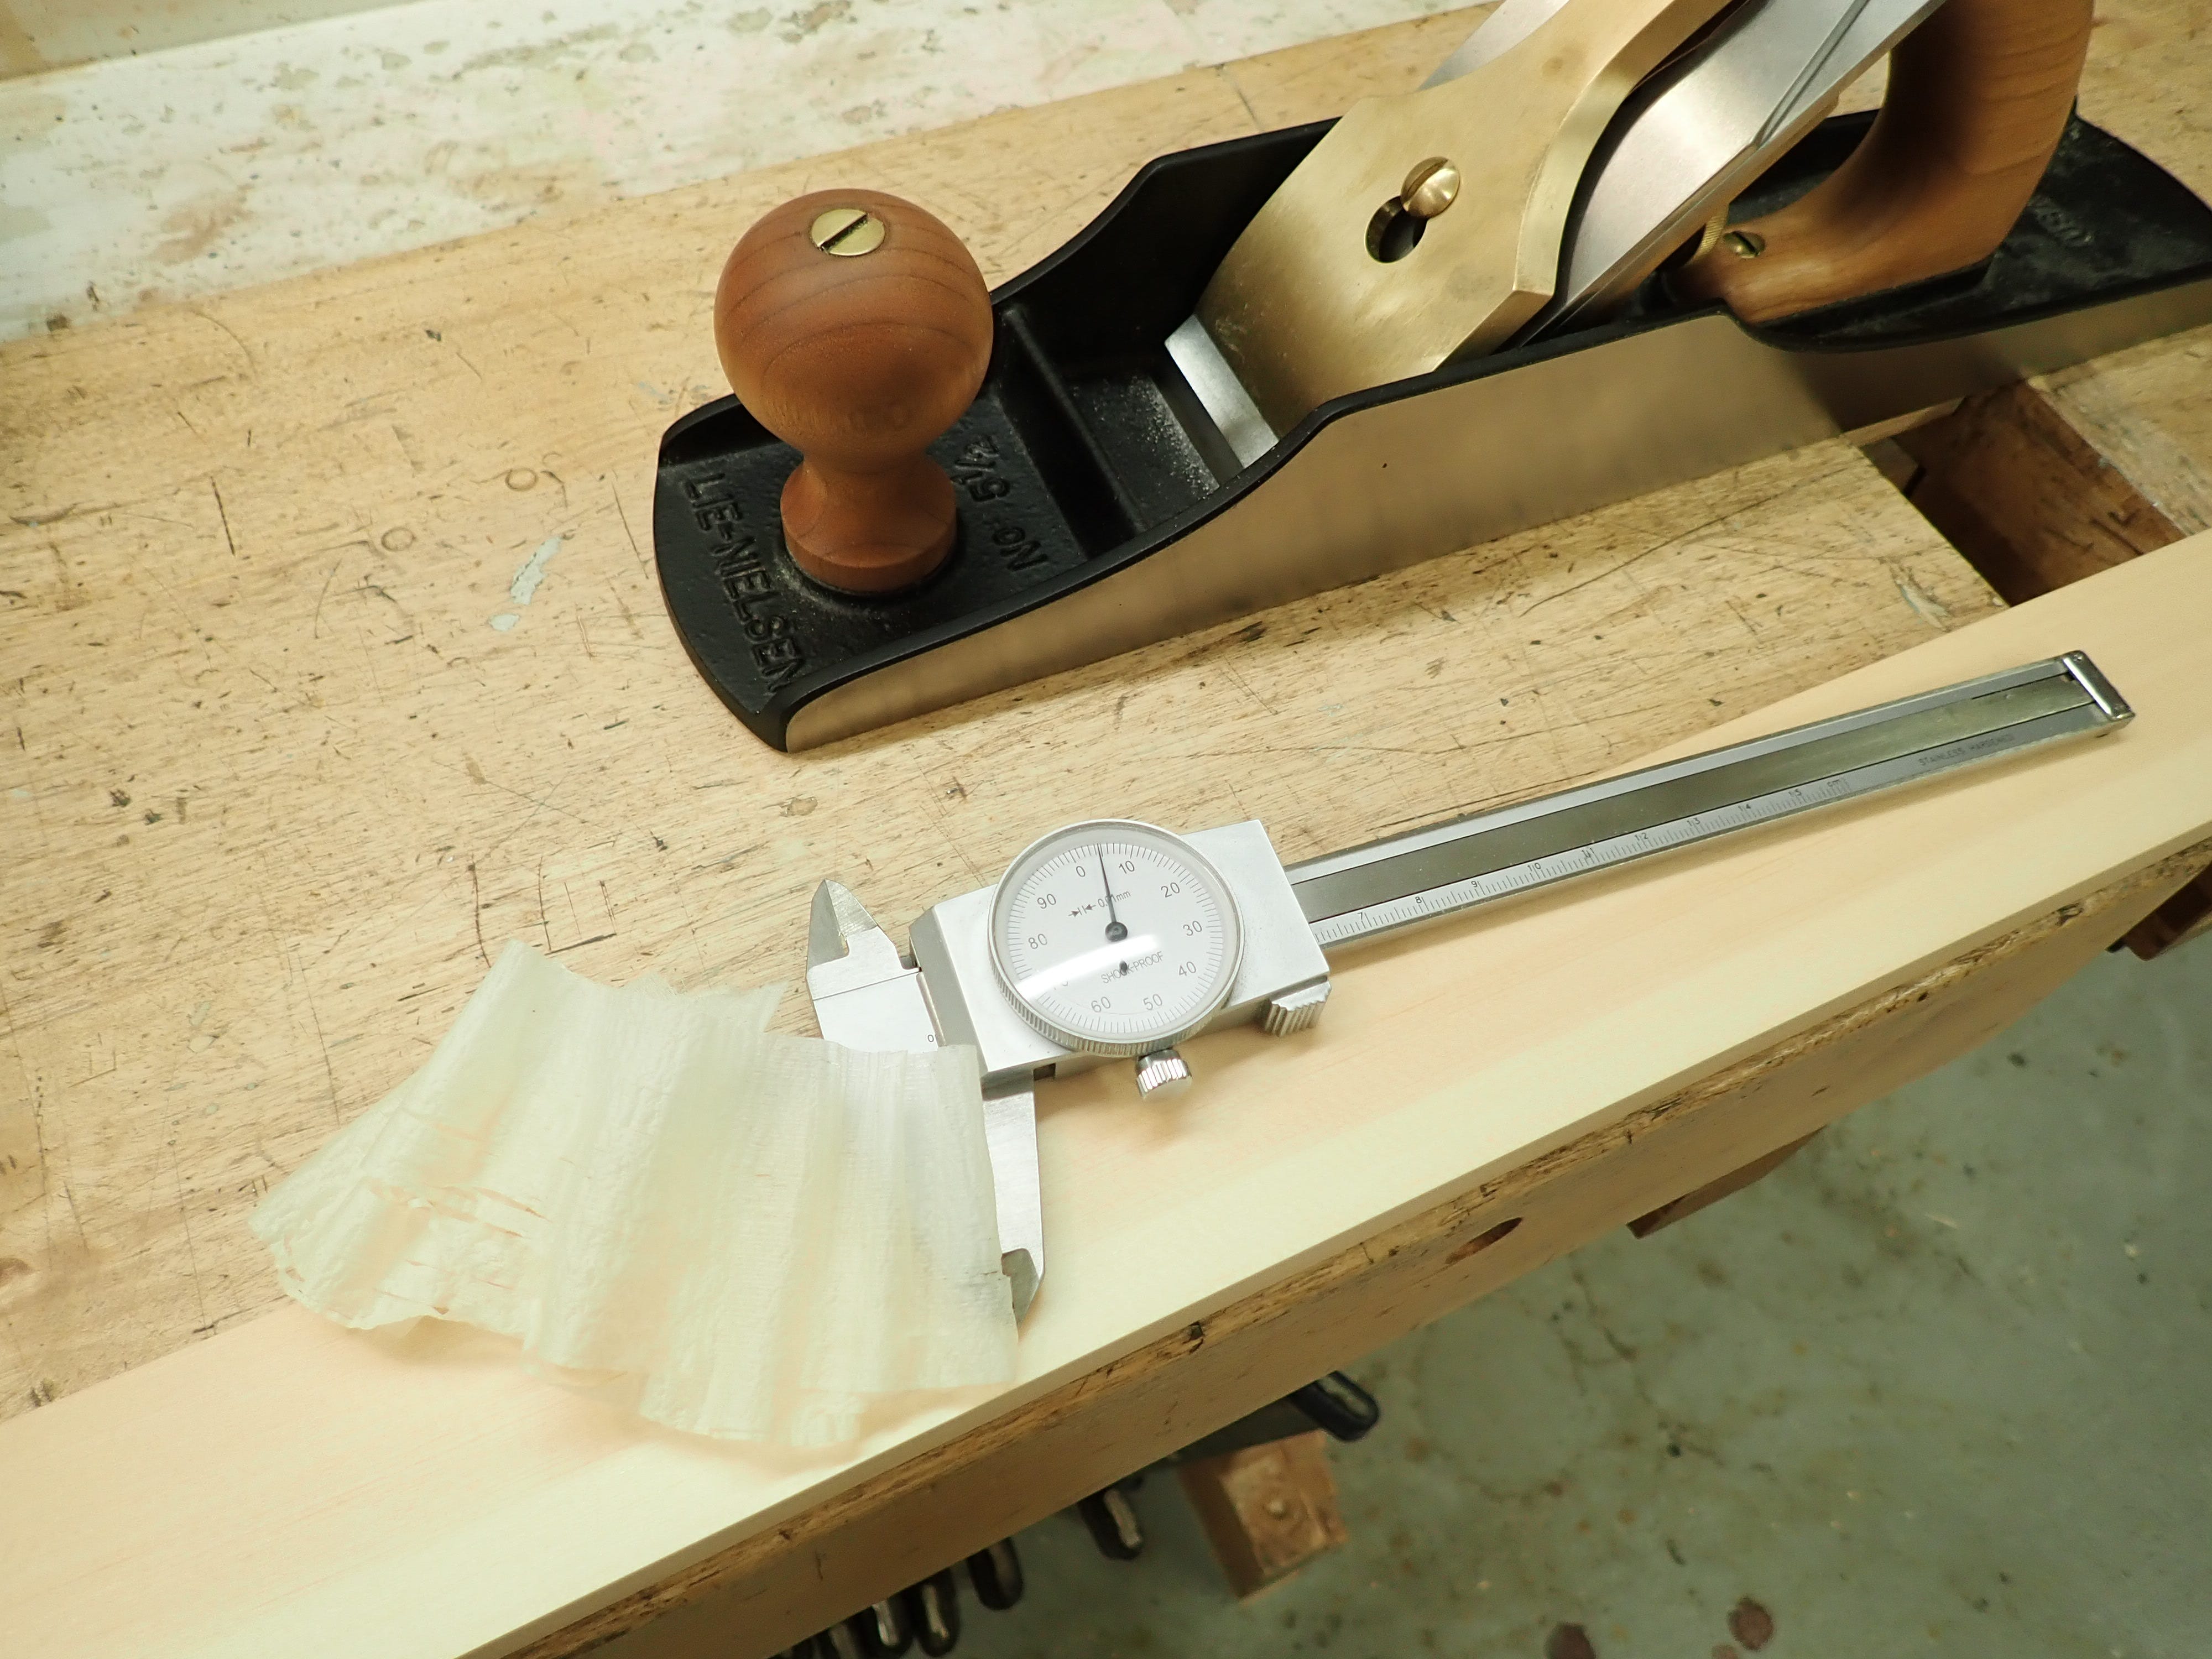
The L-N # 4½ is the kisser, set to take just a whisper.
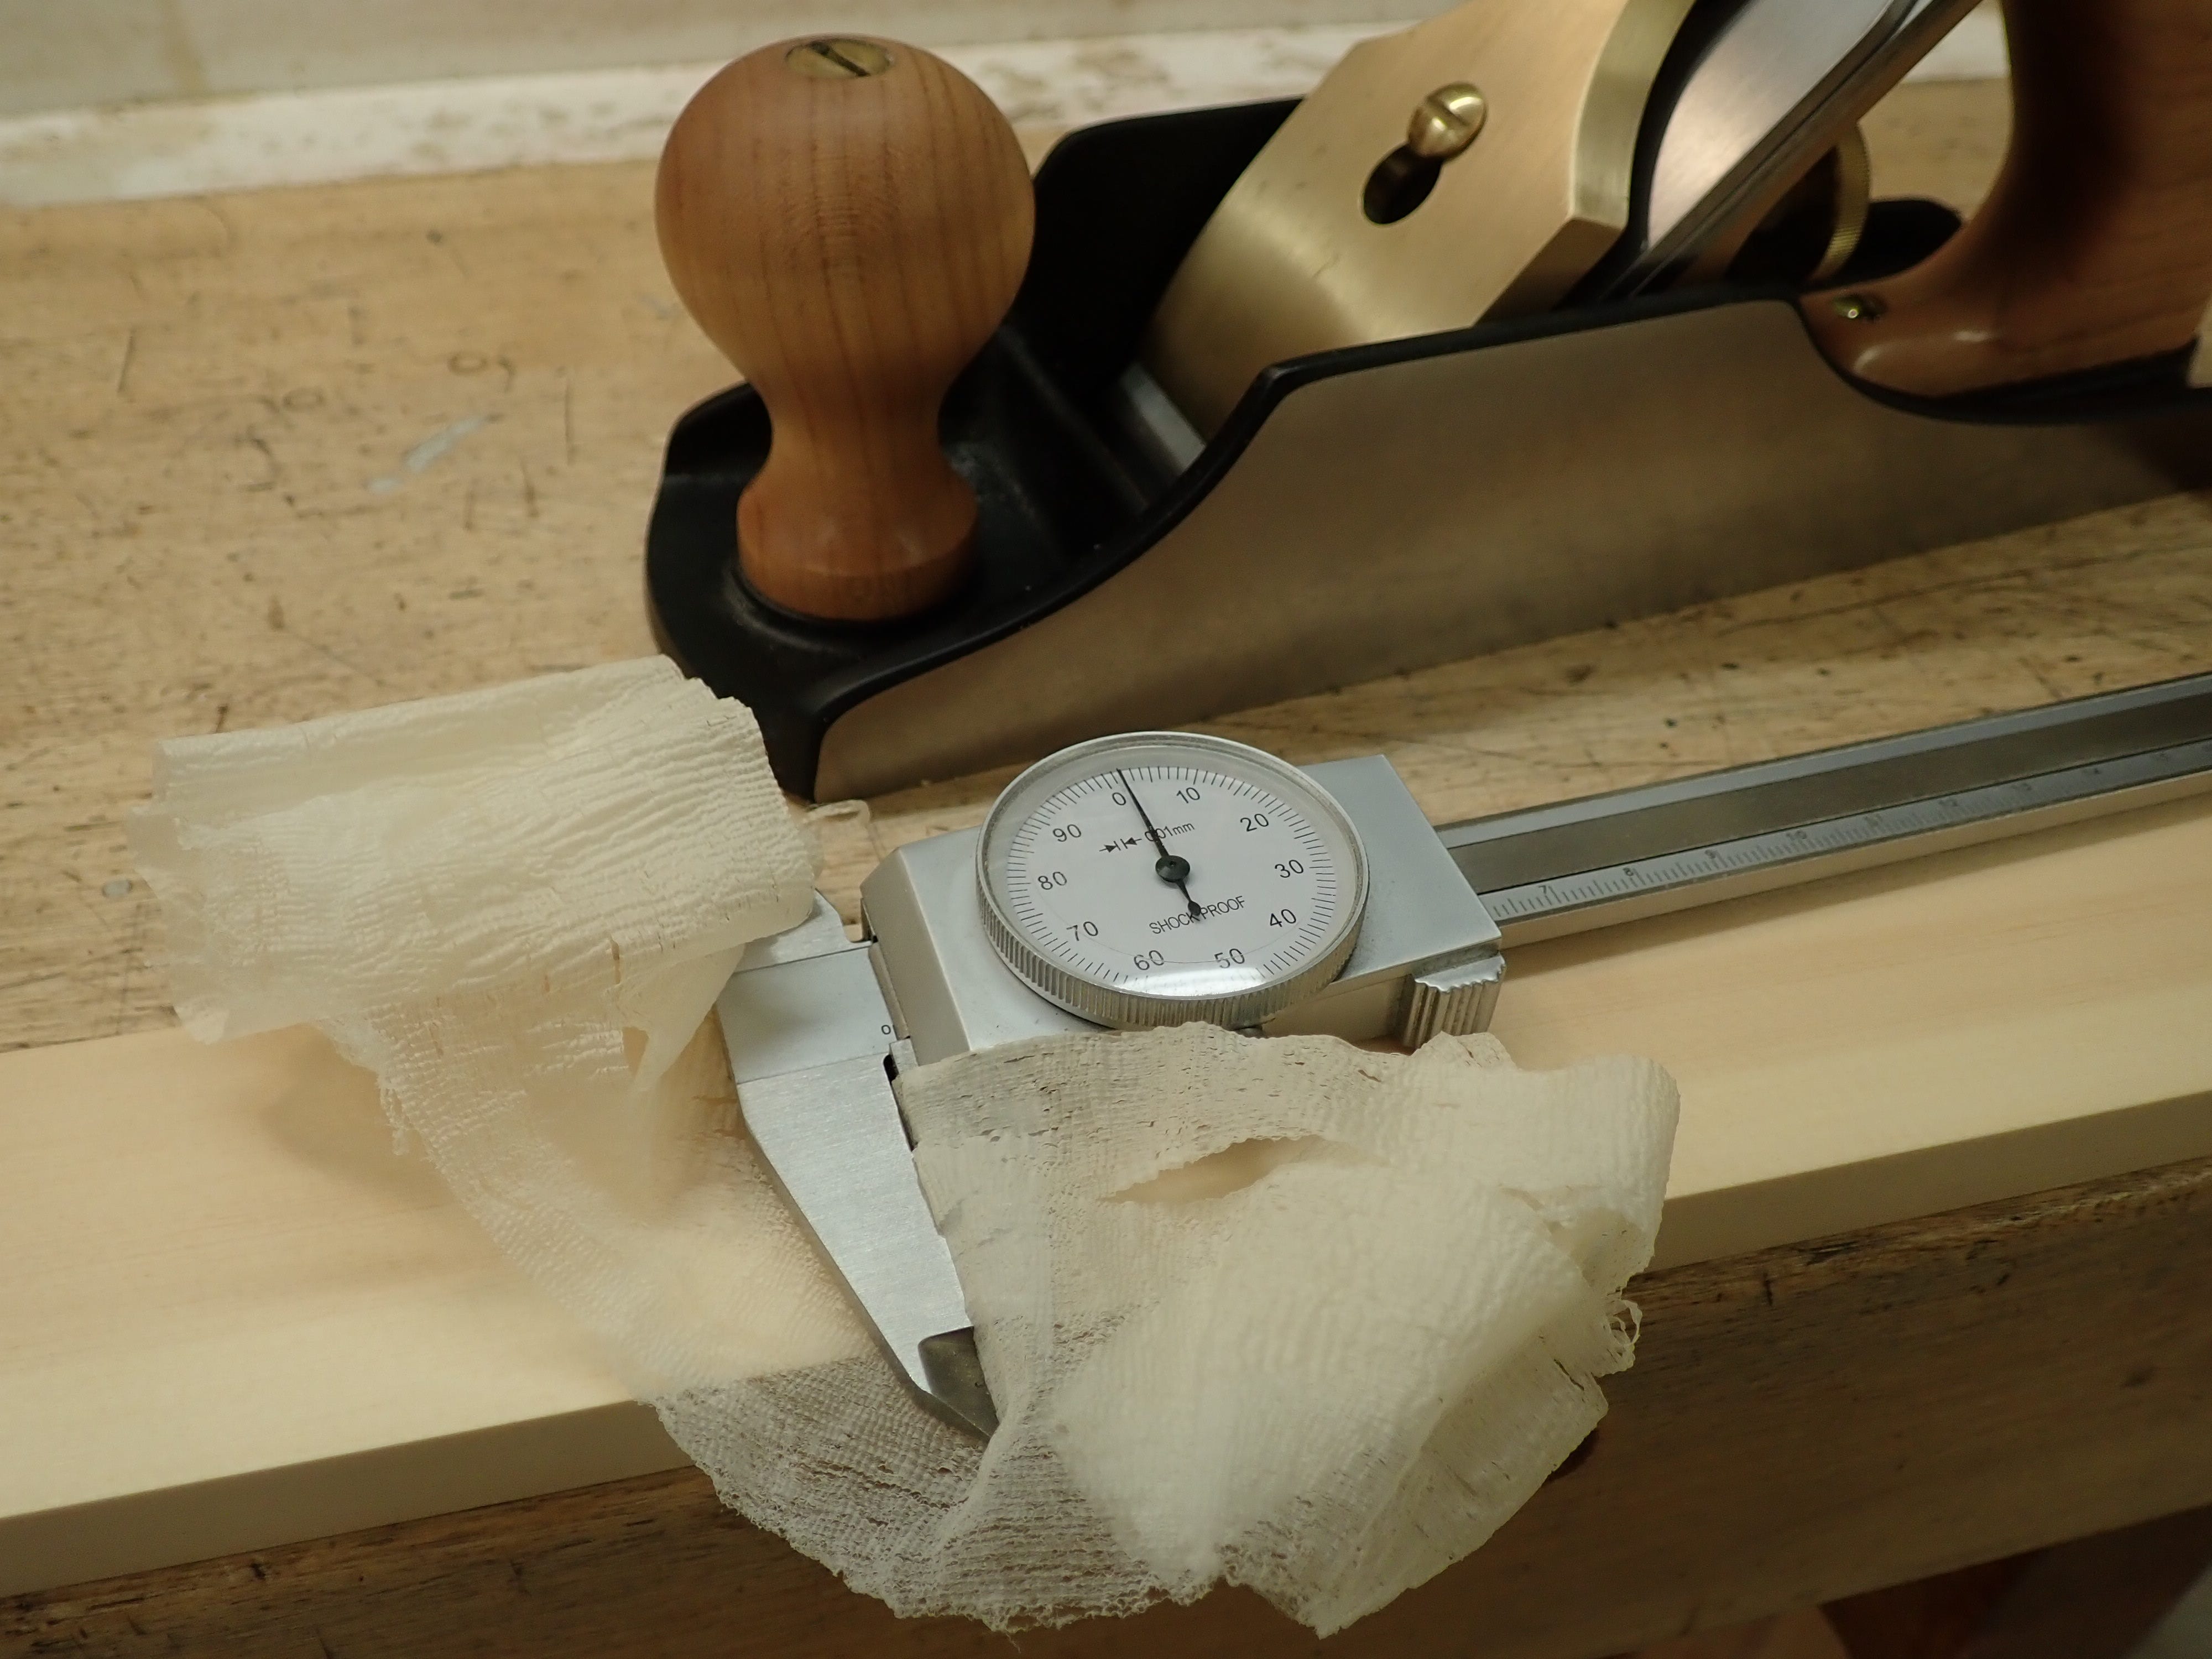
With these planes I will make the doors flat and smooth. And, no — you don’t need three planes to do this, but it’s very convenient! Also, no — I don’t usually measure the thickness of my shavings with a calliper; it’s just to help visualise things for you, dear reader. Even I am not that pernickety.
***
Interesting and very helpful. Thanks!