

[ soundtrack : Clair de lune - Claude Debussy - arrangement pour la guitare de James Bishop-Edwards - interprété par Roxane - Paris 2016 ]
***
This post is too long for email — open in browser for full length.
***
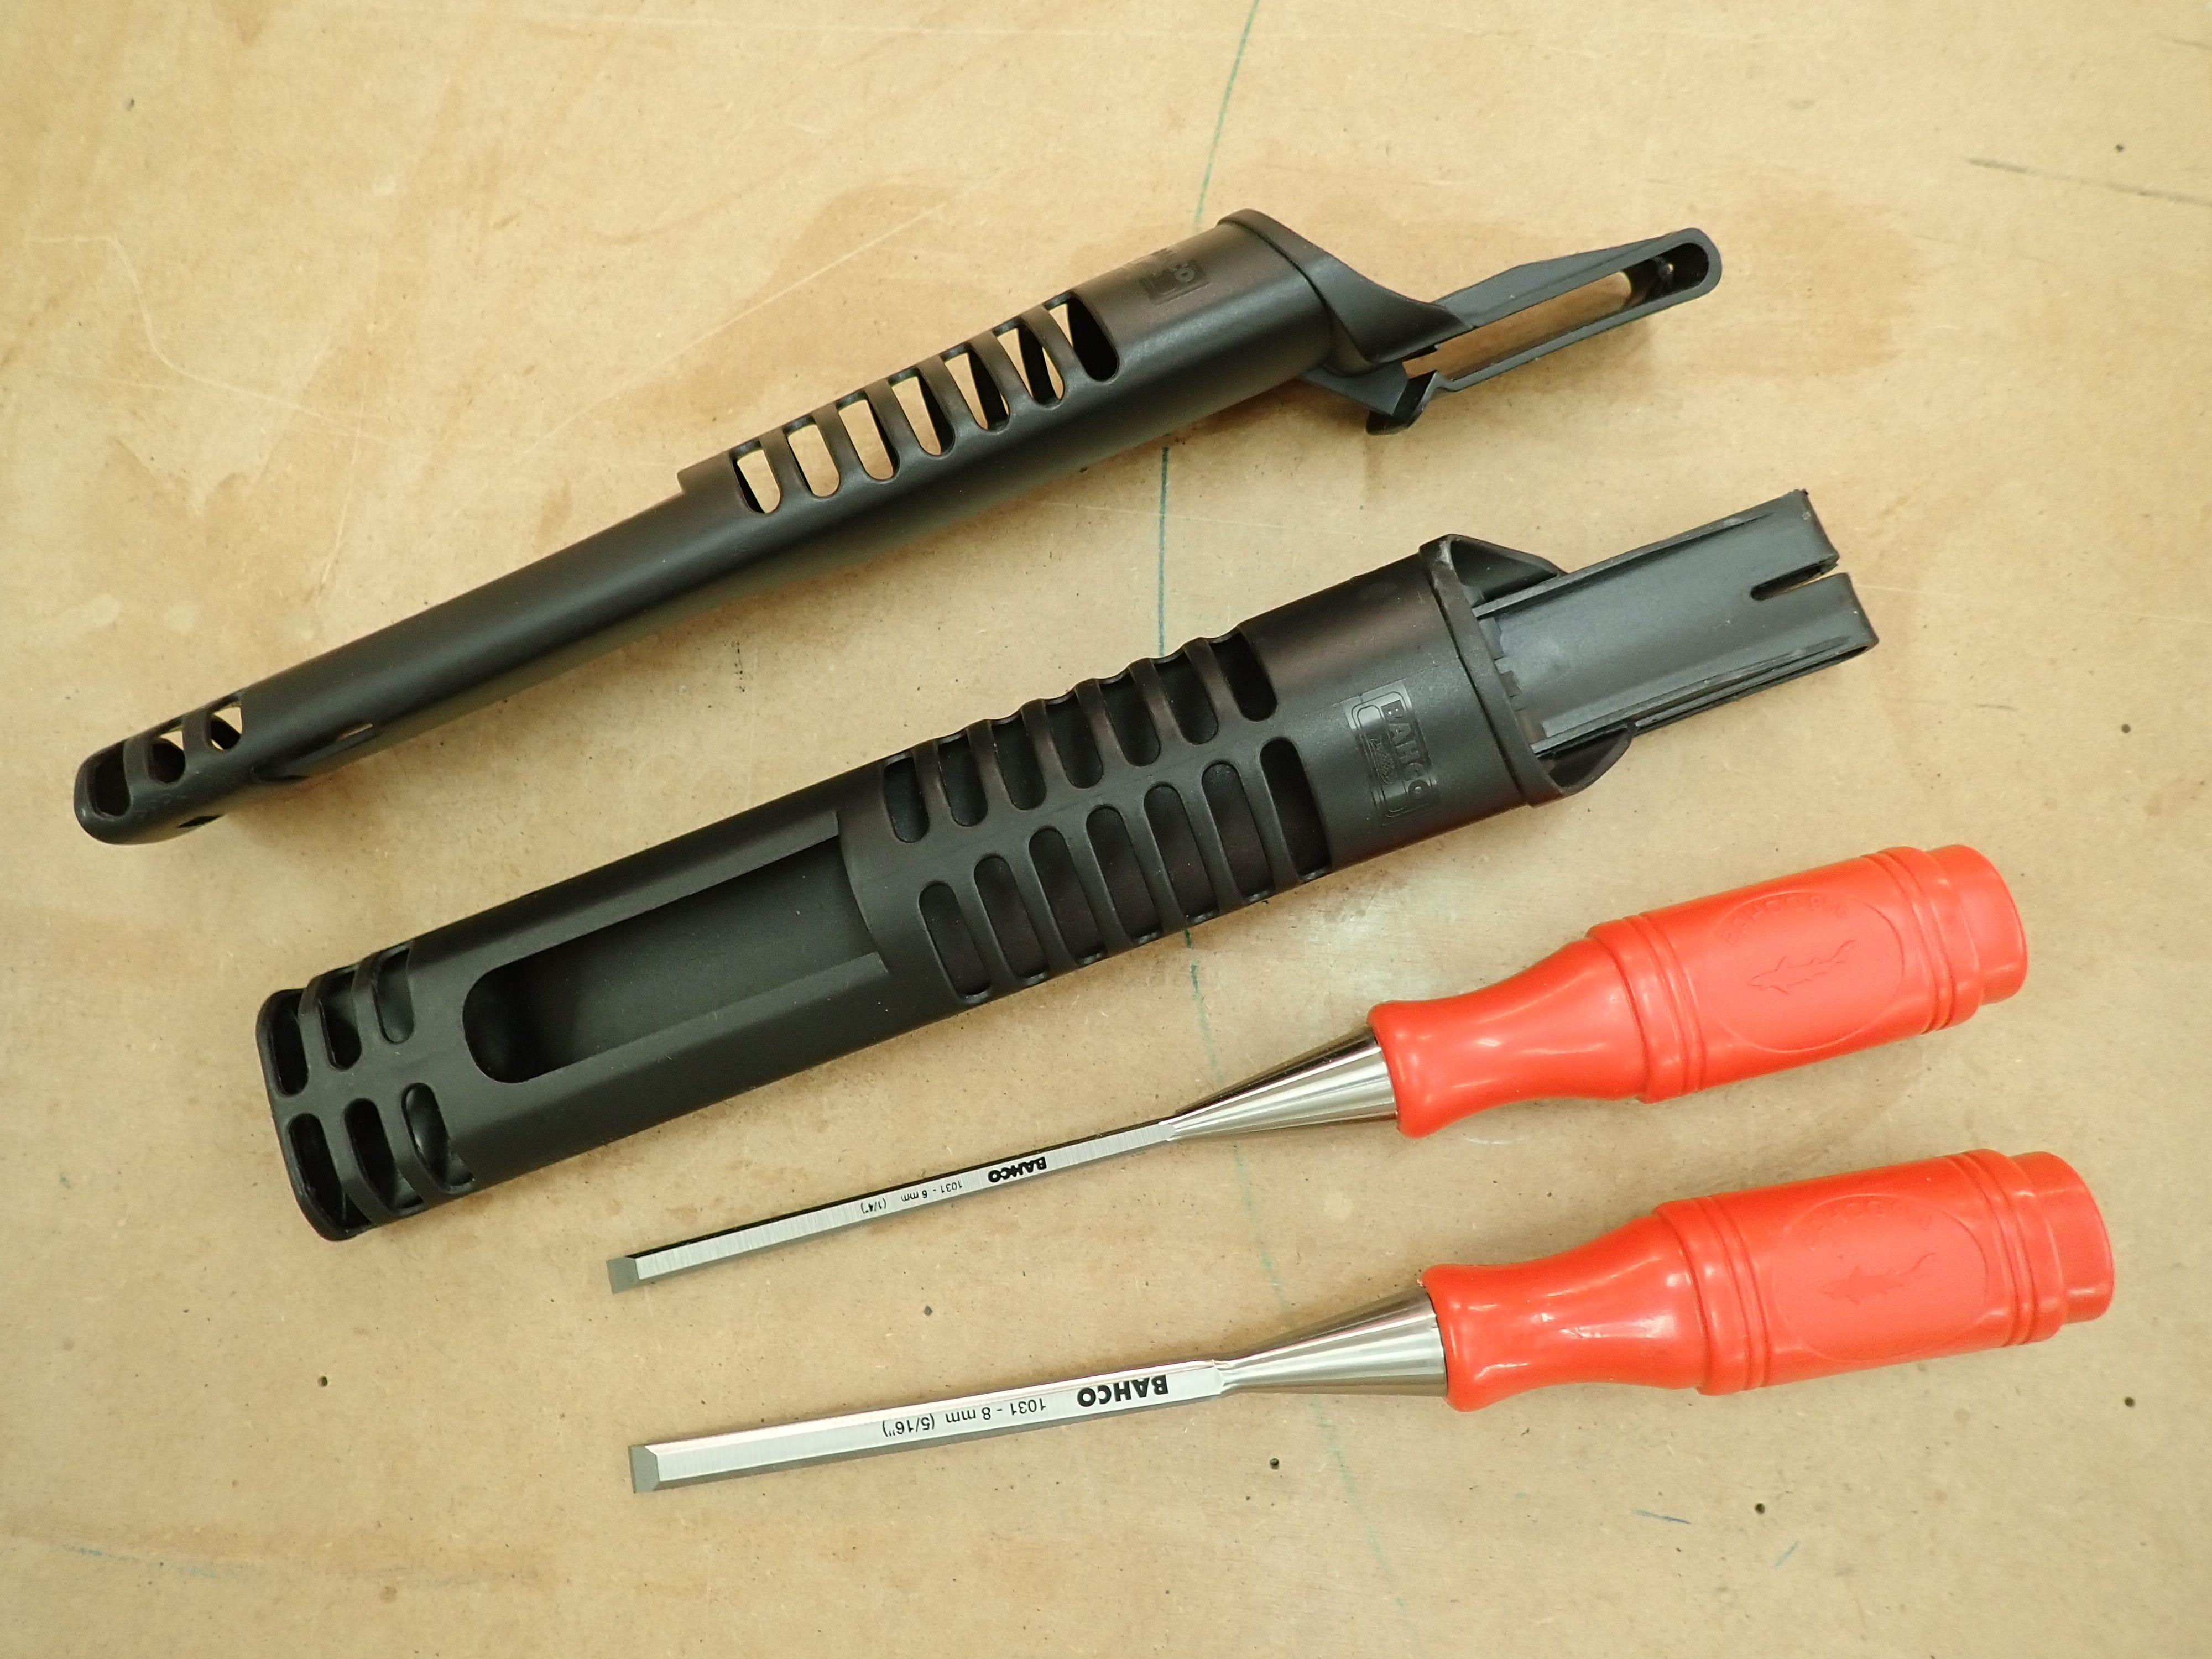
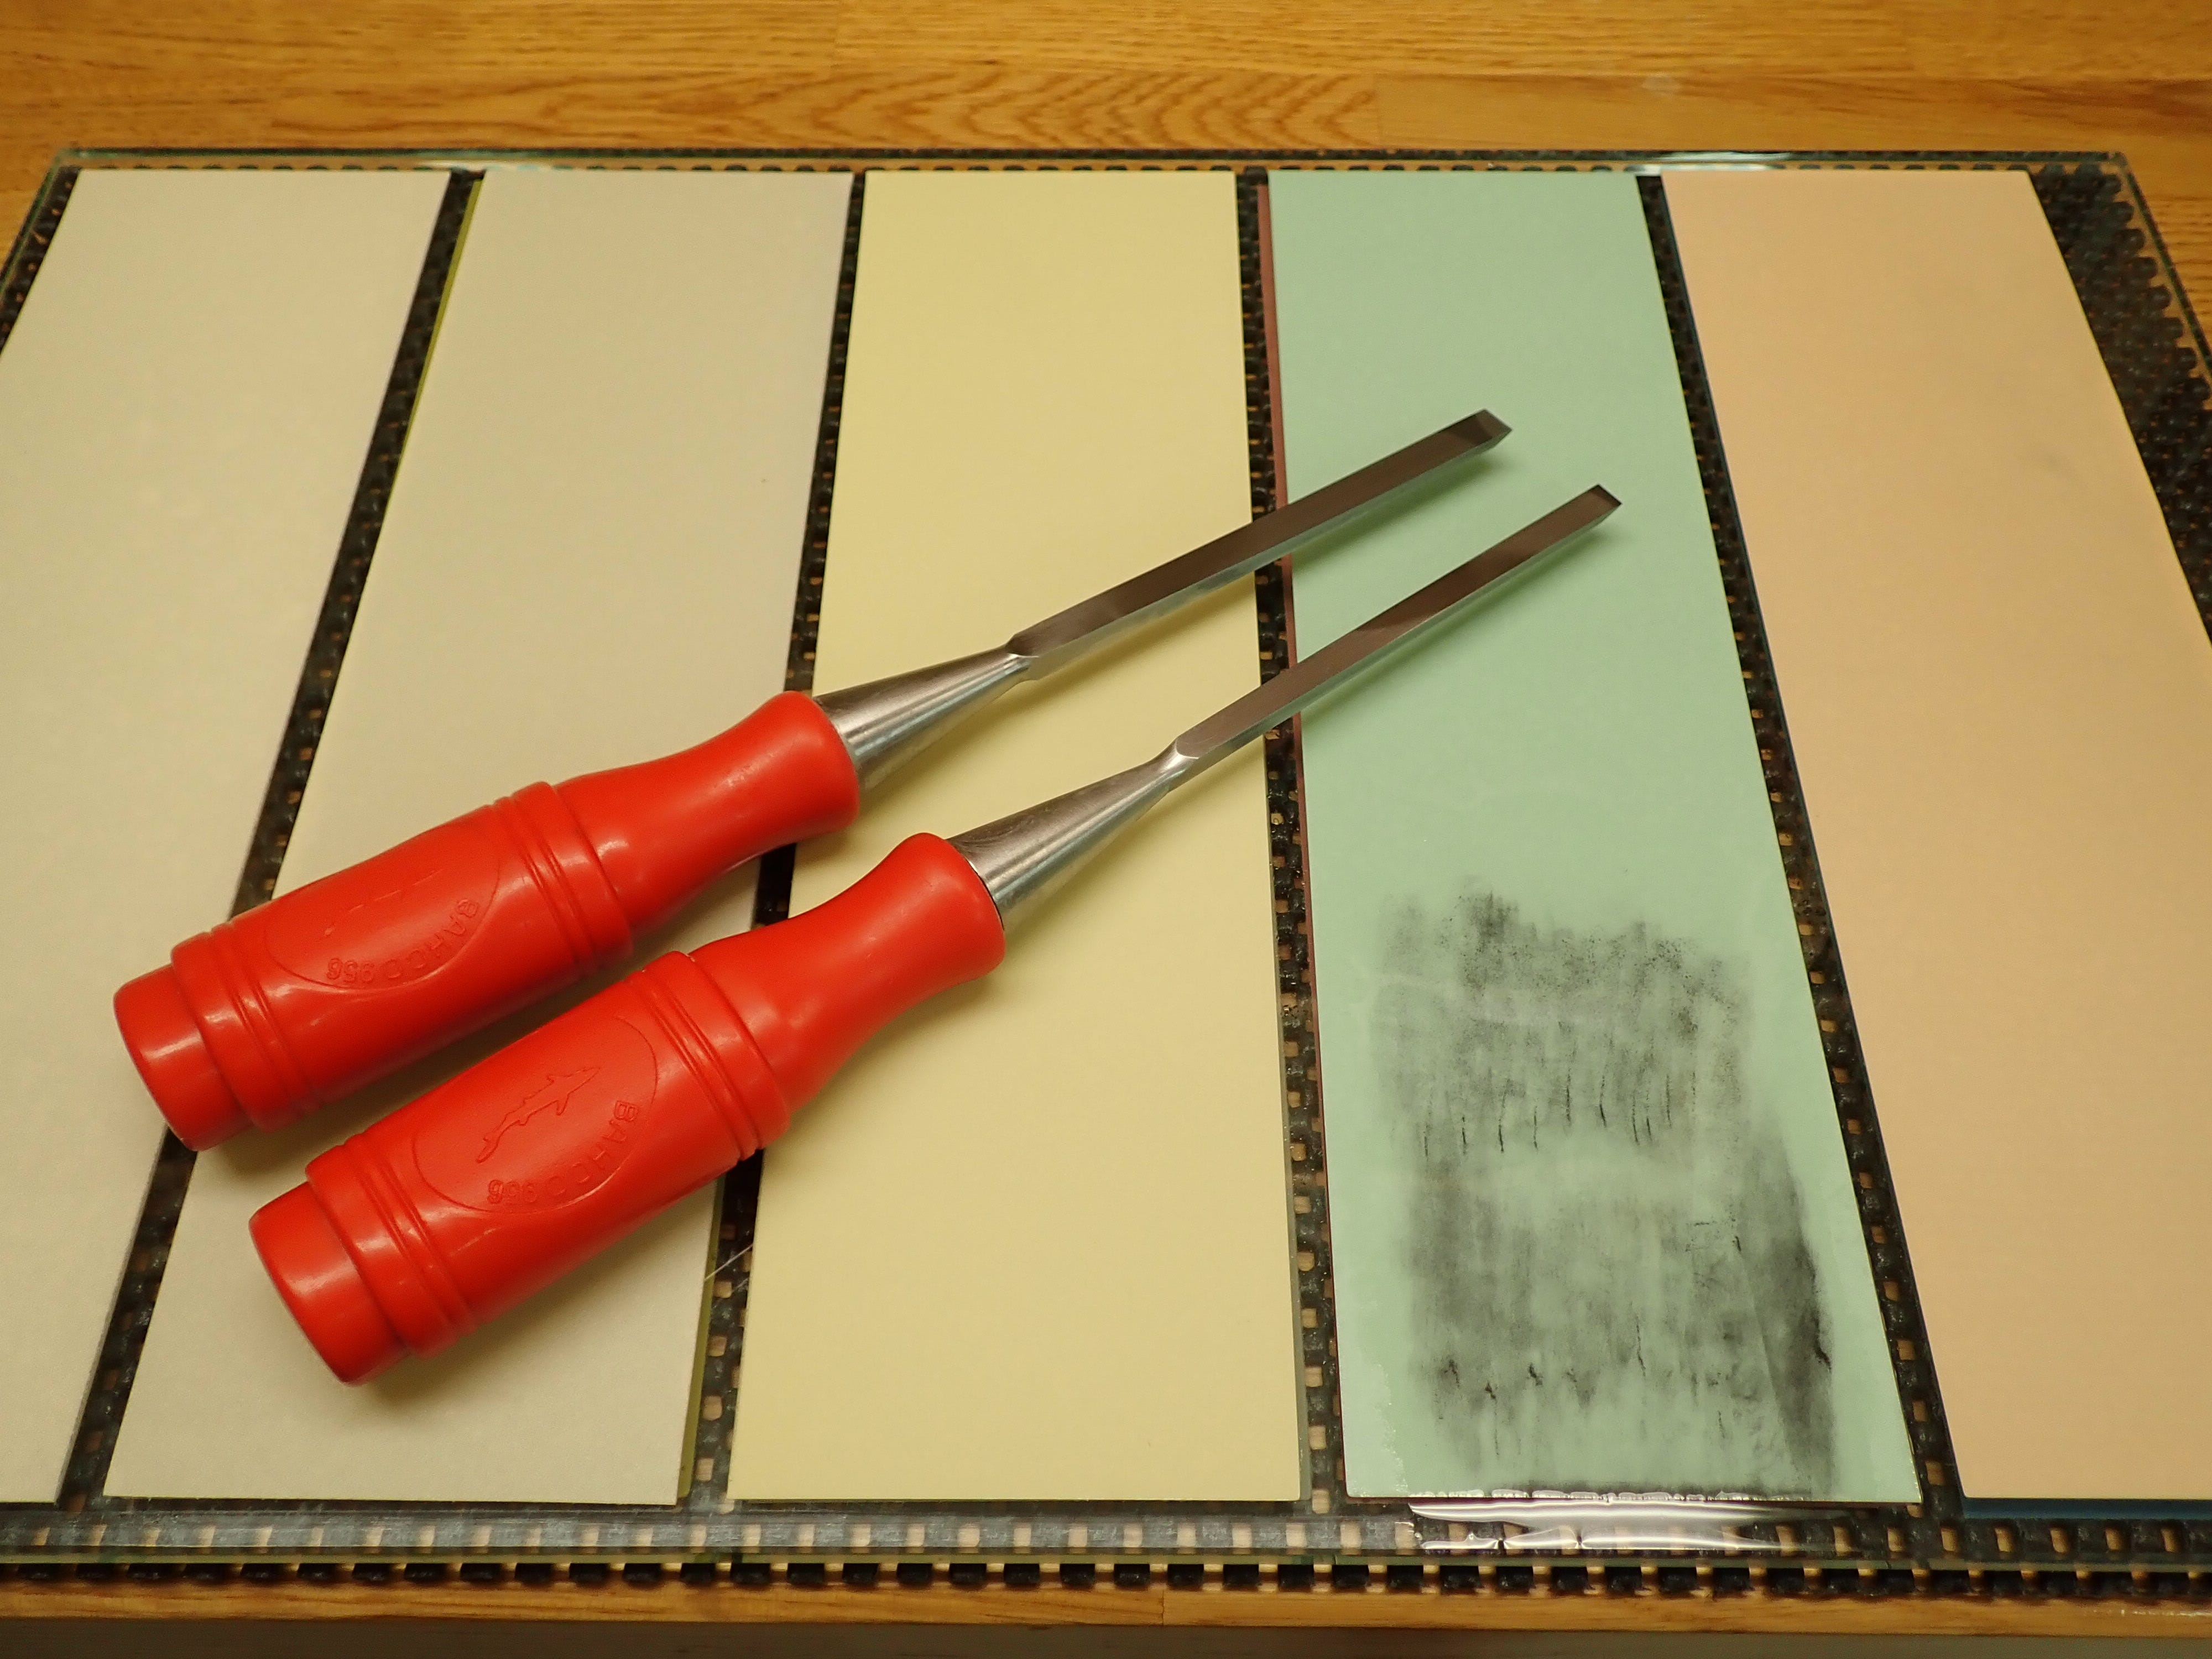
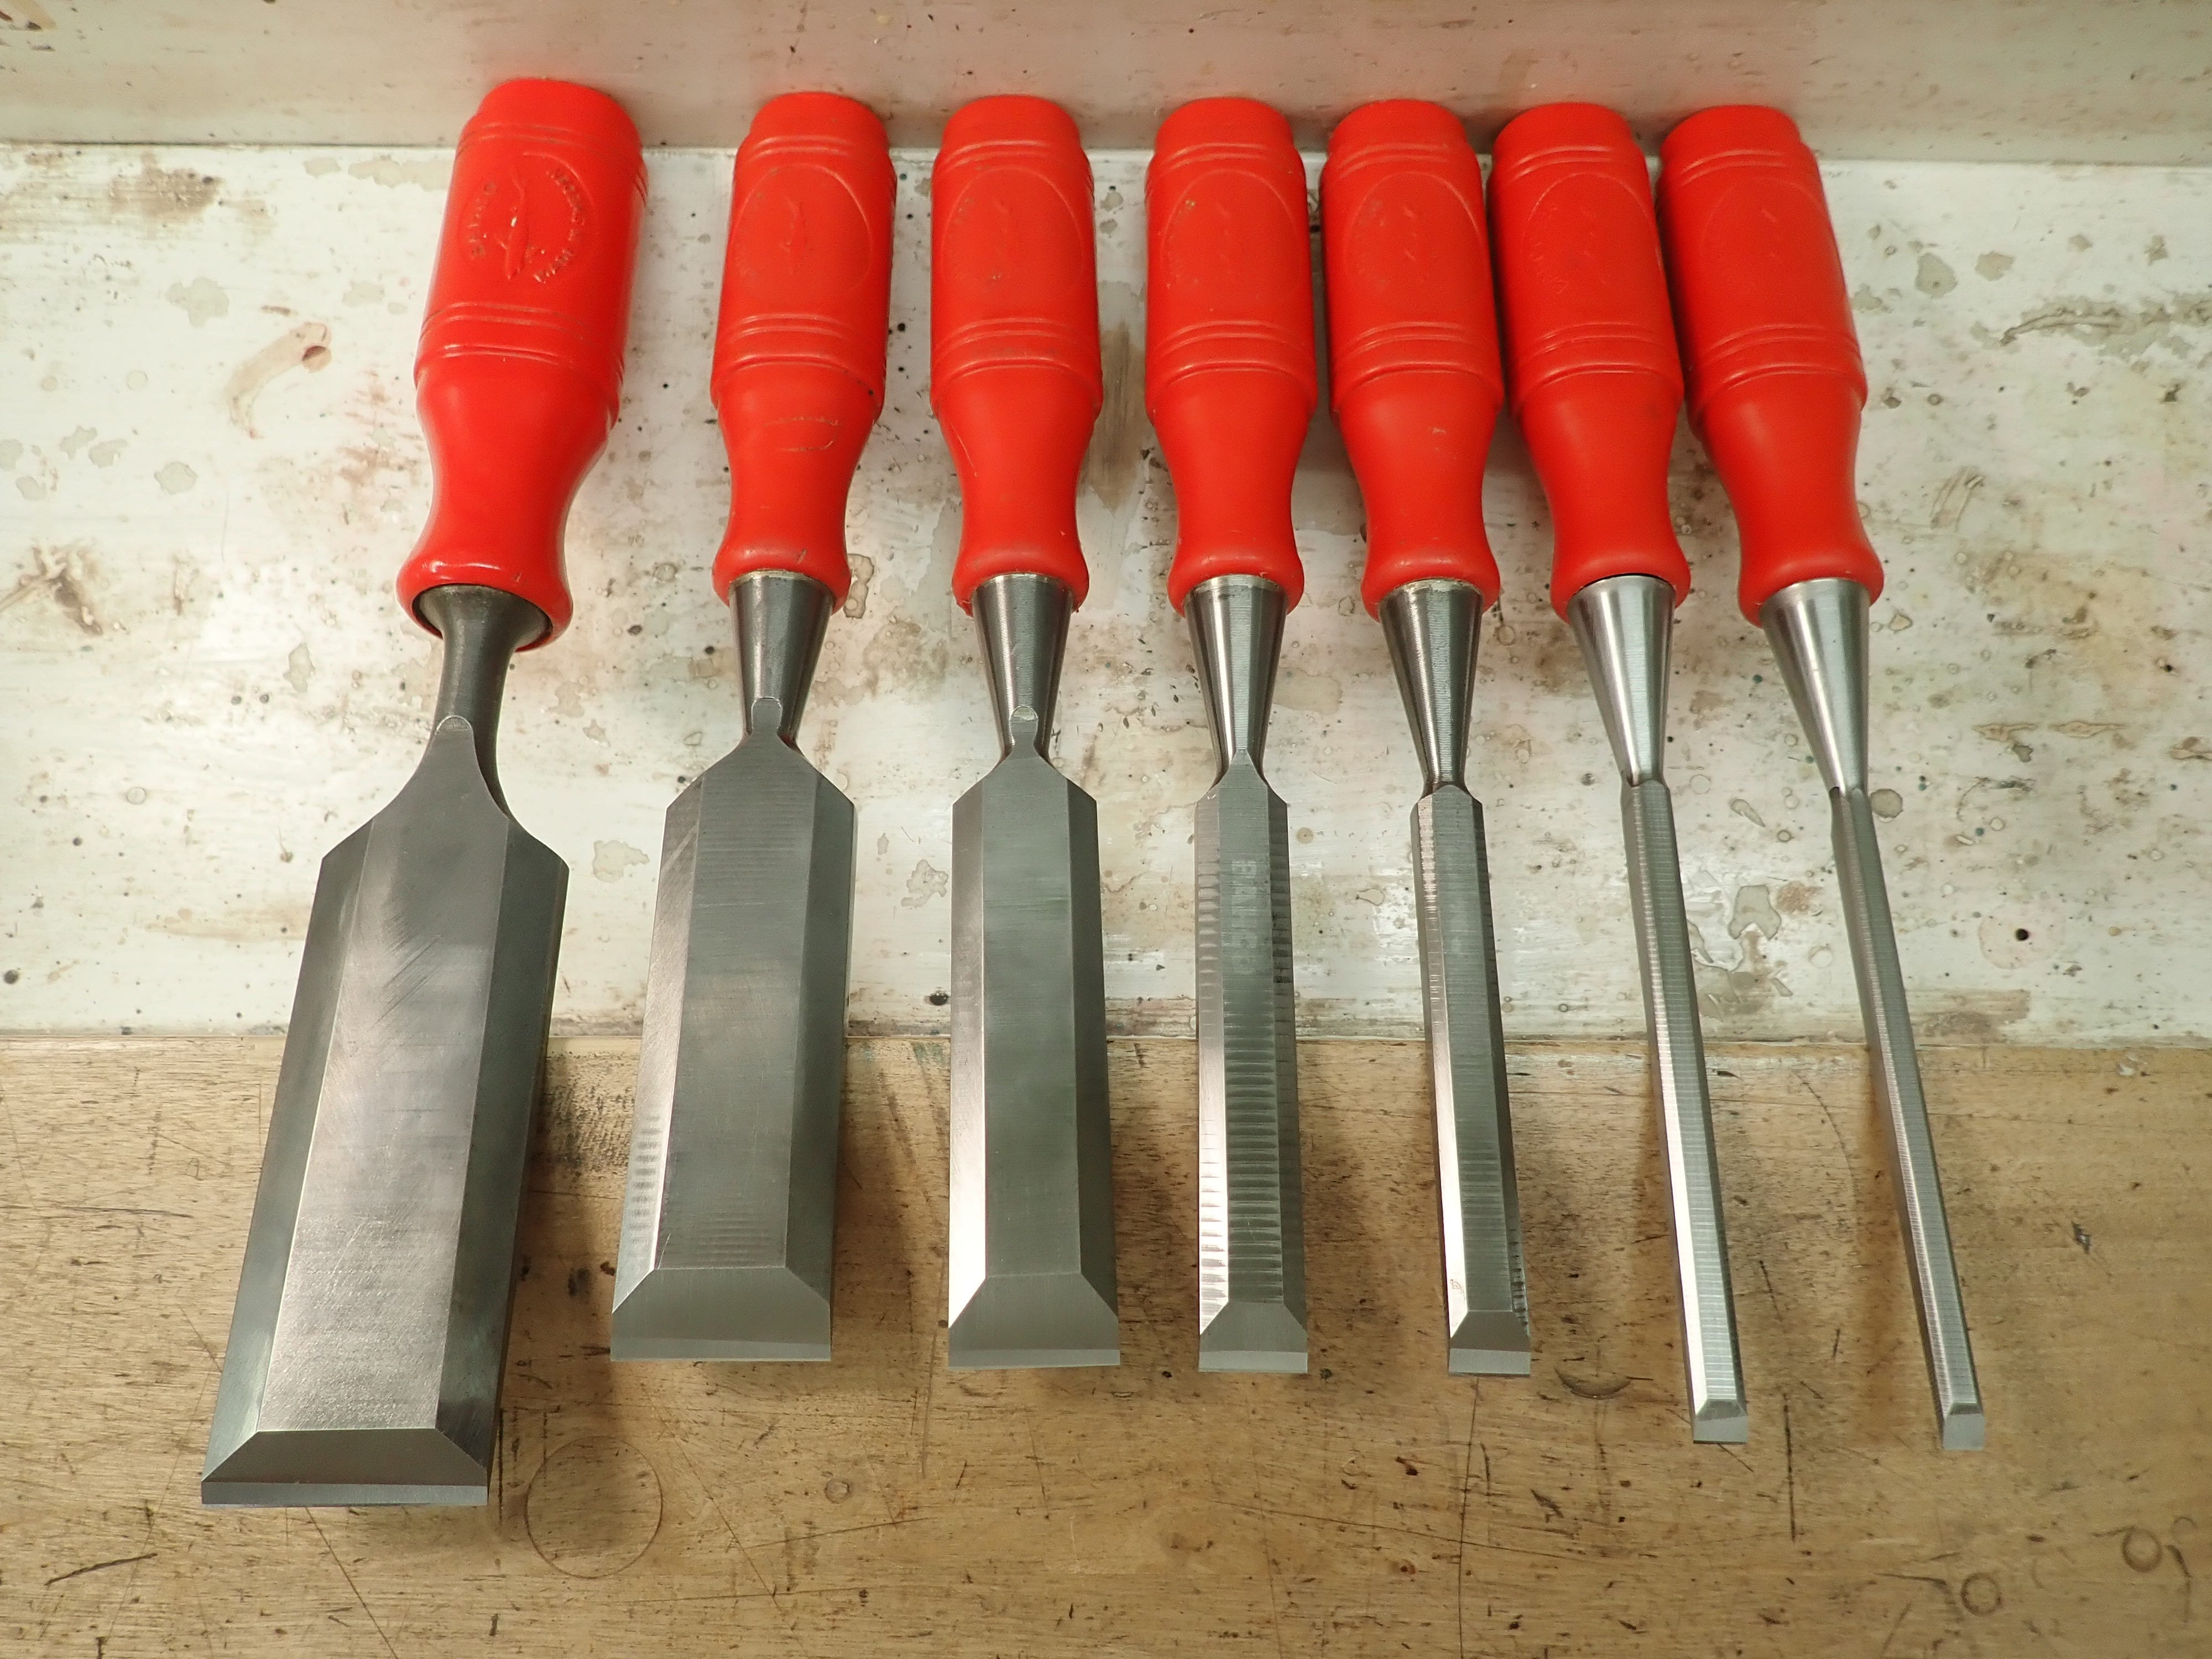
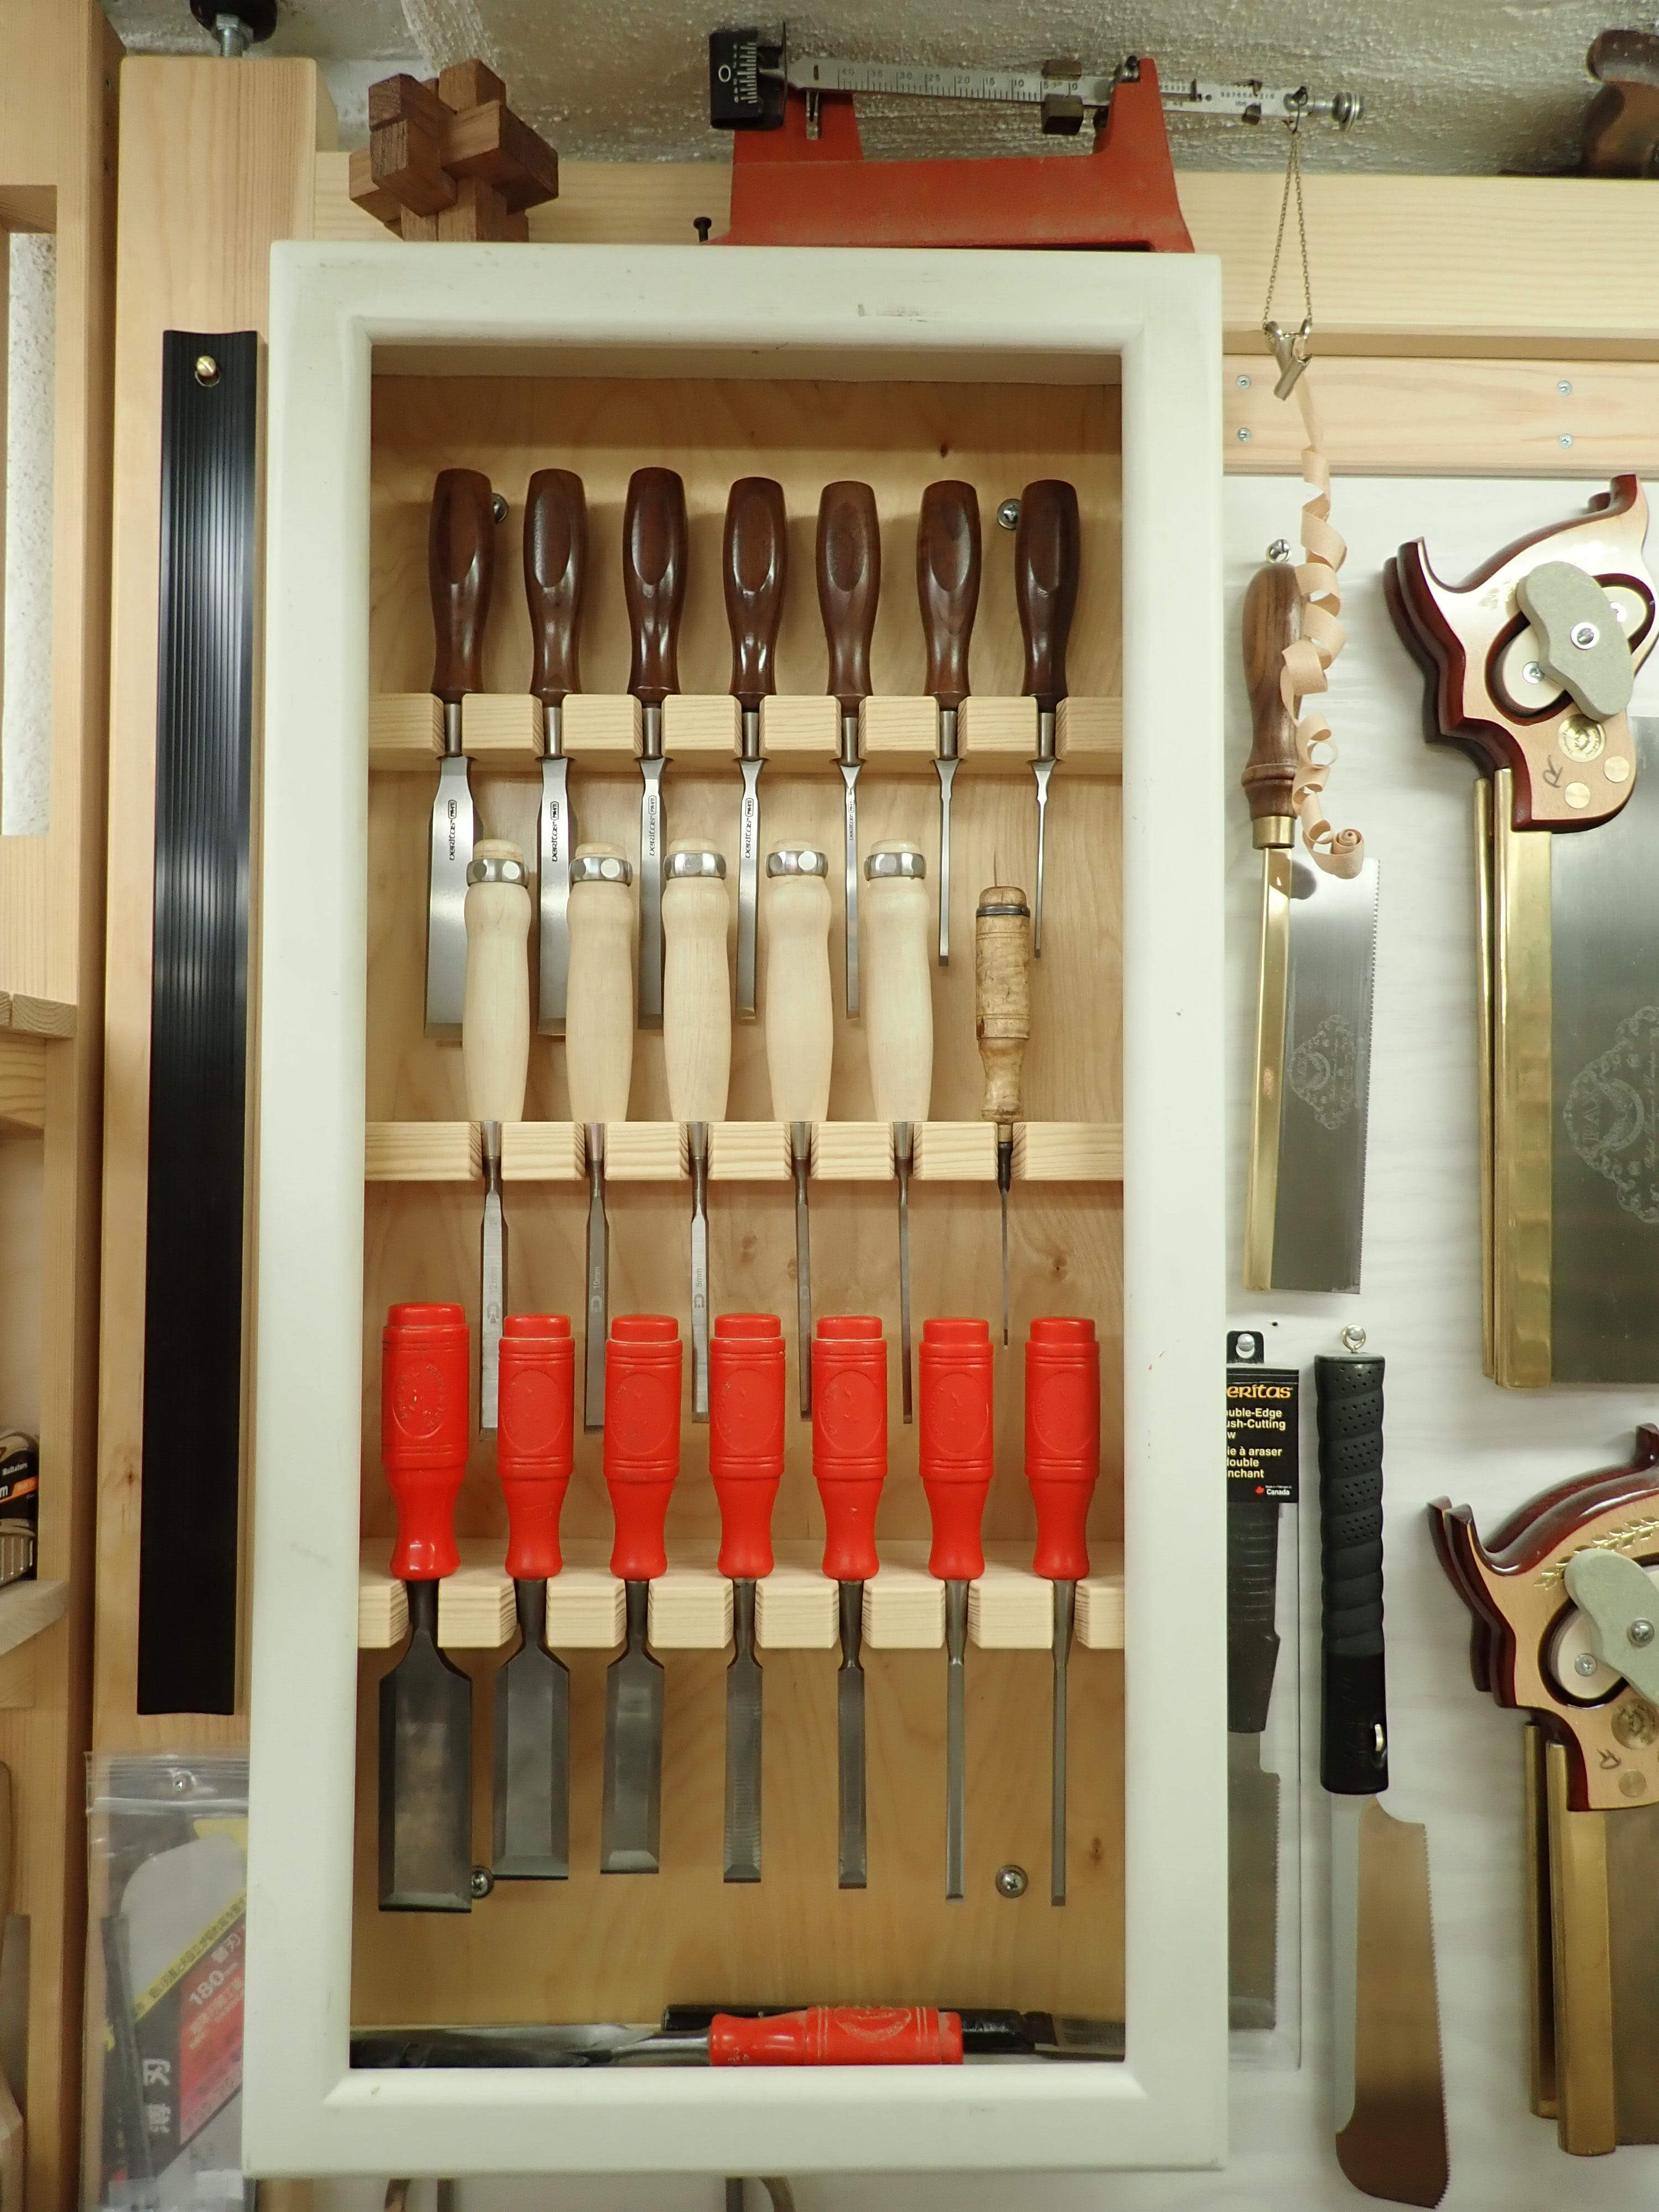
A couple of weeks ago I refurbished my old chisel rack. I took the opportunity to order a couple of narrow Bahco chisels — 6 & 8 mm — to complete the set. These are my cheap, workaday chisels that I use on softwood (pine) and for most things around the bench, except opening paint cans and scraping glue.
They arrived in practical plastic scabbards that can be worn on a belt if you have to carry your tools around … way above my dignity.
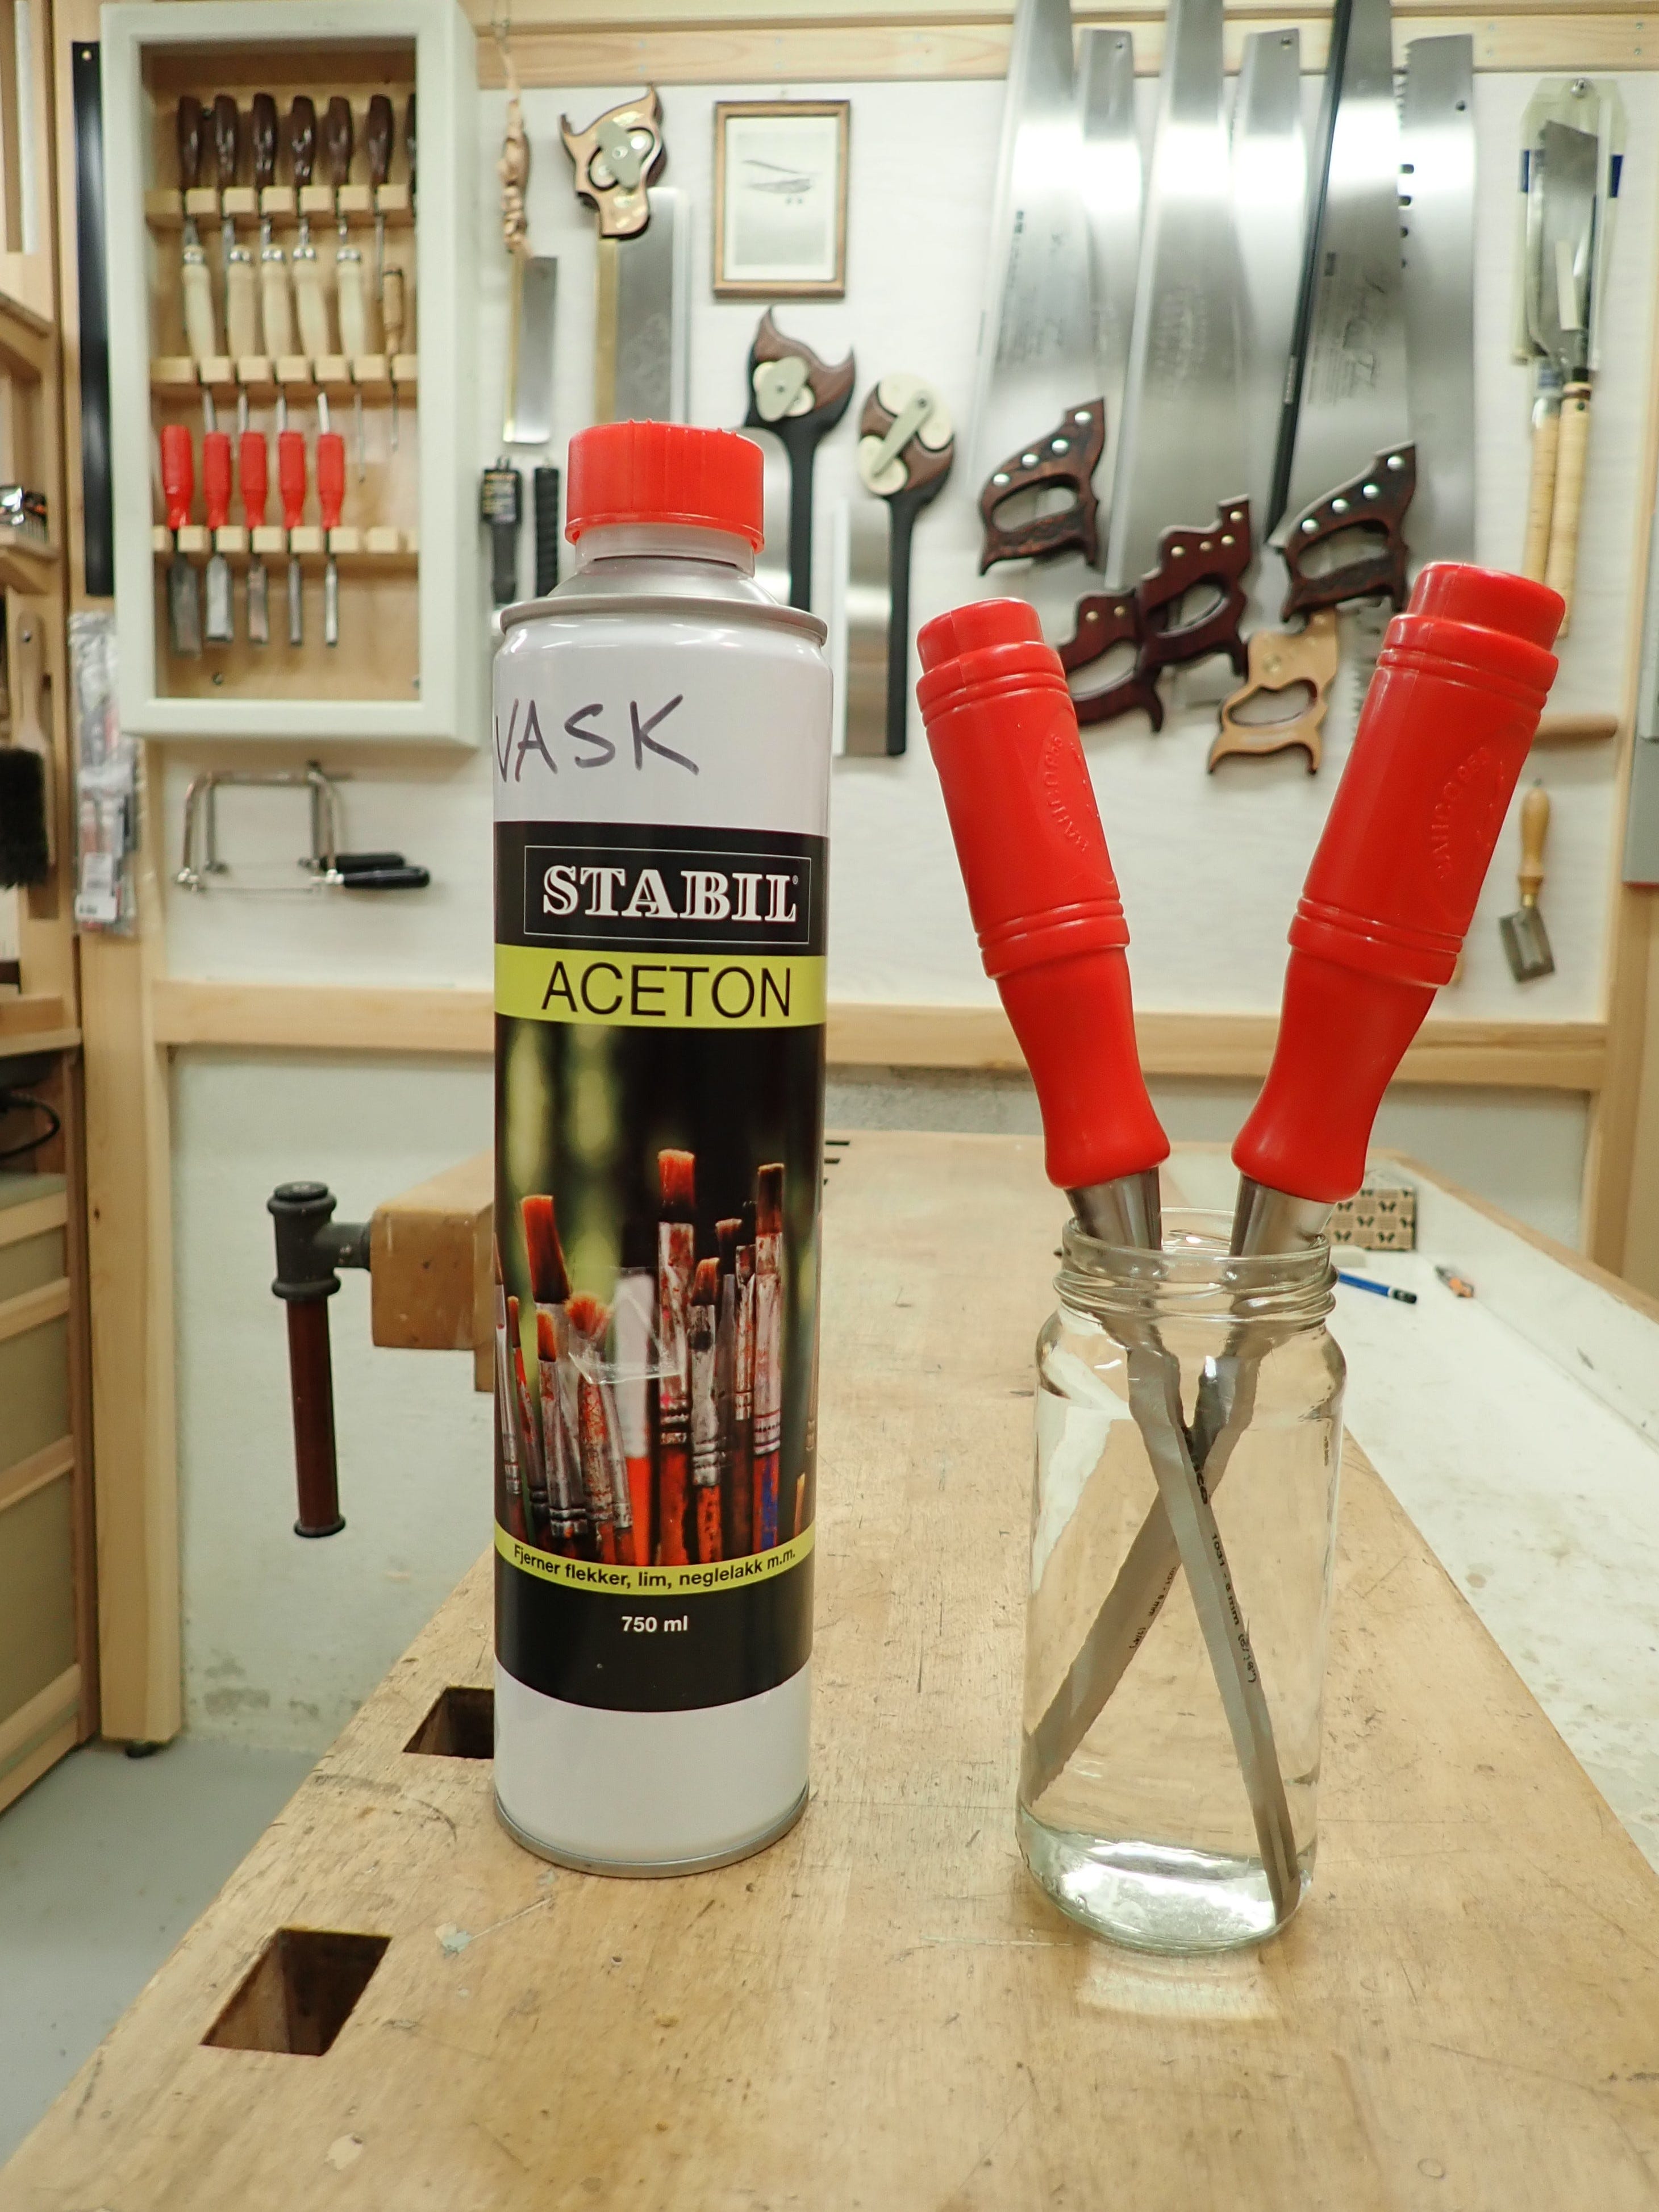
I thought I’d give my other Bahco chisels a seeing to while I was at it; they often just get a quick & dirty honing in the heat of the battle. But first: New cheap & cheerful chisels are almost always coated in some sort of lacquer to prevent them rusting during shipping and storage — and during use by carpenters working outdoors. You do not want to grind this lacquer into your honing stones! It will only clog the grit and be a nuisance. Solvent is the solution!
If the solvent does not completely dissolve the laquer, it may soften it enough for you to scrape or scrub it off with a piece of Scotch-Brite.
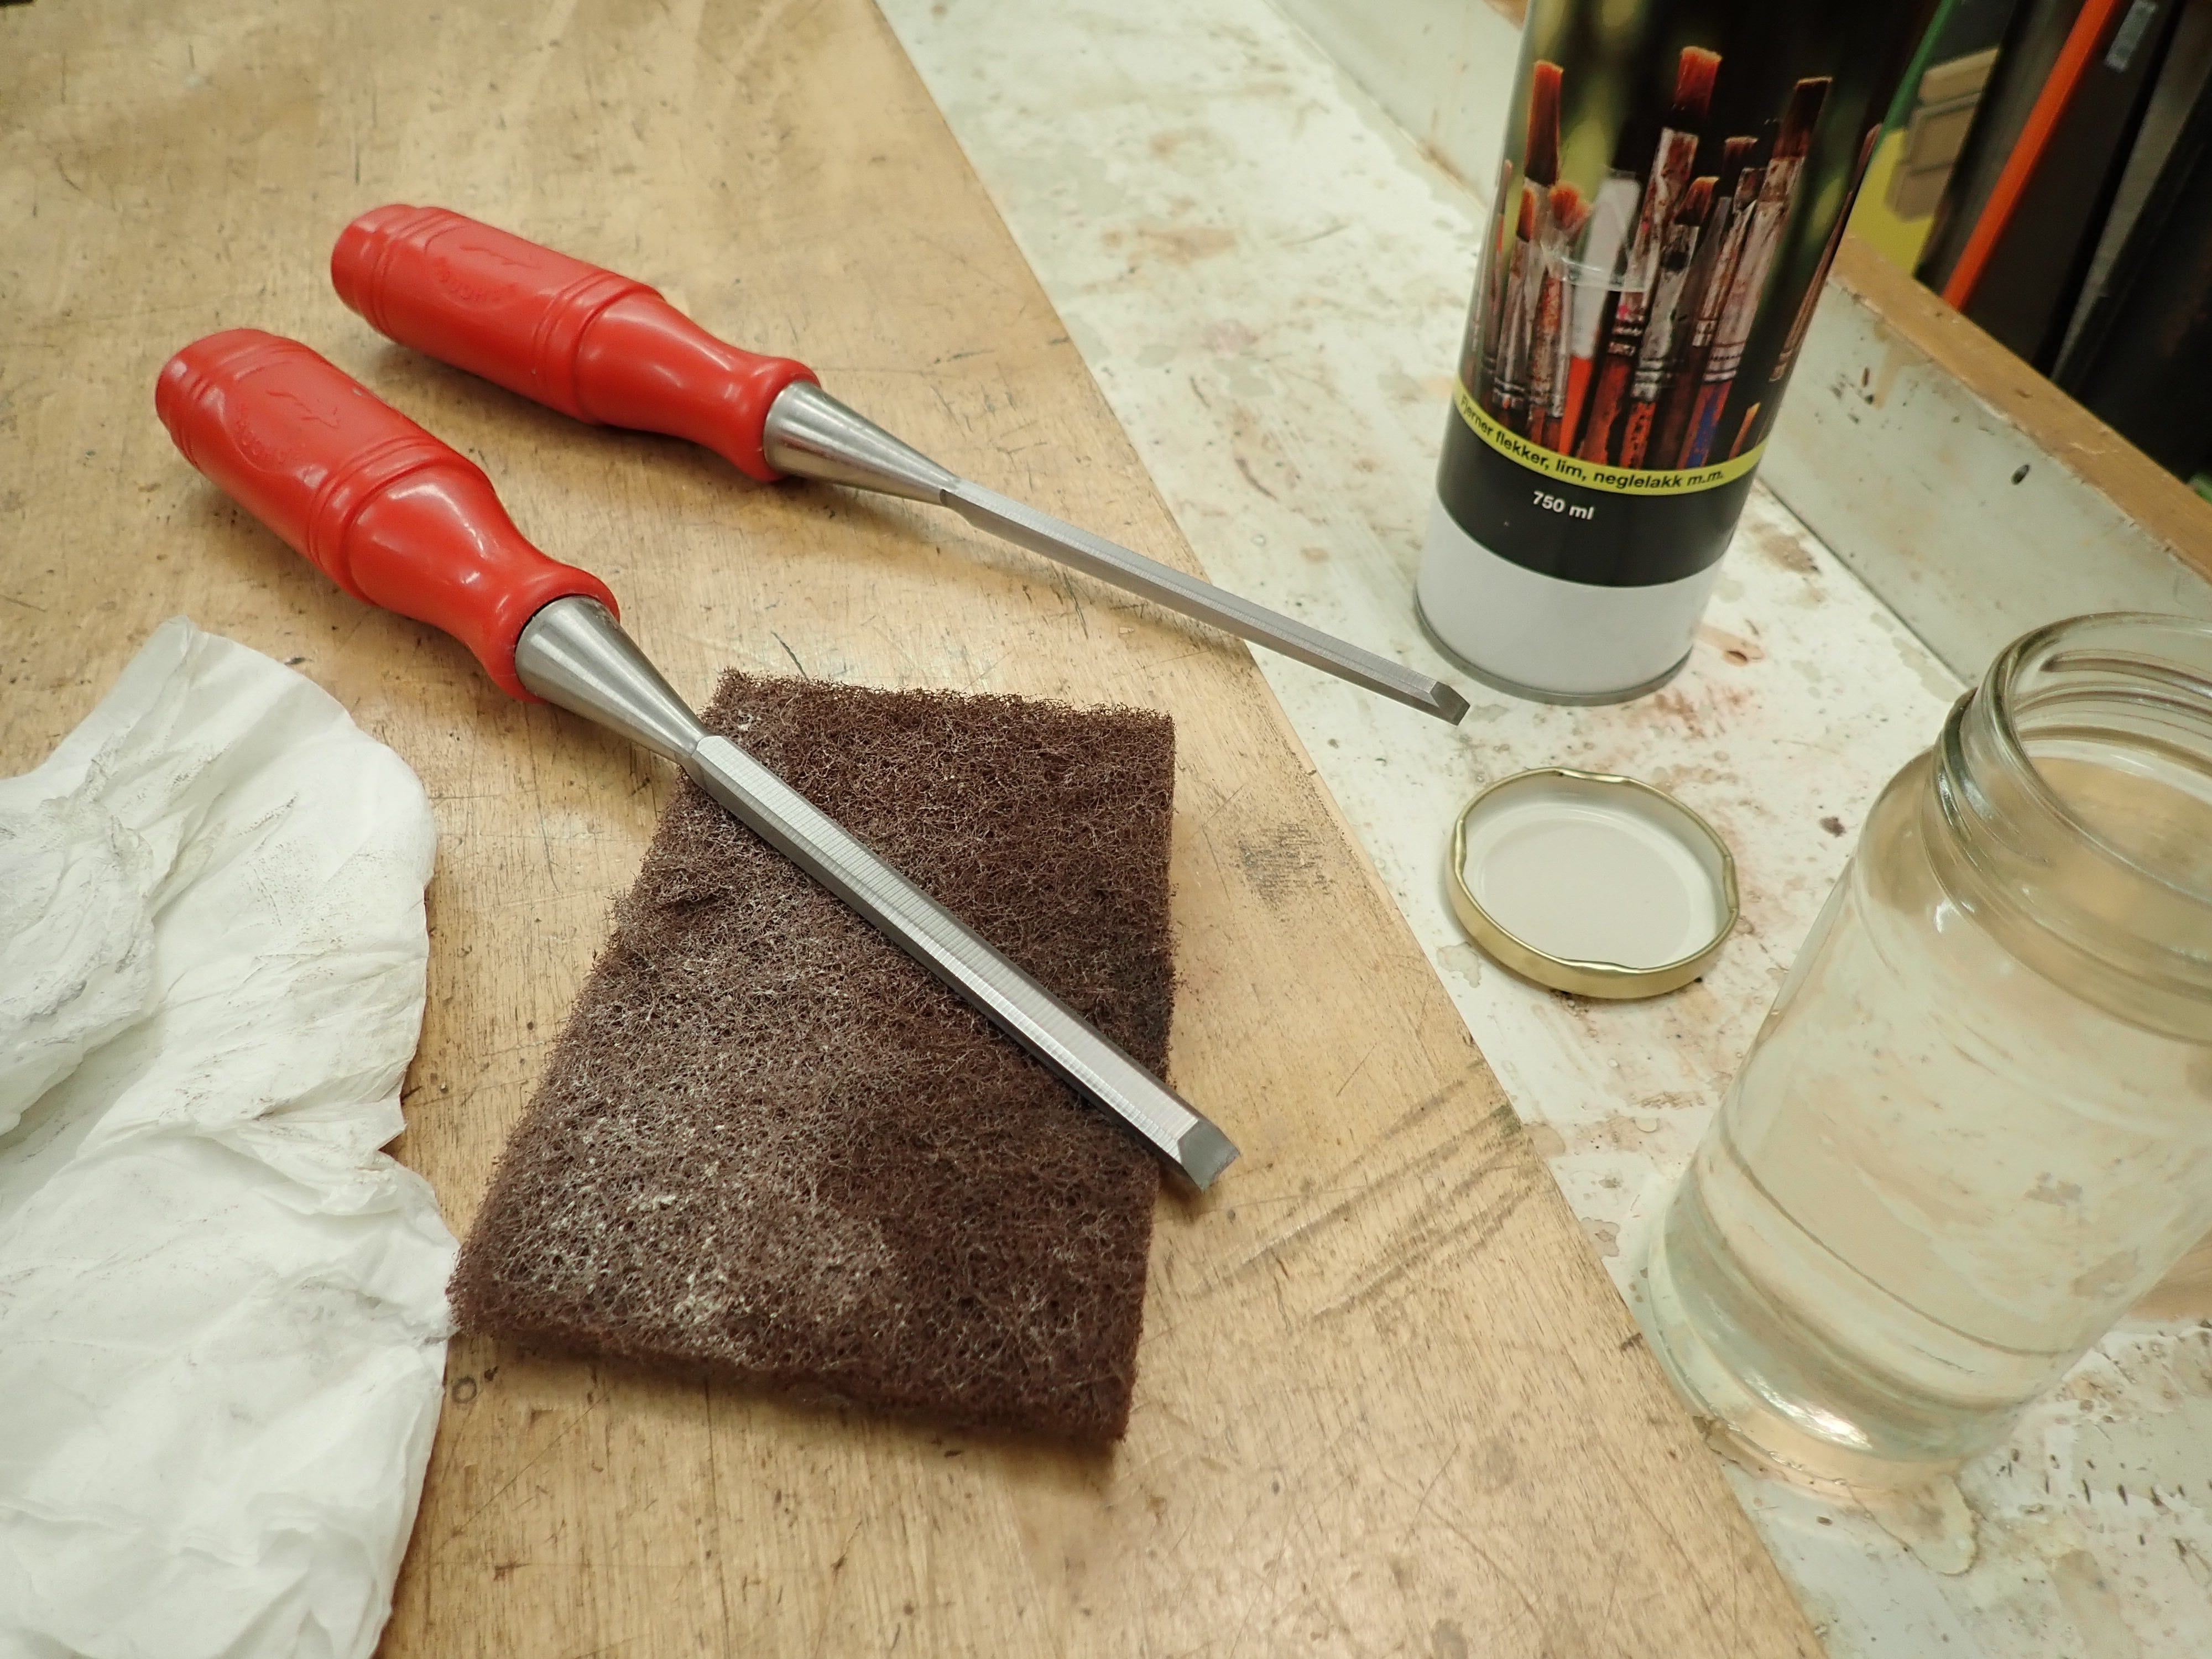
I’ve found that the Scotch-Brite will also knock off the sharp edges between the back and the sides of the chisel; those edges that tend to cut your left hand index finger when guiding a paring cut. I leave the front inch or so ‘unbroken’.
As mentioned, I use these chisels for softwoods. I like to experiment with how I set up my edge-tools. I try out new ways of doing things to see if there is any advantage. If I like it, it’s the new ‘best practice’.
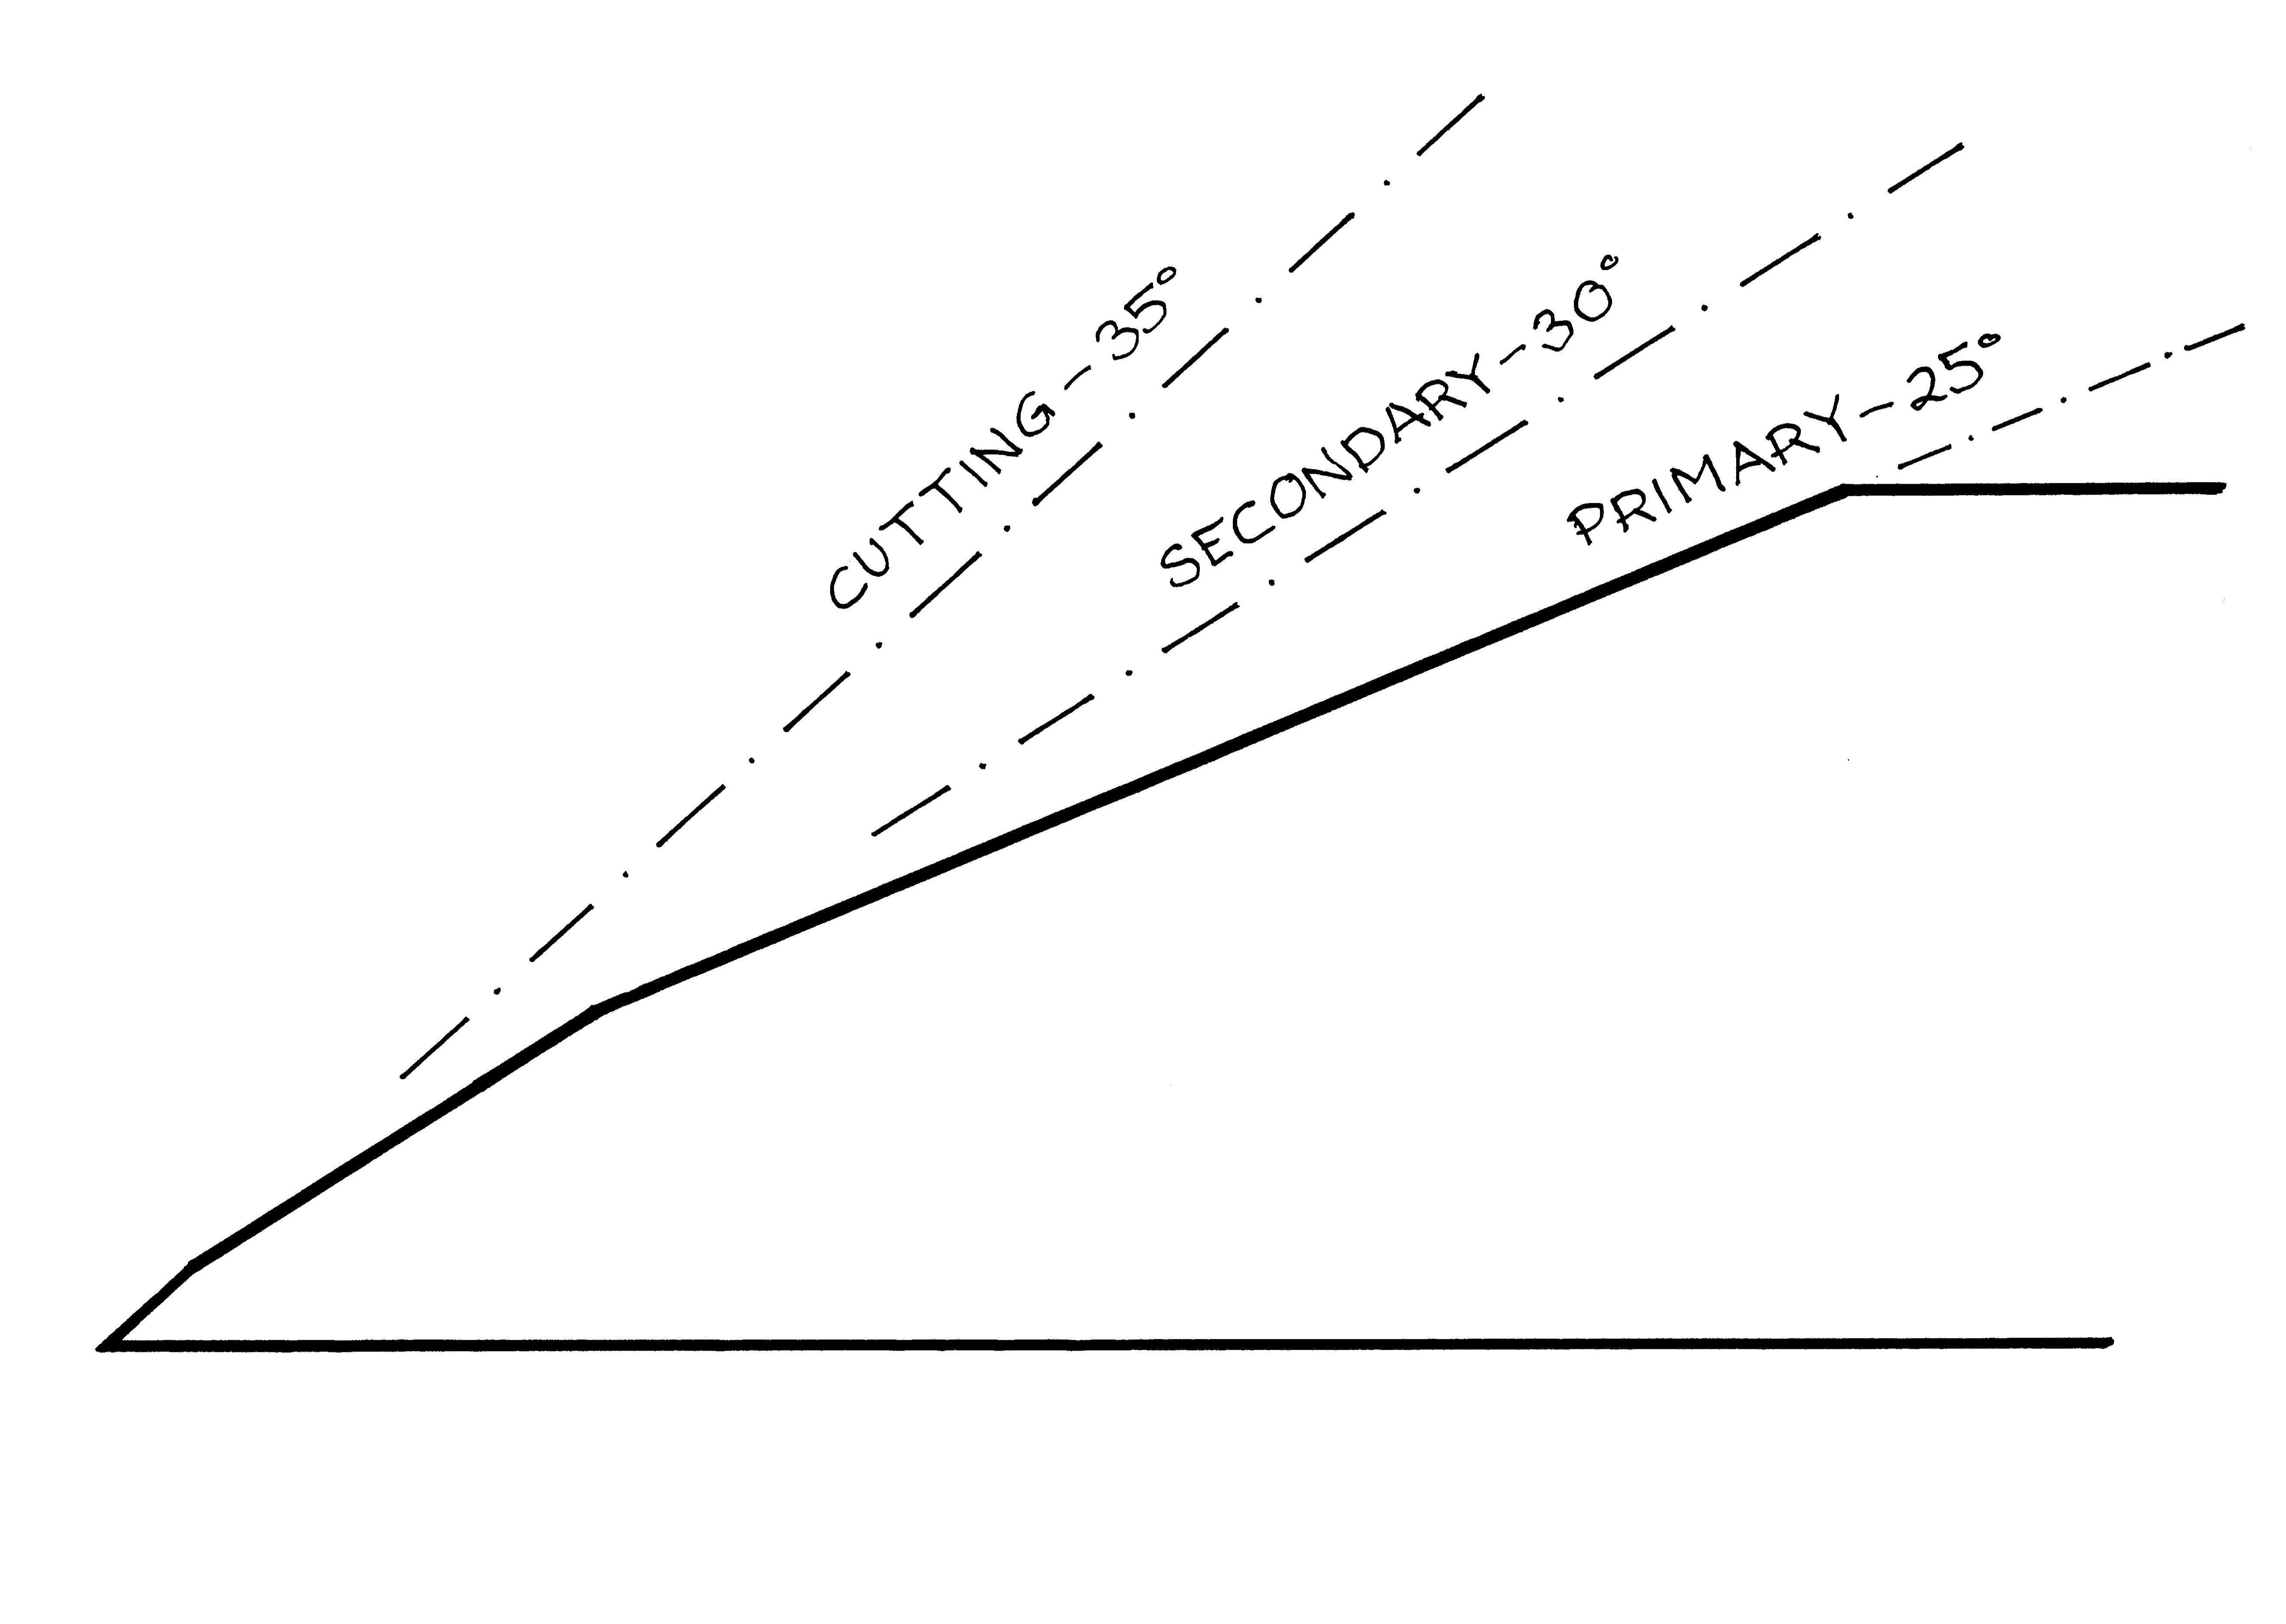
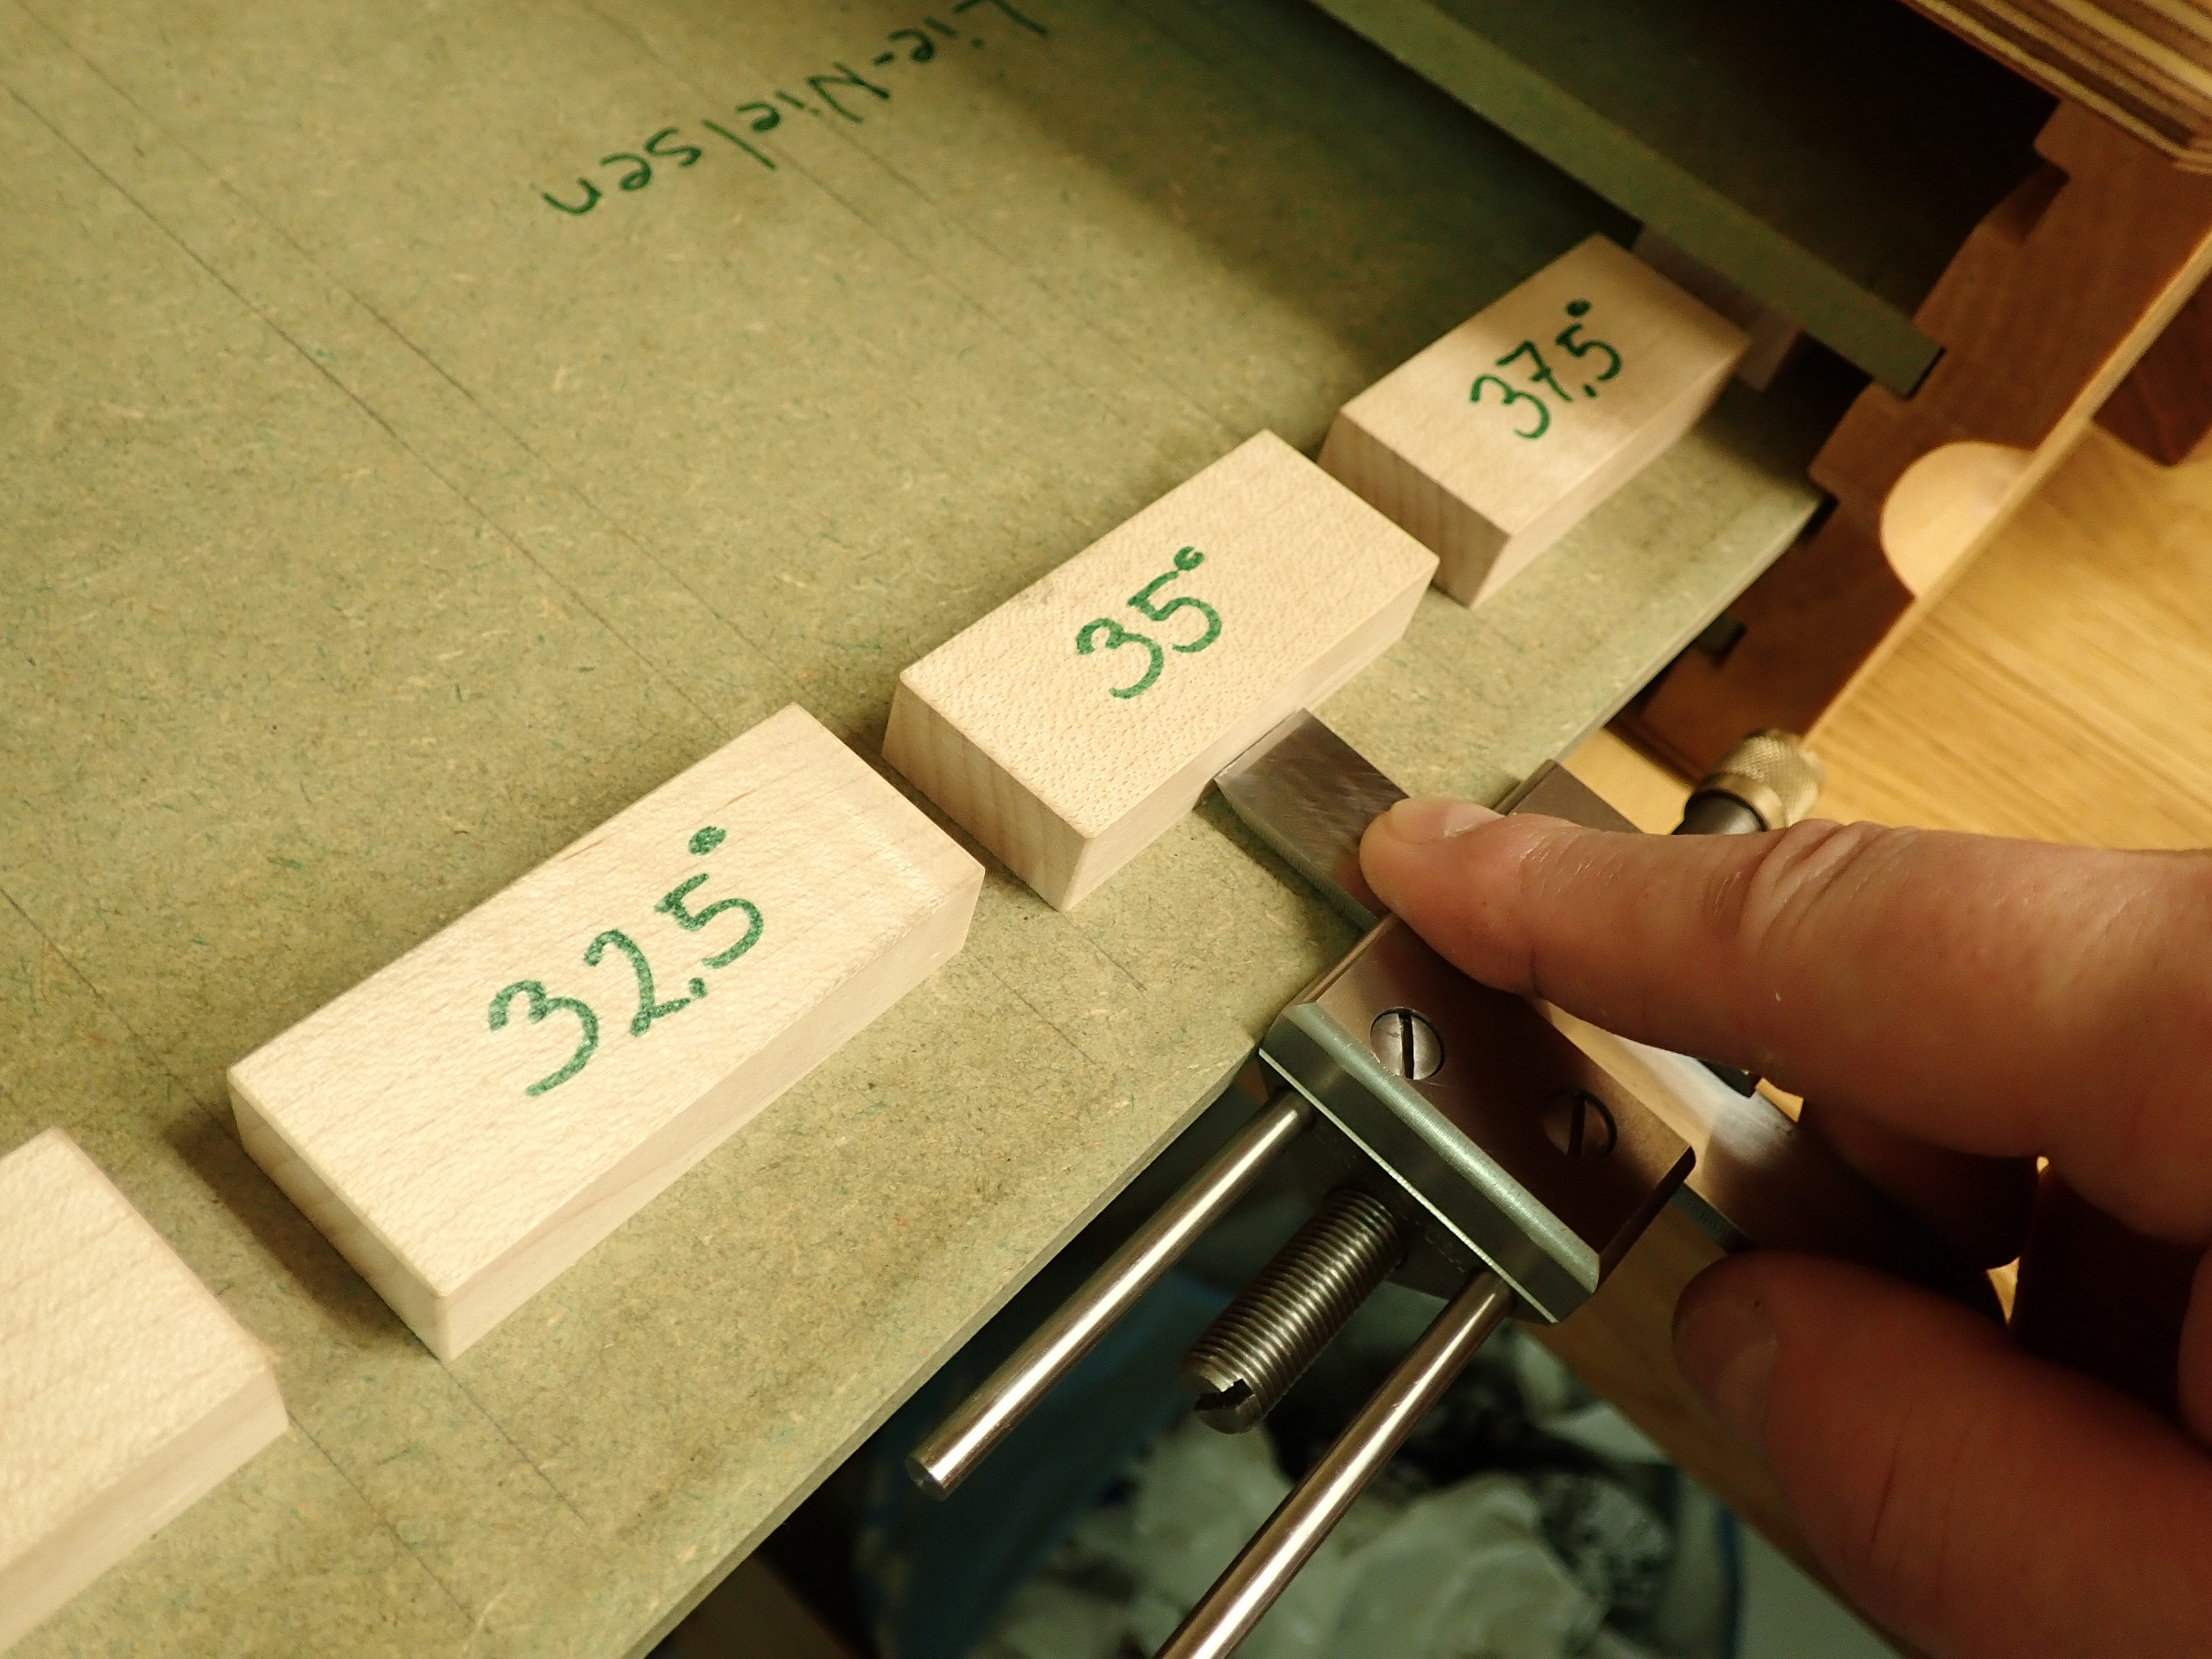
I’ve given these Bahco chisels 3 bevels: a primary bevel of 25°, a secondary bevel of 30° and a tertiary, cutting bevel of 35°. I’ll try to explain why.
First: it’s not complicated! It saves me work when honing. How?
Remember: a fine grit will leave shallow scratches on the steel’s surface but will remove little material — and vice versa. I want my cutting edges to have as small / shallow scratches as possible, because a scratch is the start of a crack, and cracks are what make steel edges deteriorate (become dull) — they are also what makes airplanes suddenly fall out of the sky — long story ...
When using fine abrasives you want to work as small an area as possible, it being so slow going. Therefore I want my cutting edge bevel to be as narrow as possible, and from a ‘wood-cutting’ point of view, it does not need to be wider than a few tenths of a millimetre.
For each time I hone my cutting edge it will become wider … and wider. It will take longer and longer to get a keen edge because the fine grit removes so little material — but boy, is it shiny! I could solve this problem by grinding the primary bevel, and thus ‘pushing’ the cutting edge forward, i.e. making the cutting bevel narrower again. But that would mean working the whole beveled surface, and that’s quite a lot of work if you’re lazy and in a hurry.
The solution is to have an intermediary, secondary bevel that is narrower and that you can quickly work with medium-grit abrasives to ‘push’ the cutting bevel up against the edge again (making it narrower). Does this make sense? I think of it it as ‘pushing bevels back and forth’. Have a look at this:
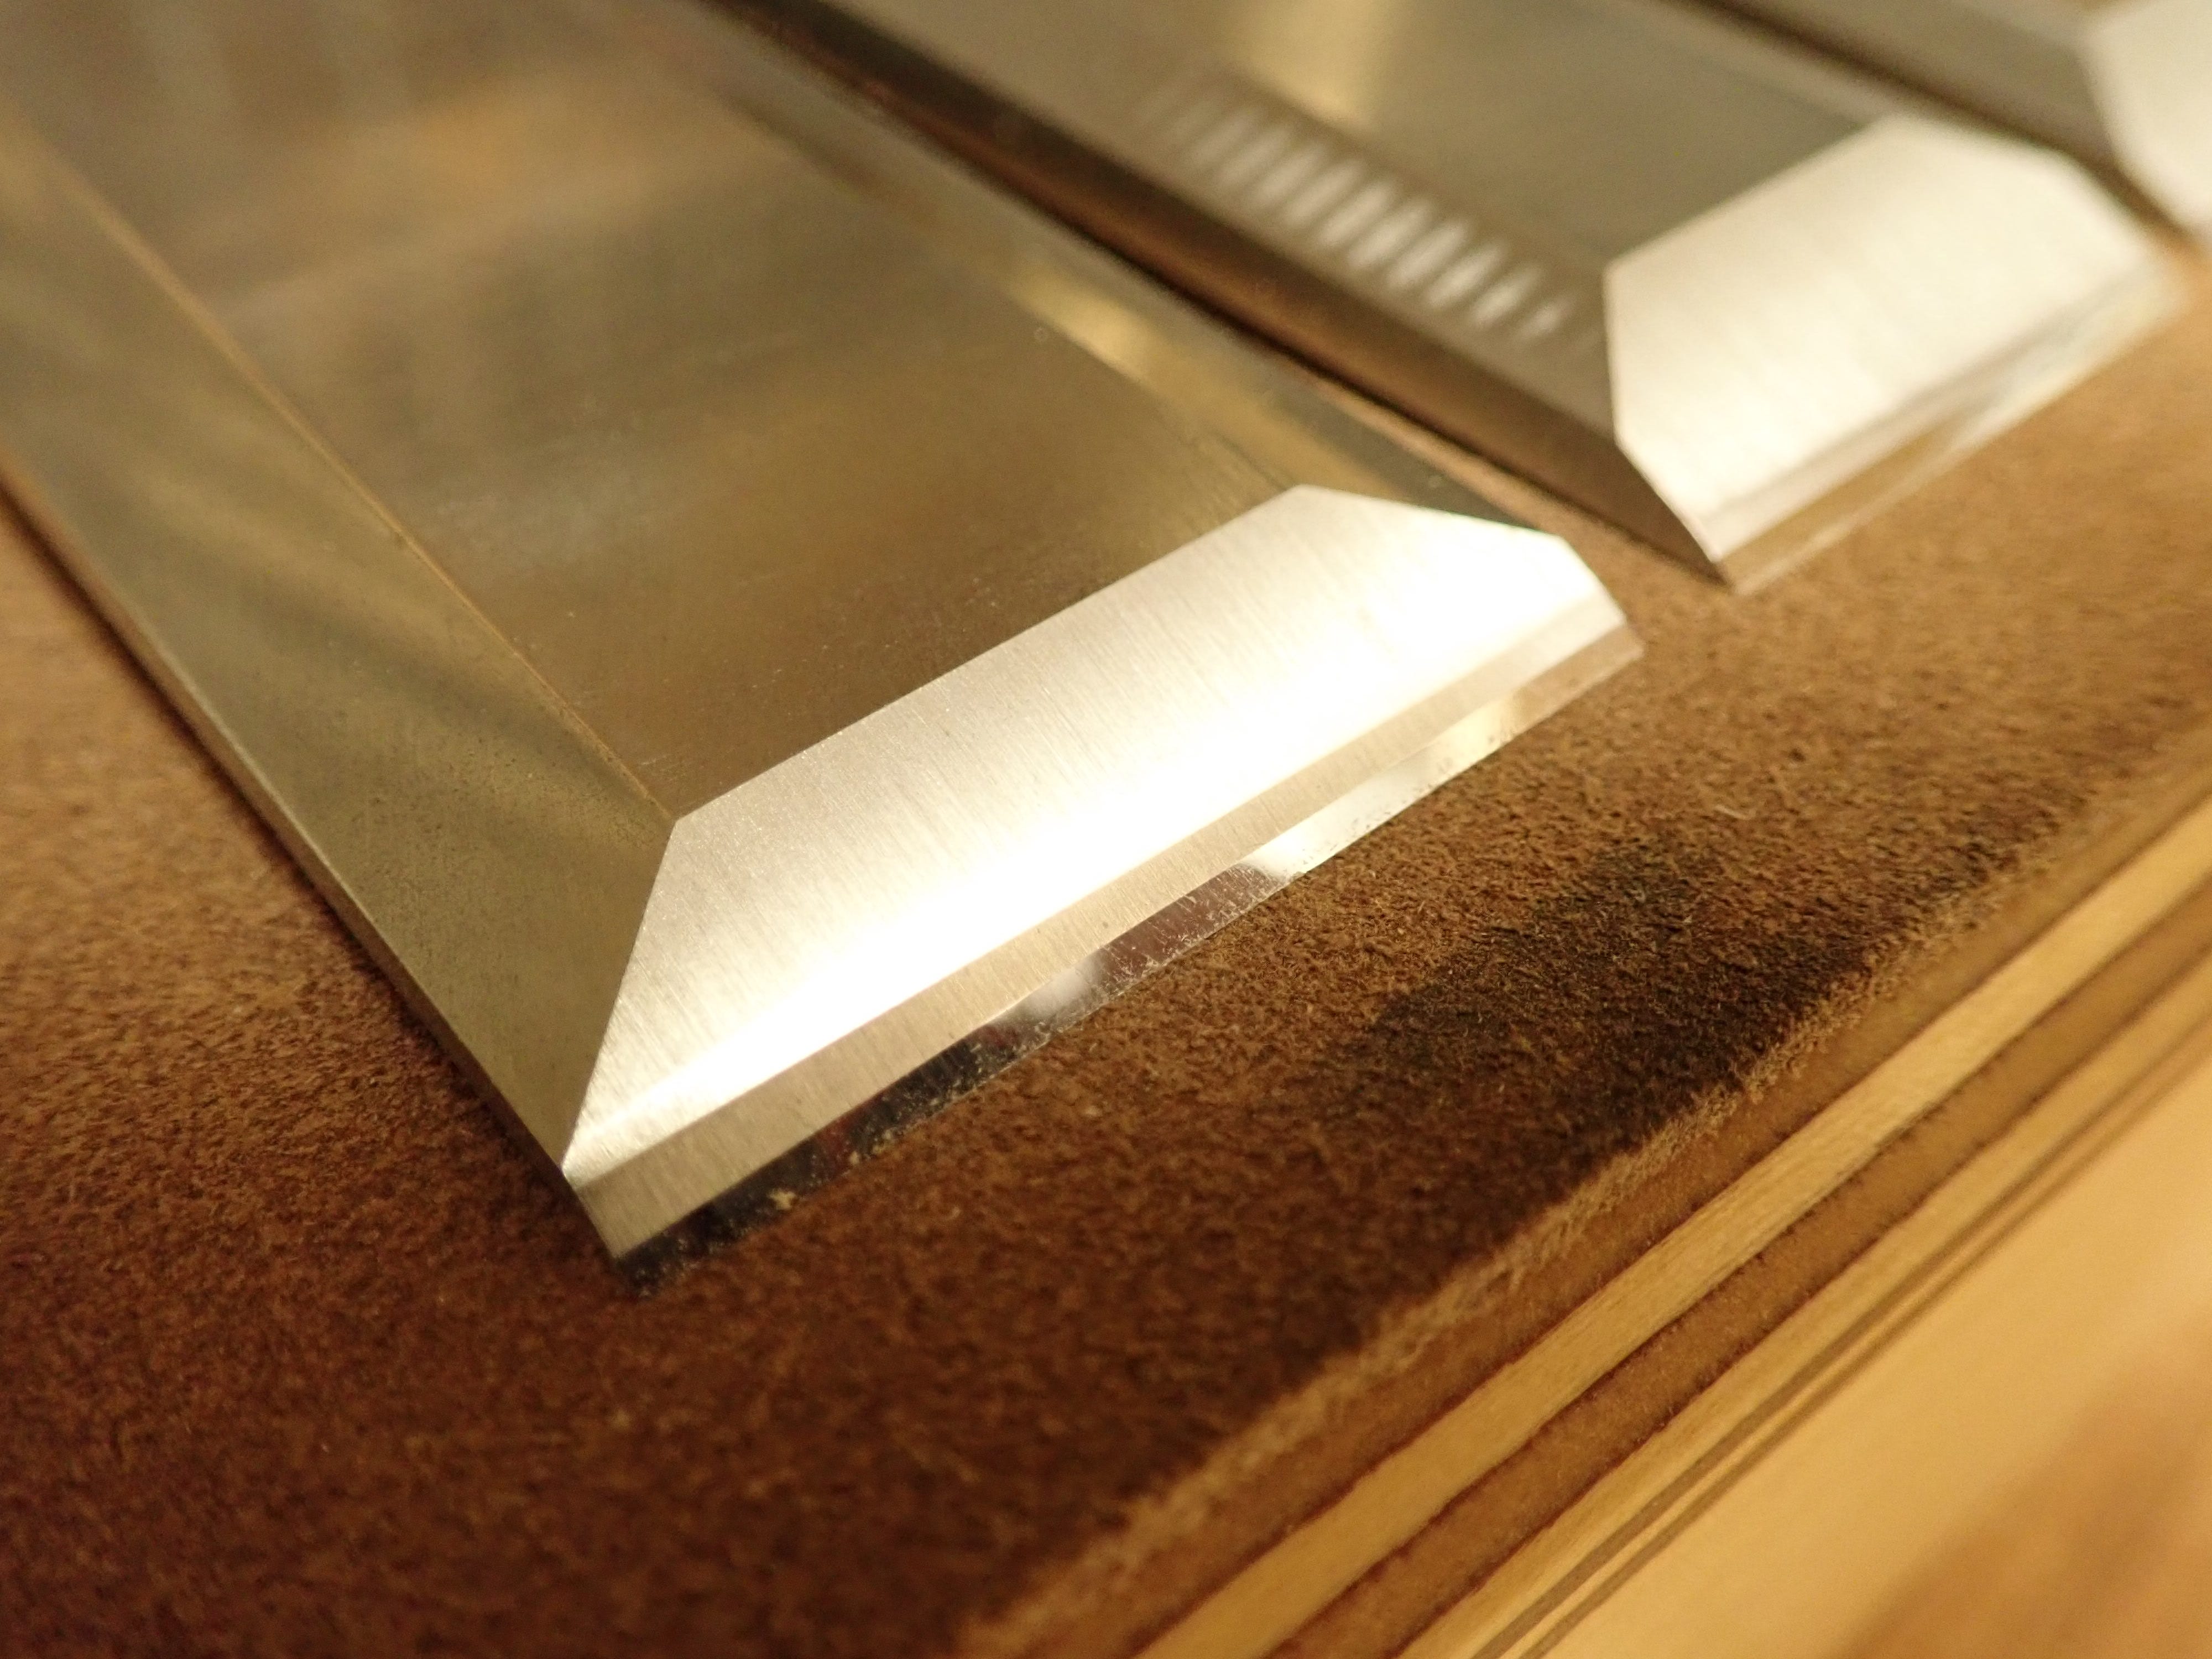
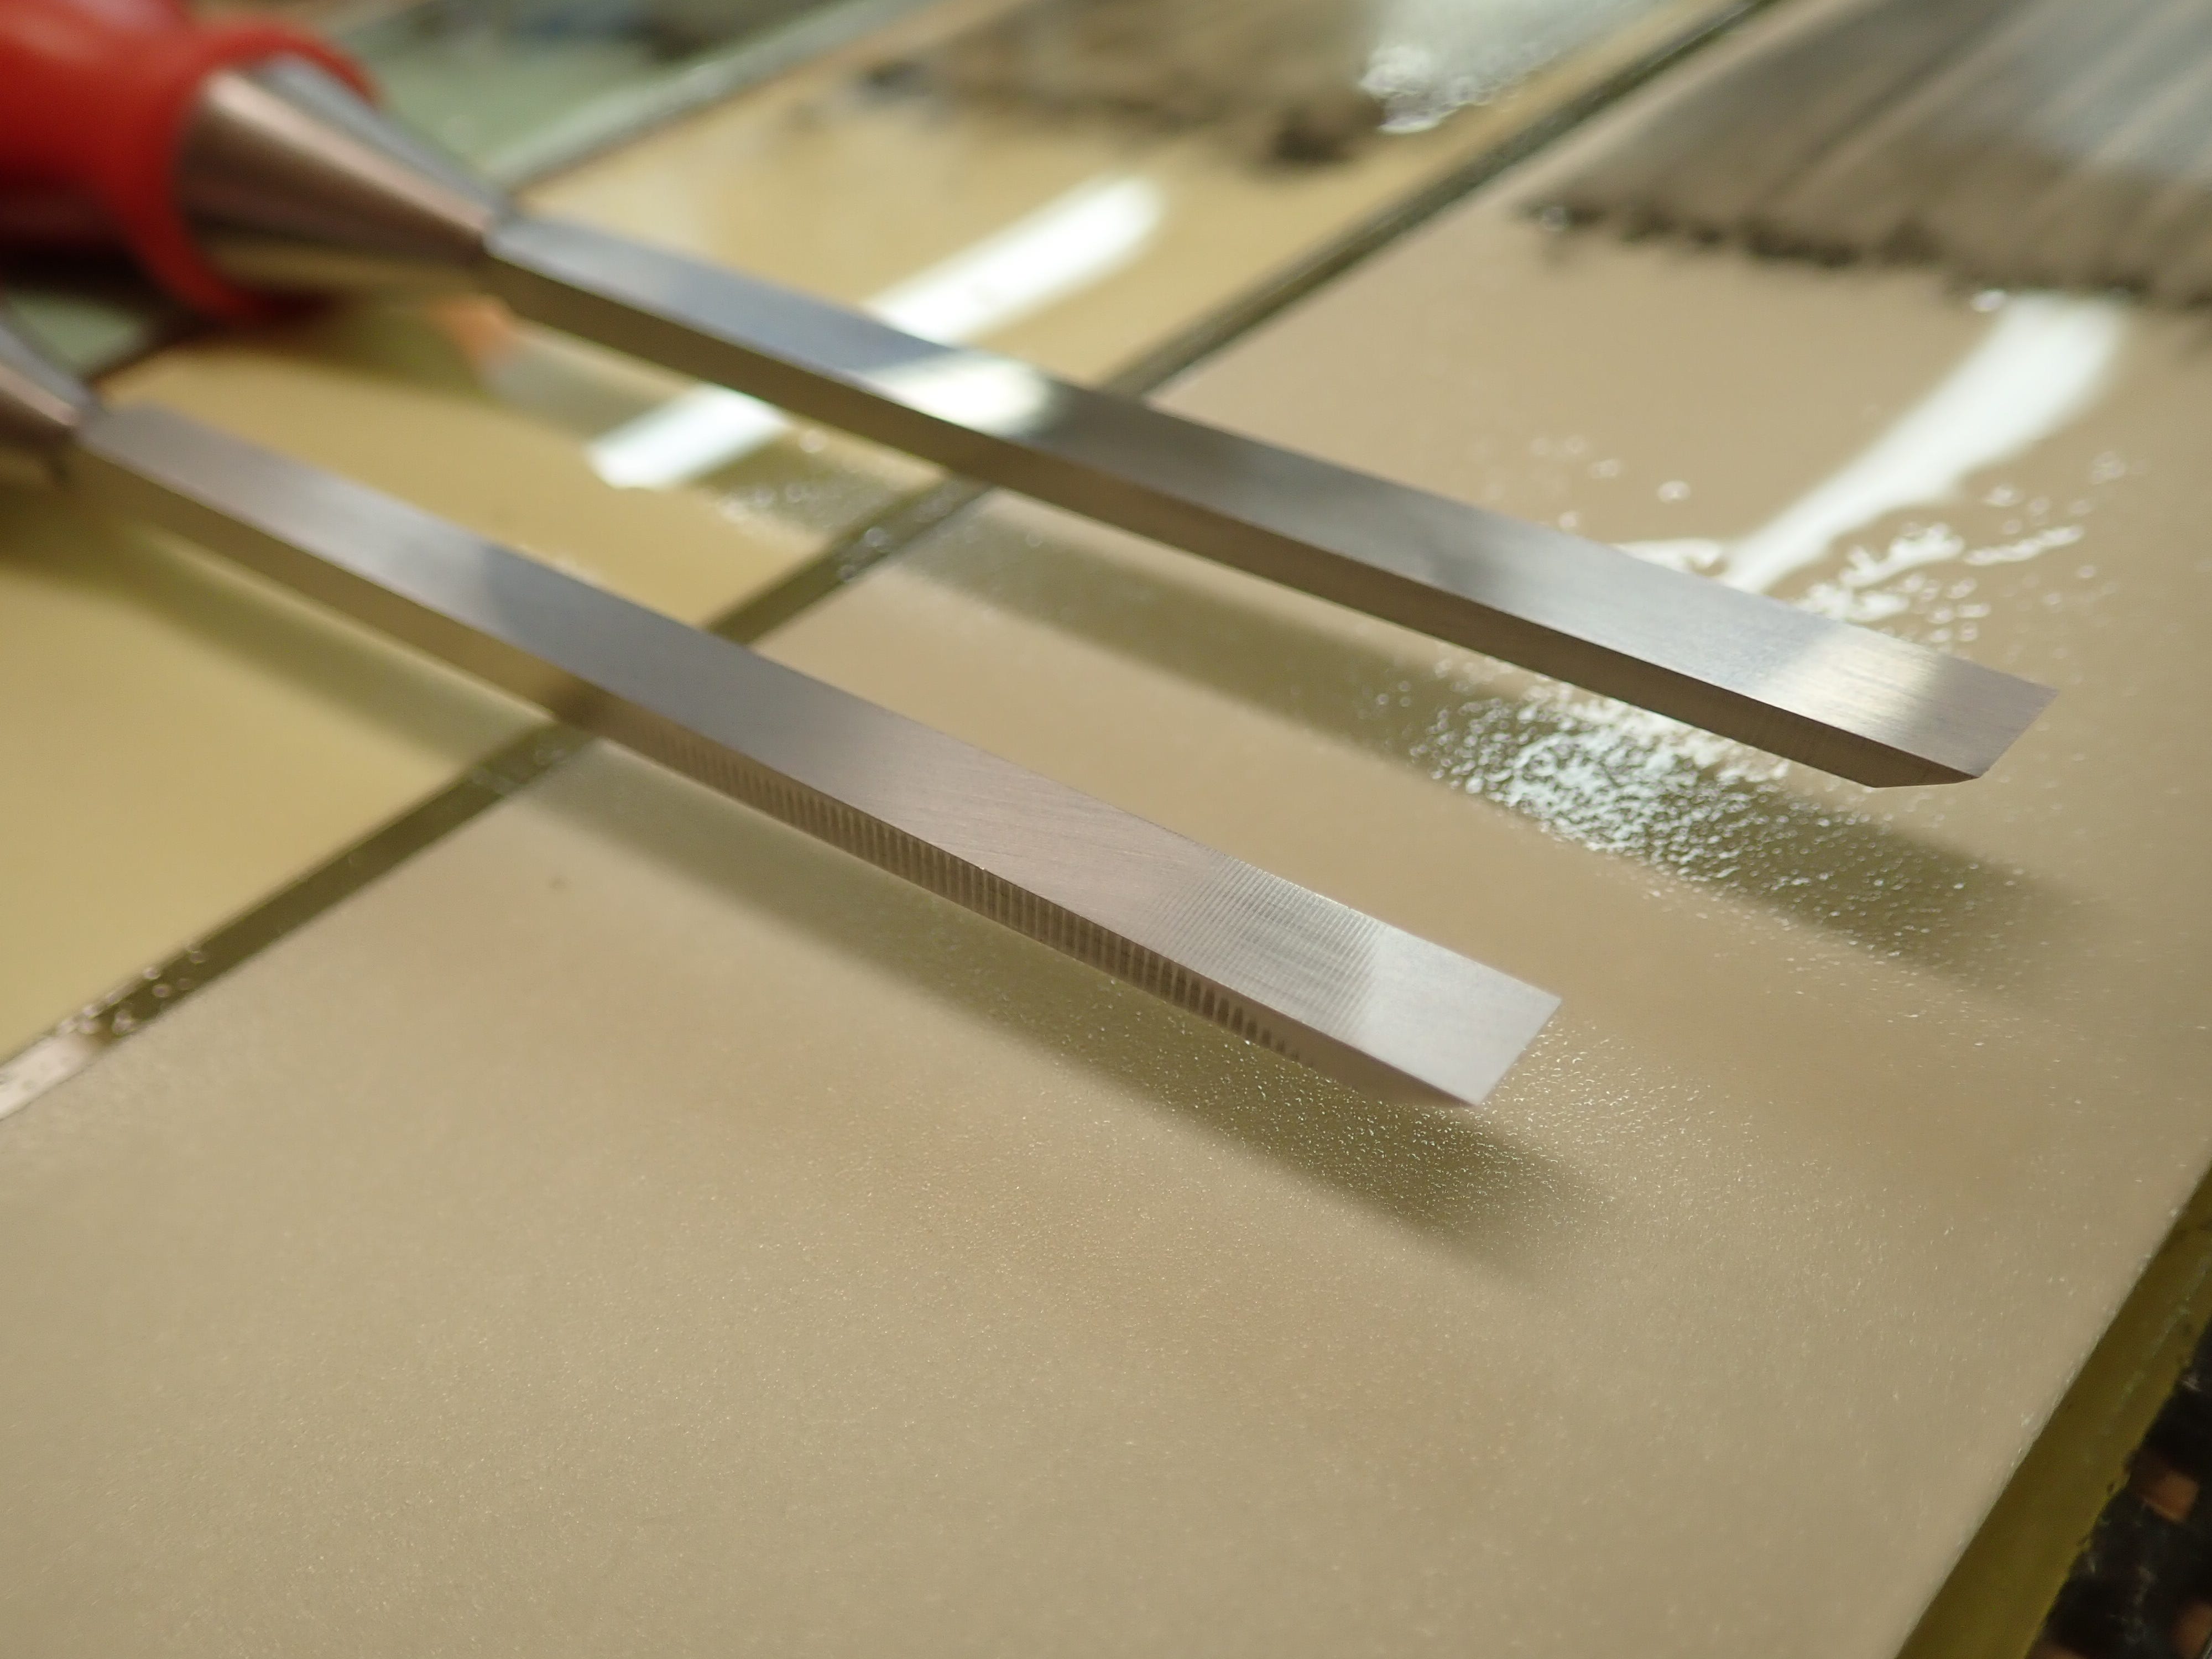
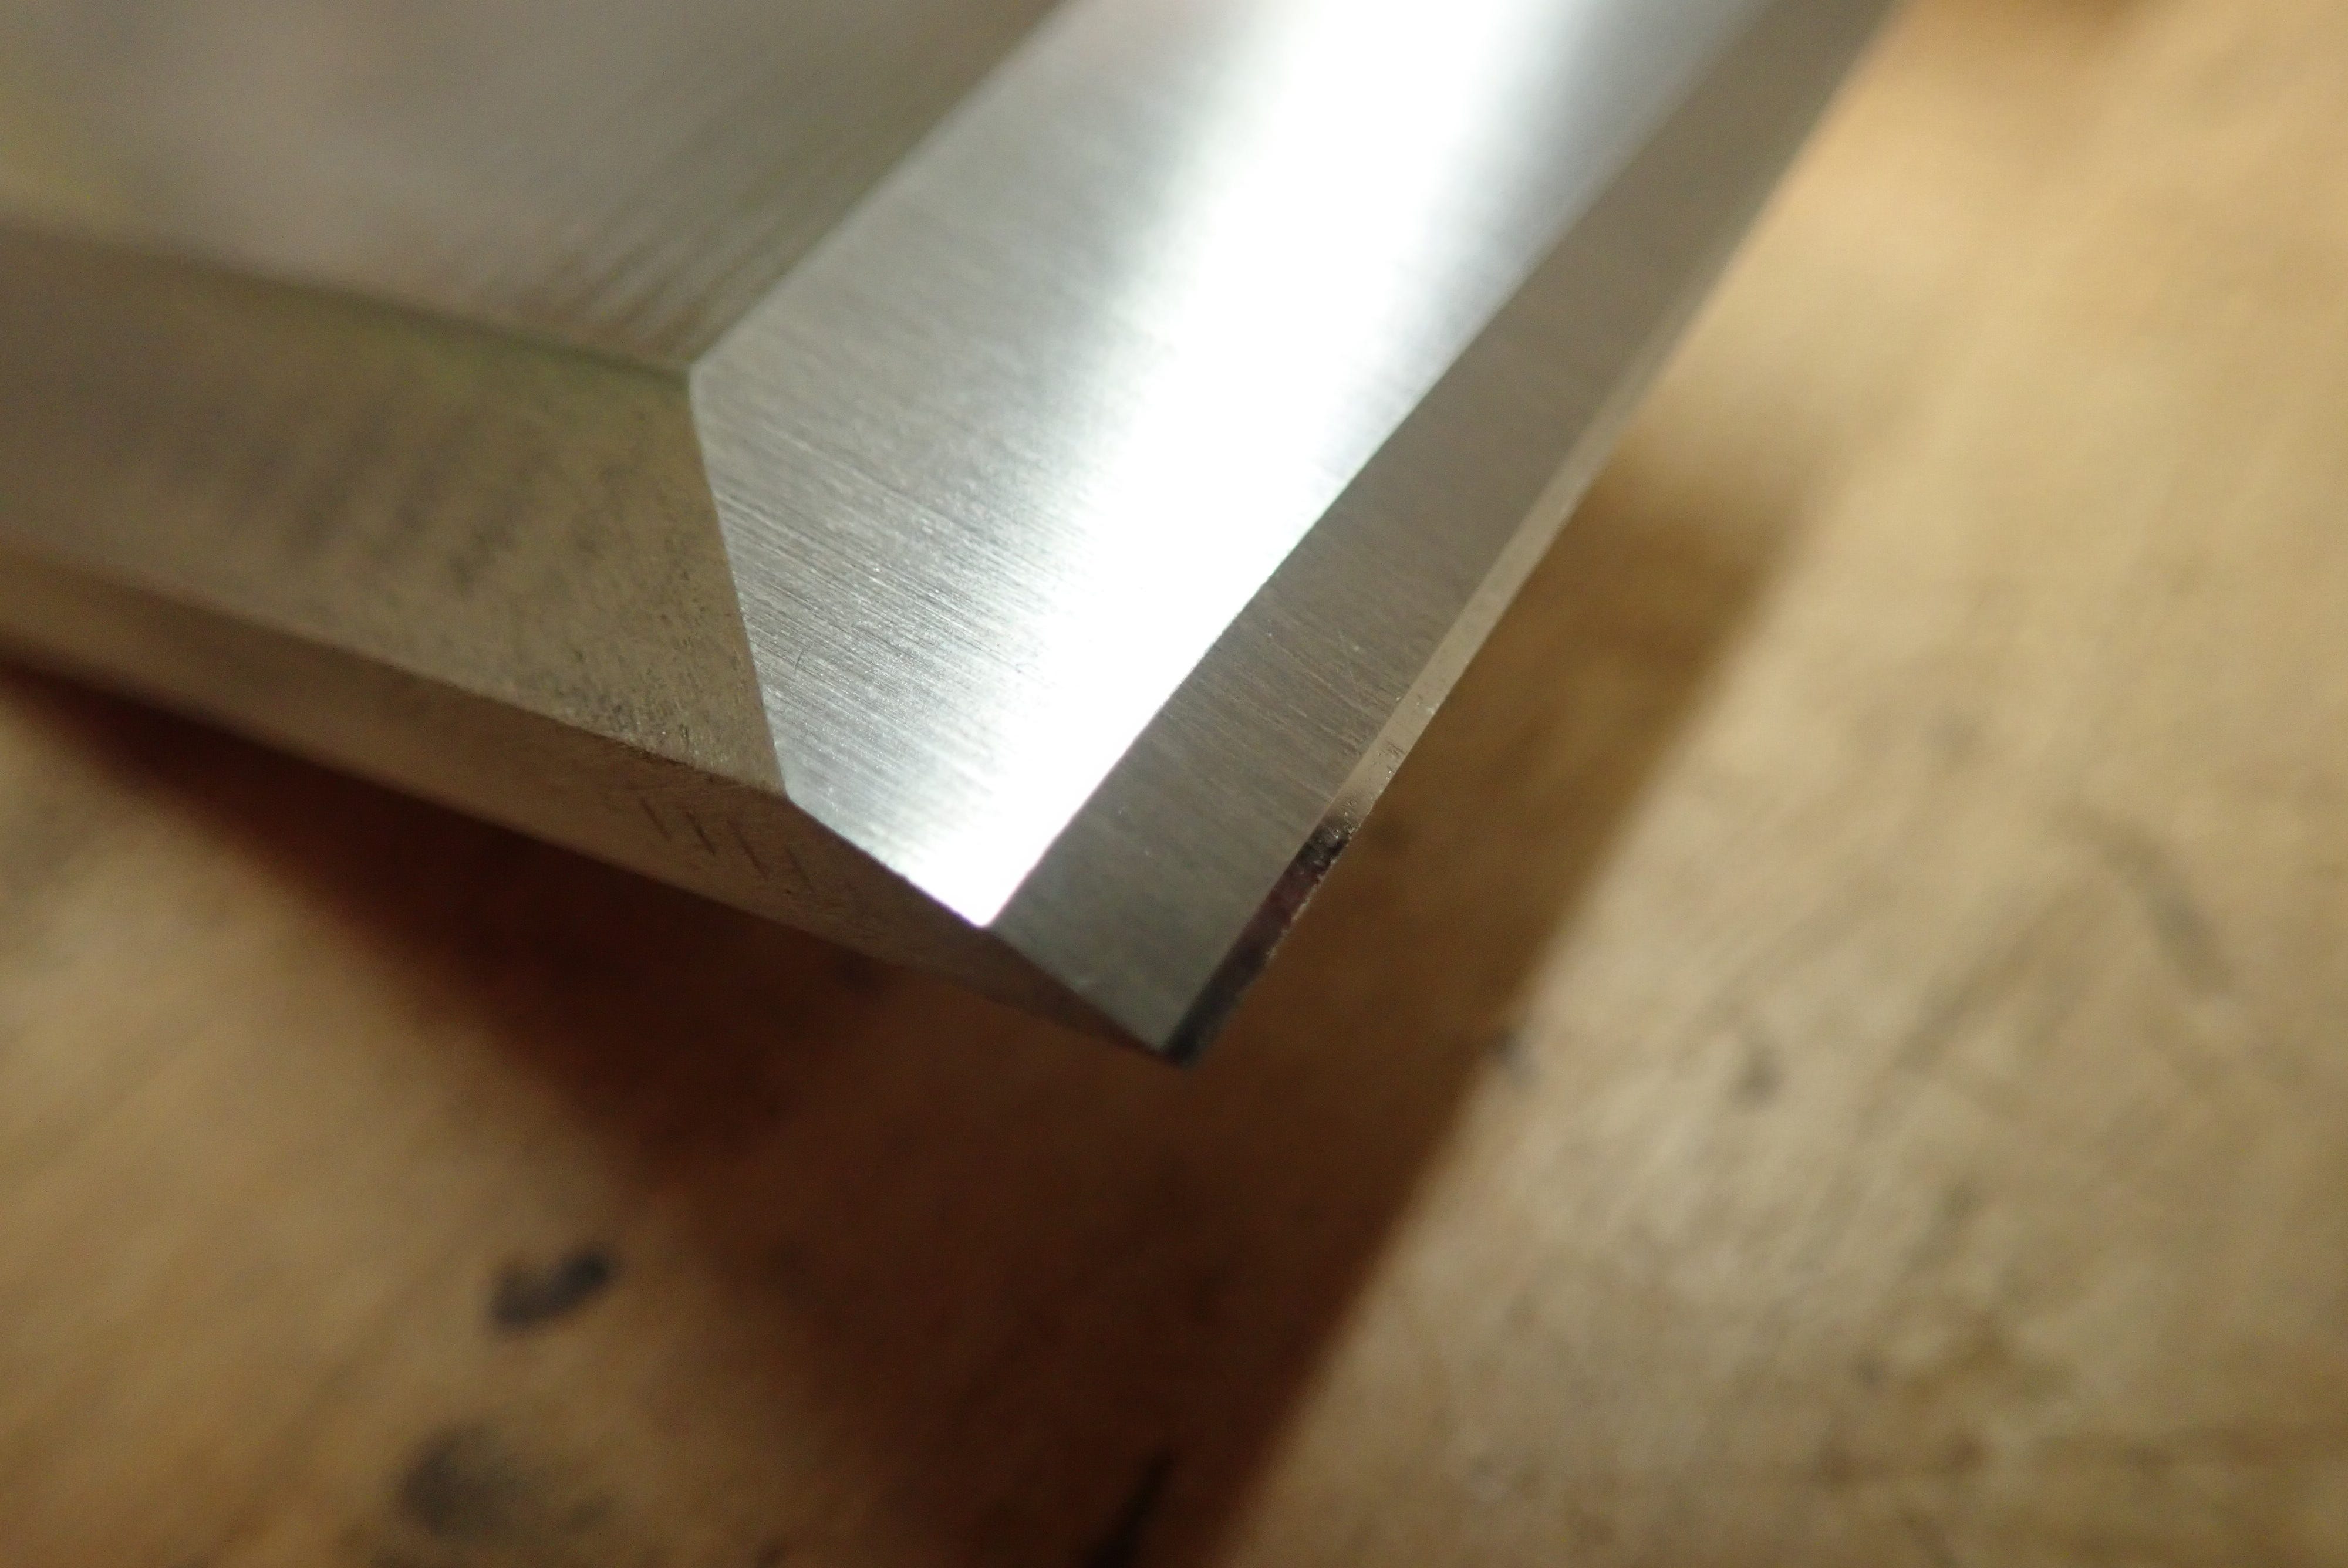
This is before ‘reconditioning’. Notice that the shiny cutting bevel (35°) is growing quite wide — somewhere between 2 or 3 mm. It takes longer to hone when it’s this wide. The solution is to use a medium coarse grit and work on the secondary bevel (30°), and thus making the cutting bevel narrower again, so it looks more like this:
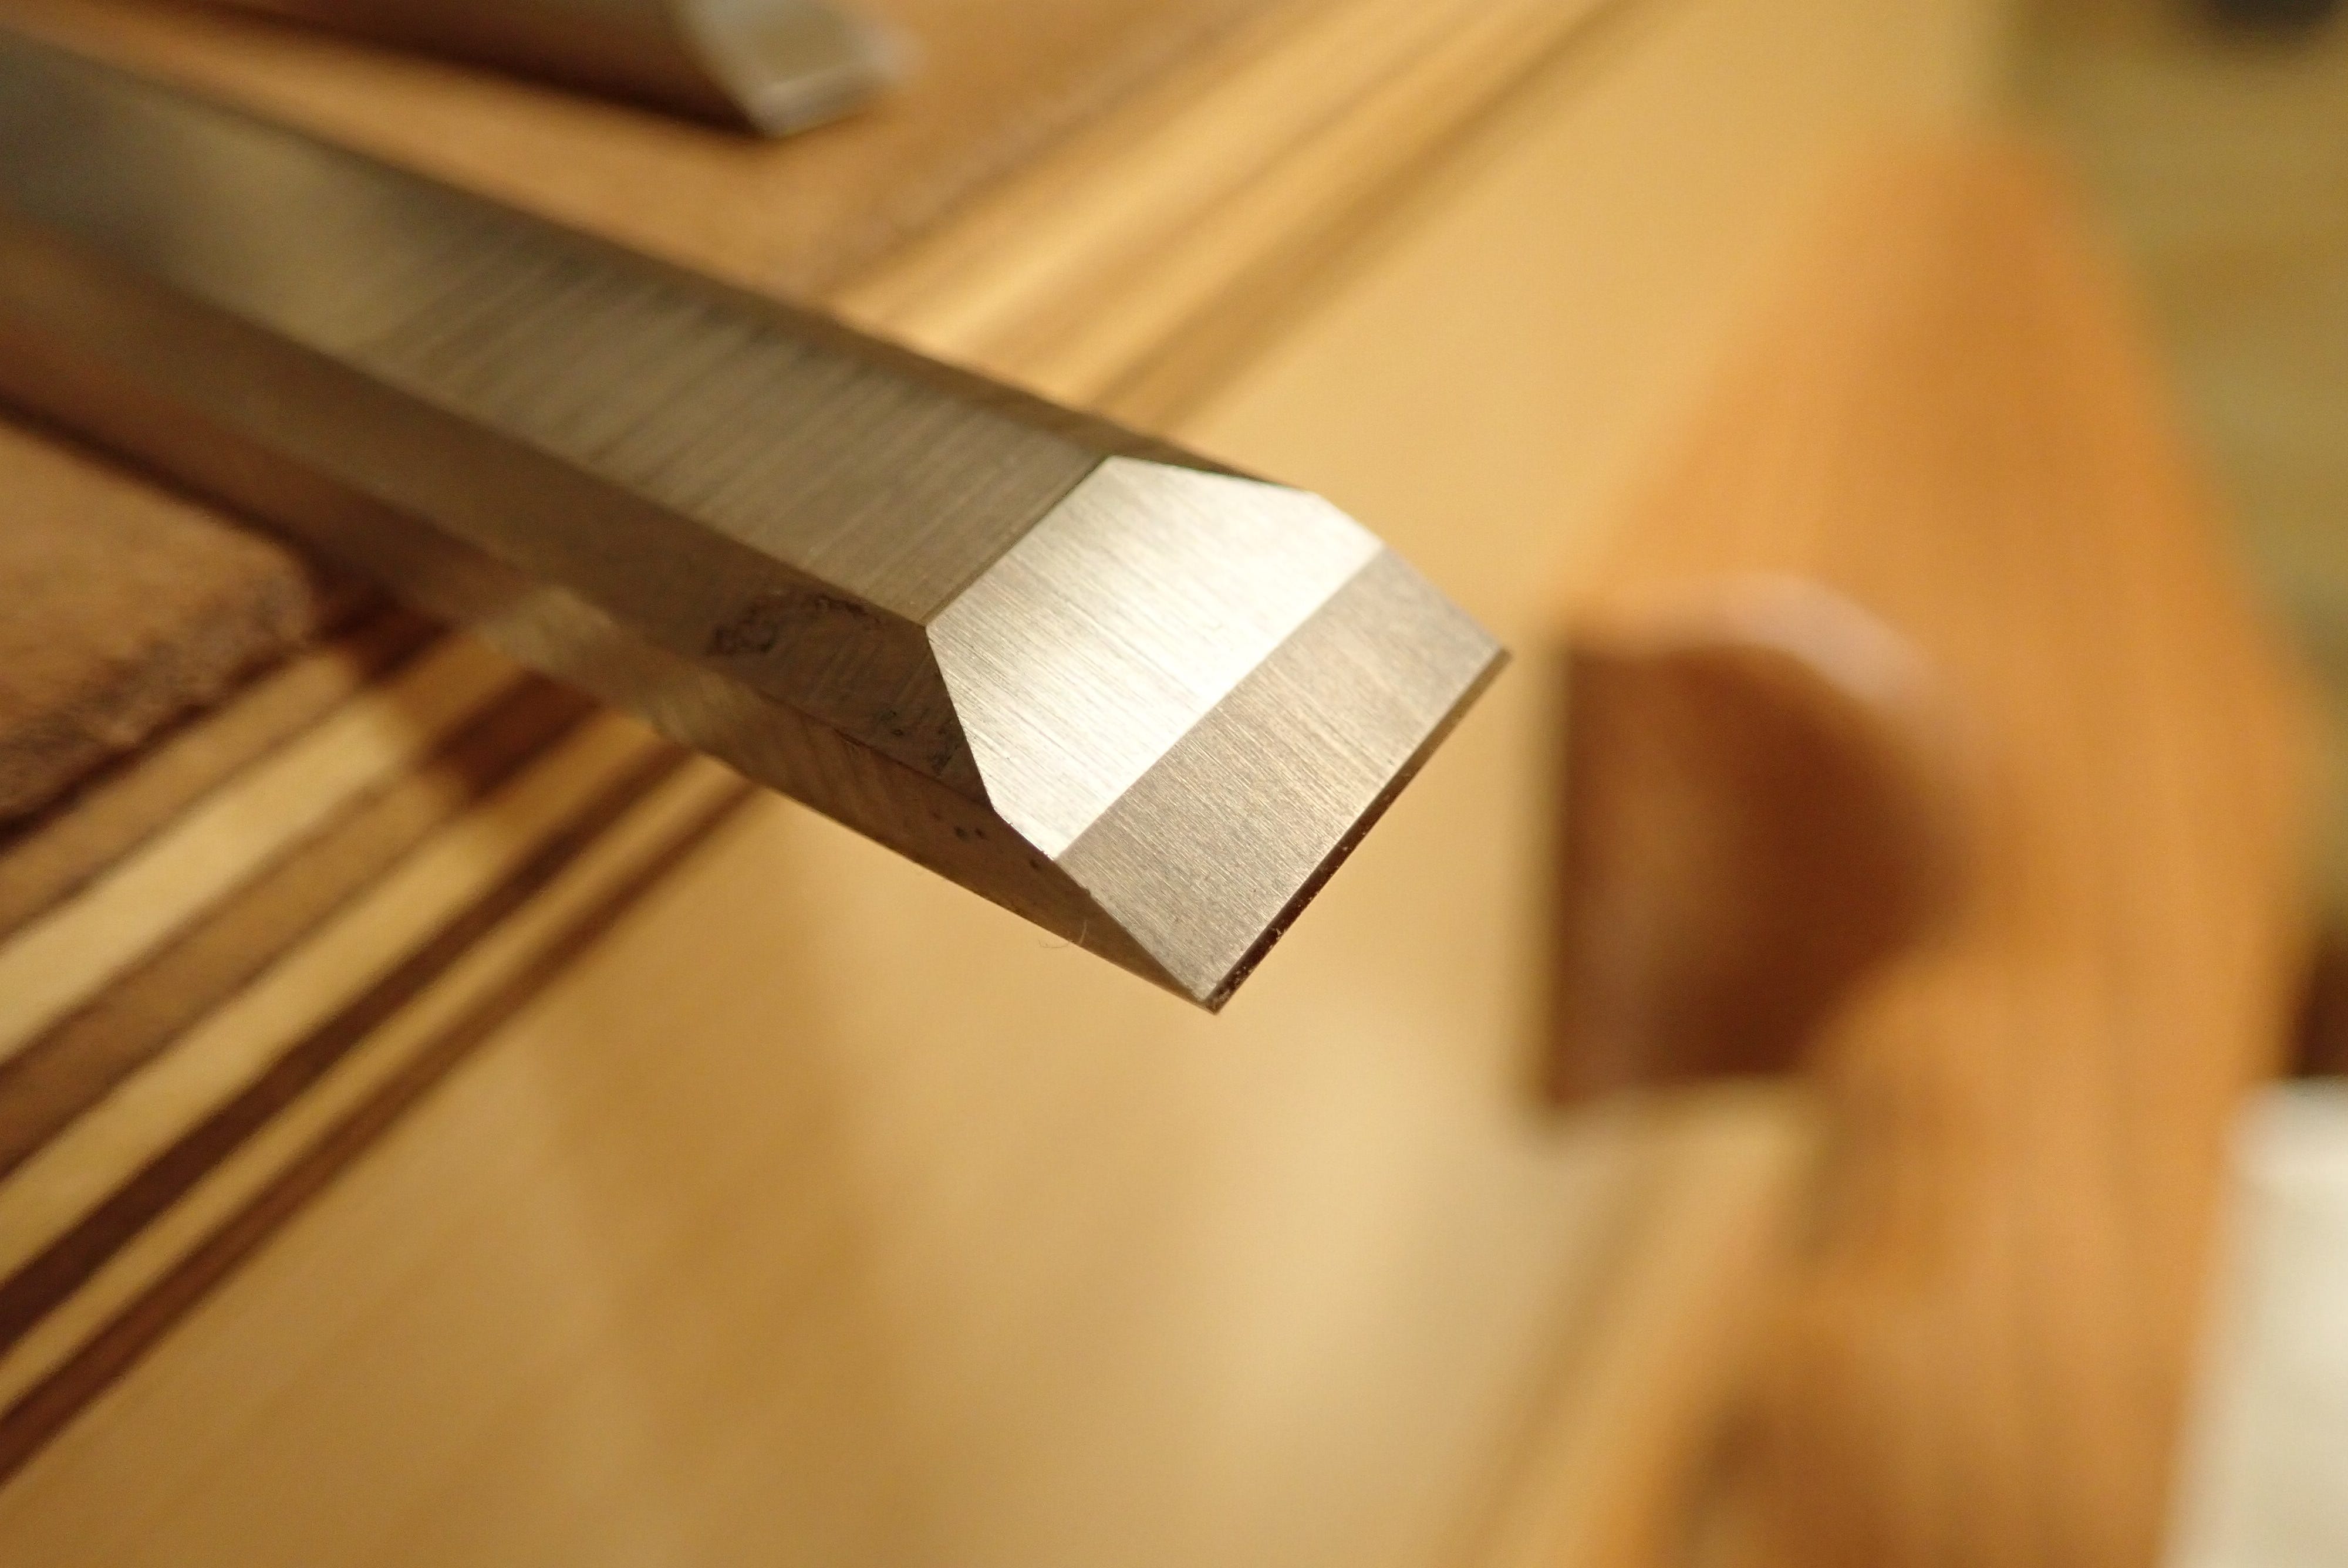
Well and good, but you’ve really only pushed the problem ‘back up the hill’: For each time you do this, the secondary bevel grows in width, and therefore needs more work to hone. You’ve re-created the same relation between the secondary and the primary bevels as there was between the cutting bevel and the secondary. It still saves you quite a bit of honing work, but sooner or later you’ll have to grind the primary bevel so as to push the secondary bevel forward again, so that you can have the luxury of only dealing with the narrow, polished band of the actual cutting bevel. It is a work-saving trick that can only be repeated so many times before needing to be ‘reset’ — but it’s still worth doing!
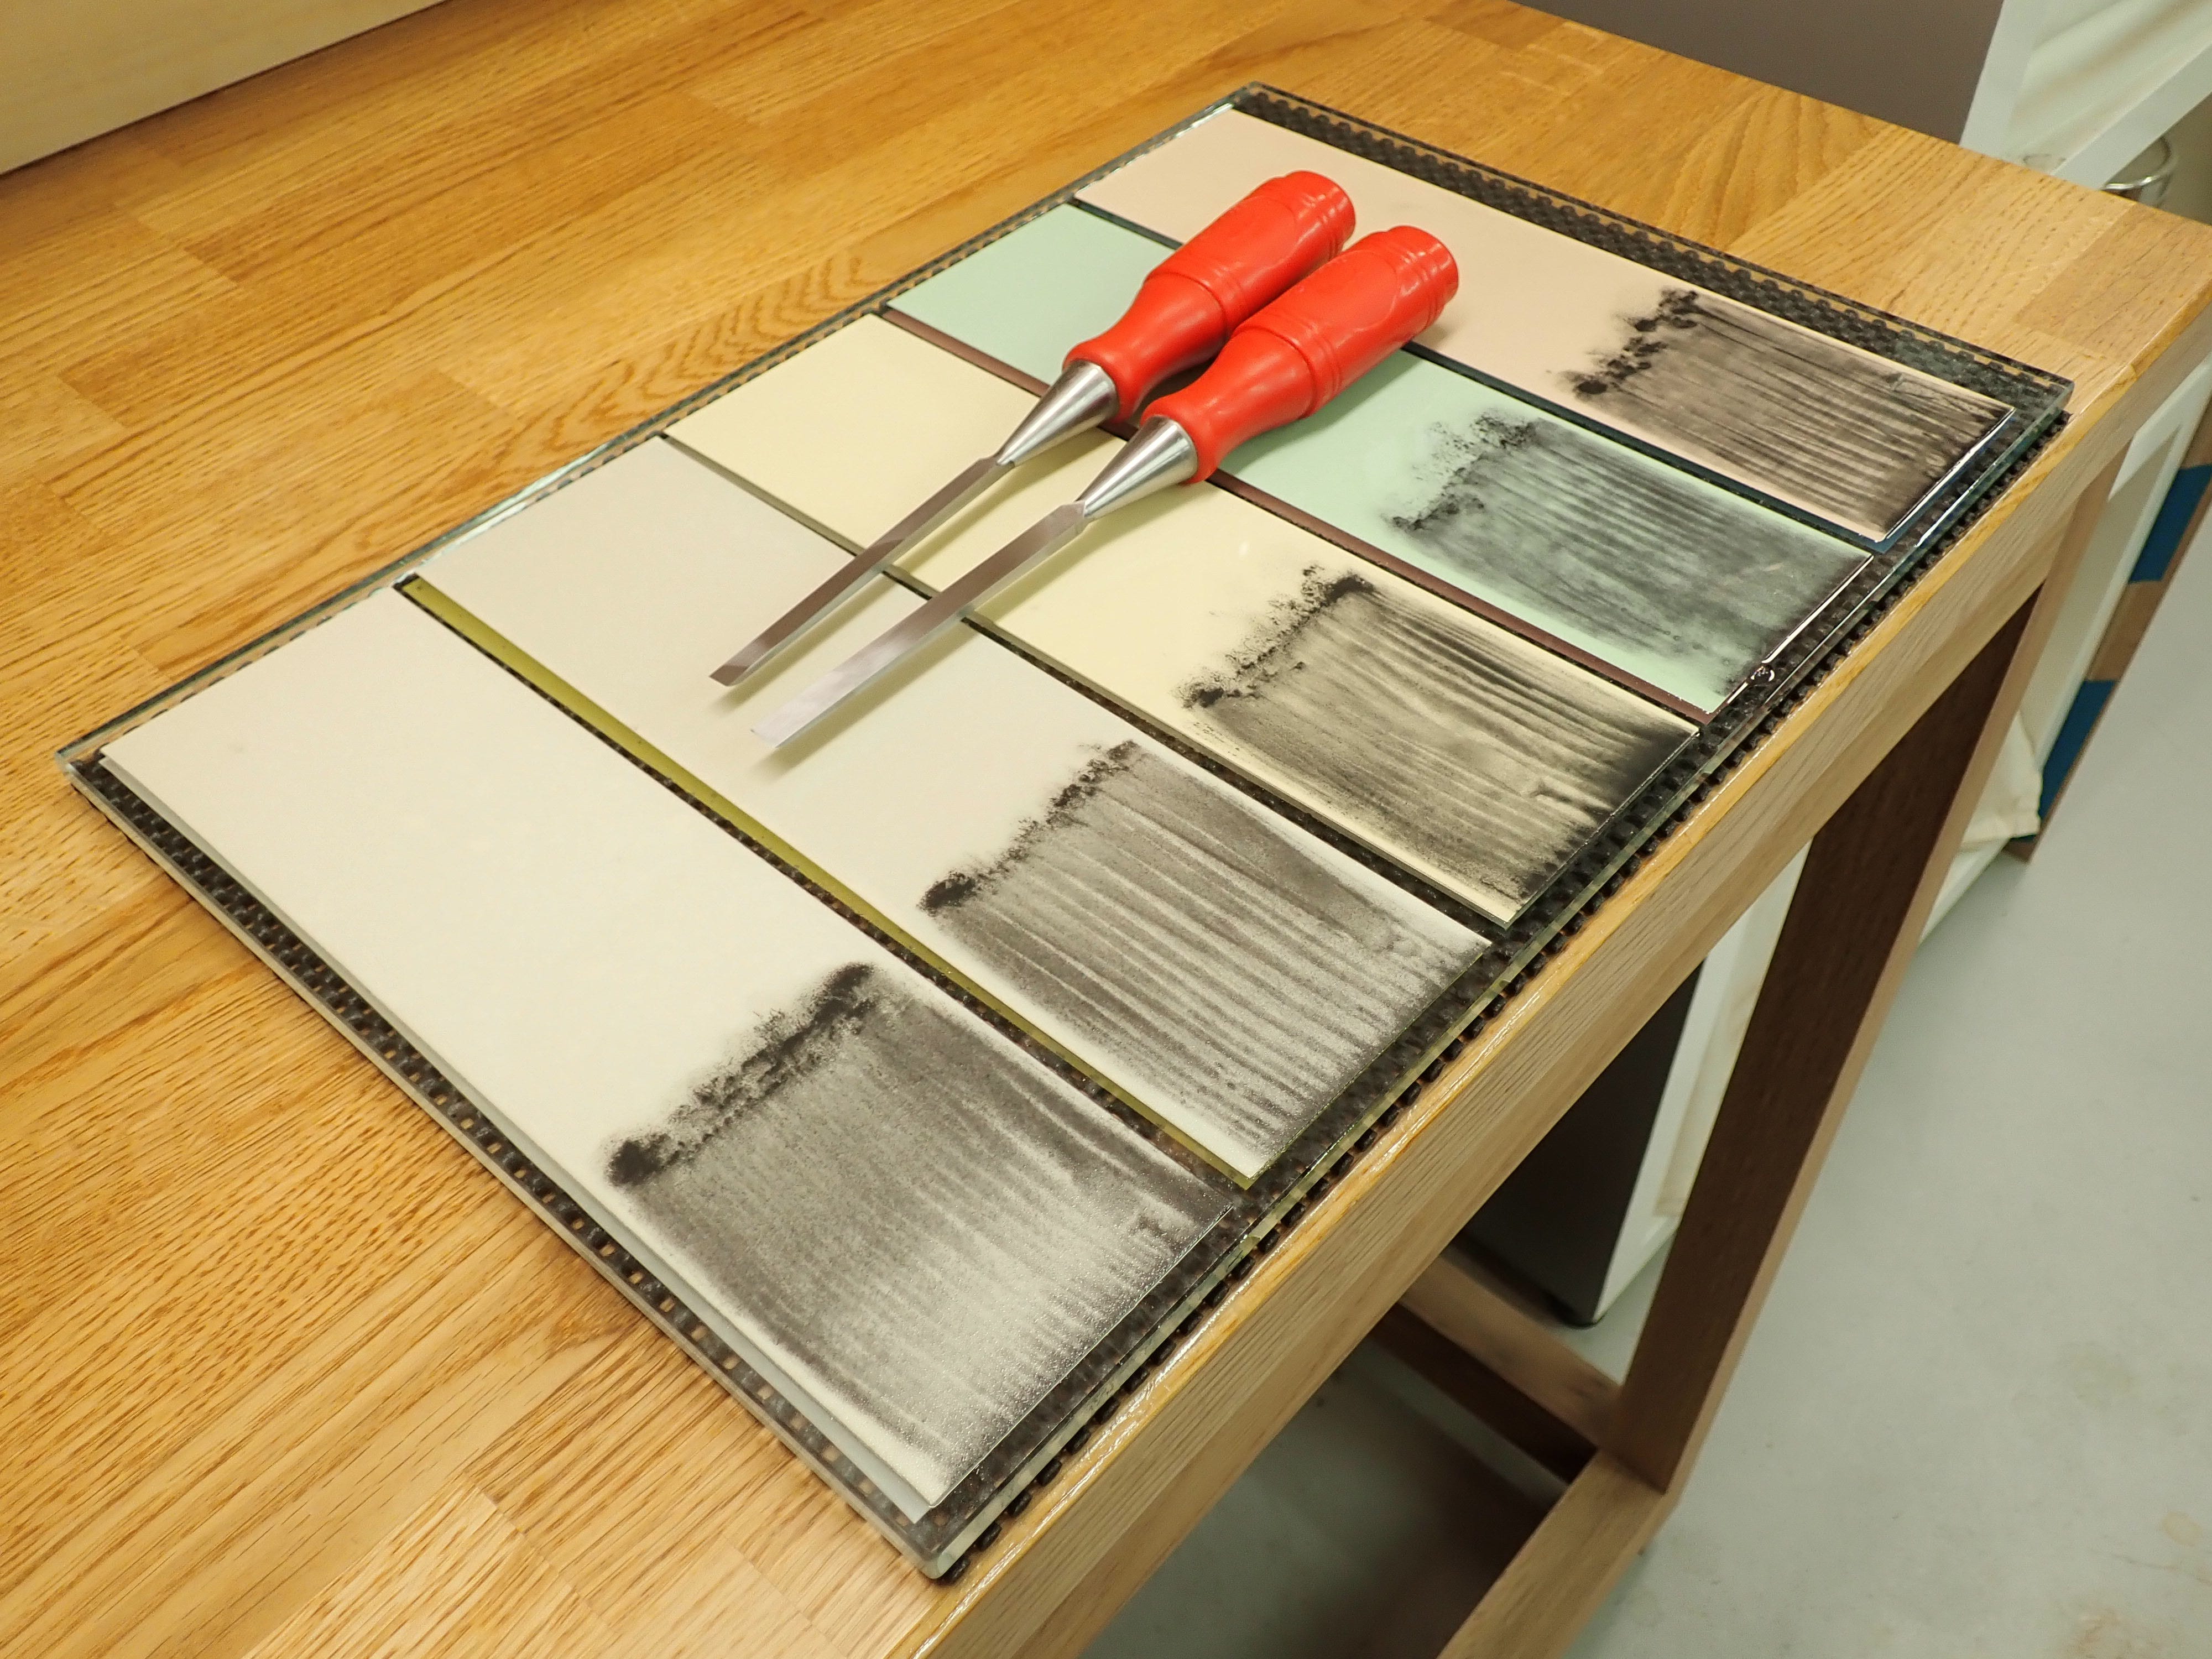
But we mustn’t forget the narrow, new chisels that sparked off this whole exposition! After cleaning off the protective coating I begin by testing the flatness of their backs by rubbing them on a fairly fine abrasive:
This leaves a scratch-pattern that tells me how well (flat) the backs of the chisels are ground. By scratch-pattern I mean ‘another shade of shininess’.
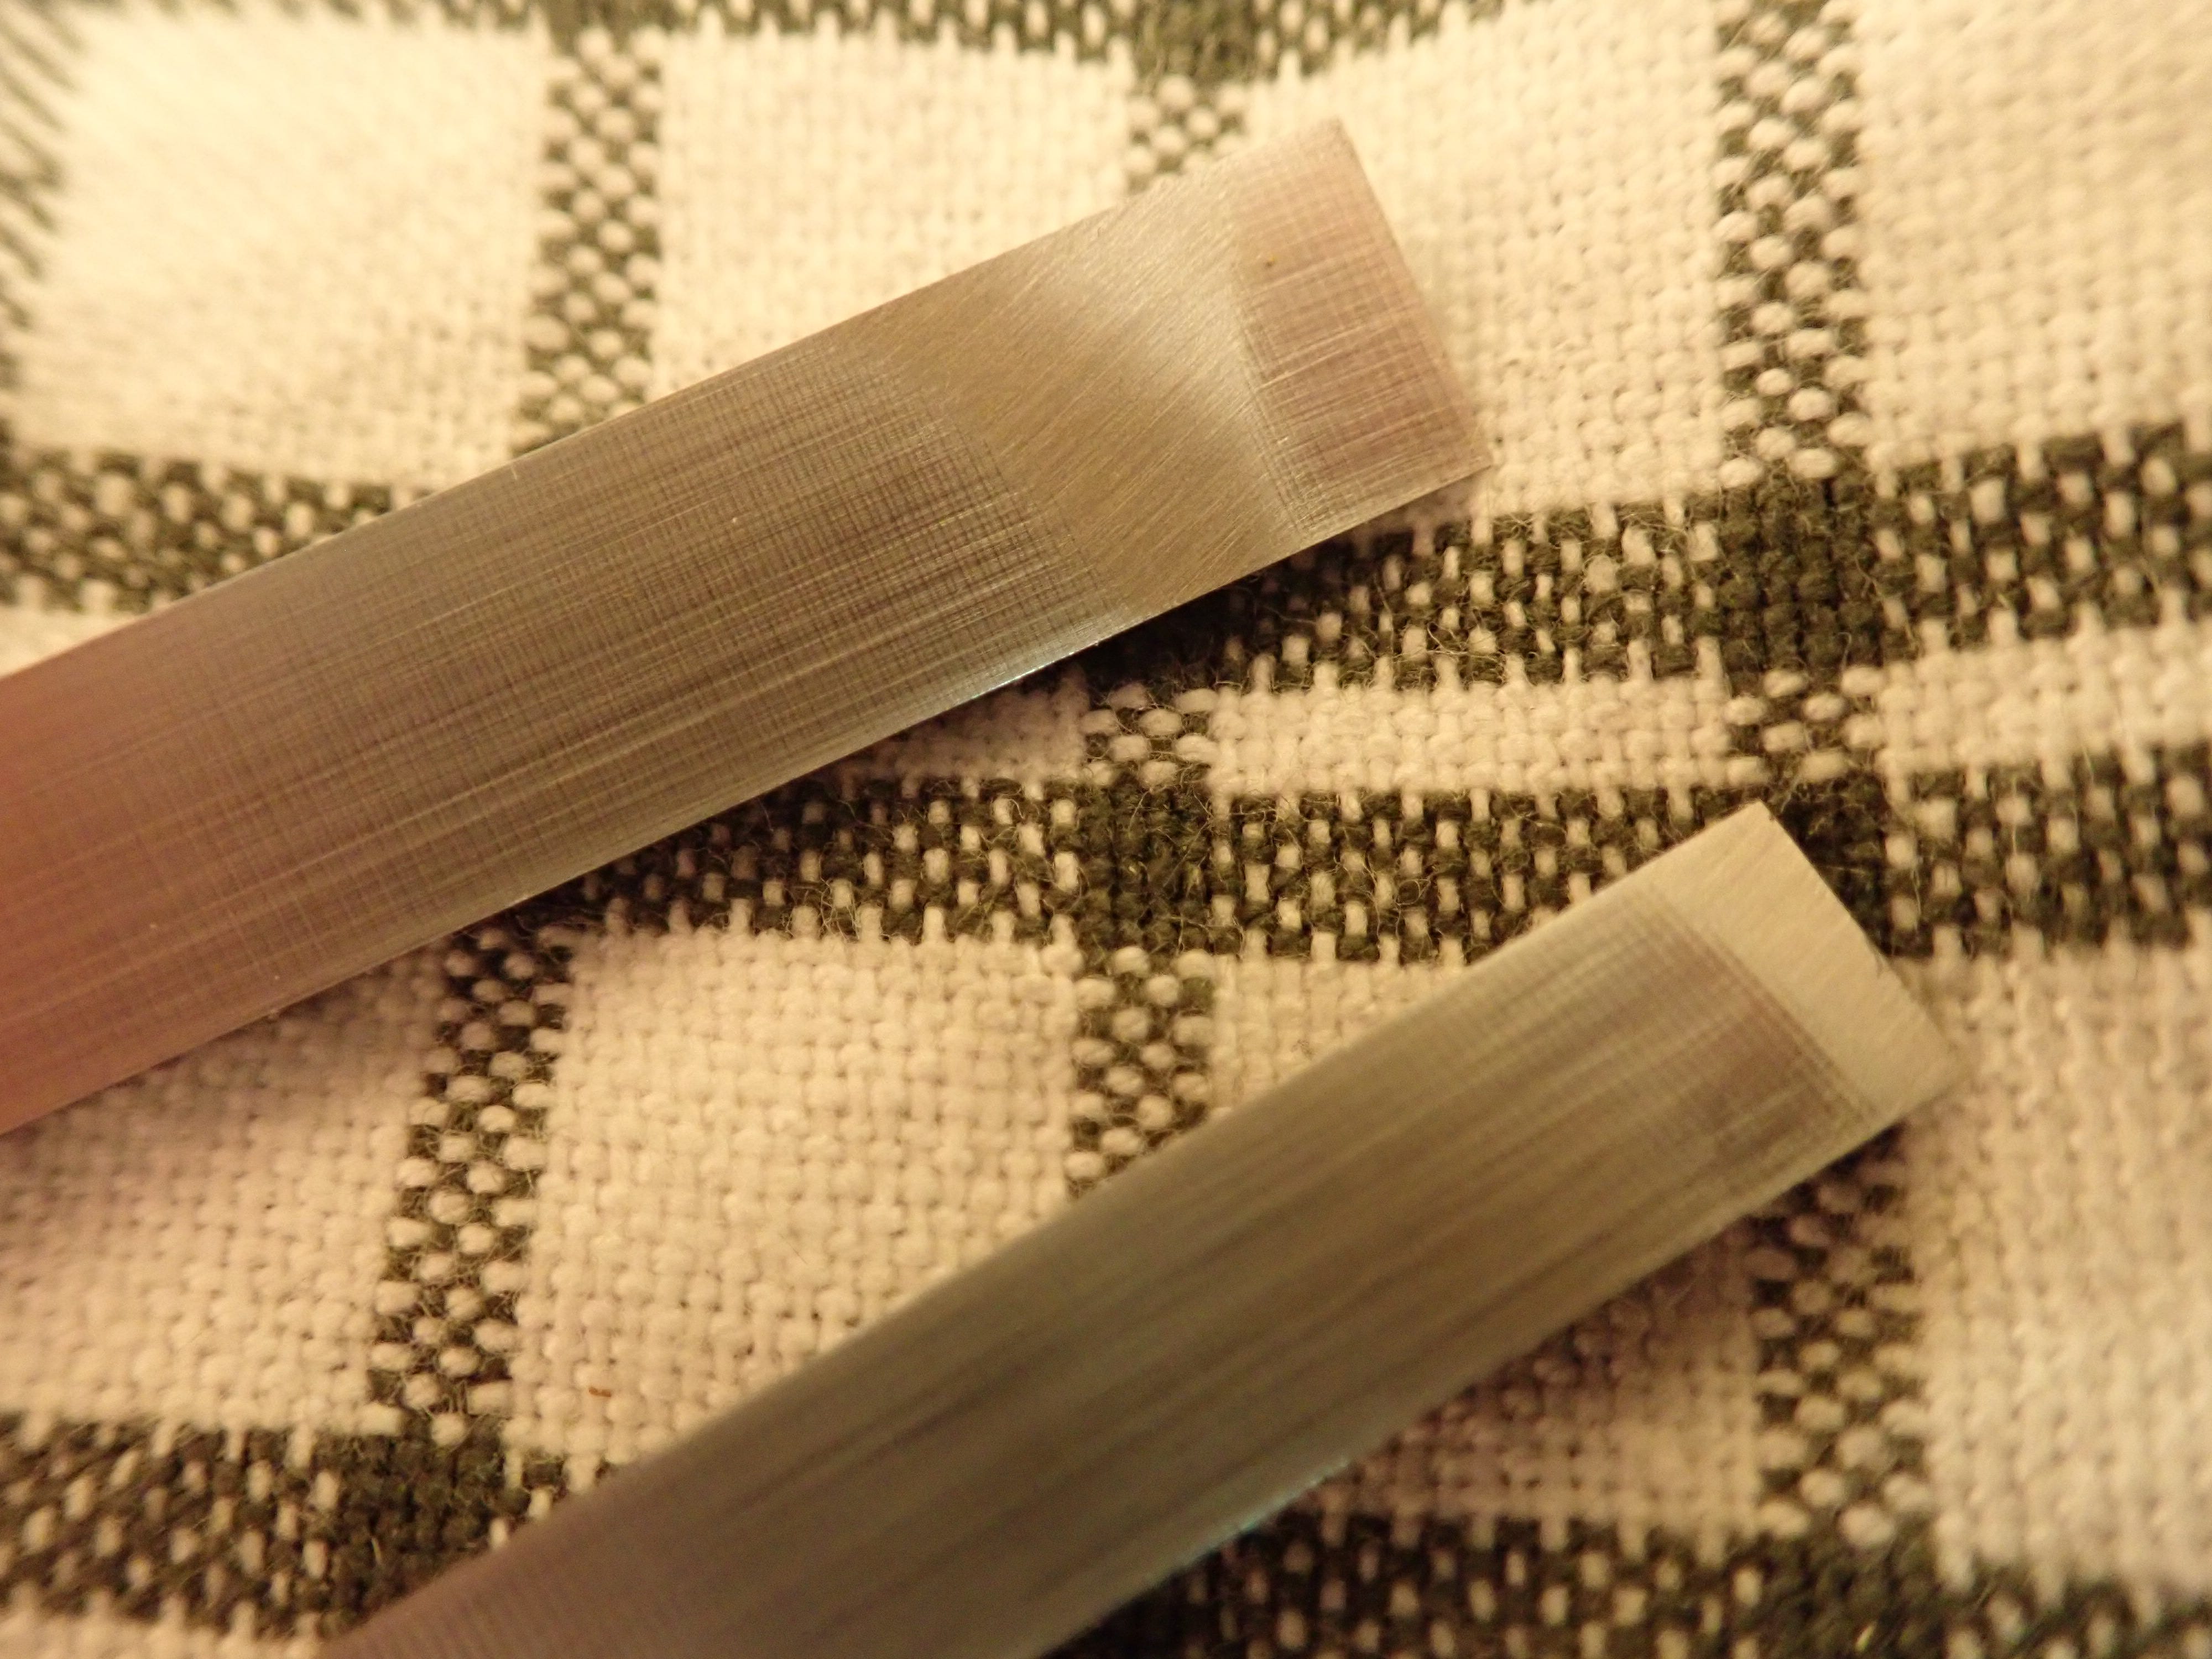
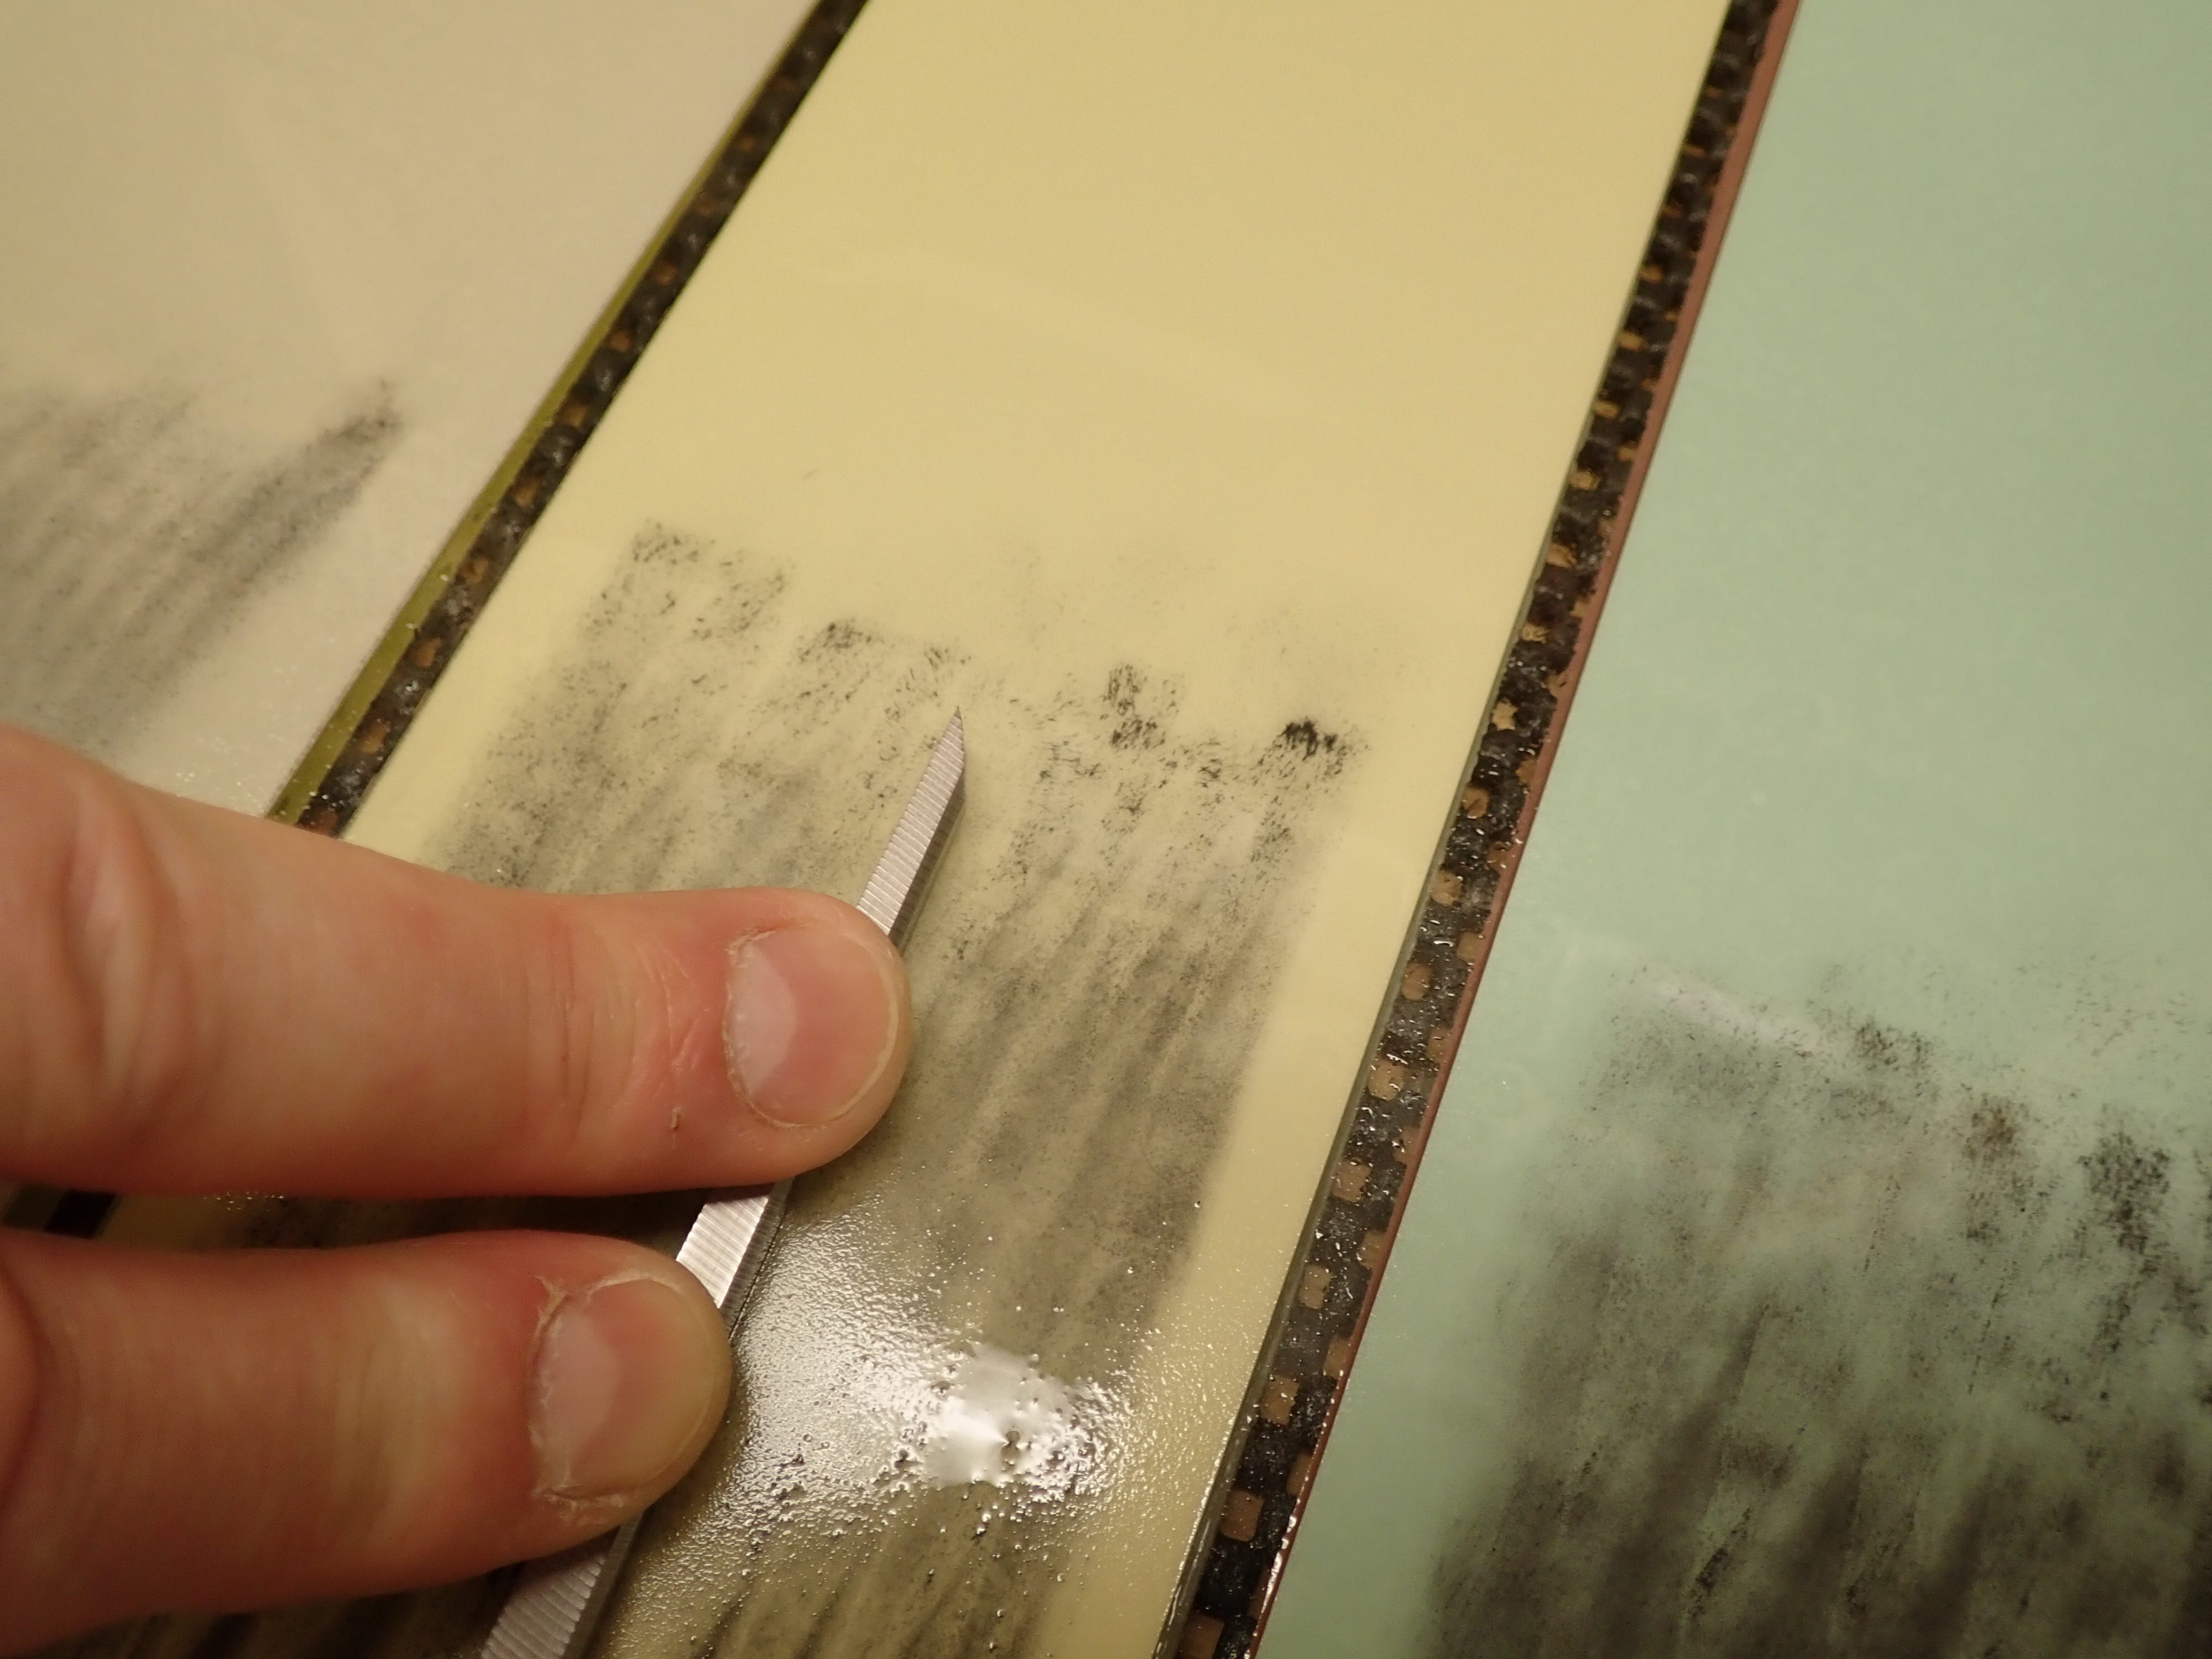
The cheaper the chisel, the worse the factory grind. These are not too bad; the top one will need a bit of elbow grease, the lower one just needs polishing. I want to be able to hone right up to the cutting edge. I’m not bothered if there are any slight hollows further up the back of the chisel; my concern is to make the front and back meet at a polished edge. First, I flatten the backs by using coarse abrasives (80 μm) before successively working my way down the grits.
The ideal is for the backs of the chisels to be flat and polished like a mirror. That’s the goal — reality tends to disappoint, and truth be told: it’s not that føkking important. It’s just a chisel. It’ll chop and cut — don’t sweat it!
On new, cheap chisels like these, where the grinding marks tend to be … prominent … I like to give the sides of the chisels a little rub, too. Just to knock down the worst of it … helps me sleep at night.
After giving the new boys a quick back and sides we can proceed with the normal honing procedure: First, pushing the cutting bevel forward by honing the secondary bevel with medium grit abrasives (40 & 20 μm).
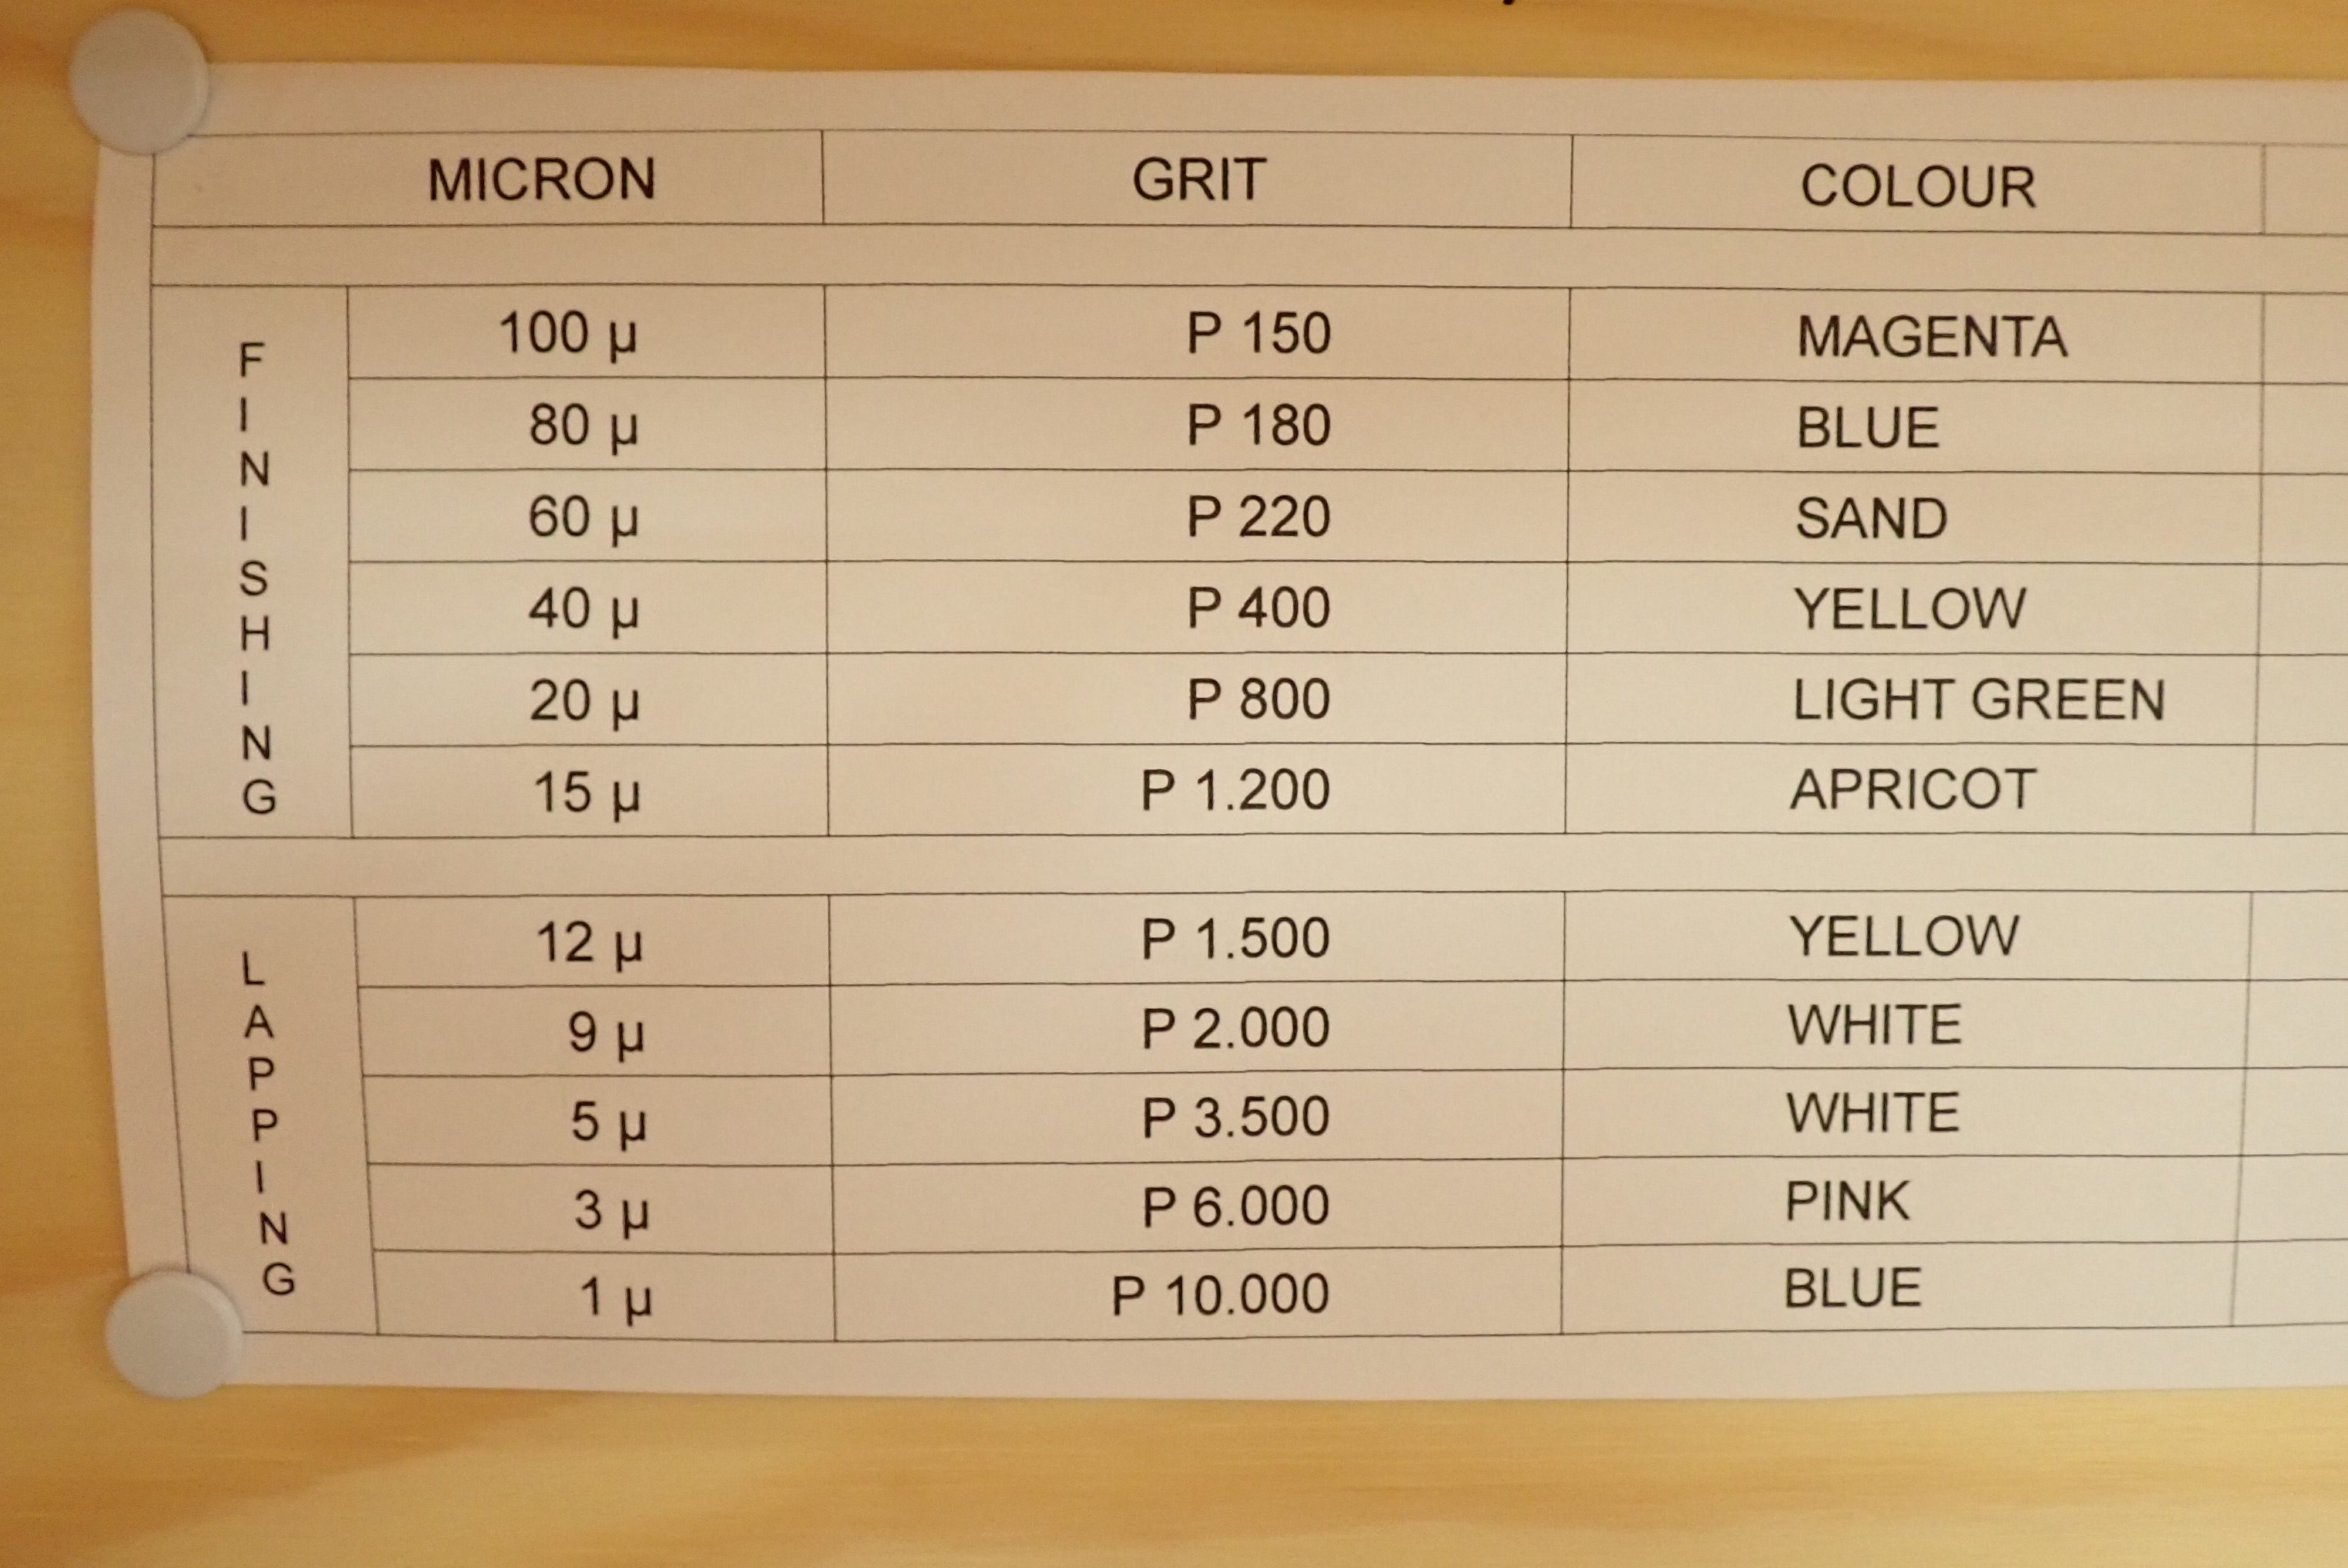
Then, working the cutting bevel with honing / lapping grits, from 5 μm down.
I’m satisfied when my steel is bloodthirsty.
I have other chisels that I use for hardwoods, and some of those I give a cutting angle of up to 40°, at least for chopping, and correspondingly steeper (stronger) ‘backing angles’. The same applies to narrow chisels: they are functionally weaker because of their narrow width and should be sharpened steeper and used gentler. The two new, narrow chisels I mentioned in this post, for instance, I’ve only given two bevels: primary at 30°, and cutting bevel at 35°. When they are this narrow it is not much work to hone them, the area being so small, so no need for ‘lazy honing tactics’.
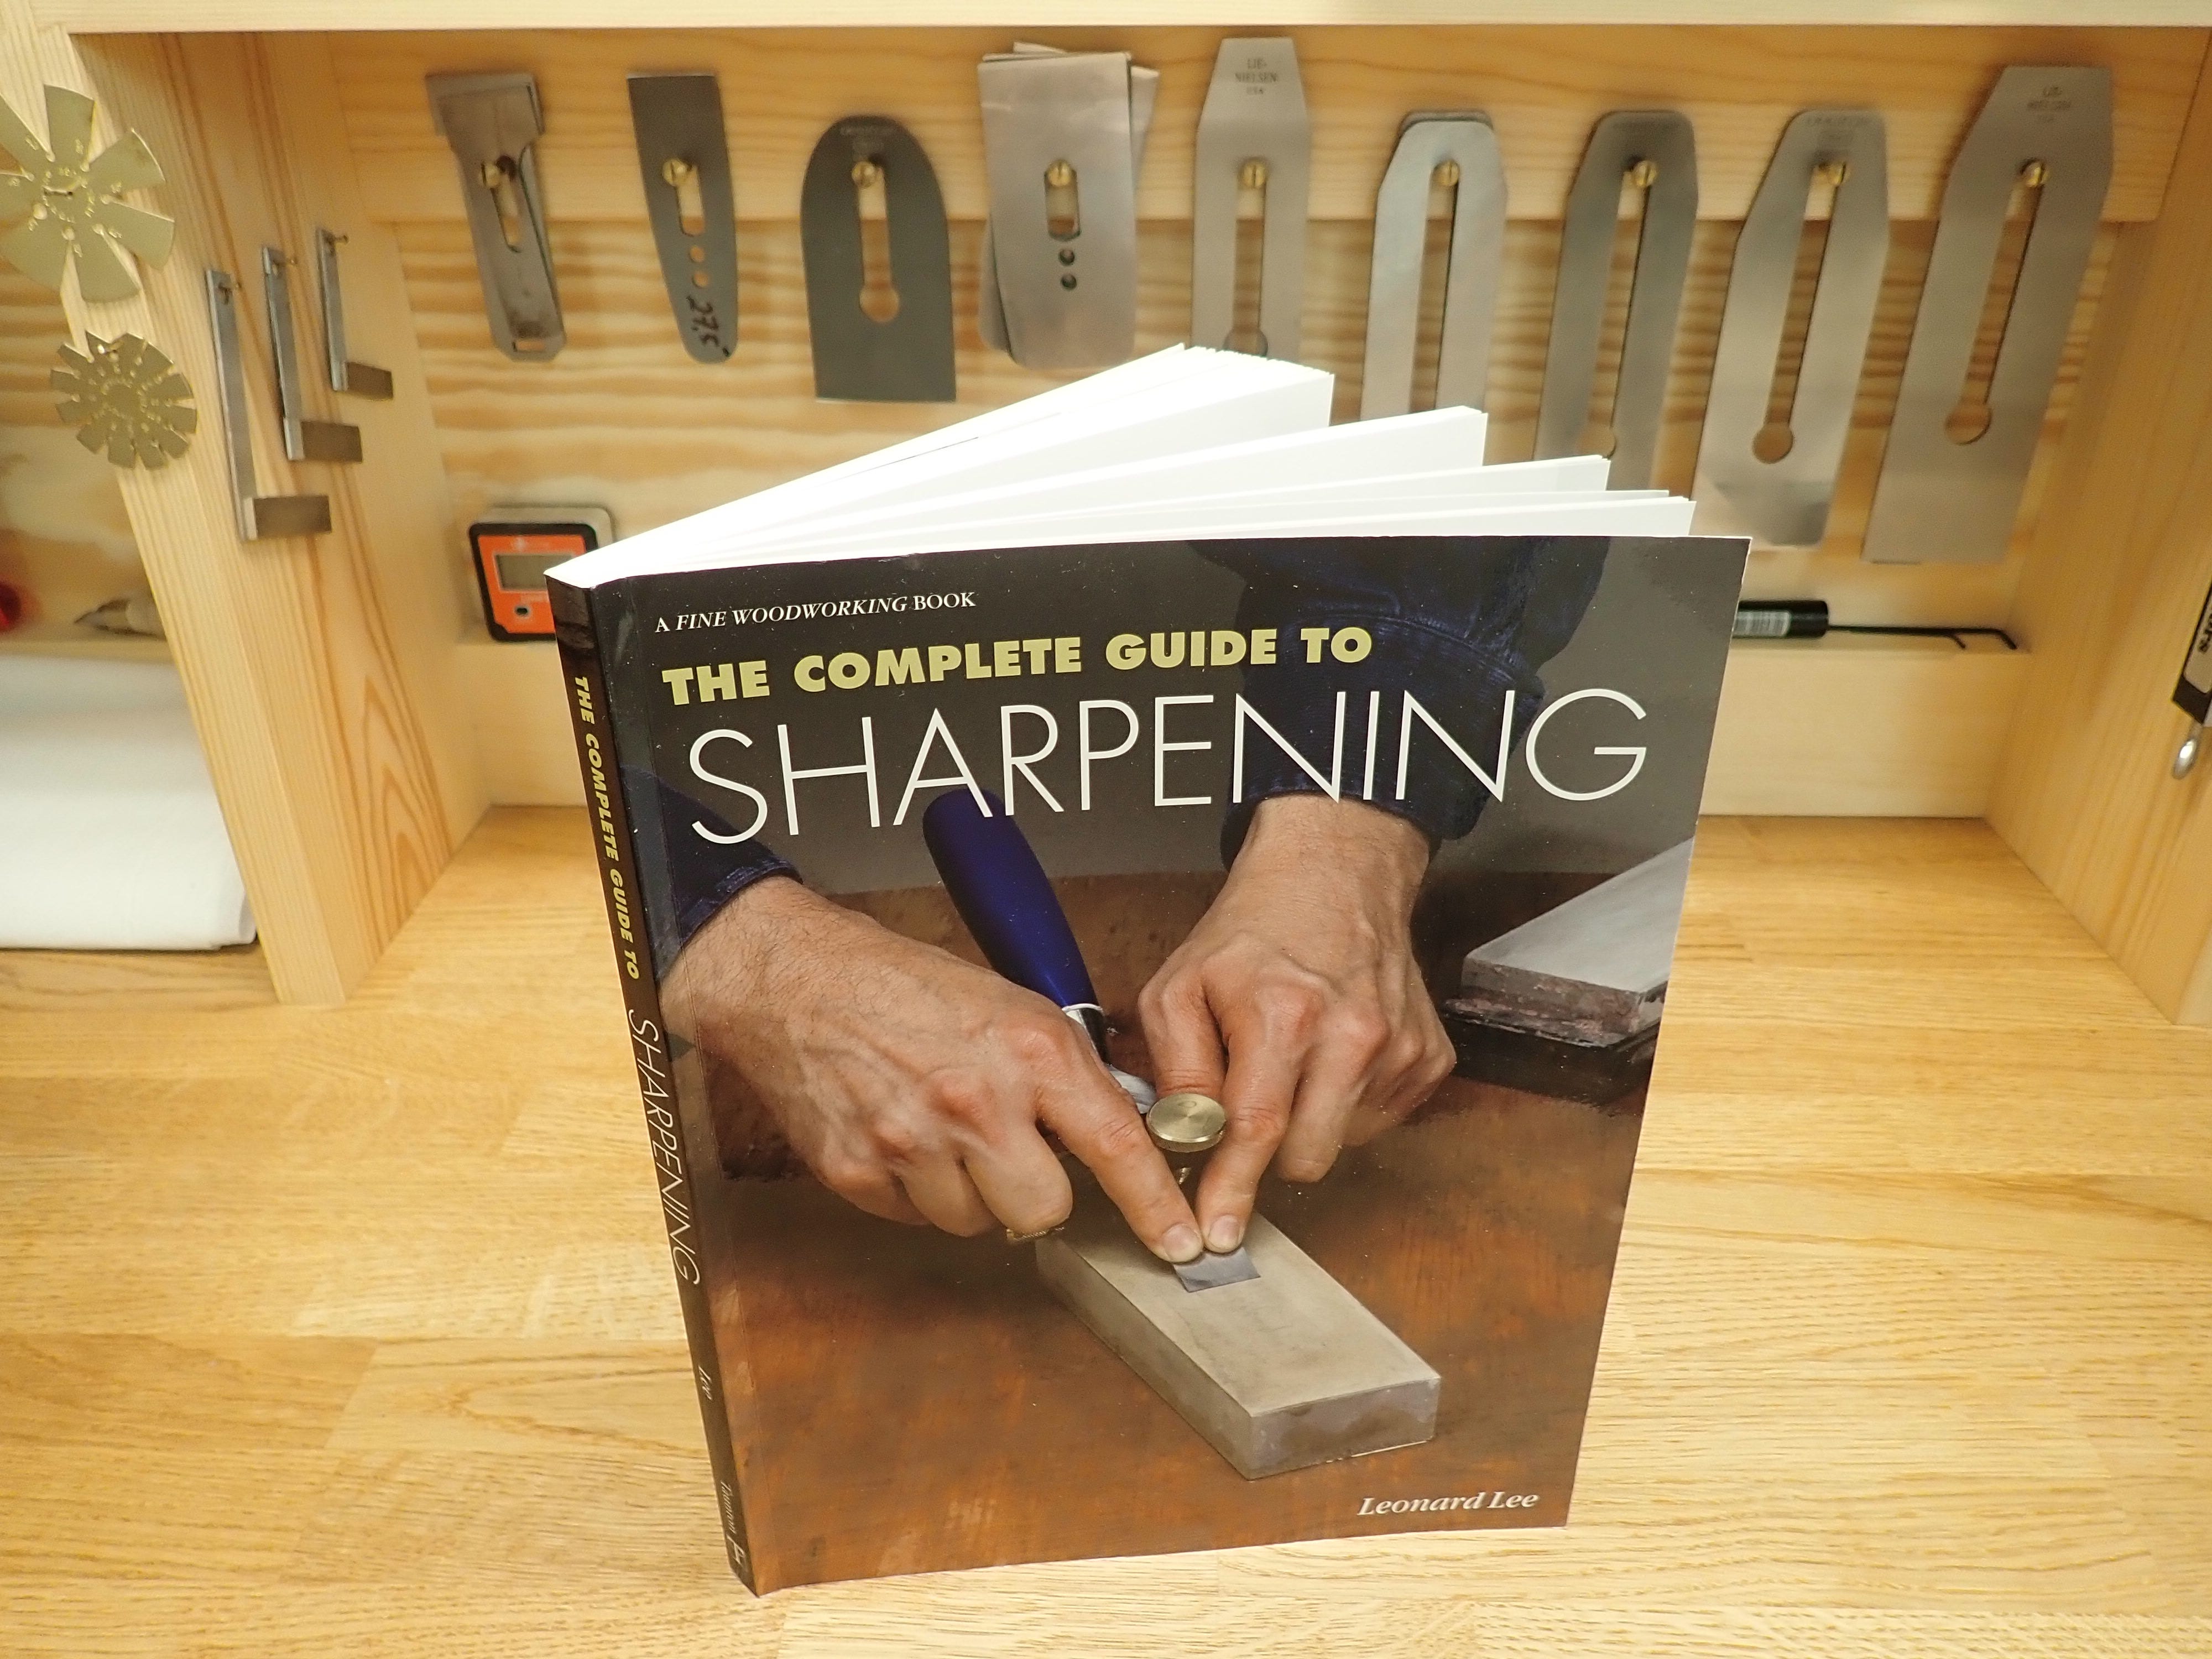
If you’re interested in this sort of thing, I can do no better than warmly recommend ‘Sharpening’ by Leonard Lee (founder of Lee Valley Tools). It’s a comprehensive, clearly written and well illustrated book that covers all a mortal will ever need to know about making steel lethal.

Doesn’t my old chisel rack look … complete? [ smugface increasing ]
***
I used to cut my fingers up something fierce before I started breaking the arrises of my chisels as you do.
Your approach to sharpening is perfect. You don't go too far (mirror polish) but you don't stop short of what seem to be the important elements – a flat back and a well managed and pragmatic relationship between cutting edge and secondary bevel.
I'm becoming more and more attracted to that glass and abrasive approach to sharpening. When I'm in a position to build a dedicated sharpening station, I think I'm gonna invest in that for a year.