[ soundtrack : Surabaya Johnny - Lotte Lenya - from Happy End, a musical comedy by Weill, Hauptmann & Brecht ]
***
Much of the woodworking I do is just variations on familiar themes; the same old techniques adapted and tweaked to suit a slightly different set of circumstances. Regular readers will have seen photos like this often enough:
My work involves a little bit of drawing and planning, and while ‘designing’ is fun, it is also surprisingly stressful. It takes a mental effort to coordinate practical requirements, aesthetic and quality considerations, and to keep within economic constraints and your workshop’s limitations. Turning an idea into reality is not a trivial thing — even if it’s just a pair of doors. And it’s always a different kind of door! In short: thinking hurts.
Therefore I enjoy those days when the wheel is already invented and all I have to do is to shape wood. Since I’ve done the work many times before, boredom sometimes prompts the question: How can I do this better? Is there a way to improve this process? Is there a more suitable tool I could use or could I use the tool better? Do I have the optimal order of operations? It’s a game I play.
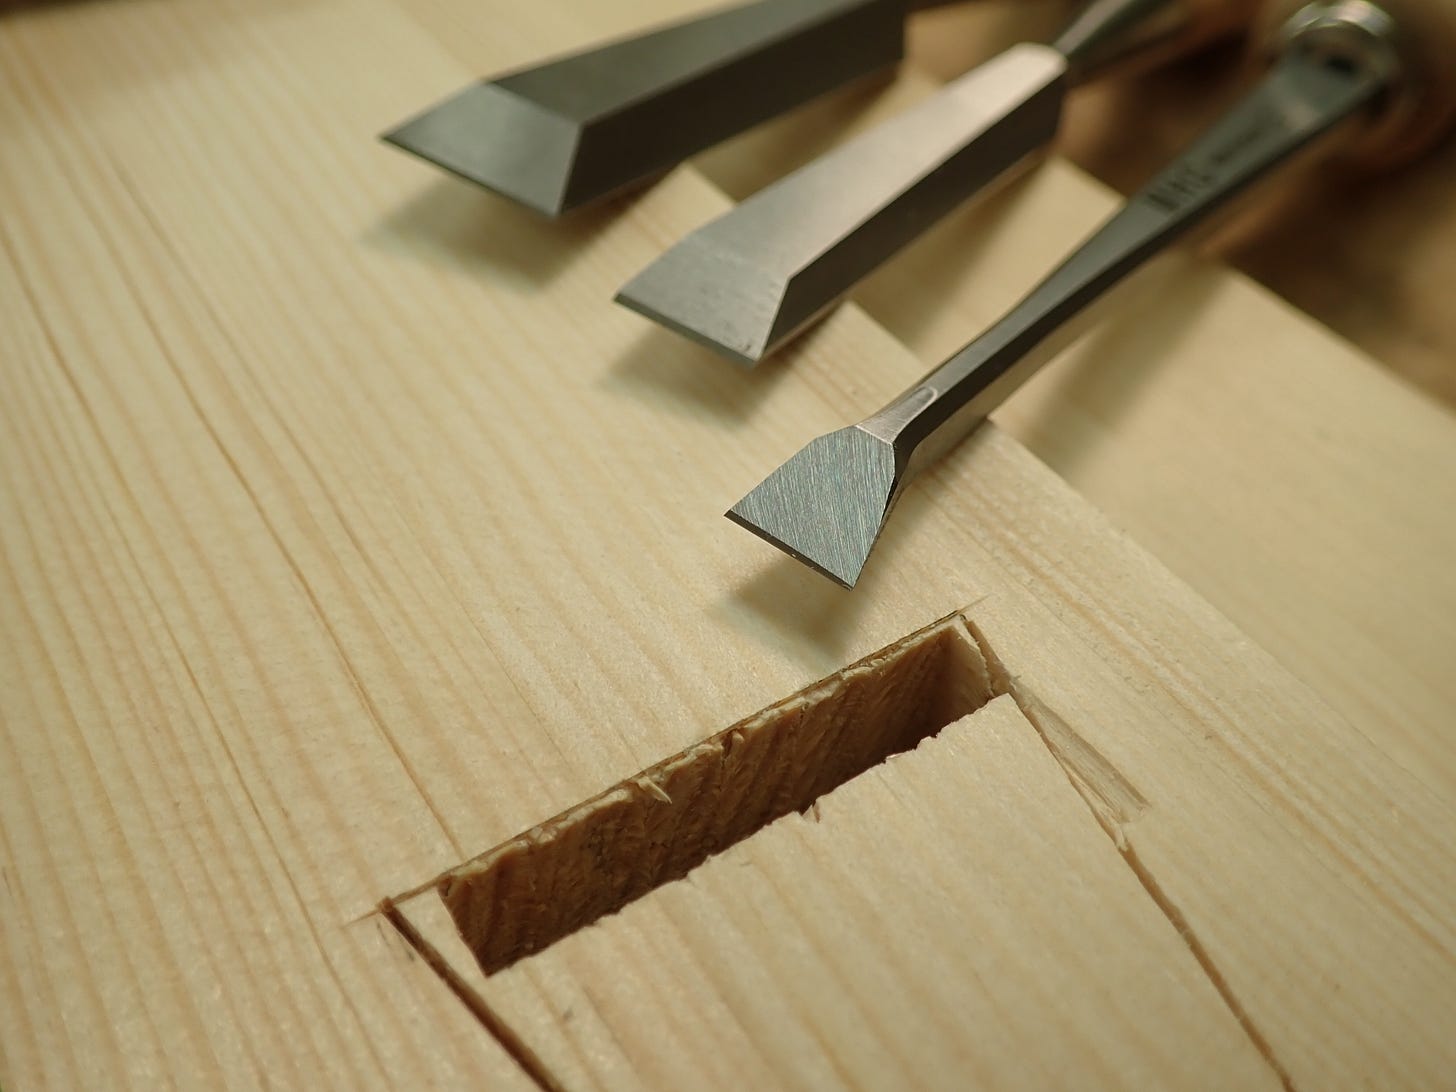
For instance: When cutting mortices, or in this case slots for dovetailed pins, I usually divide the process into three operations — hog, chop & slice.
The first step is to cut off the bulk of the material. In the picture above you can see me using a hollow chisel mortiser to make a row of square holes, but you could just as well drill a row of round holes with your drill press (half-way in from each side is best). On thinner stock you’ll get away with sawing it off with a coping- or fretsaw. On 2”/ 50mm stock I resort to a keyhole saw:
The old-school way would be to hog it off with a chisel. This hogging chisel should be thick, sturdy and able to take a beating. It will lose its keen edge pretty soon, but is still able to sever wood. It will not cut cleanly but rather smash through, and that’s why you stay a bit away from the final line.
The point of this initial operation is to get rid of the bulk of the material. Notice how I’ve kept a millimetre or so shy of the scribed line.

The next step is to chop a clean cut on the scribed line with a sharp chisel. With much less material to remove this chisel has a much easier job, but will also lose its pristine bite soon enough. I keep a few dedicated hogging & chopping chisels that I give a cutting angle of 40° for softwoods and up to 45° for hard woods (kiln-dried oak) in an attempt to make them hold their edge longer — it’s an ongoing experiment.
The end-grain in a joint like this will not be visible so the surface does not need to be cleanly cut, but it’s nice if it’s not a gaping crater.
I prefer a round carver’s mallet, and I tappety-tap!-tap! the chisel like a woodpecker, not like a lumberjack.
The last step entails cleaning up the corners and paring and adjusting the main surface; true or even a bit undercut — no shame in undercutting; there are solid historical precedents for it! For this I use a narrower chisel with a 35° cutting edge that I only push by hand; the narrower width makes that easier. This paring chisel stays sharp and is able to finesse the end-grain cleanly.
Work halfway through from each side to avoid spelching (‘exit wounds’).
This concludes today’s sermon.
PAX VOBISCUM!
***


"In short: thinking hurts." How true, how true. But it is a great way - maybe THE great way - to work out what you think. And, I promise you, you do it wonderfully: who would have thought that I would read so much about the craft of woodworking ... and find it absolutely delightful. Thank you.
Like most good ideas it’s obvious once you see it. I’ll be tucking this away for implementing someday, probably with my slot mortiser.