
How do you measure up?
measuring & marking tools - an overview

[soundtrack : 'I FINK U FREEKY' by DIE ANTWOORD]
***
This post is too long for email — open in browser for full length.
***
I’m not in a writing mood these days, but to soothe your cravings here’s a repost from the archive.
***
Measuring & marking is when the metaphorical rubber meets the imaginary road. The following are my two cents on the subject; my experience distilled by trial and error (so much error) and condensed for your convenience.
For measuring lengths under 150 mm / 6”, at least when I need a degree of accuracy, I usually use my nylon callipers (see earlier post). Otherwise I use one of these tools:
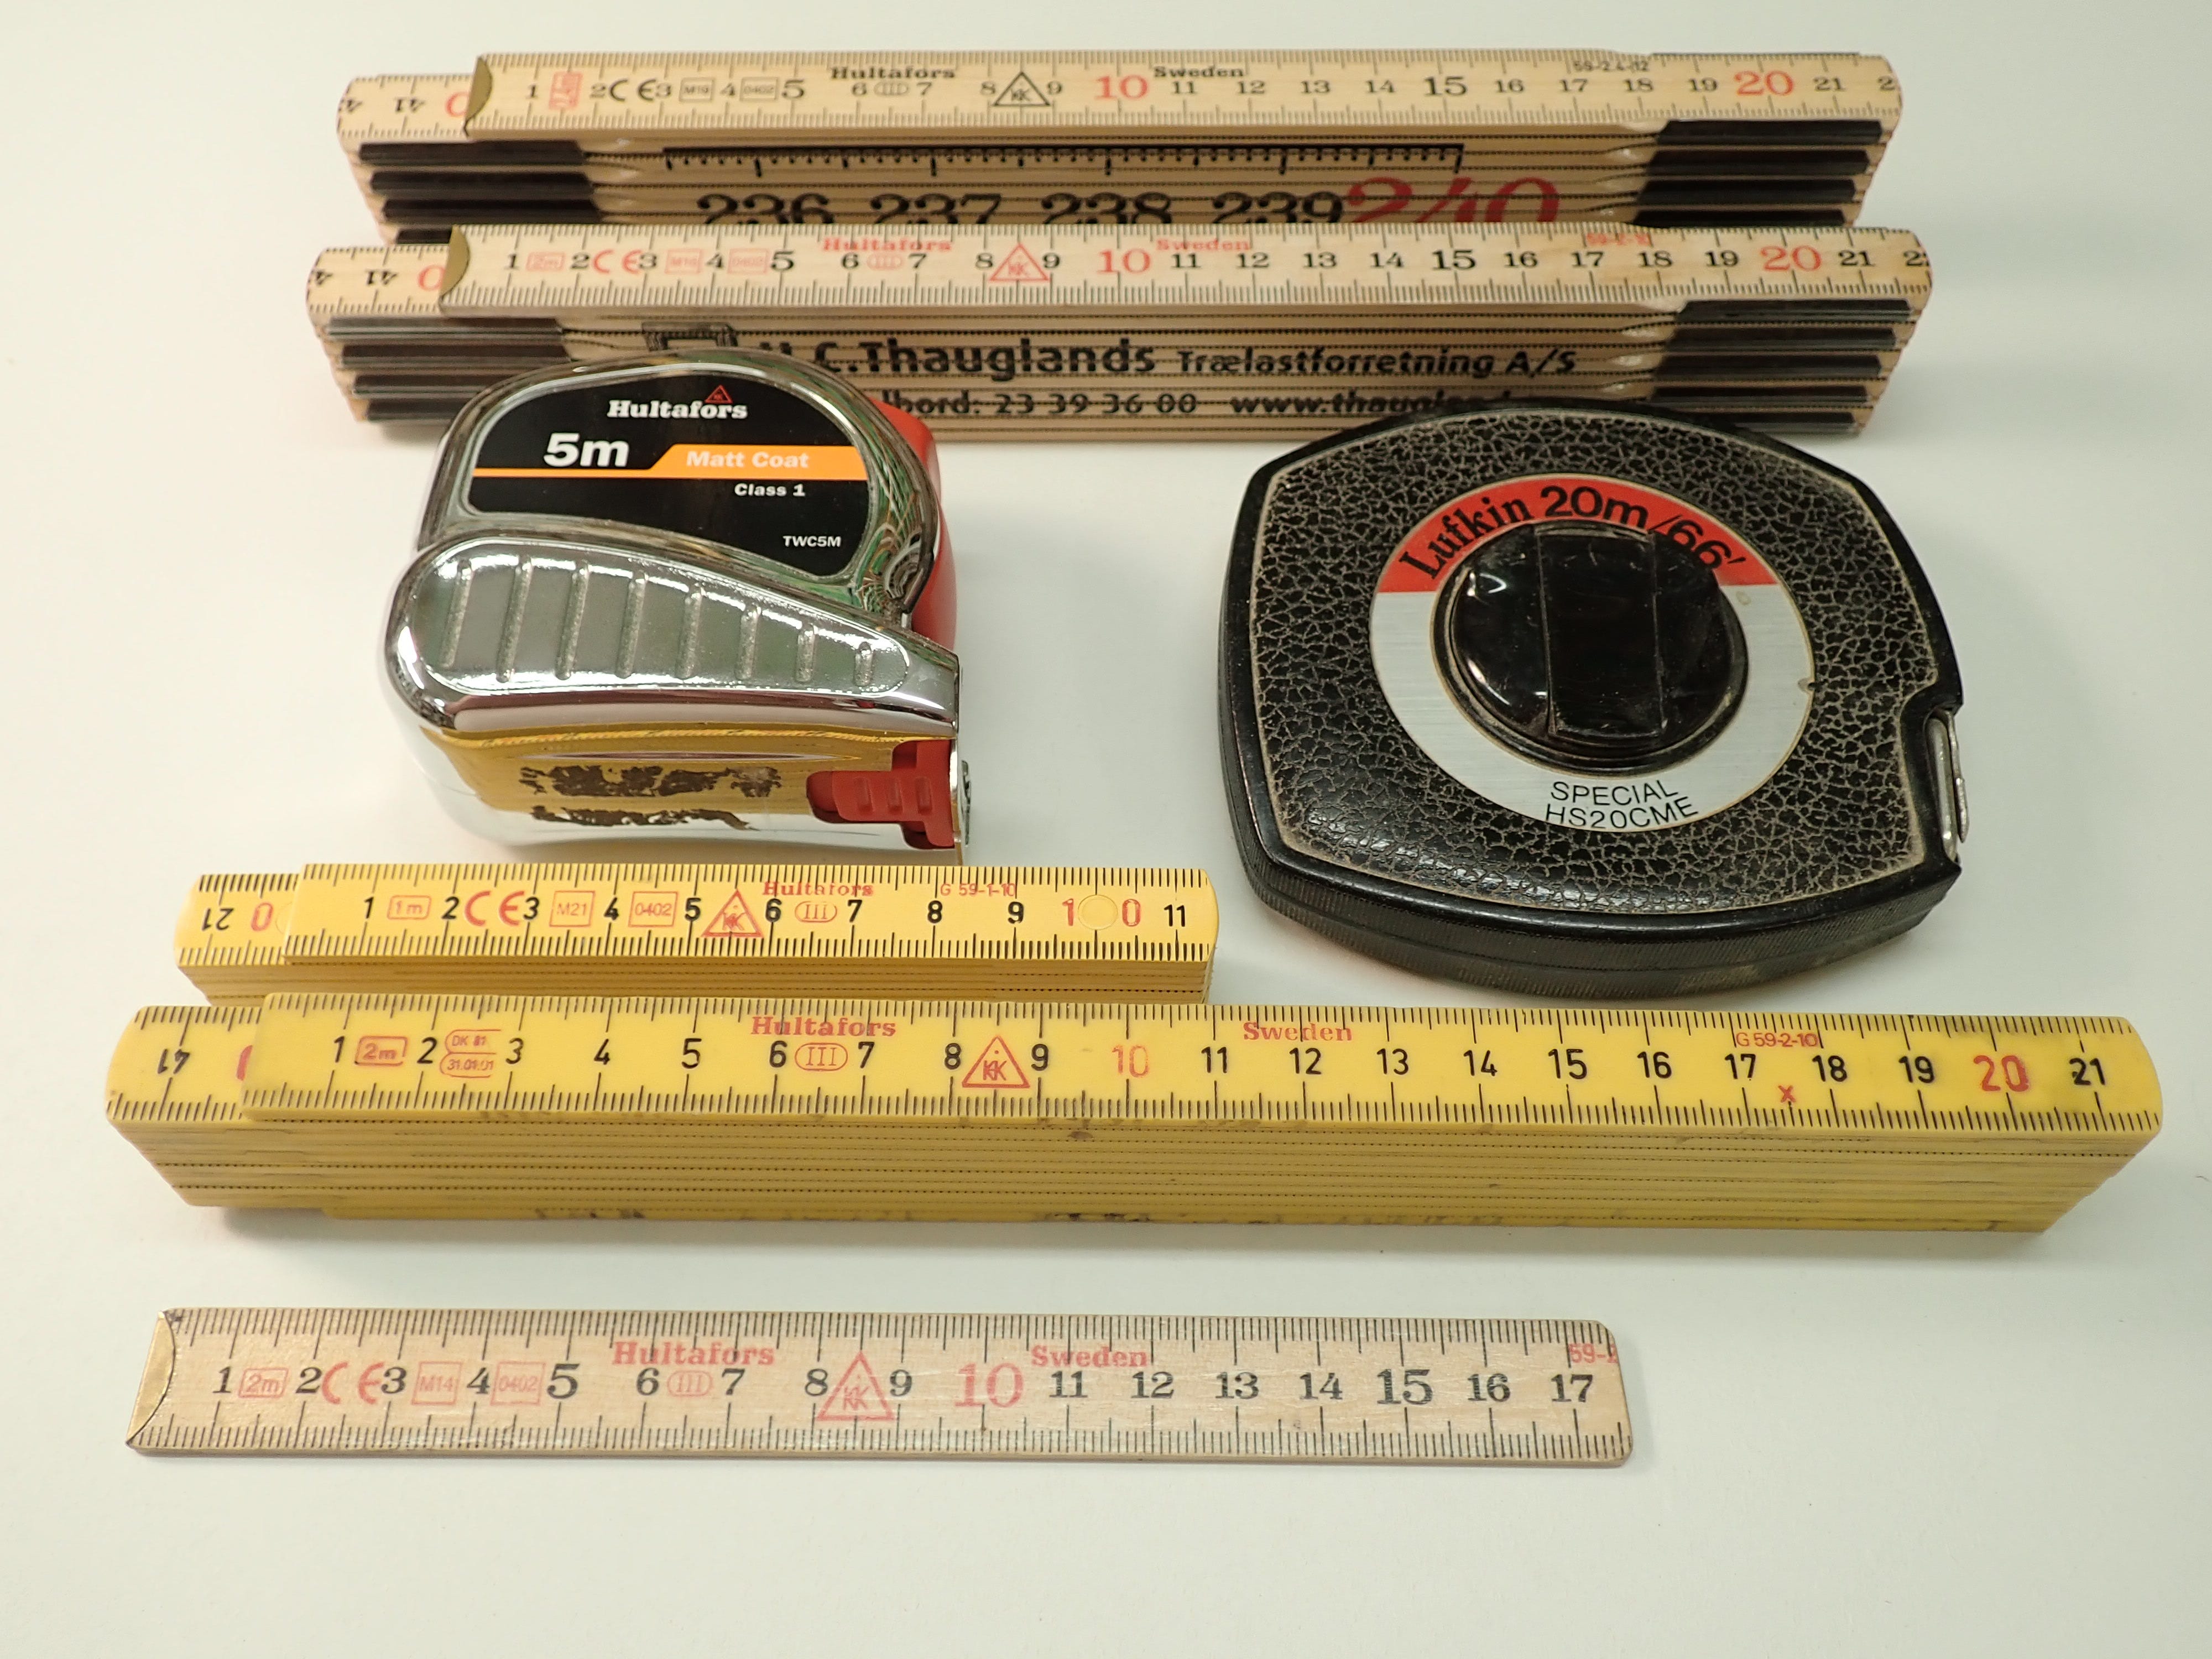
I only use the 20 m / 66’ Lufkin when I’m building houses.
The 5m / 16’ tape measure I use when rough-cutting lumber or doing carpentry work.
My everyday carry in the workshop is the wooden 2-metre folding rule down my right thigh and my nylon callipers in my back pocket.
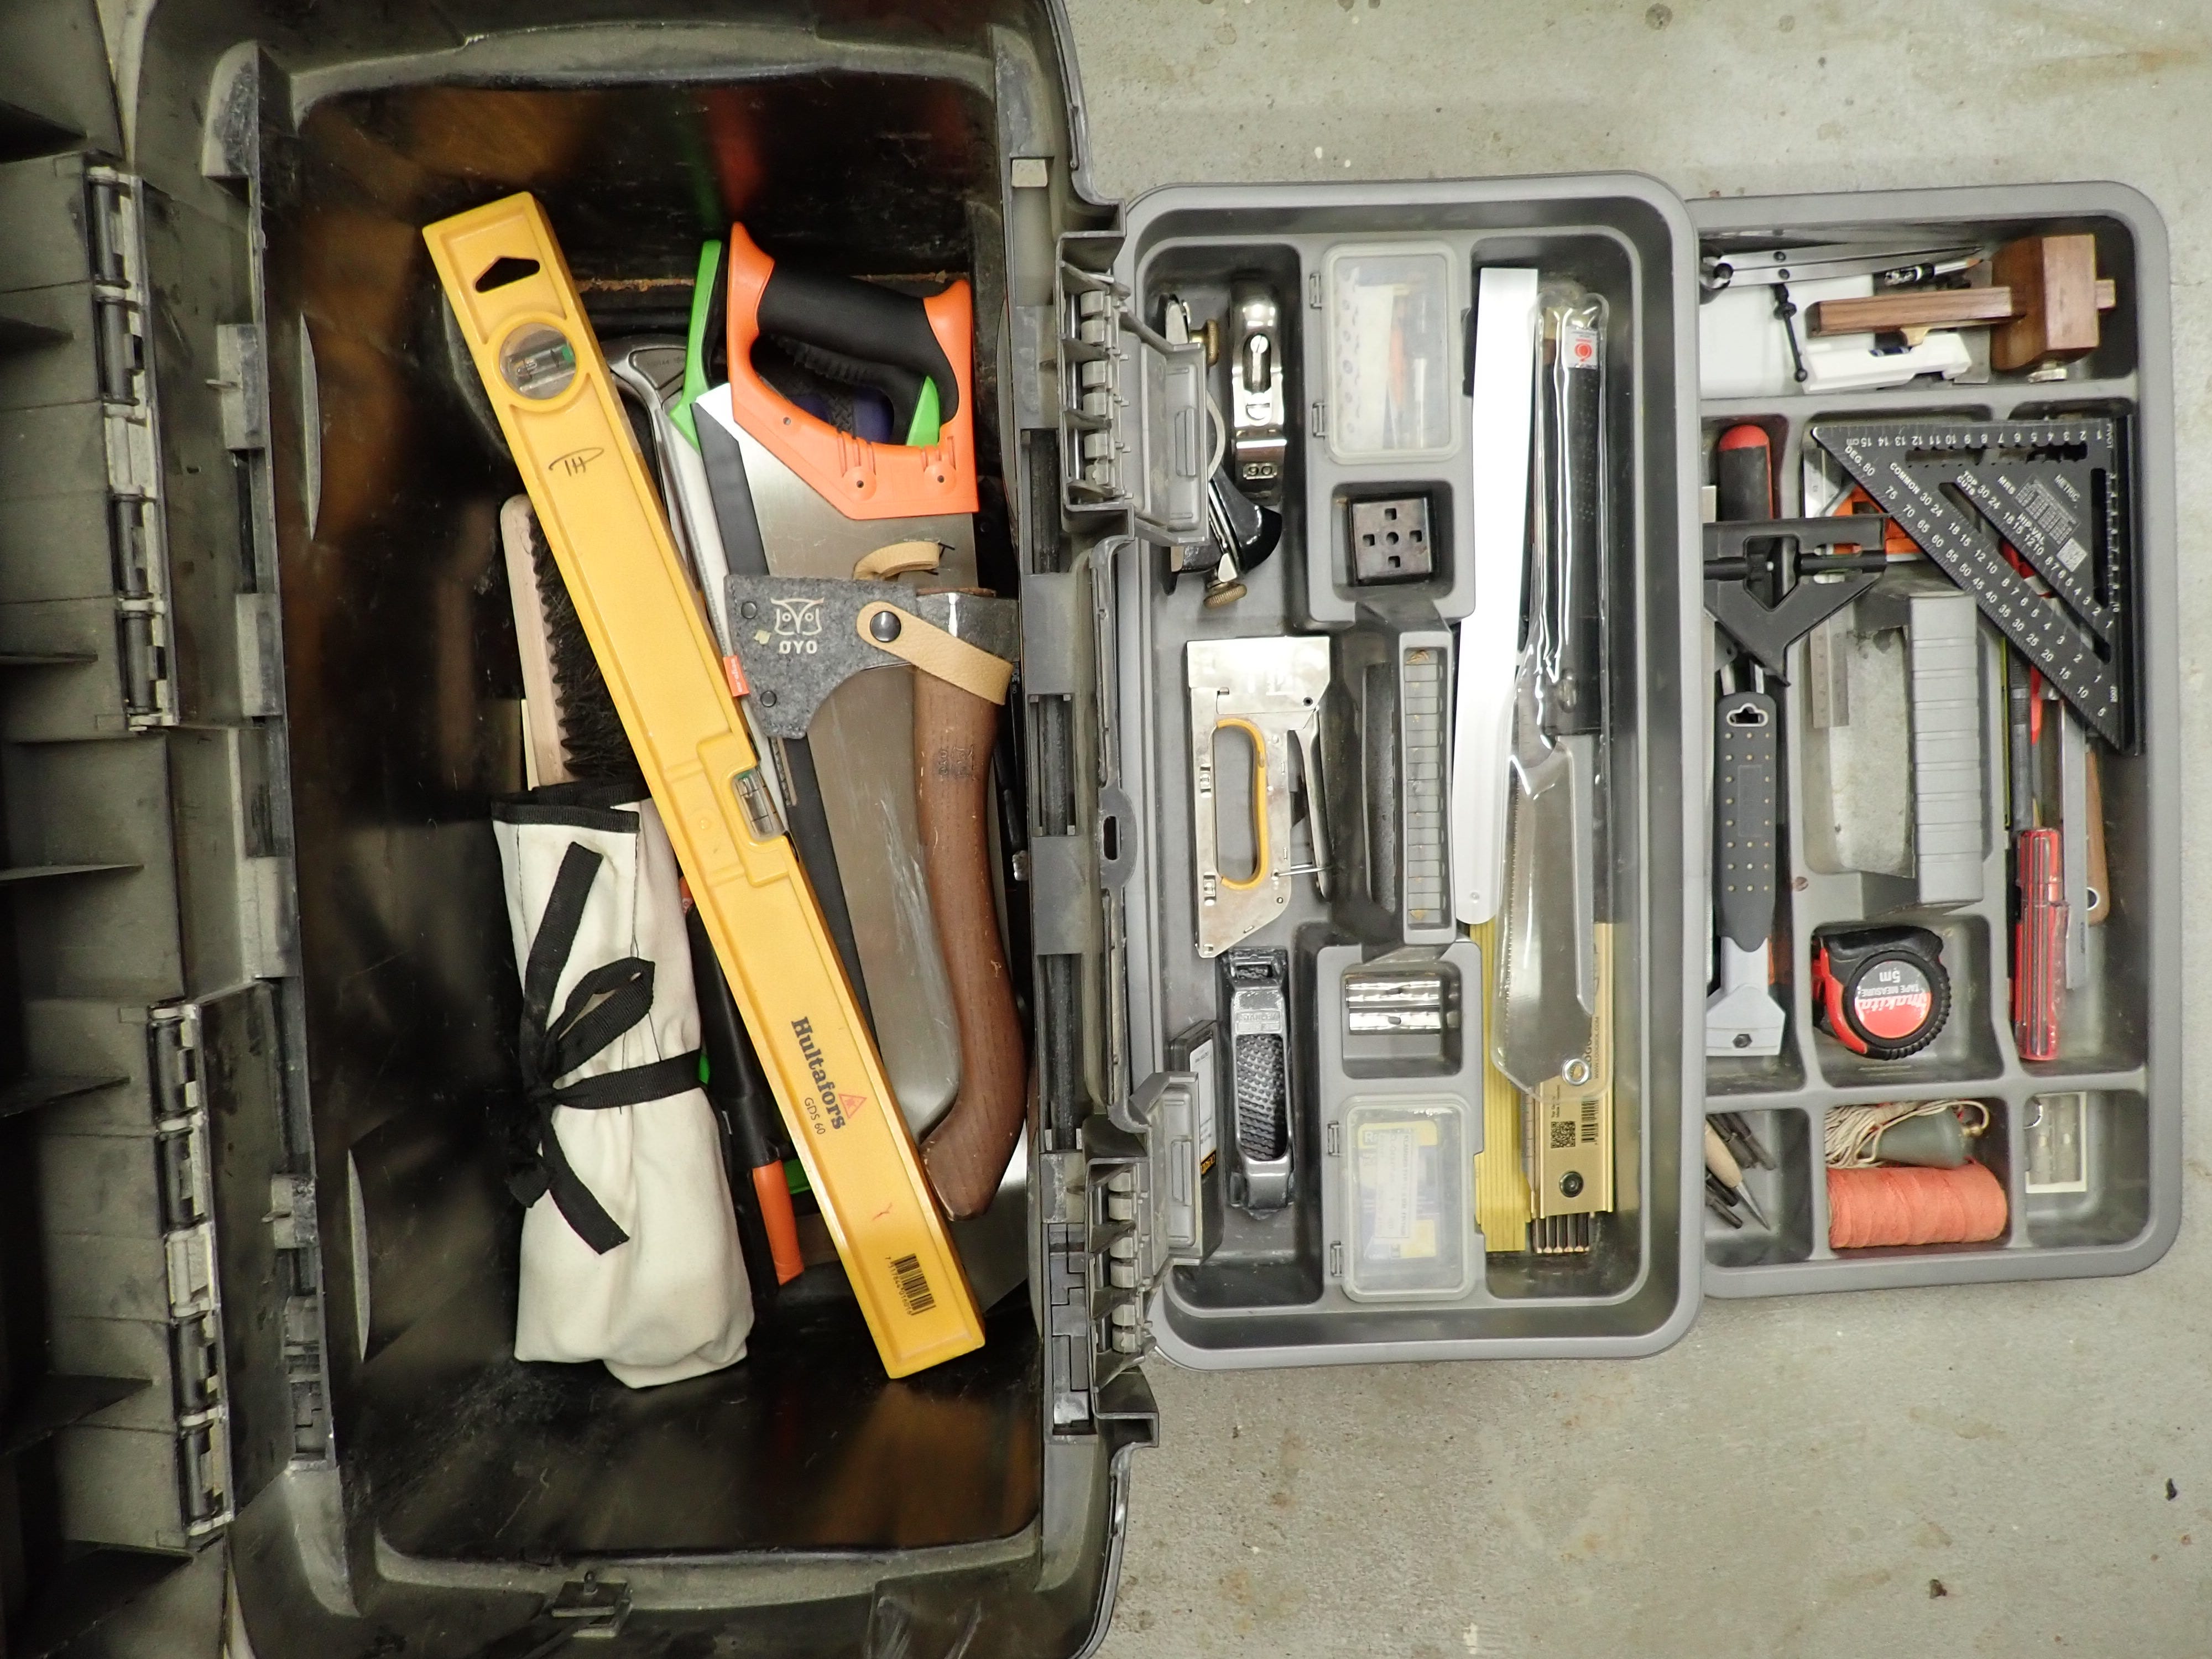
The slightly larger wooden folding rule is 2,4 m — the same length as full-size sheet-goods for house-building. It lives in my carpentry / expedition tool-box together with the plastic rules that are more durable in rain and snow.
When using a tape measure one has no choice but to do like this:
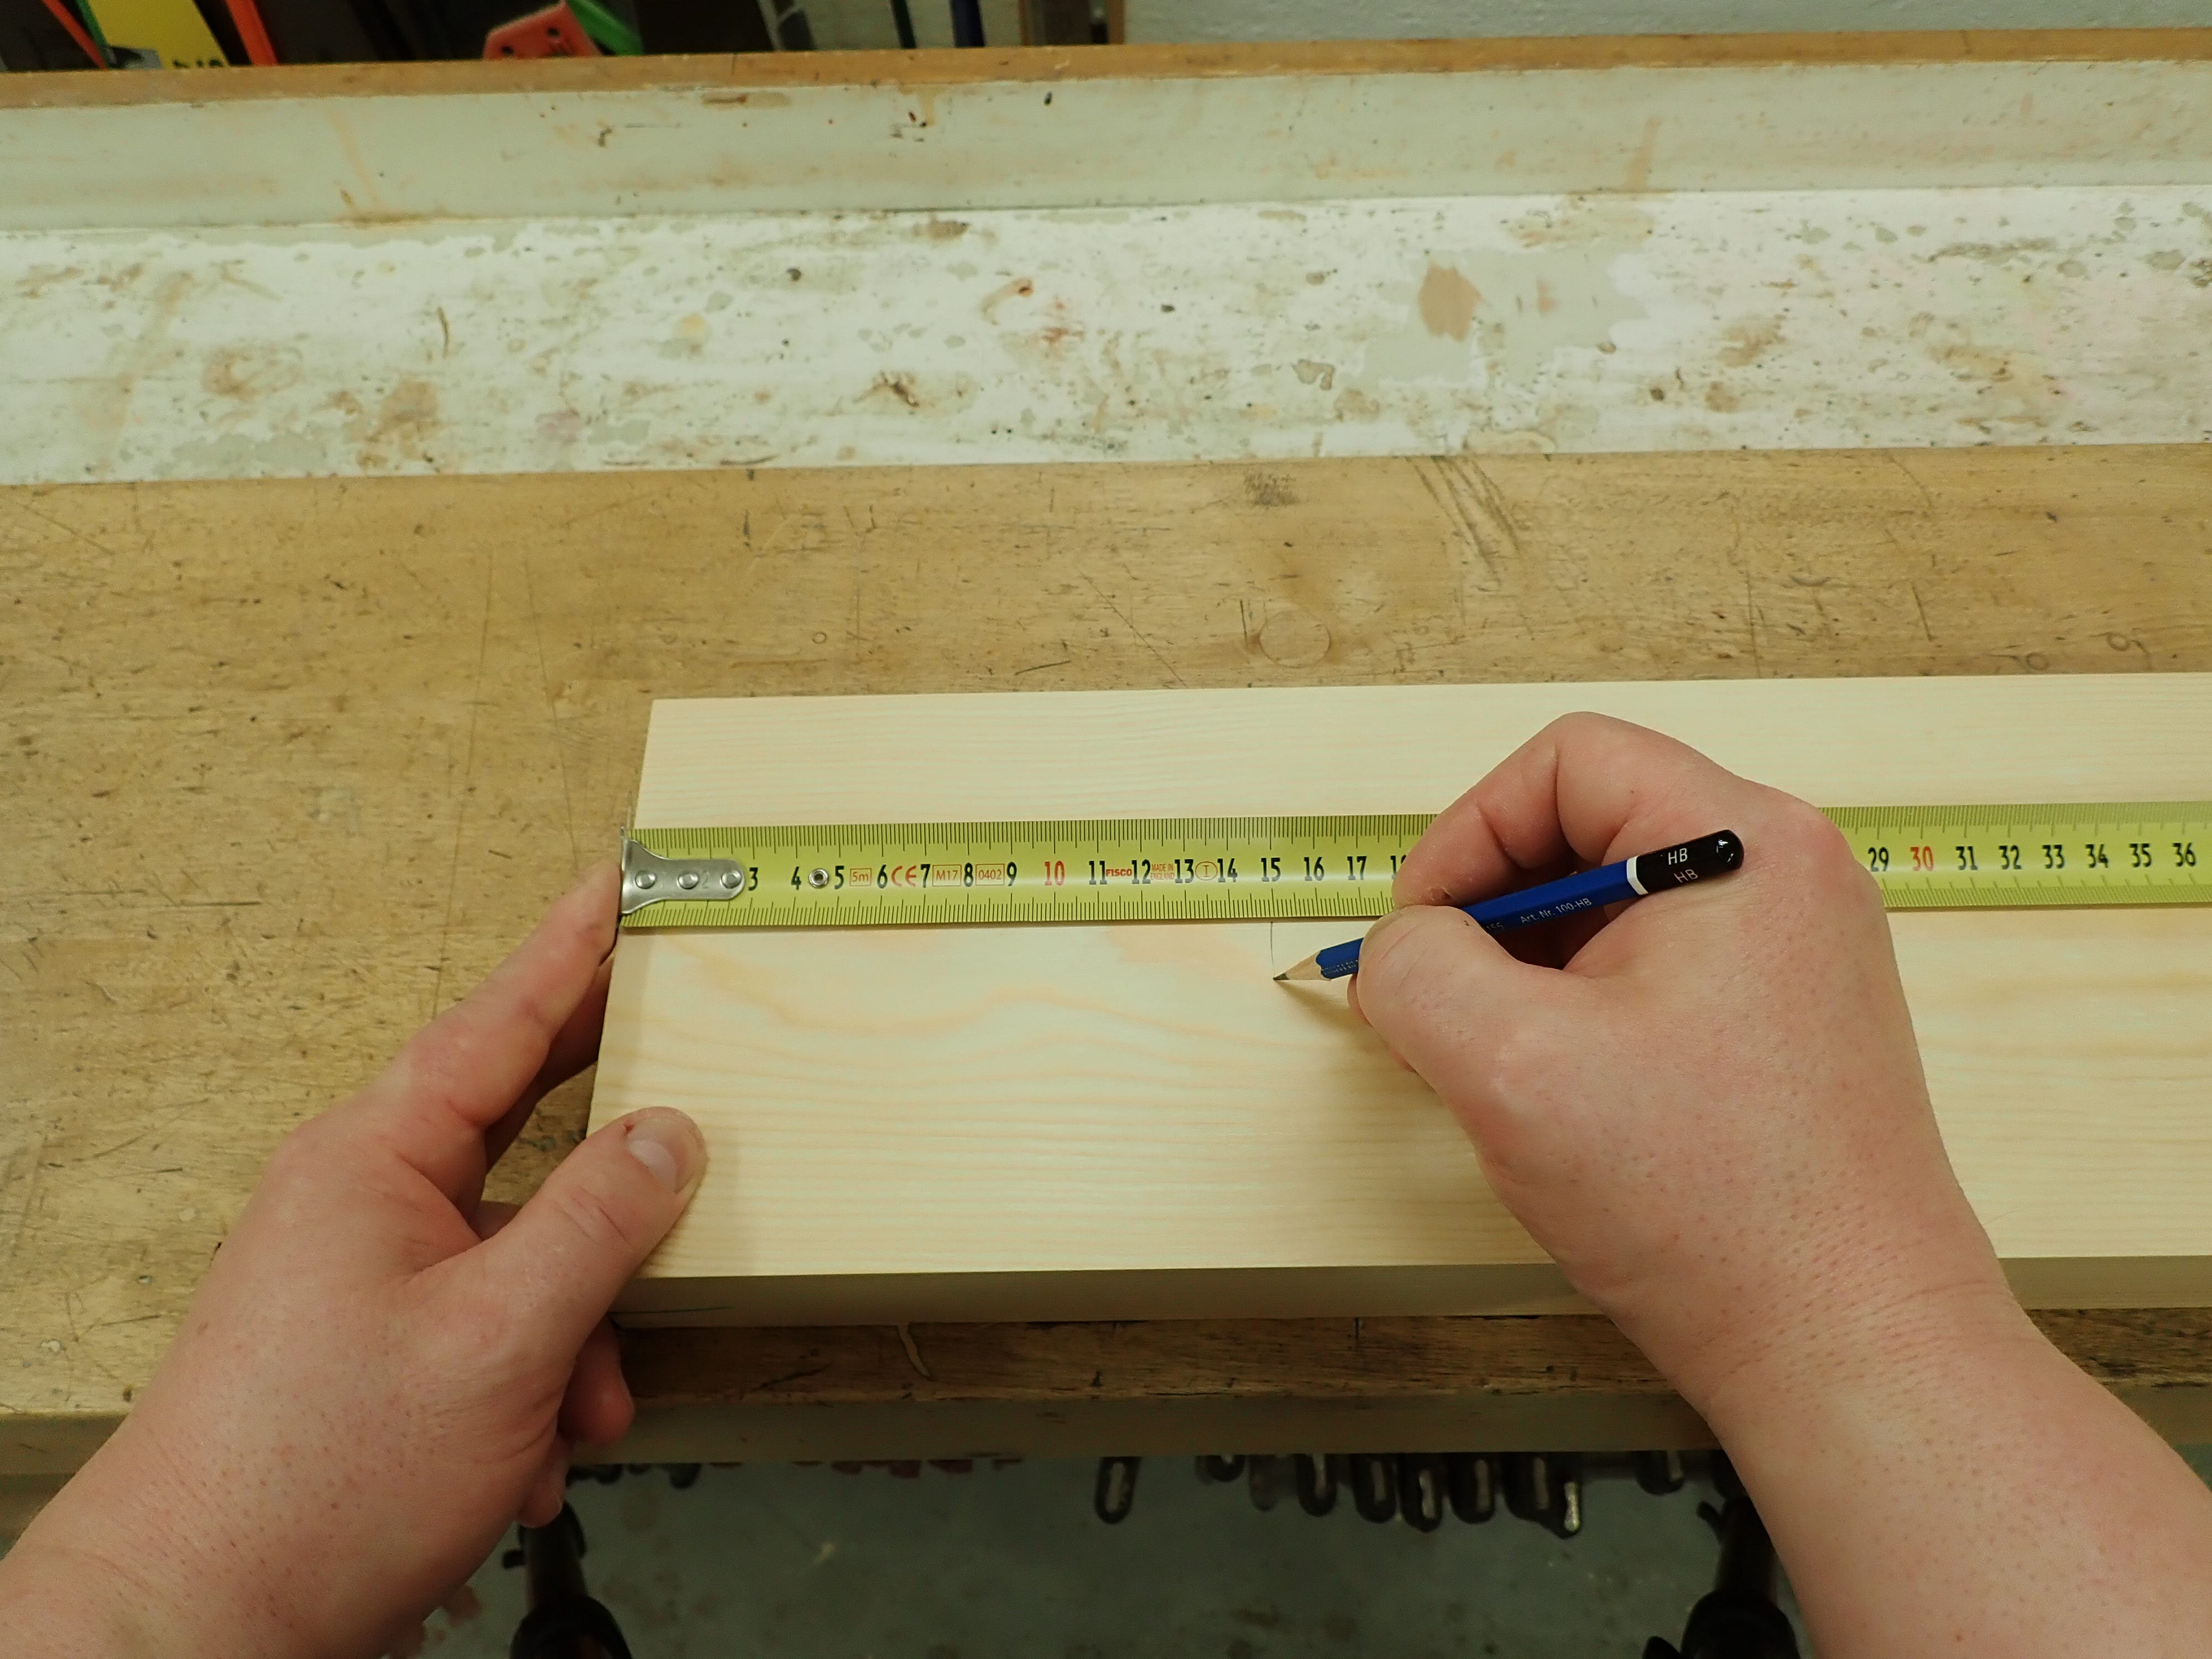
The end is accurately positioned but you have to align your pencil against the relevant mark on the tape measure, thus introducing a margin of error. And the mark you make is perhaps not that straight, no?
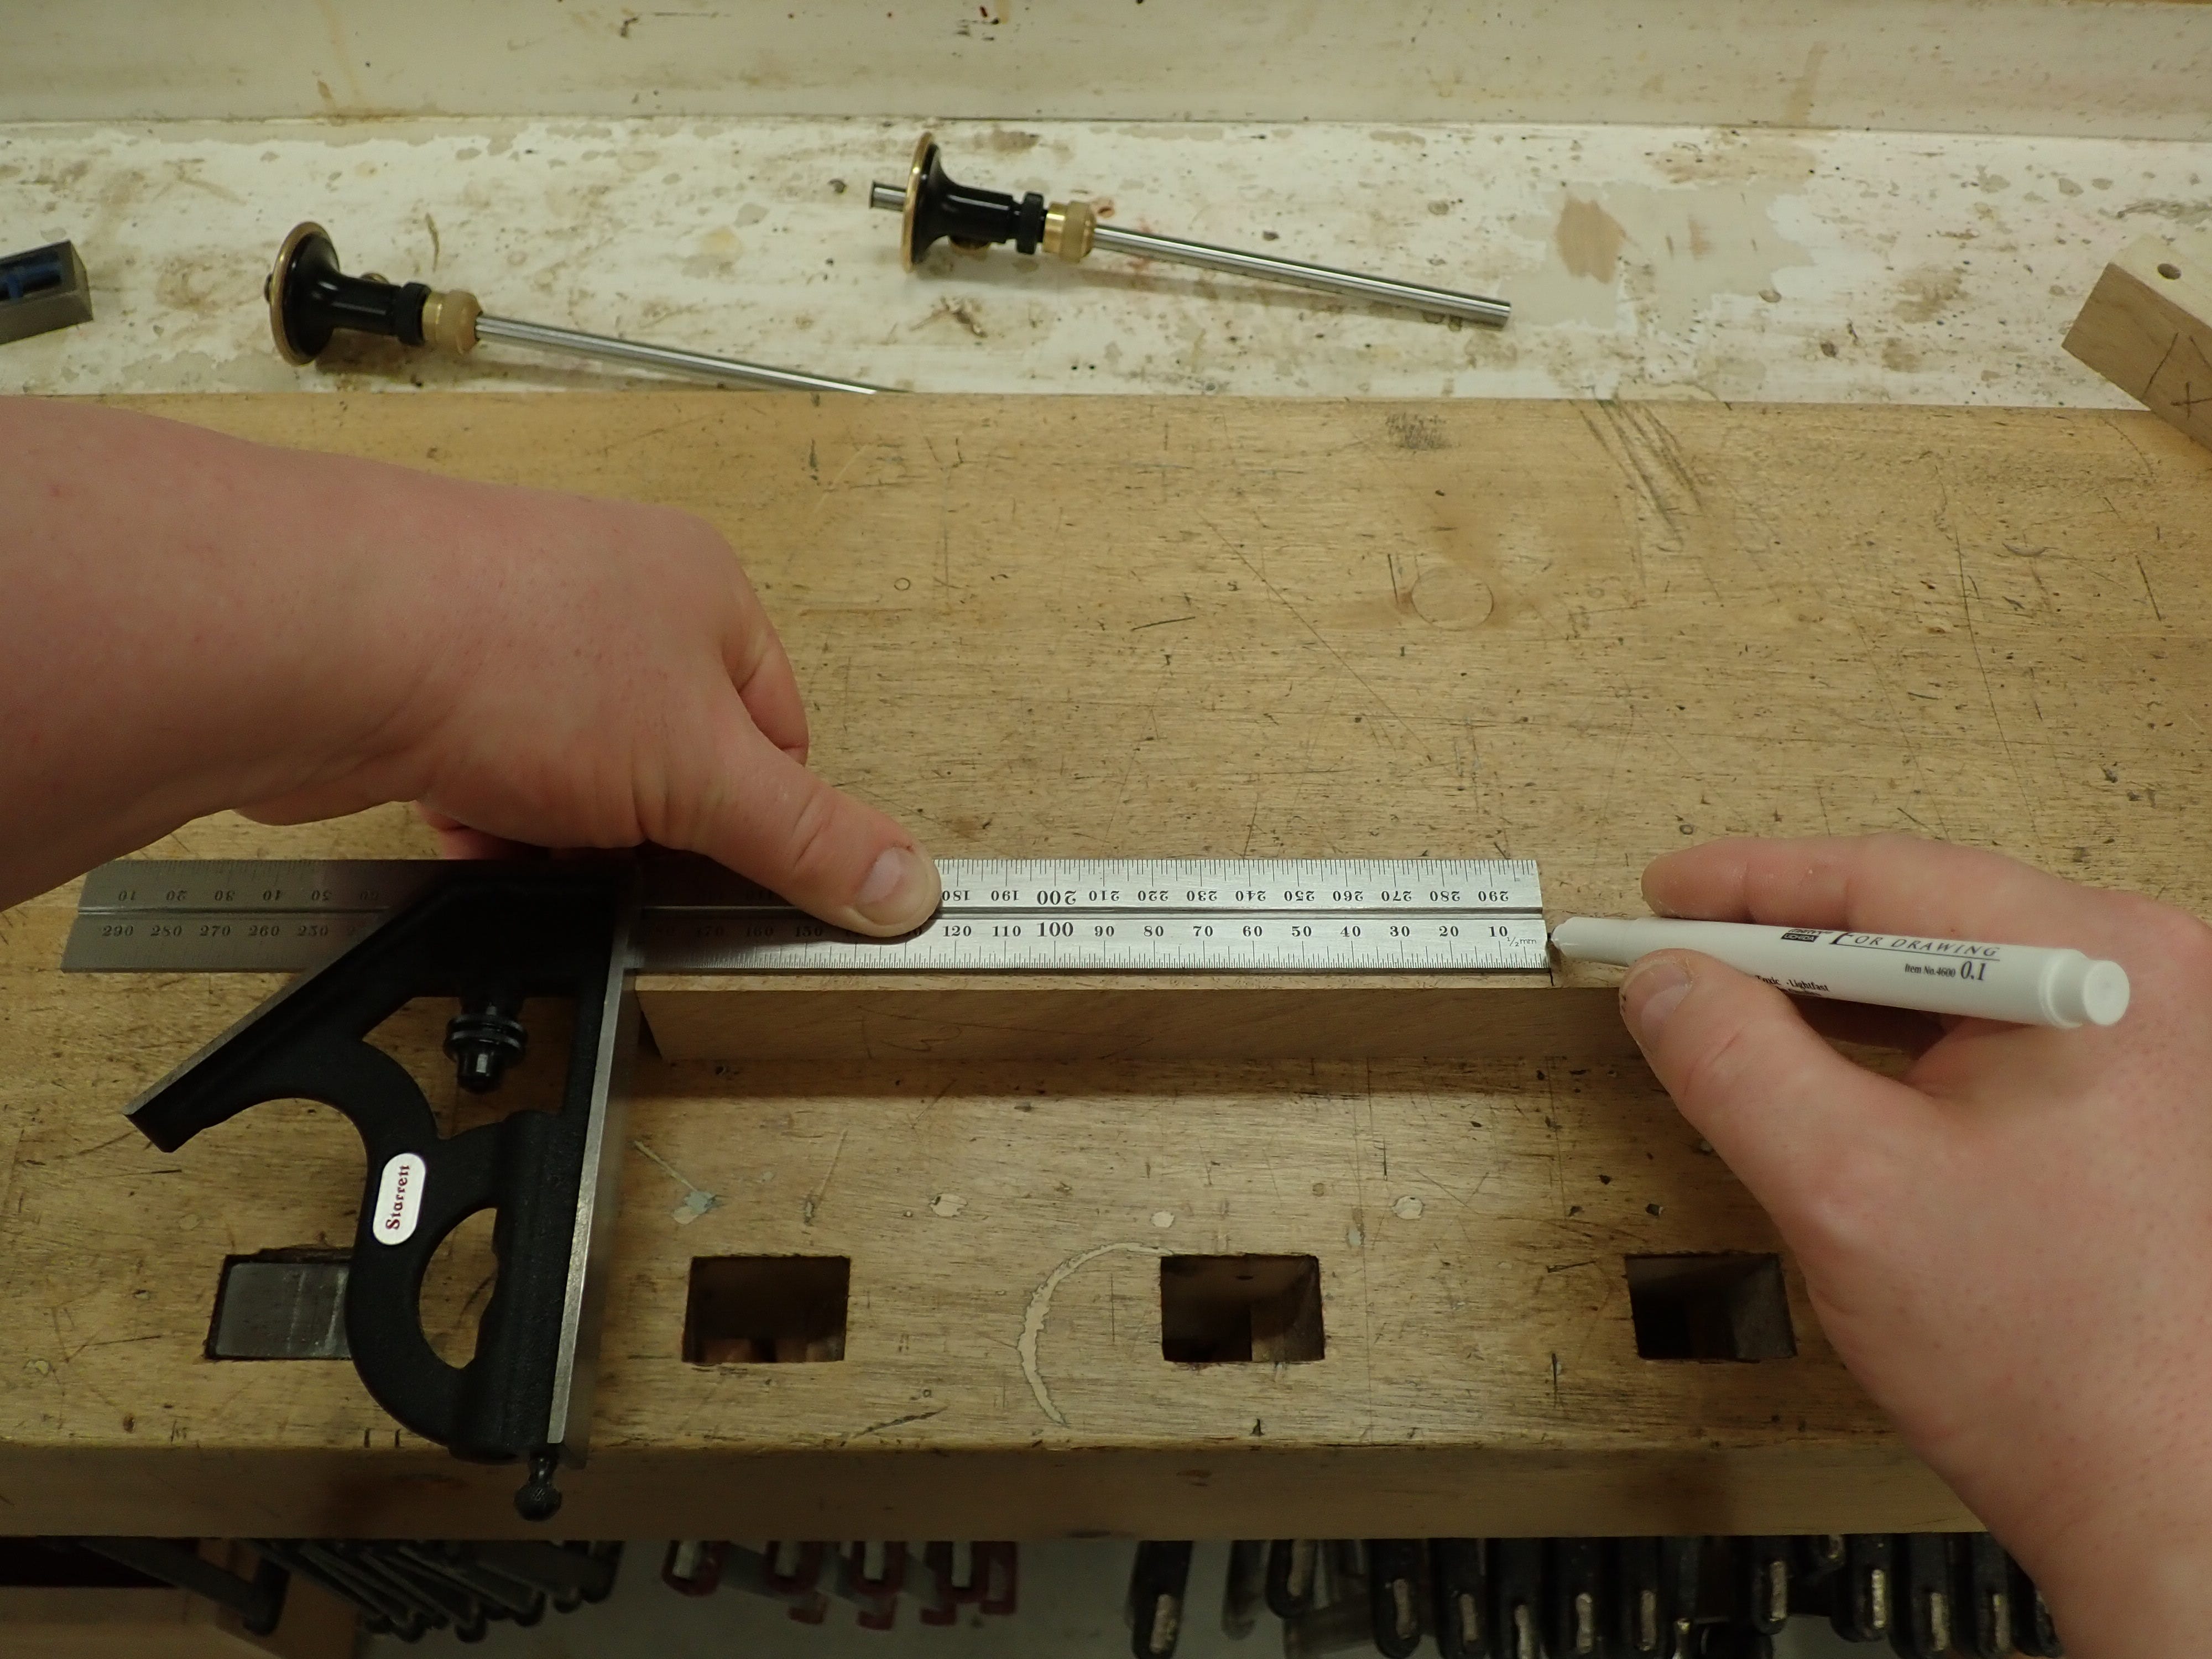
This is how I was taught to do it:
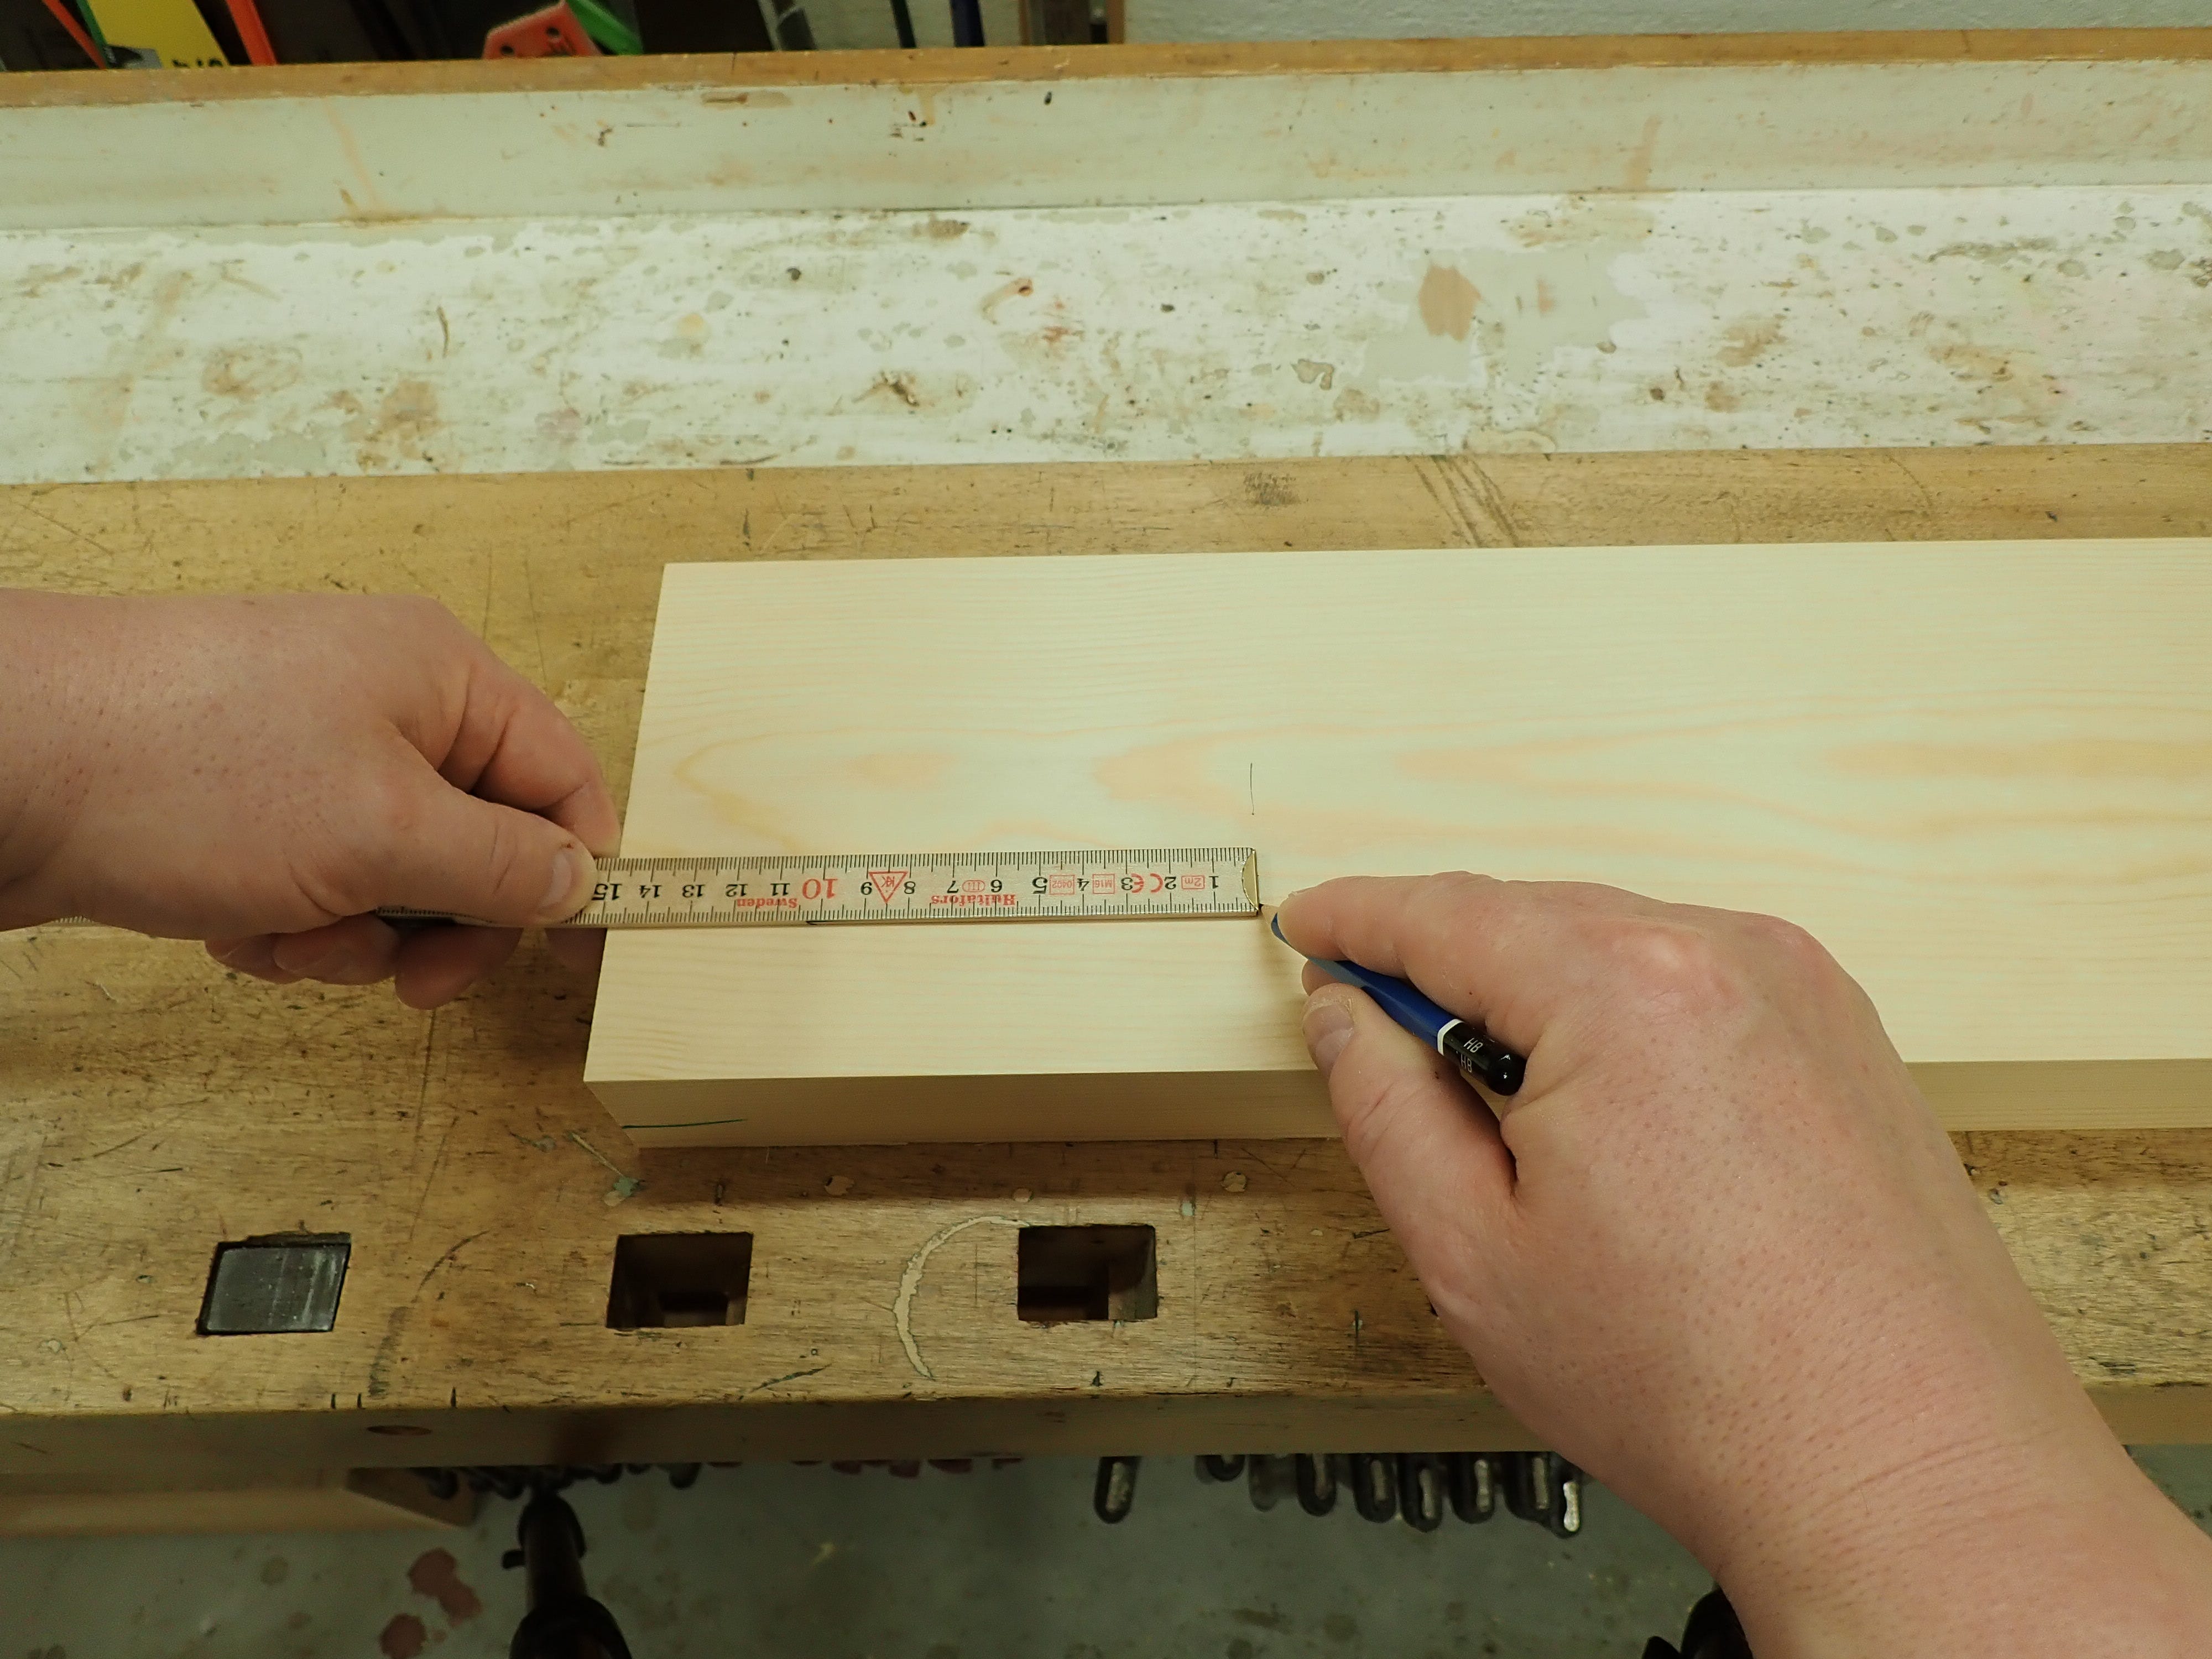
If you align the mark on the rule accurately with the butt of the material, being mindful of the parallax-effect, you can strike a crisp, straight line off the end of the rule. It’s not unlike using an adjustable square like this:
Moving on to marking tools, they are of three sorts: The ones that deposit a mark on the surface, the ones that score a cut and those that prick a small hole. Let’s begin with the pencils:
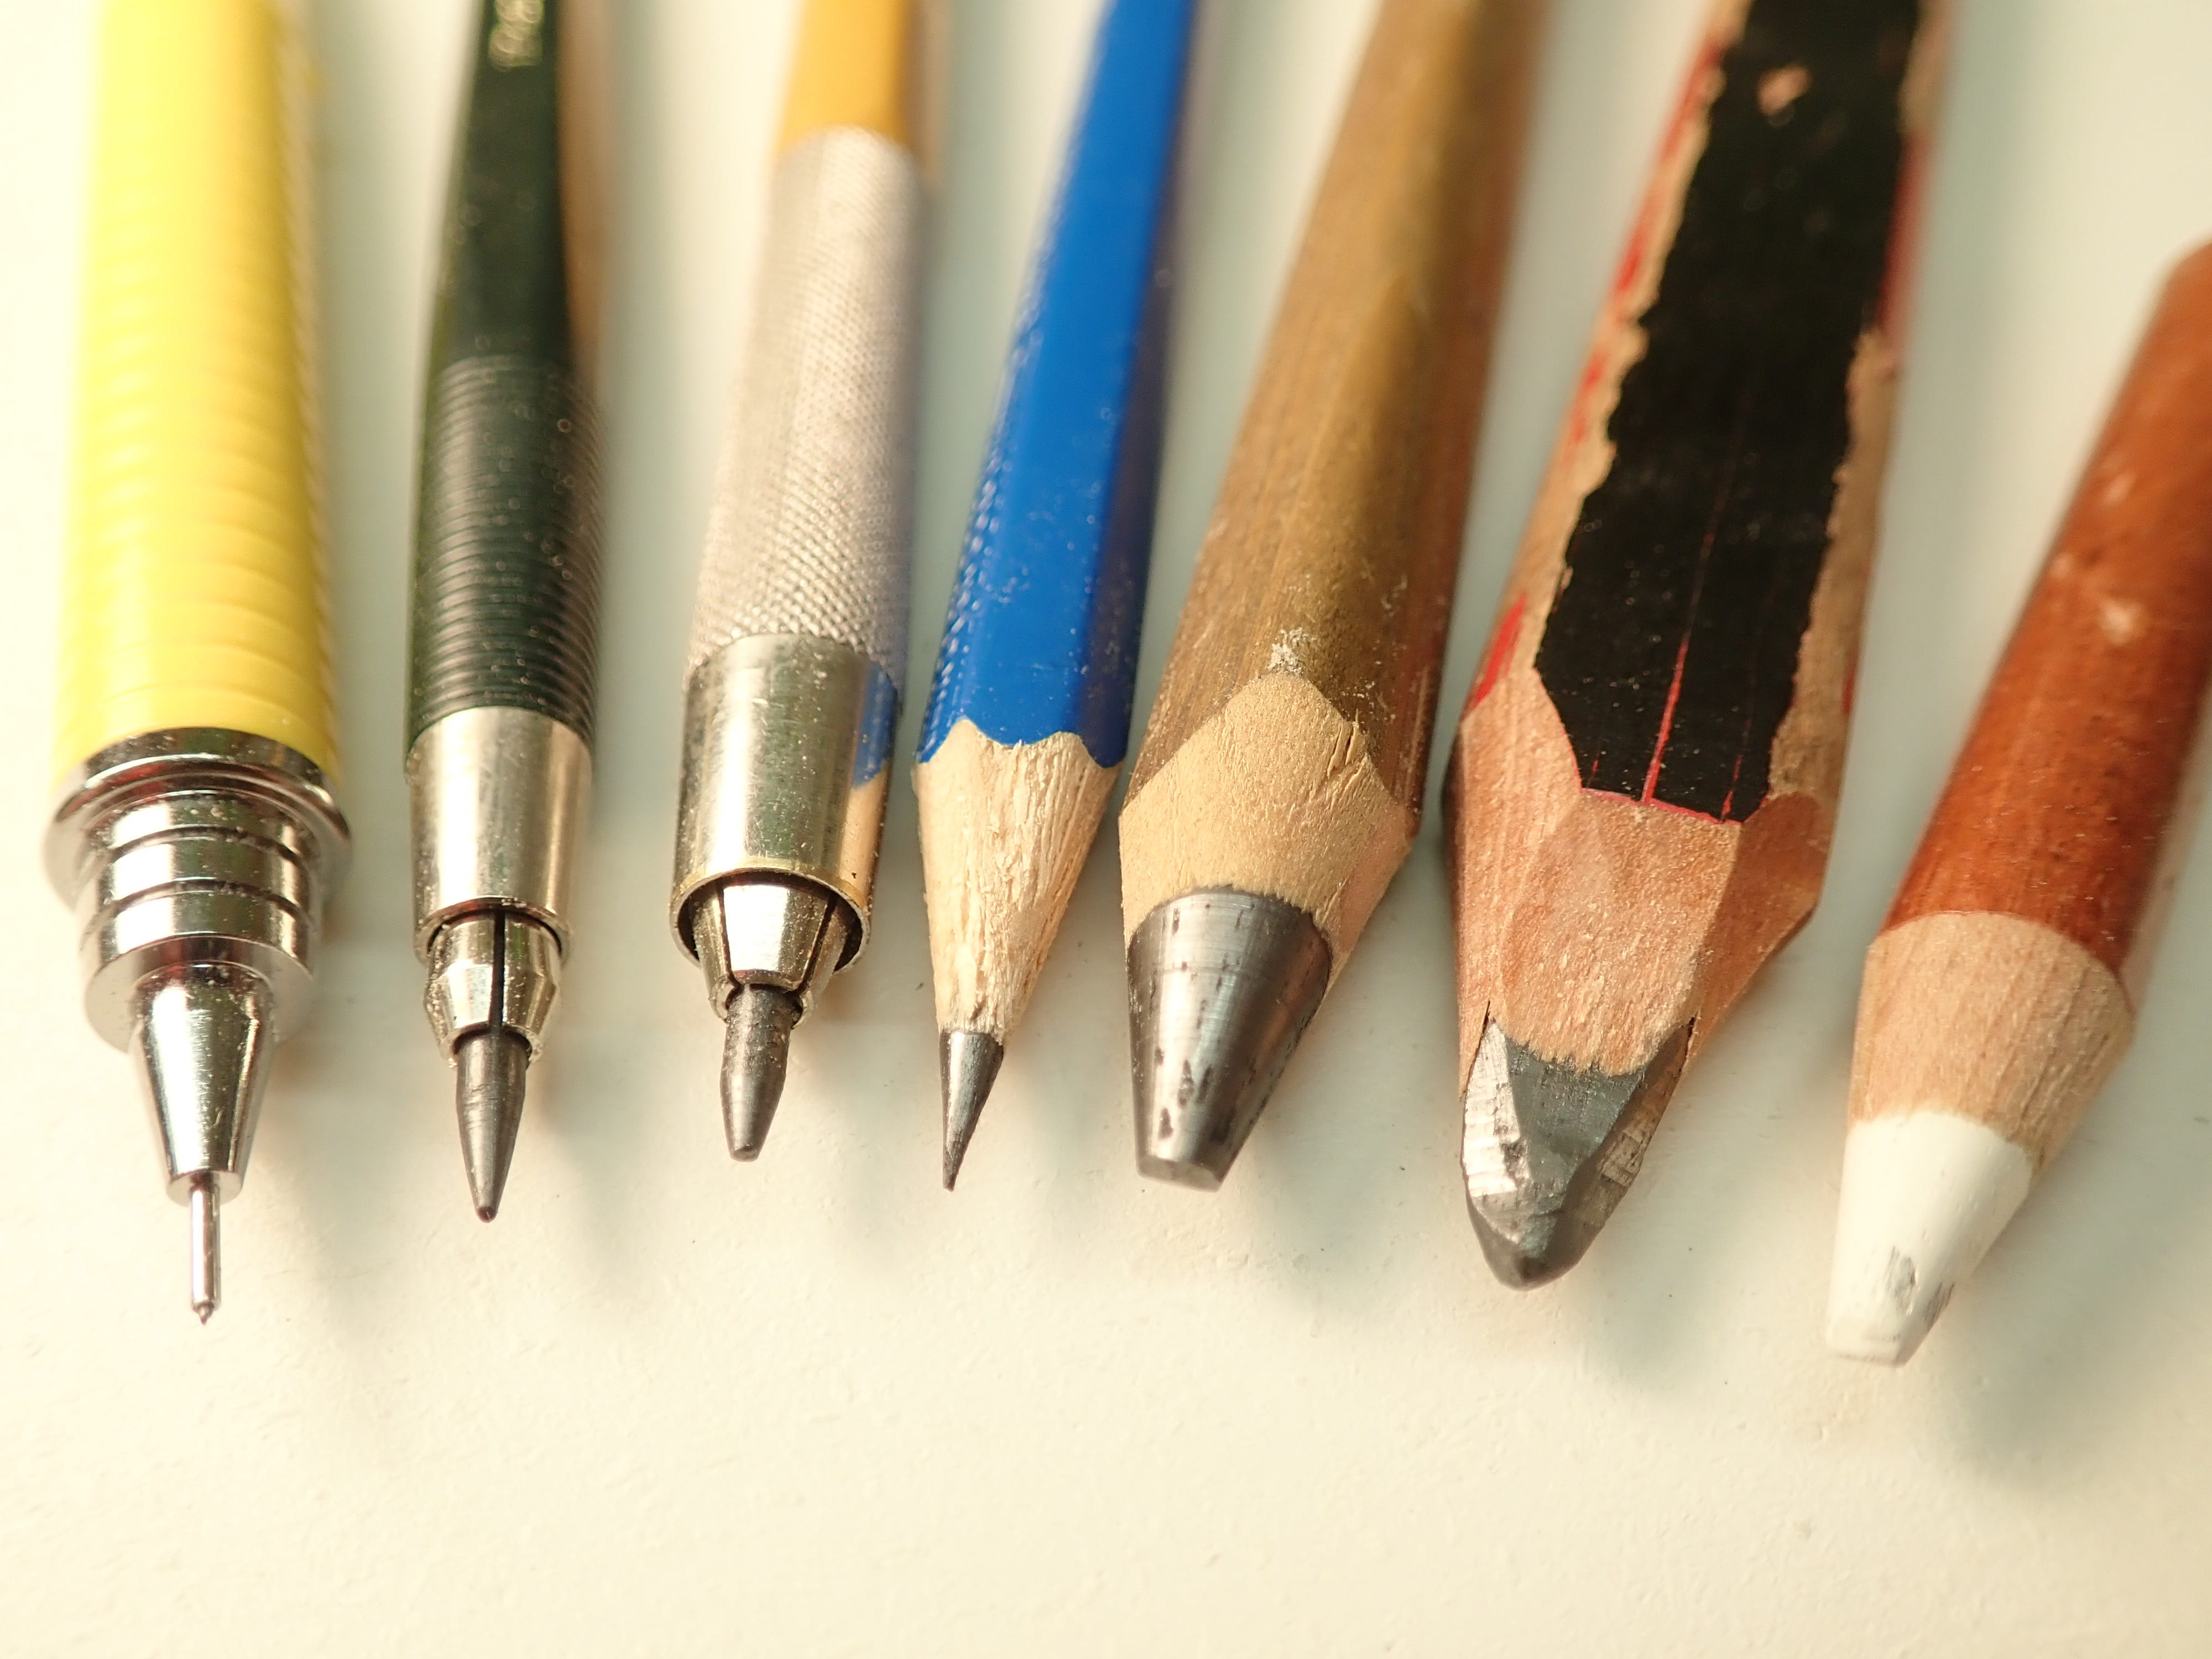
From left to right:
0,3 / 0,5 / 0,7 mm mechanical pencil: for drawing on paper & wood, often used for accentuating lines made by marking gauges.
a couple of clutch pencils: for the days when your pretensions of draughtsmanship get the better of you.
common HB pencil: the everyday workhorse — cheap, practical, indispensable. Buy a couple of quality pencil-sharpeners!
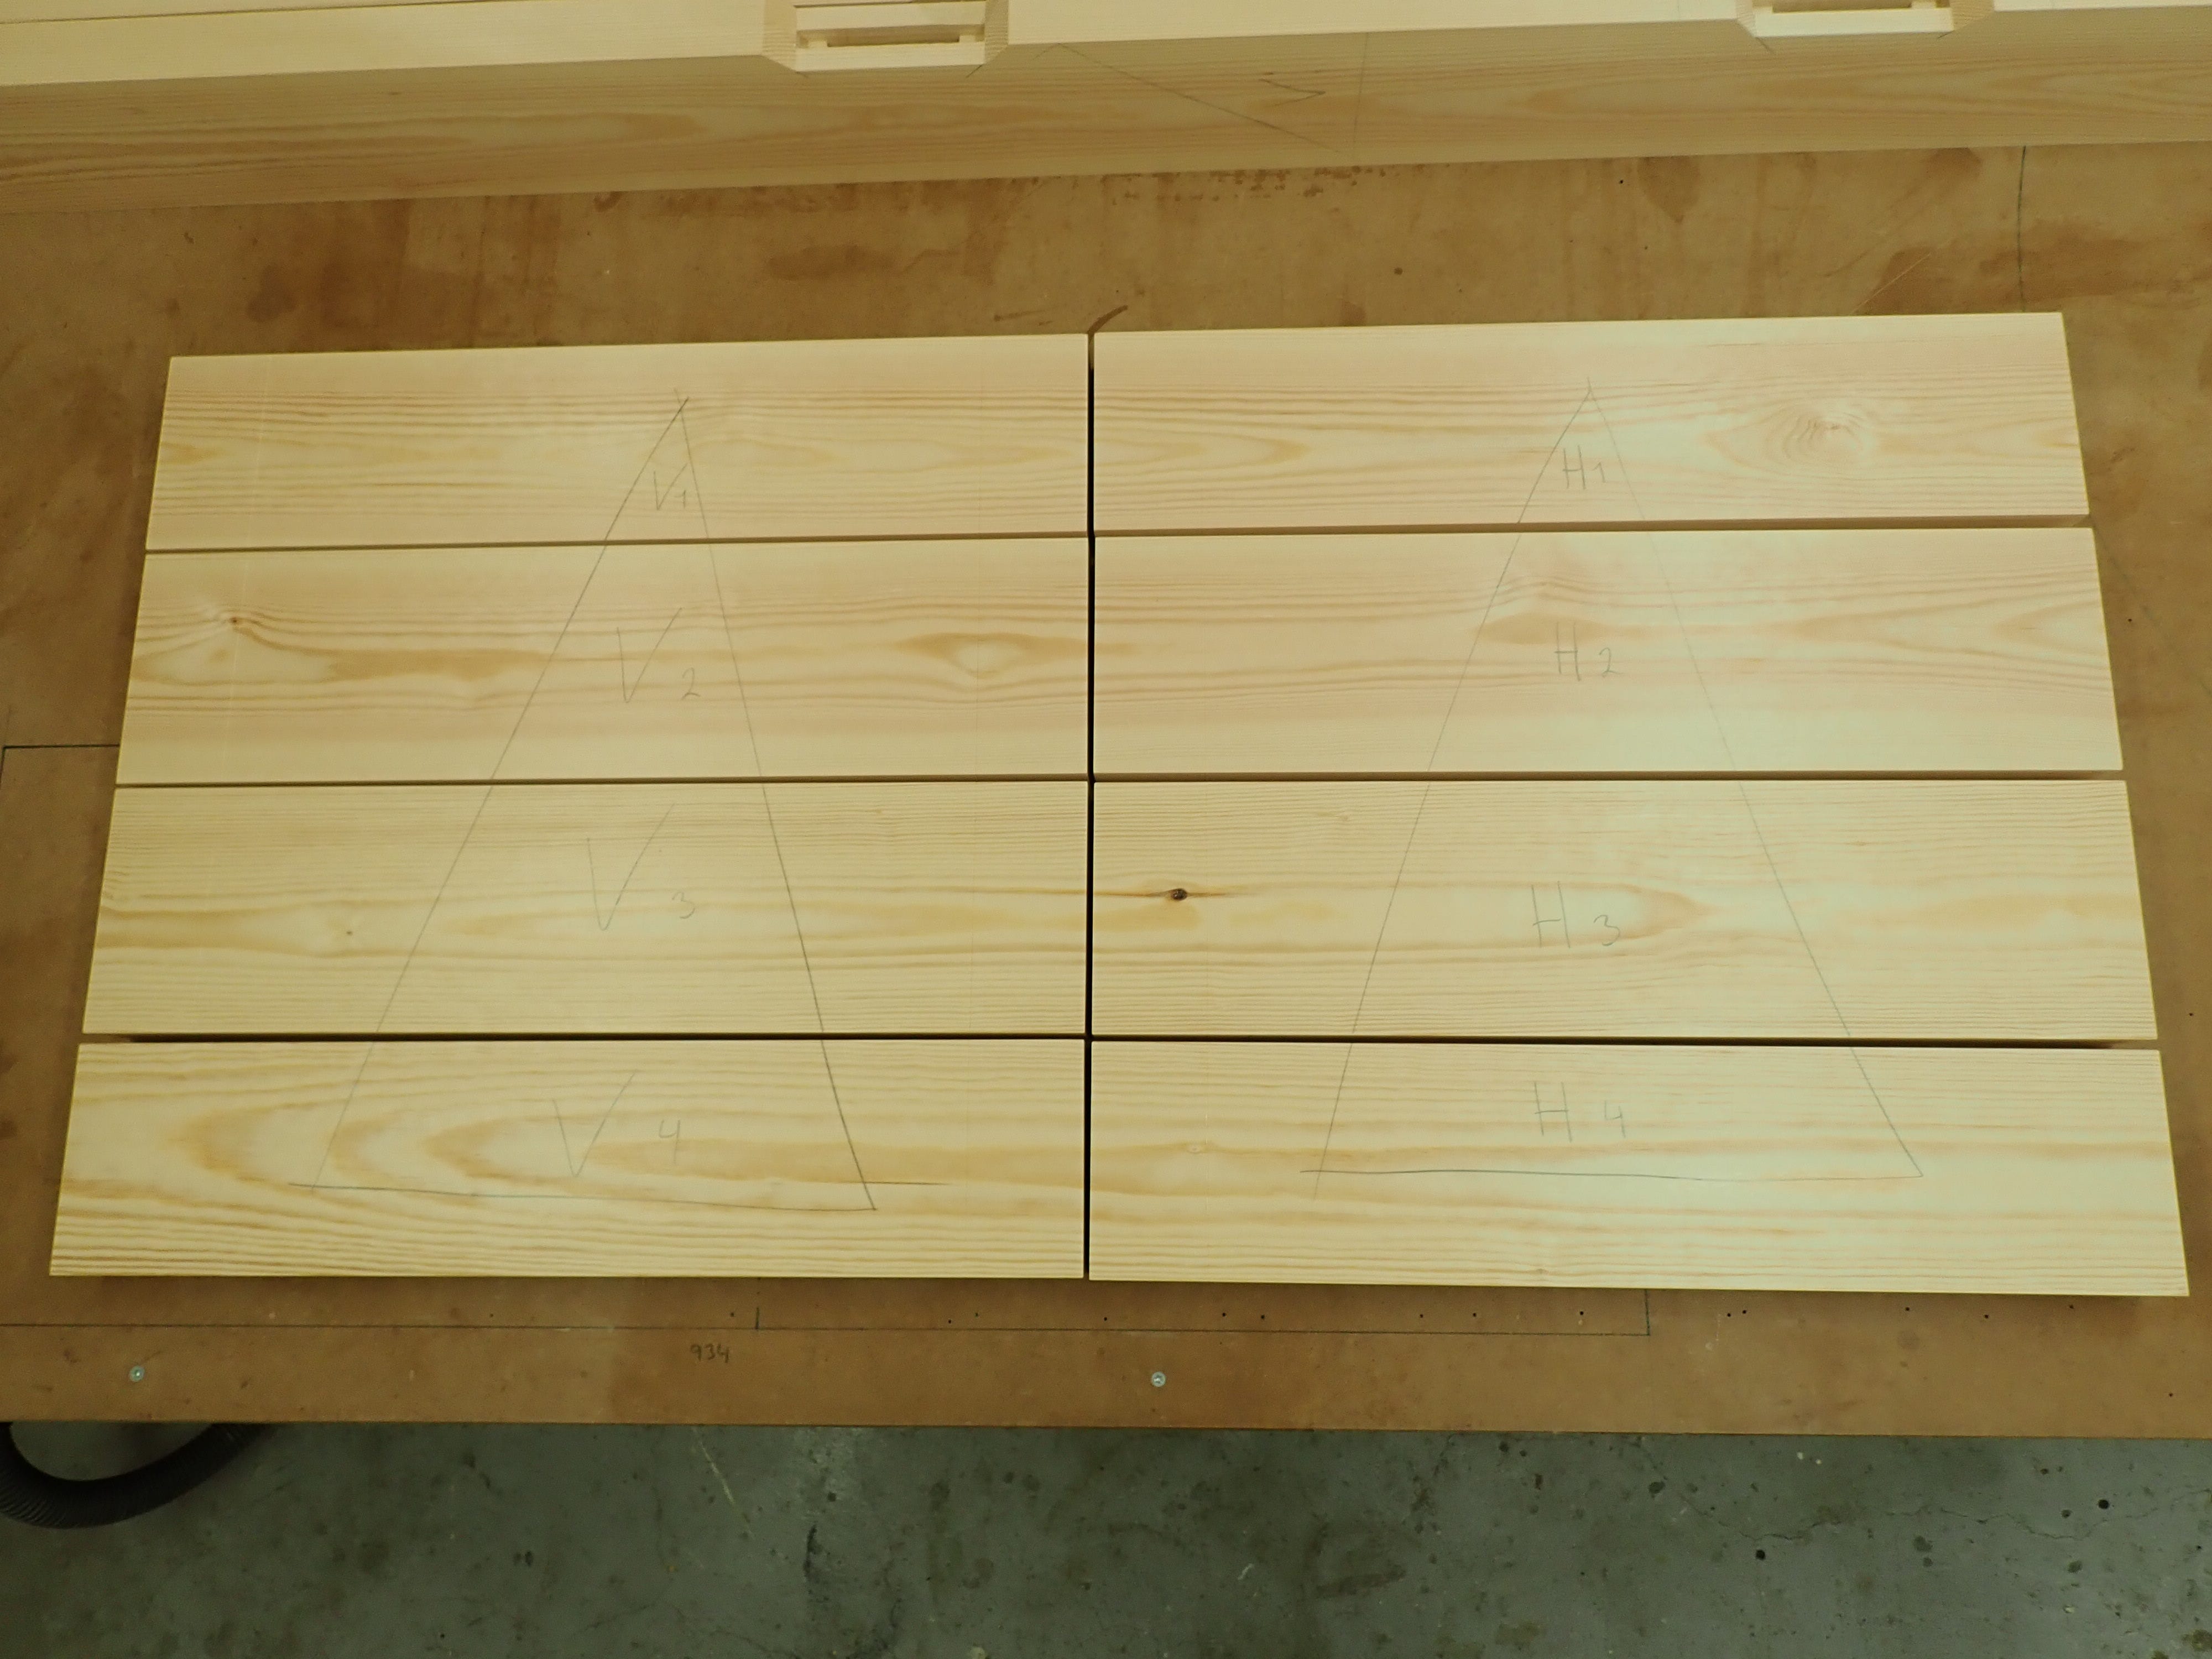
thick & soft pencil: for making ‘orientation-marks’ on parts, like so:
carpenter’s pencil: hard-wearing bastard for rough marking lumber
white pencil: for marking dark woods
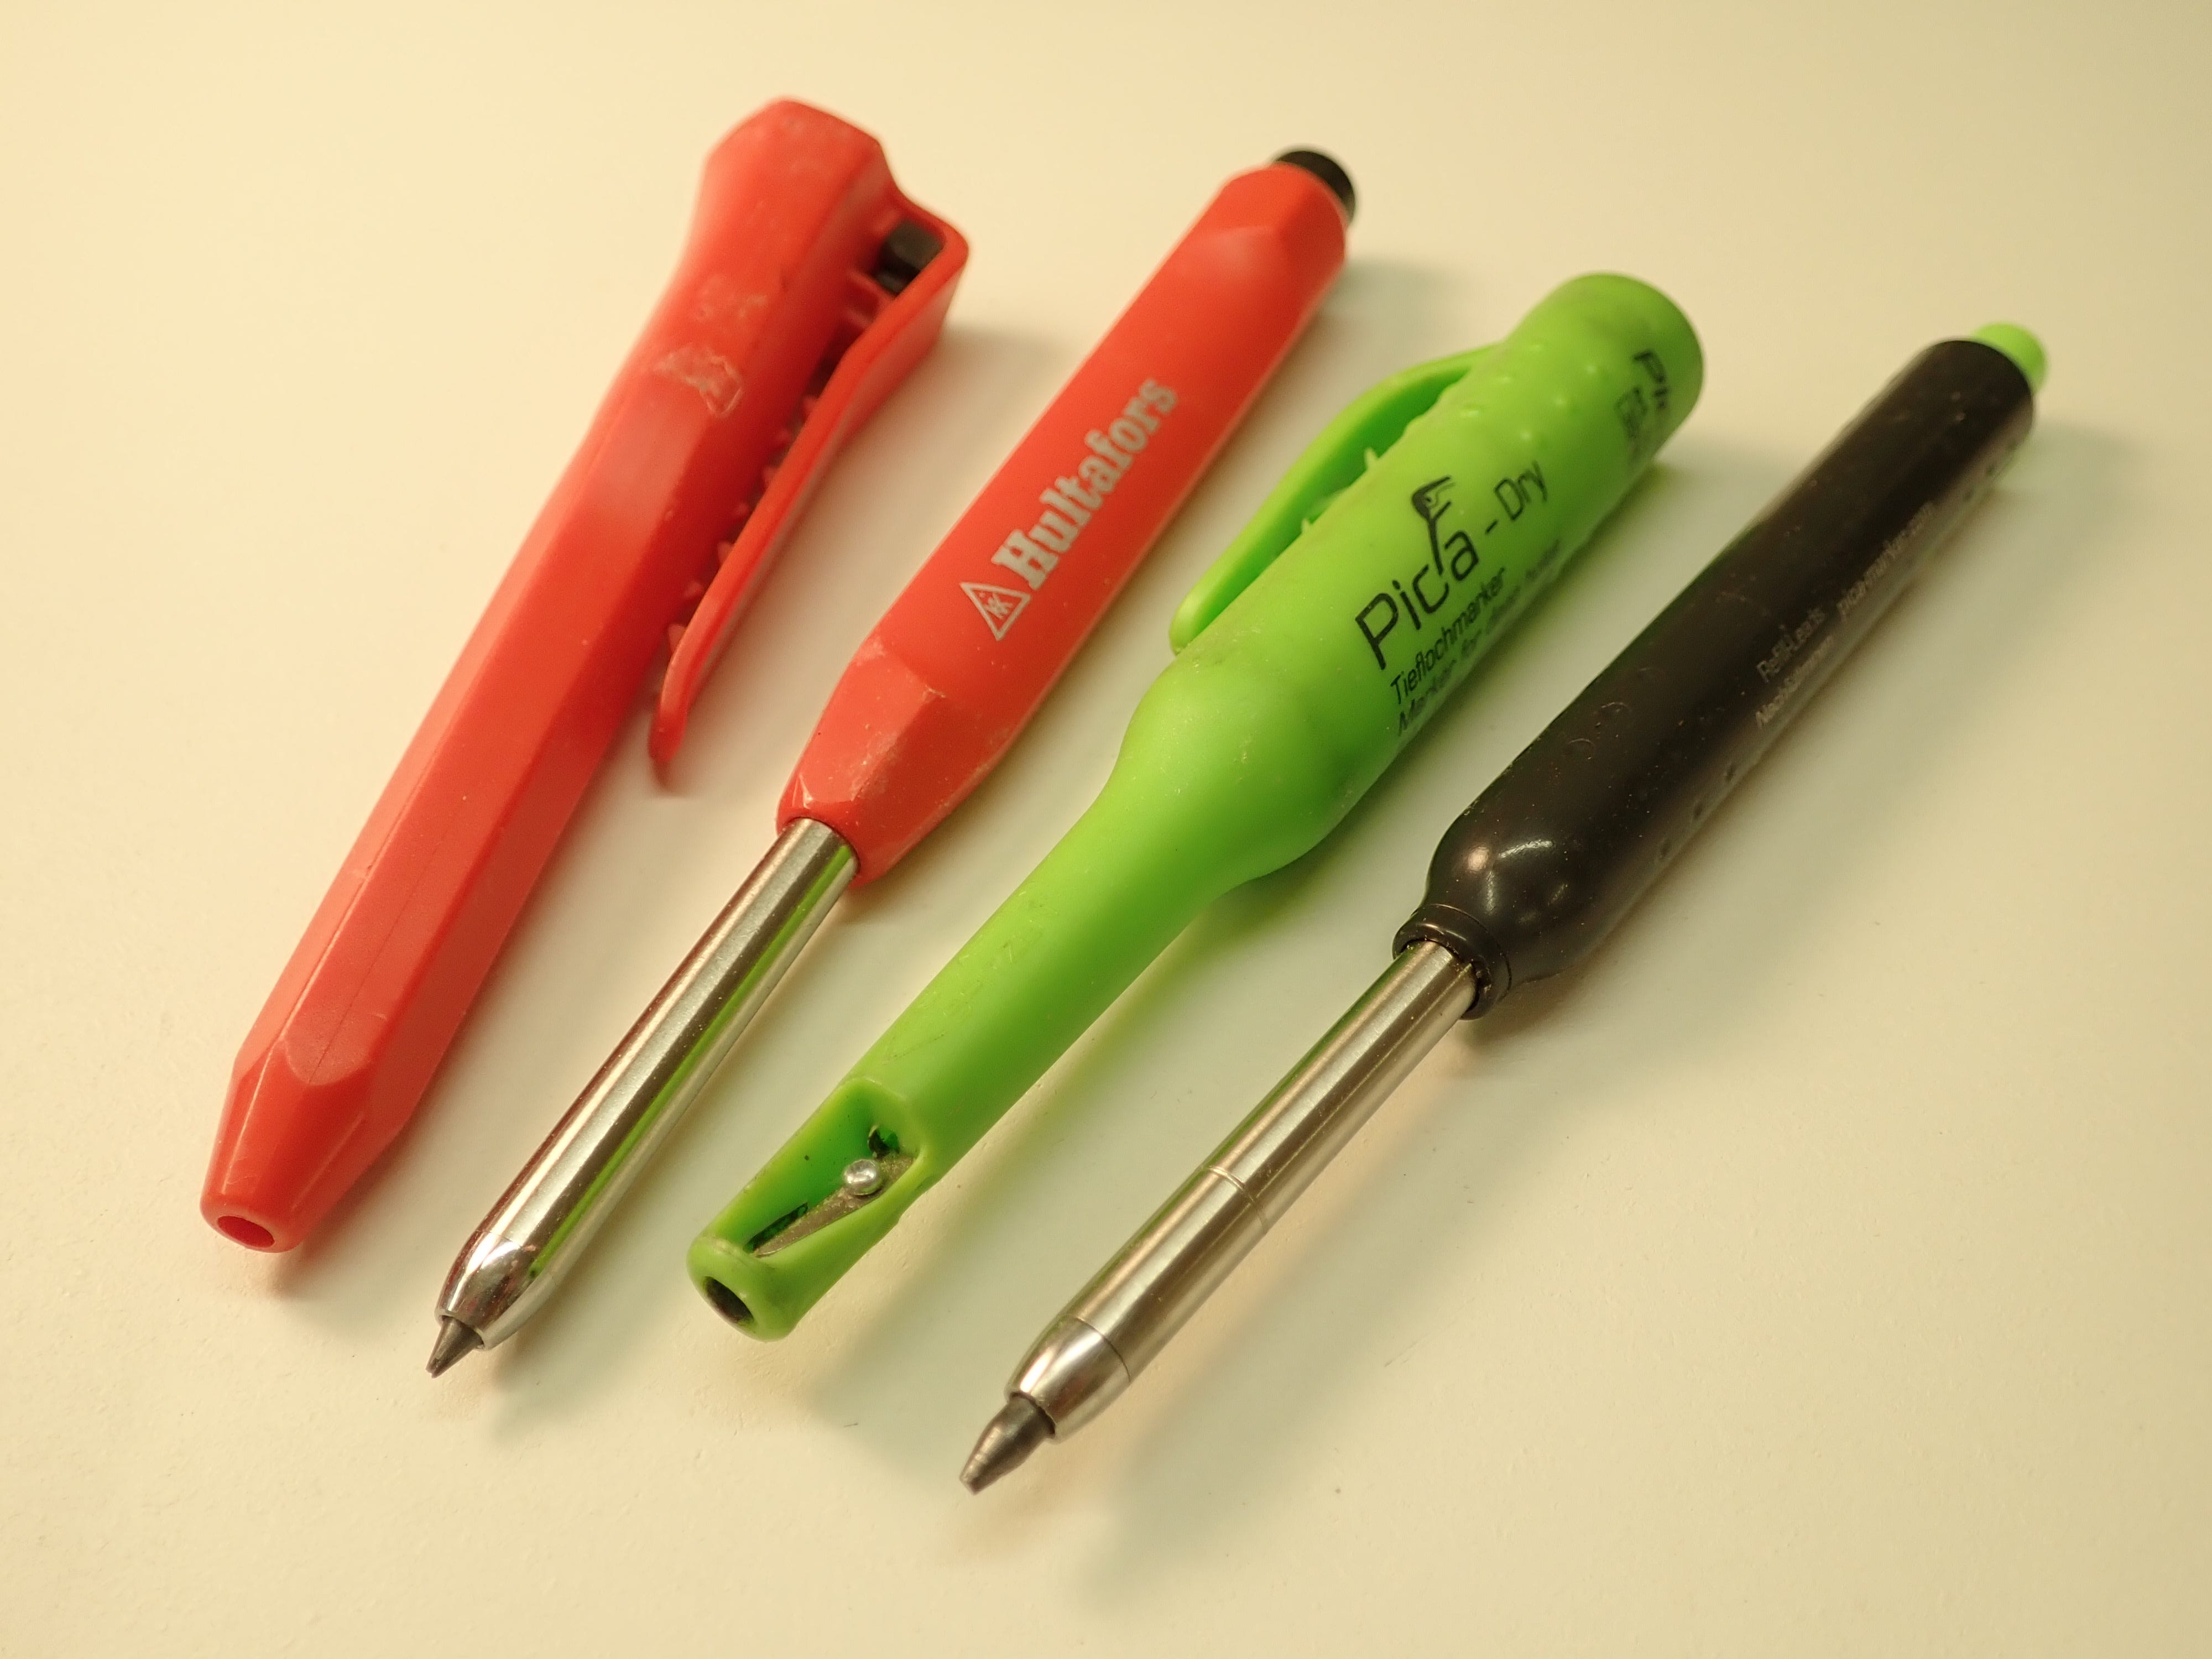
Speaking of tools better suited for housebuilding in rain and snow; these ungainly buggers stand up well to rough usage:
The other way of drawing on wood is by leaving ink.
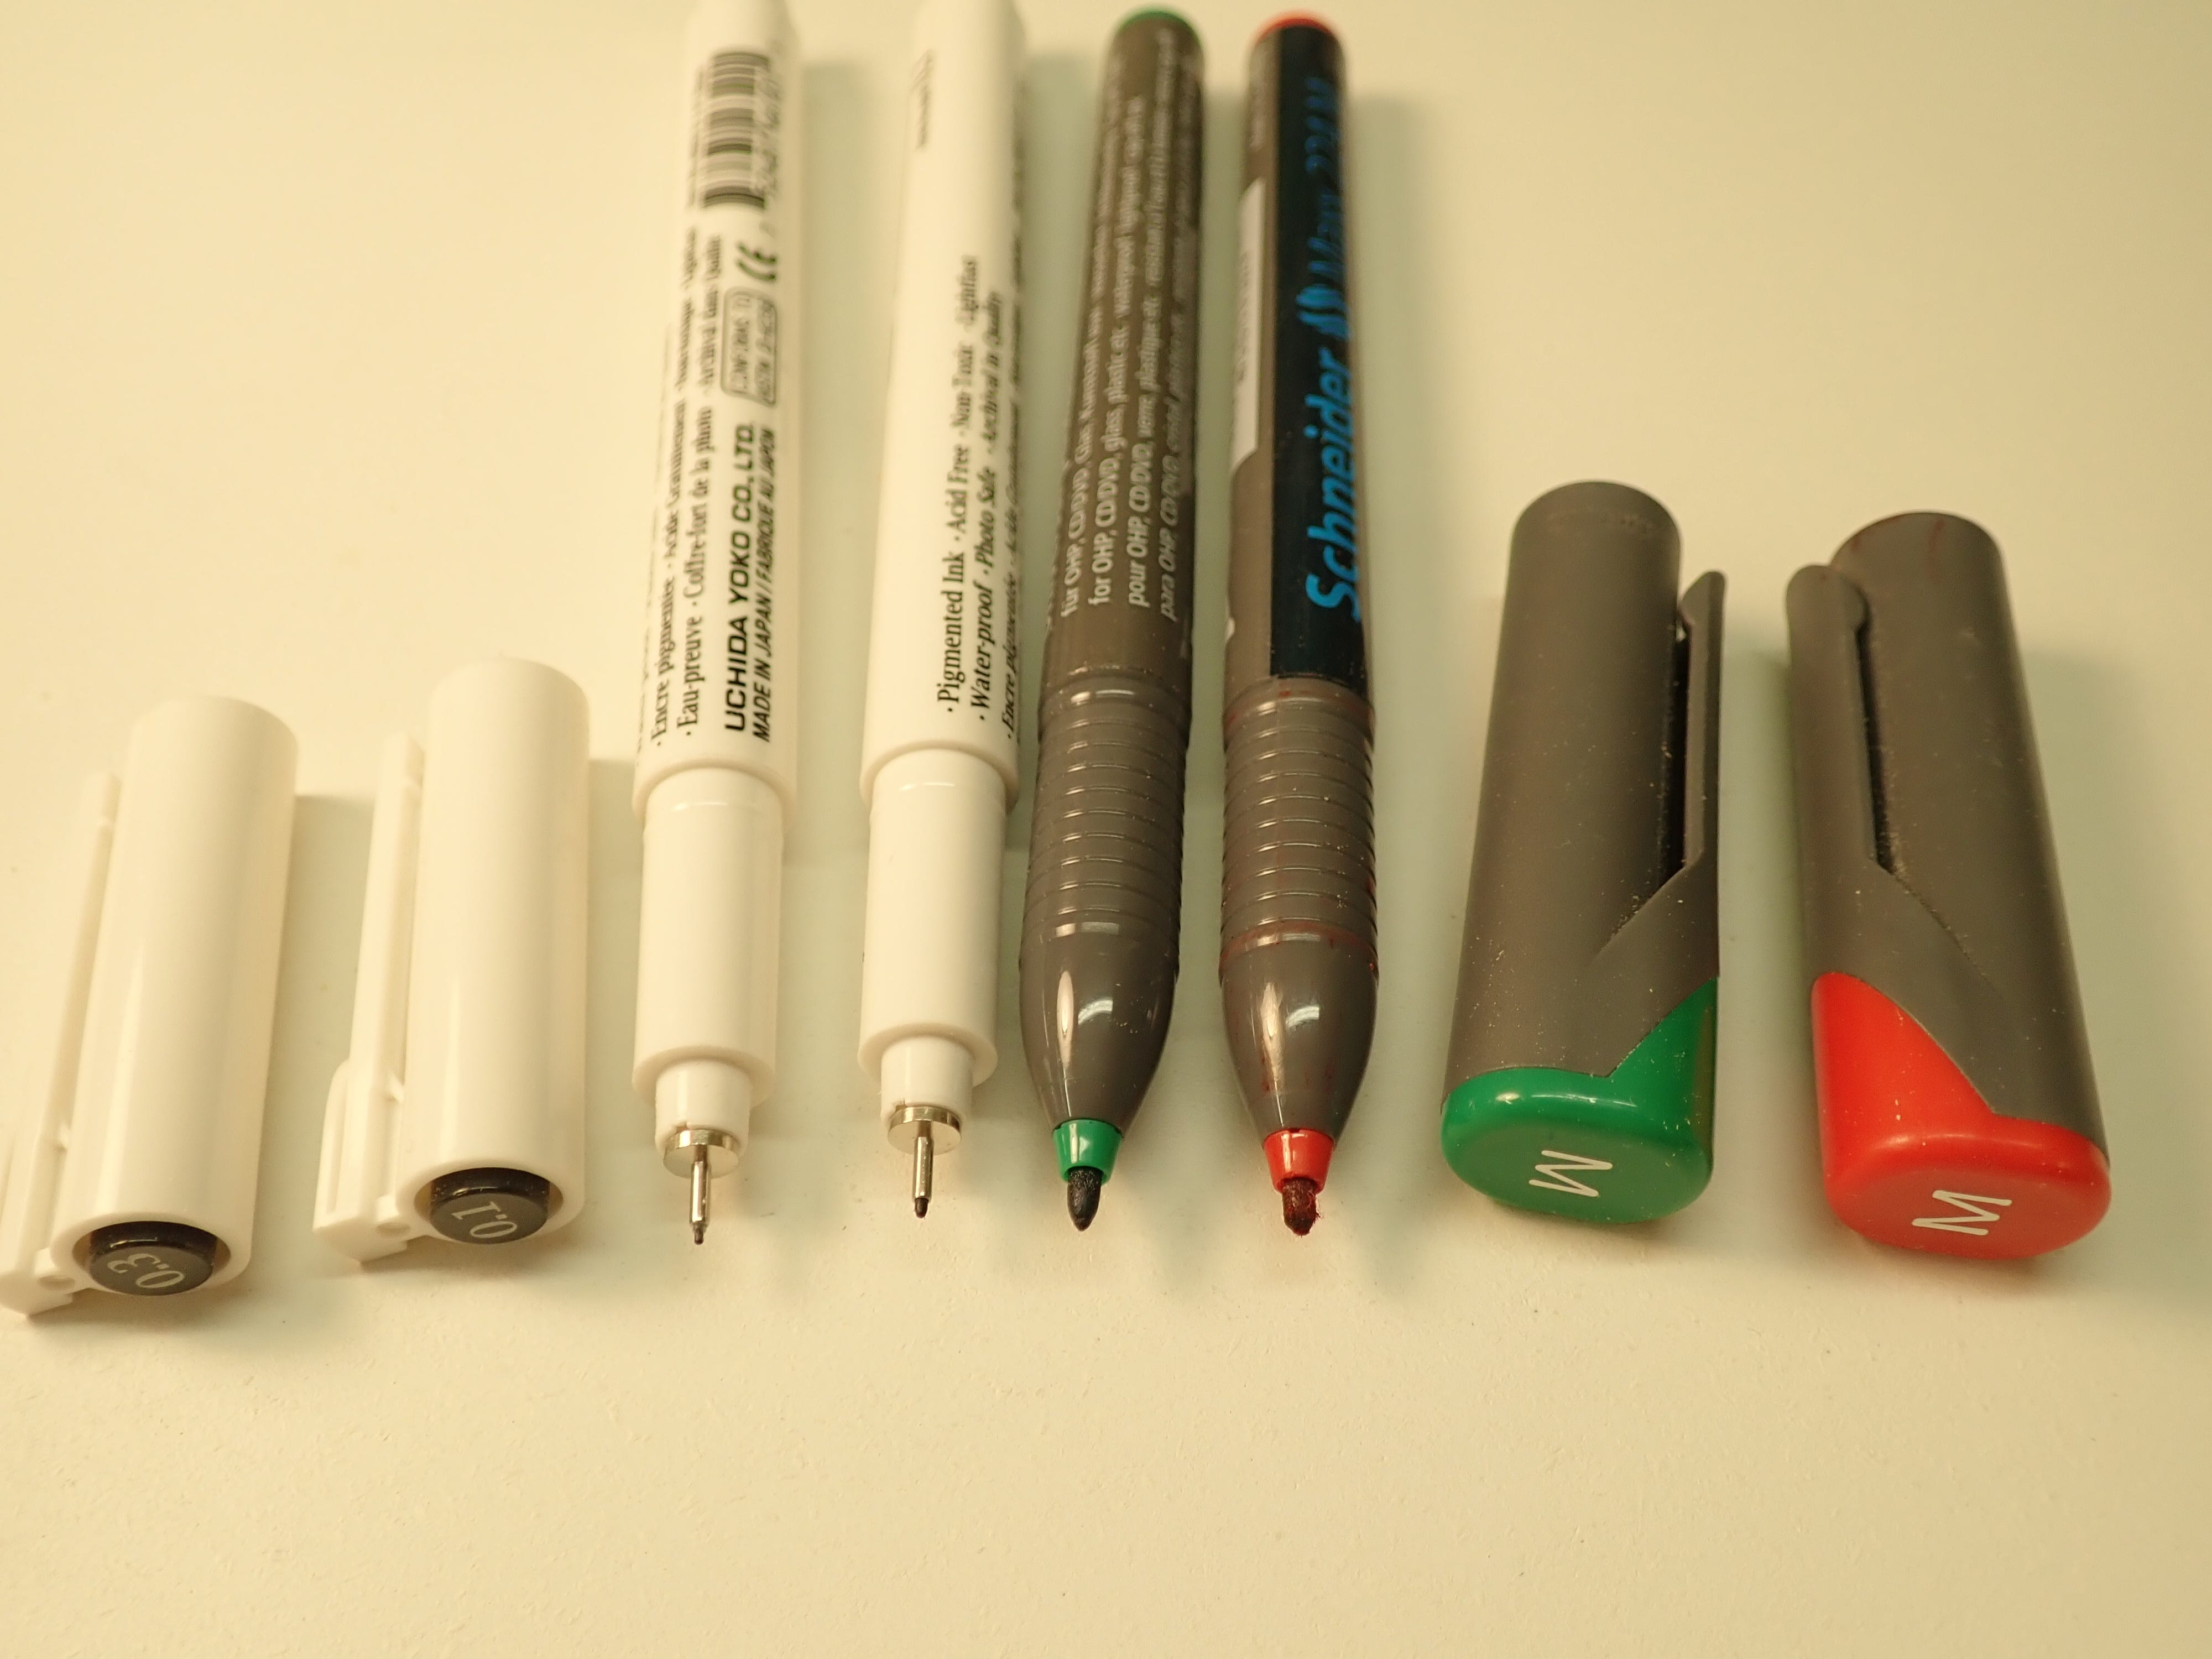
I use the thin, technical drawing pens on both (planed) wood and paper for high accuracy and visibility. The coloured felt-tip markers are handy for marking out defects during stock prep …
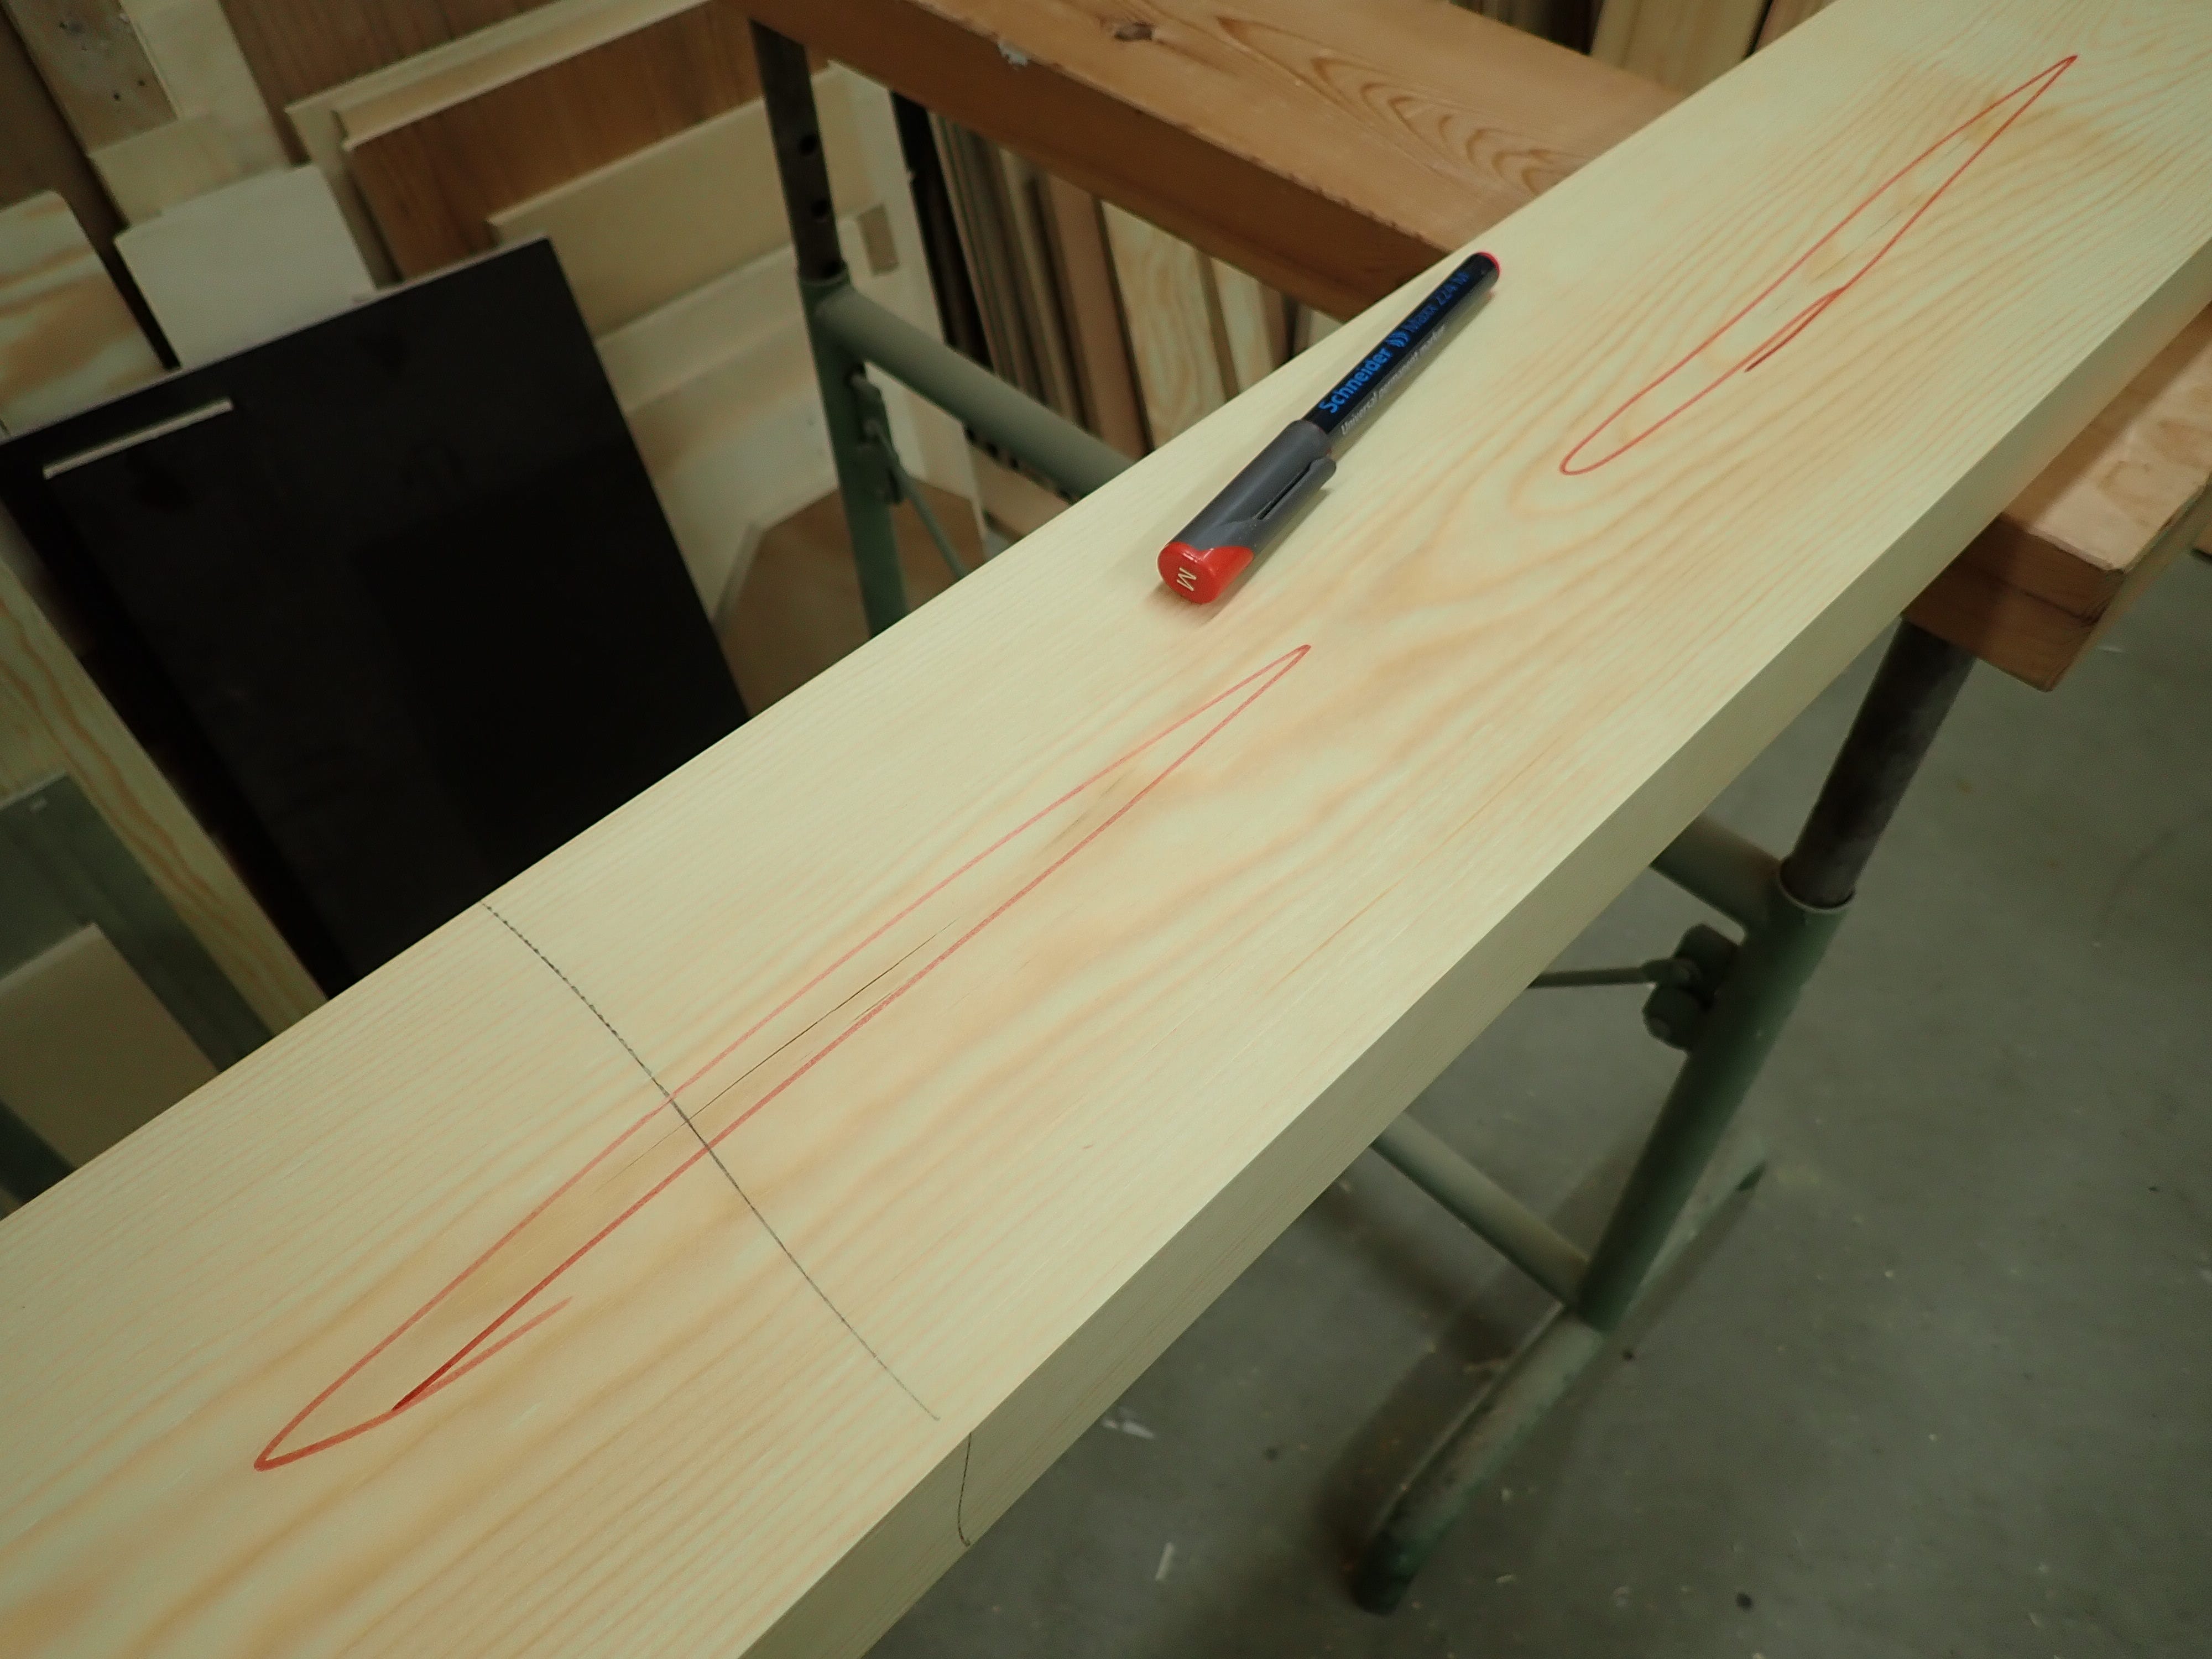
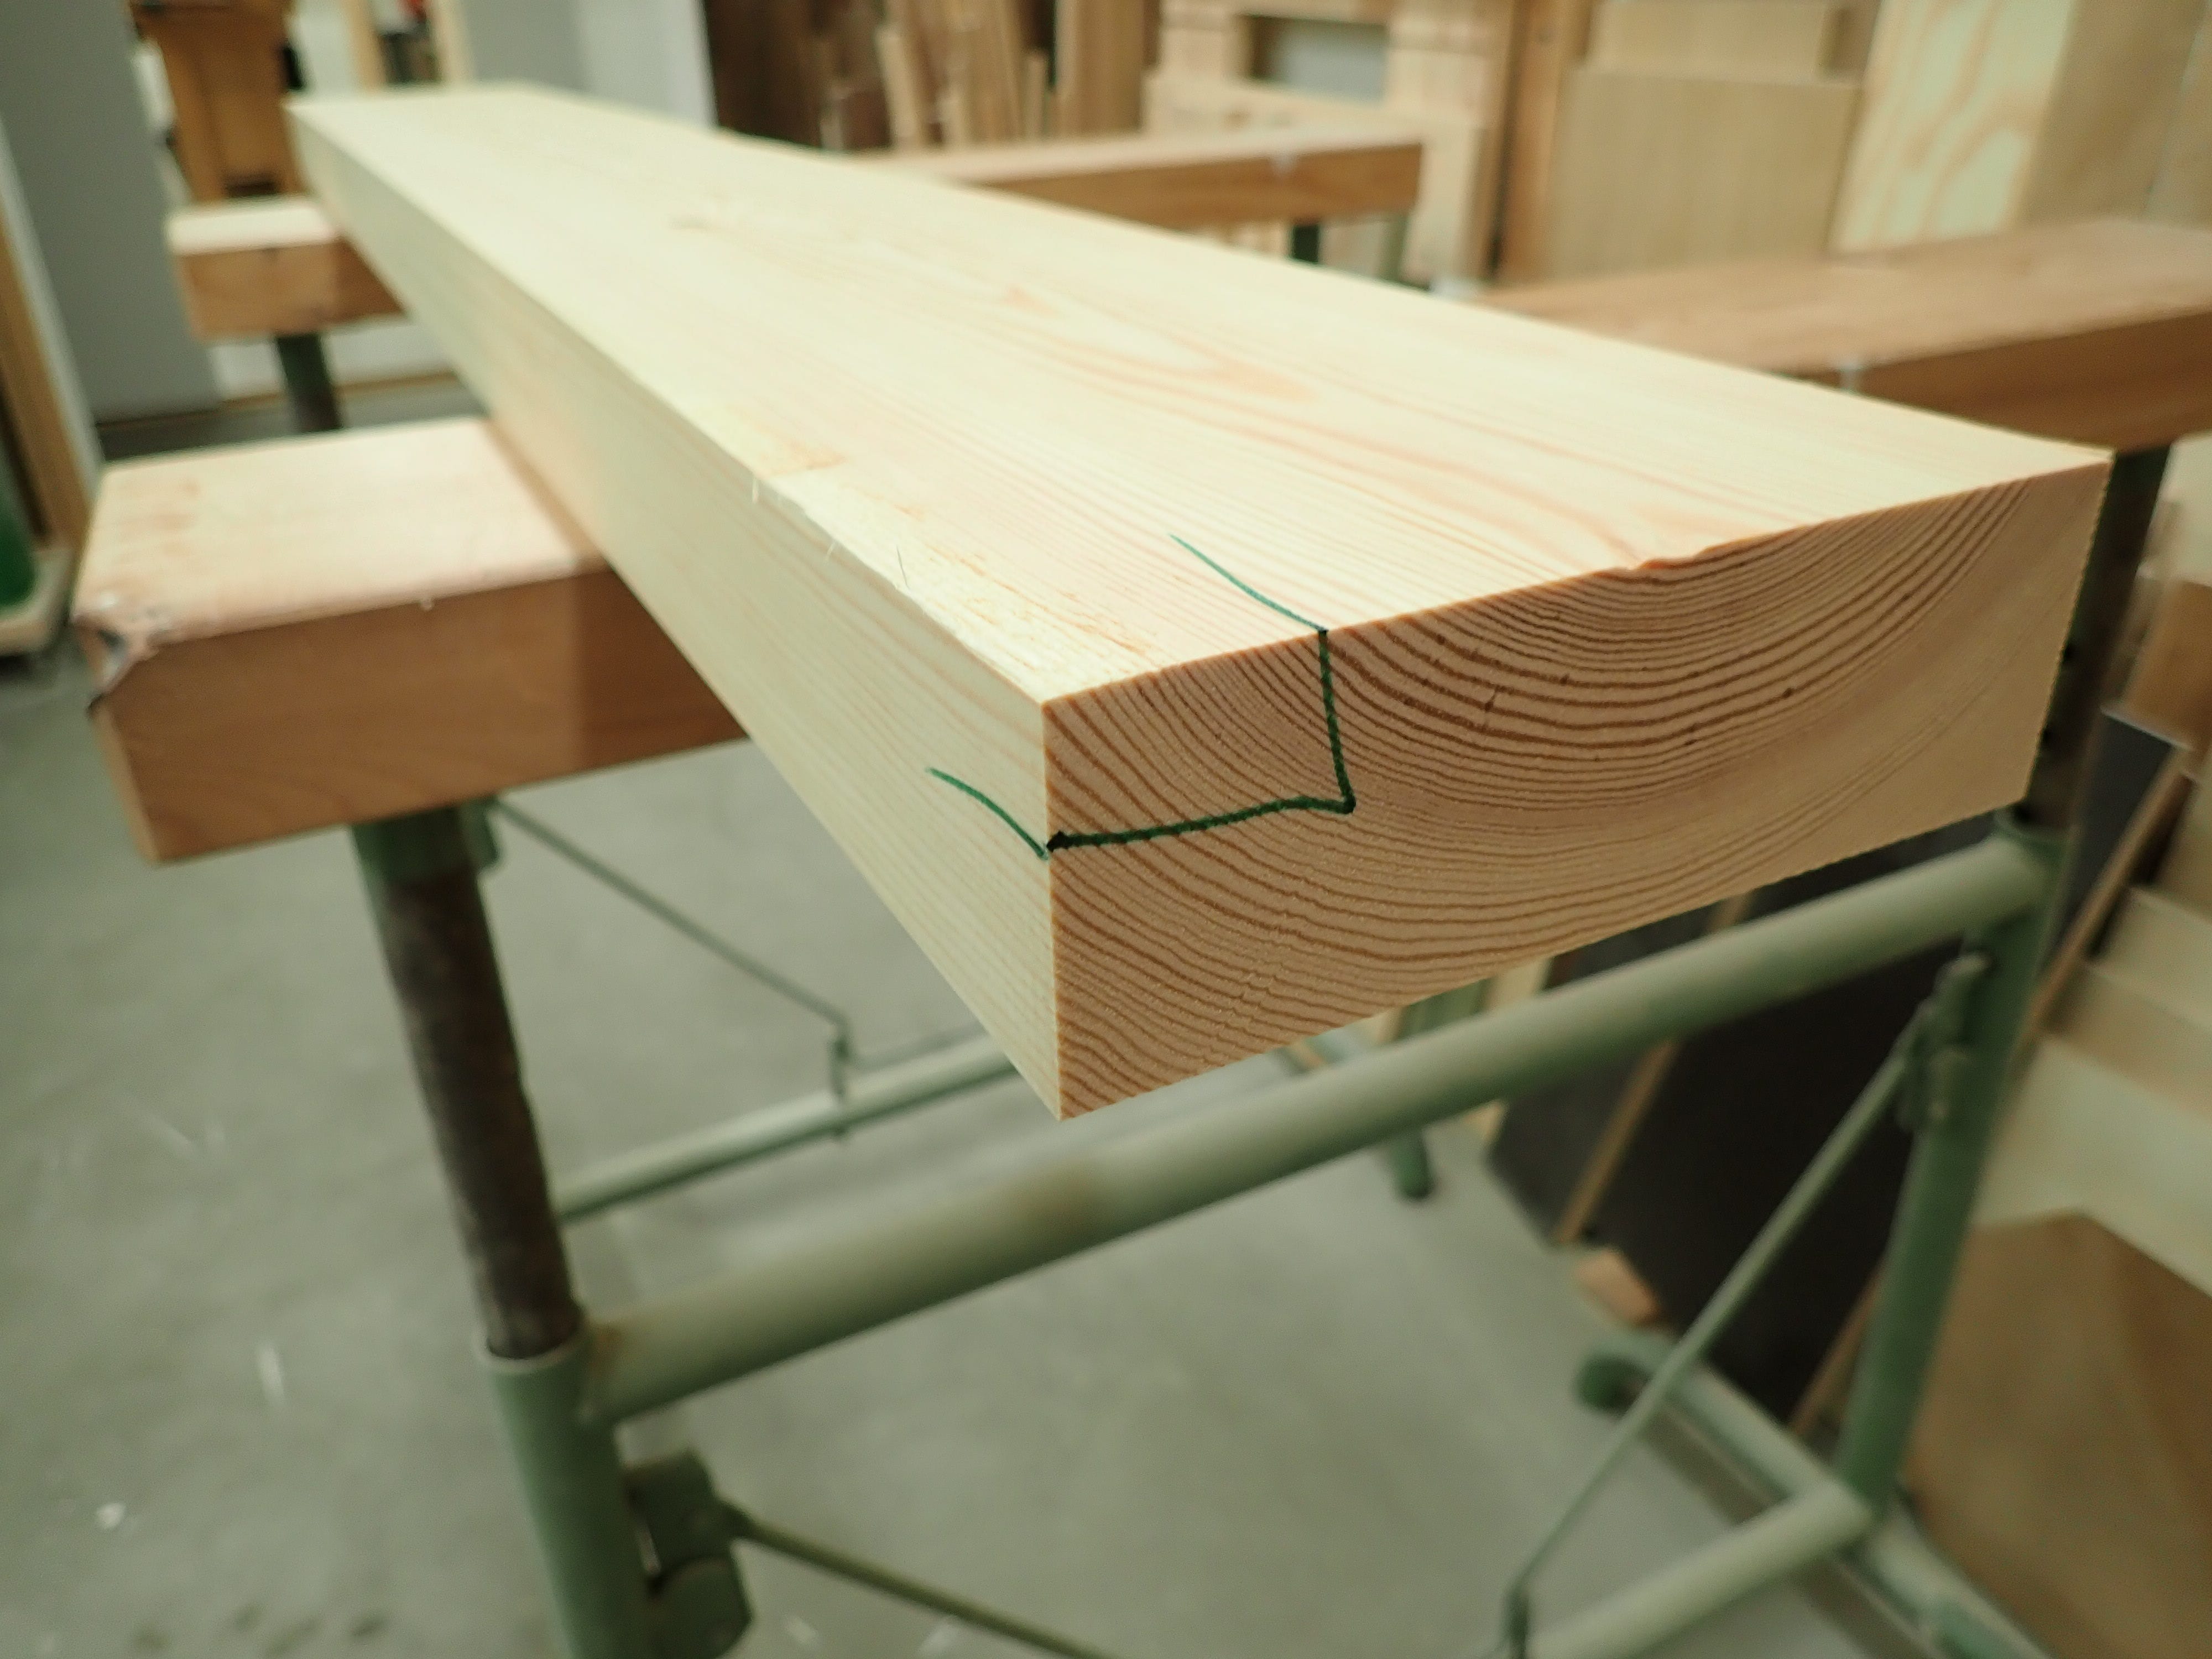
and for marking on which corner rebates and such are to be cut. It is very helpful to have such ‘orientation-marks’ when you’re machining a stack of blanks.
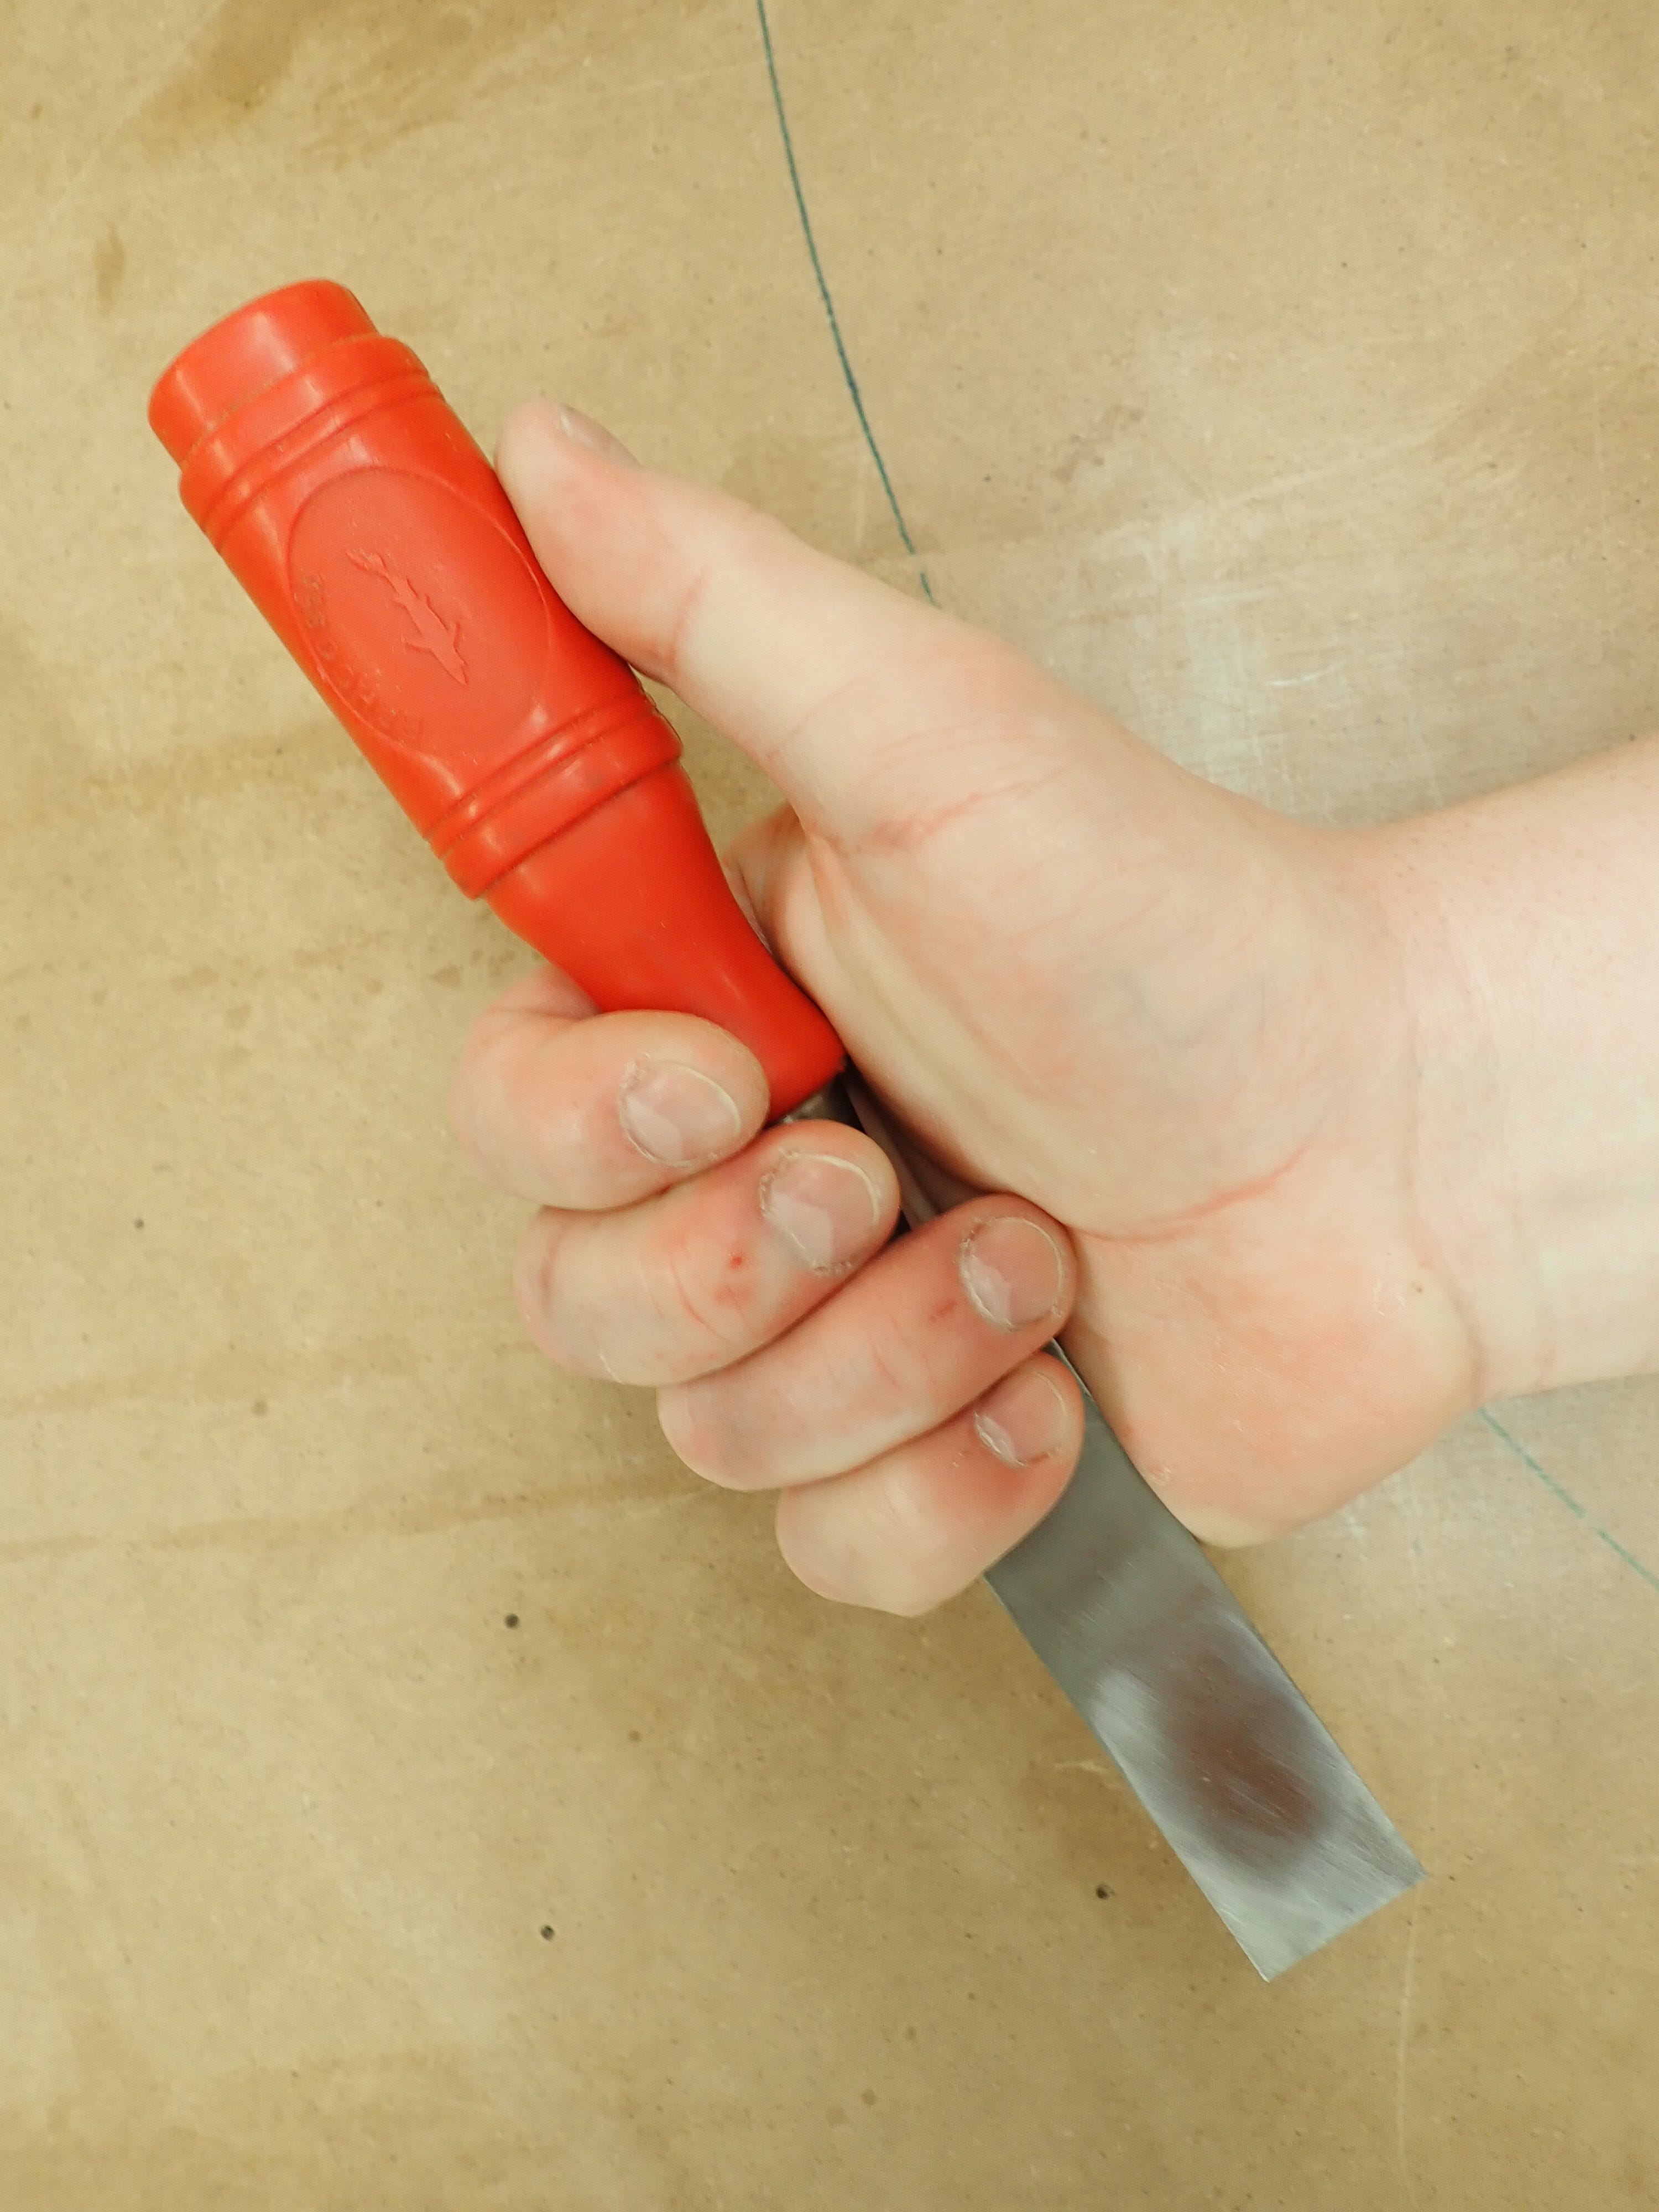
For better accuracy you might choose to scribe a line (what we in Norwegian would call a ‘skarp-riss’, a ‘sharp-scratch’) using a marking gauge (see earlier post) or a marking knife. Proper marking knives have ‘one-sided blades’ like a chisel (which is also a suitable tool to be drawn slightly tilted along a batten to make sharp marks or to sever wood-fibers so as to reduce spelching.)
Here are my marking knives:
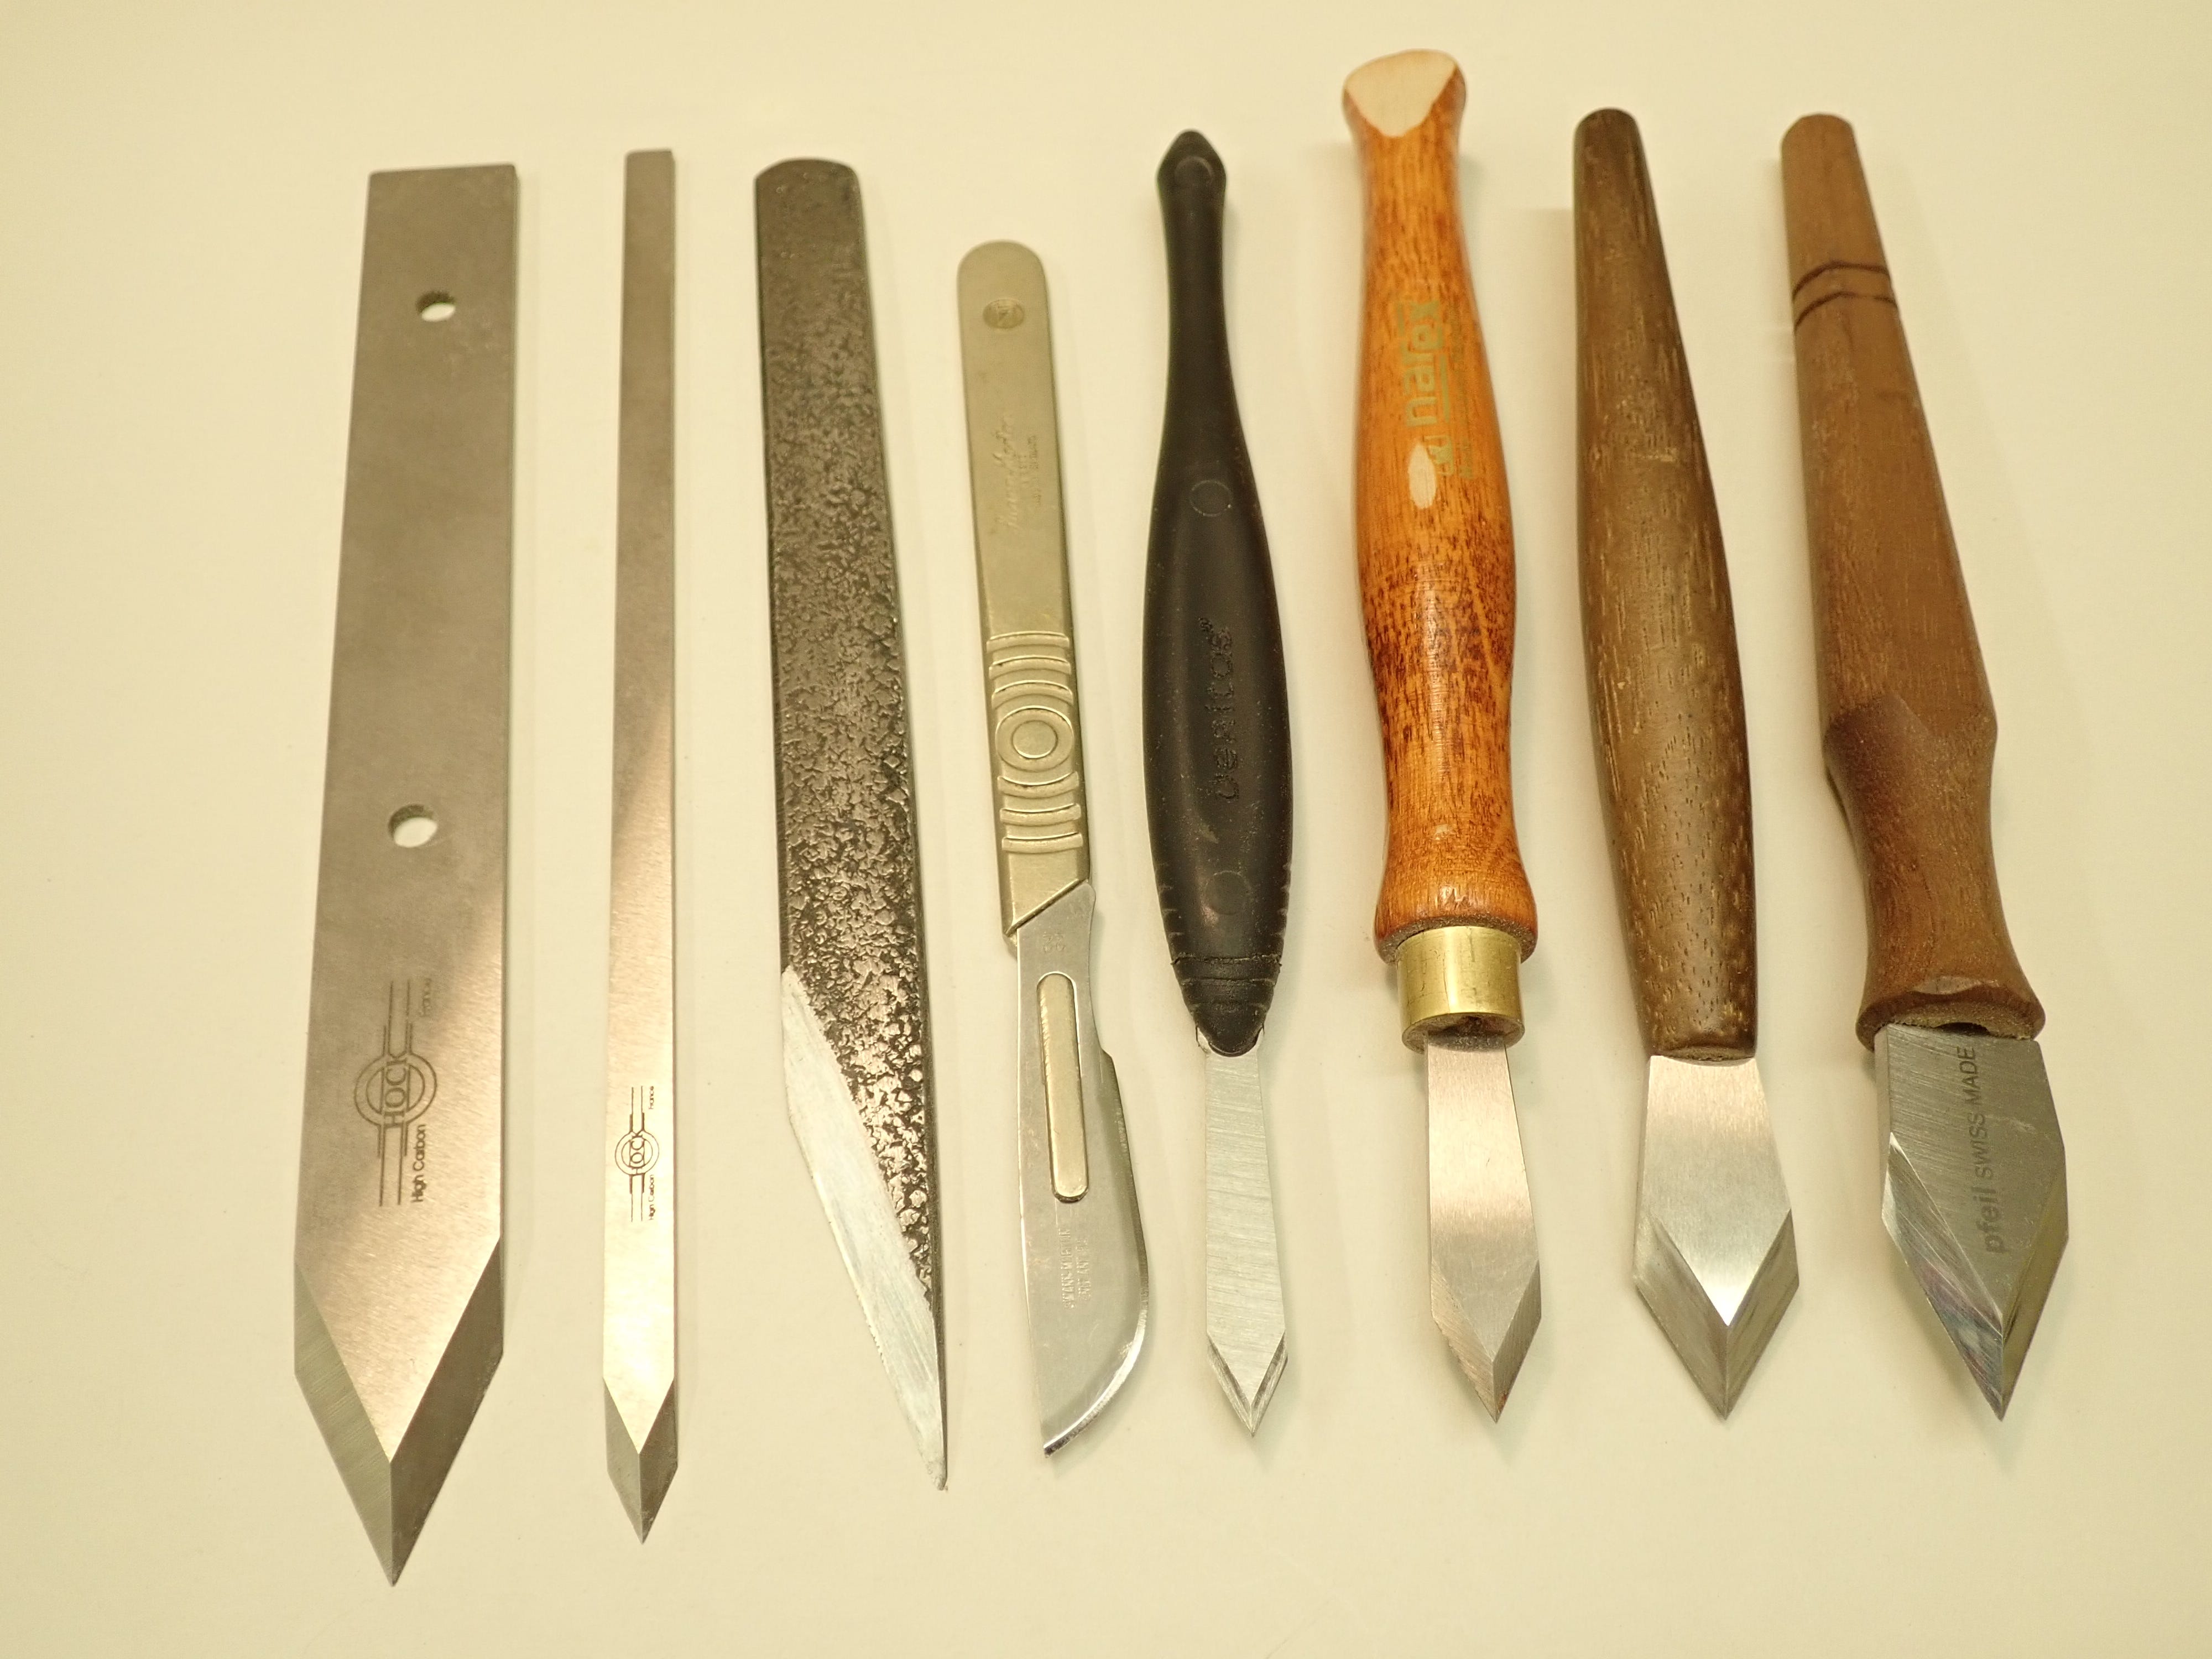
My two cents, from left to right:
2 Ron Hock knives without handles: my favourites for transferring dovetails (scribing pins to tails, or vice versa), large or small. There is no handle to get in the way.
Japanese, one-sided marking knife: ergonomically awful, works only one way, blade too acutely angled… I’m obviously neither worthy nor magical enough for this timeless piece of eastern craftsmanship so it gets no use. I’m sure the samurai fantasists will explain my shortcomings in detail.
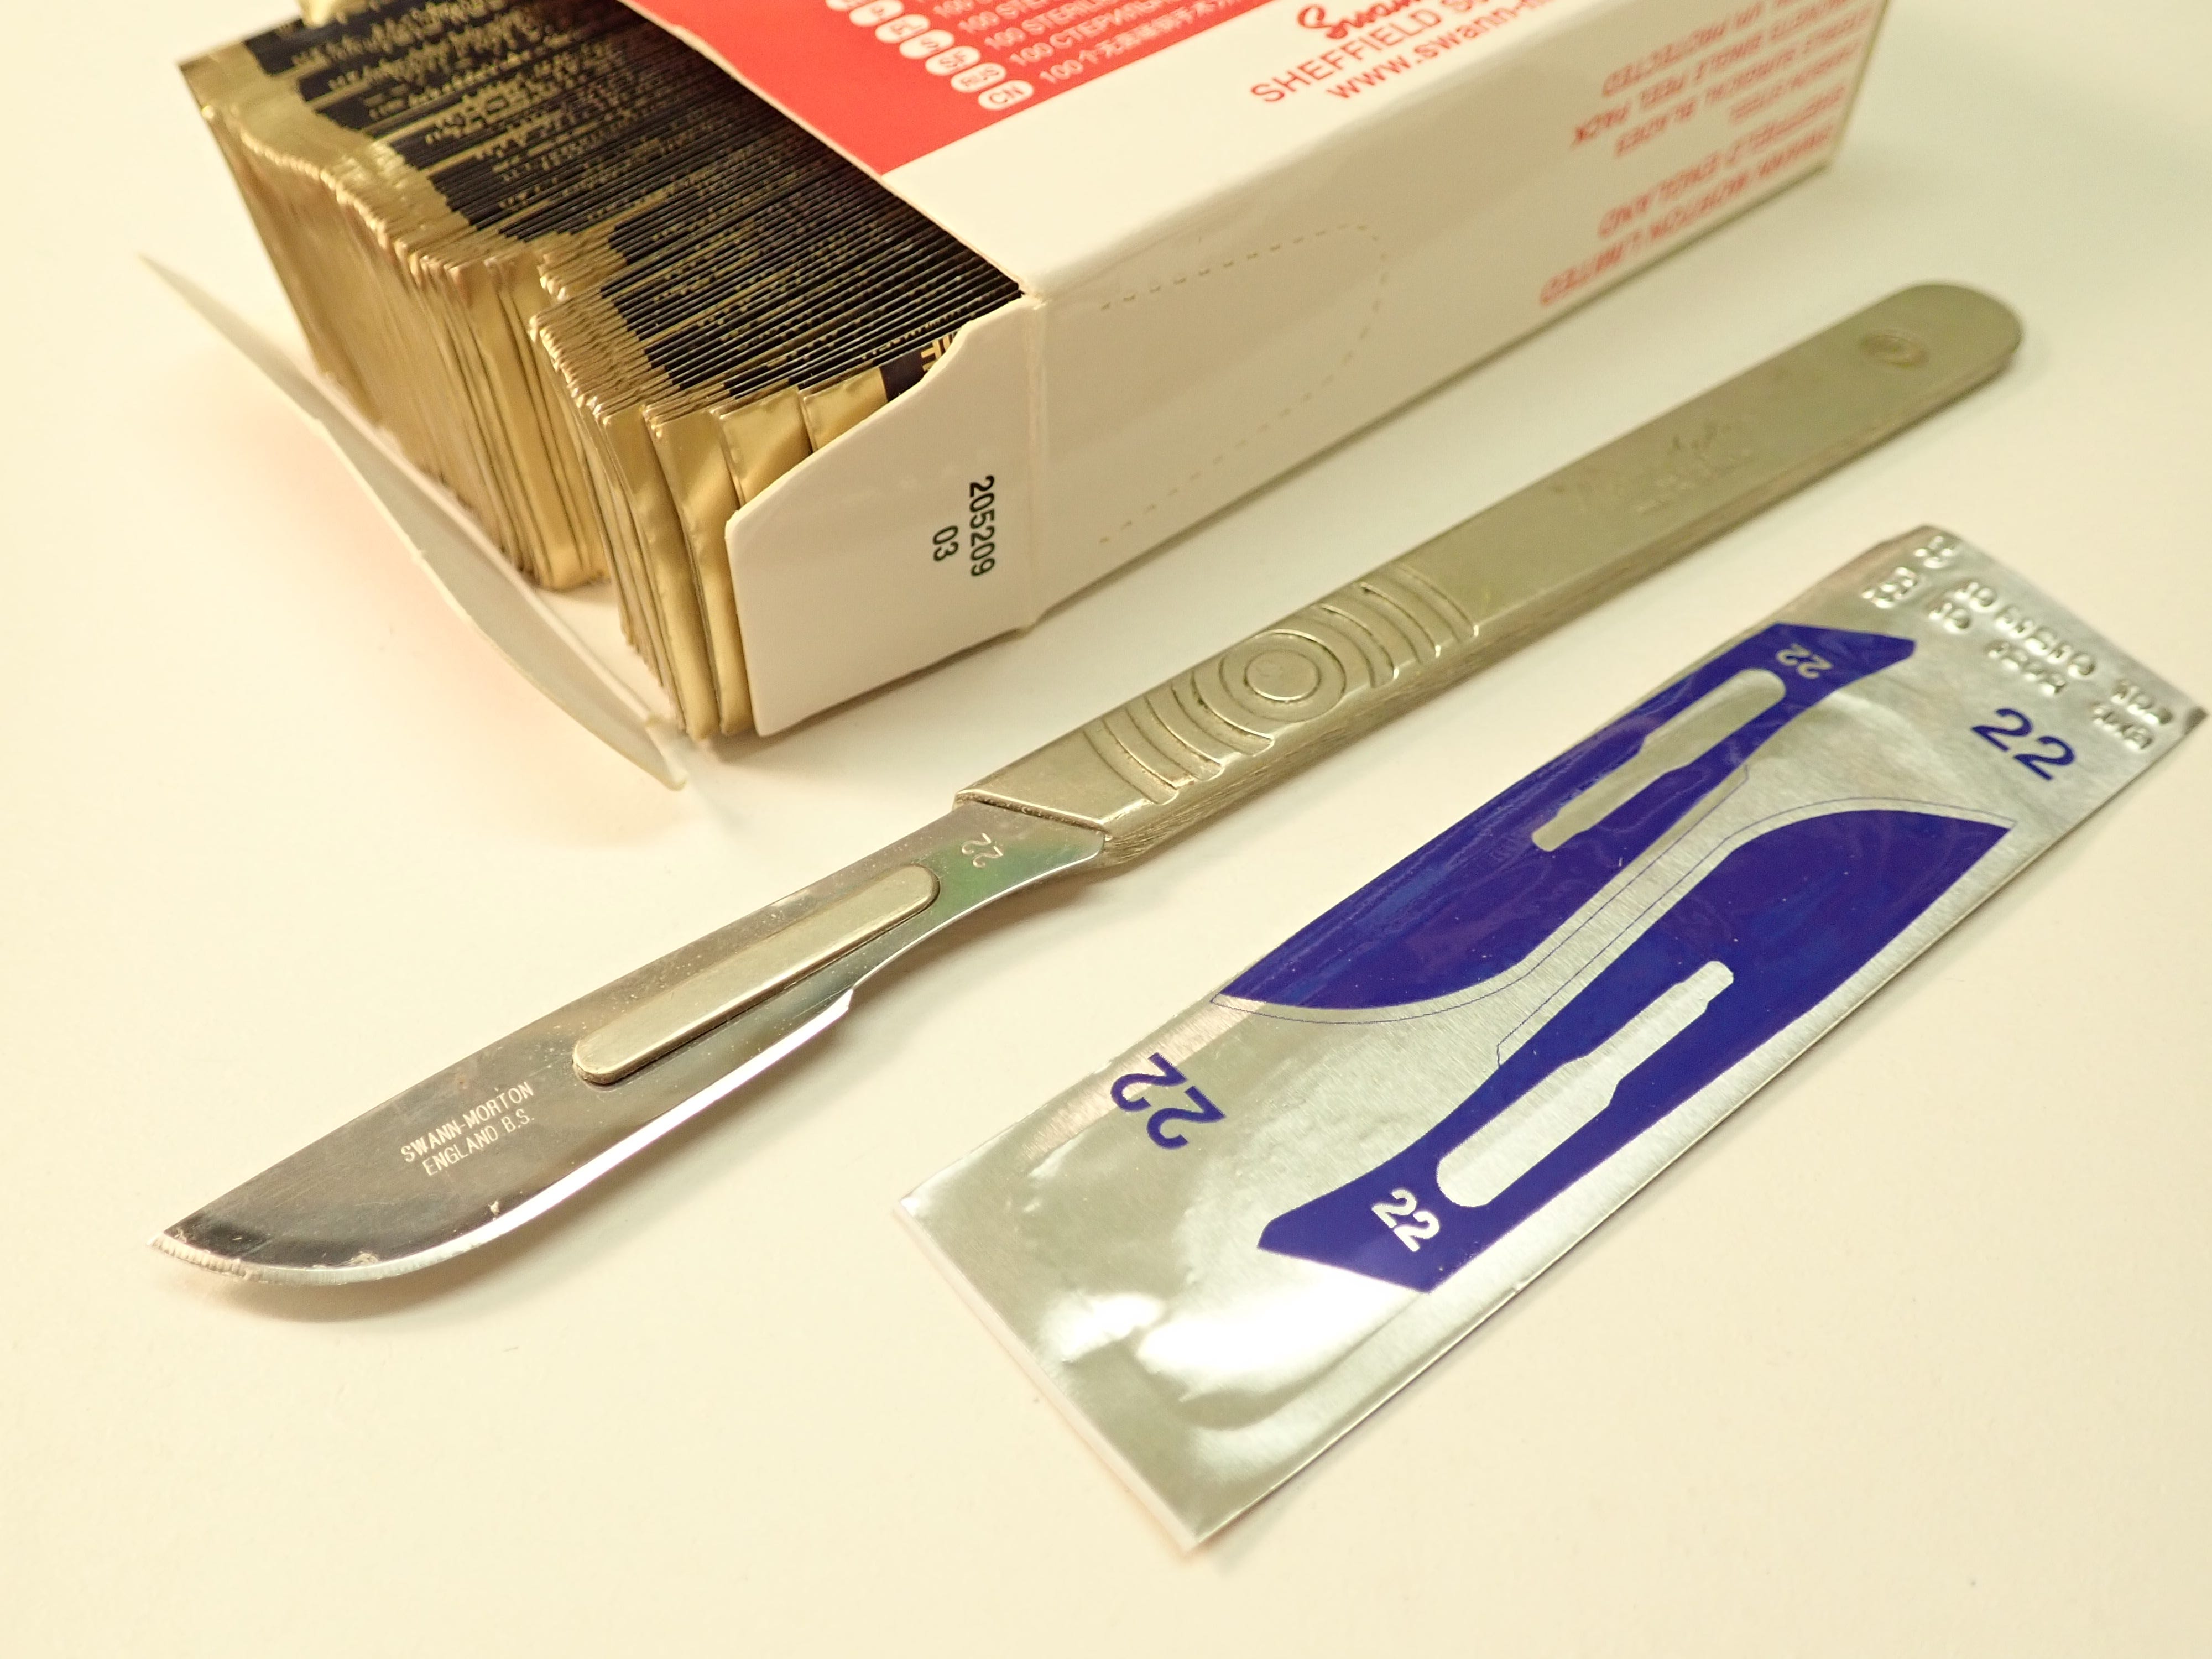
Swann-Morton No. 4 scalpel: surprisingly handy in a workshop. From removing splinters to dismembering your victims (ease of transport is essential … as they say; a friend will help you move a sofa, but a real friend will help you move a body).
Veritas: horrible — stay away!
Narex: meh! blade good, handle slippery.
Hattori: elegant but ergonomically wrong; no purchase for fingertips.
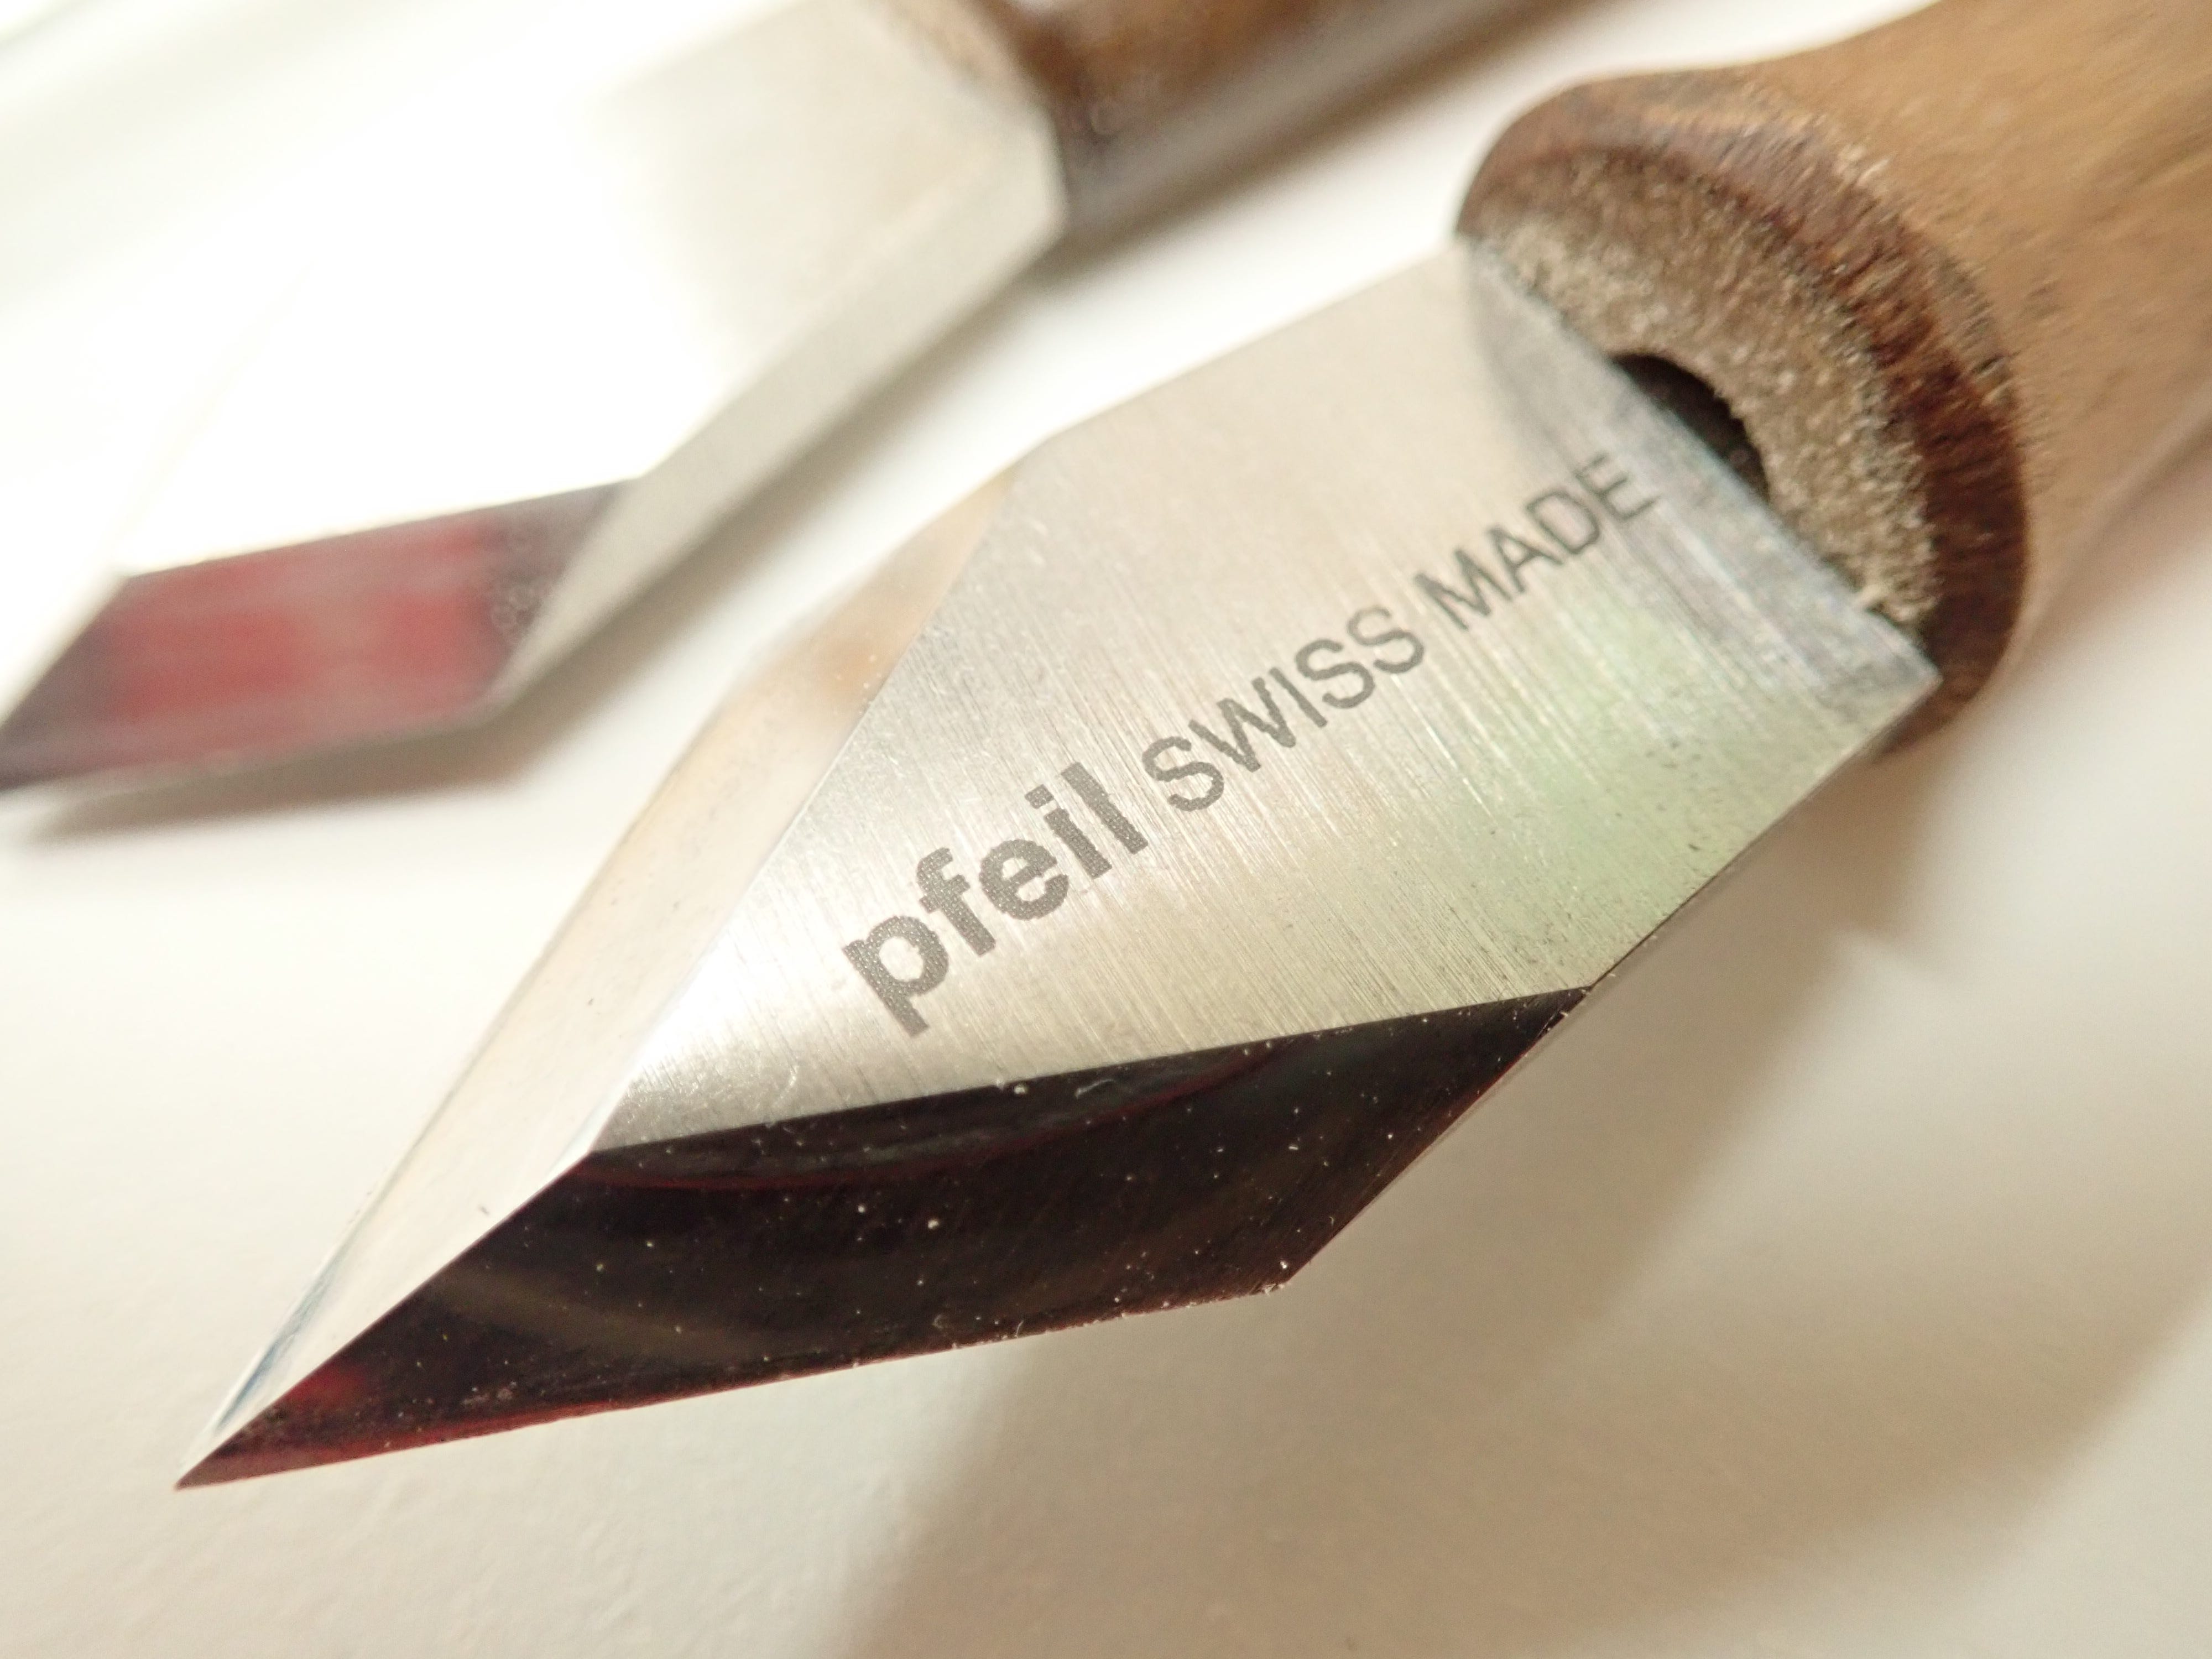
Pfeil: my all-round everyday favourite. Good handle shape, ‘dry’ wood = good grip, ergonomically sound
But let’s not forget our pointed friends!
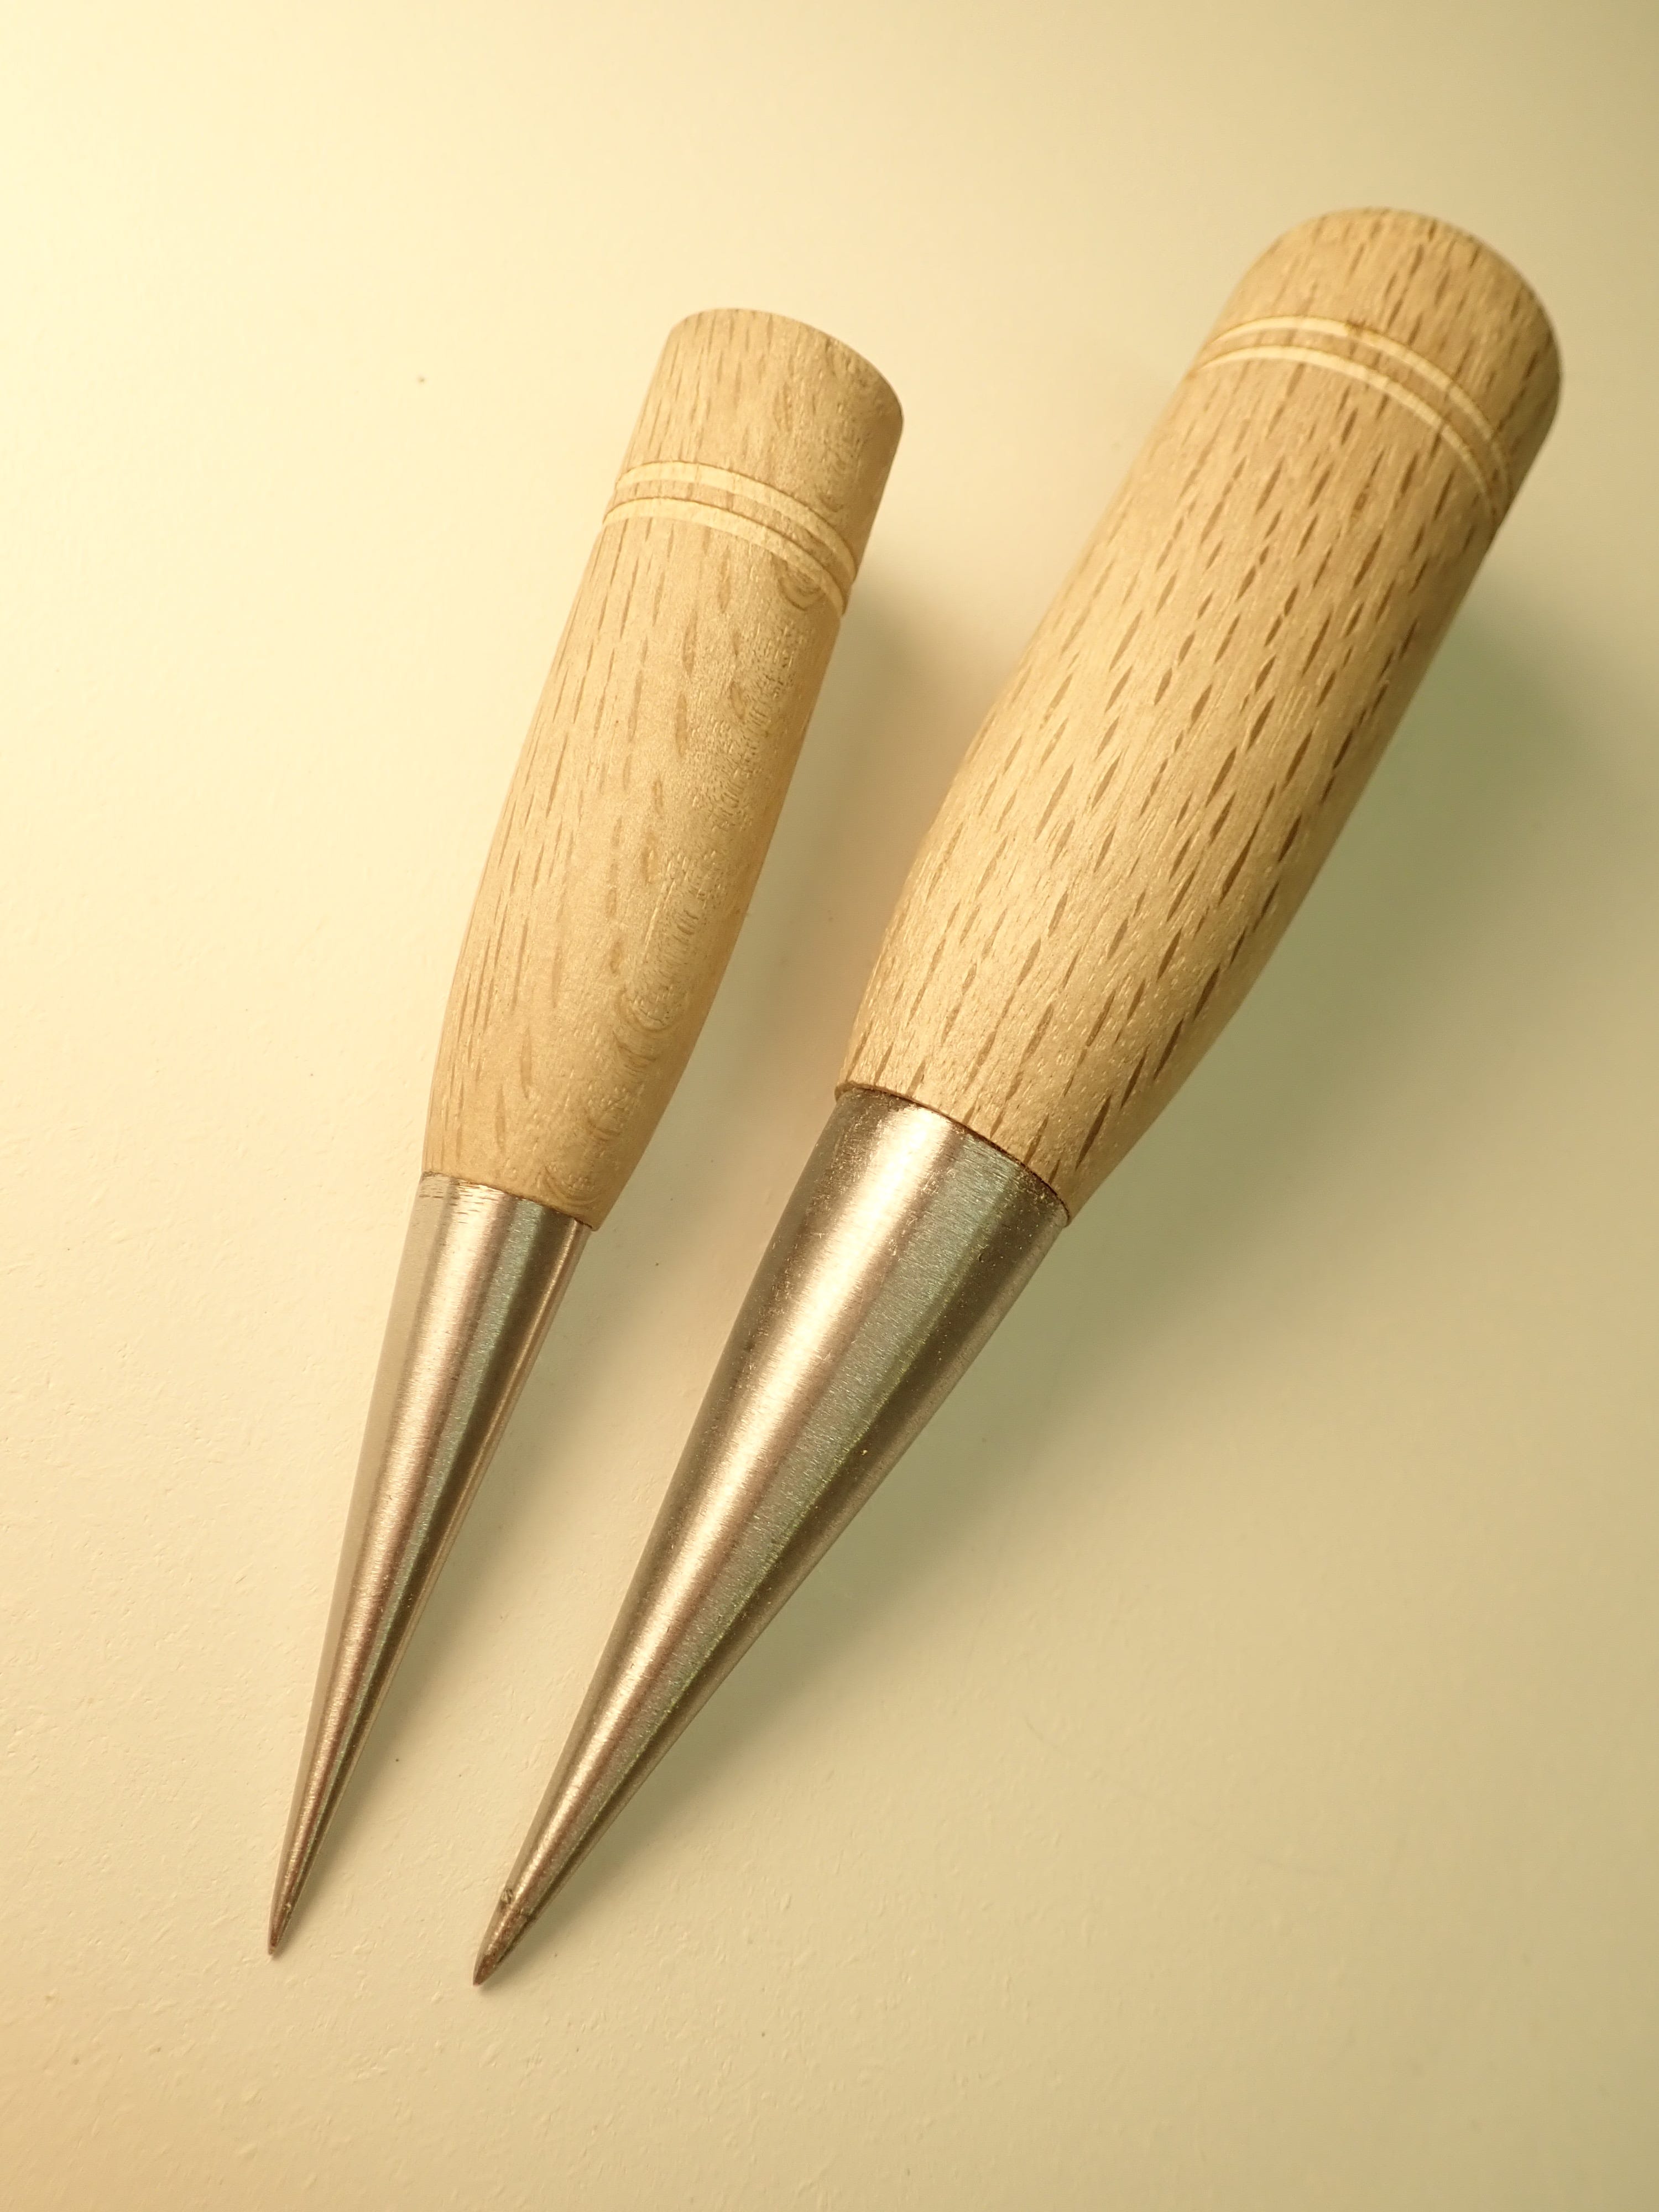
These Japanese stabbing awls (ouch!) are excellent for pinpointing exactly where the tip of that brad-pointed drill bit should go. And when you need to mark out an equidistant series of holes you need a compass to ‘walk them out’.
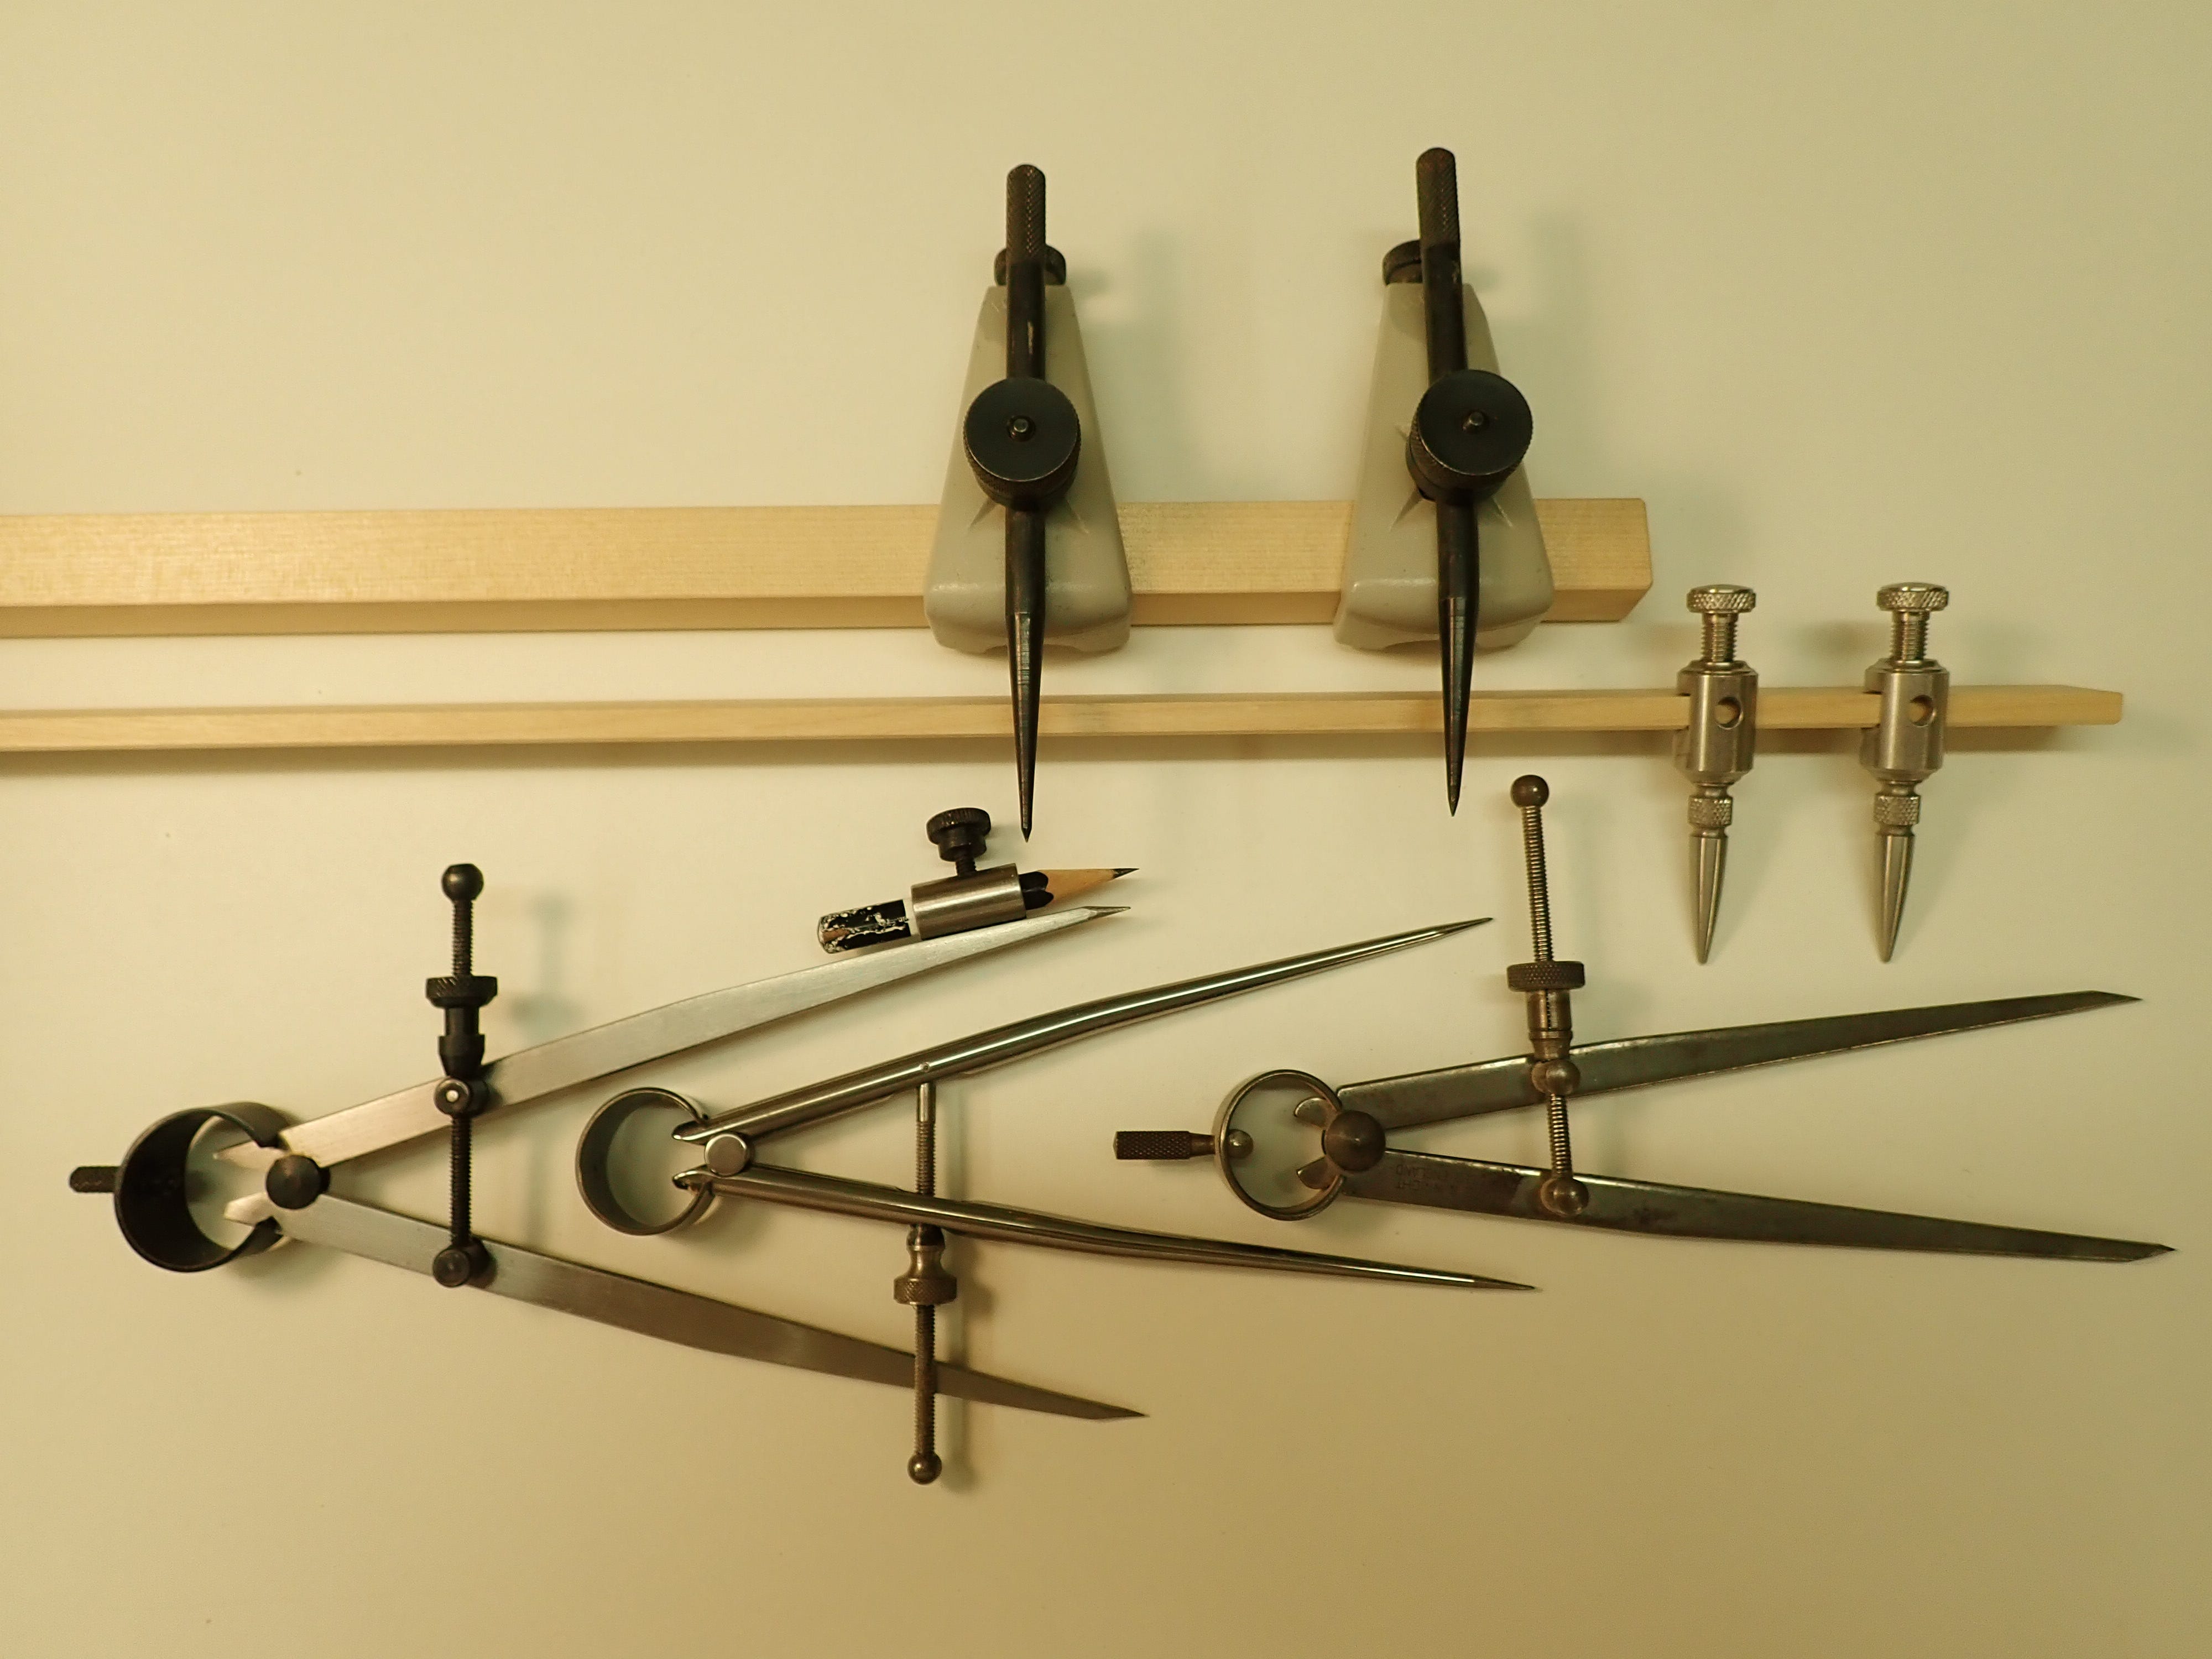
A beam compass is used for longer distances. The uppermost one on the picture has very clever slightly eccentric points in the trammels to facilitate fine adjustment. The smaller, shiny one from Veritas does not have this finesse. As for conventional, smaller compasses, they come in 3 variants (from left to right):
compass with pen-/pencil-holder: when you want to draw a circle or arc.
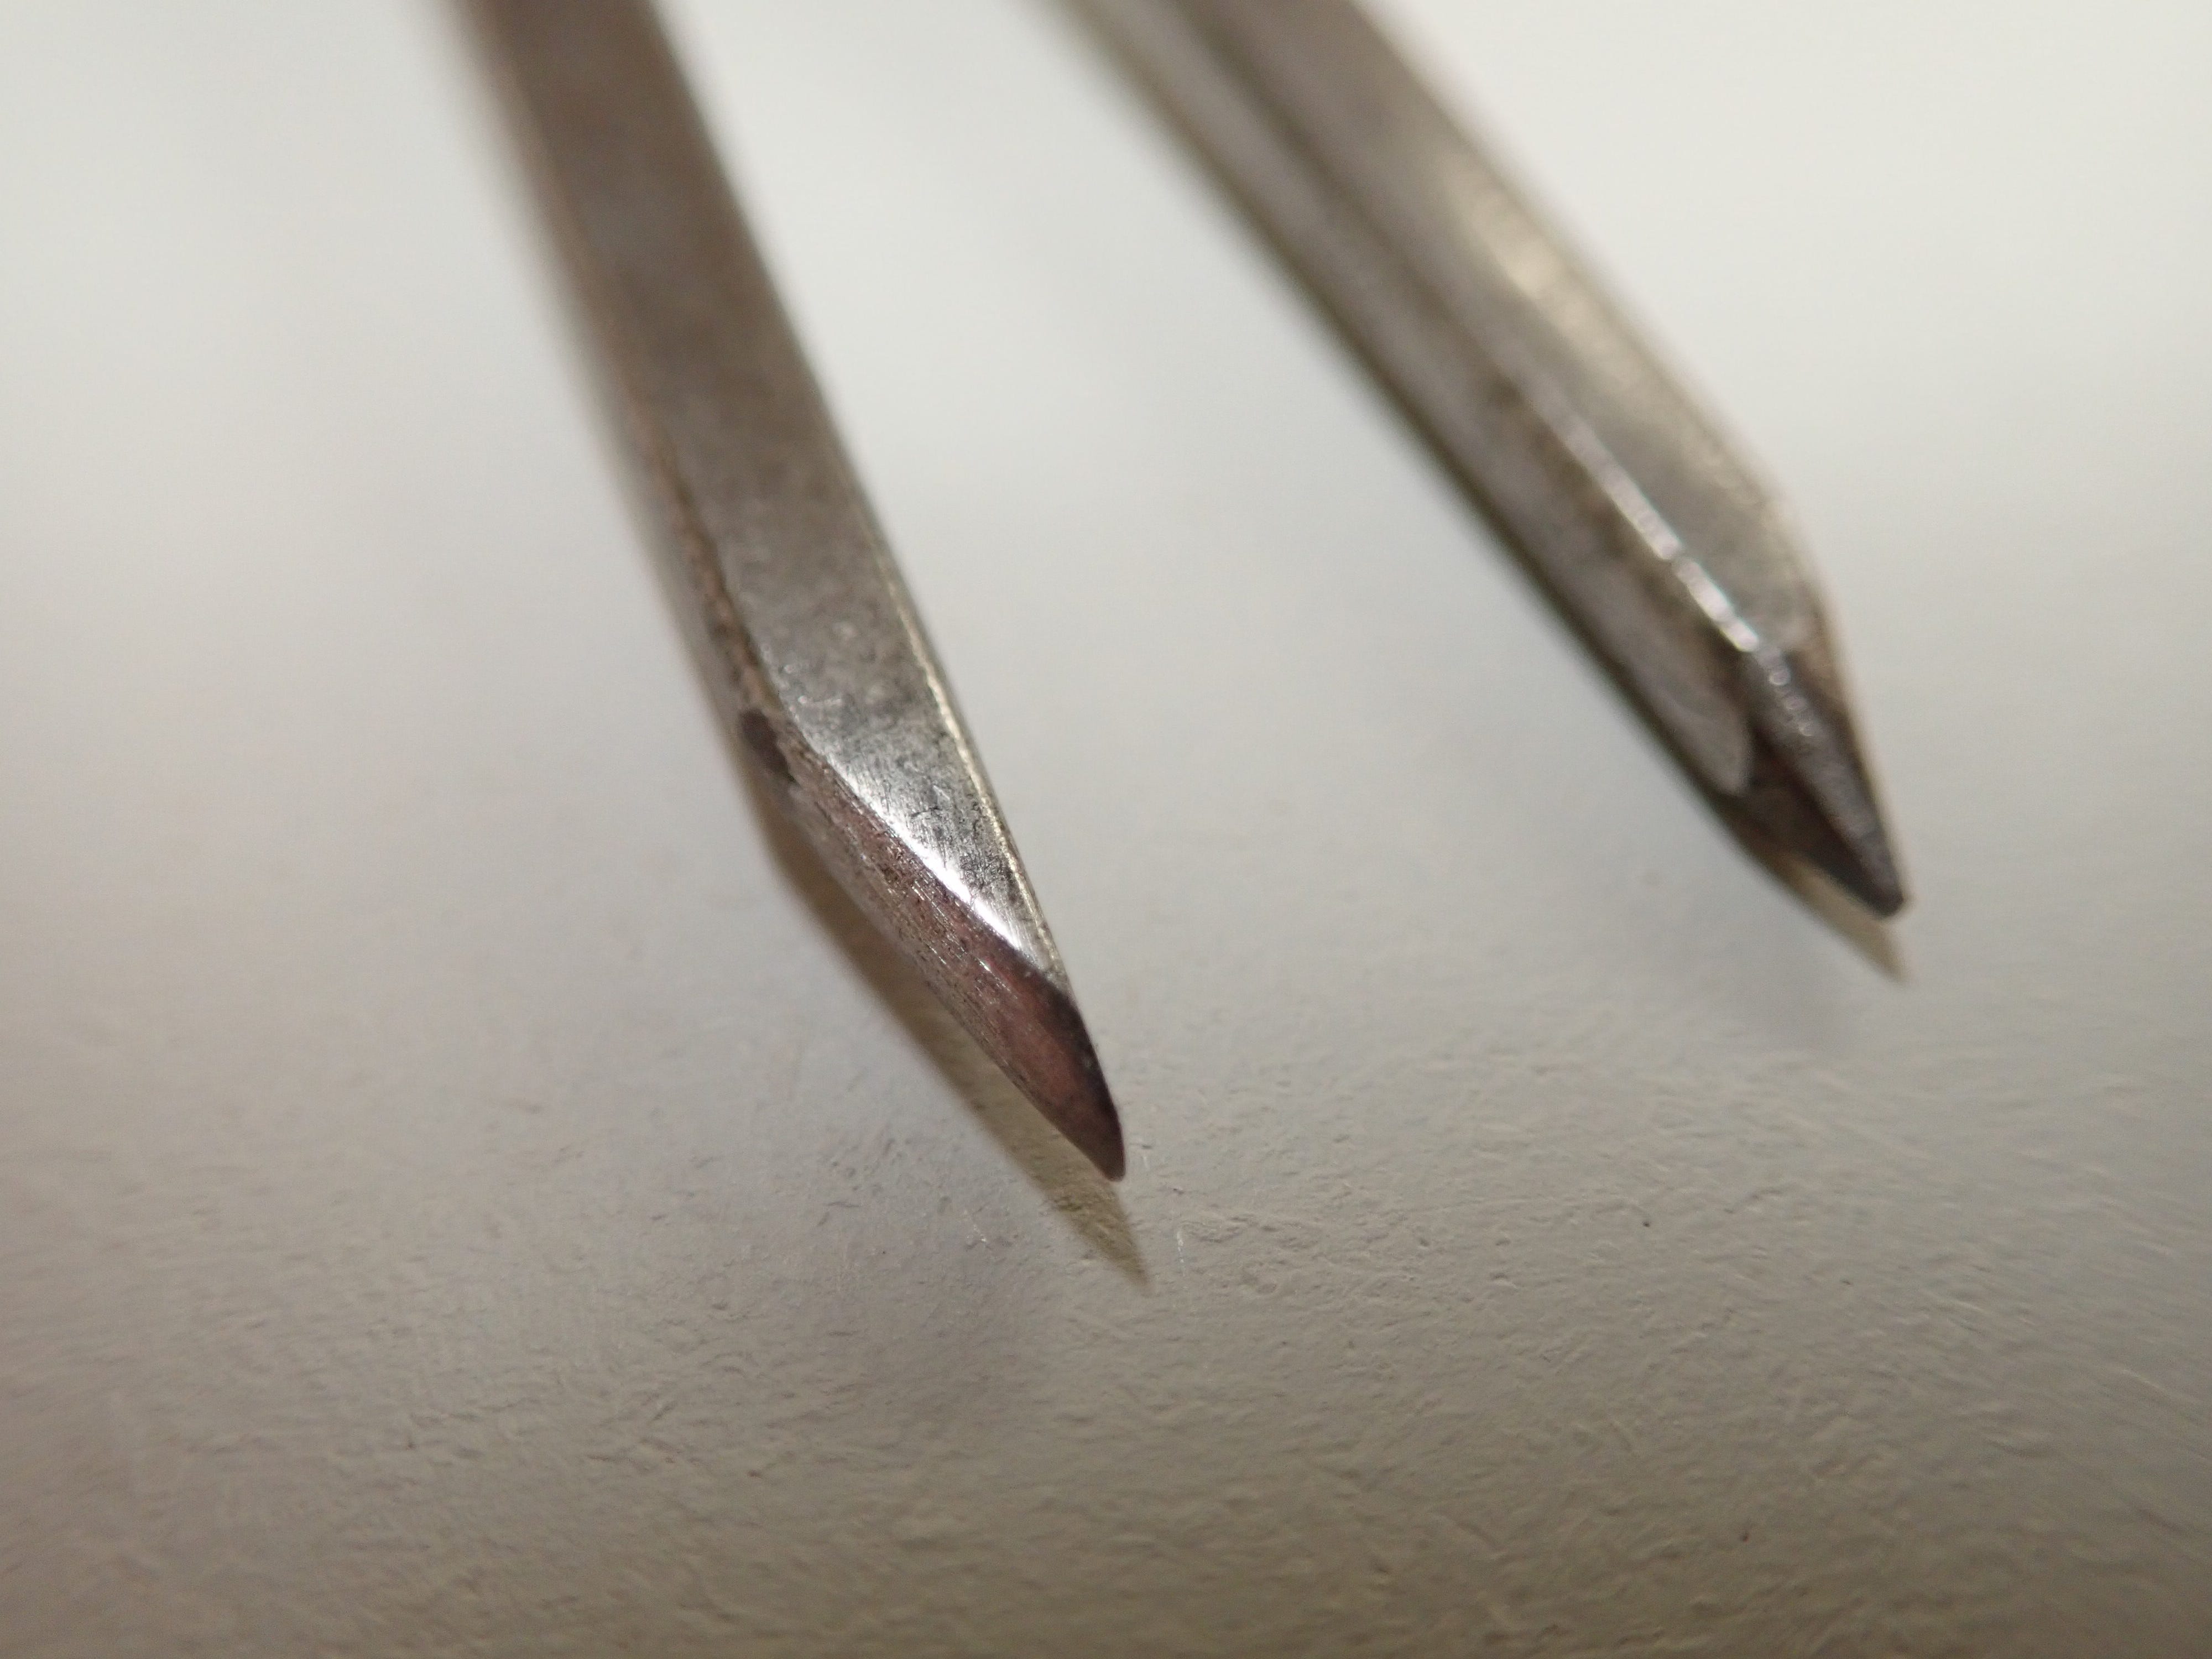
compass with 2 points: when you want to ‘walk out’ a series of points.
scribing compass: where one arm is sharpened like a knife to scribe an arc or circle (to sever fibers and reduce spelching when cutting out later).
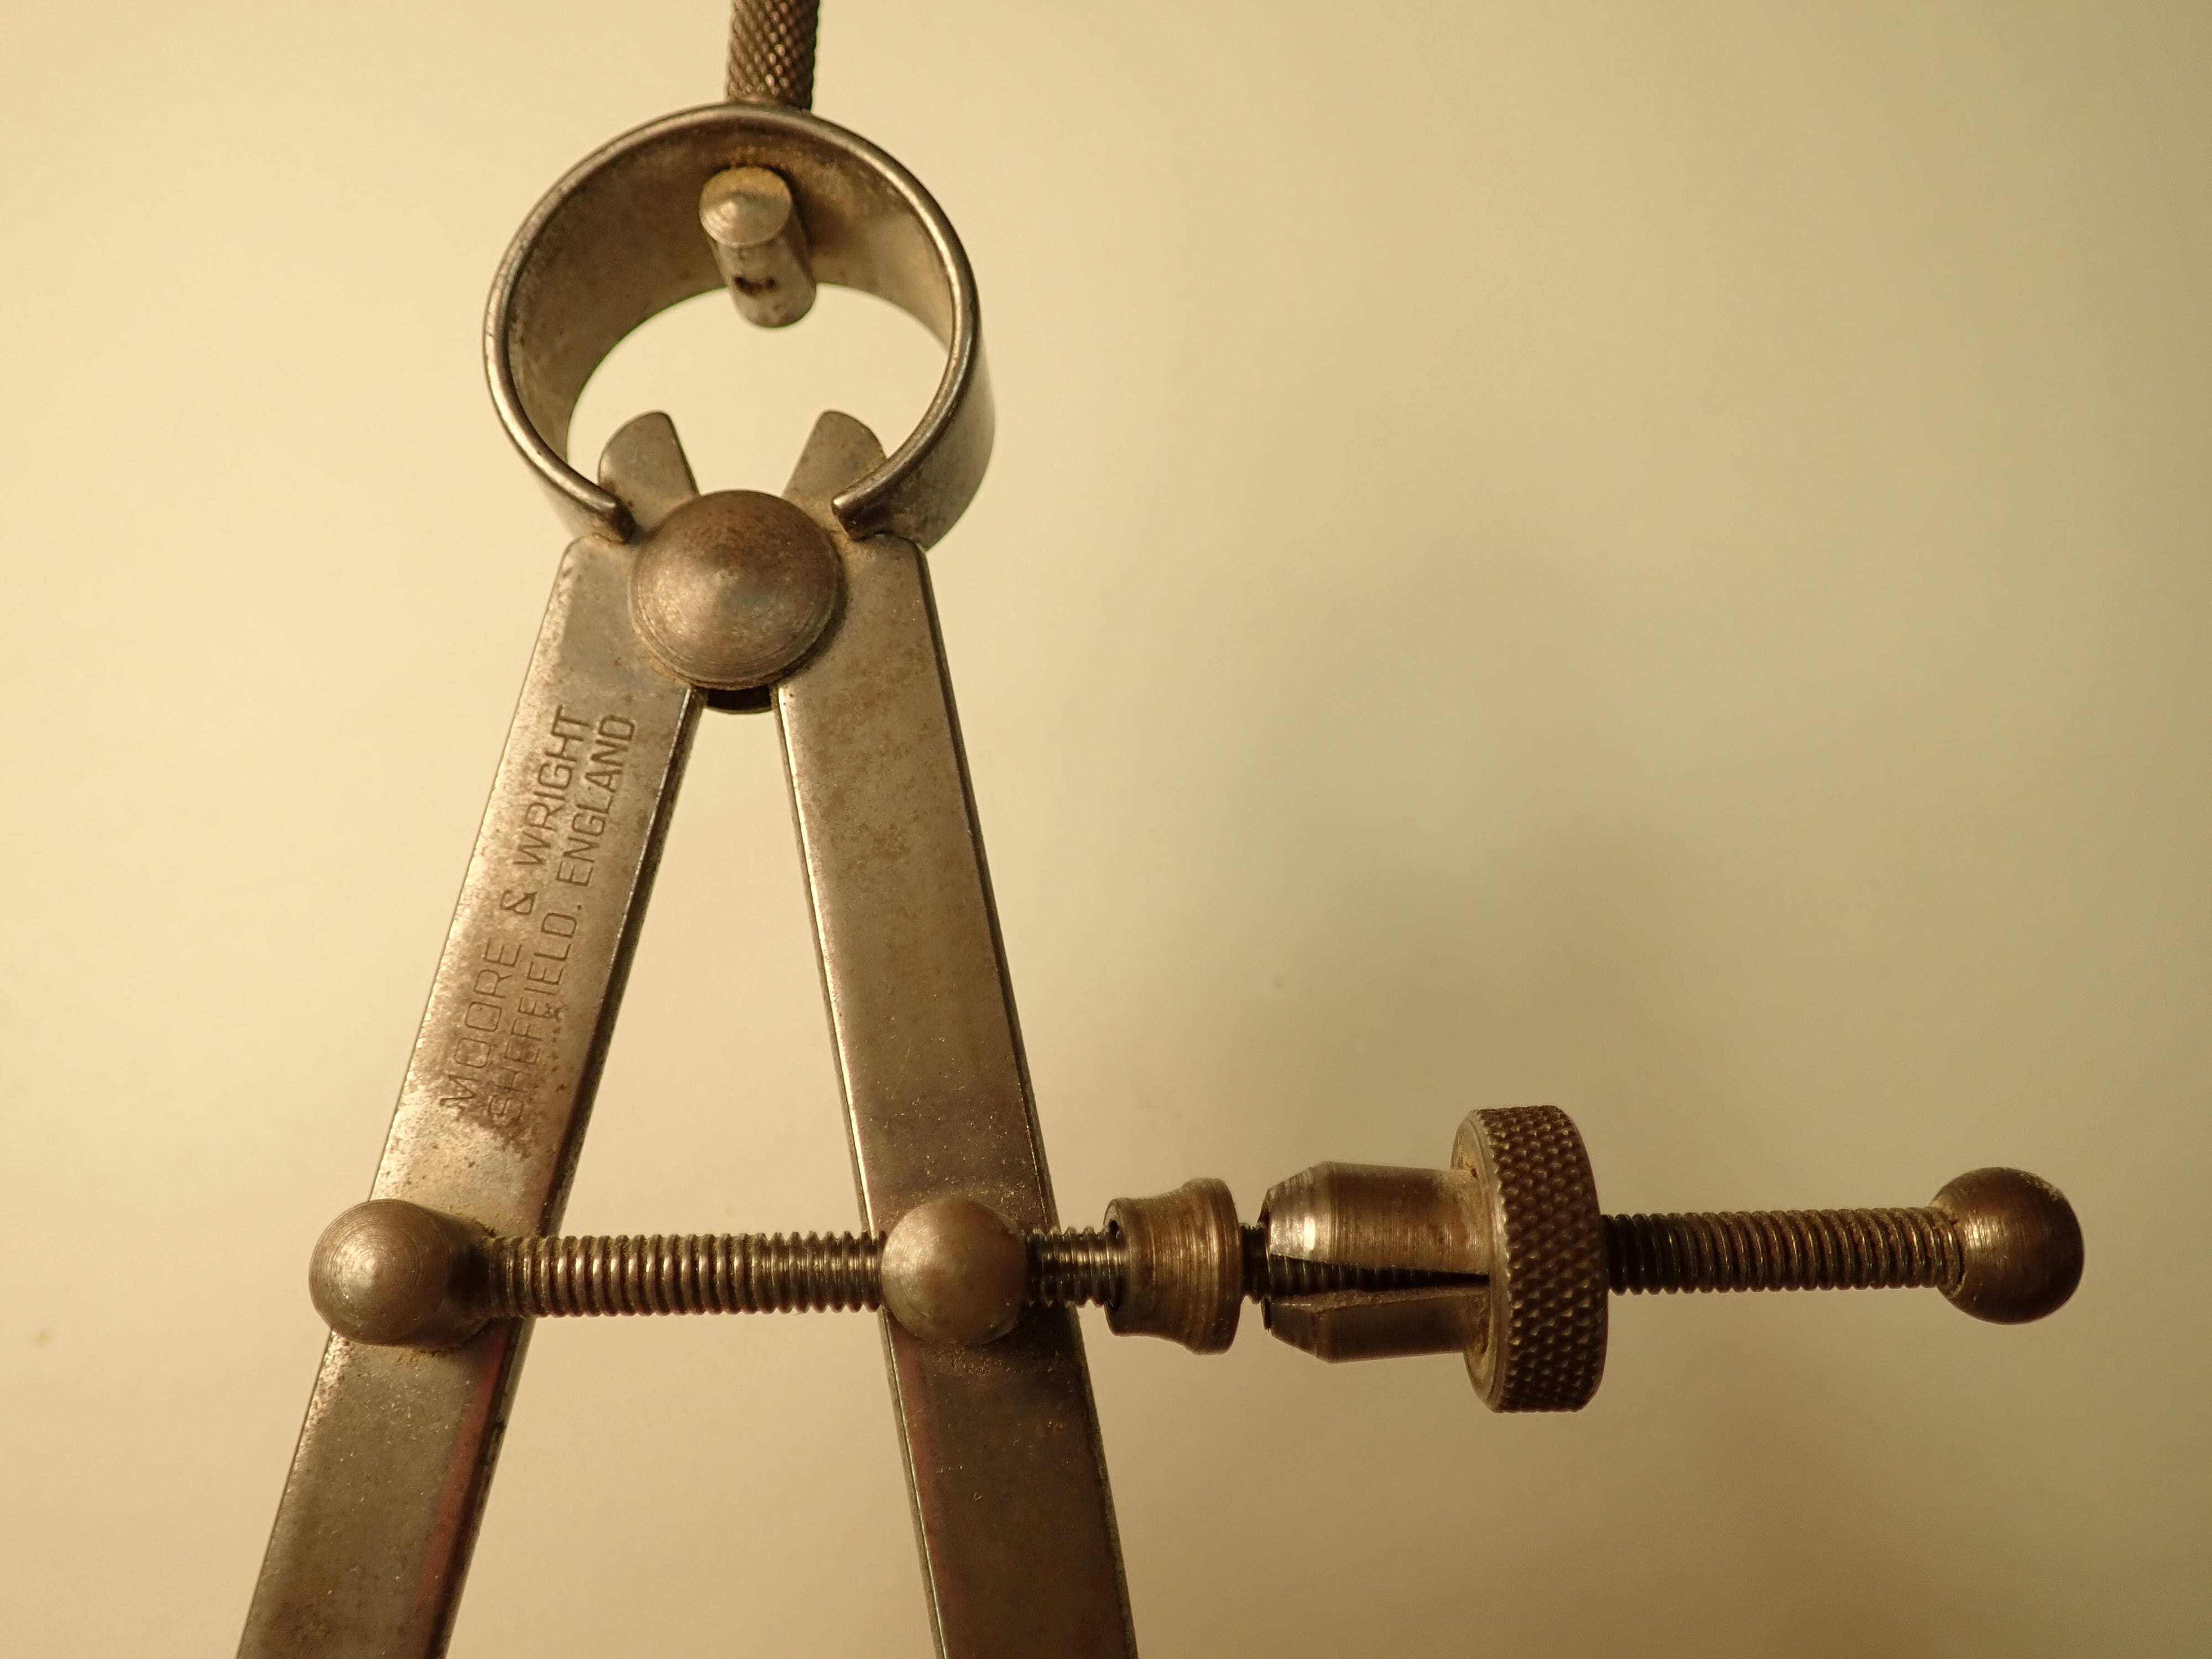
May I suggest a couple of features that makes for a handy compass ?
It should have a threaded / screw adjustment. Makes fine adjustment sooo much easier, and keeps its setting securely.
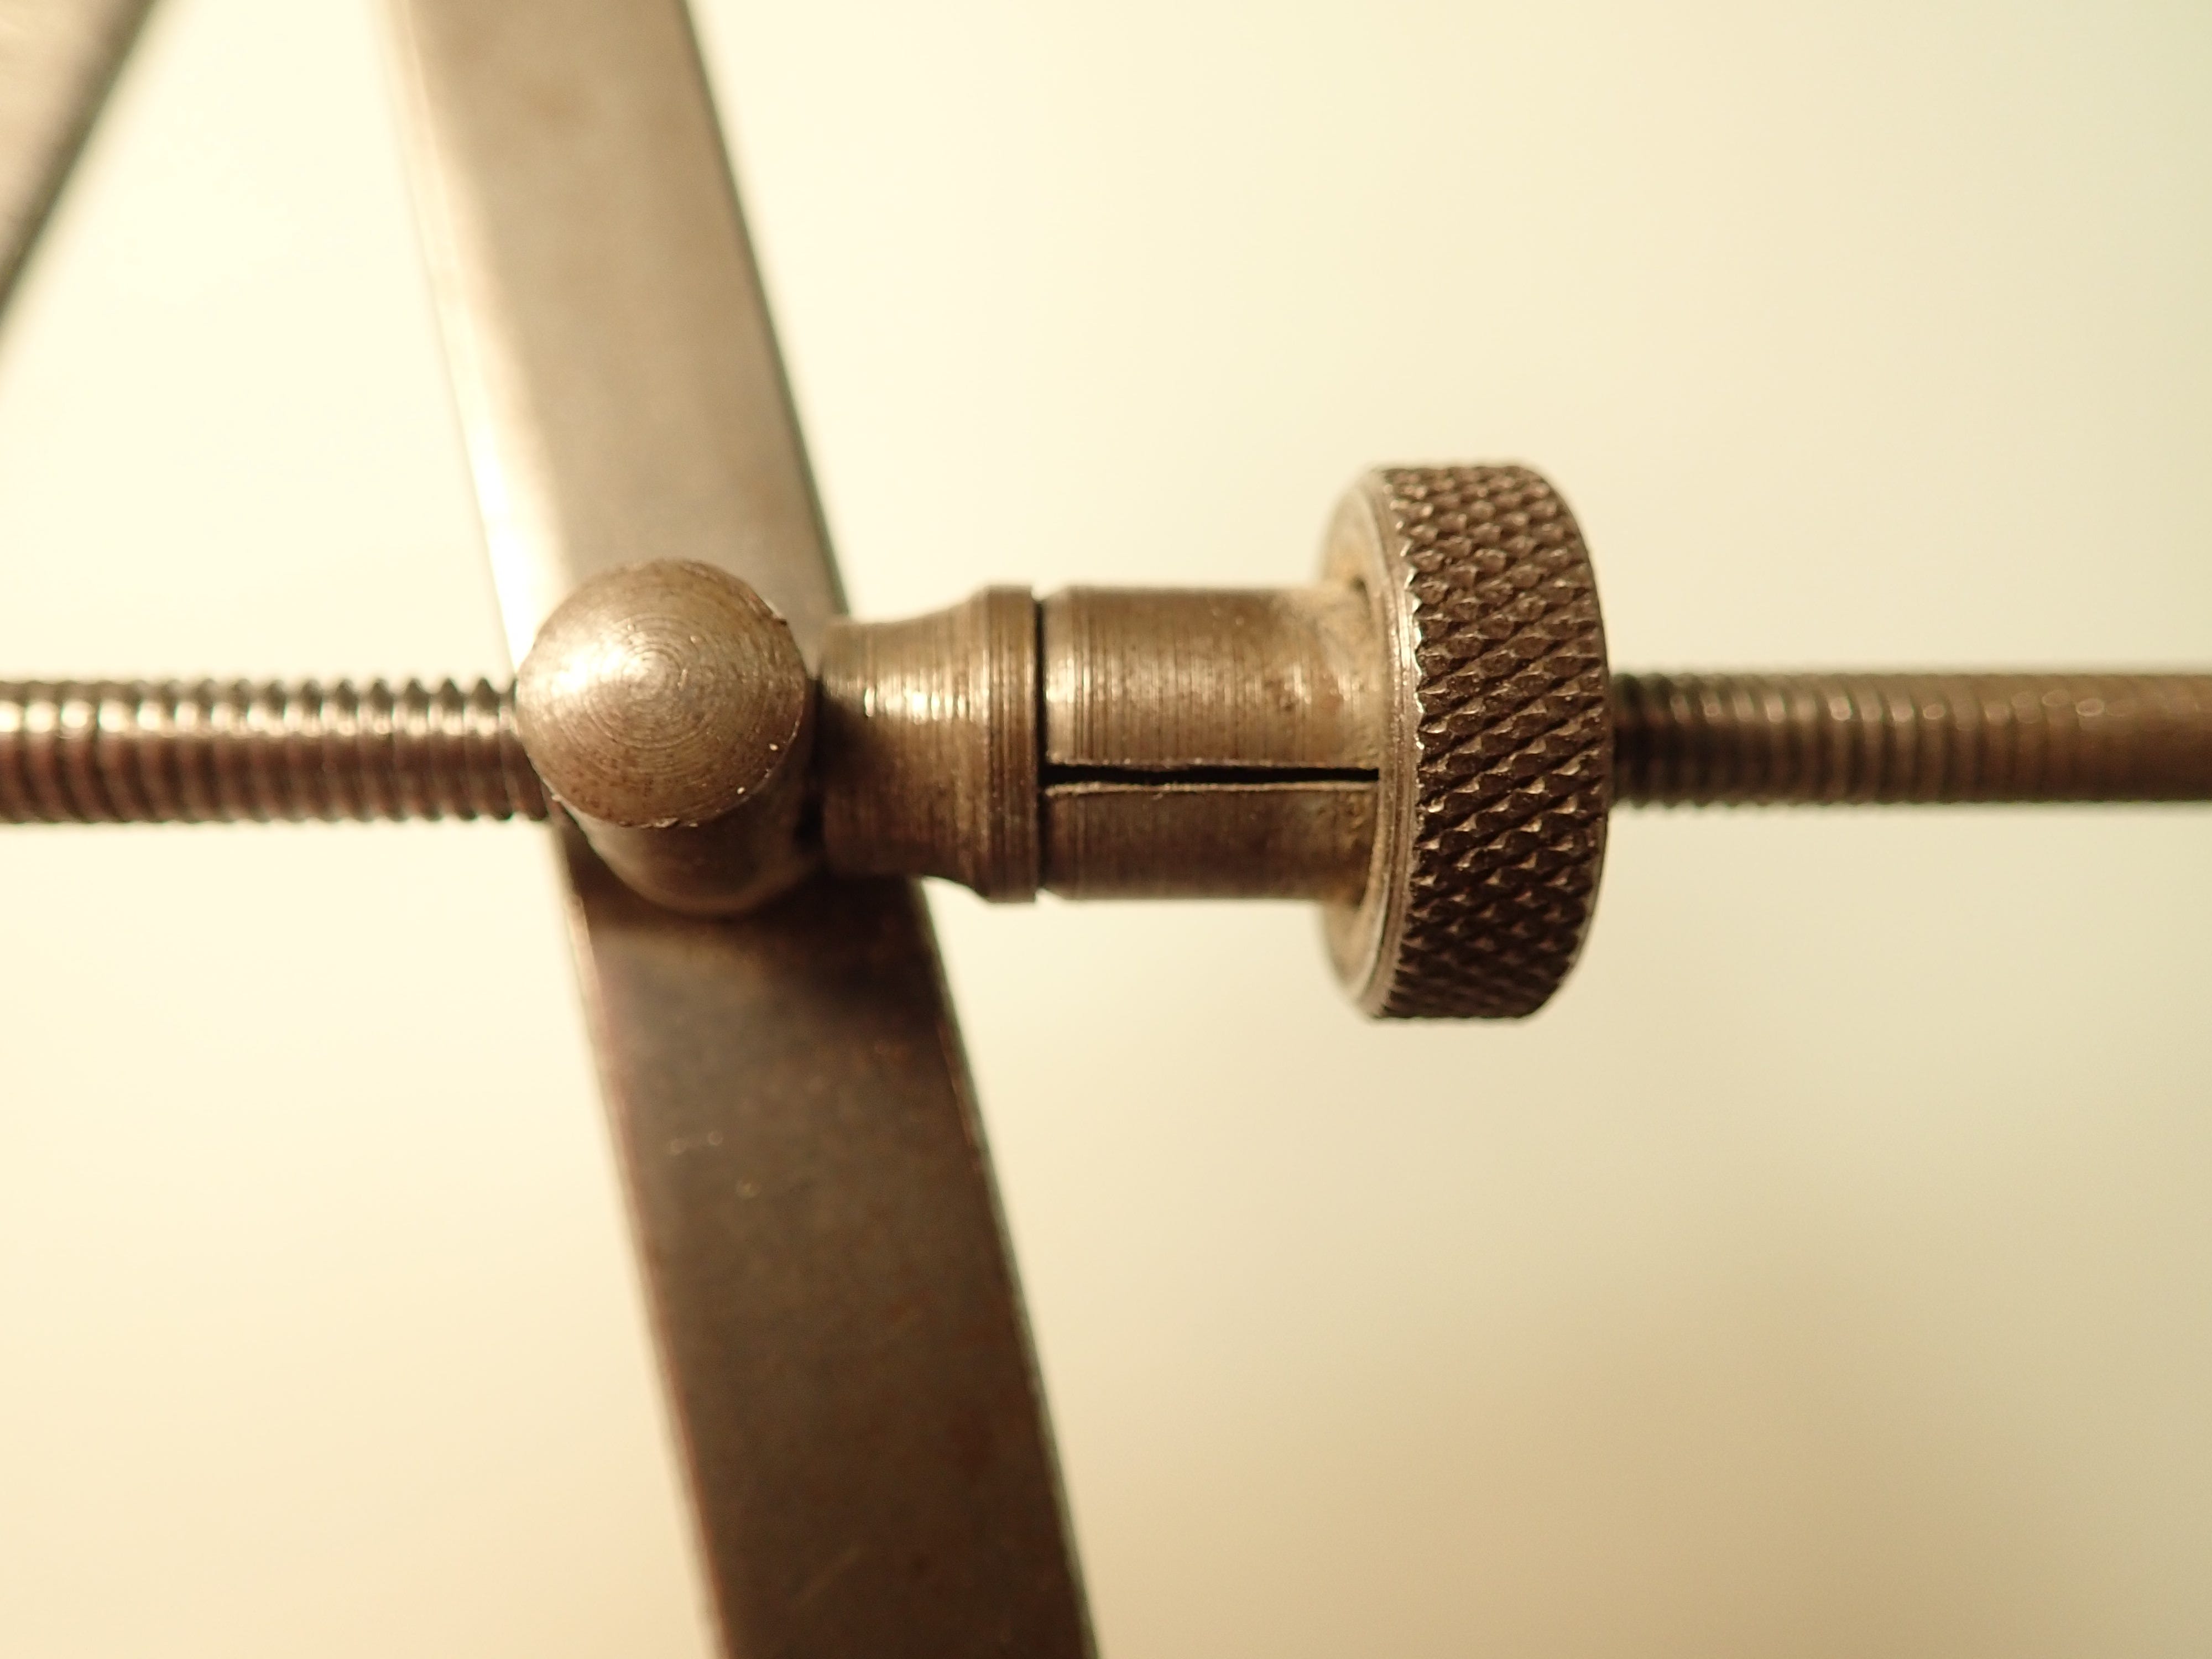
The threaded / screw adjustment should have a ‘decoupling mechanism’ for quick repositioning, like so:
And this concludes today’s sermon.
***
Well, I - and many others, I'm sure - hope the muse comes back soon to have you scribbling away like fury again. That said, I sure understand the issue. And, let's face it, online publishing is a great gift but a sod of a taskmaster.
H.L. Mencken put it well: "The art of writing, like the art of love, runs all the way from a kind of routine hard to distinguish from piling bricks to a kind of frenzy closely related to delirium tremens."
Sorry to hear that you've not felt like writing lately! I hope the mood returns soon. I always enjoy your posts 😊
Thank you for the repost though this was helpful.