


Marking gauges
are your friends when things must fit

[soundtrack : Django Reinhardt & Stephane Grappelli — ‘Minor Swing’]
***
A marking gauge is used to scribe lines with reference to a straight edge.
There’s often more than one measurement in play, so it’s useful to have several gauges.
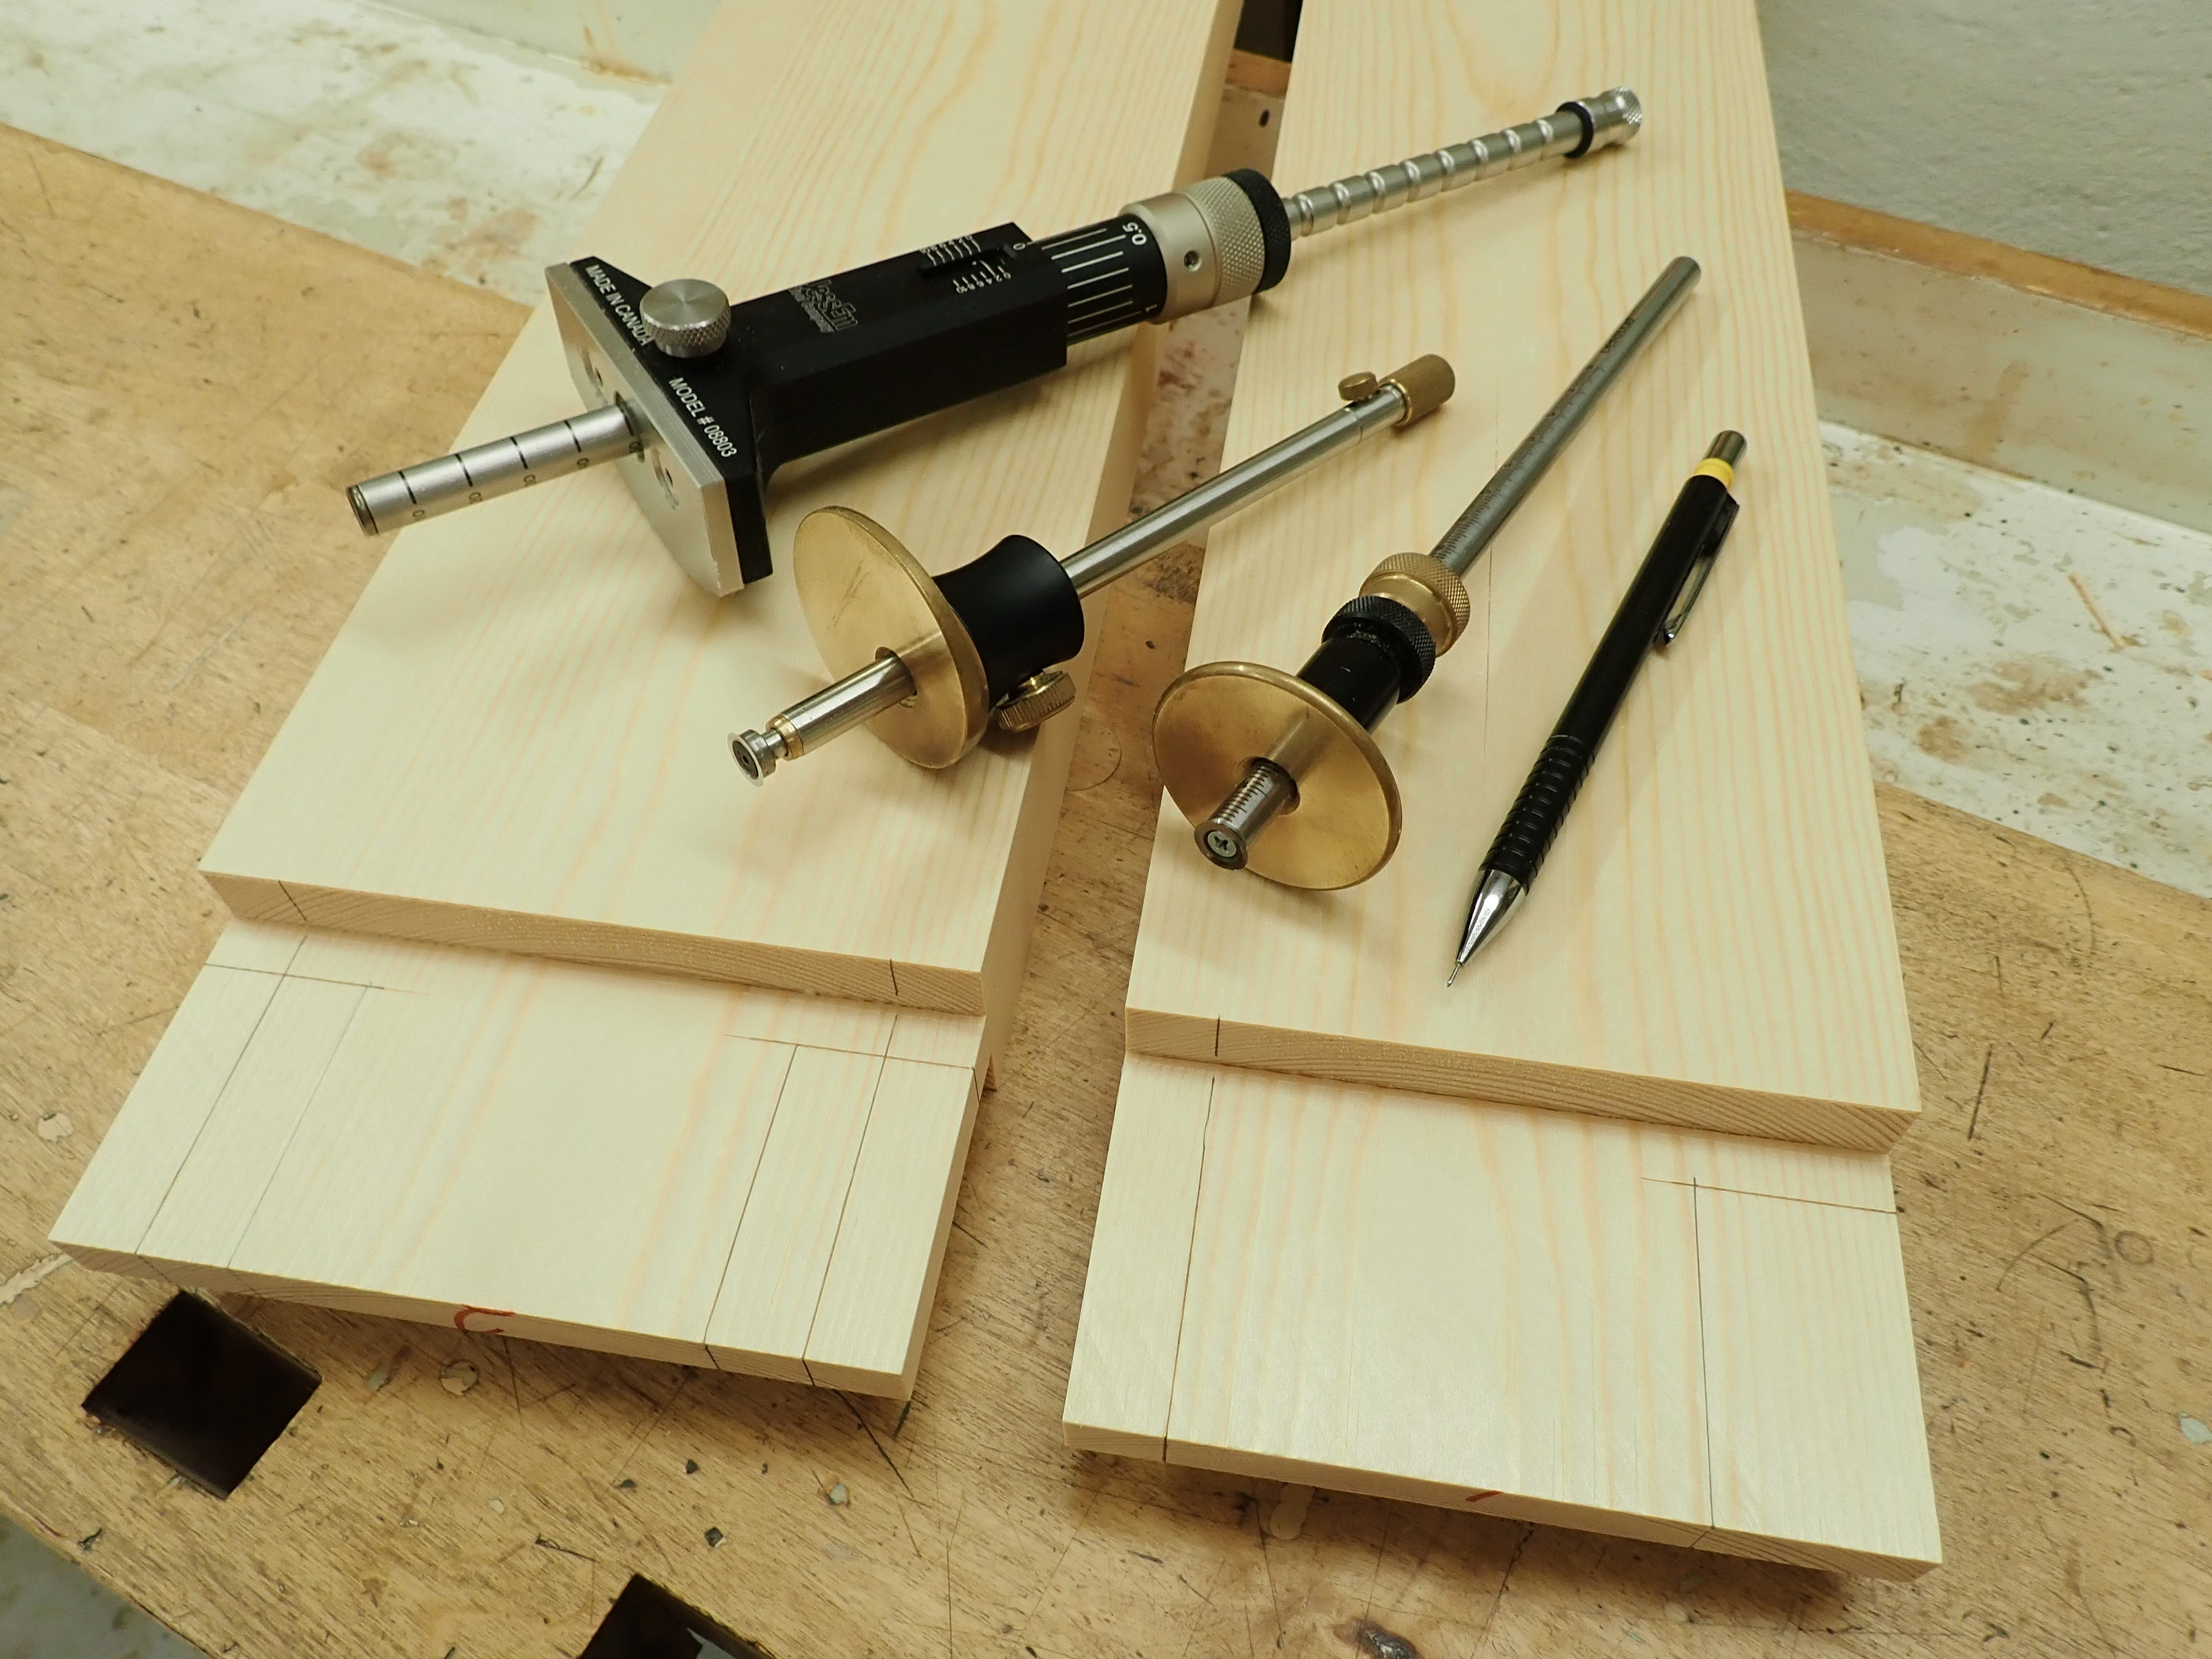
Here are mine:

They make their mark either by a pin, a knife (small blade) or a cutting wheel.
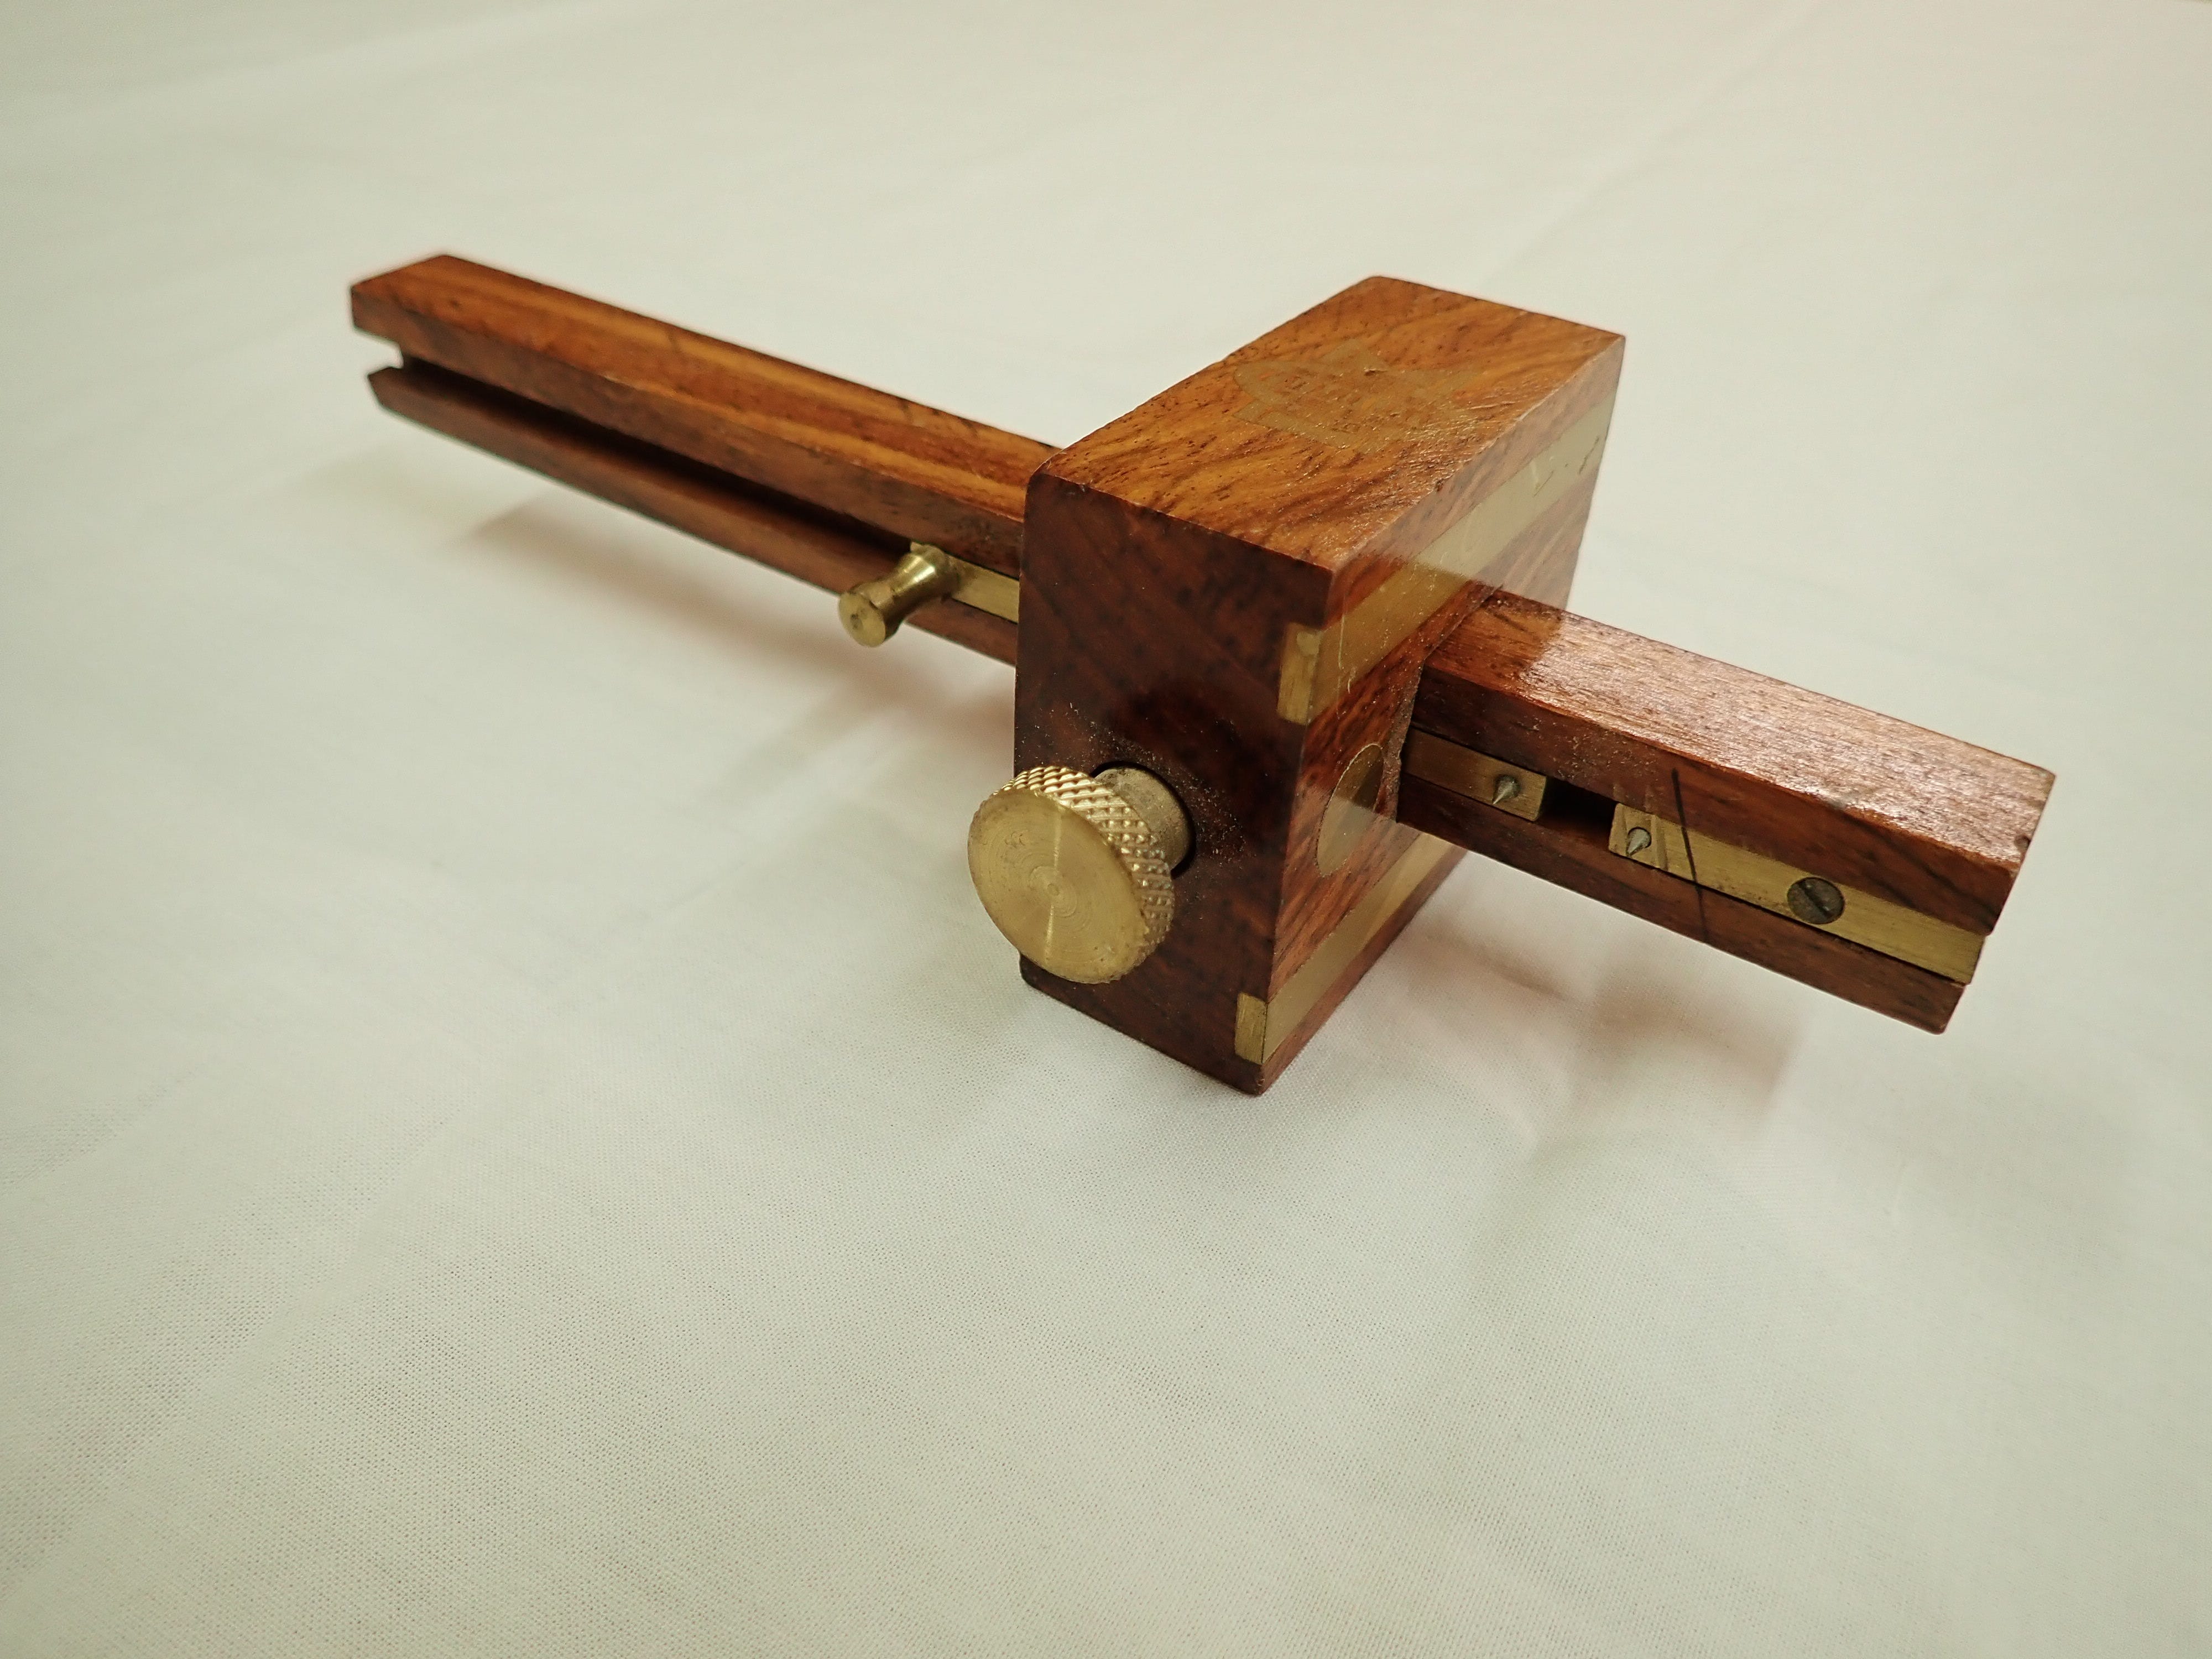
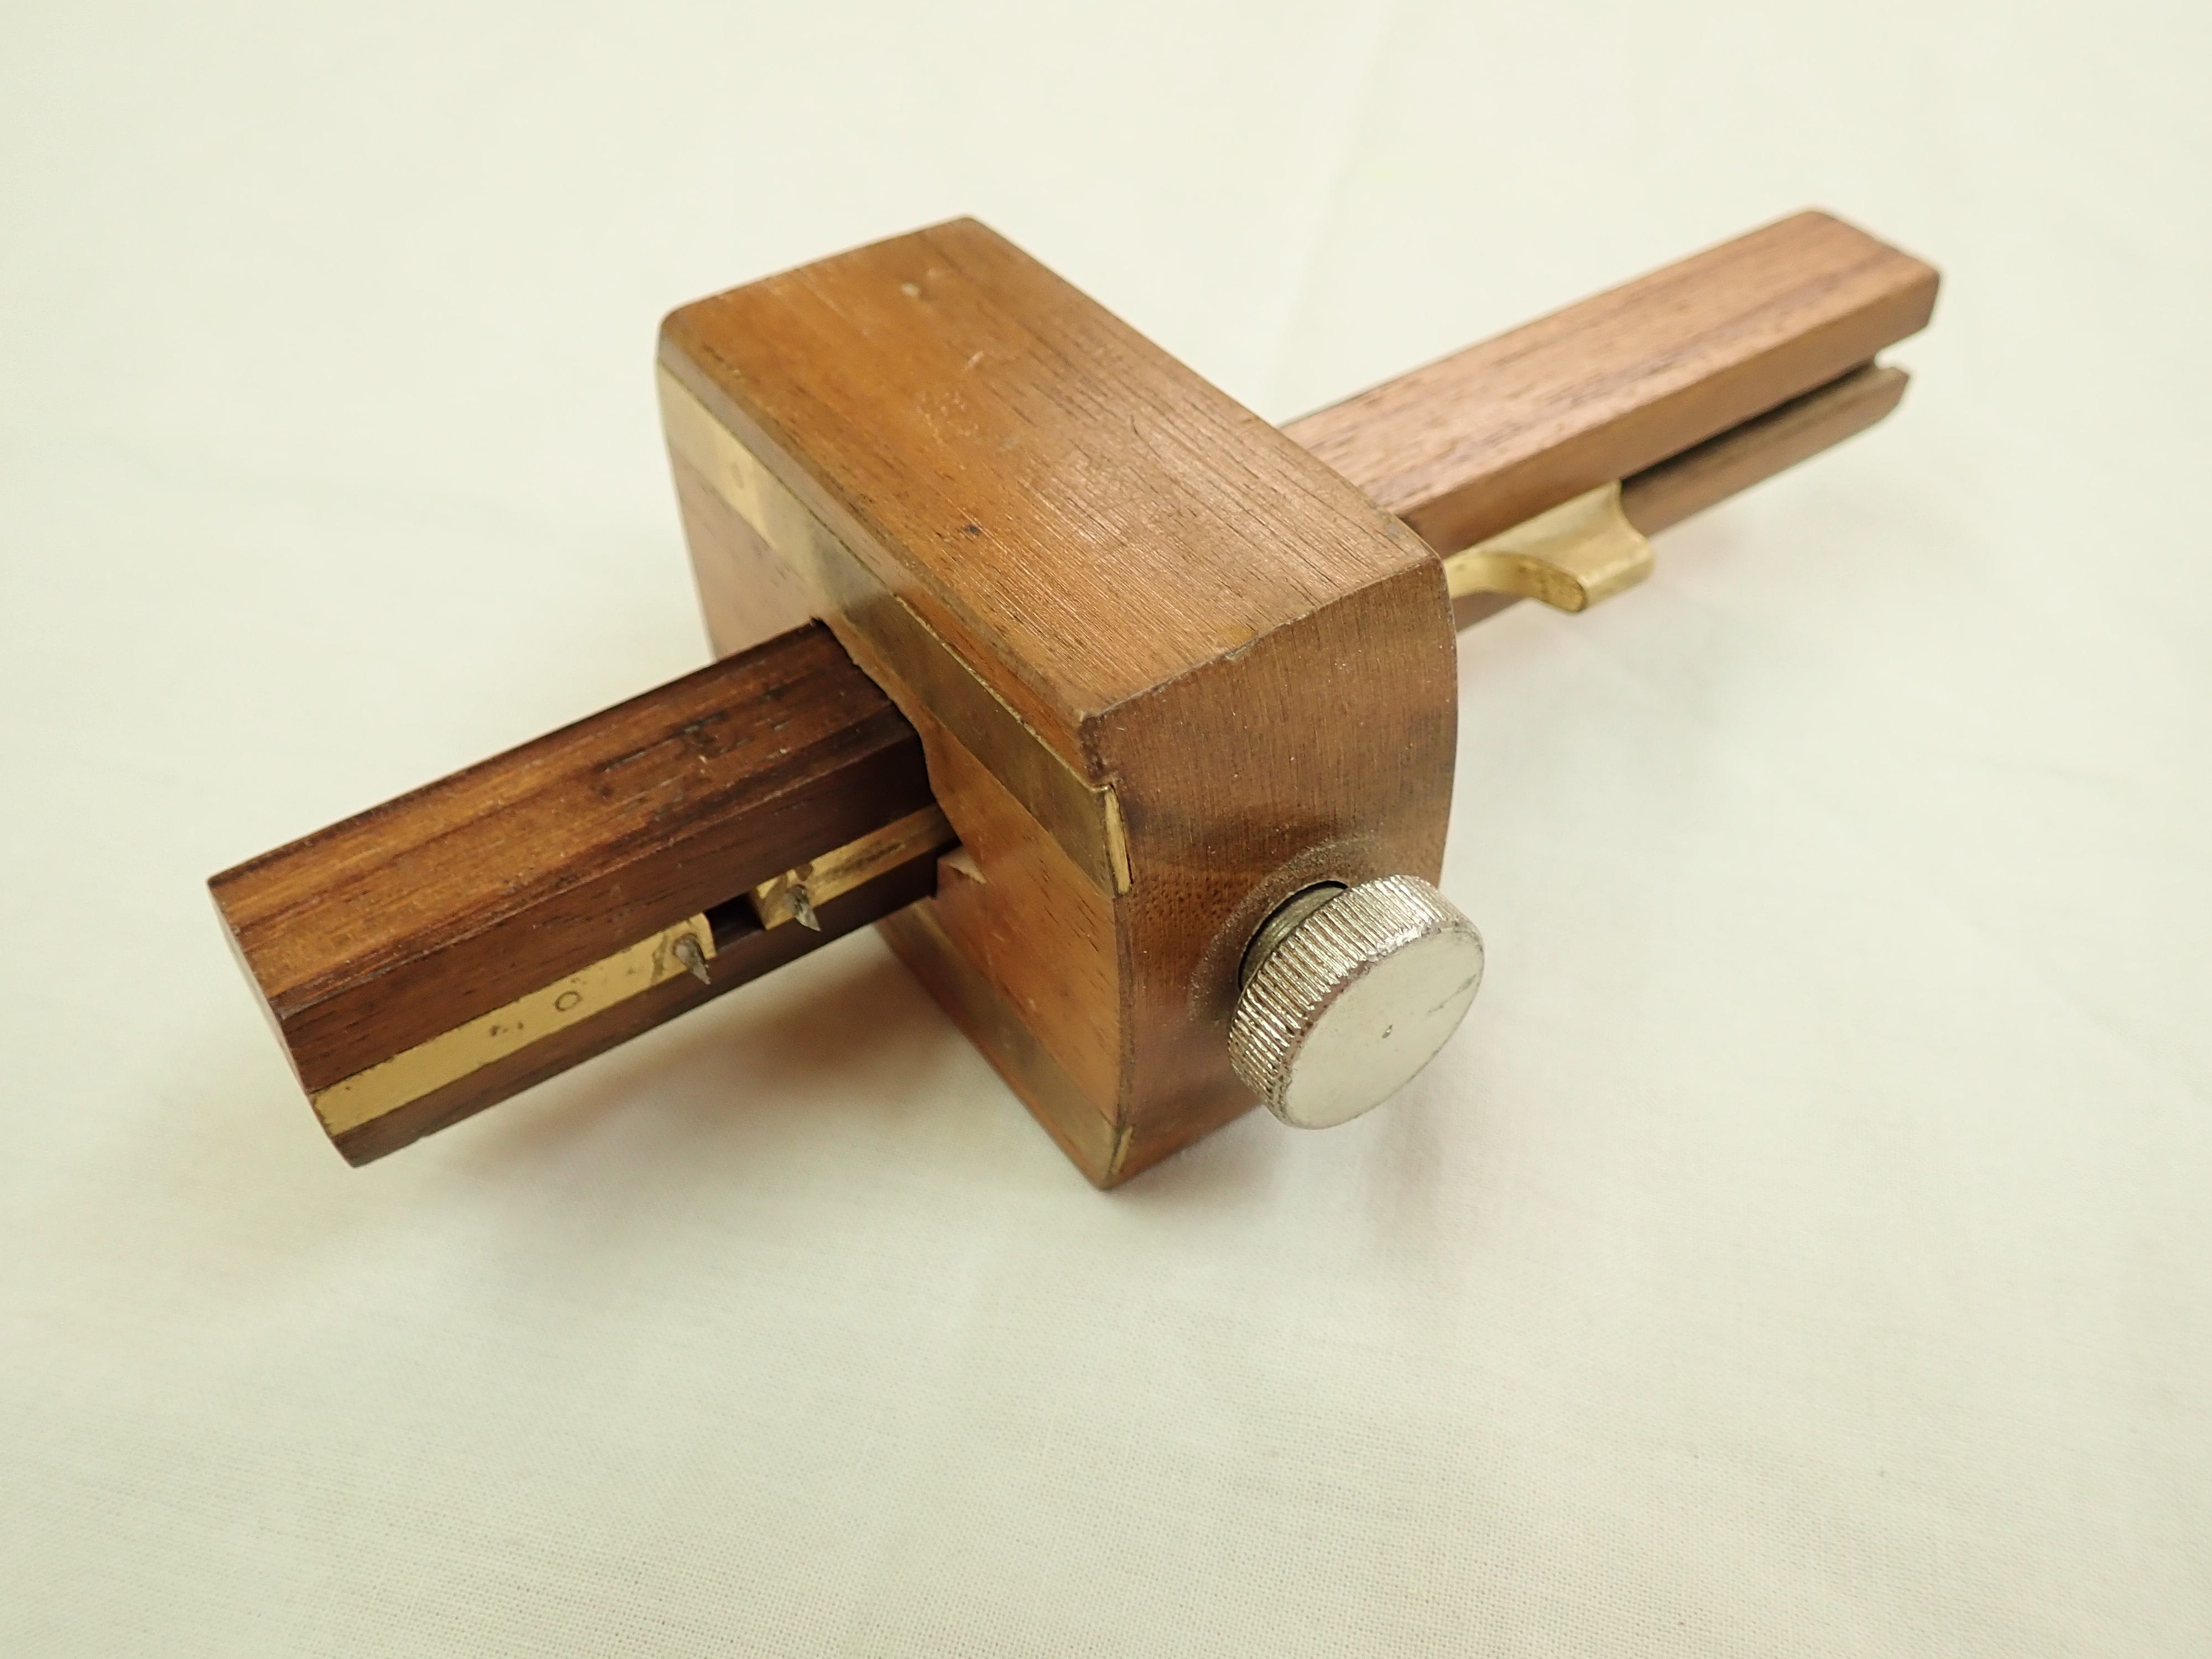
Let’s first have a look at a tool-shaped object with blunt pins …
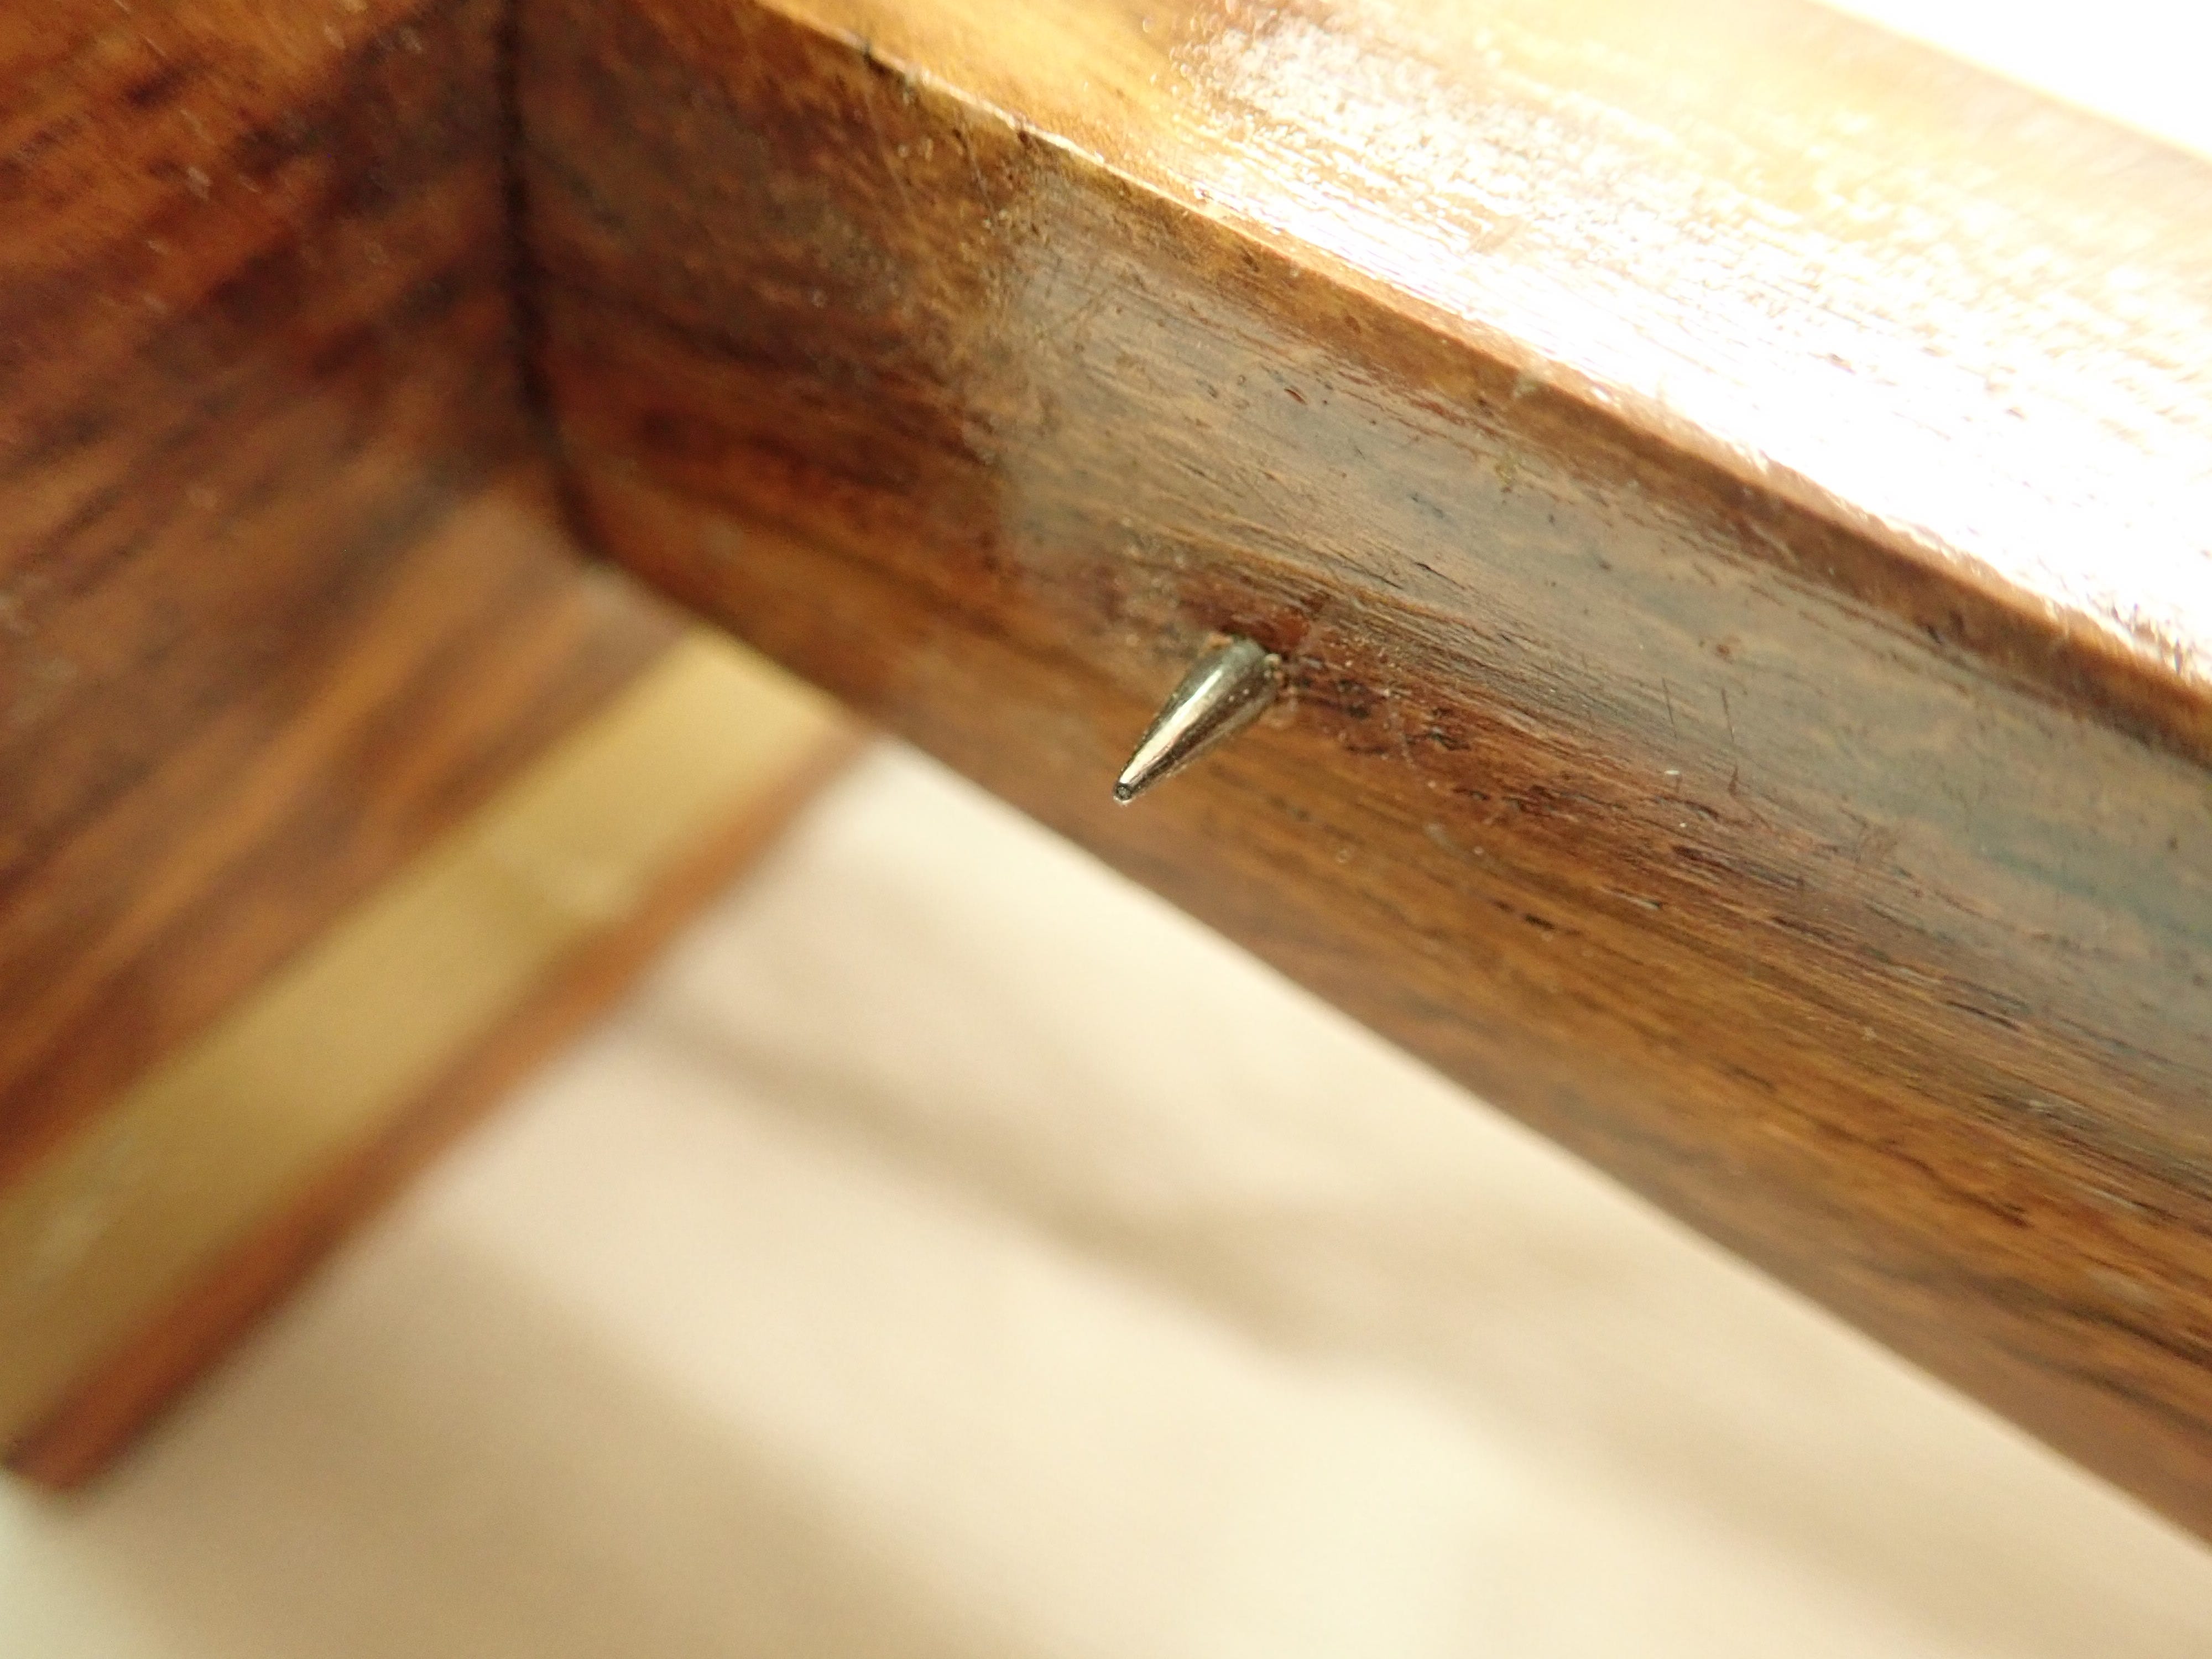
As you will soon see, this pin will make a dog’s breakfast of cutting a mark — it is simply too blunt. It is possible to sharpen a pin like this, preferably to a knife-like shape, like this :

Because the pins are made of hardened tool steel you will not be able to sharpen them with a file, tho’ a diamond-coated ‘paddle’ might do the job, albeit with much tedium on your part. When I sharpened this gauge 25 years ago I used a bench grinder, which has the disadvantage that you’re ‘working blind’, the actual cutting action taking place hidden from view. Oh, and to make the procedure even more exciting, the knives’ edges should be angled ever-so-slightly ‘outwards’ so as to pull the fence against the work-piece when in use. Perhaps judicious use of an angle grinder would be an easier way to do this? And if you’ve gone to all this trouble, why not cut a little triangular notch in the hilt that the knives can retract into and be protected by?
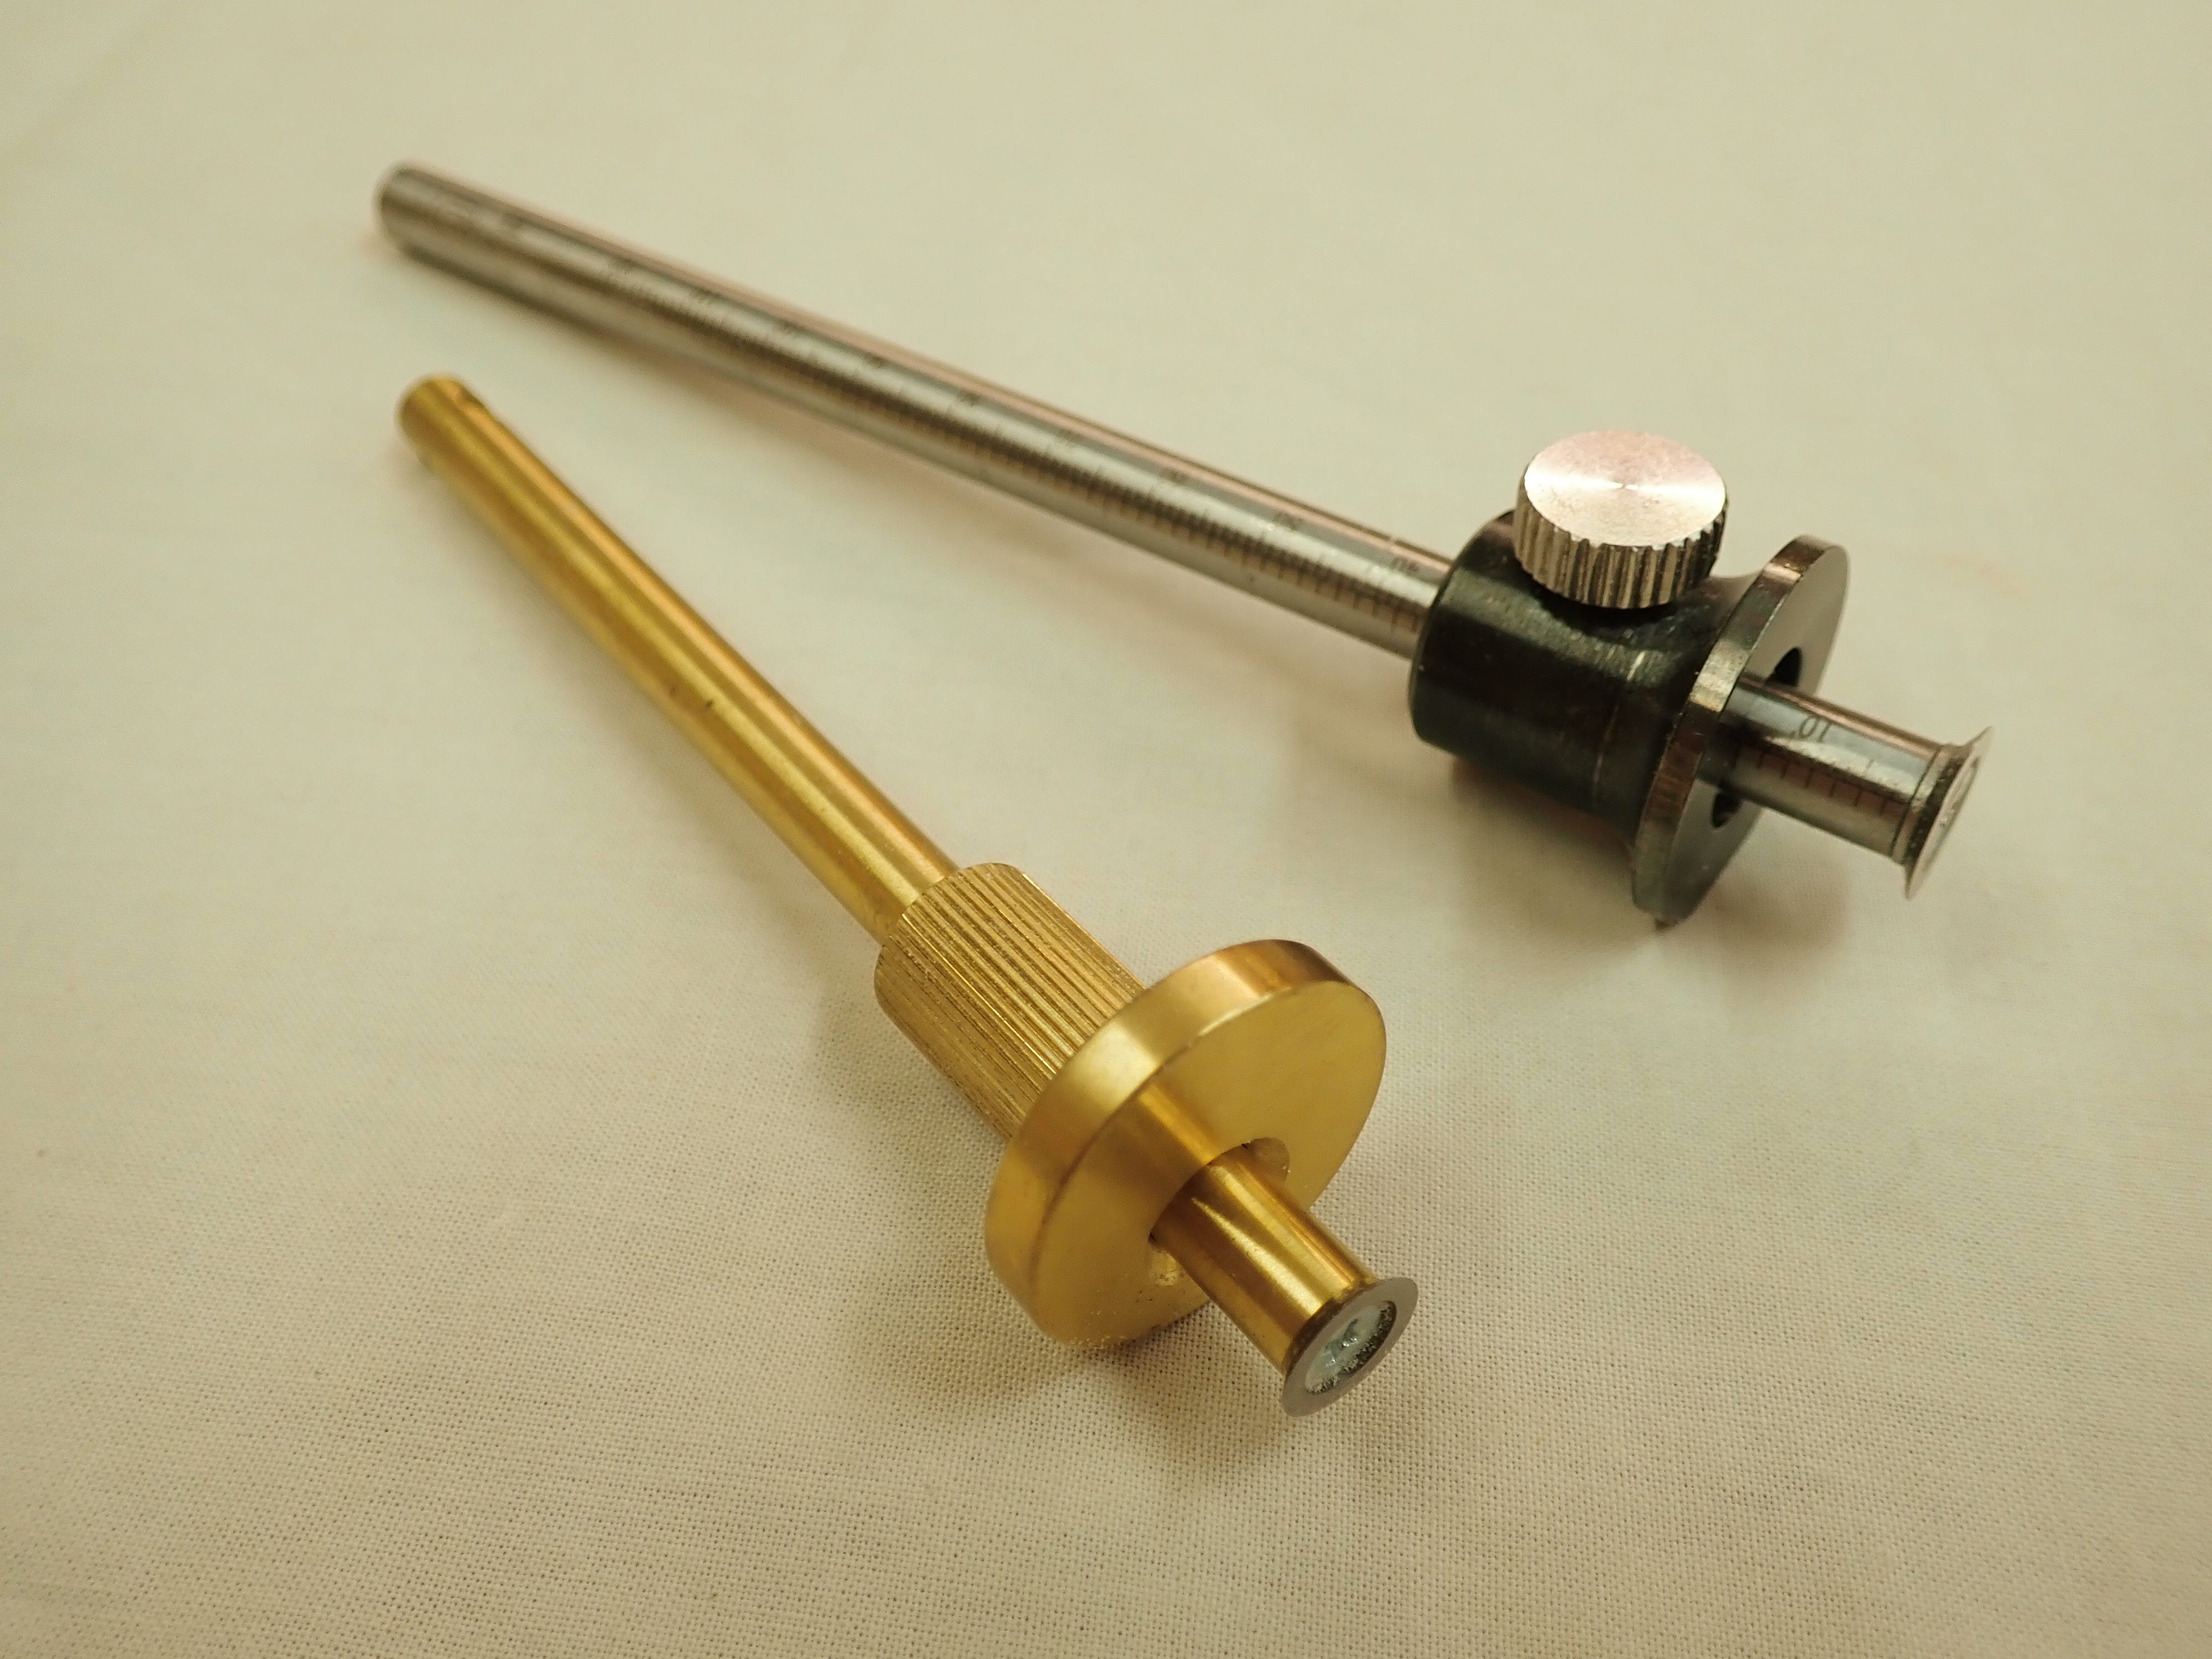
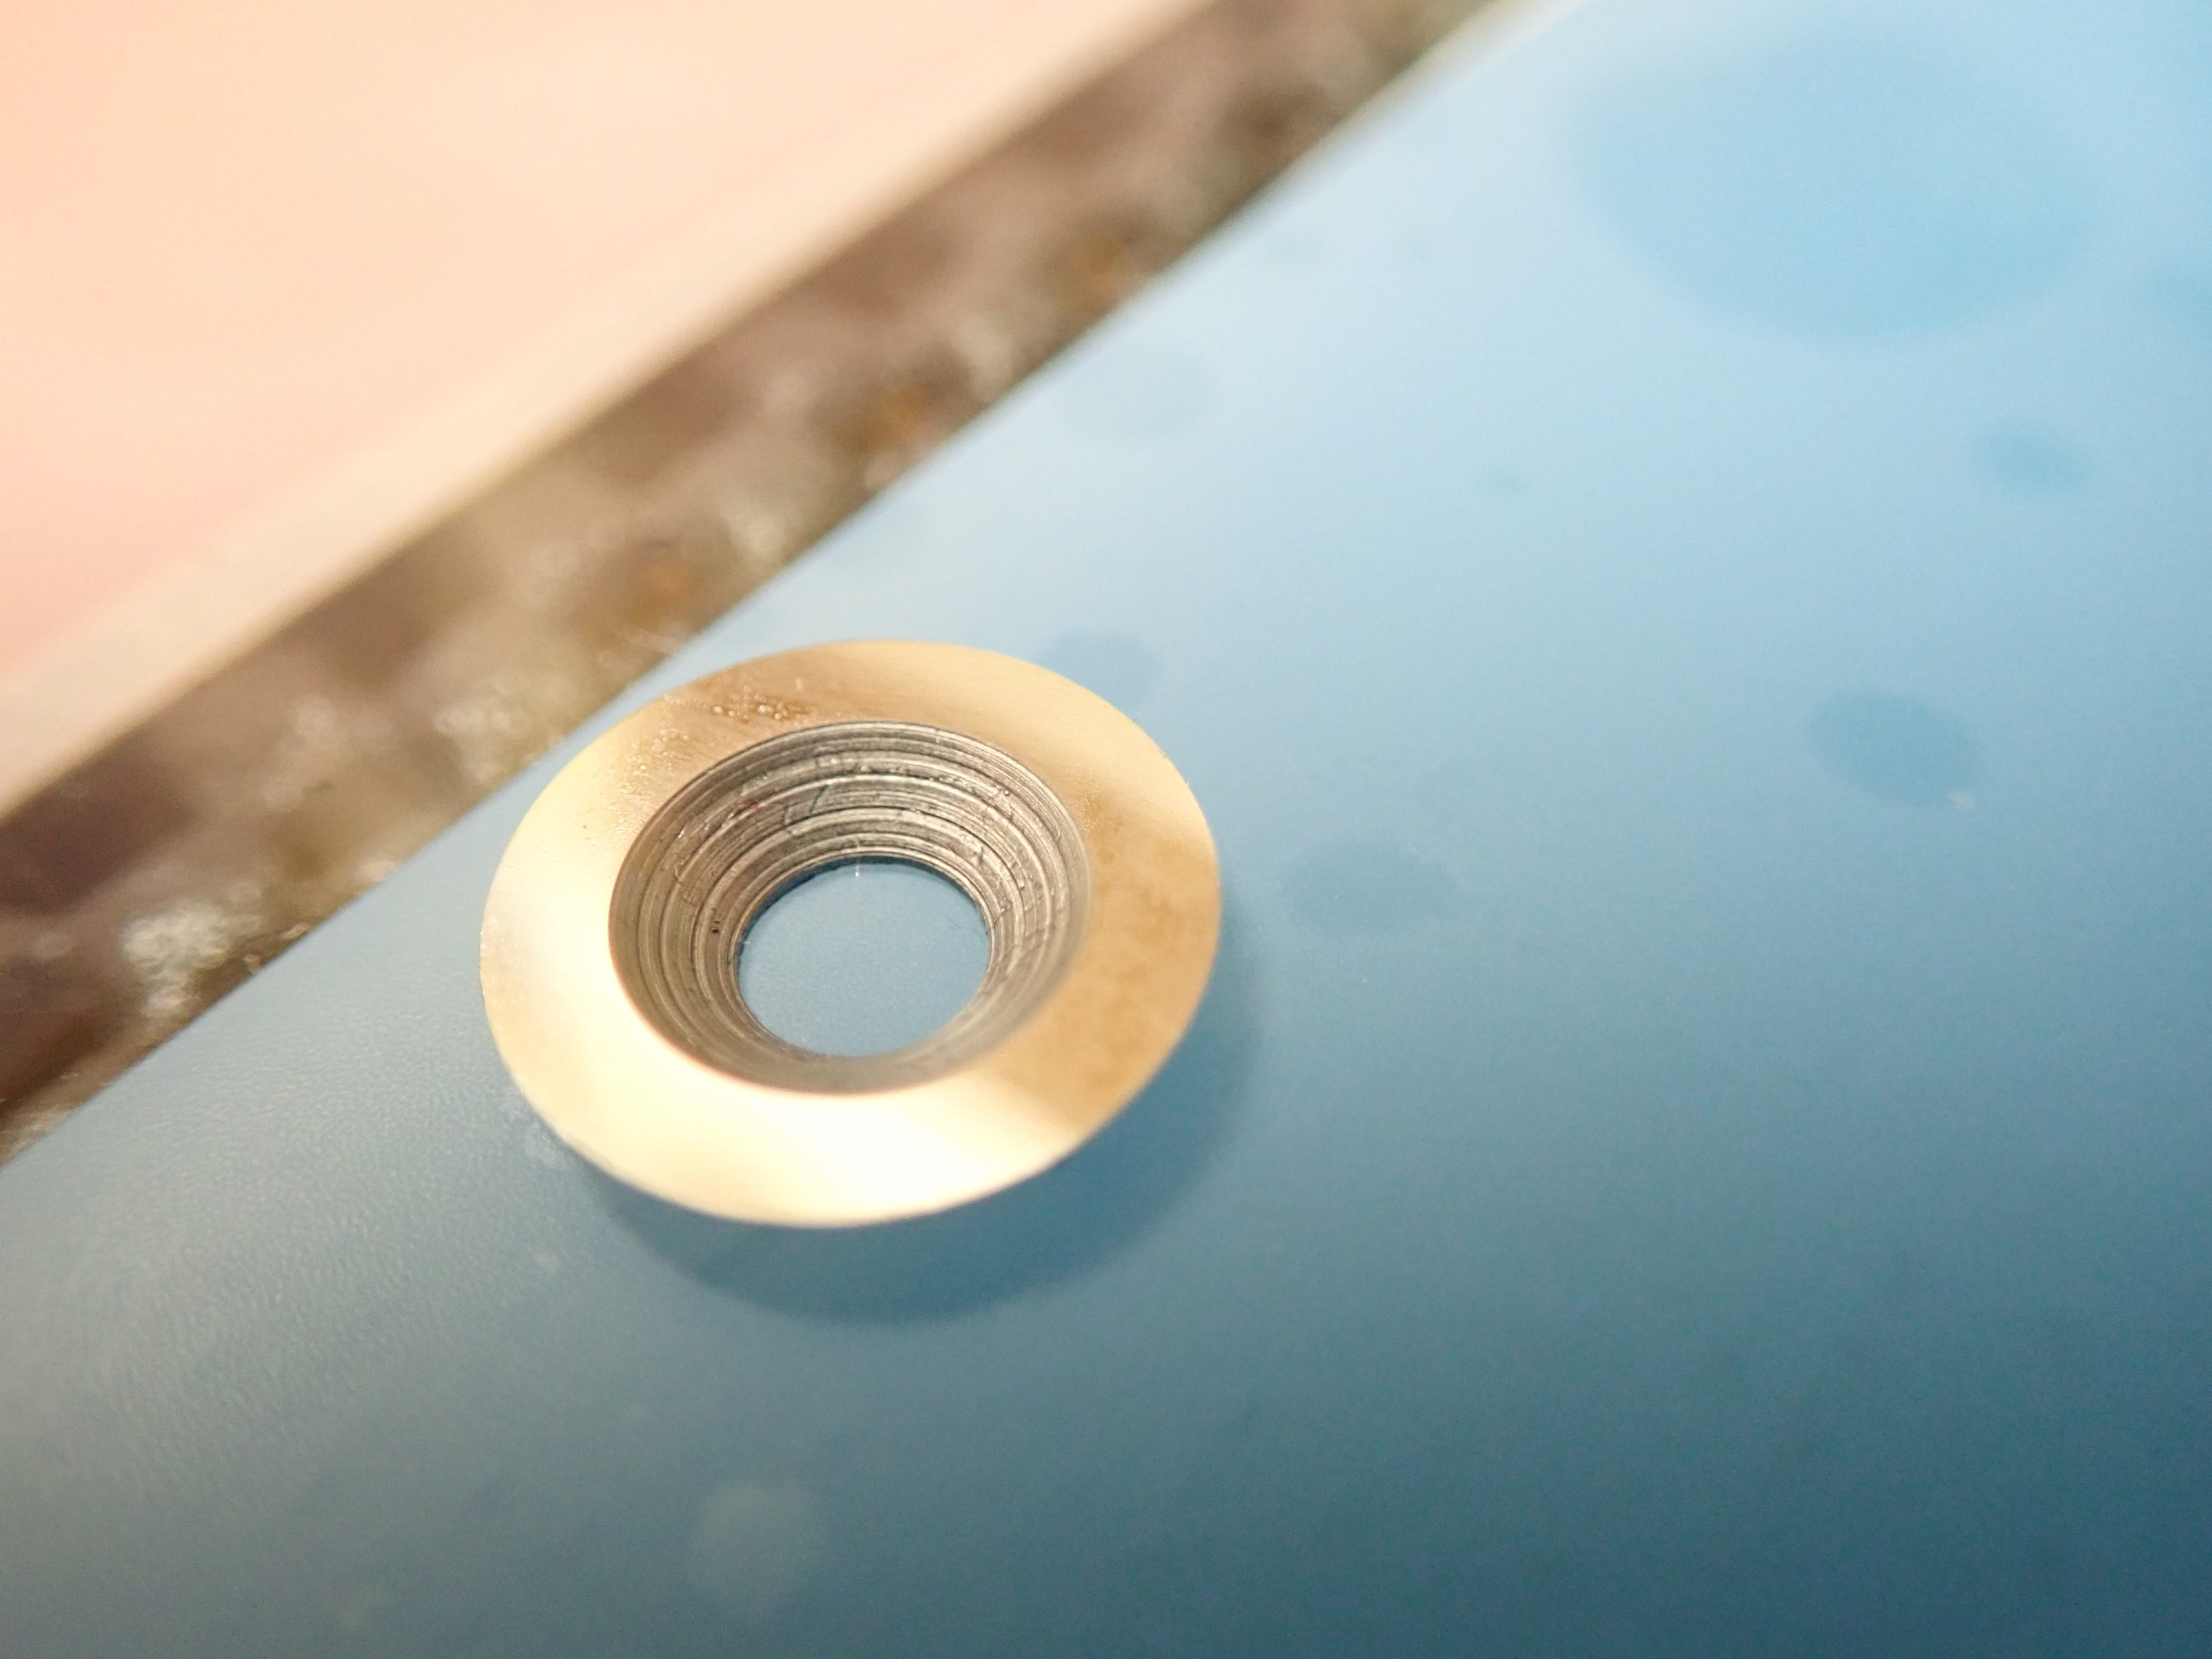
Or you could go for a gauge that uses a cutting wheel (the wheel does not turn, it’s just a fixed, circular cutter). There are several types, most of mine are made by Veritas. This is my favourite; the older model:
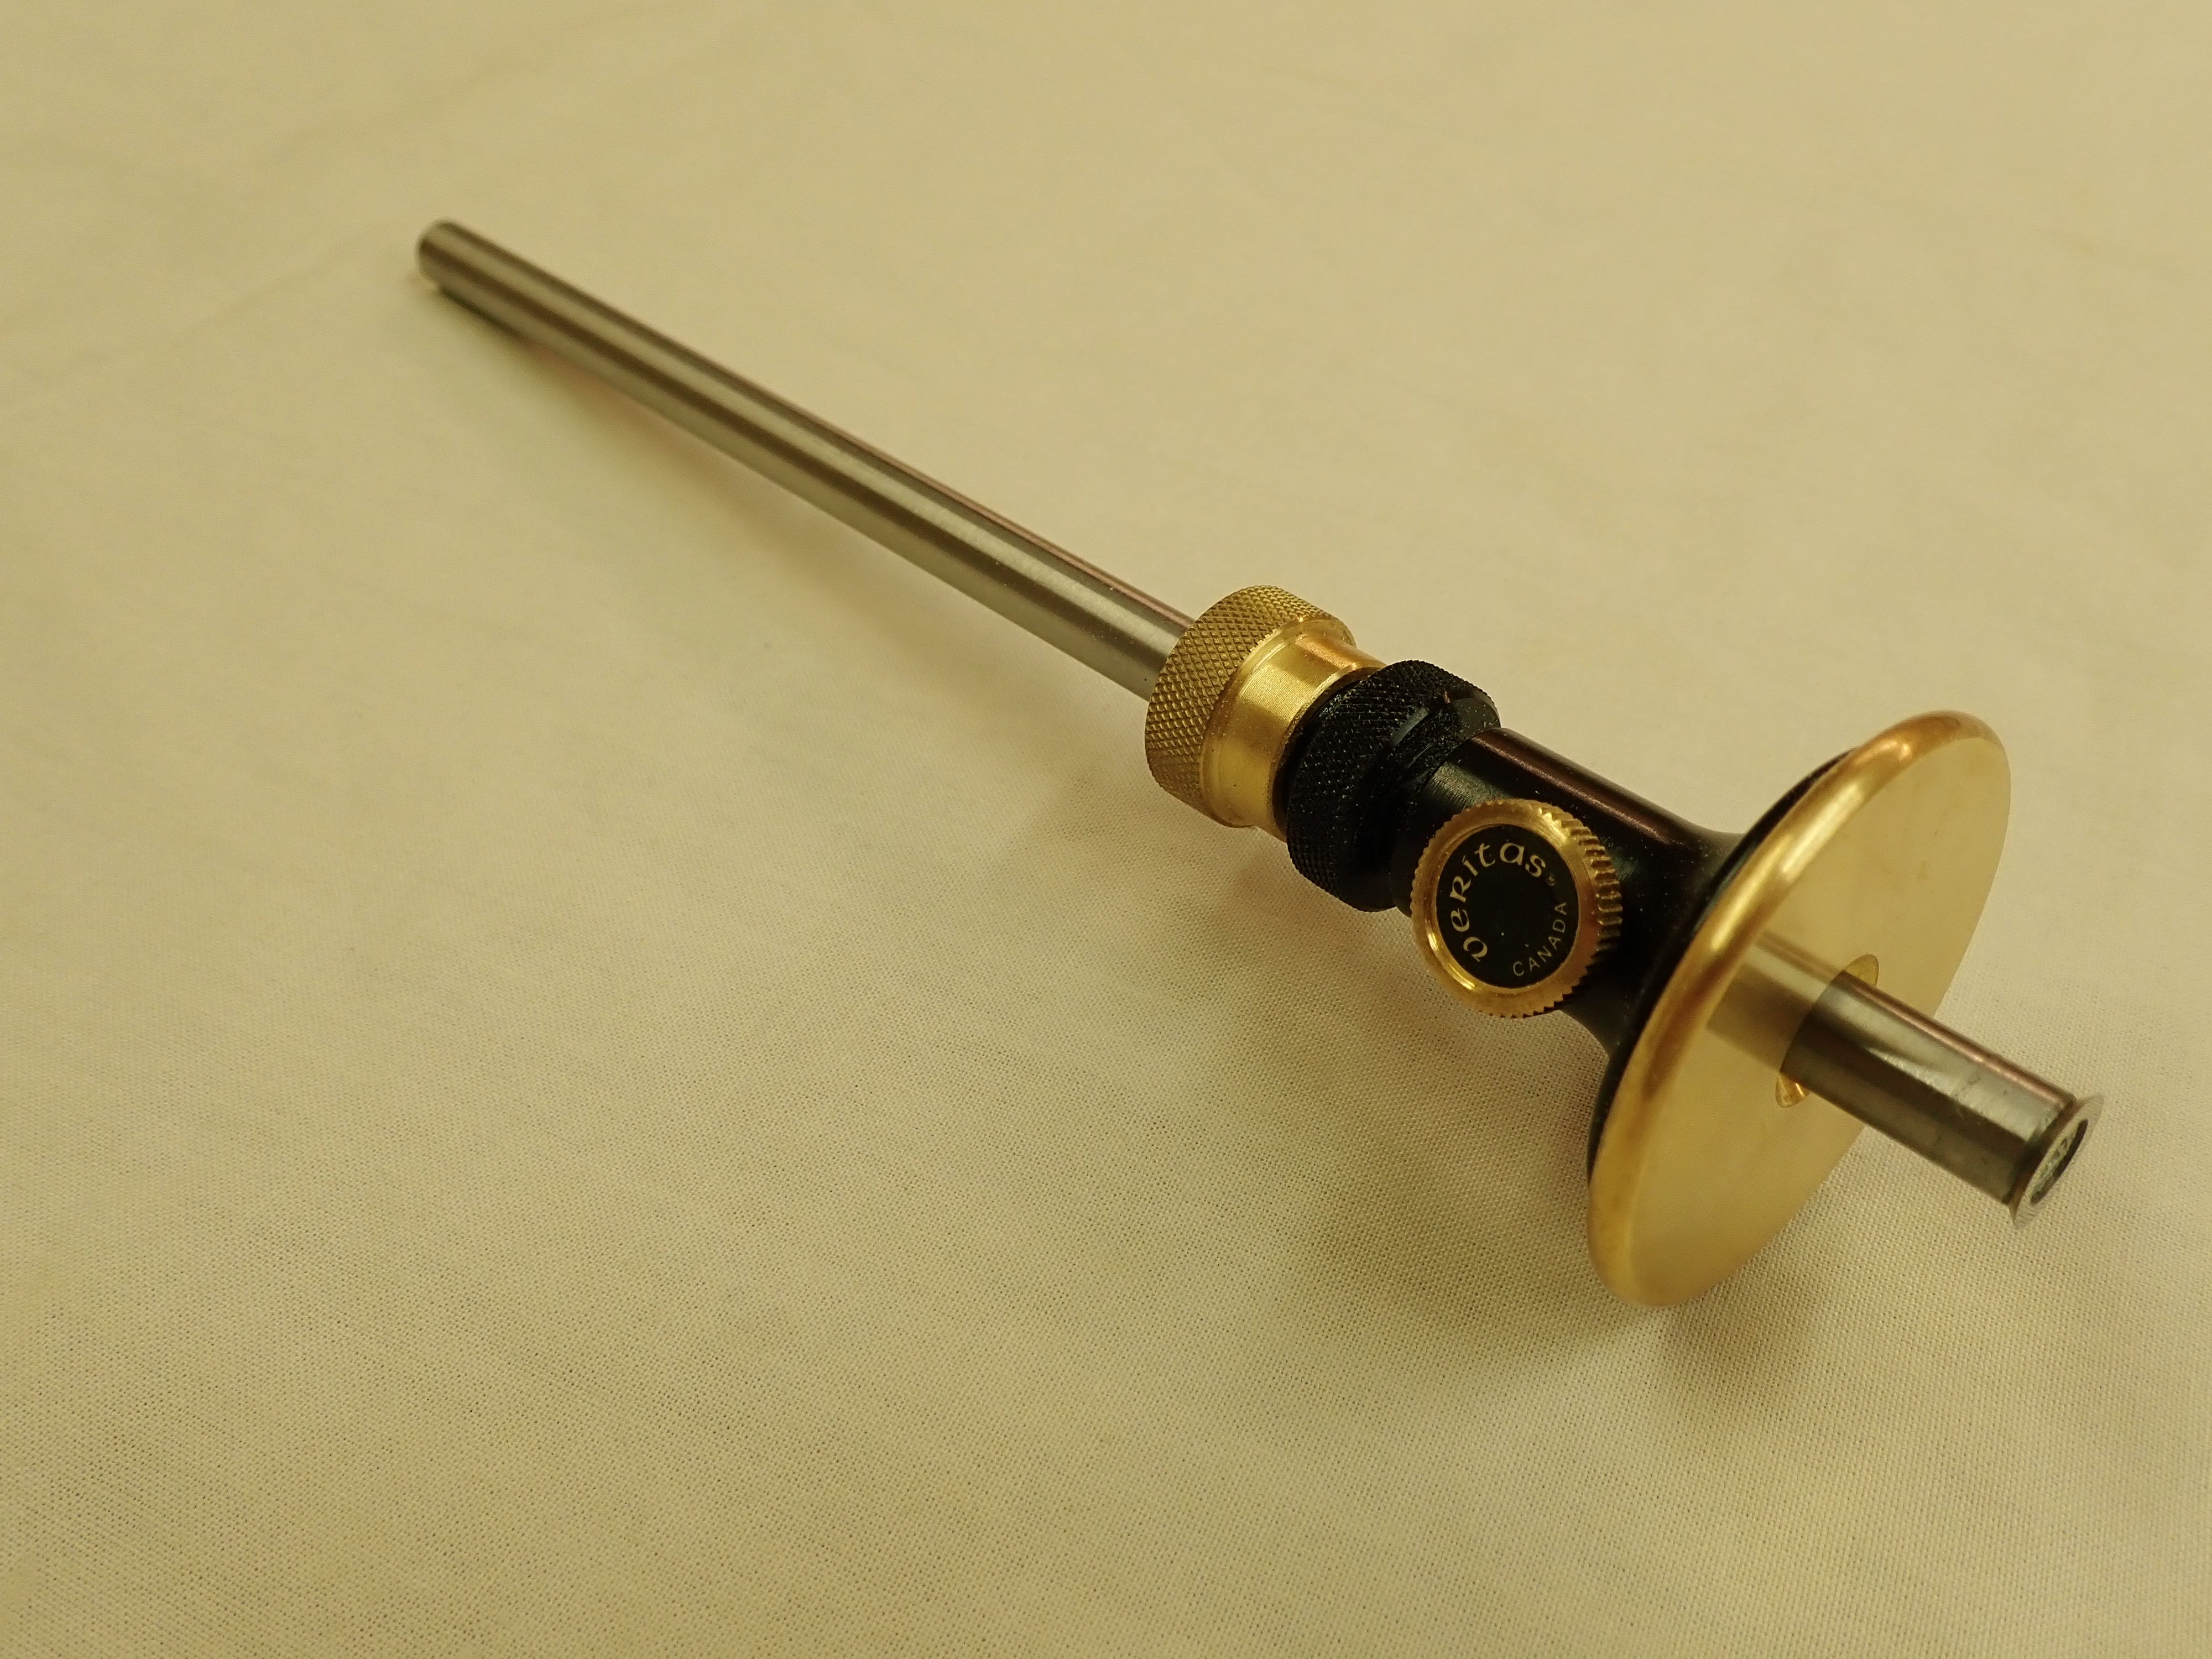
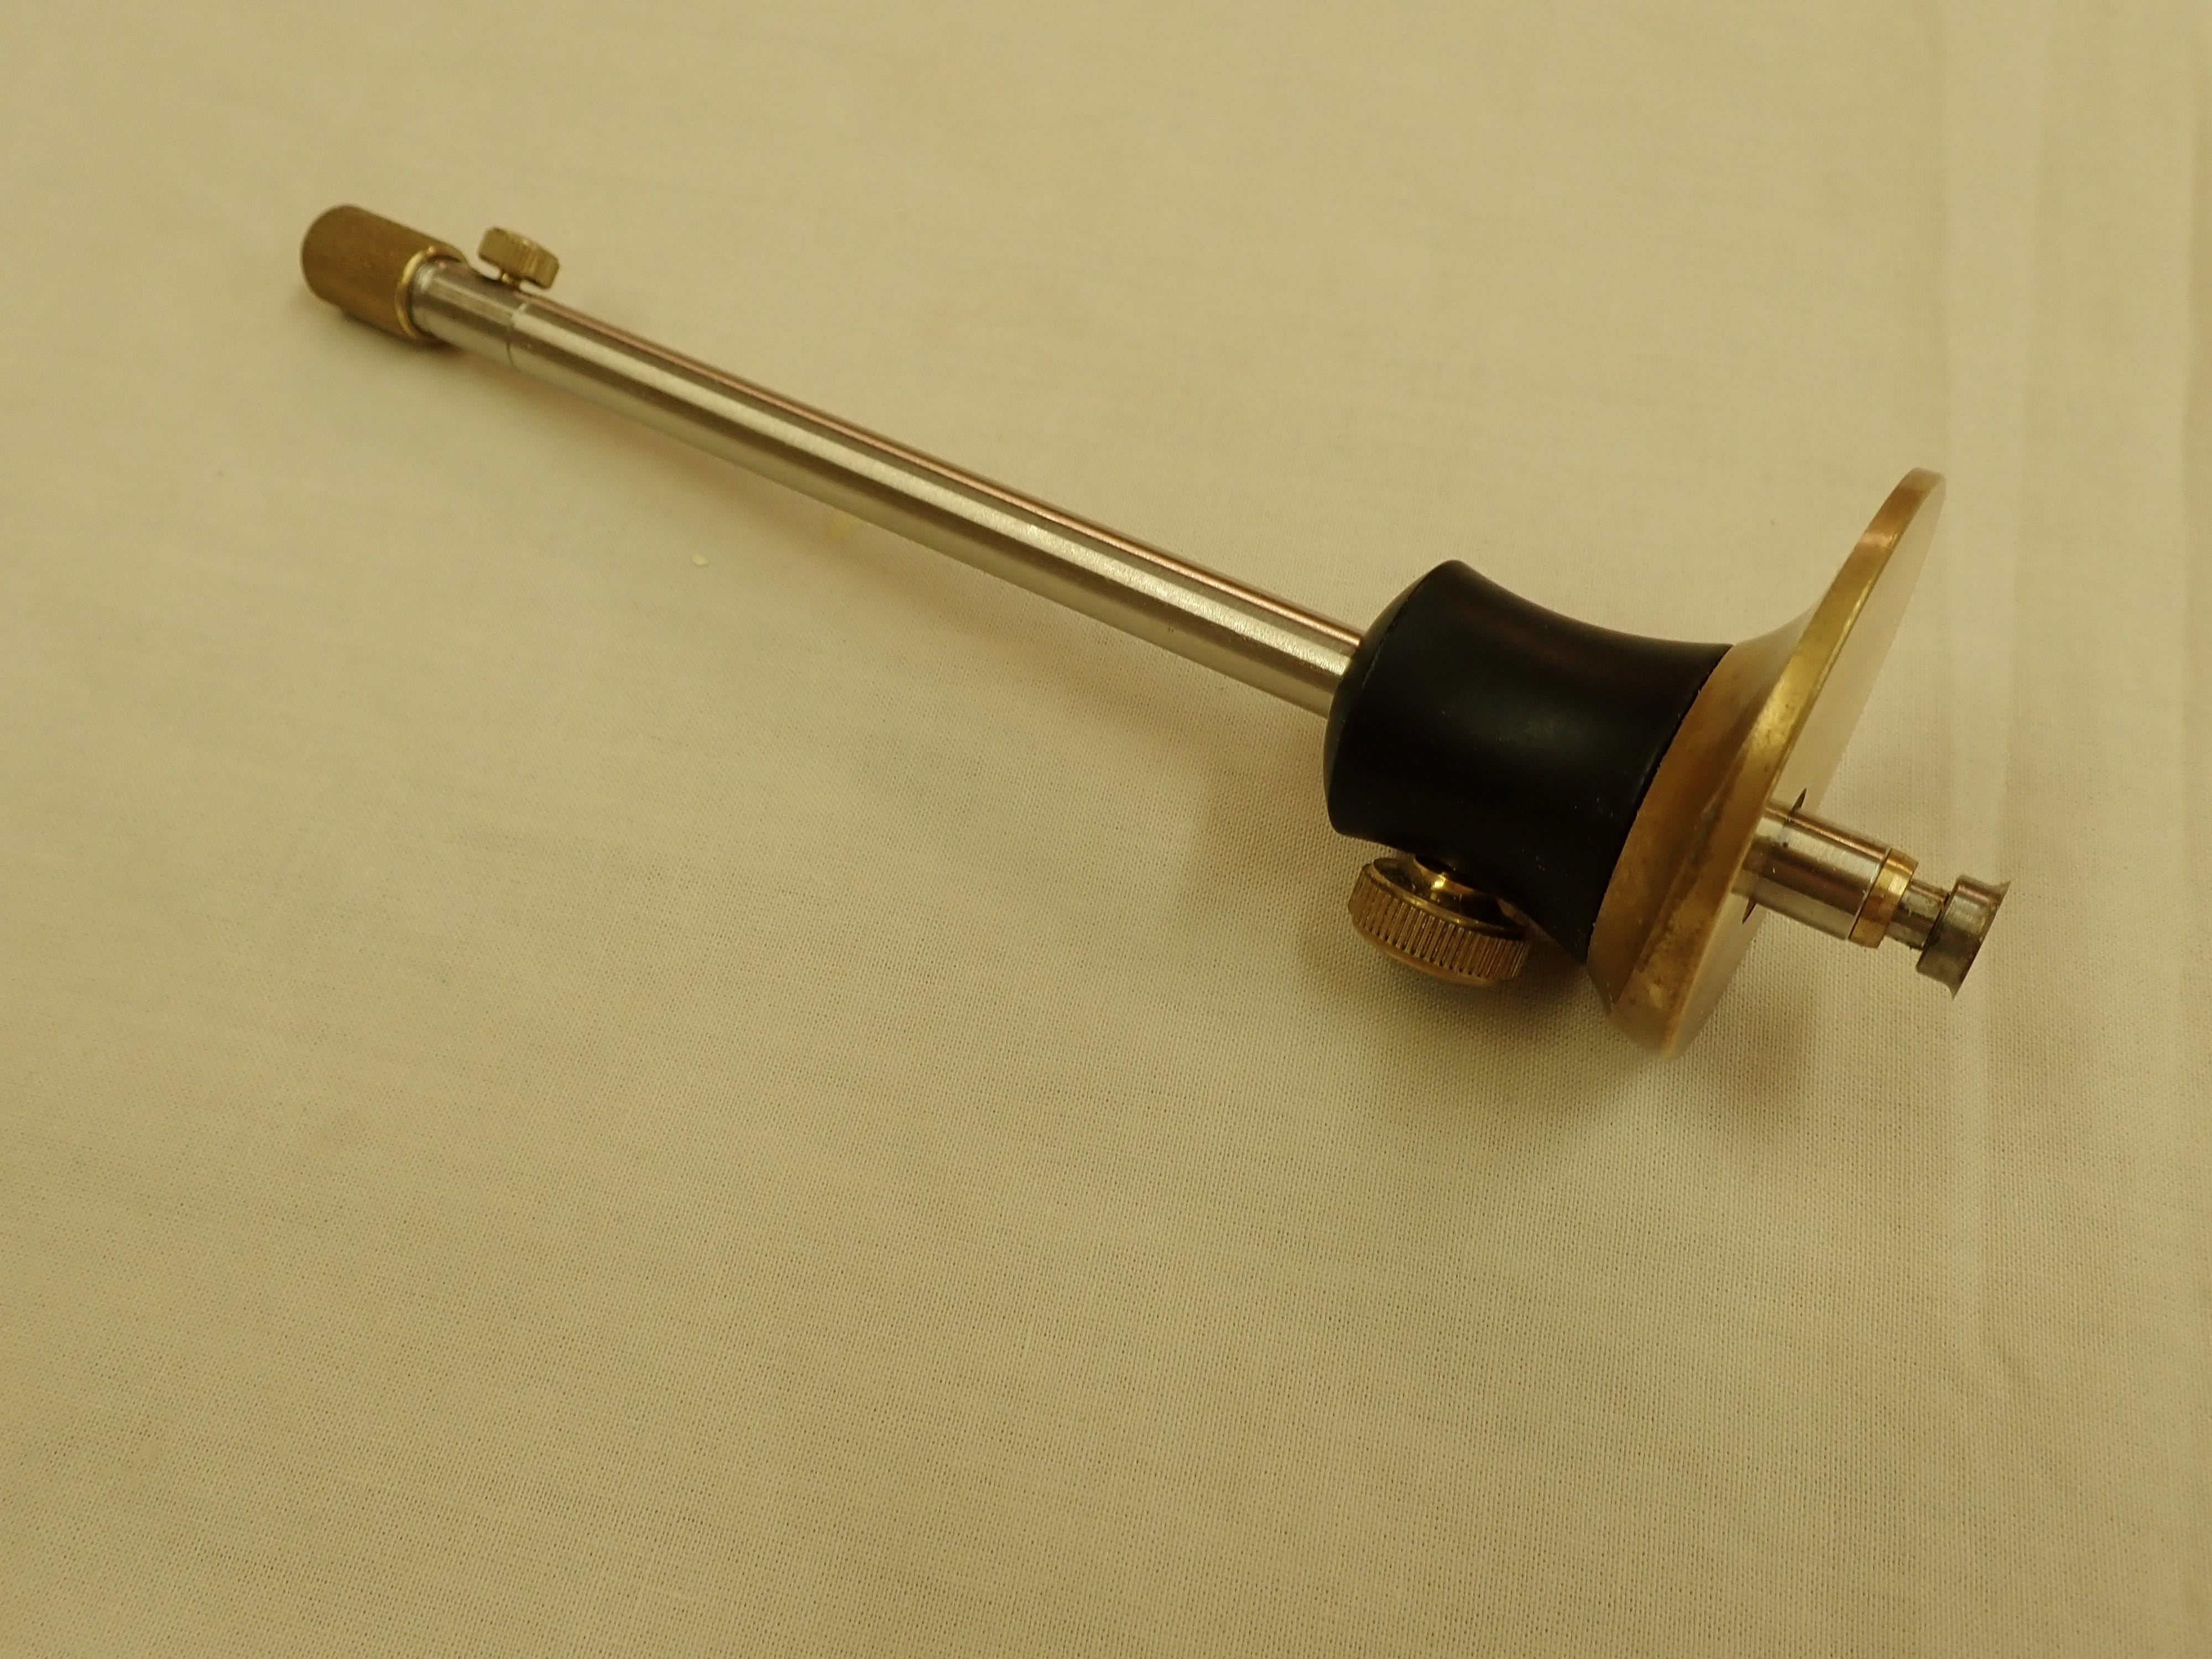
I like it because you can micro-adjust the setting with one hand while measuring the setting with the other (see photo further down). Only drawback is that as the shaft is centrally mounted, she will roll right off your bench if you let her. They solved that problem on the newer model, but I have no time for the ‘improved micro-adjustable feature’. It’s not an improvement, merely a dinky complication. Here it is:
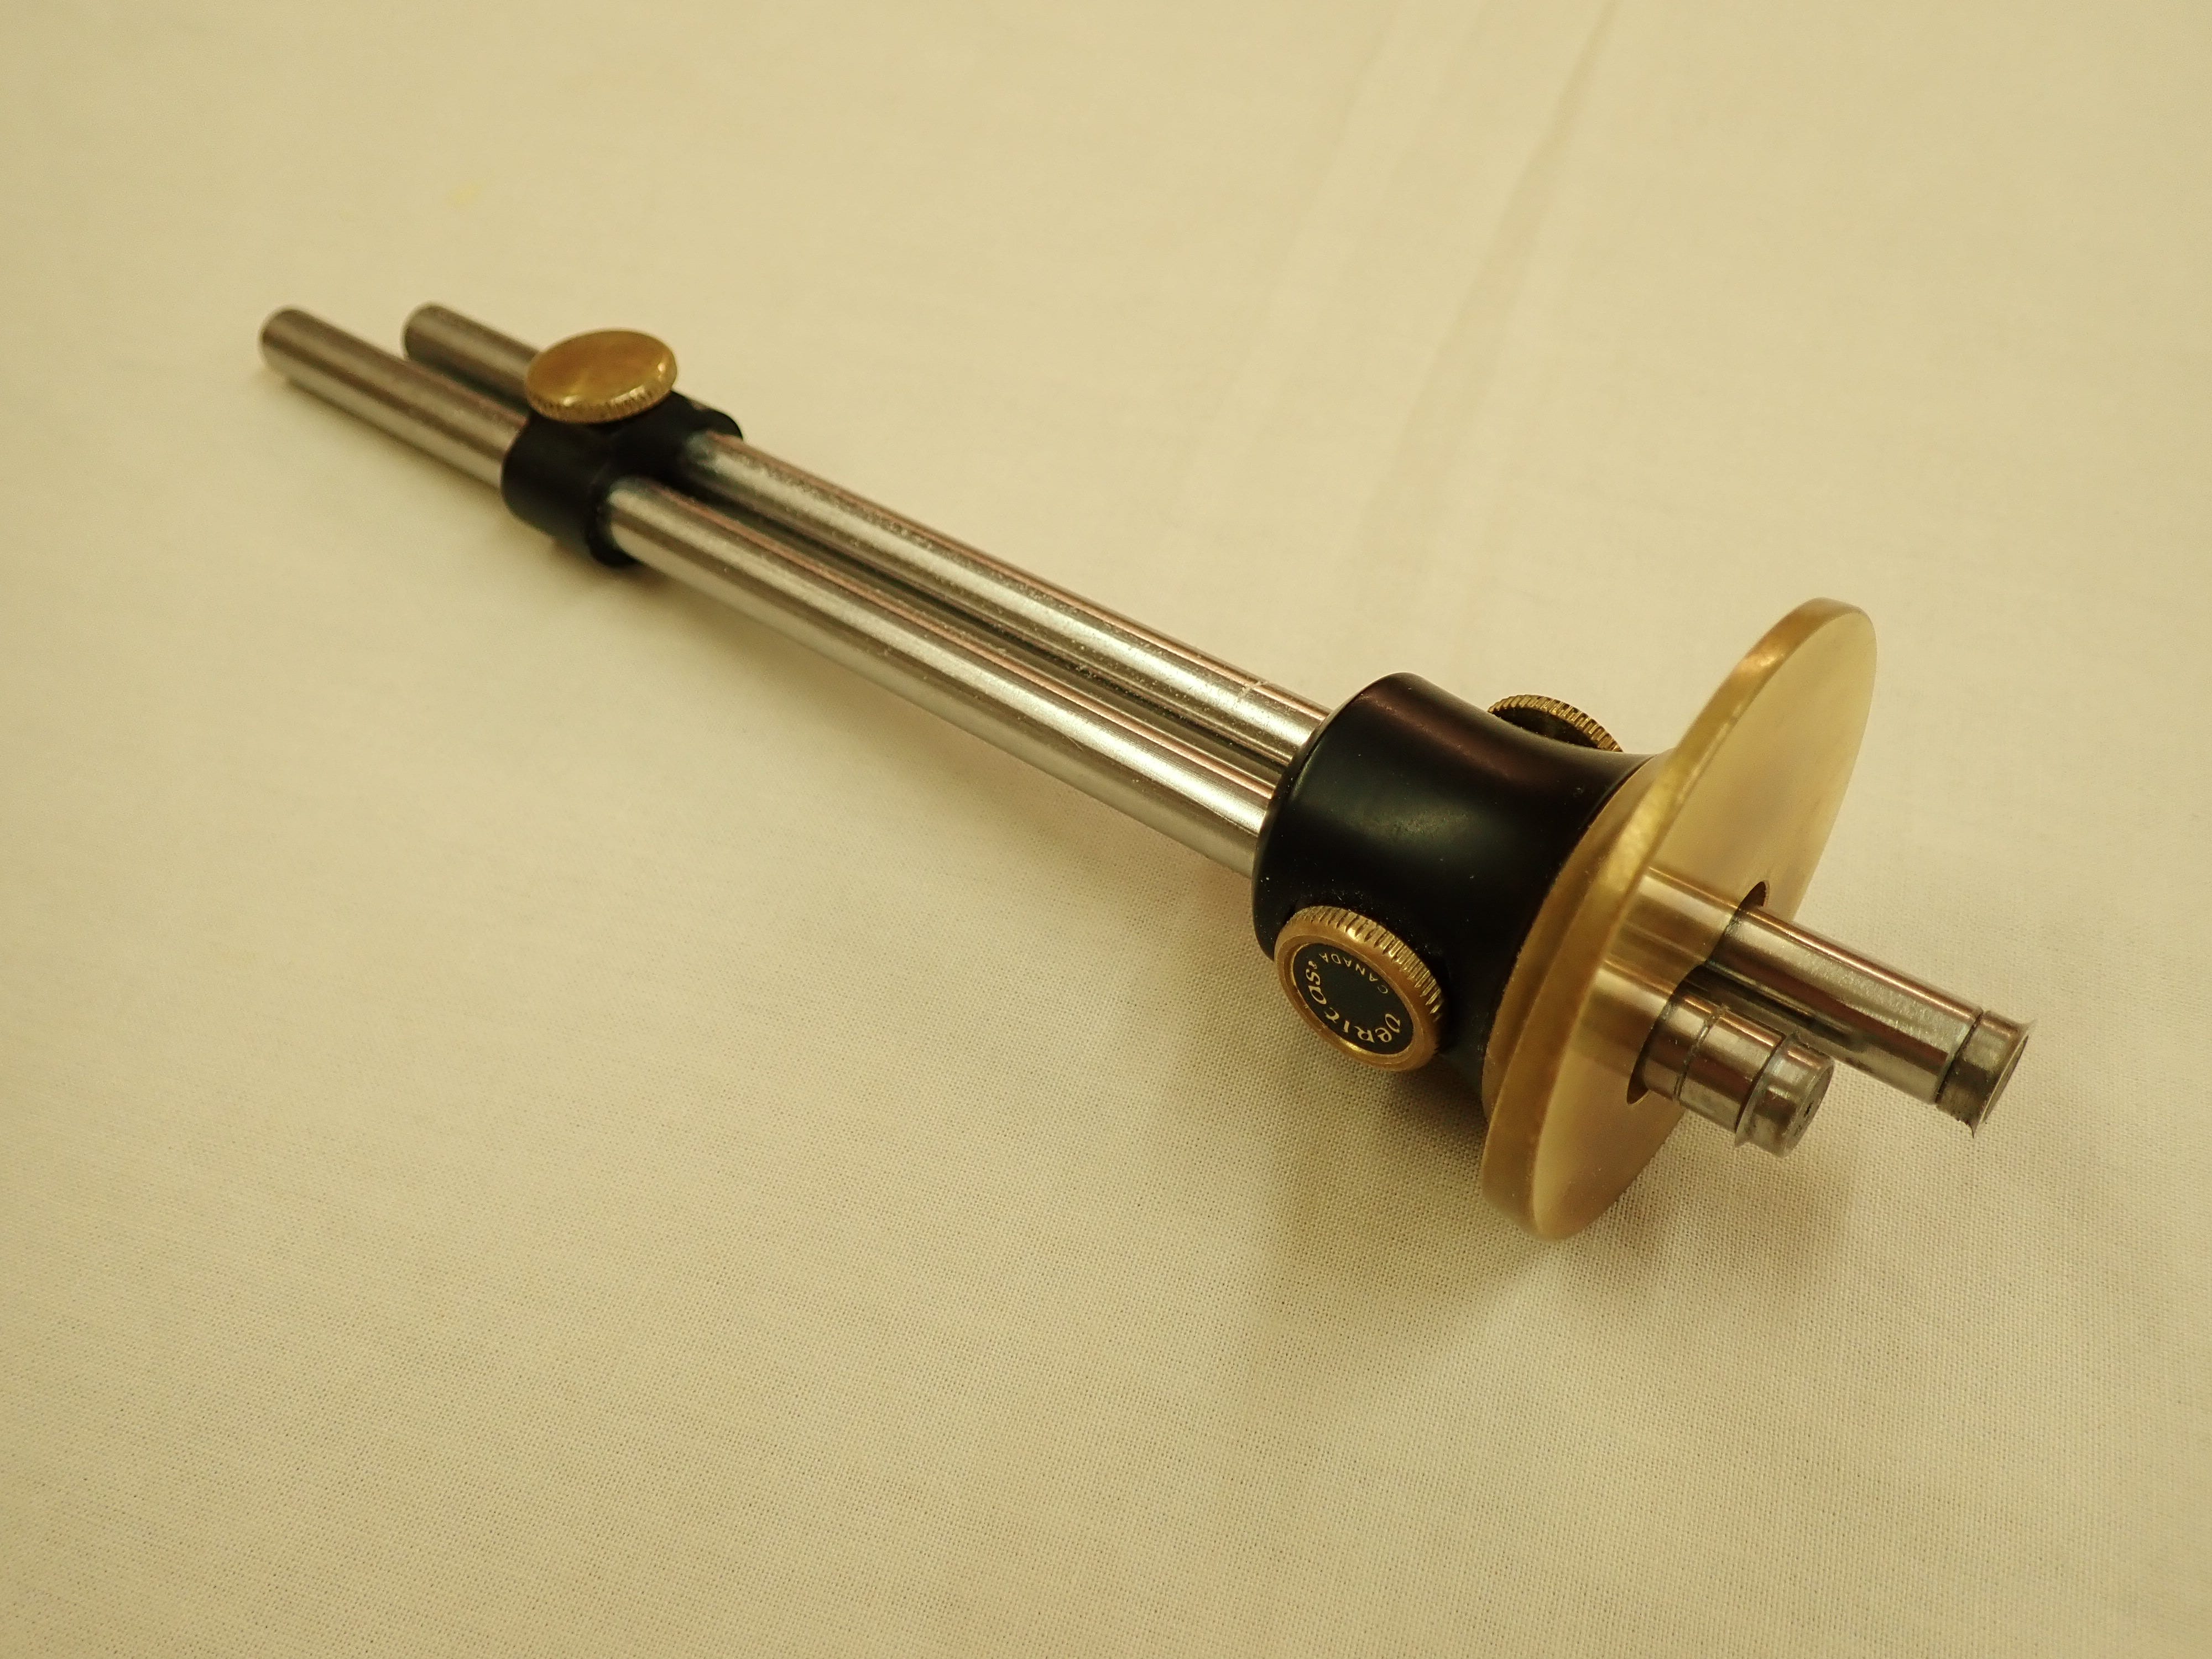
Then there’s the wheel mortise gauge; cleverly designed so that the distance between the back end of the rods equals the distance between the cutting wheels. You can set it up ‘from behind’, so to speak, for instance by using the thickness of the actual tenon you want to make a mortice for. I like it. Be sure to order the ‘clamp’ that lets you move the two rods as one.
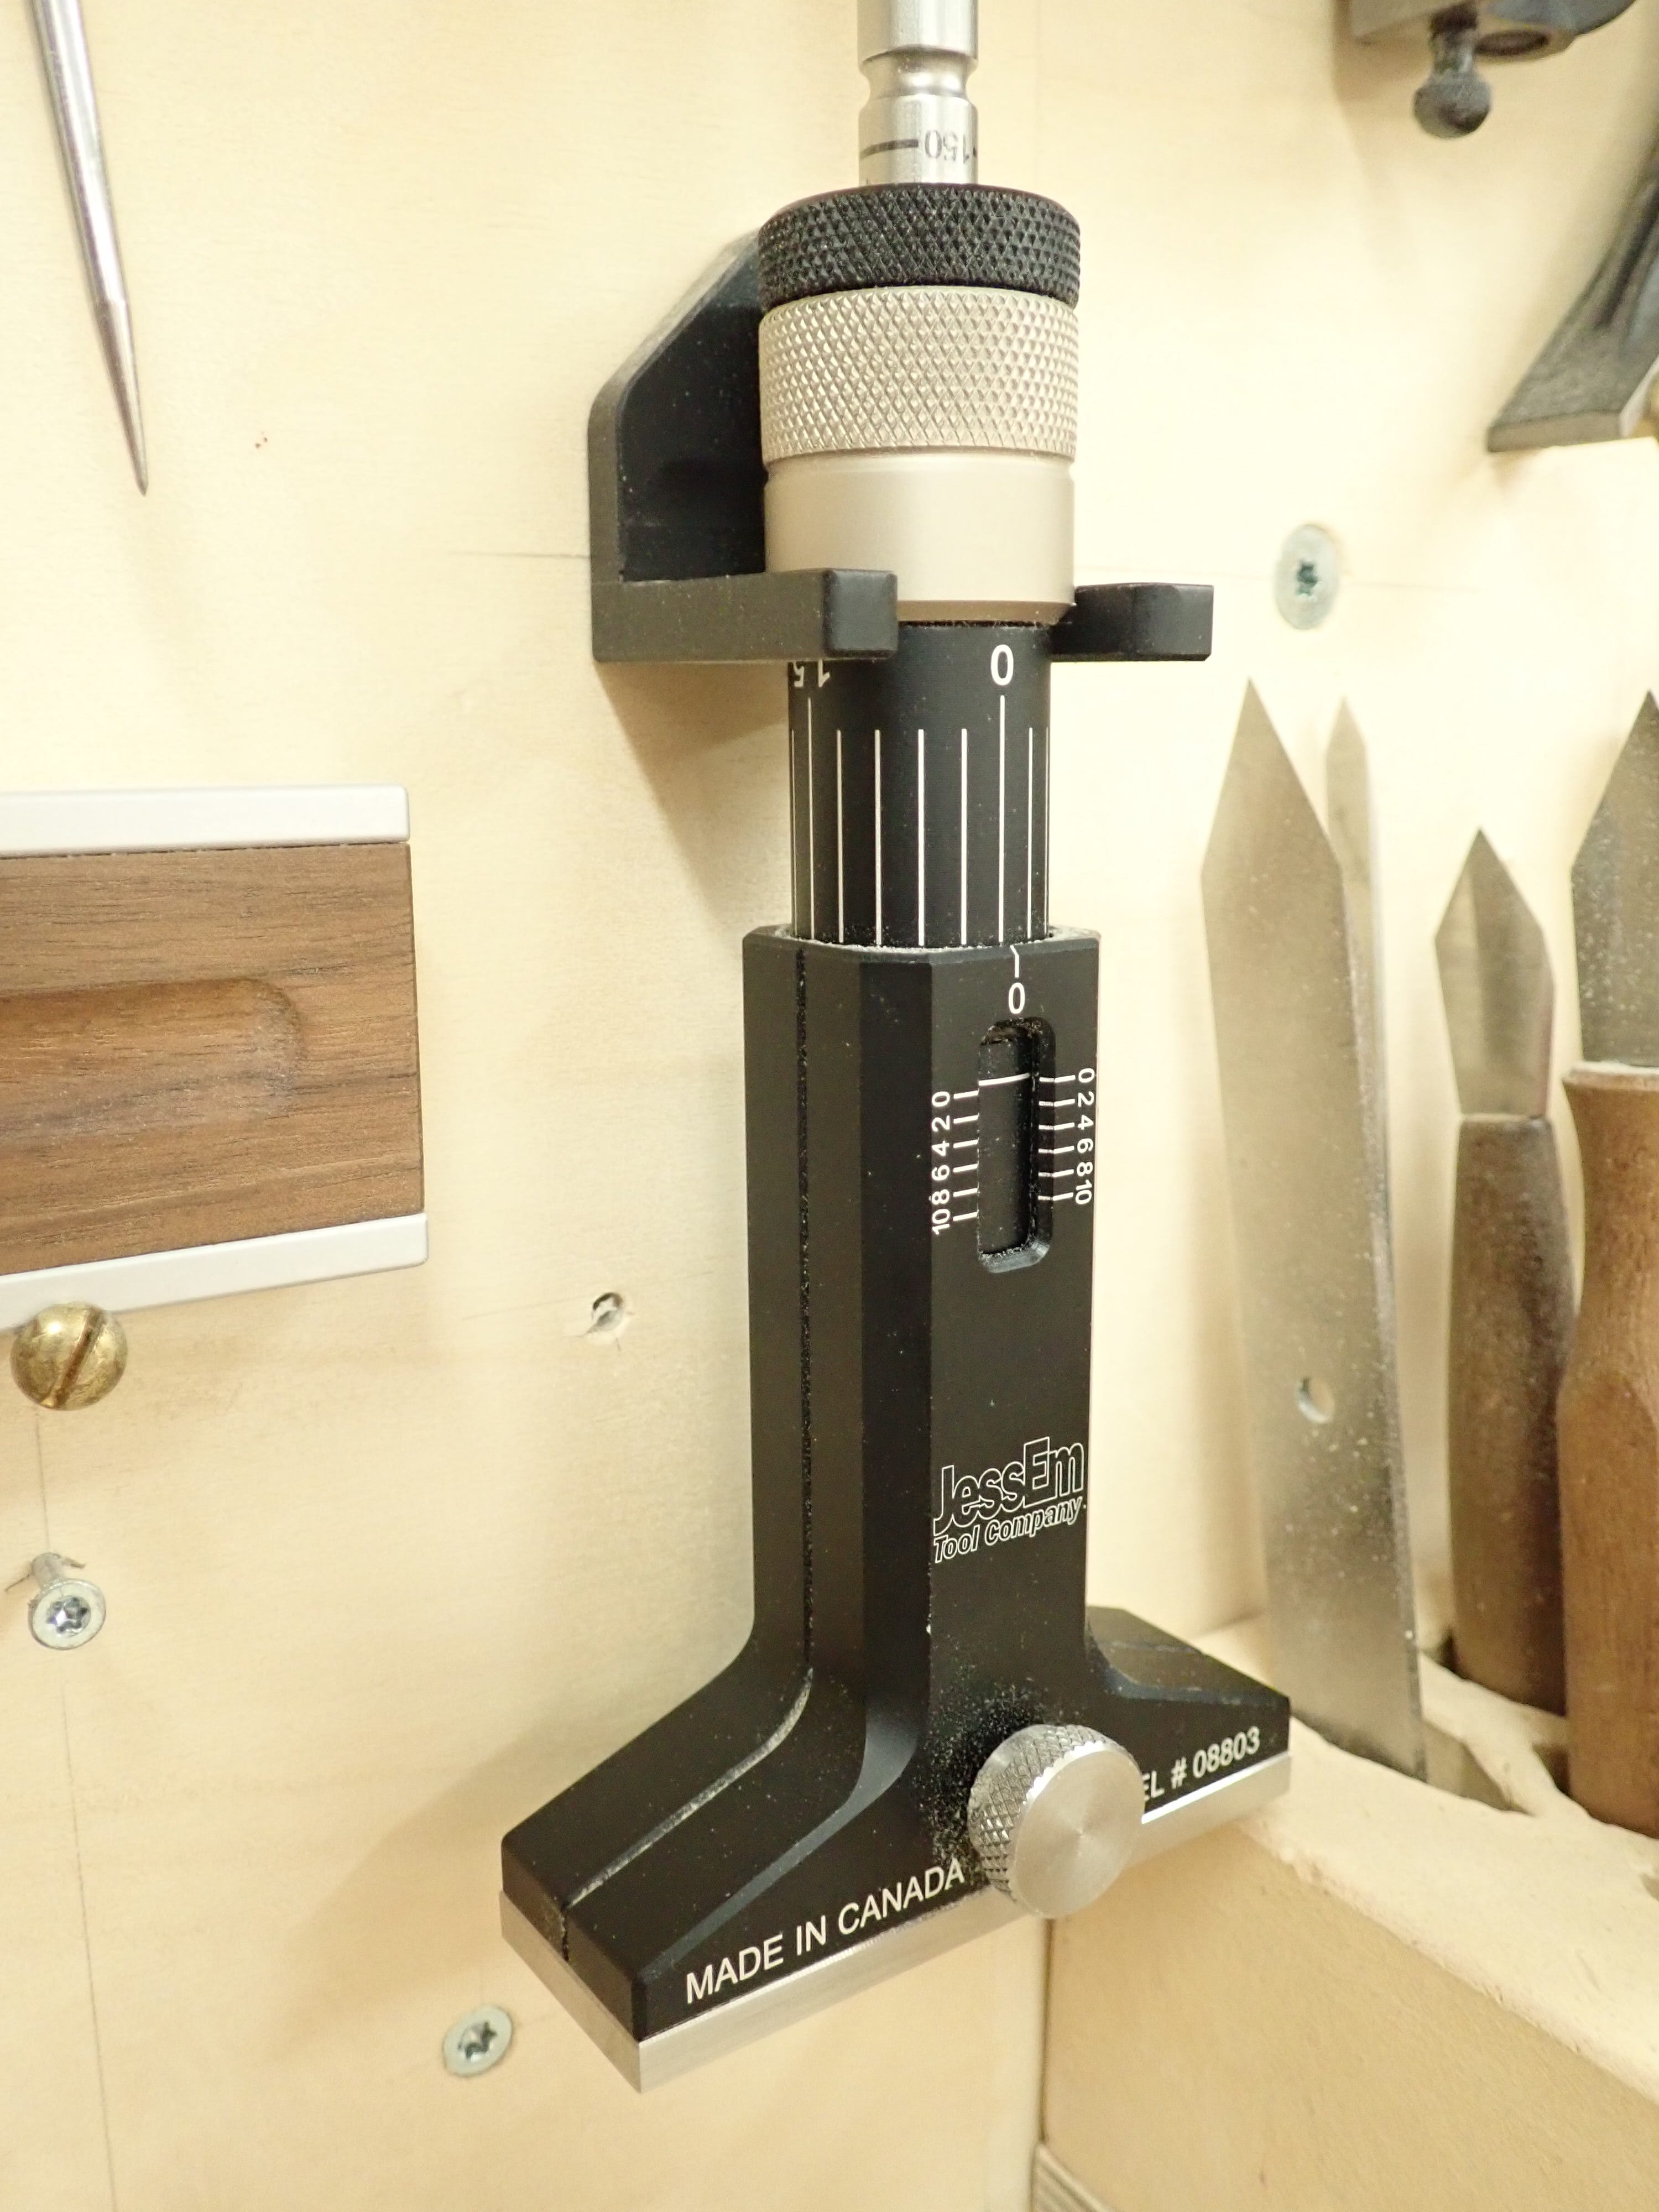
Here’s a larger gauge with it’s own ‘internal measuring mechanism’ — no need for a separate tool for measuring the setting, it’s like an built-in calliper, accurate to 0,1 mm. A truly brilliant tool.
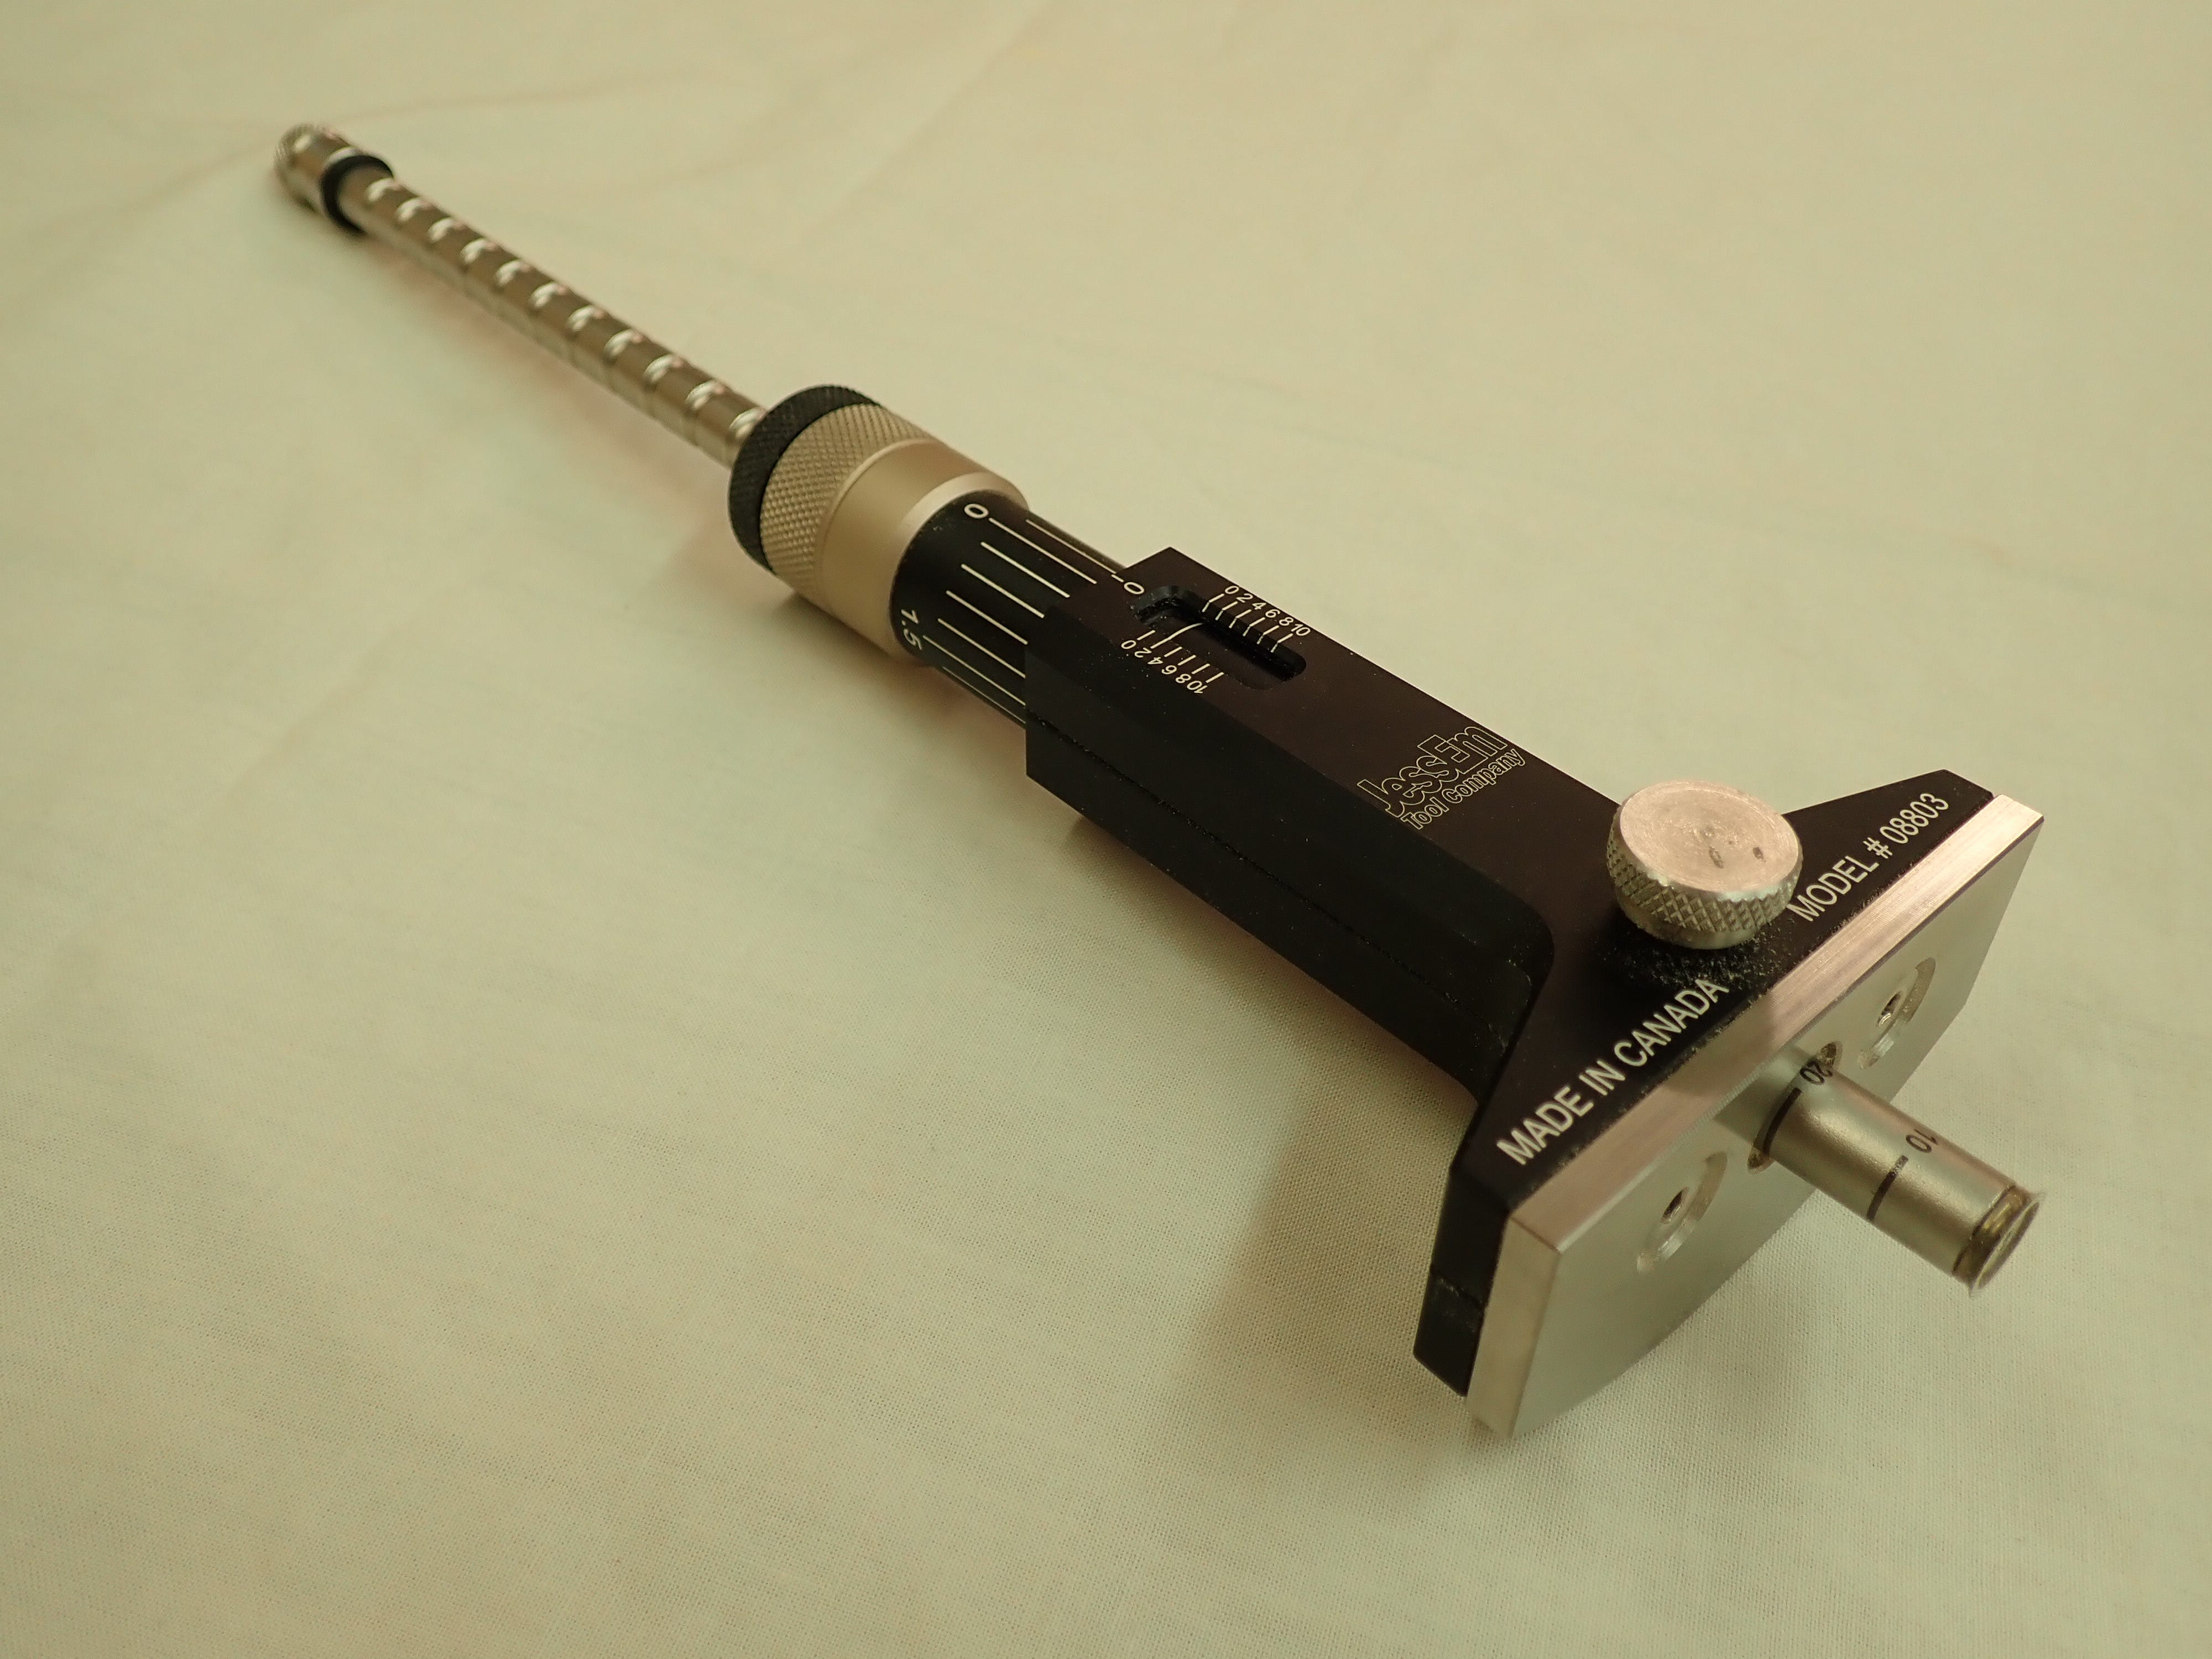
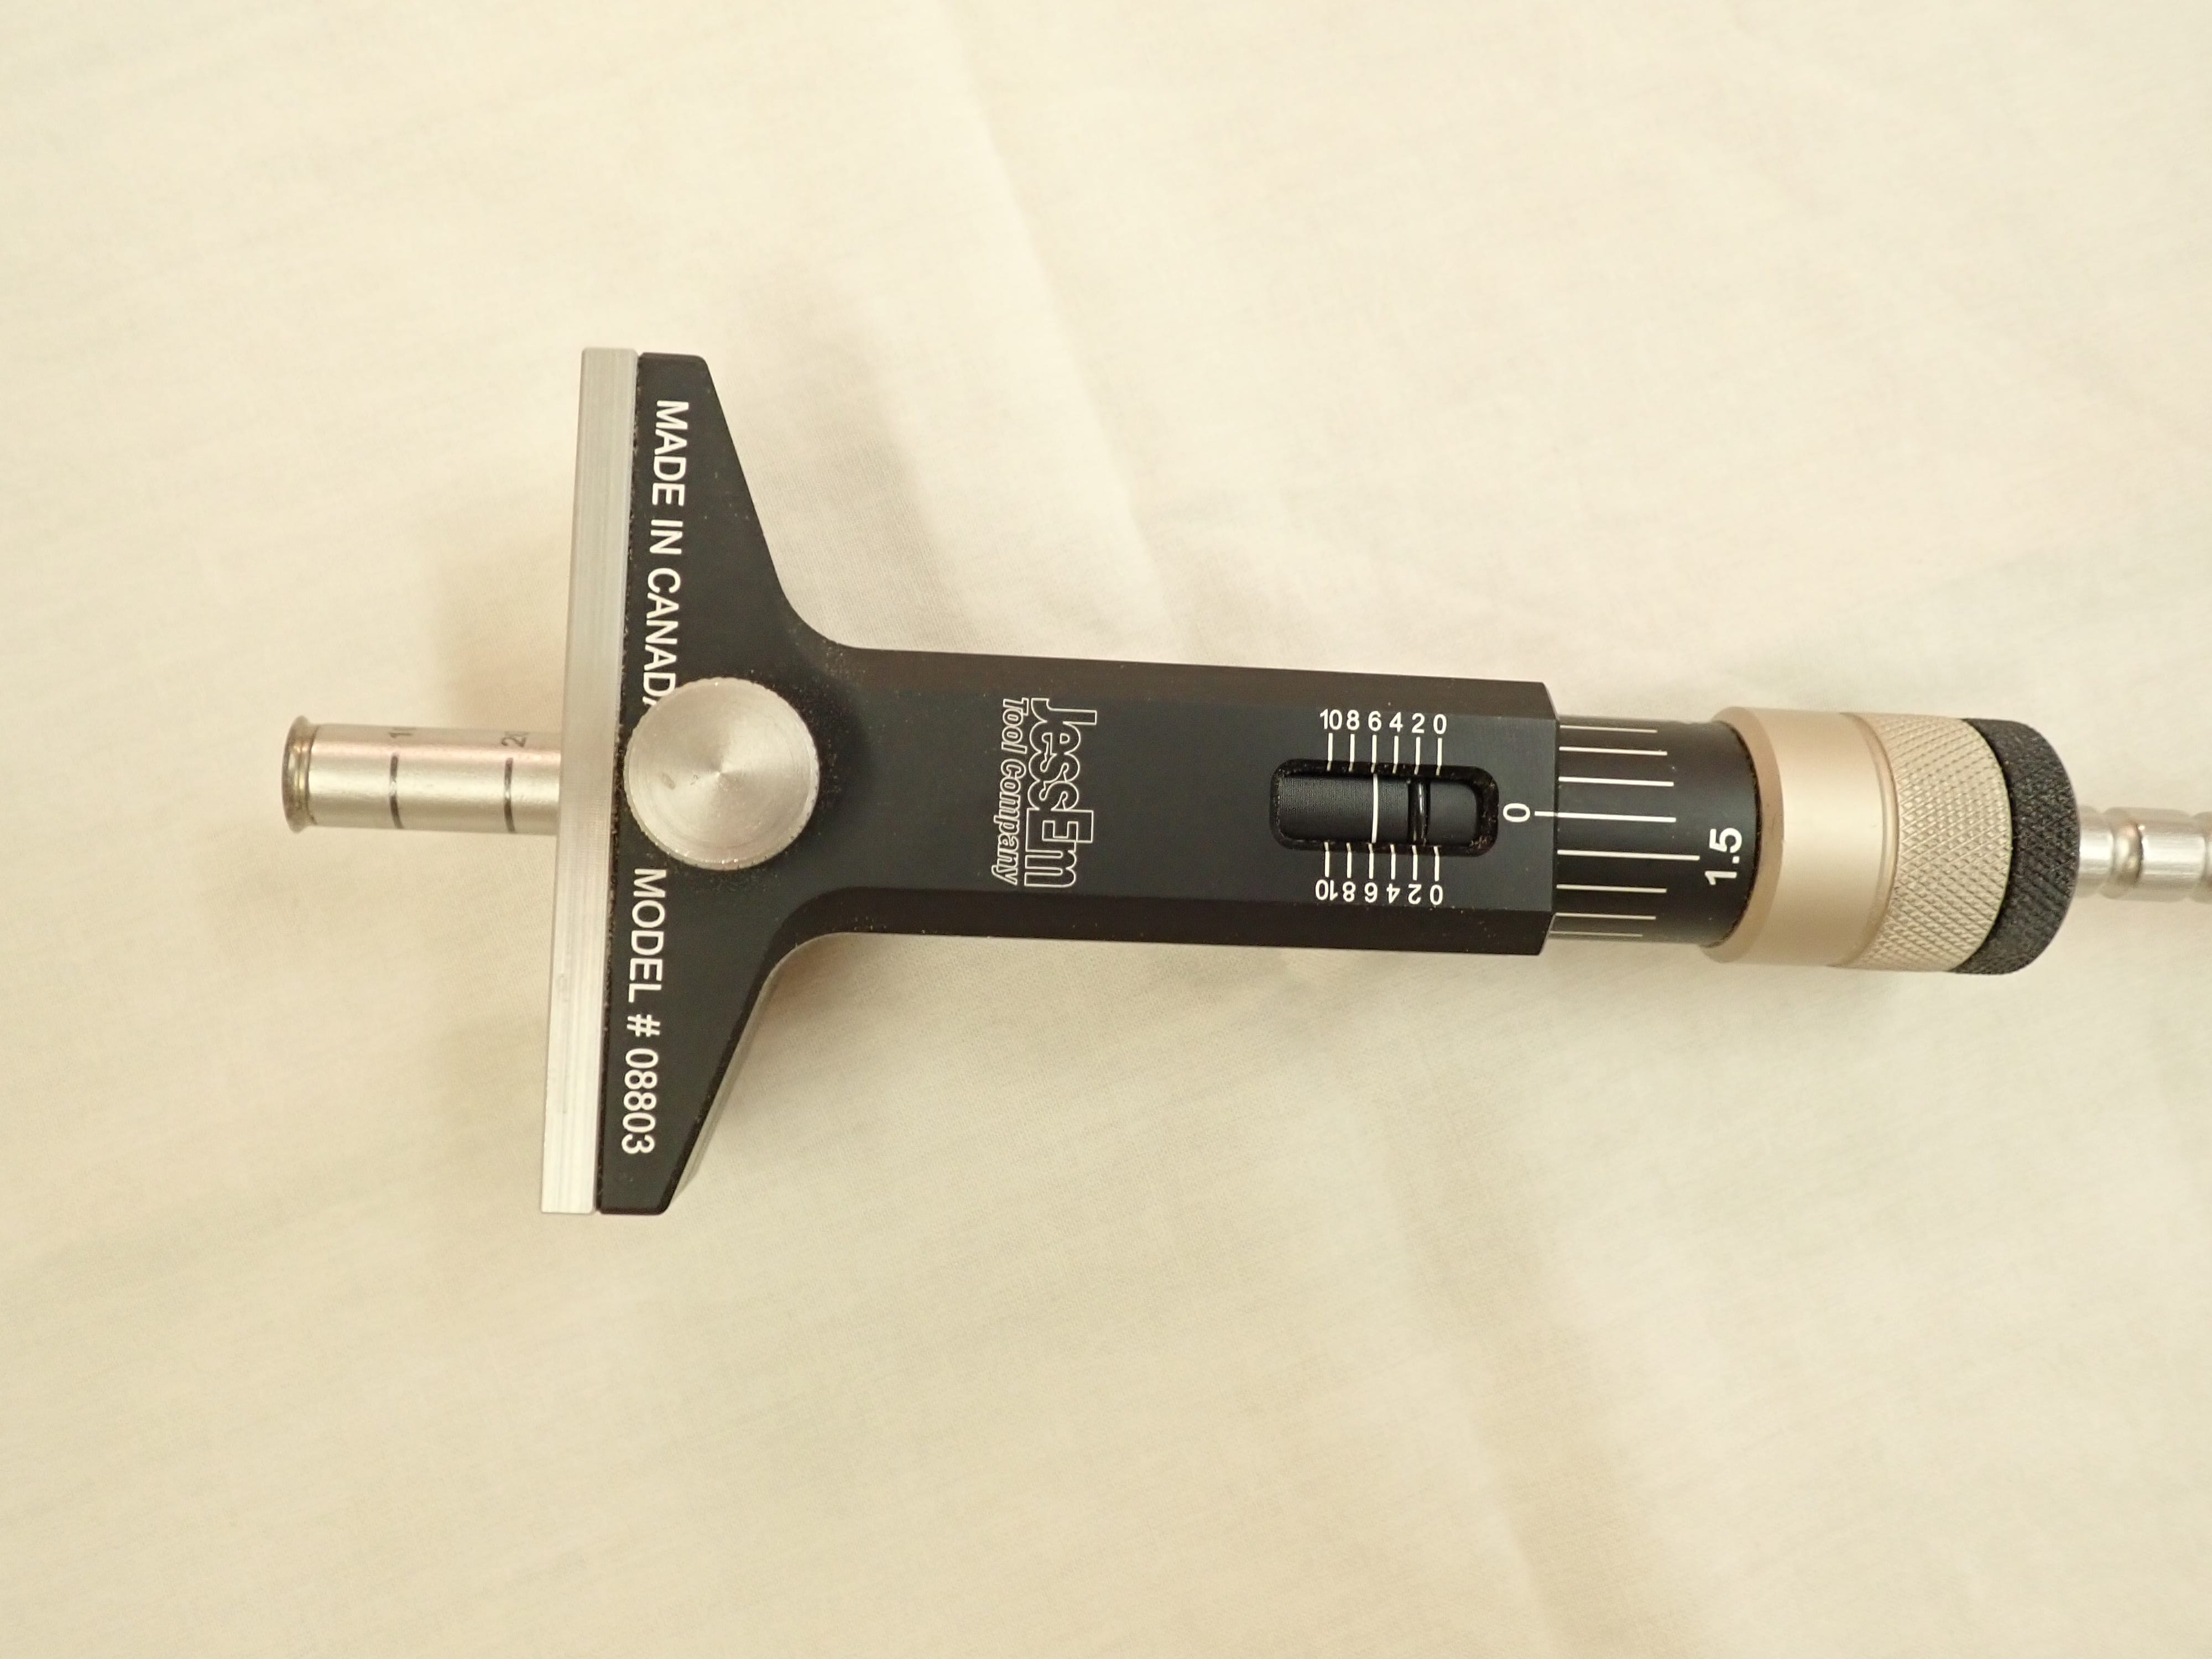
And it comes with a wall-hanging holder.
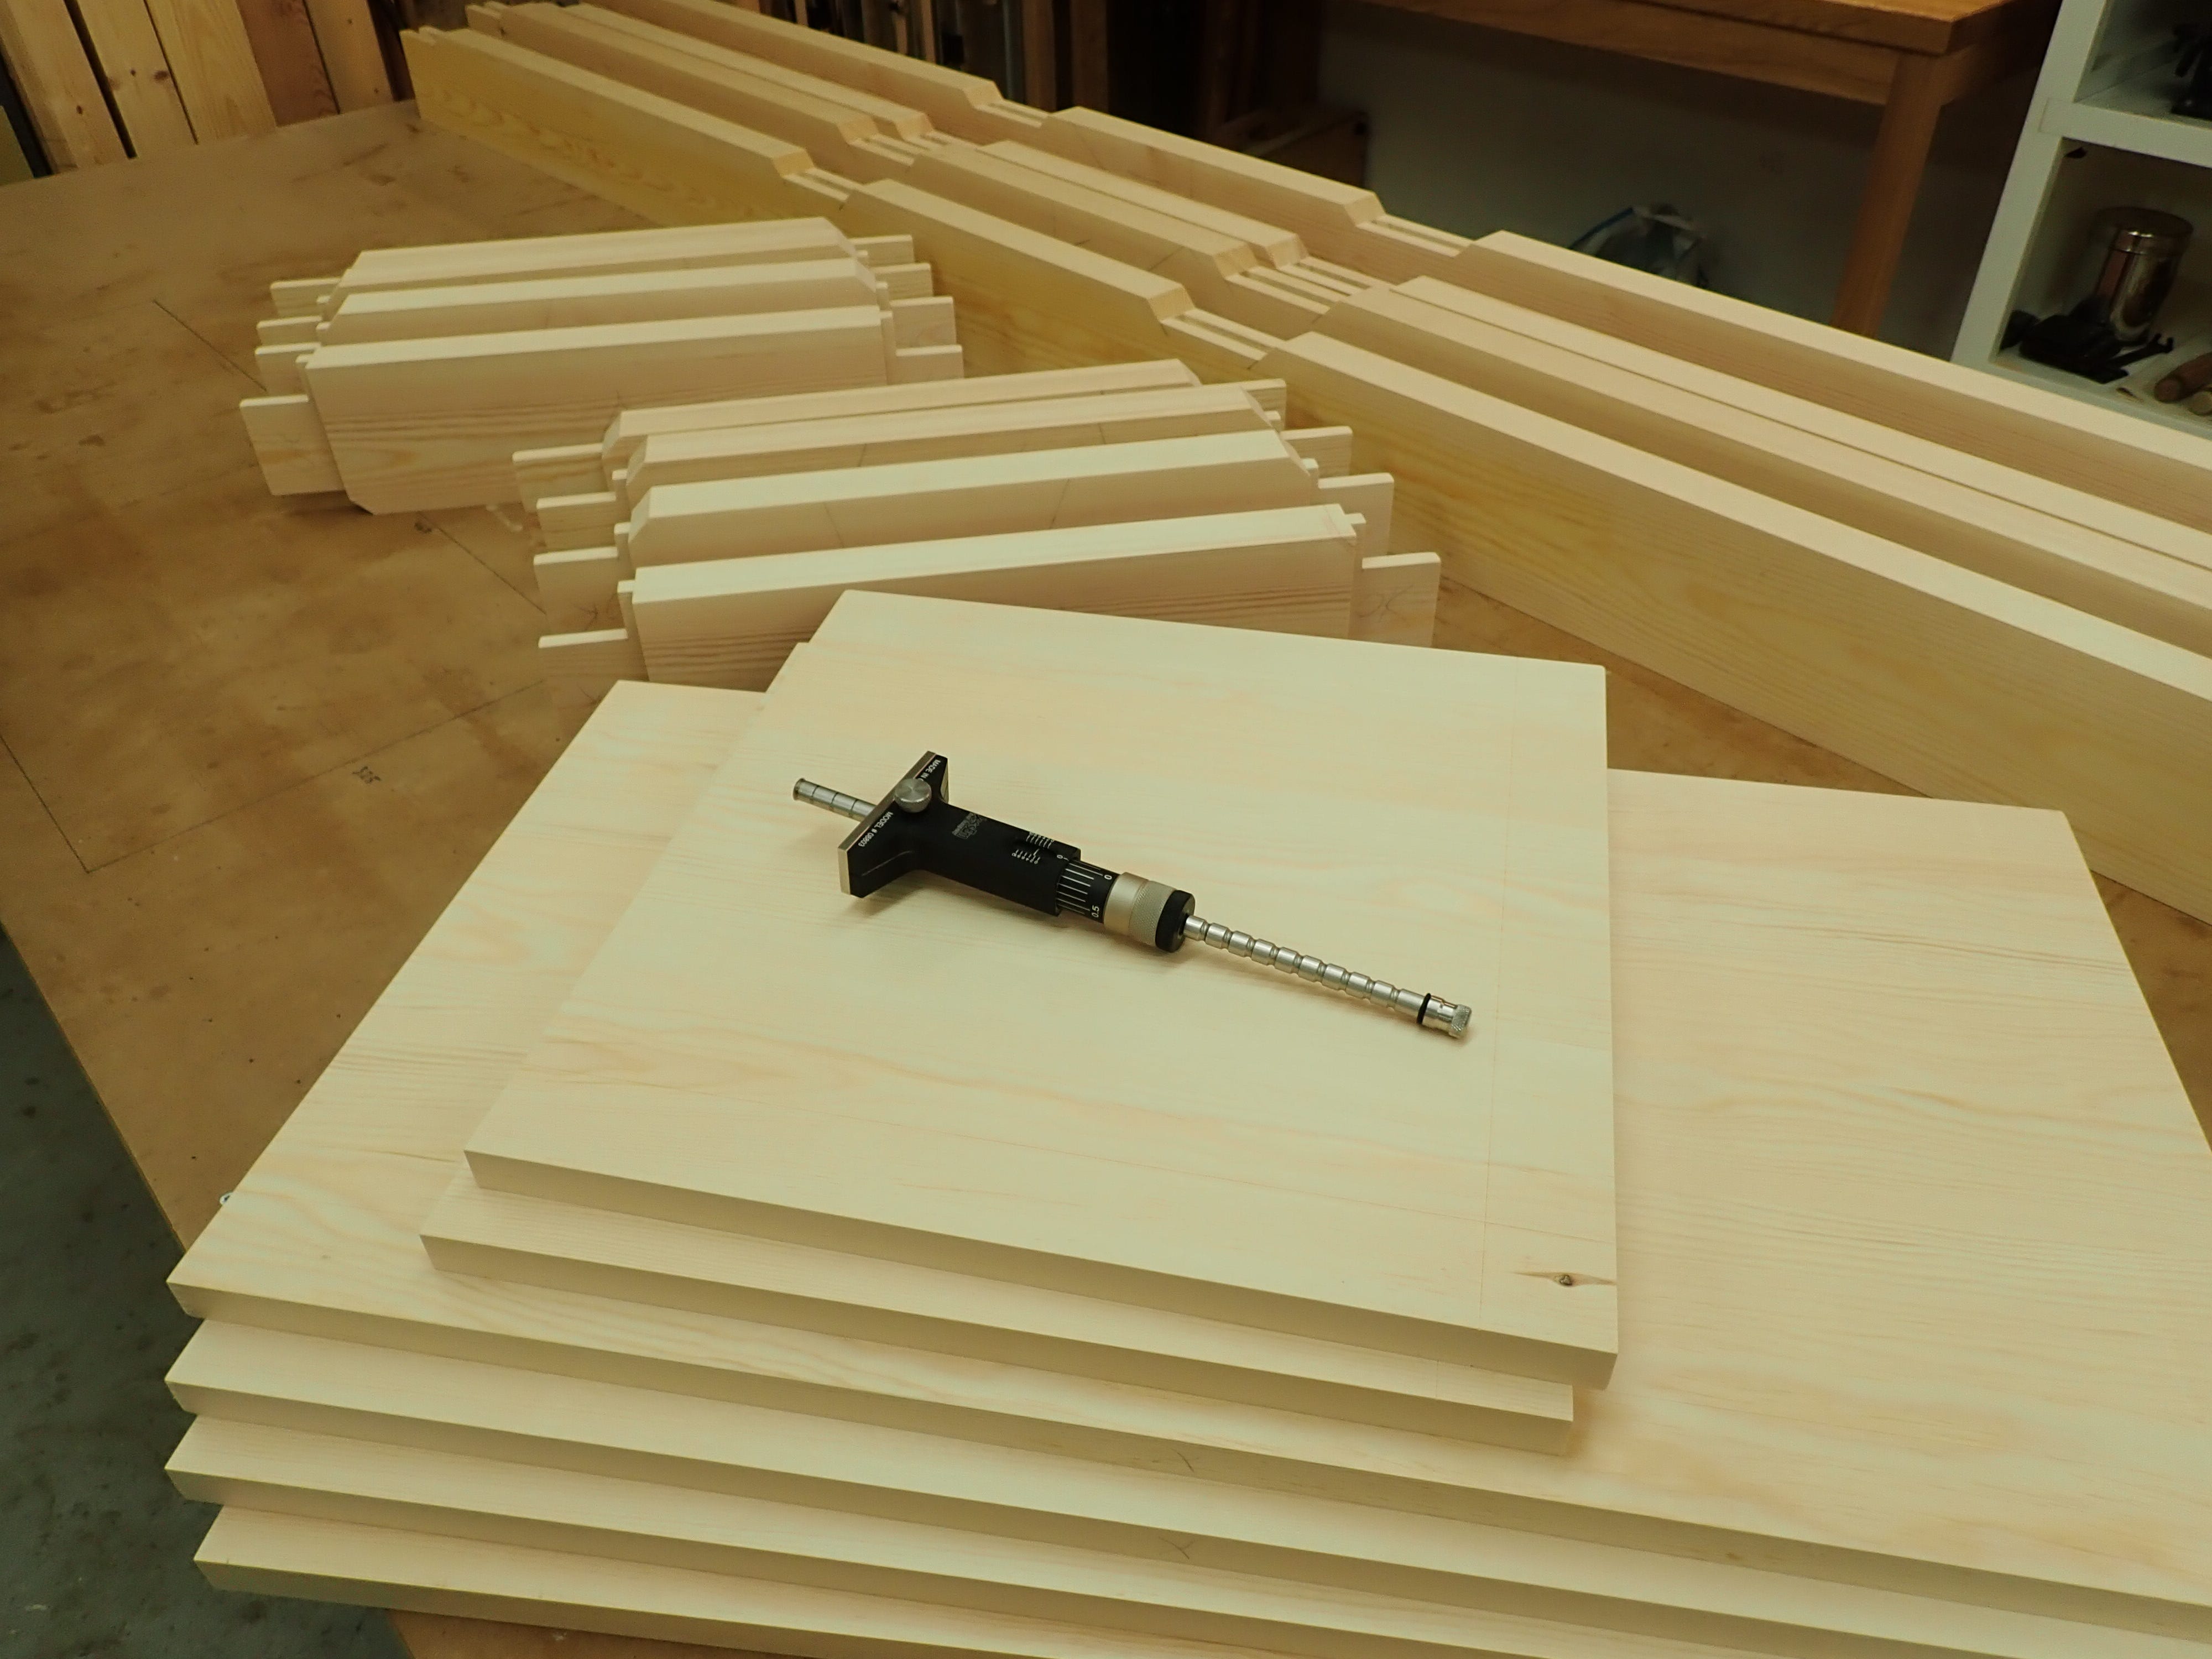
I find this gauge very useful indeed when setting out larger parts, for instance tenons on doors, rebates on panels, or even smaller timber frame joinery.
I also have a couple of smaller gauges for when space is restricted or the scale of work is reduced.
Let’s compare the marks made by three gauges:
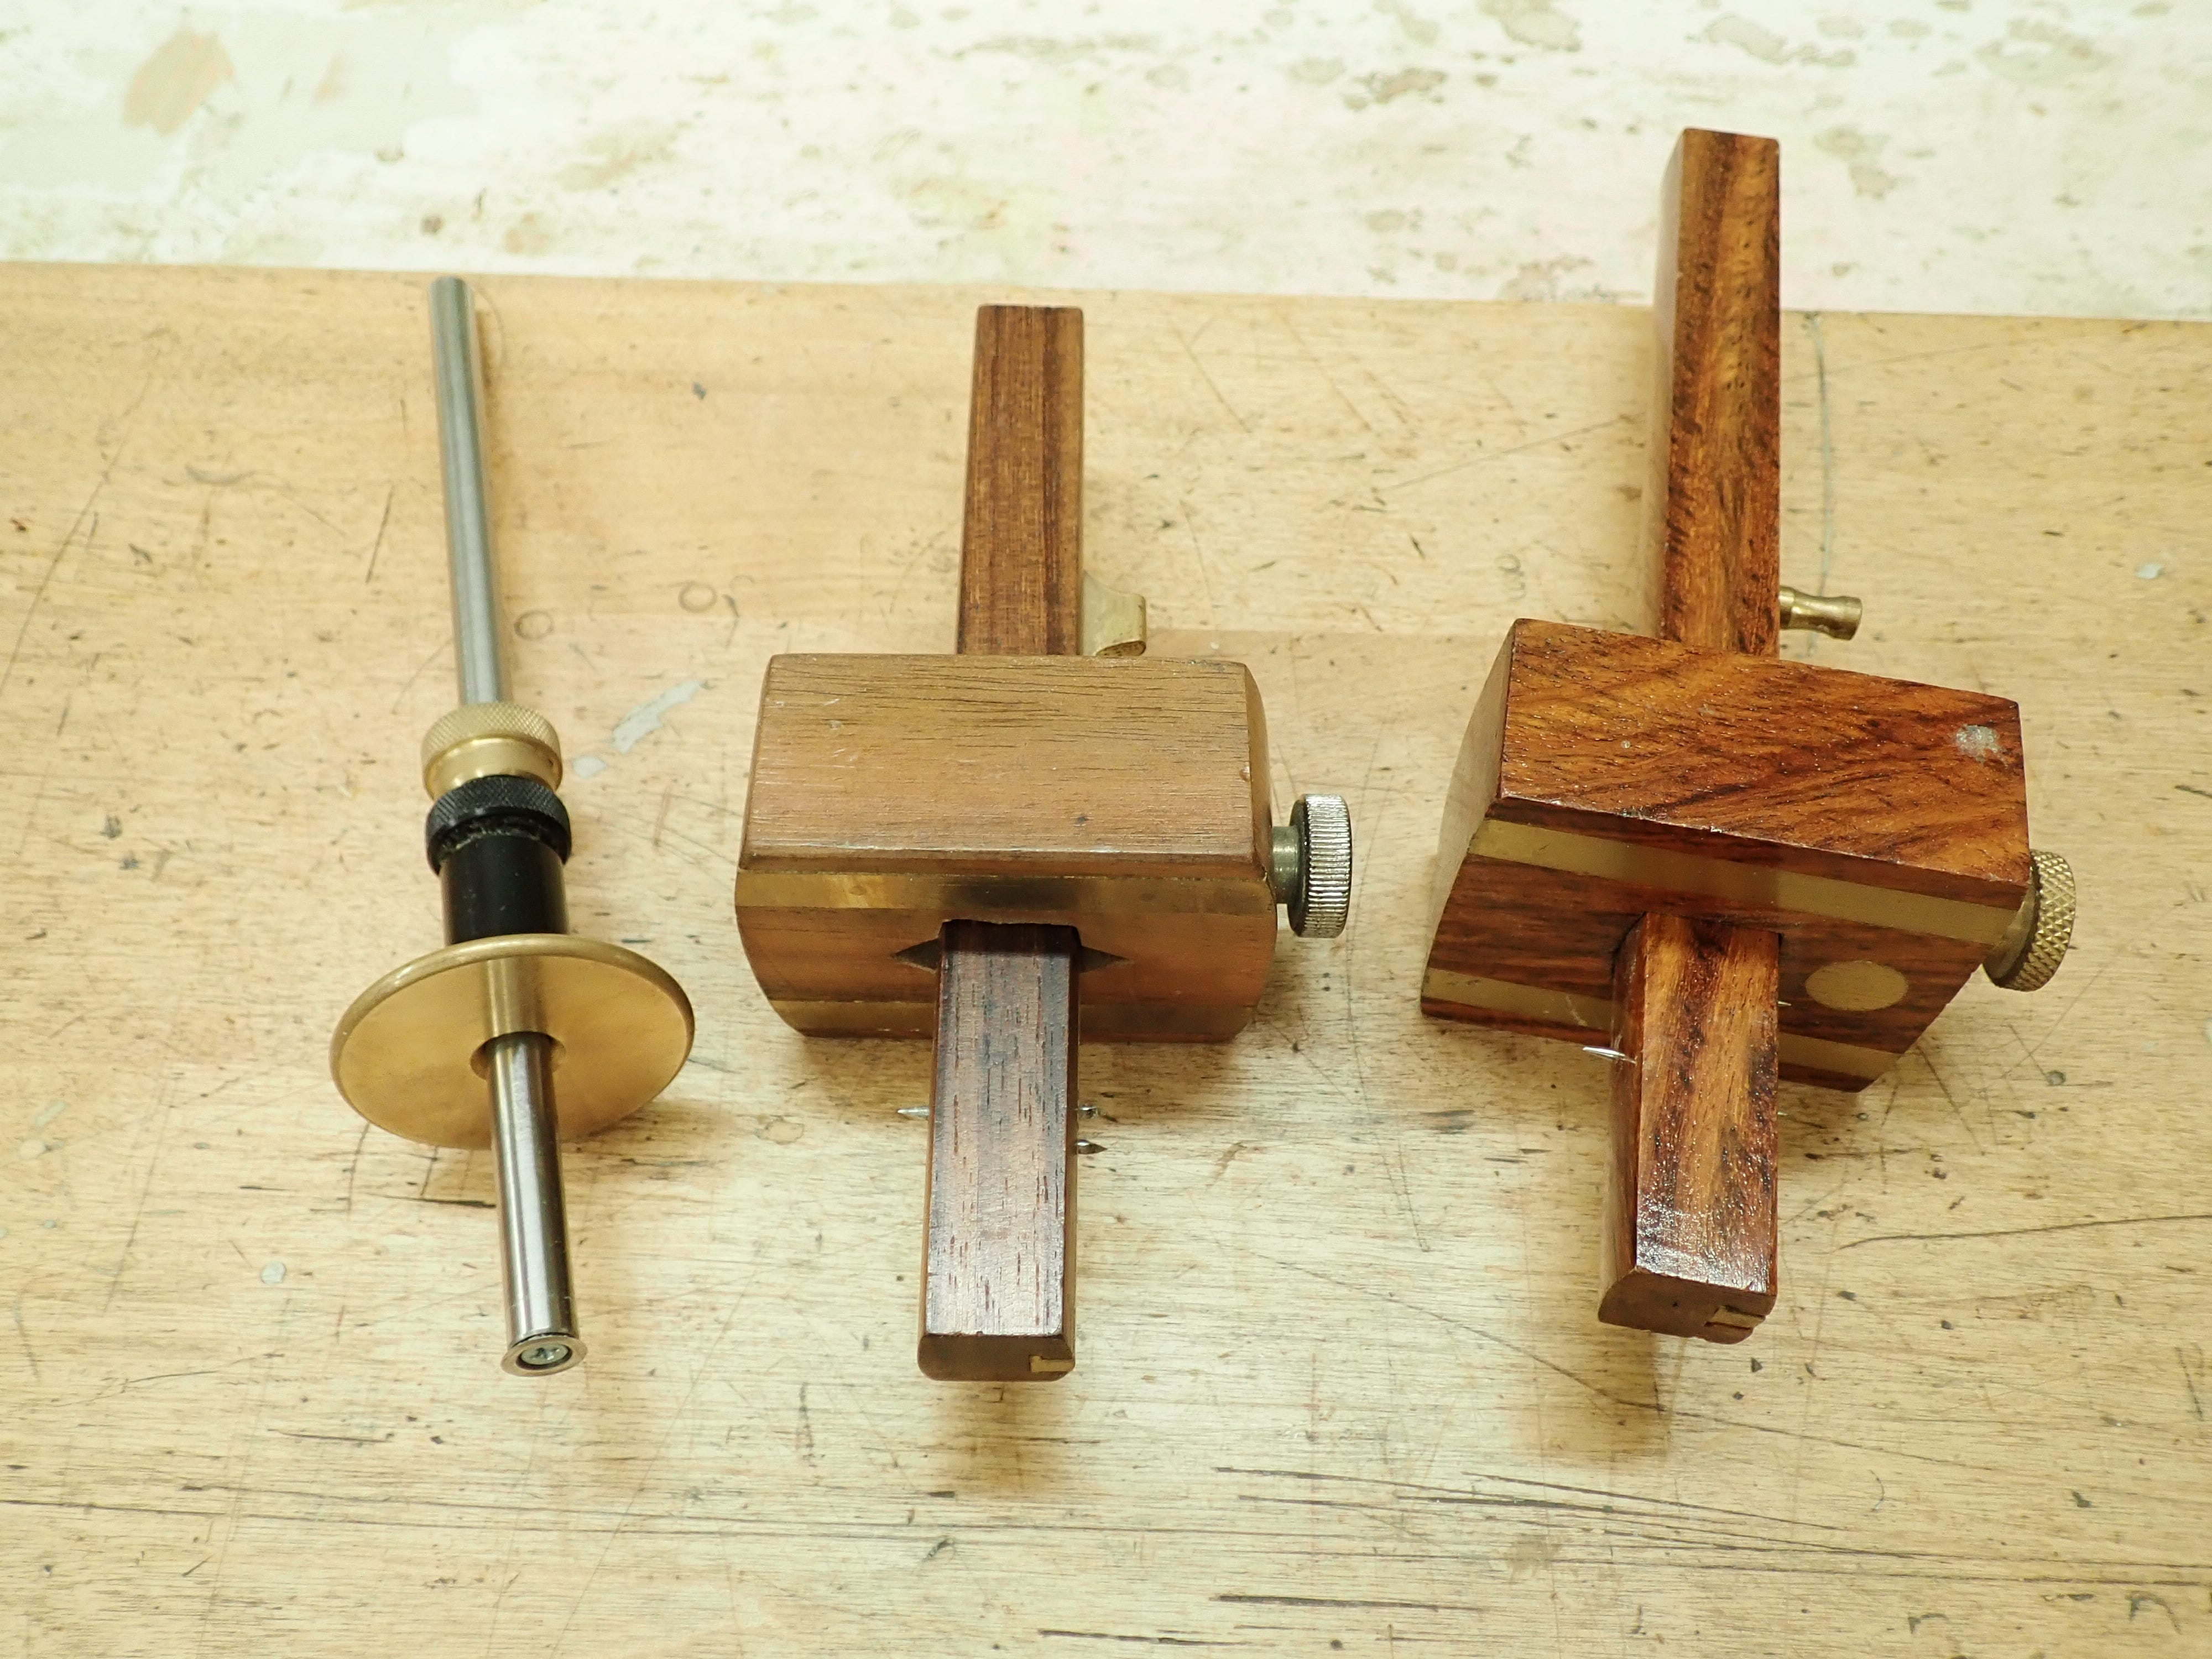
From left to right: a fairly sharp cutting wheel, in the middle a worn knife-shaped pin and to the right a dull pin. Here are the results in pine:
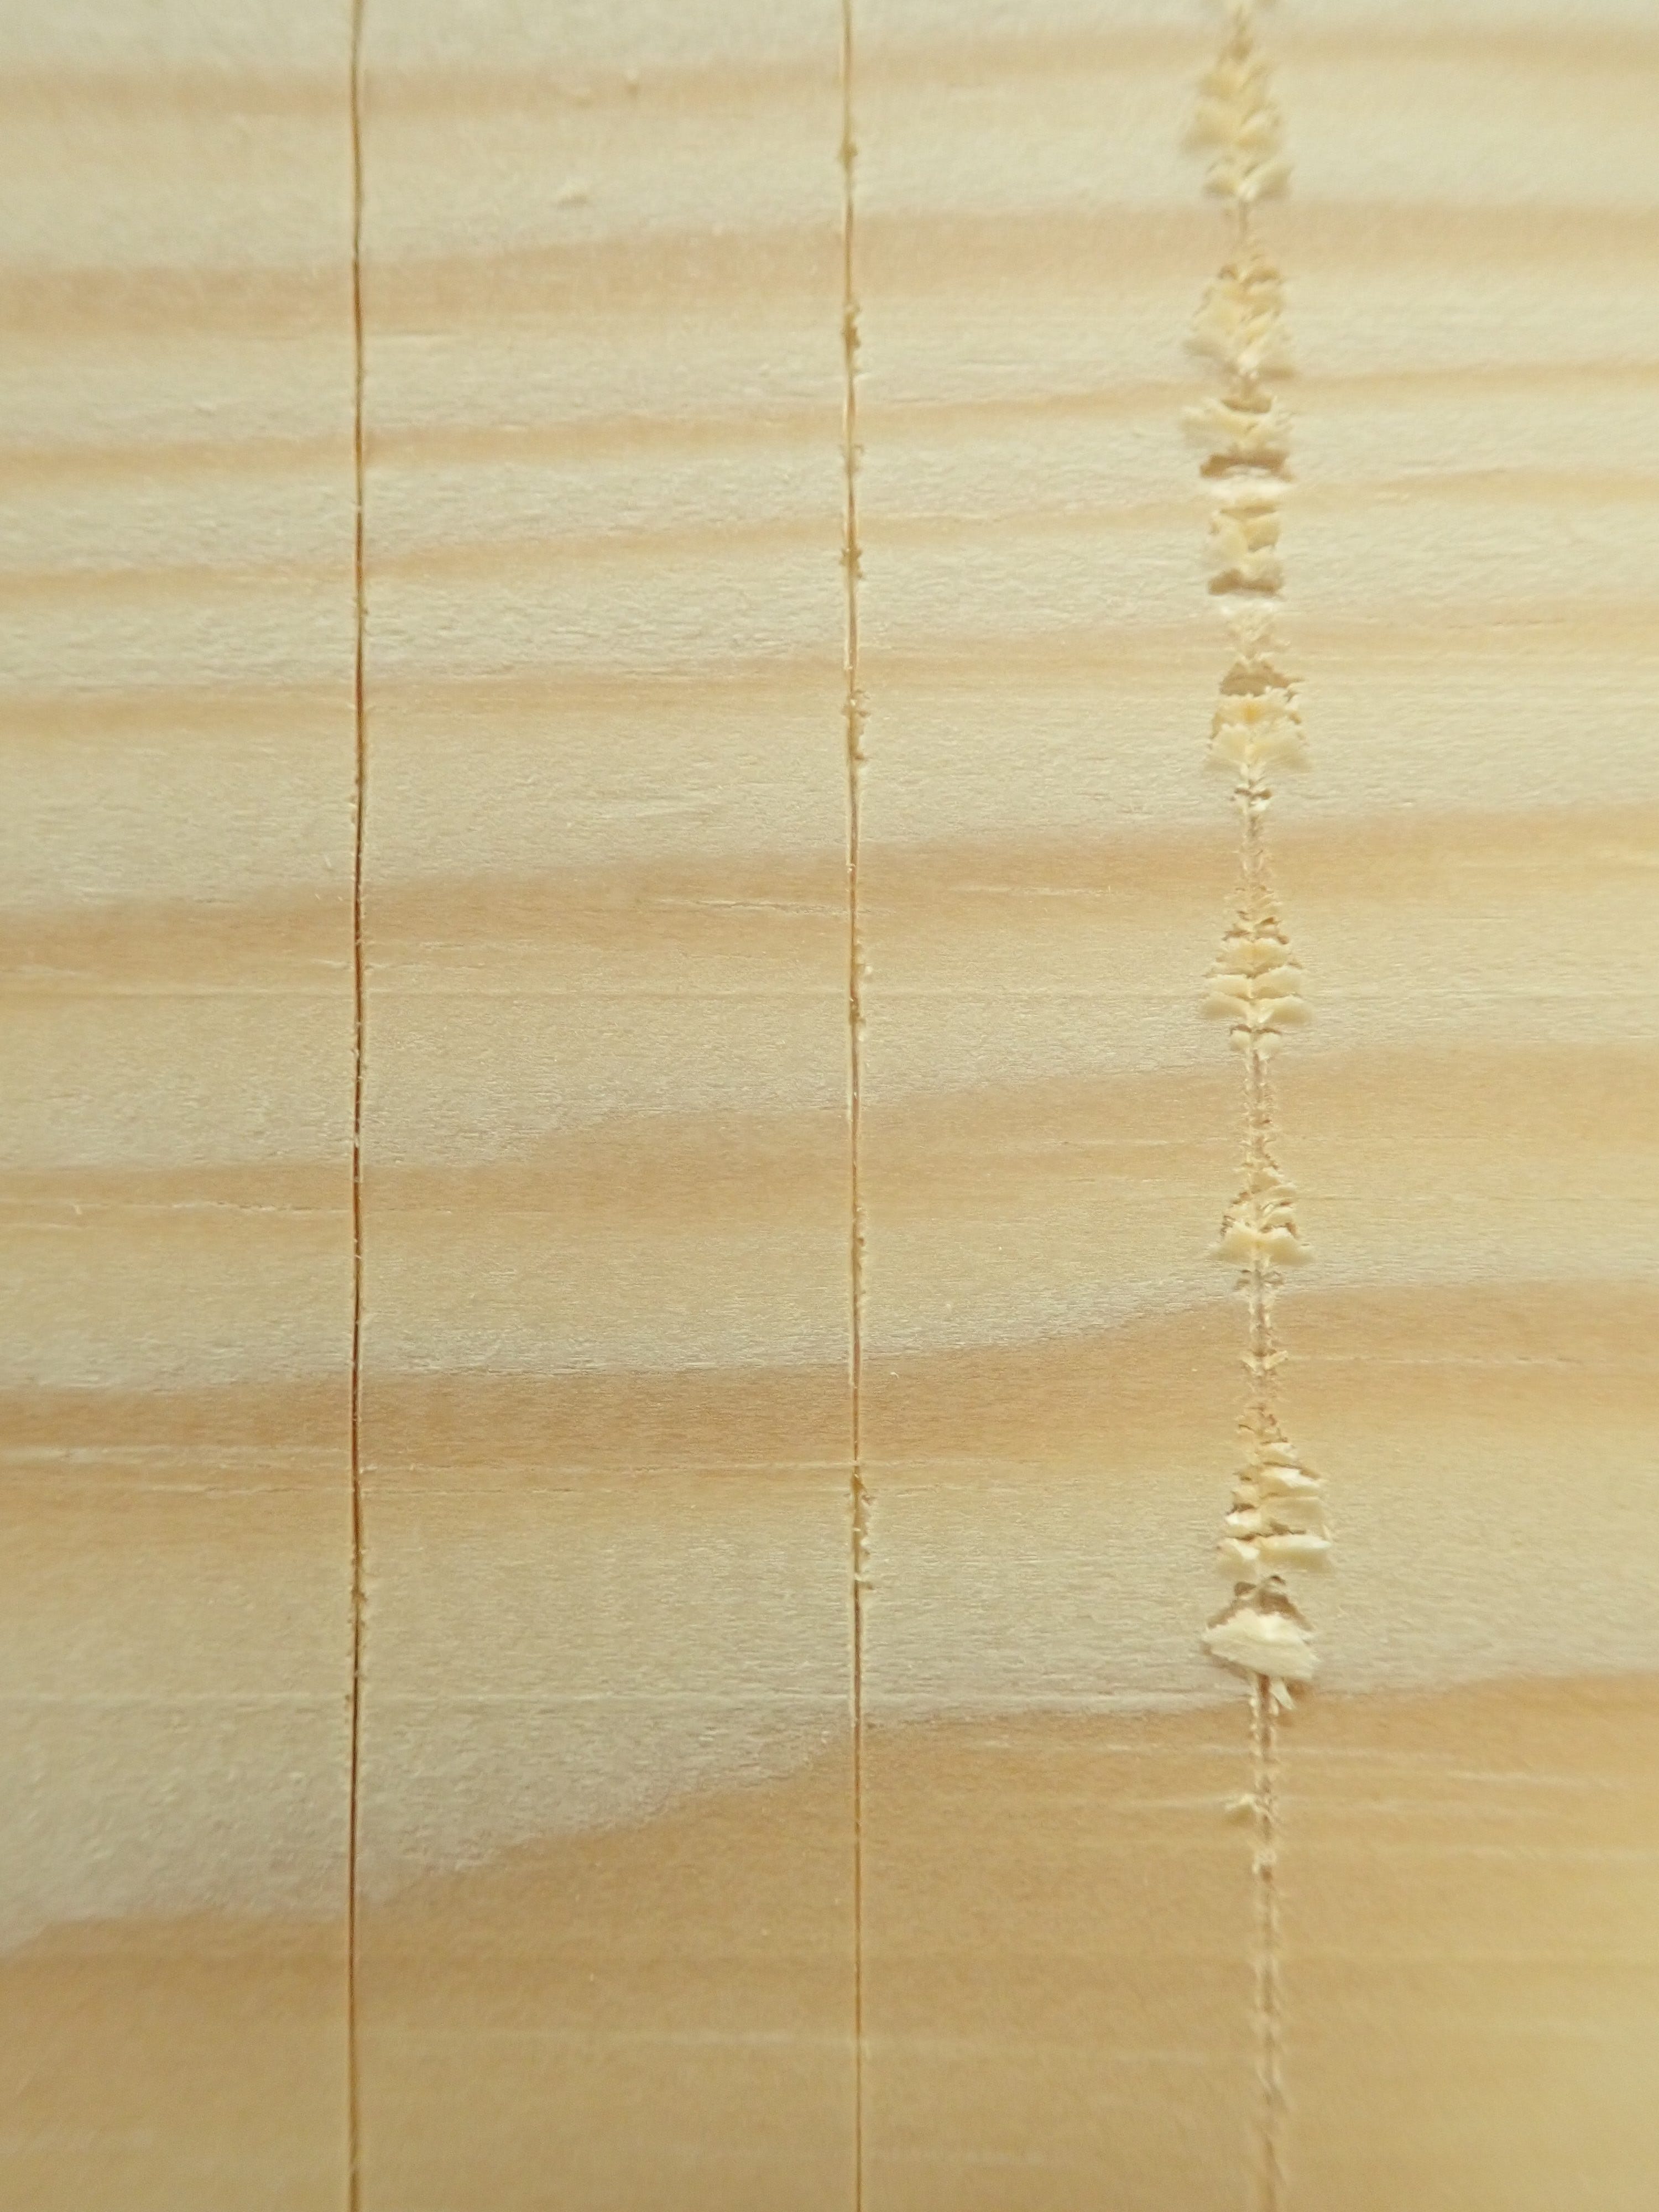
Another point worth noticing is that while the ‘pin’ and the ‘knife’ will make a symmetrical, V-shaped groove (after a fashion…), the wheel cutter will make a ‘knife-wall’, i.e. a cut where the outer side of the mark is a perpendicular incision. This is a useful feature if one is of an obsessive-compulsive persuasion :-)
If you buy a wheel gauge, why not order an extra cutting wheel while you’re paying postage anyway?
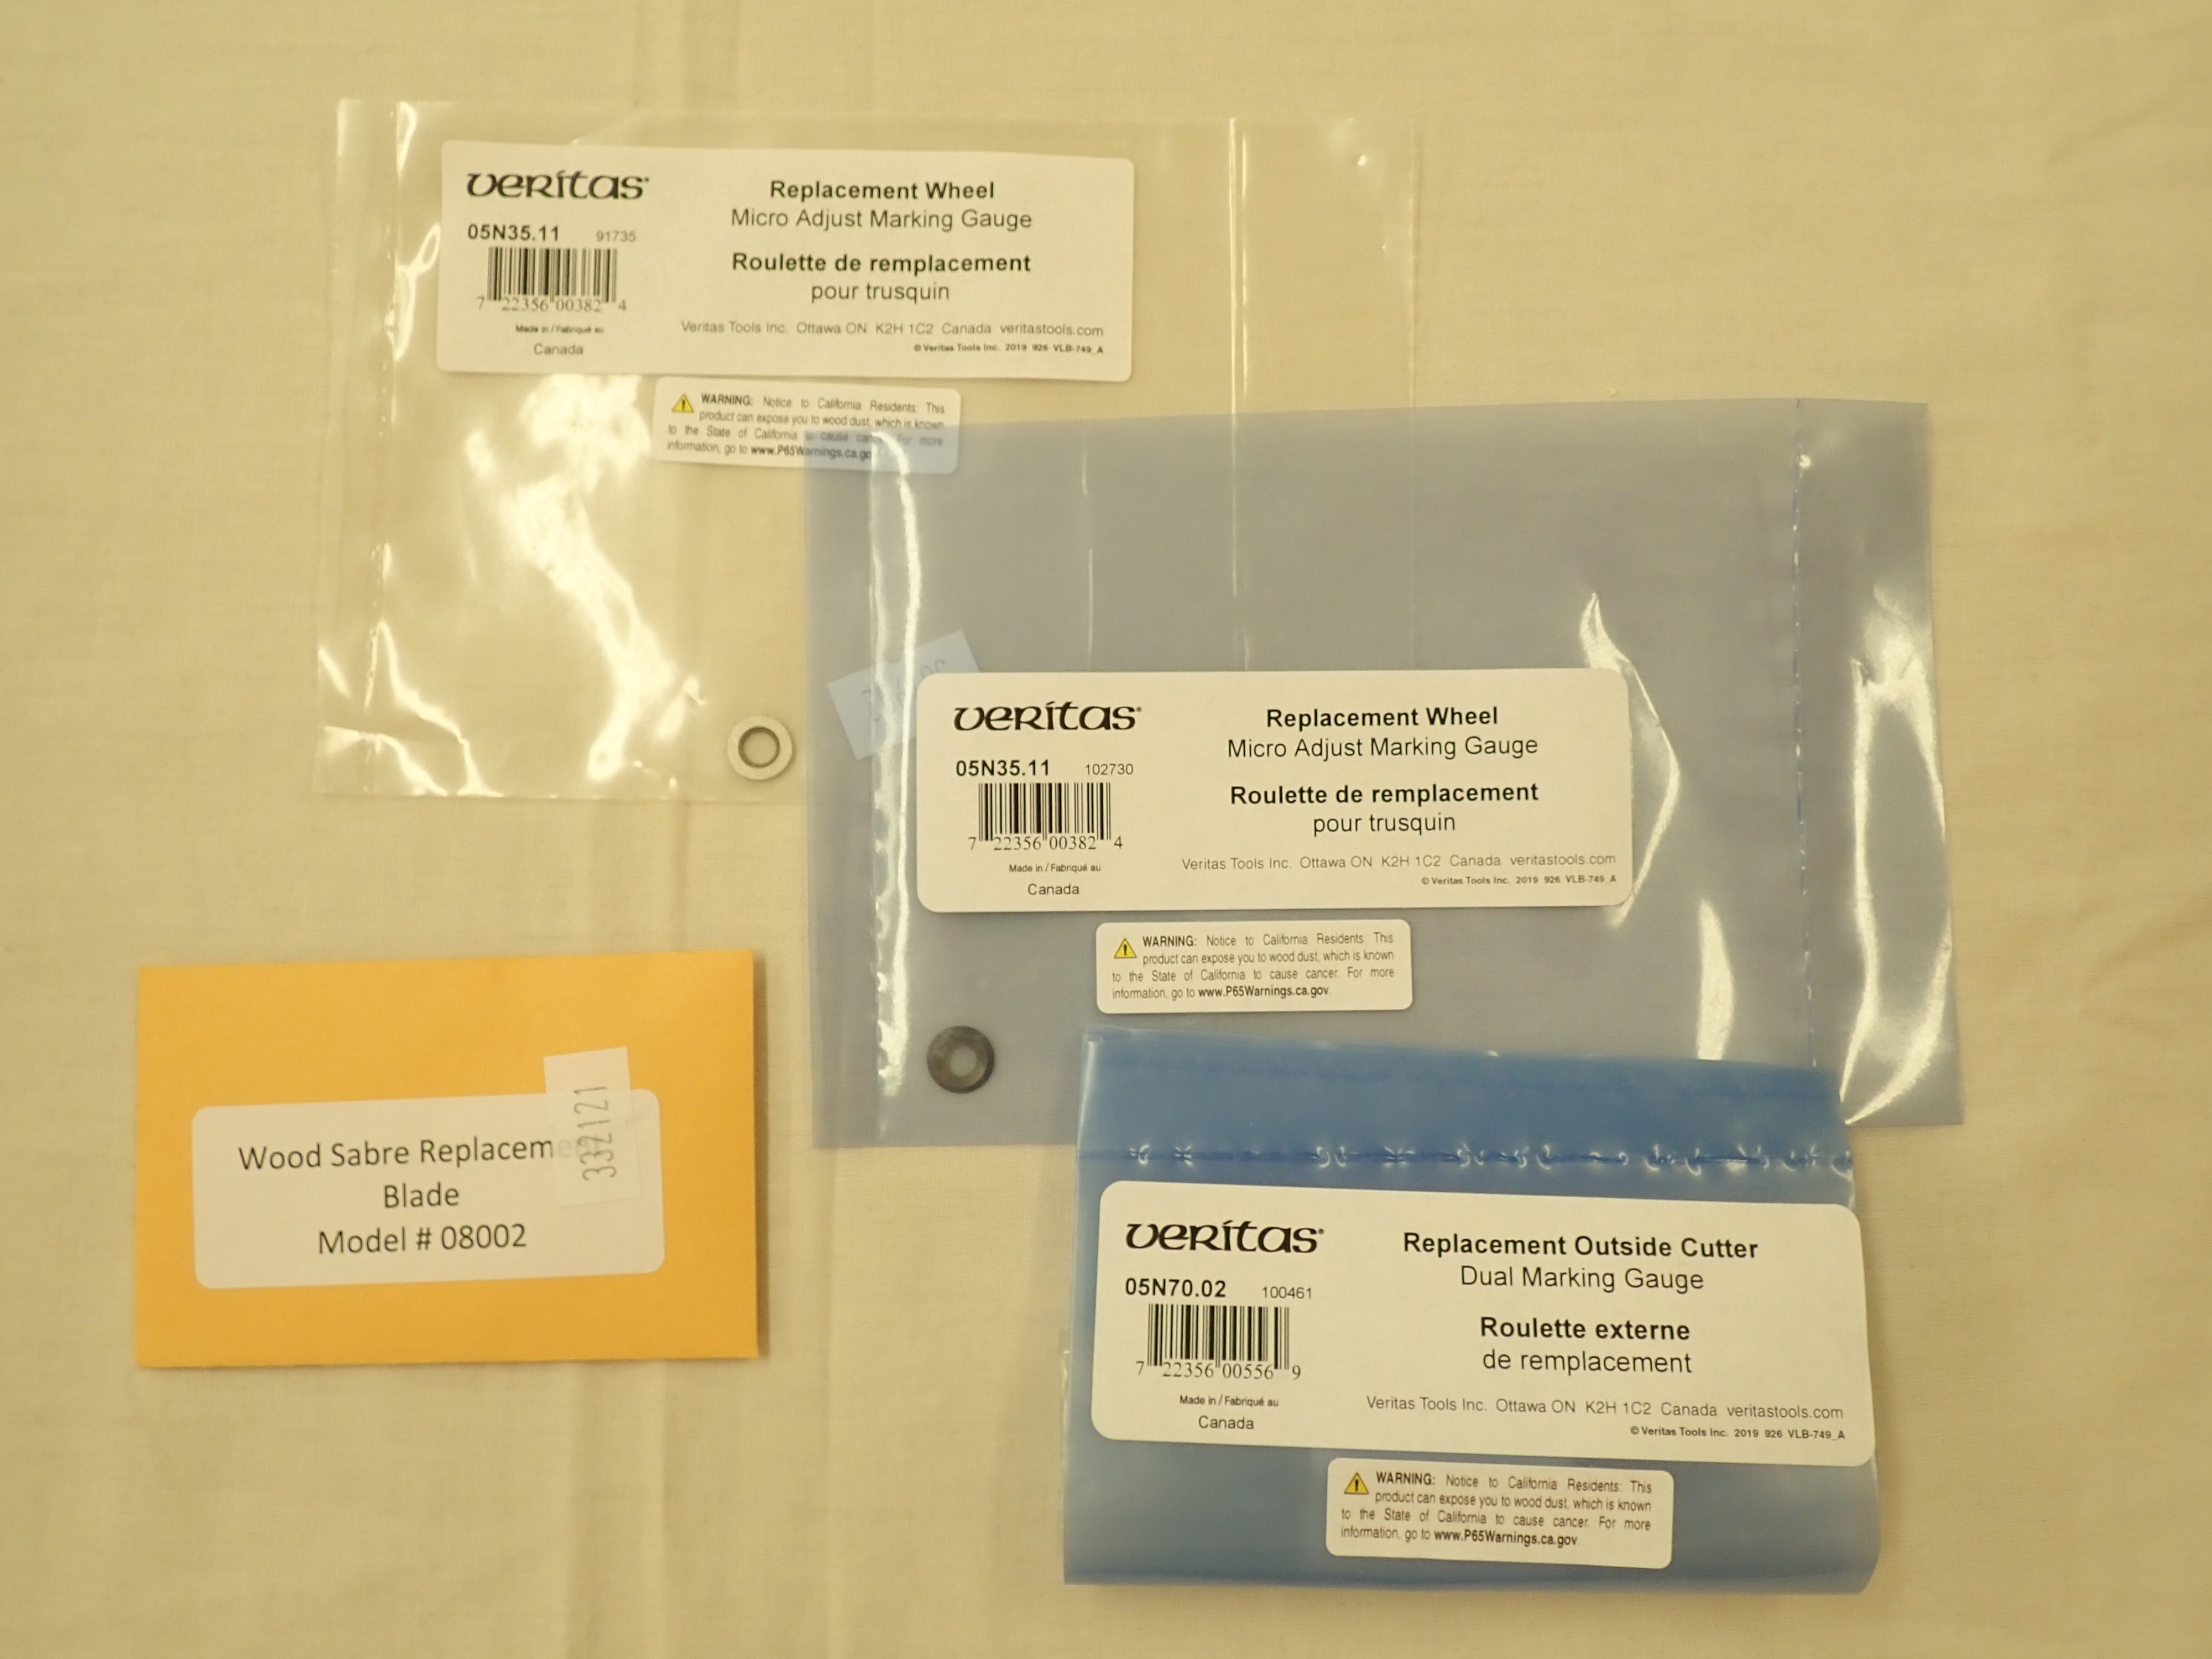
They may not be making them in 20 years time when you’ve worn out the original one by sharpening it repeatedly. Oh, yes … they must be sharpened. It’s easy:

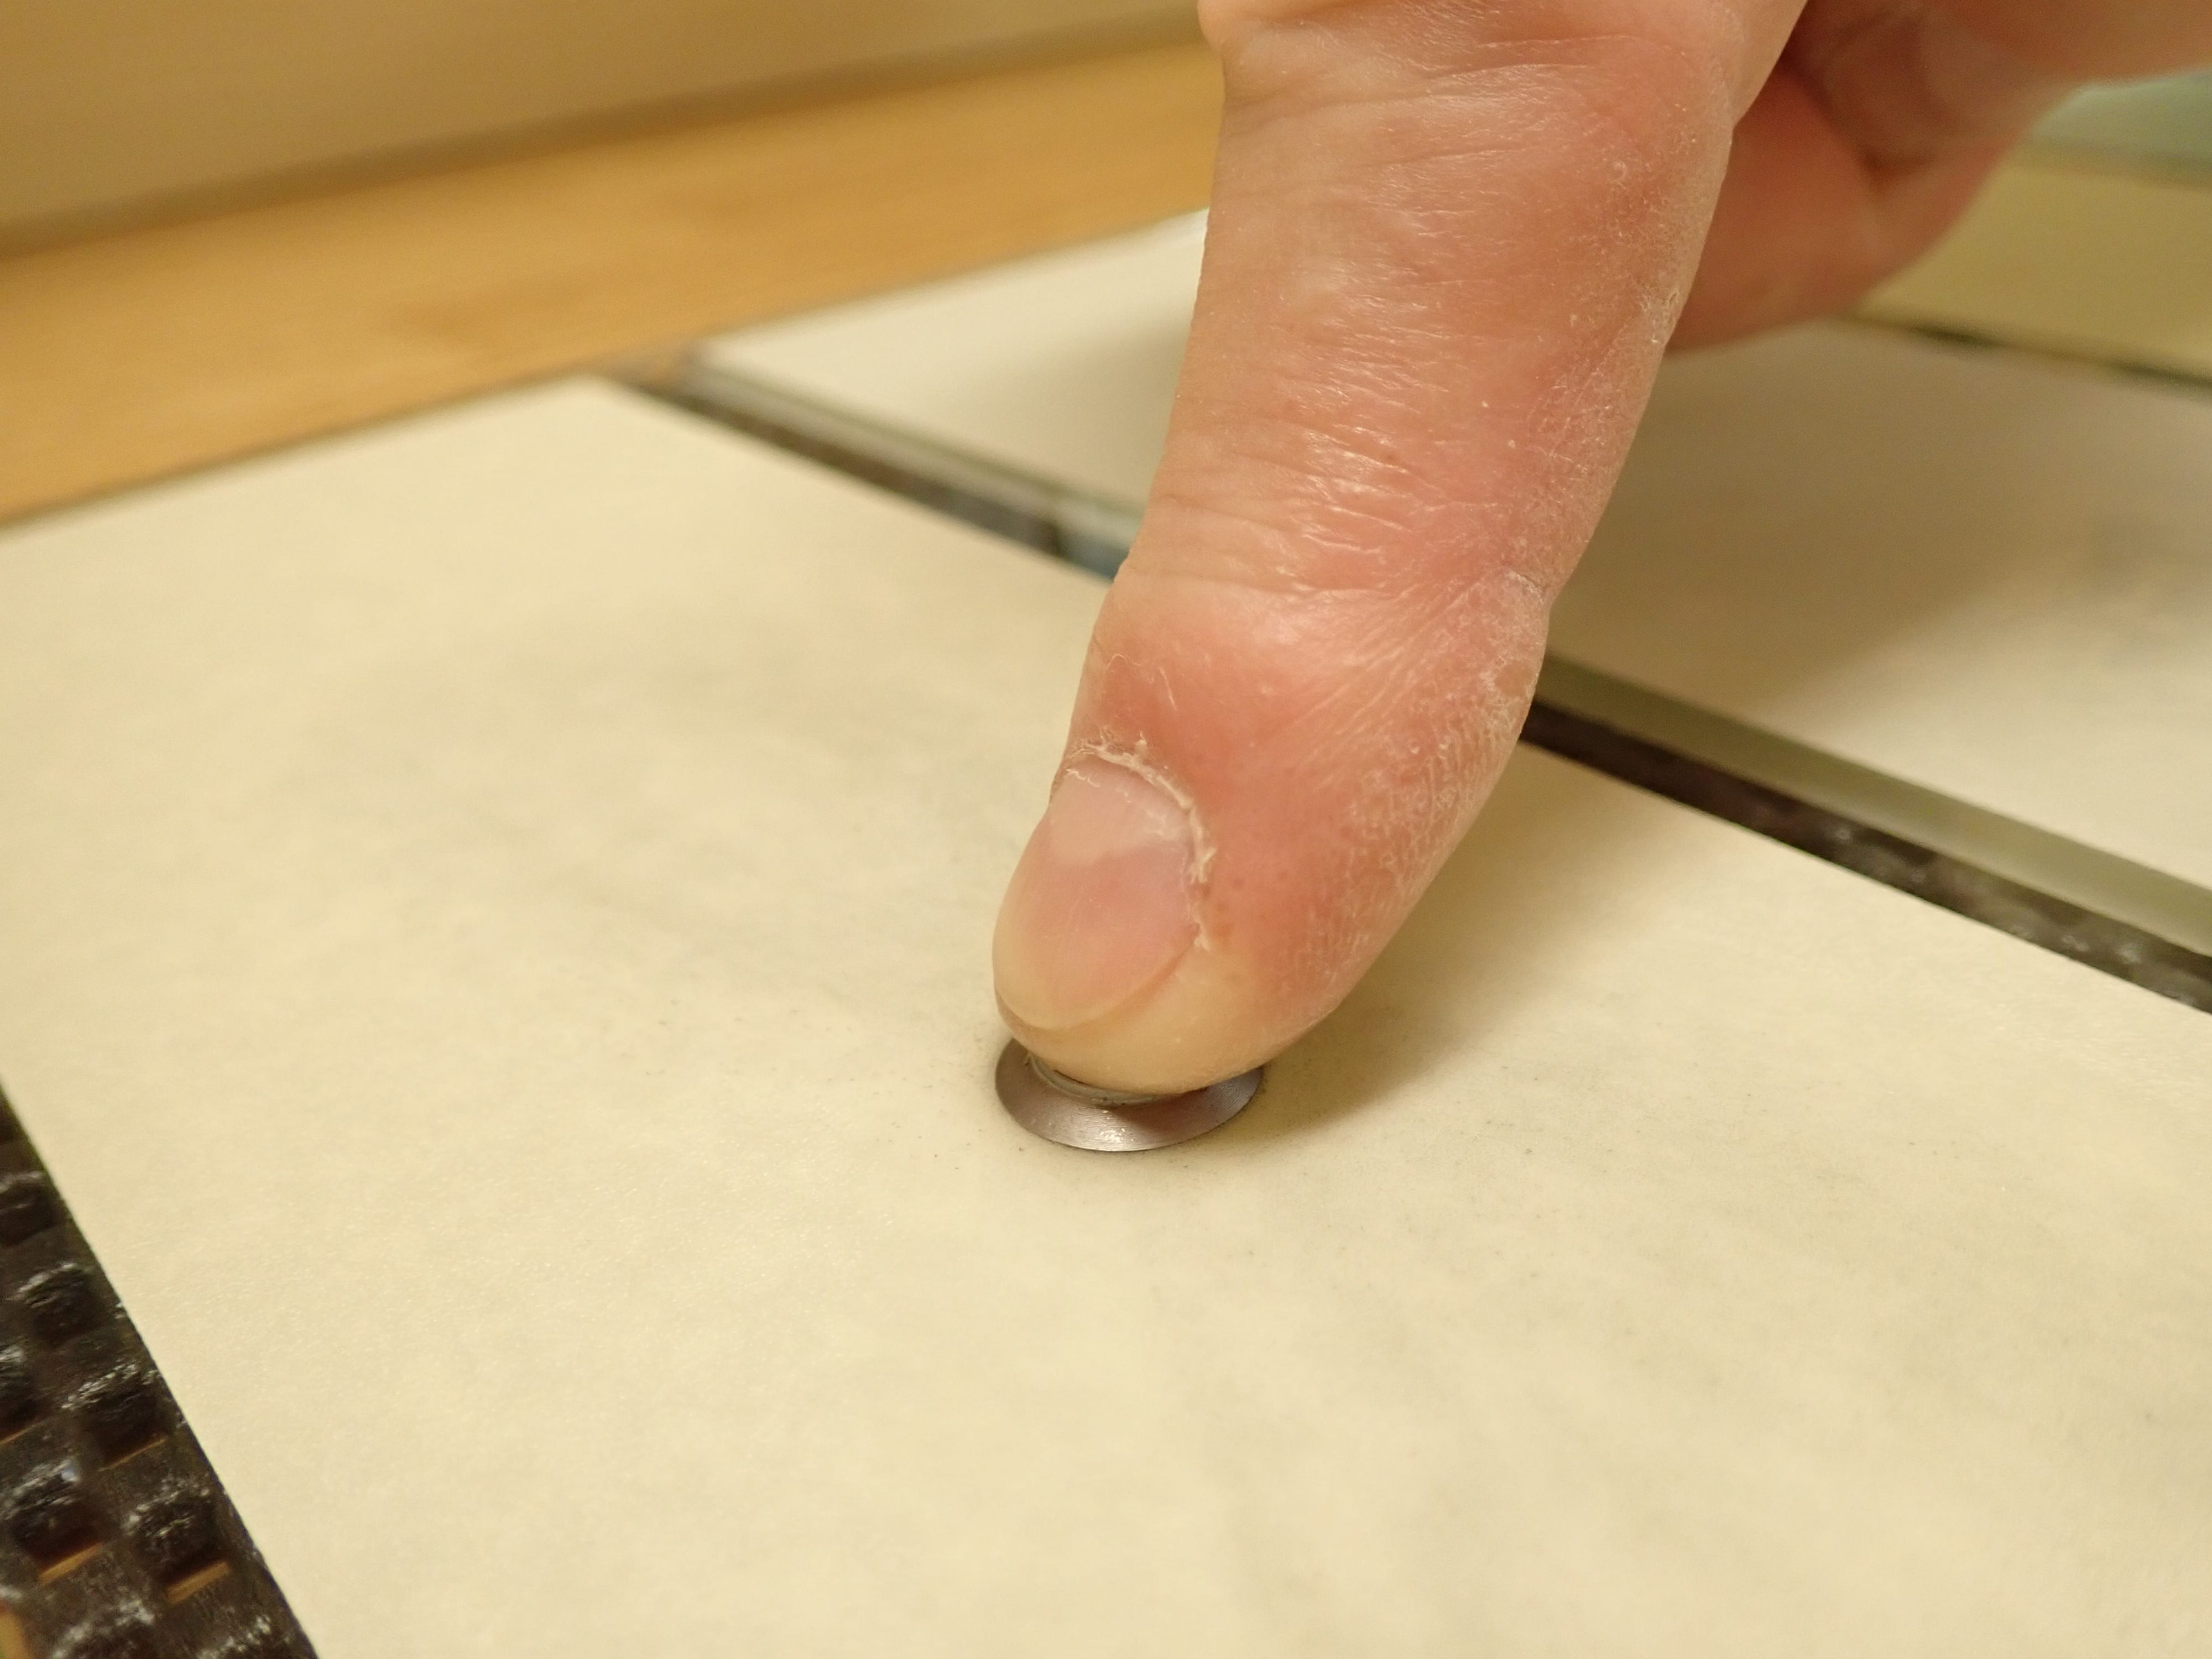
Just move the cutter around in figure-of-eights, working down through the grits, while you contemplate where you will spend eternity.
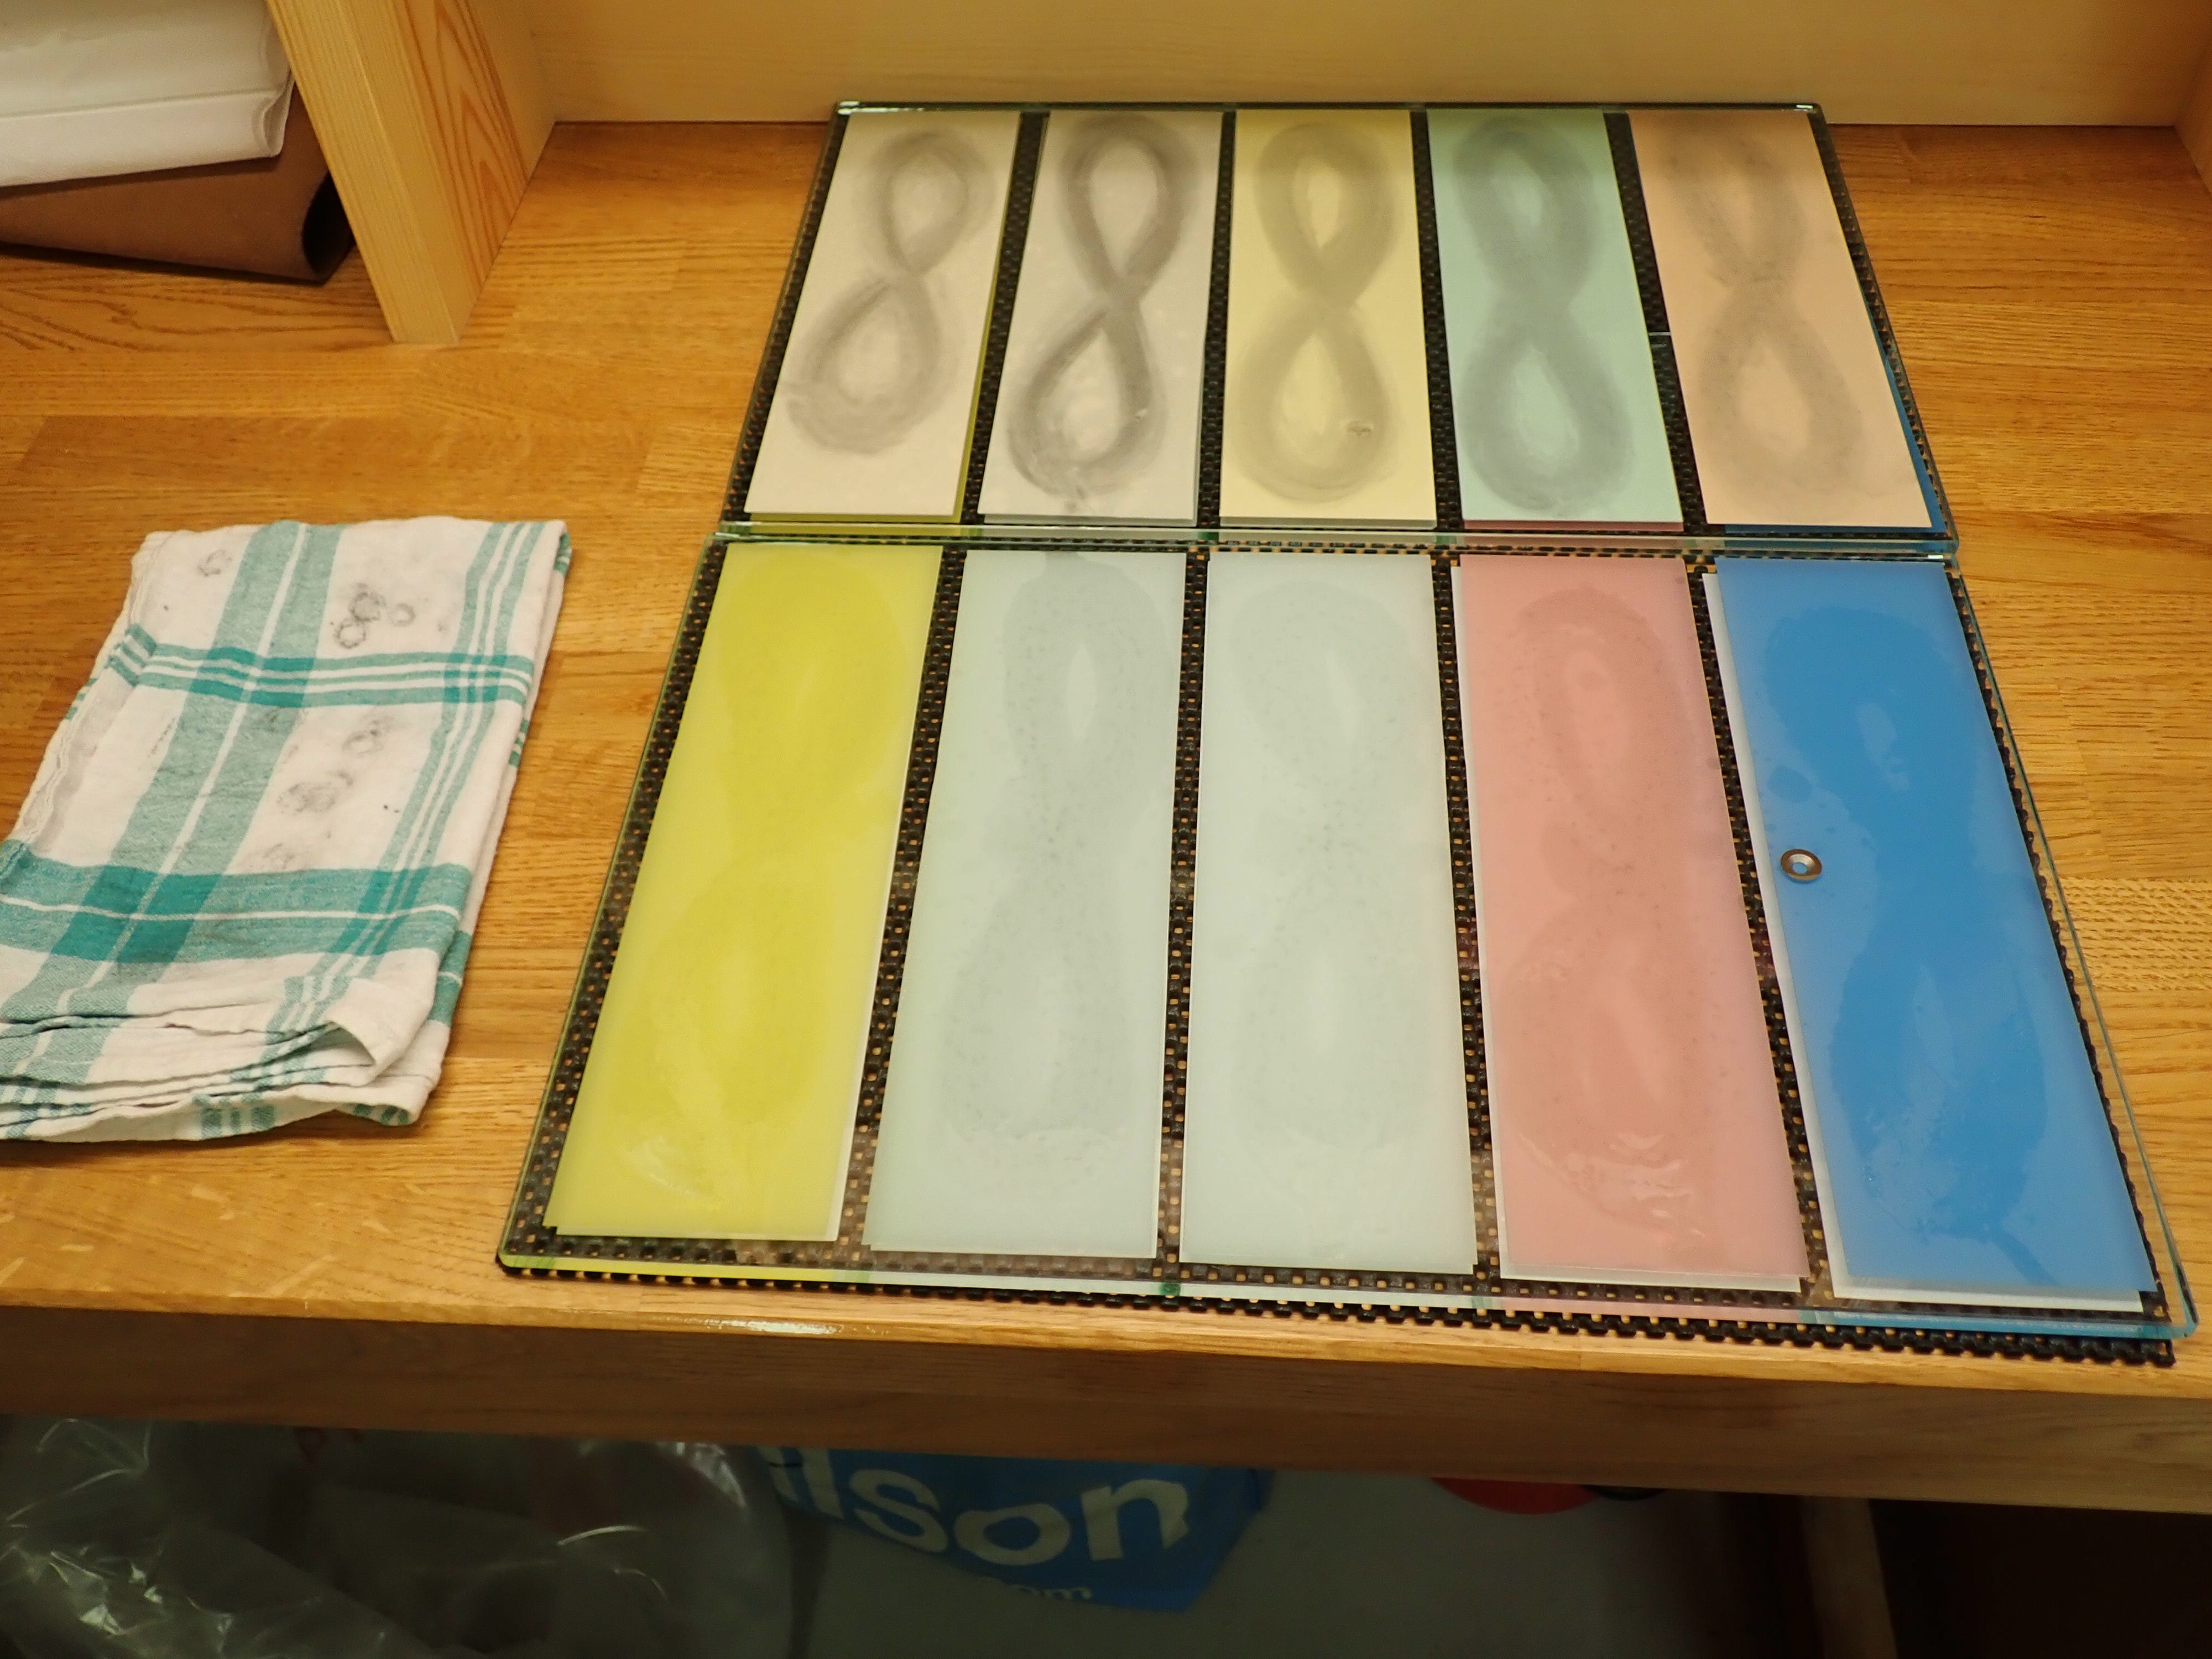
Et voila!
When it comes to setting the gauges for use, each type favours a different measuring tool:
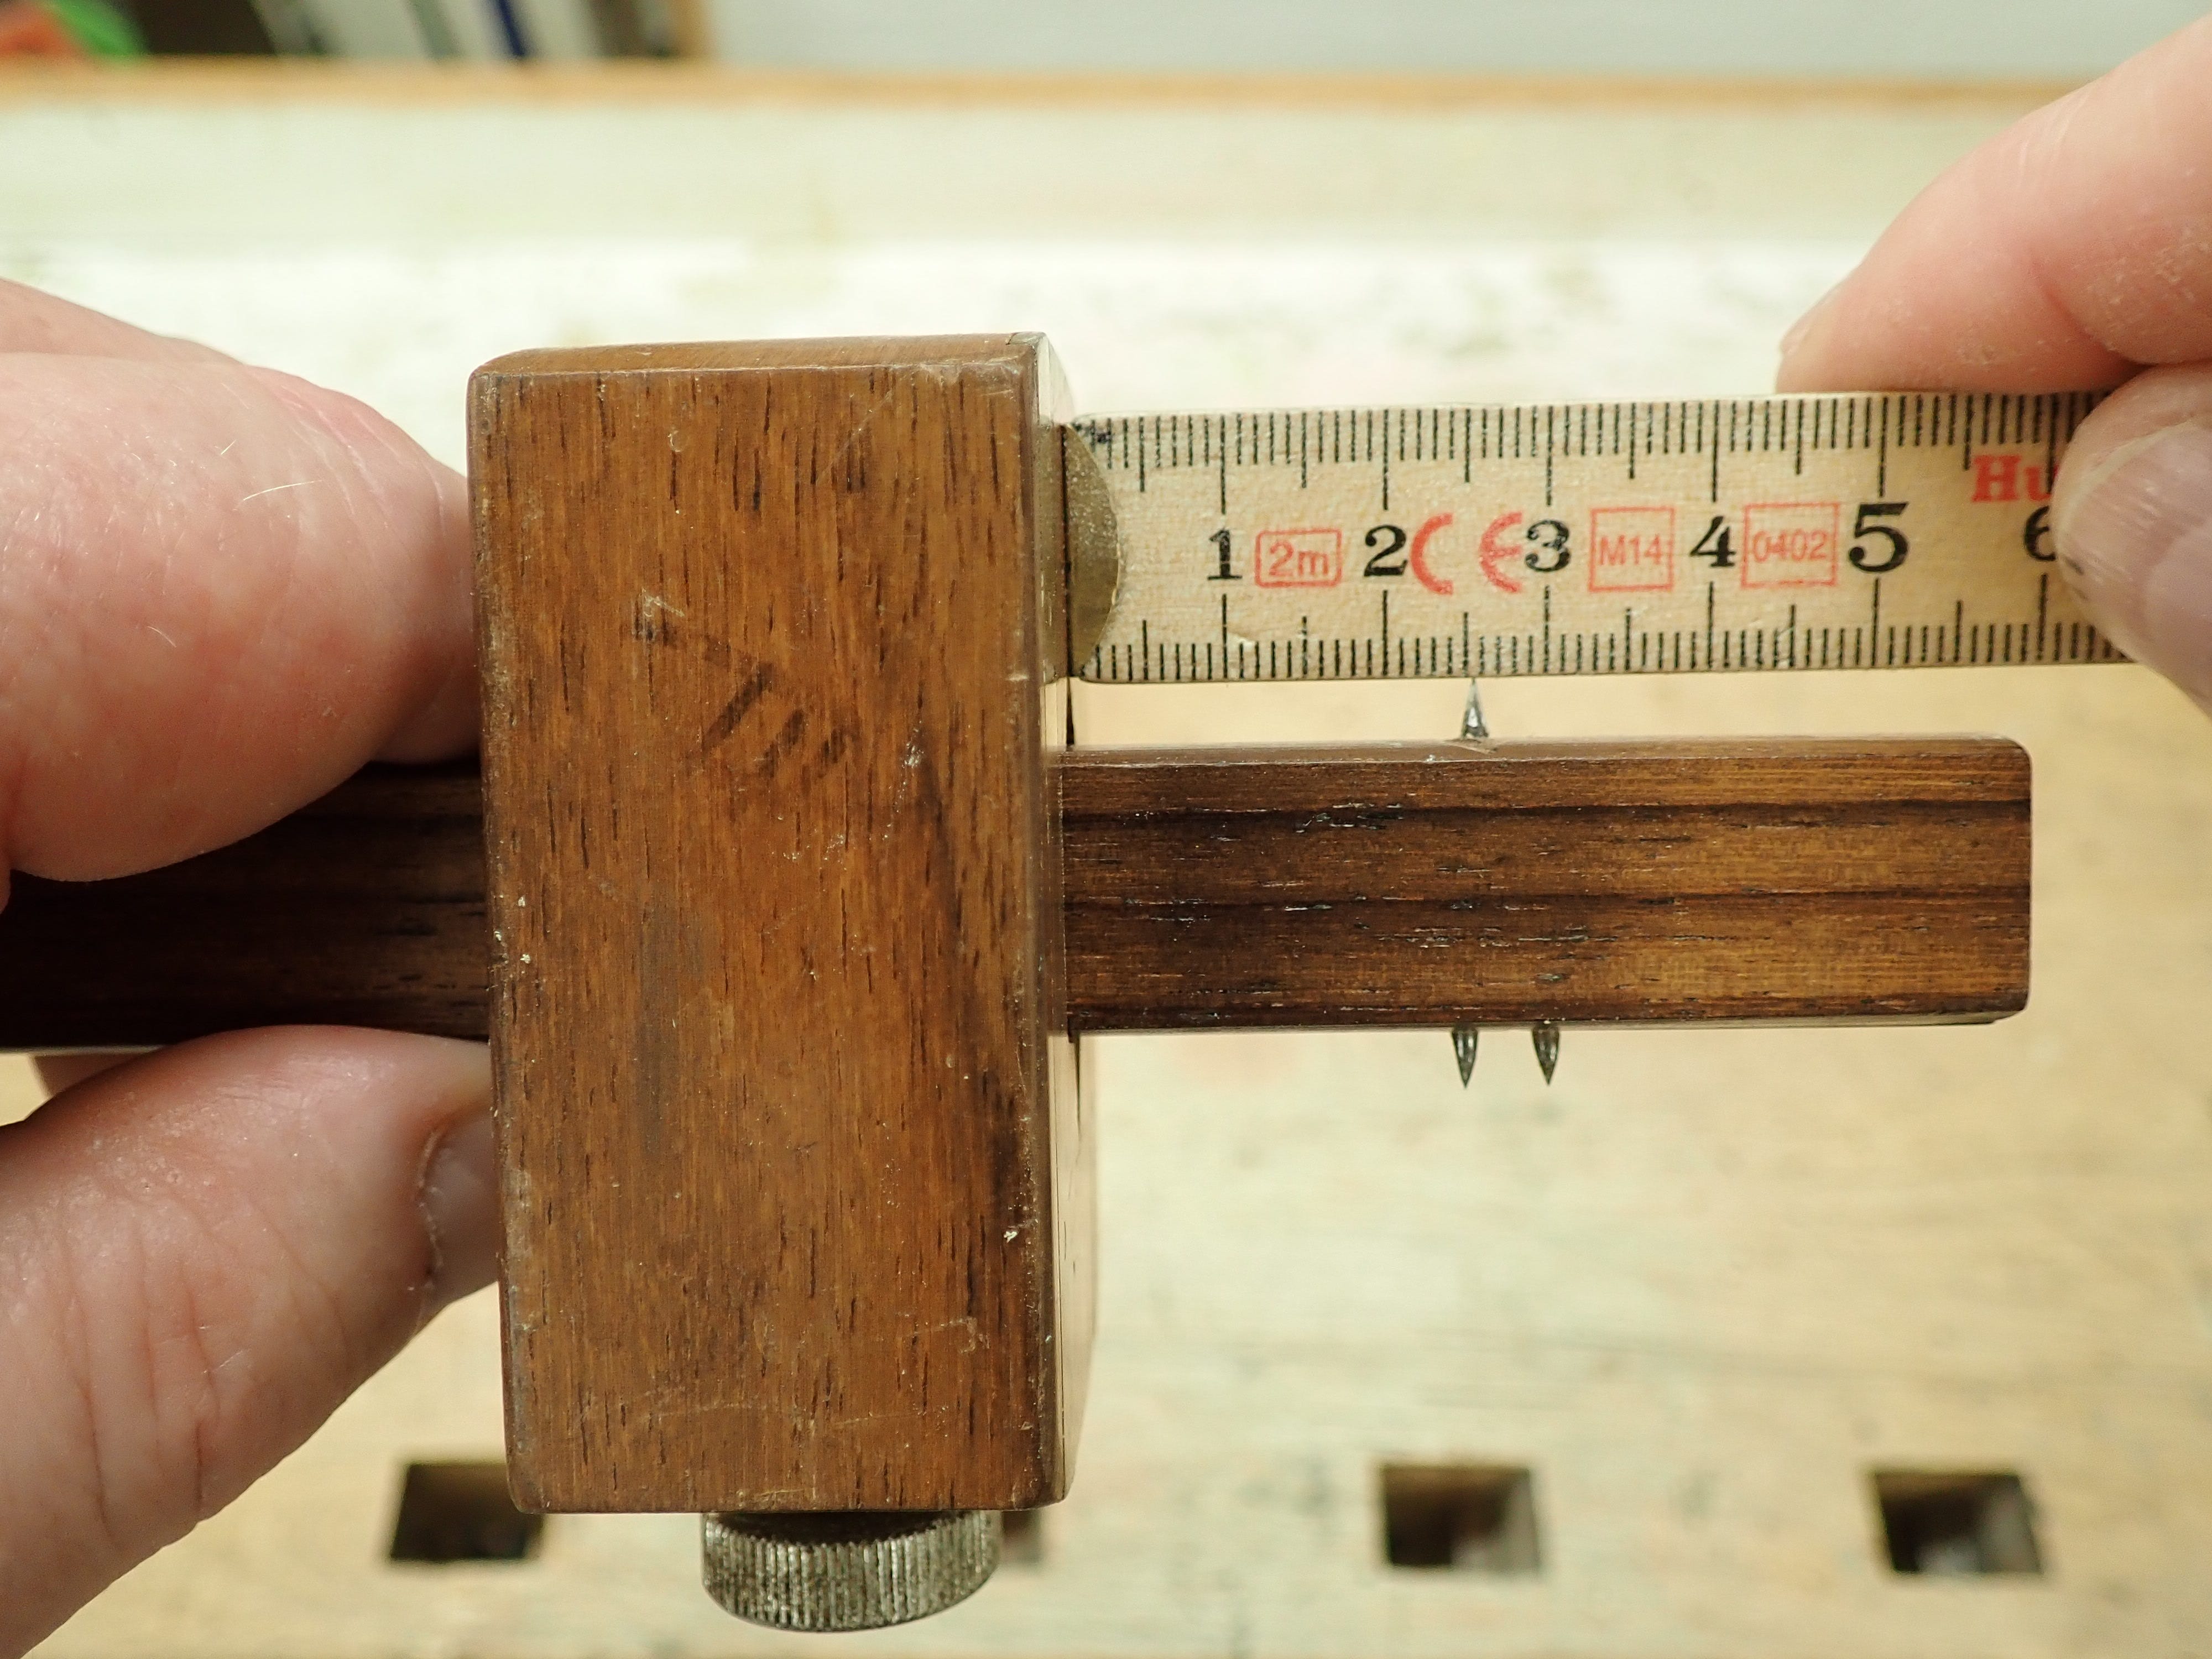
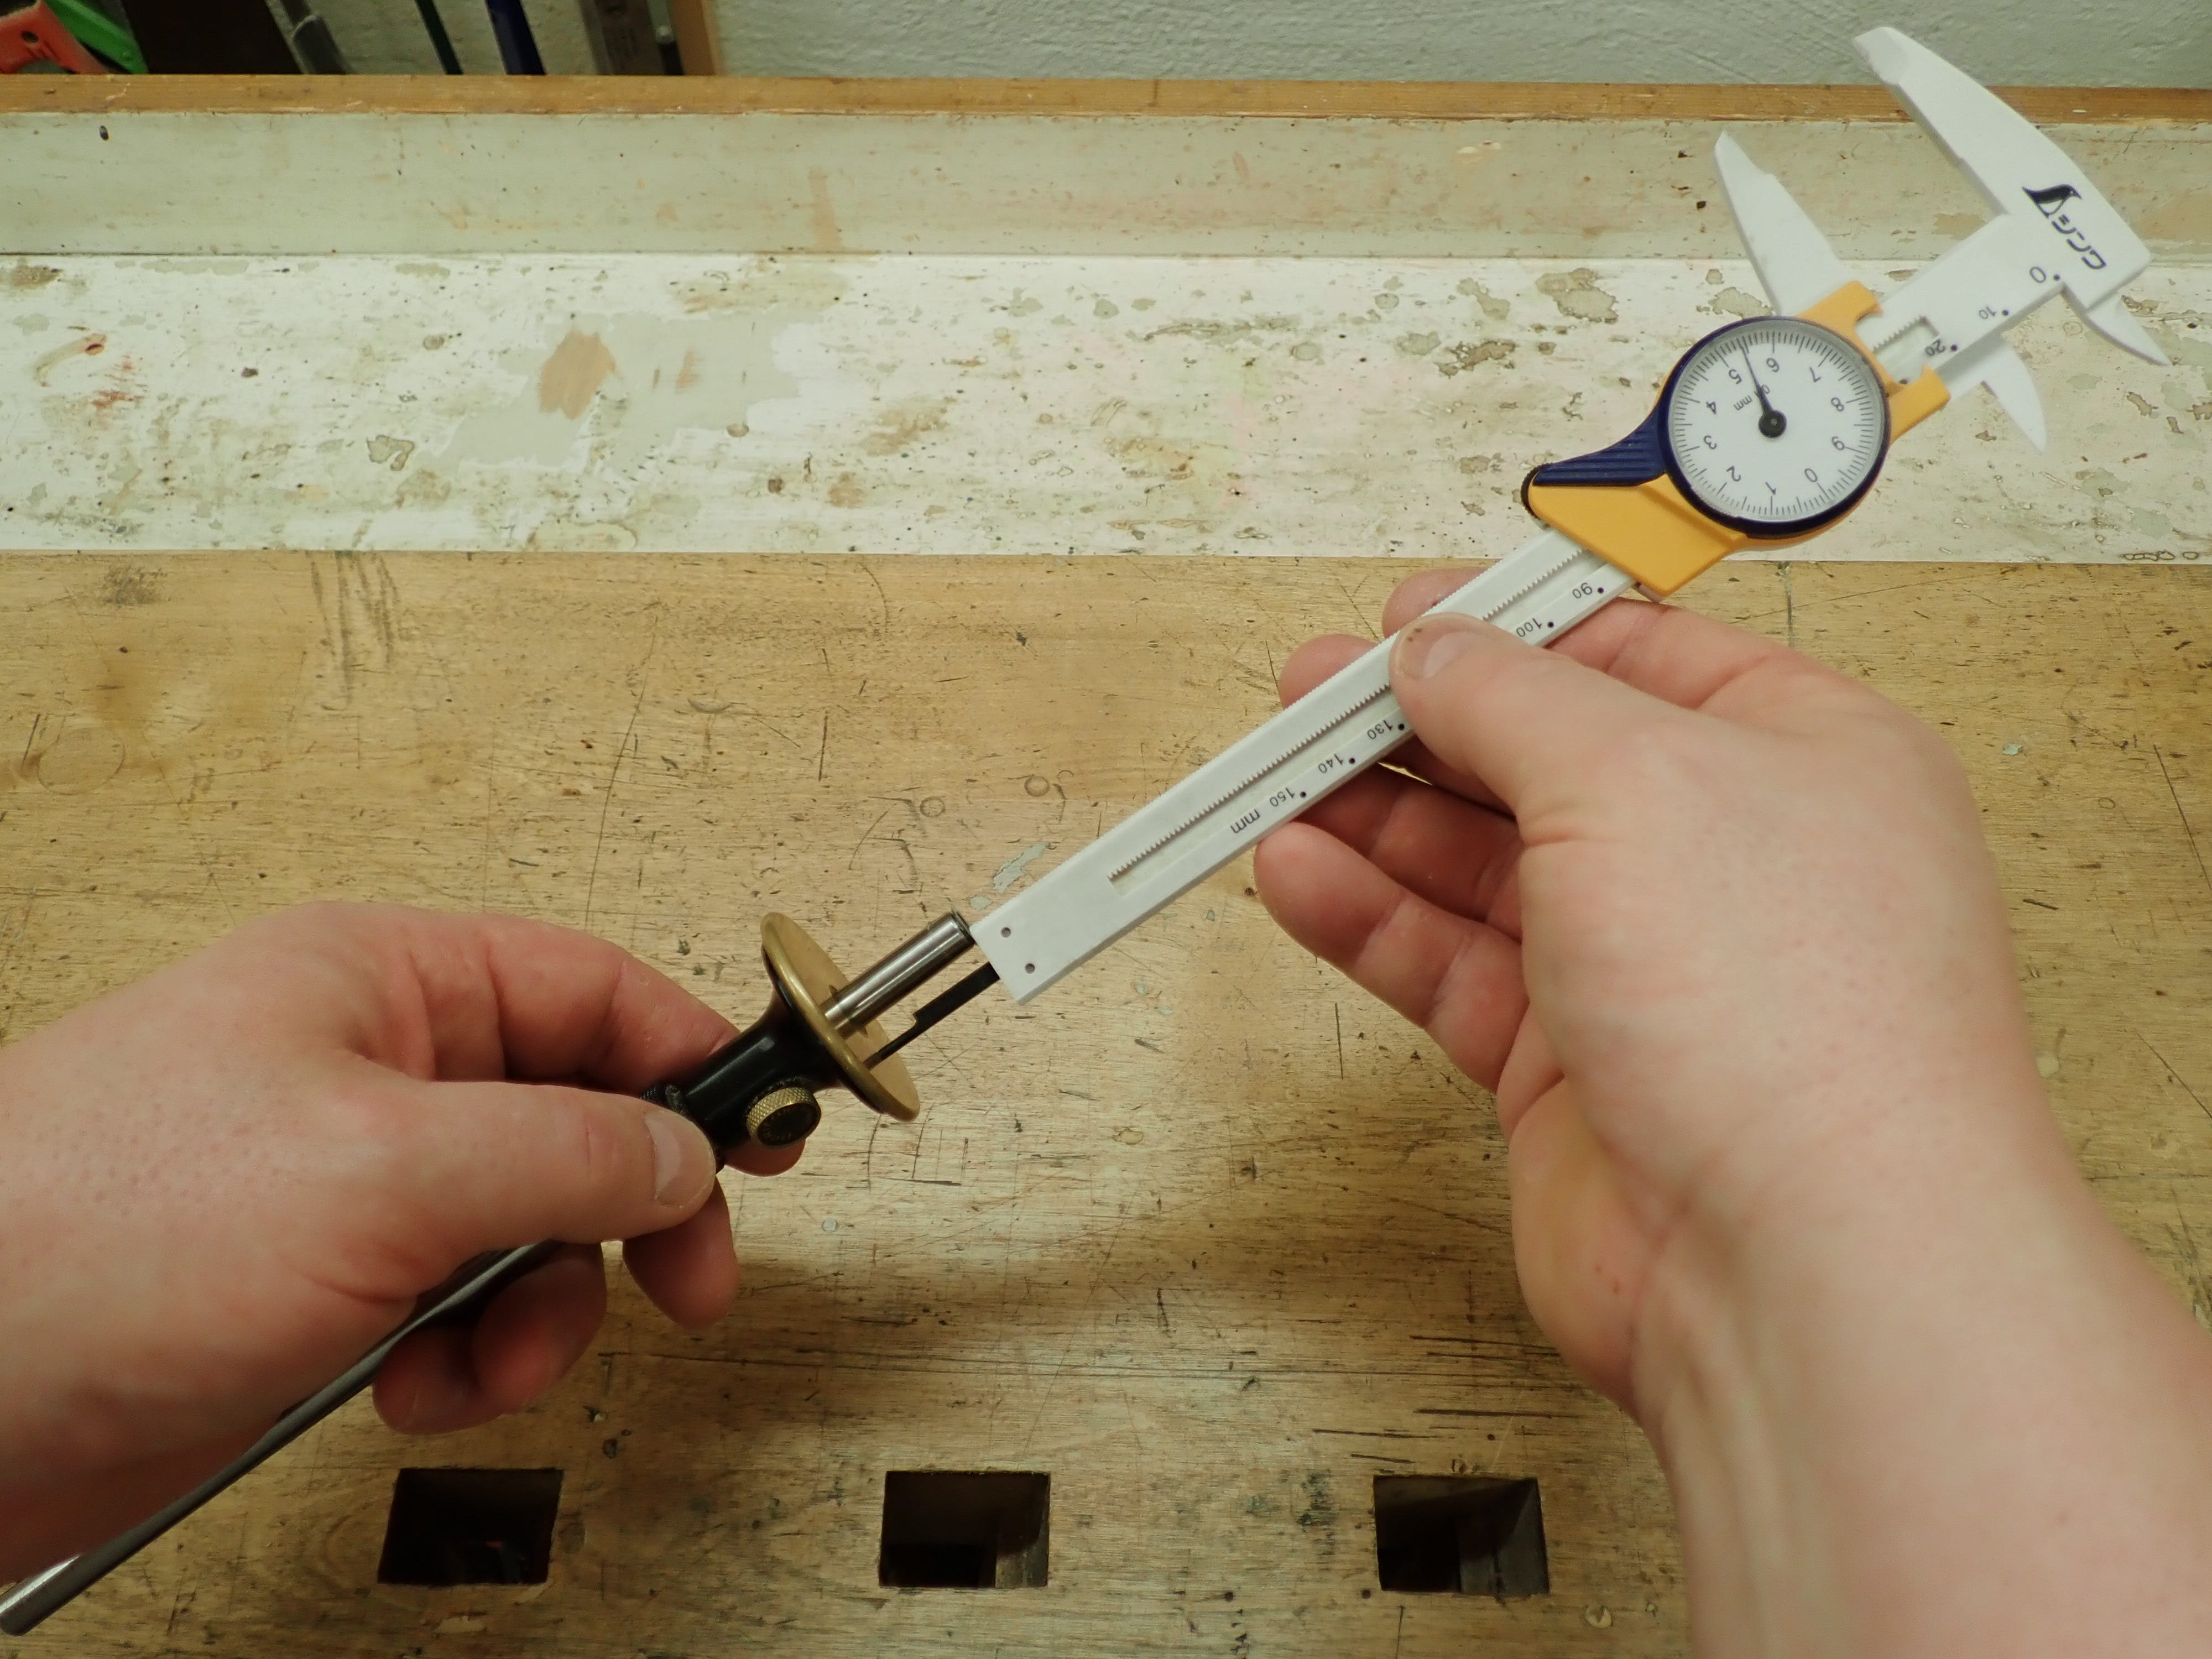
Nothing to it, really.