
Clamping cauls
Make your own glulam!

[ soundtrack : ‘Country’ - Keith Jarrett - Jan Garbarek - Palle Danielsson - Jon Christensen ]
***
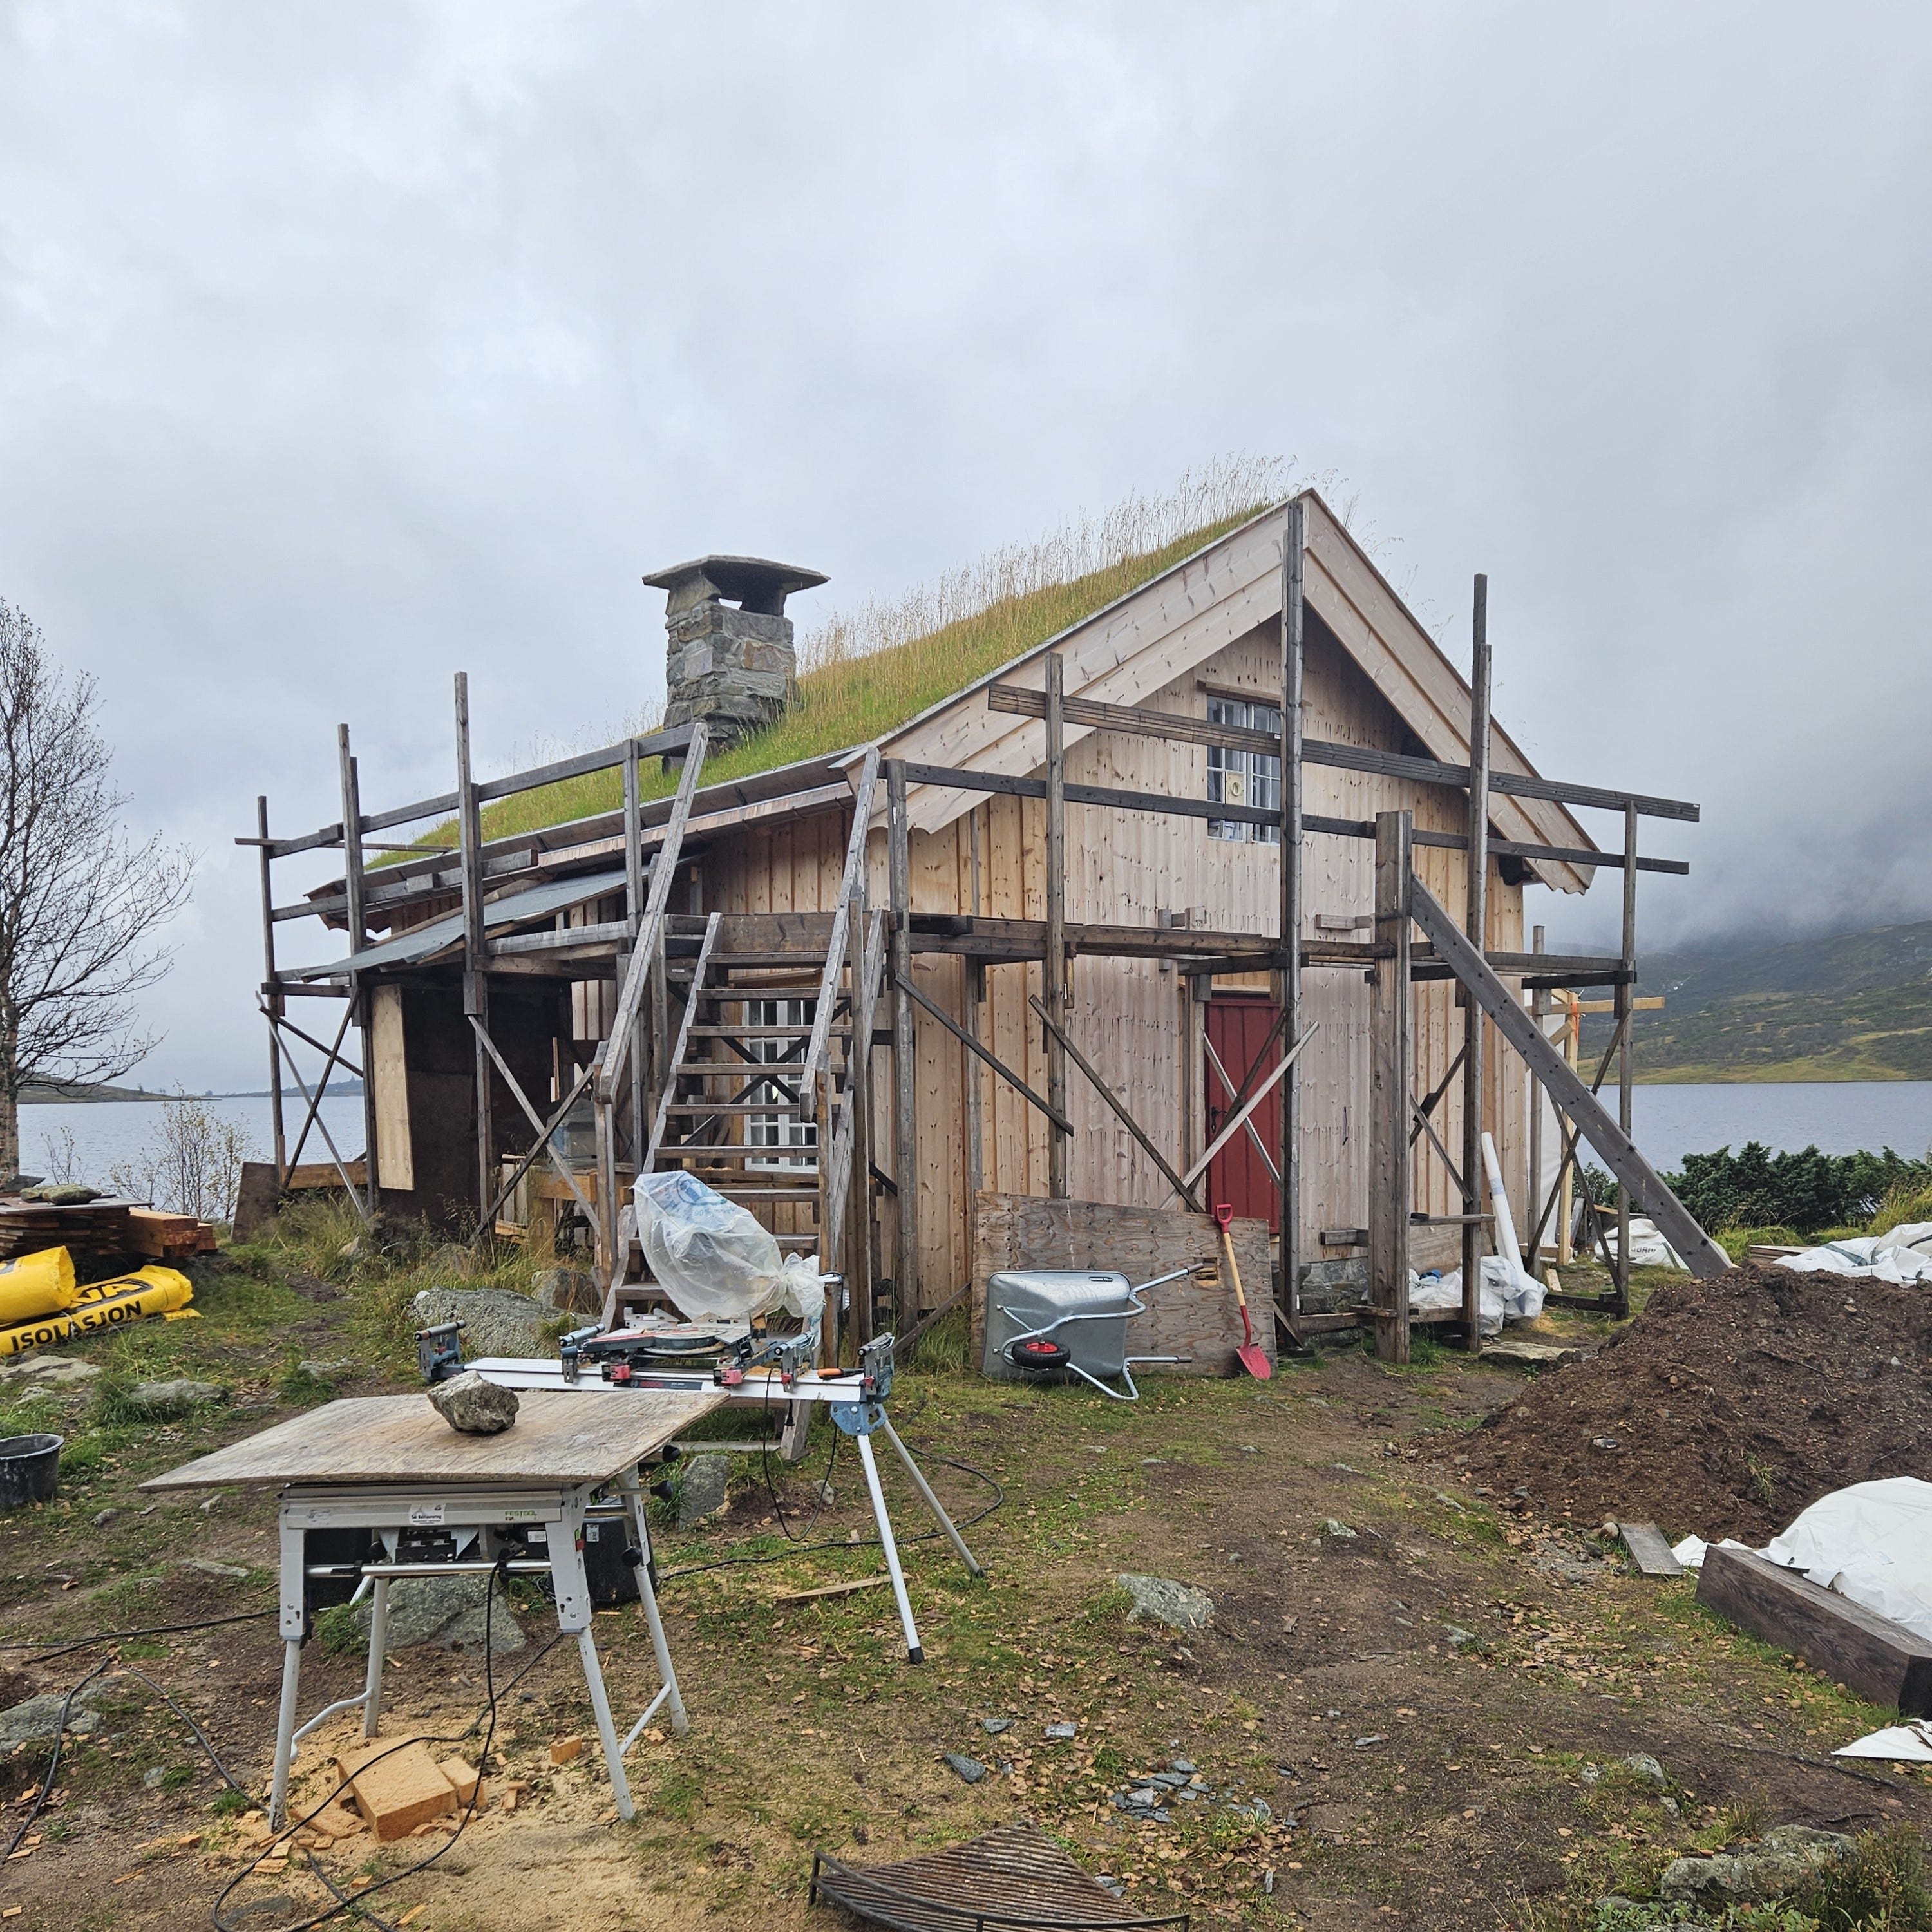
I’ve just begun making a pair of doors: 90 x 200 cm (outside casement measure); plain mortice & tenon door-frames of Swedish pine with diagonal braces to support the weight of 12 mm standing oak paneling on the weather side. They’re for a new outhouse next to the Cabin in the Mountains. The owner wants strong, weather-resistant doors that his grandchildren will take for granted when they grow up; he’s willing to pay good money for quality work — just my kind of customer.
Historically — in my neck of the woods, at least — door casements were often made of 2½” / 63 mm stock; stout planks to carry the cantilevered weight of the substantial solid-wood door frames. What I call ‘a casement’ is that static part of the door assembly that is mounted in the opening of the wall and that carries the male hinges (pintel) that the door frame swings on — just to clarify my idiosyncratic, NorwEnglish nomenclature!
When I make historical copies of old doors, all parts ought to be of one piece, solid wood, but 2½” stock has gone out of fashion since … WWII? … and what I’ve been able to lay my hands on has been of poor quality; knotty, cracked and soft-grown stuff … not anything I’d like to use, even if it’s to be painted. The solution?
Why not laminate your stock? I’ve written about the advantages of this method before, so I’ll rather focus on the practicalities of the operation in this post.
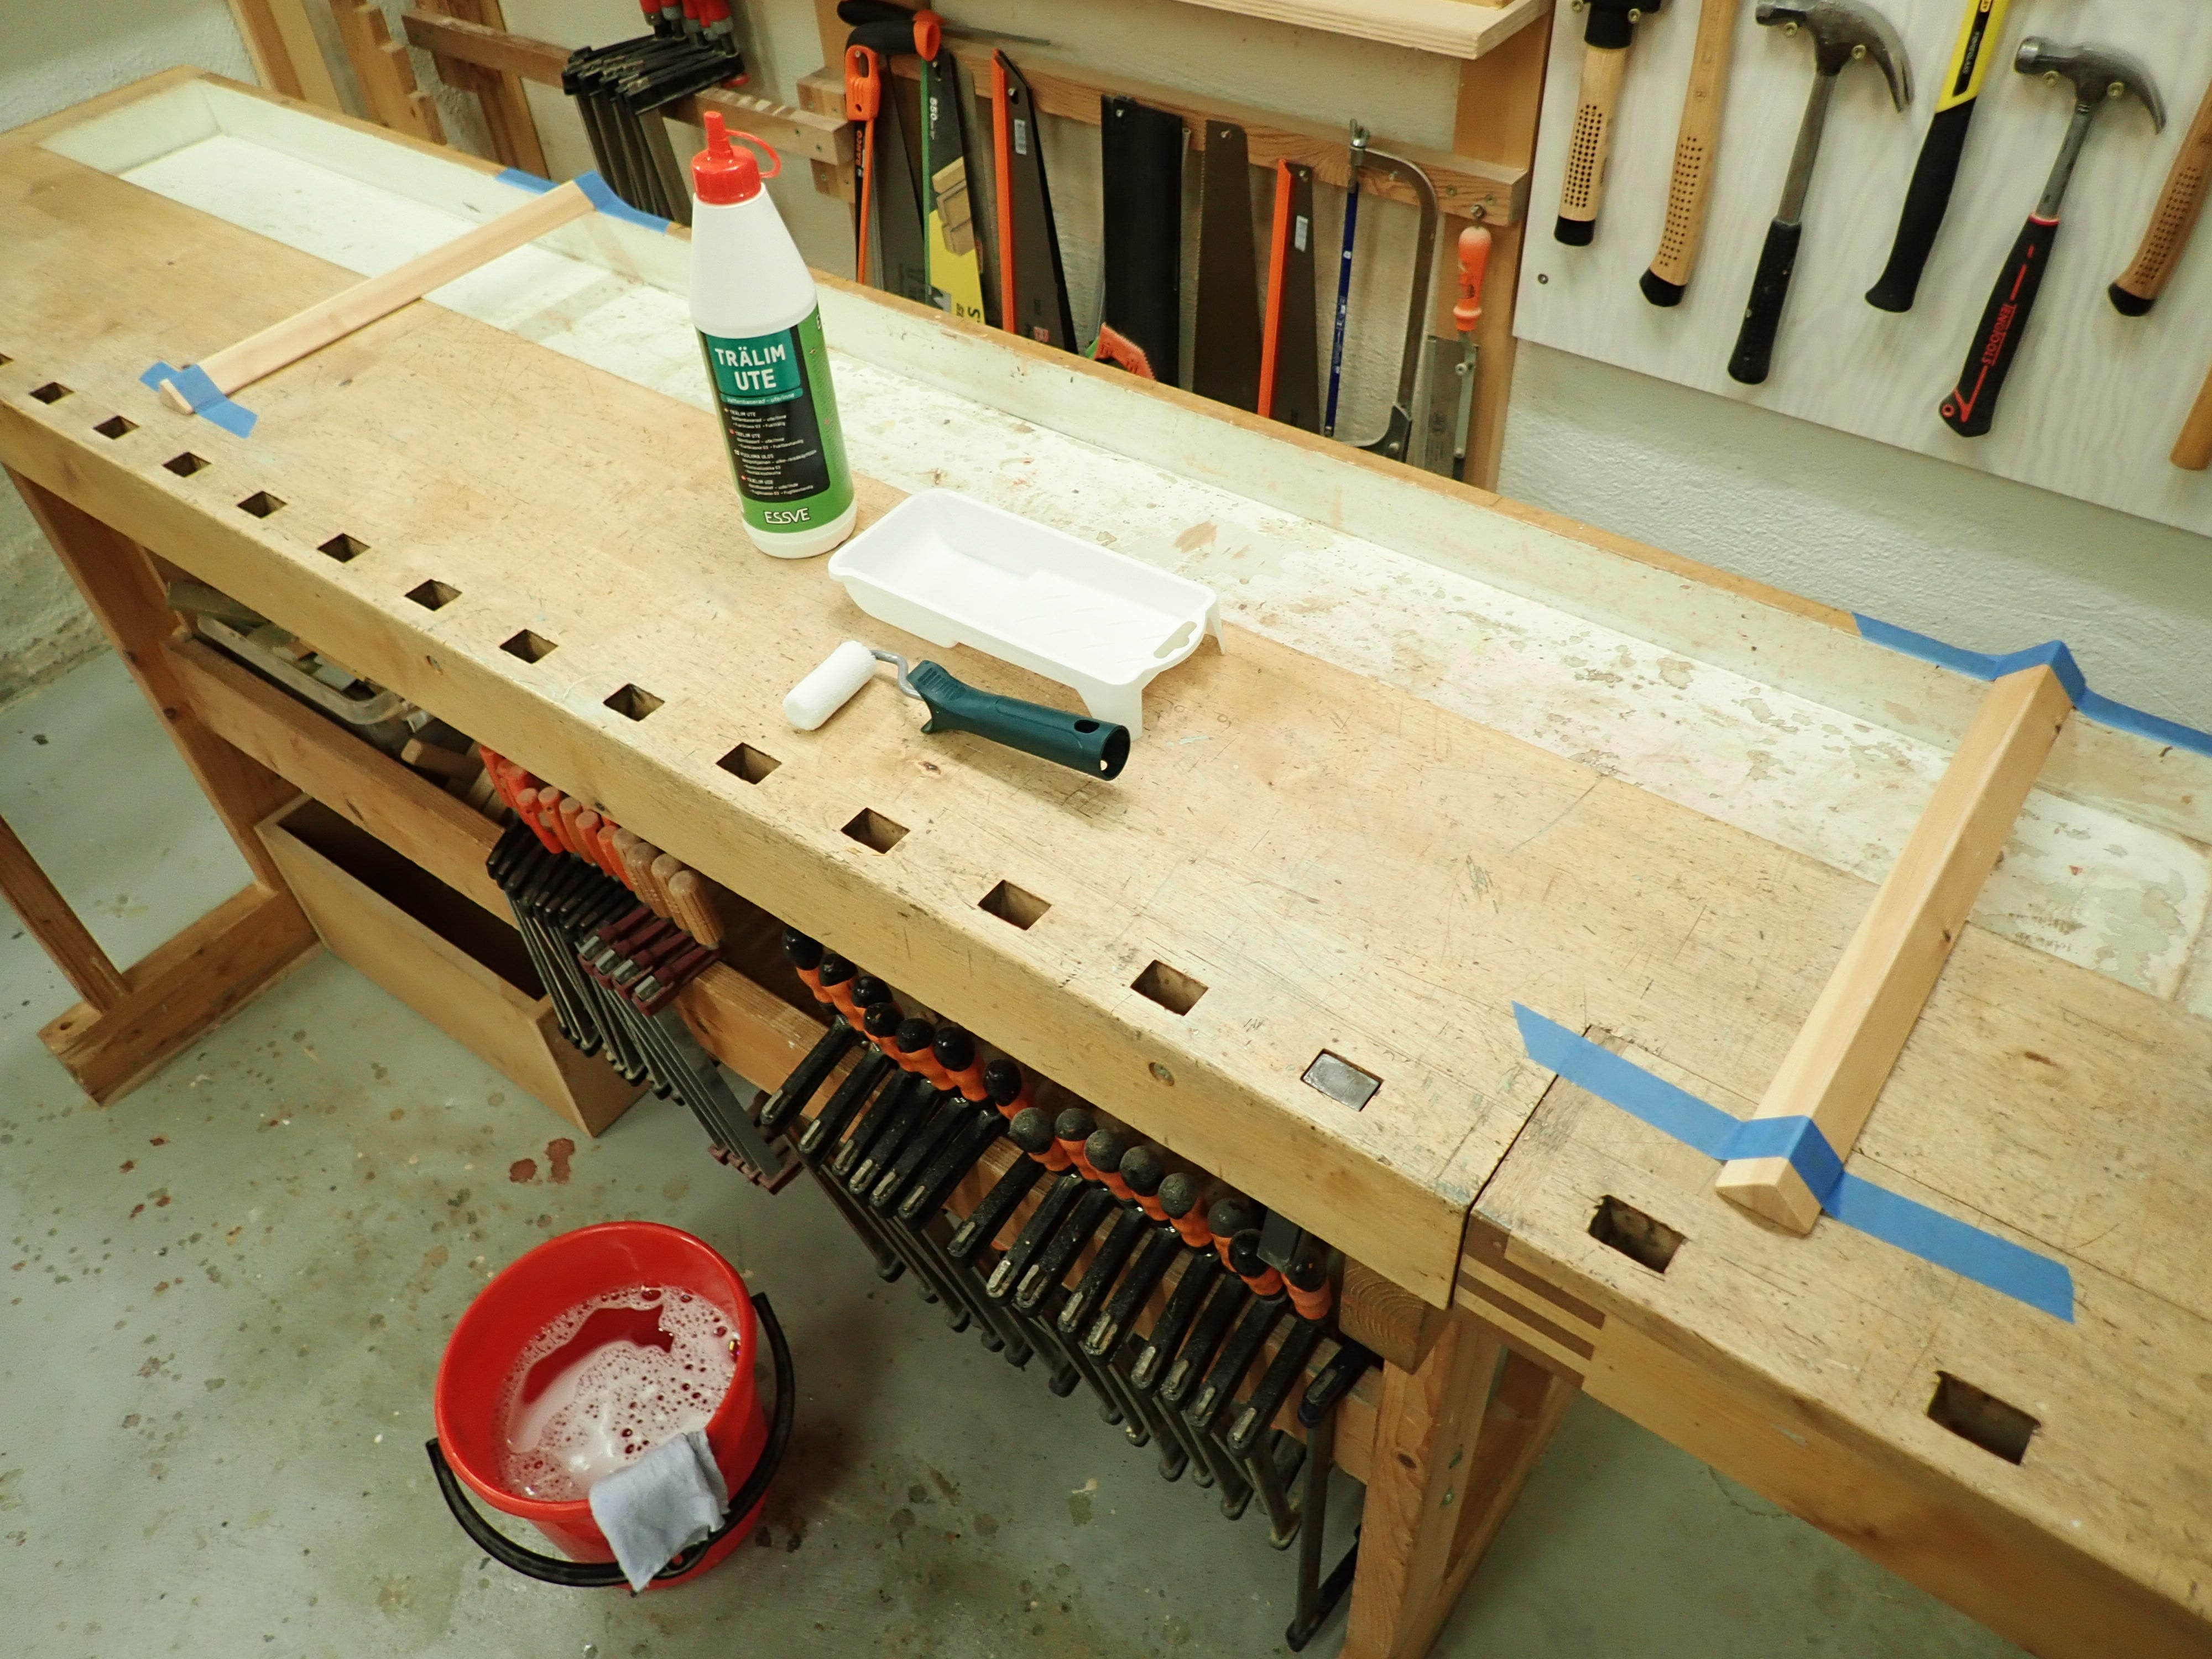
You’ll need some clamps.
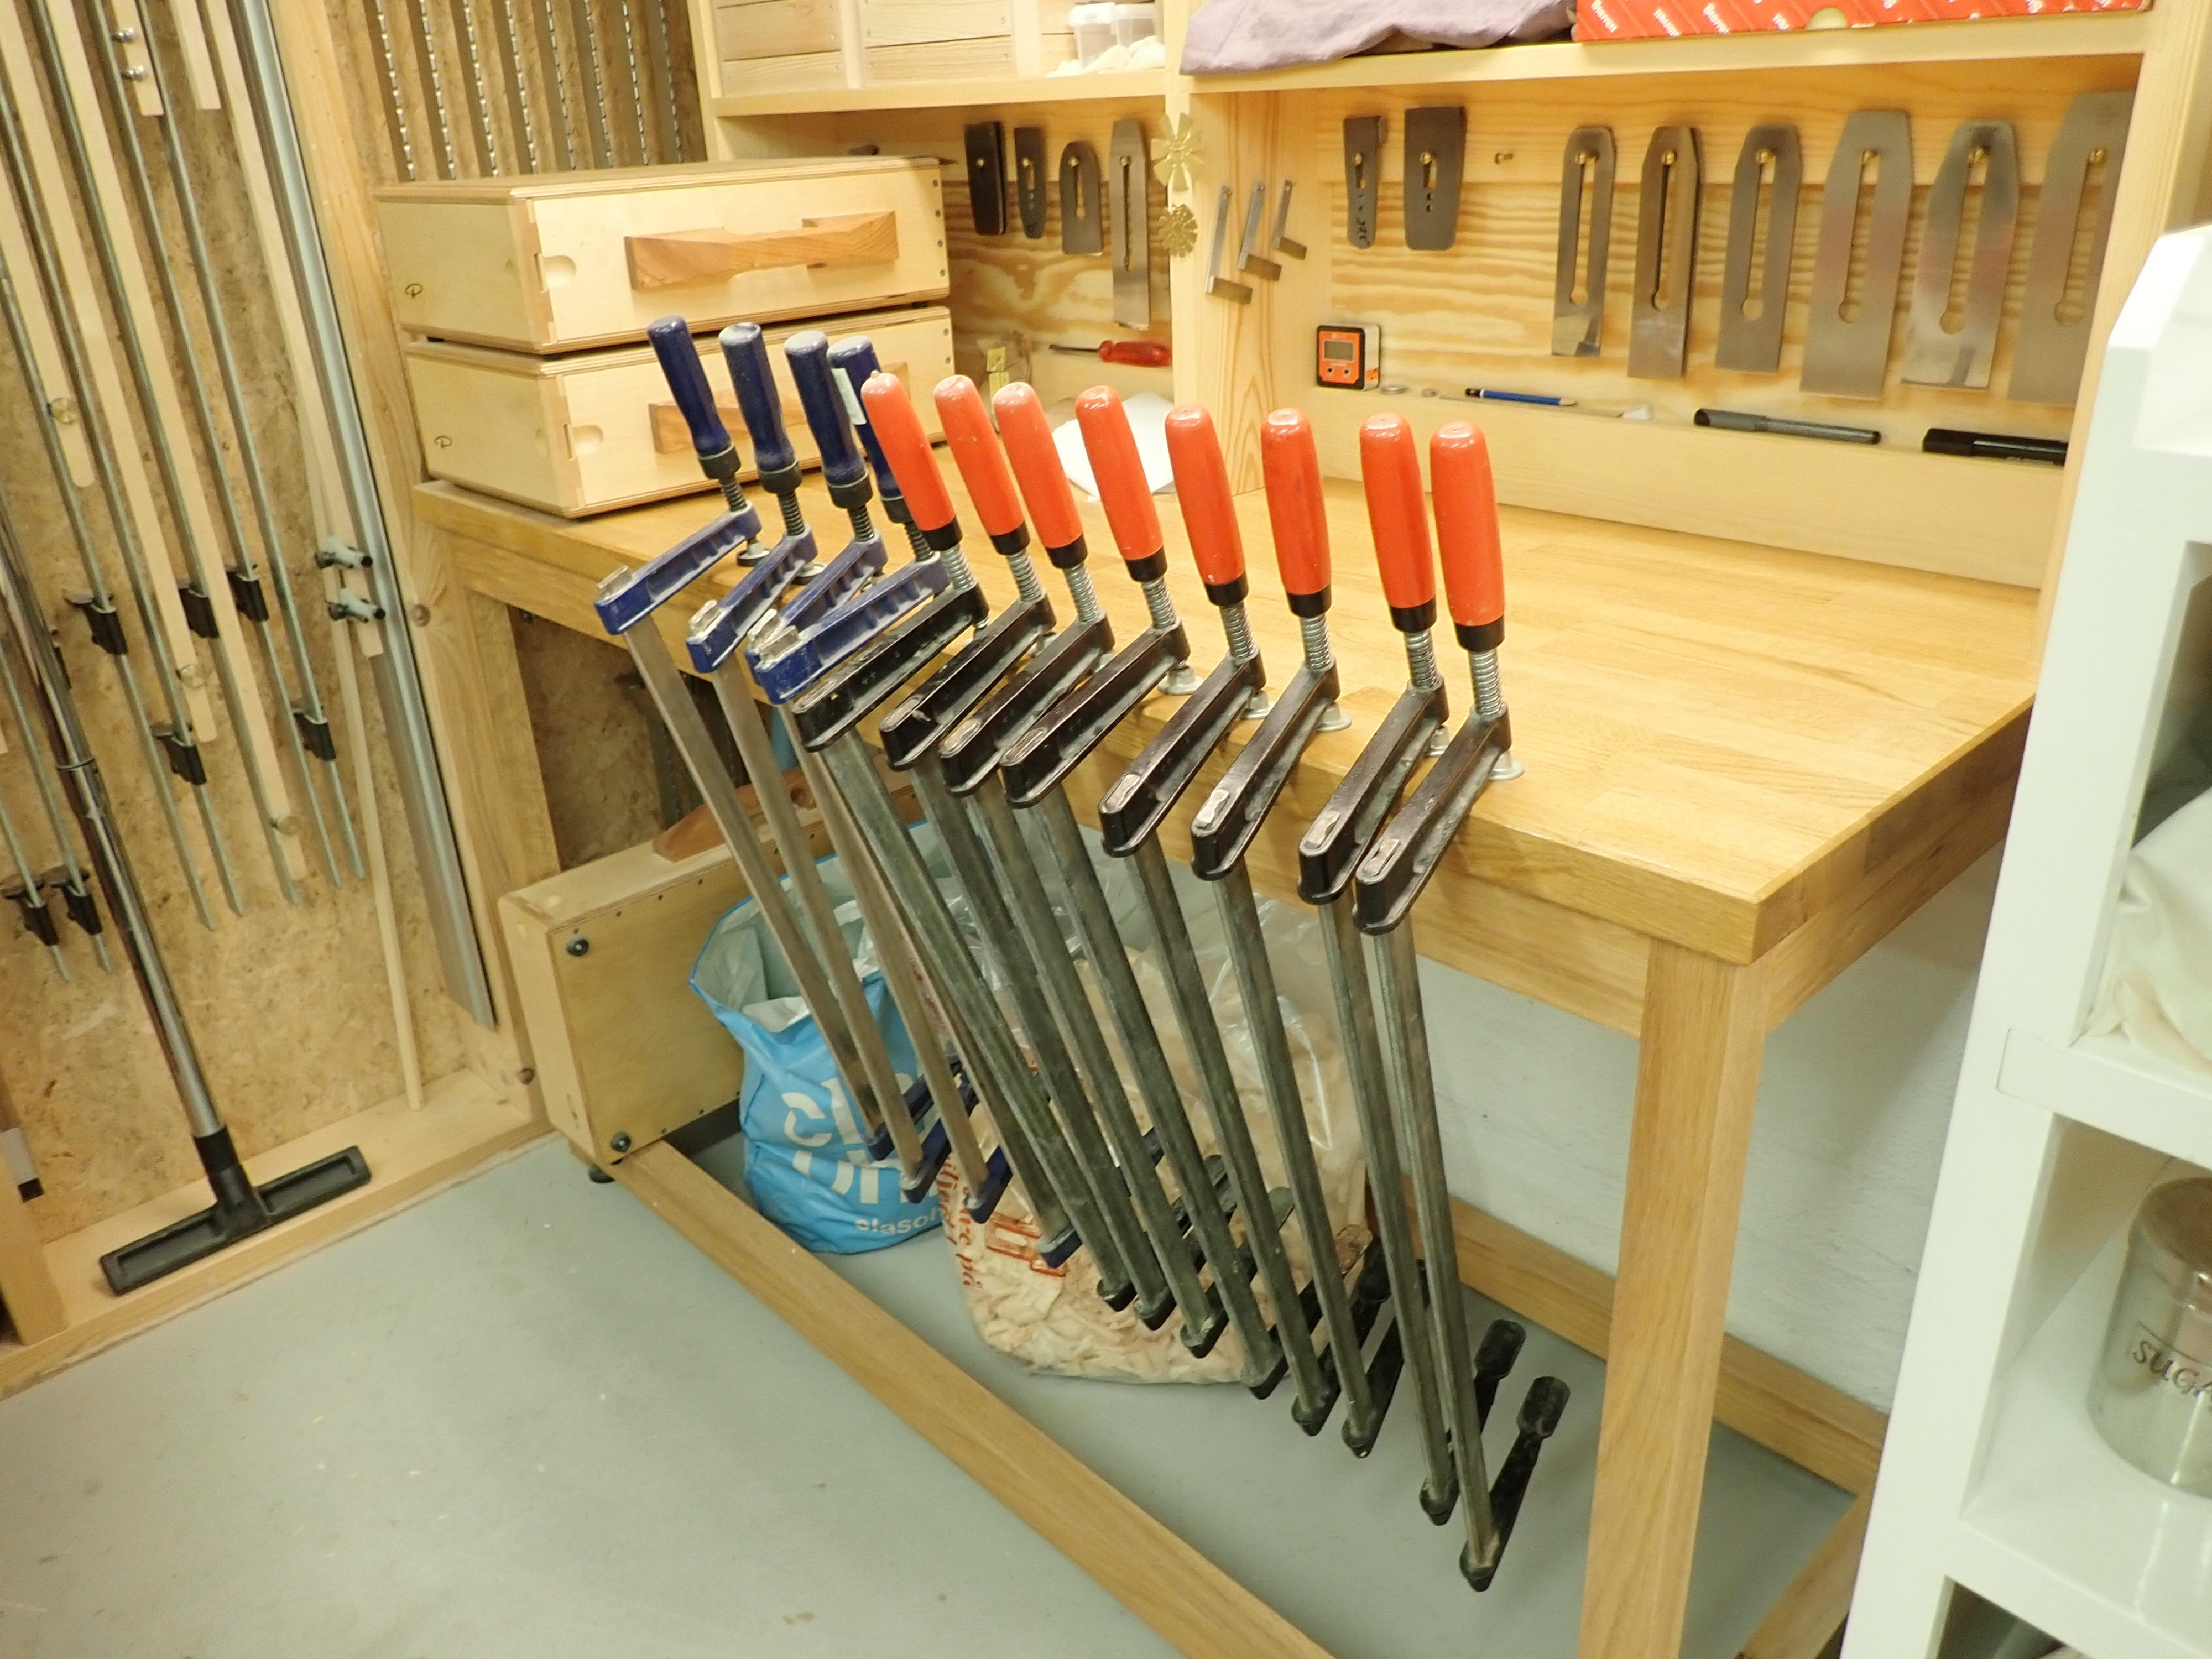
Here, I’ve hung my best Bessey 60 cm clamps on my honing bench, ready for action. These 8 are some of the first tools I bought and they’ve never let me down, they are a cornerstone of my little shop. You can tighten them good, but their spines always straighten out afterwards; they are indestructable, yet lighter than the old pre-war F-clamps of yore that could distort a glue-up by their sheer weight when used en masse. The four blue ones are some shitty, no-name things I use to supplement the clamping force — the difference between good and bad tools, even such ‘simple’ tools as clamps, can be small, yet are obvious in use.
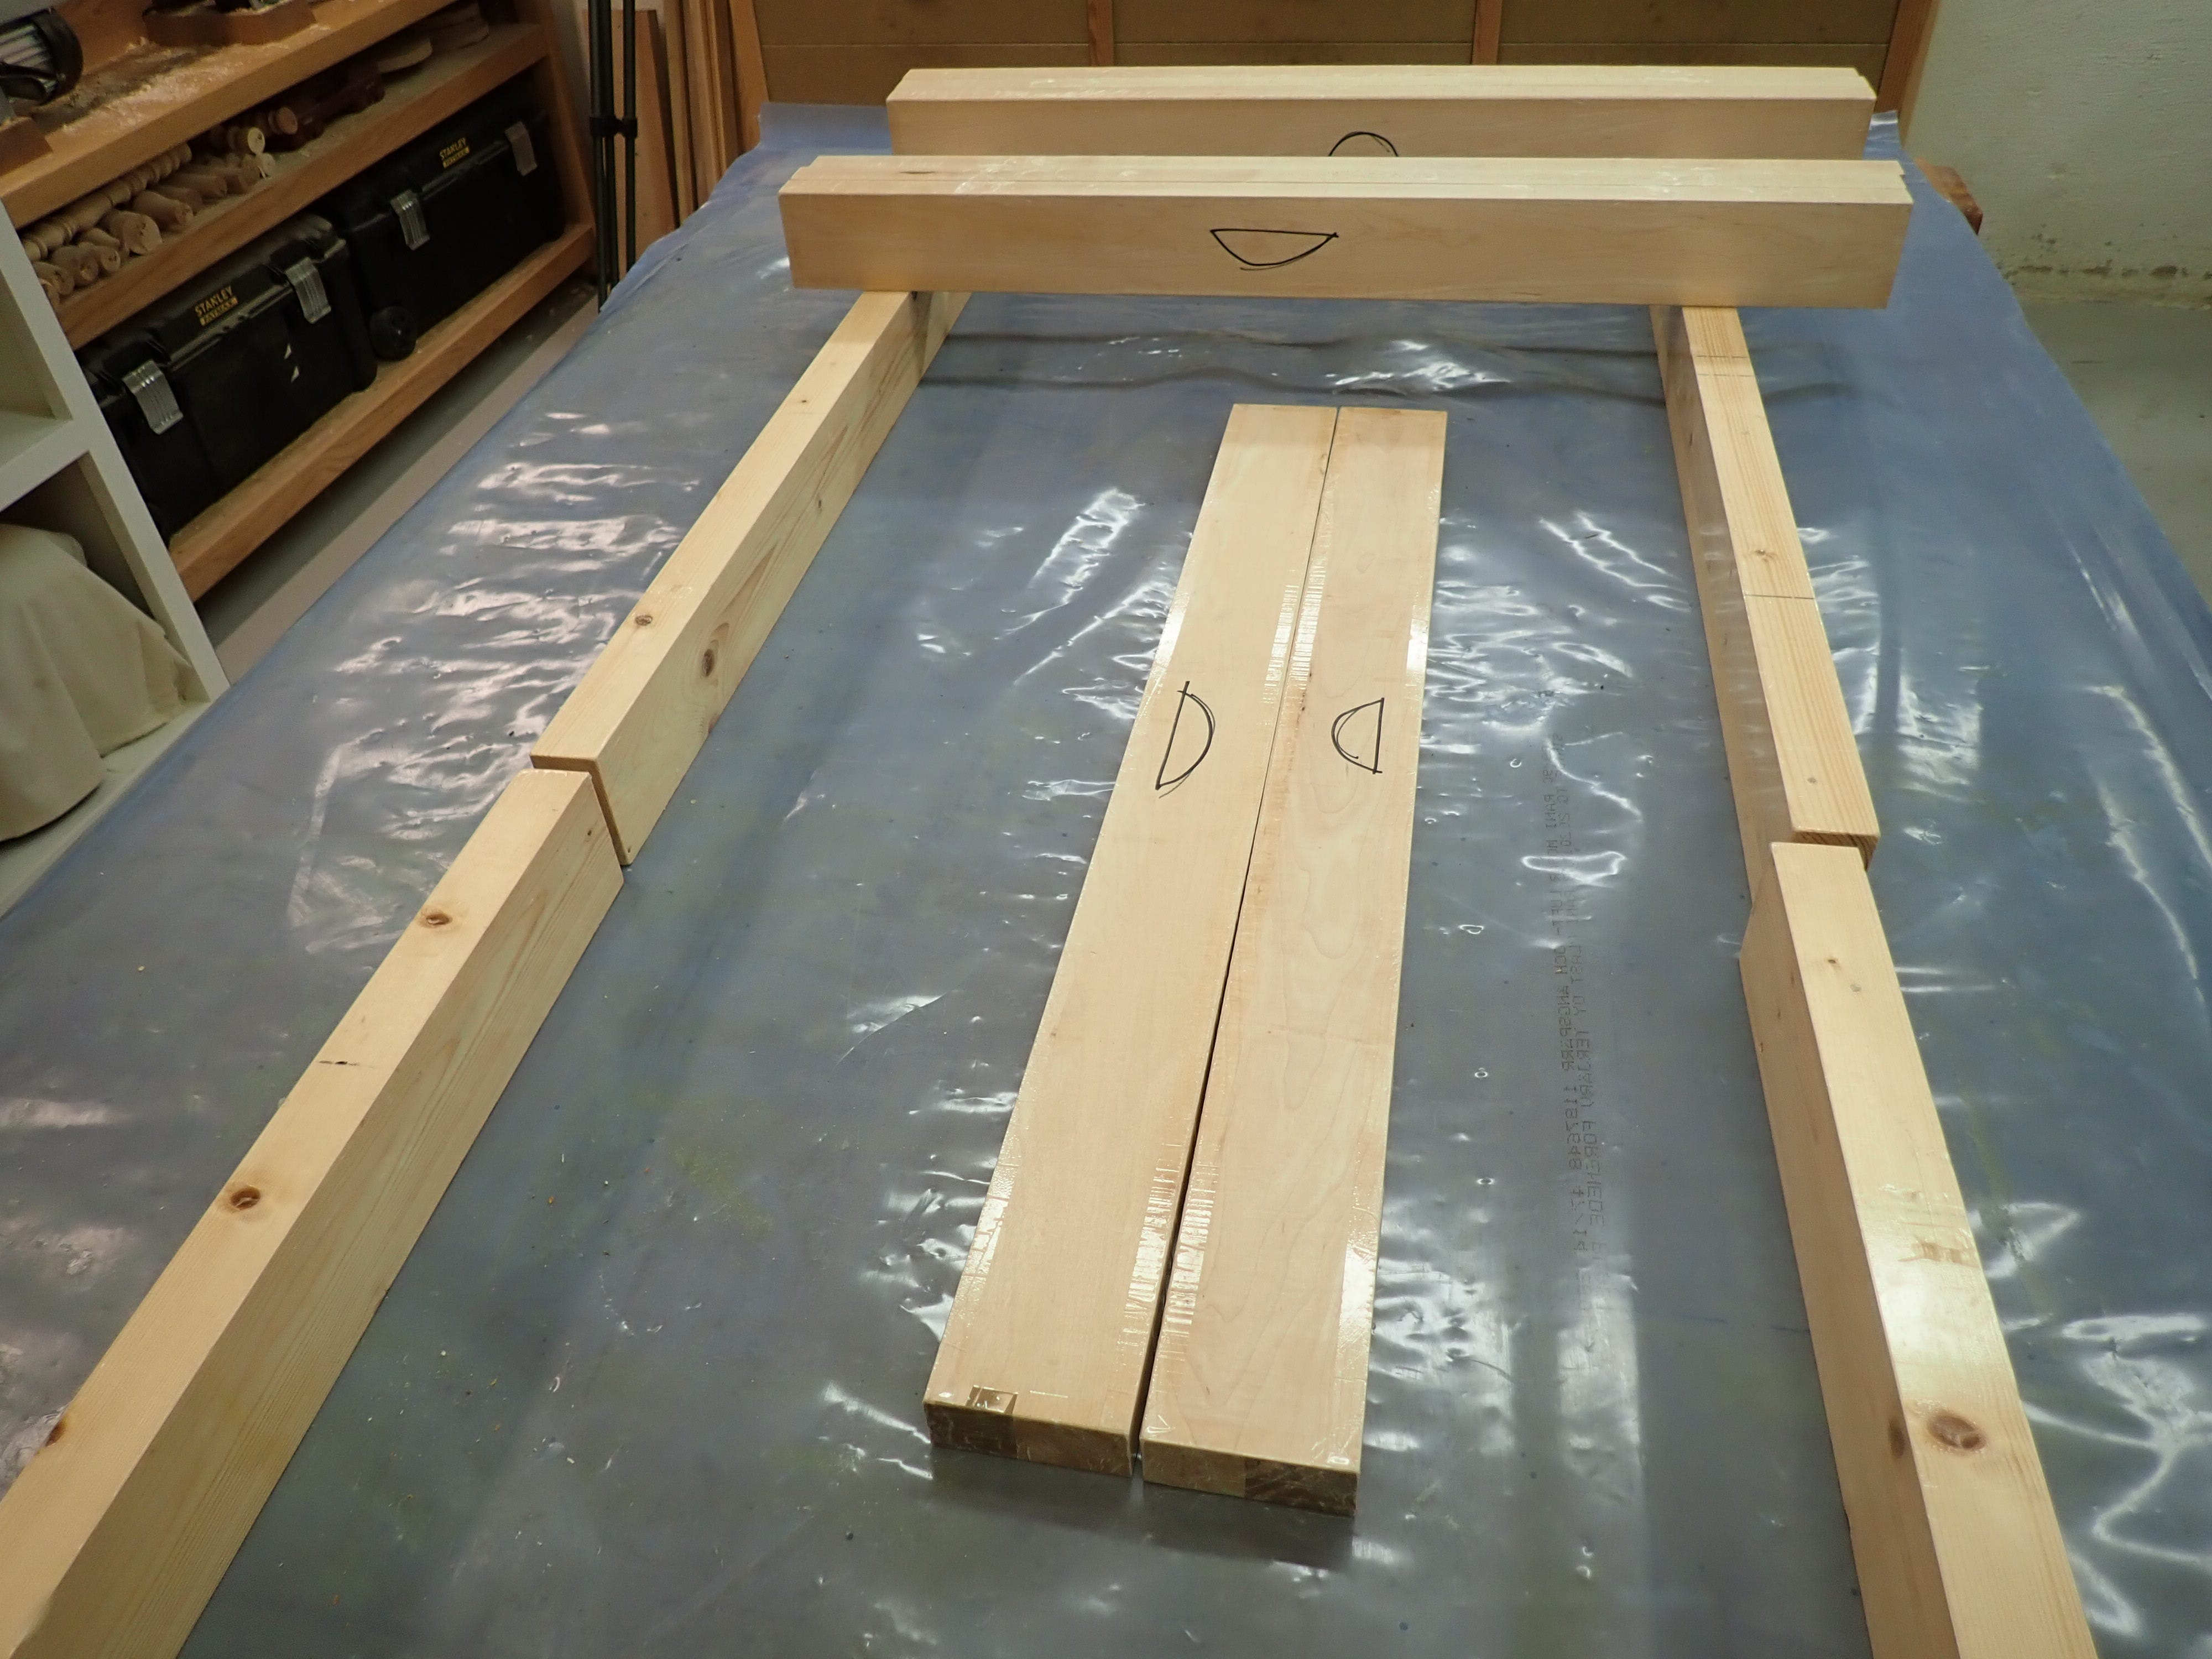
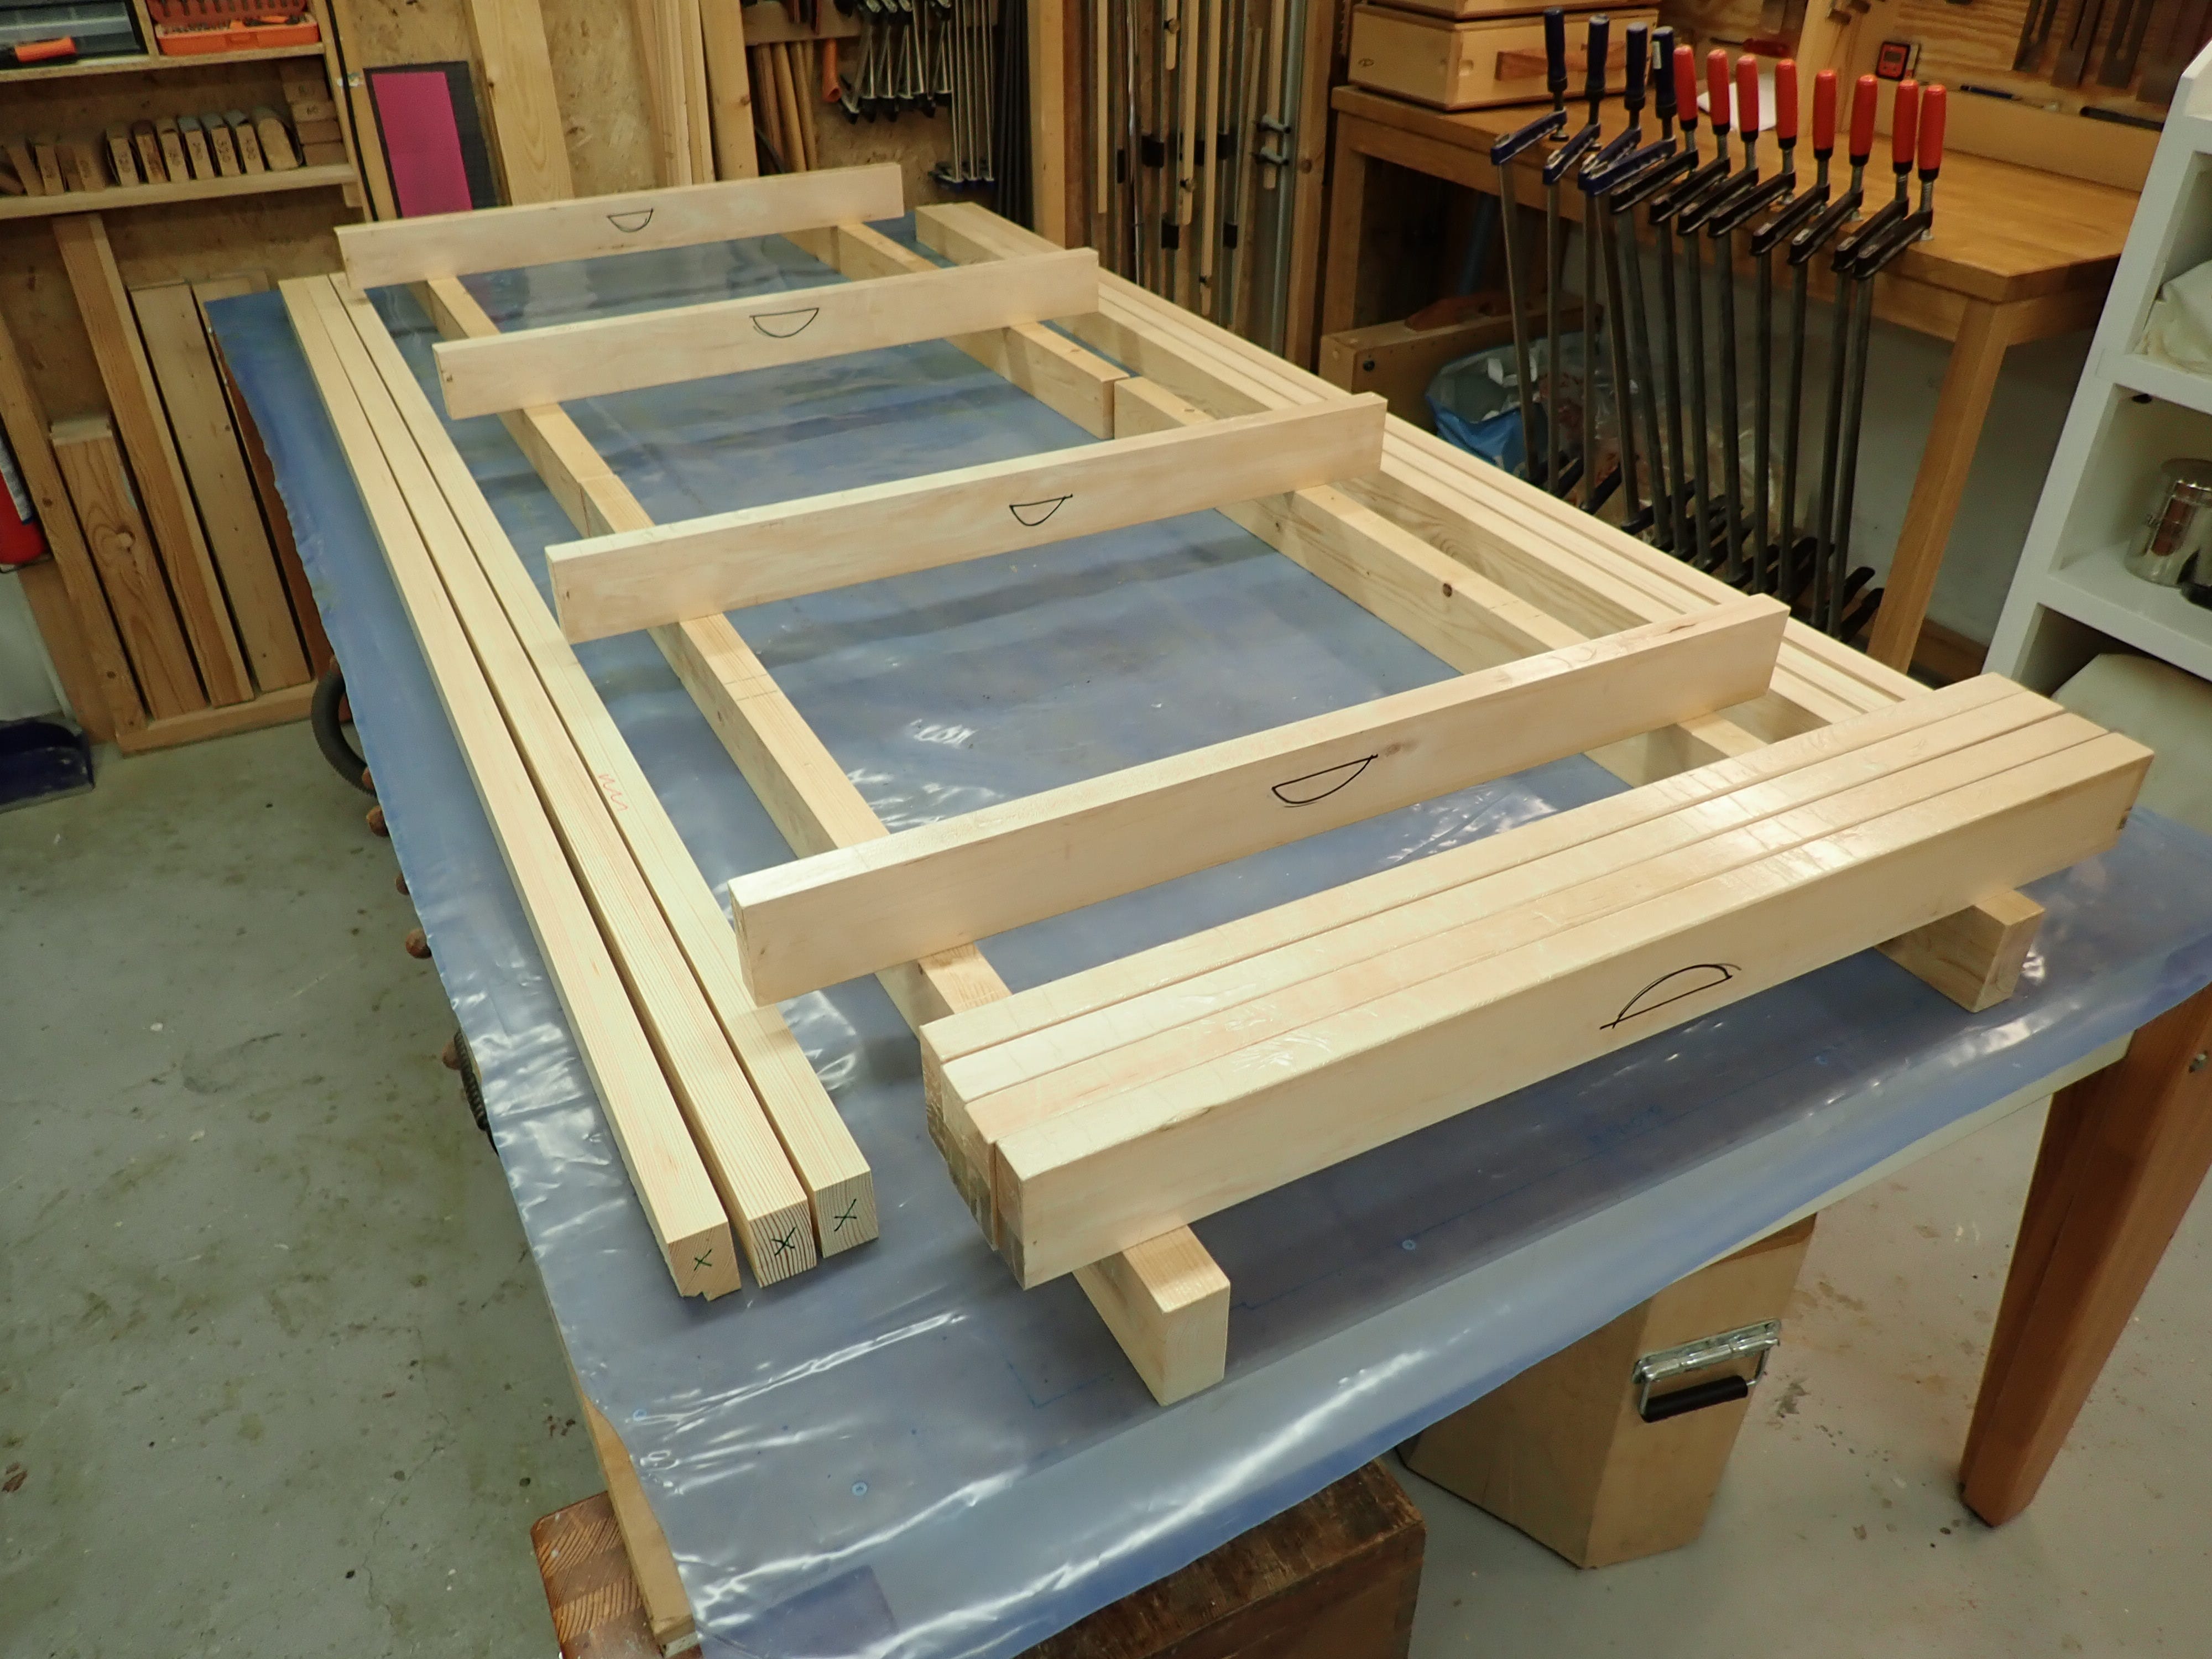
Then, I rig my building table for a long glue-up. I begin by protecting the surface with some old plastic before I lay down some dimensioned ‘beams’ lengthwise, to elevate the proceedings as is only appropriate :-)
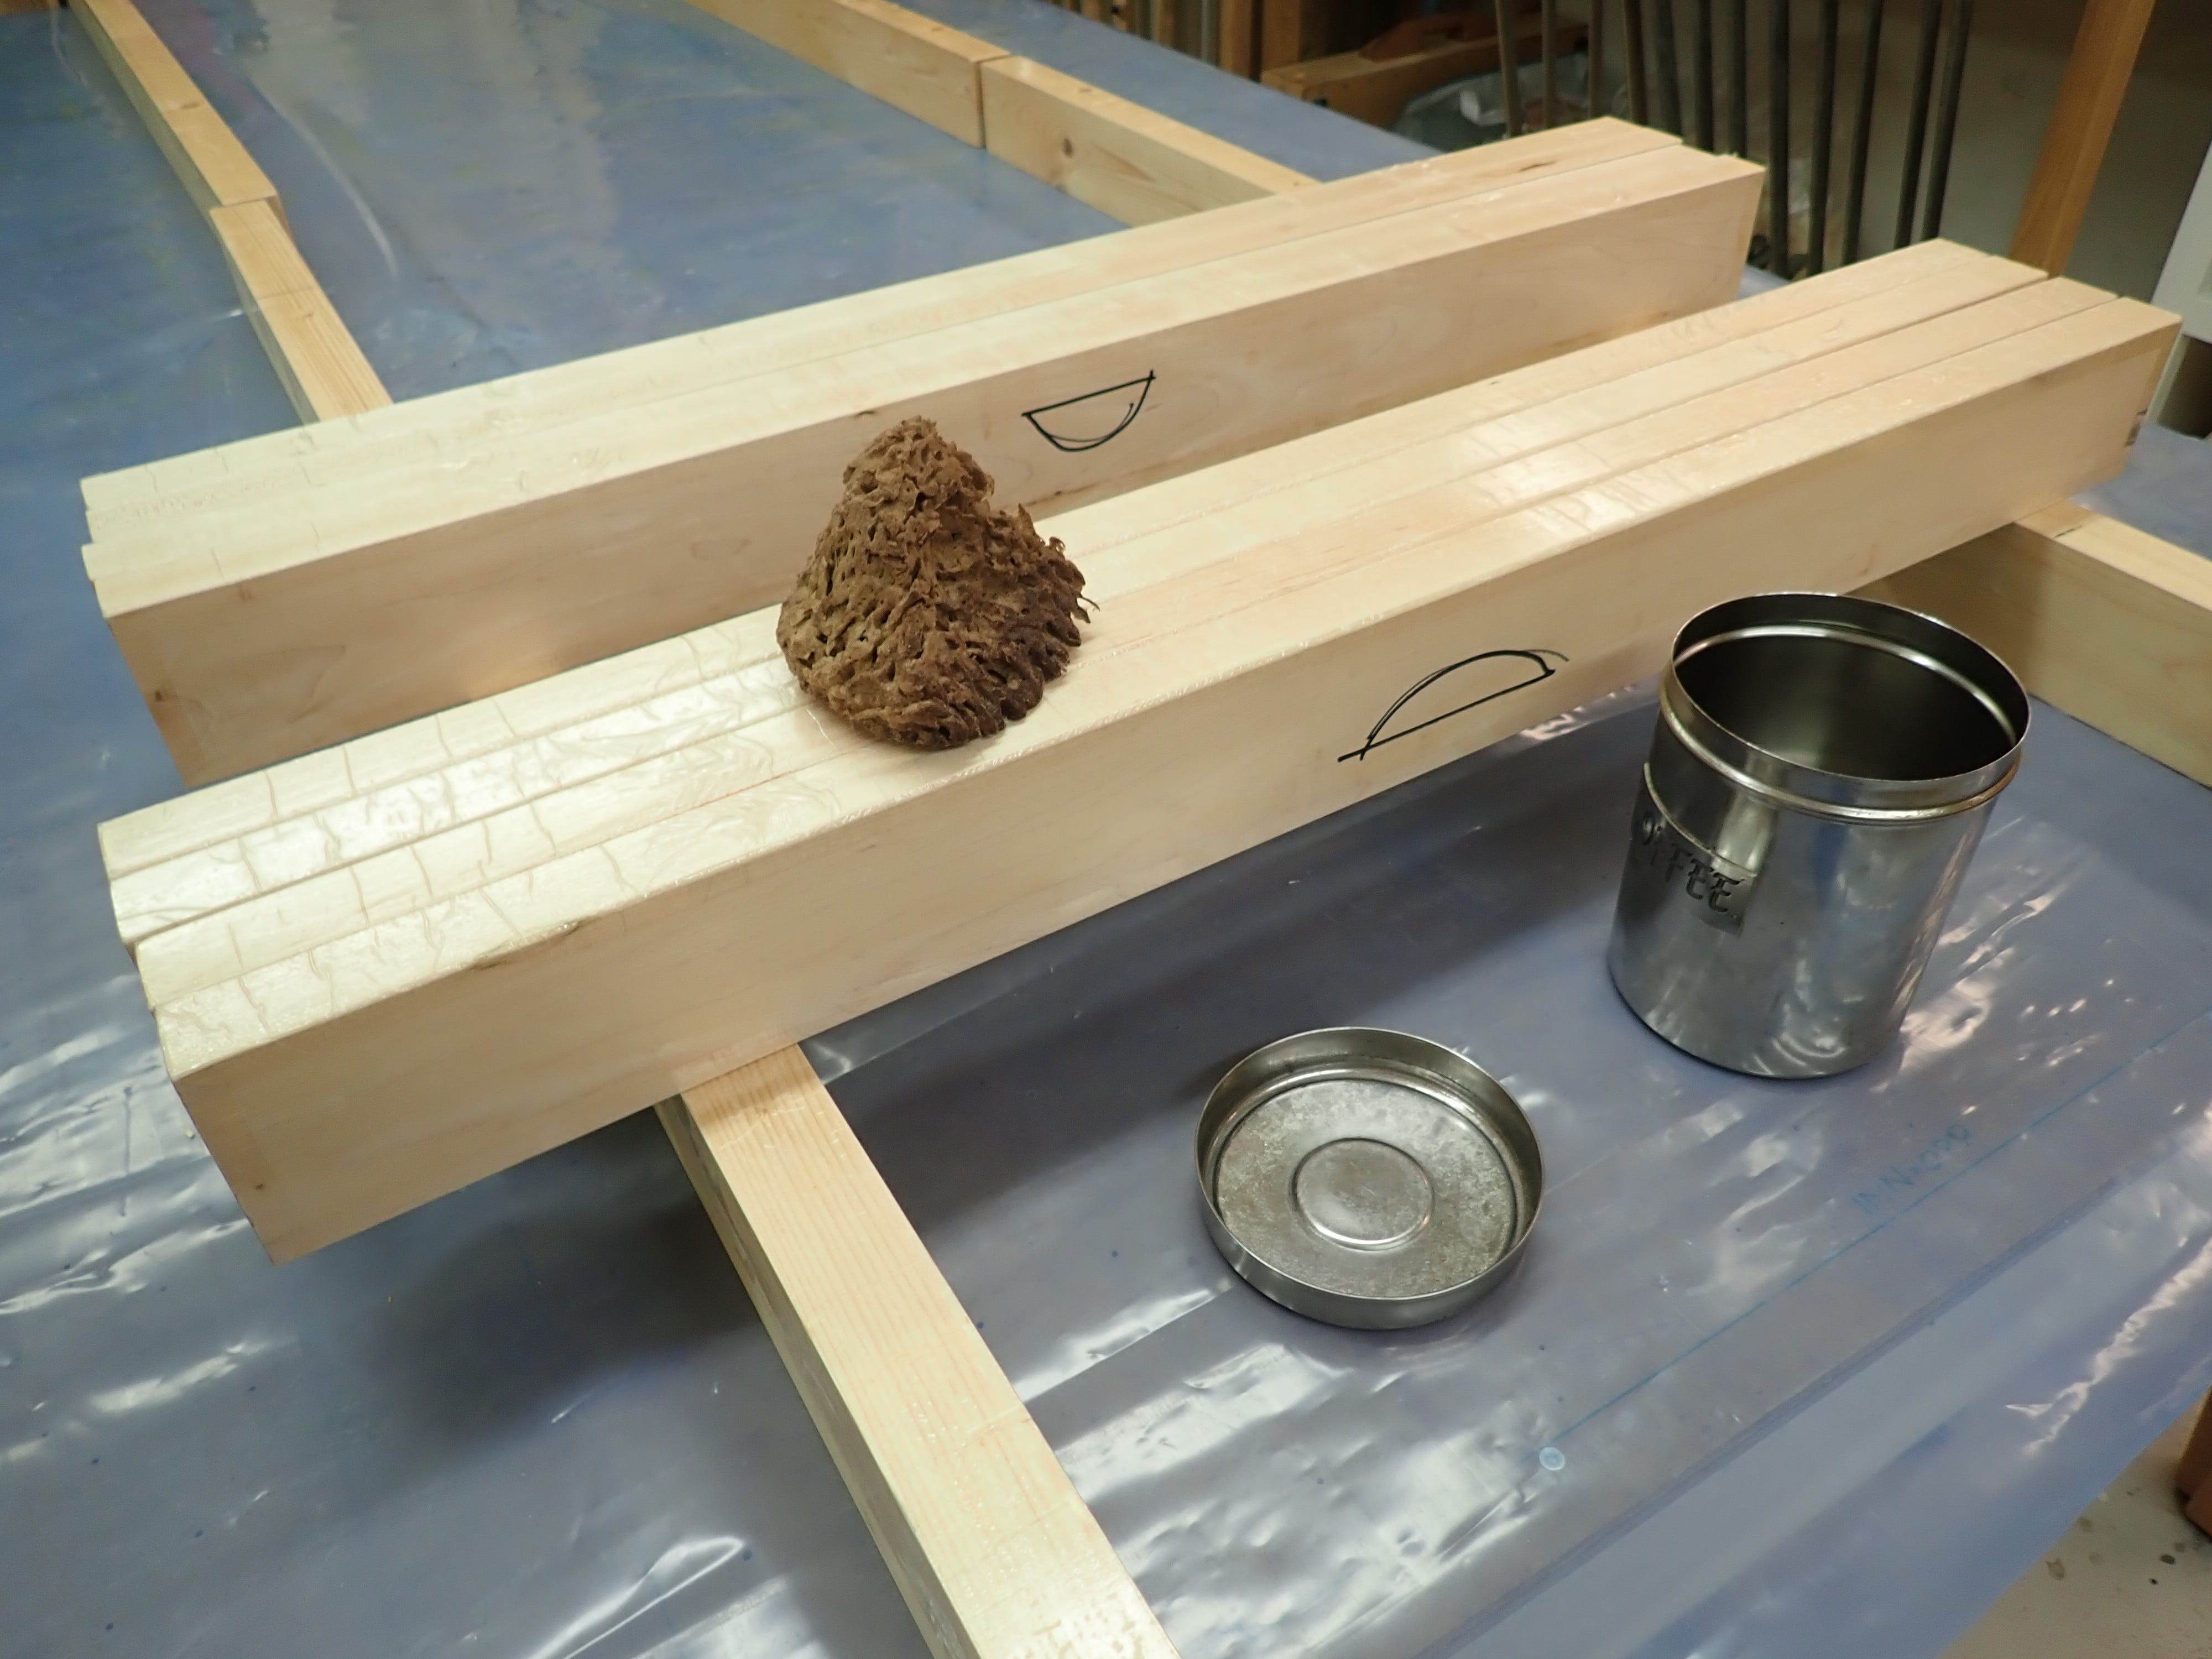
Next, I fetch my ‘smiley cauls’ from out of storage. A ‘caul’ is the proper name for a piece of wood whose job it is to distribute clamping forces to where they need to go. They can be improvised or made as a permanent shop accessory. These ones I made years ago from leftover maple and they measure about 900 x 90 x 30 mm or so. One long edge is flat, the other has a crown of approx. 3 mm — hence the ‘smiley’ markings in the pictures. I just took a roughly set plane to them and made them slightly convex, down to a pencil mark at each end; exactness is not very critical here.
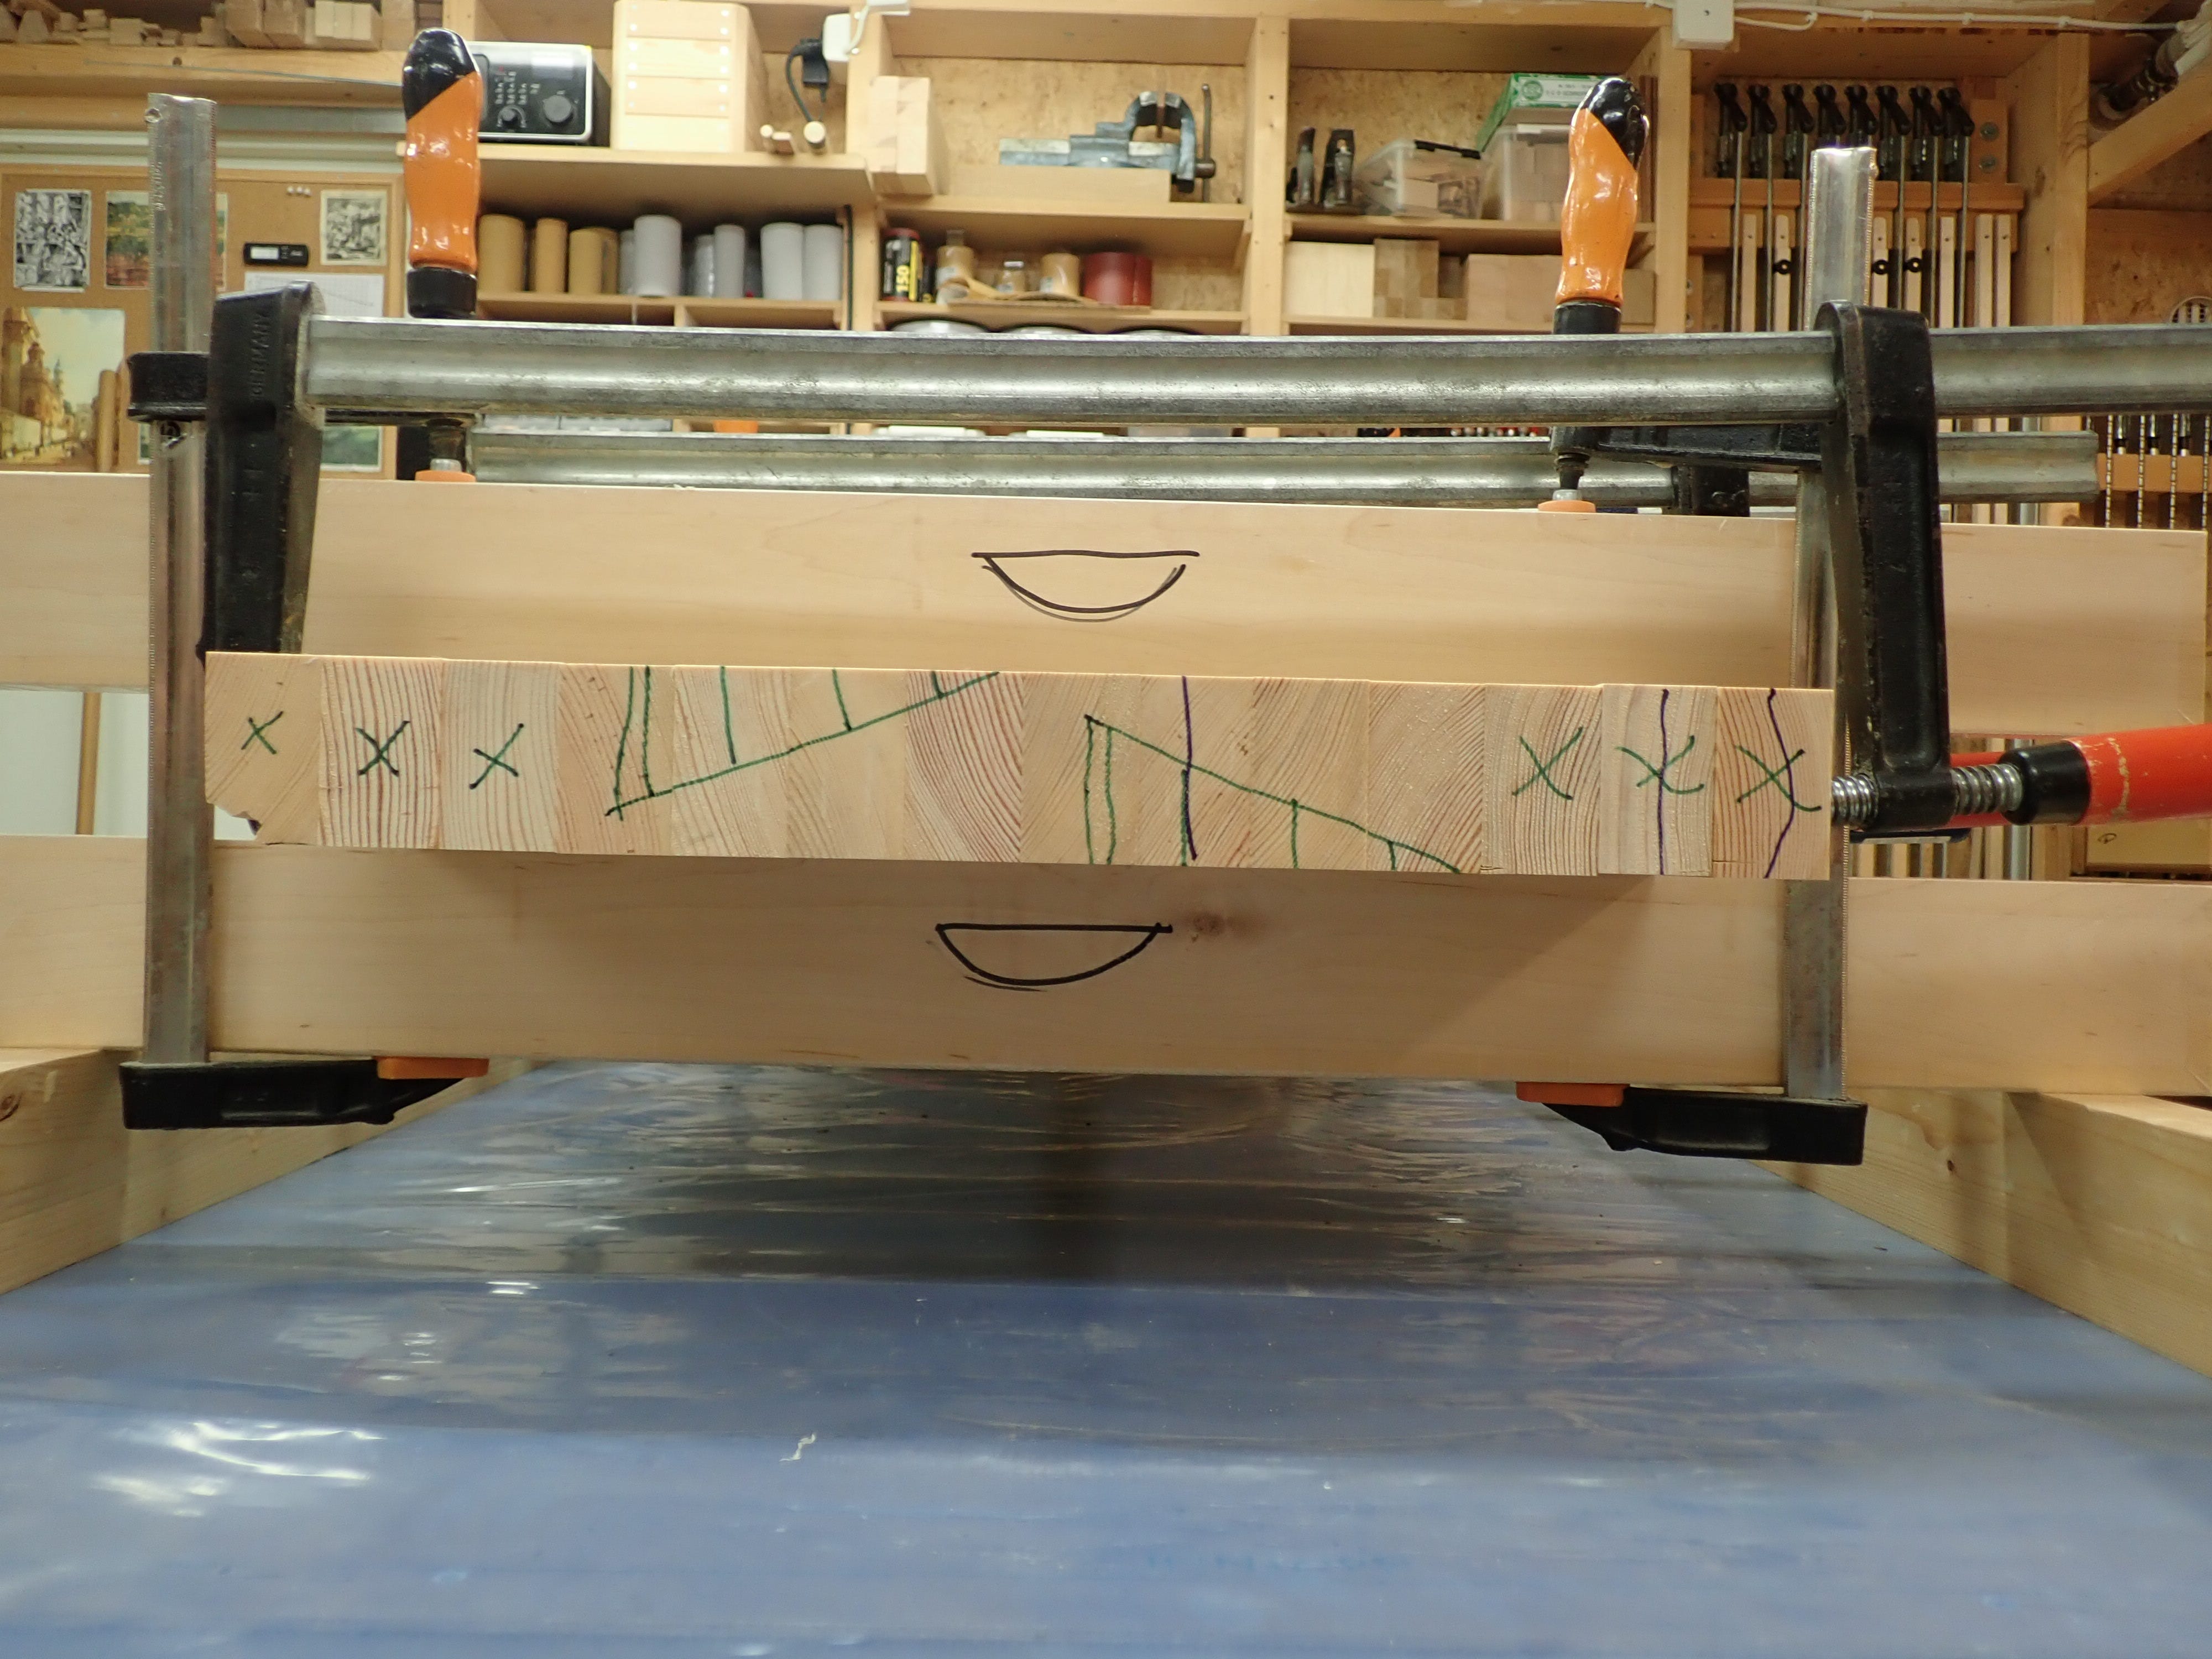
The point of the convex shape is to enable the clamping cauls / ‘beams’ to apply pressure in the middle of the span, despite the clamps being positioned at the ends, as you’ll see further down.
Glue is sticky. My preferred anti-sticktivity-juice is mineral oil, also known as vaseline or baby oil. I keep a natural sponge standing in a slick of oil in a steel can. My cauls are covered with cheap packing tape and given a smear before things get serious.
I will use my smiling cauls flat side up, convex side down for this glue-up. It’s a bit overkill on this particular job; the small ‘beams’ I’m about to glue together have 4 mm extra thickness (for adjusting ‘un-flatness’) and are not especially wide, but it doesn’t hurt and old habits die hard, so …
This kind of set-up is most useful when you’re glueing wider and thinner parts, like table tops, carcass sides or panel stock. The convex cauls allows you to apply clamping pressure to the middle of a panel, thus keeping the ‘thicknesses’ in line. The convex cauls are positioning devices; The better aligned your sticks, the less planing and flattening you’ll have to do later.
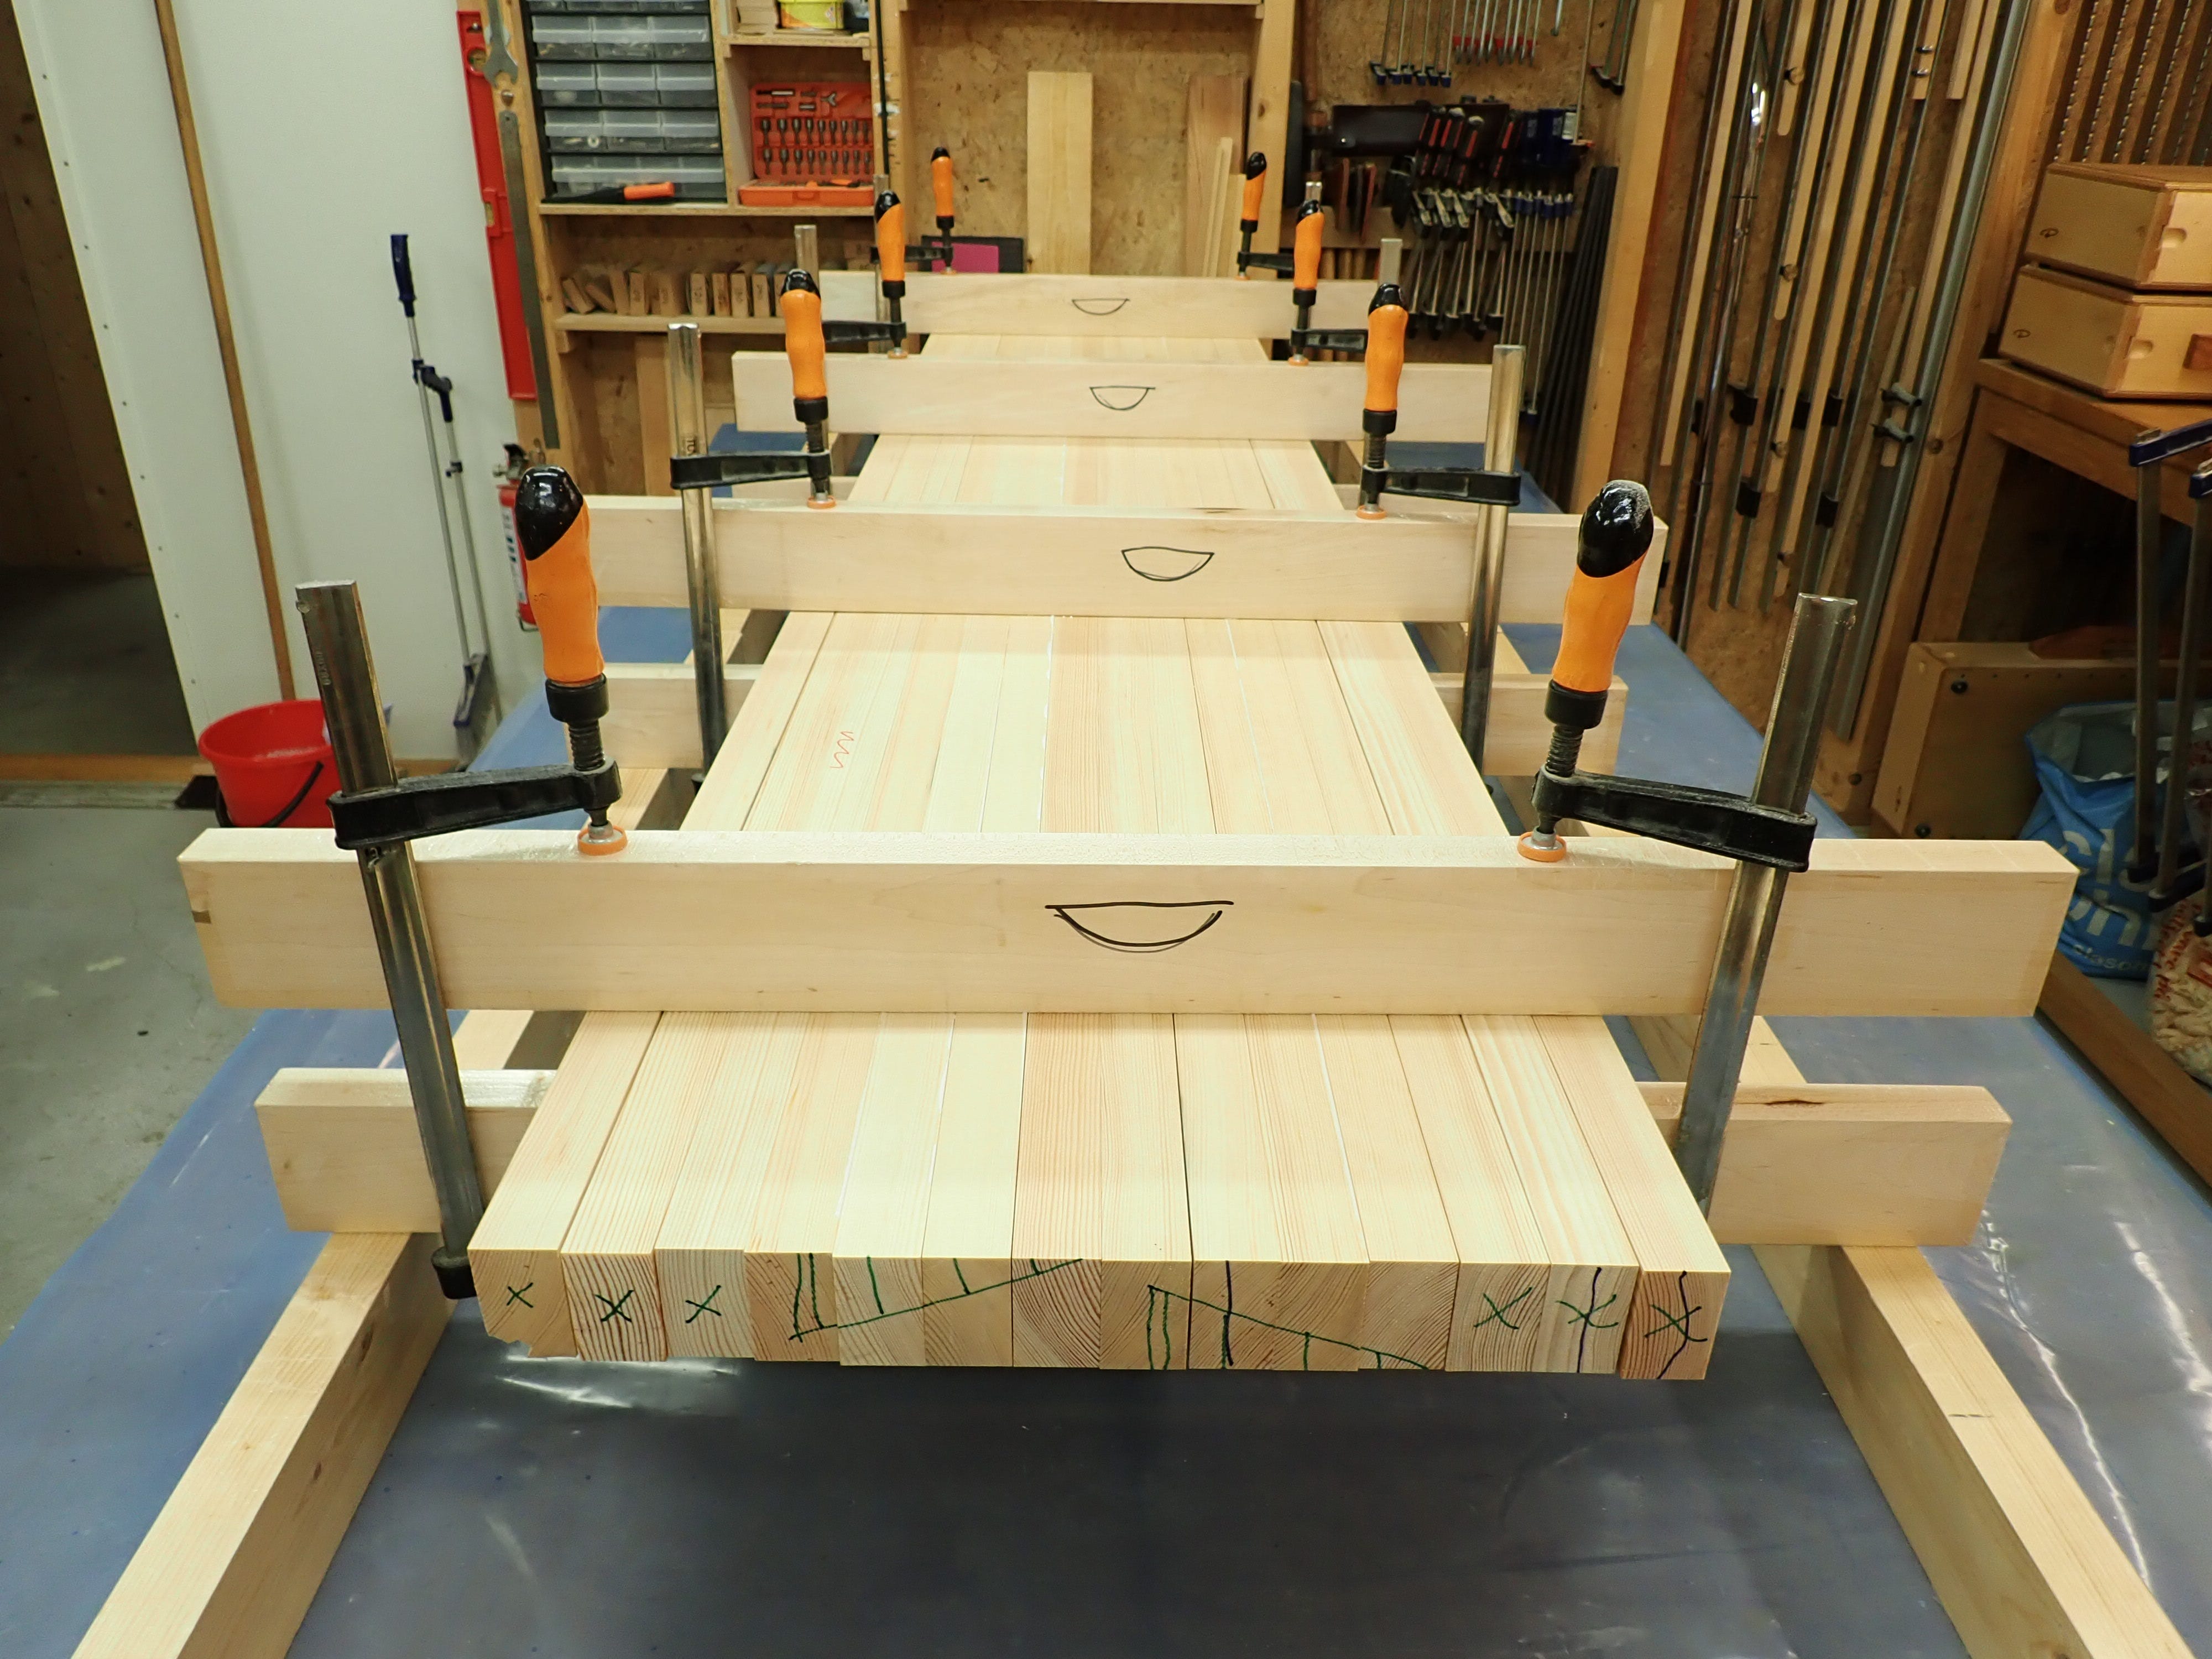
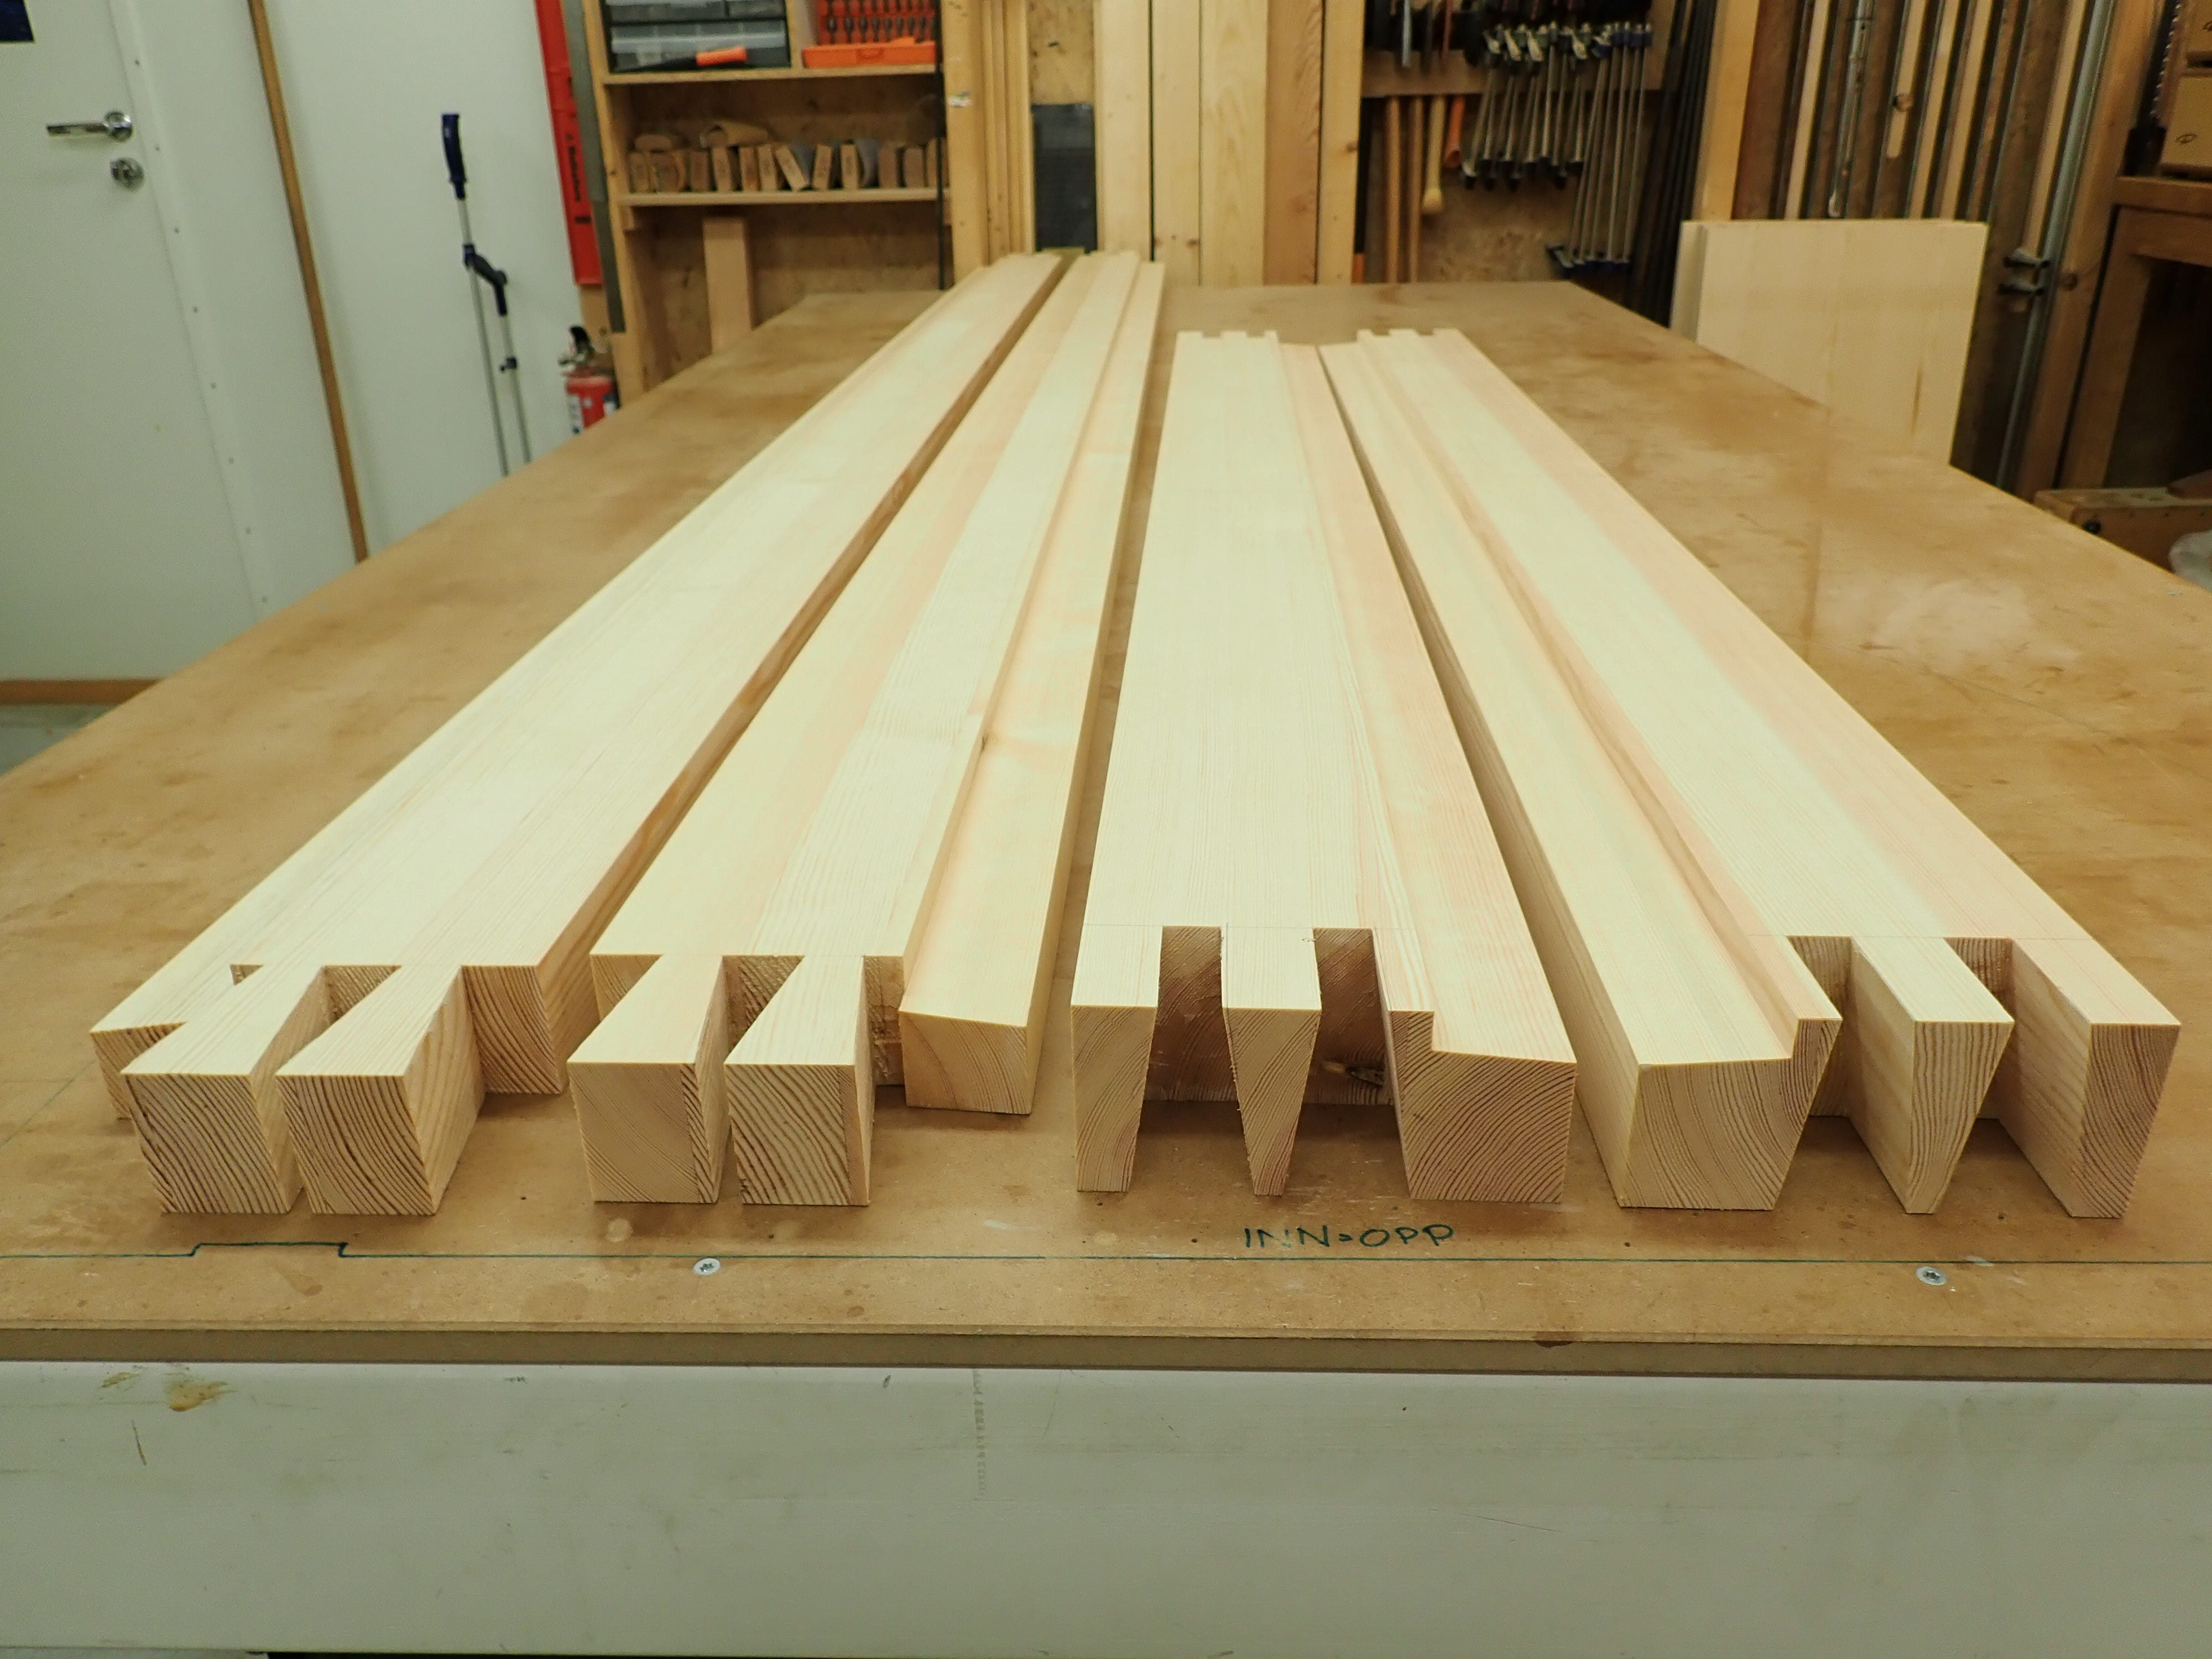
The actual glue-clamping pressure is applied from edge to edge in the usual manner:
Notice the three sticks on each side marked X on the end grain? They do the job of traditional clamping cauls by spreading the clamping pressure, and are simply the surplus parts that have gone through the same machining process as the rest, but were rejected because of material defects (knots, cracks etc.). Always make extra parts so you can discard the worst of the lot — they can later be used for ‘secondary purposes’ / scrap around the shop.
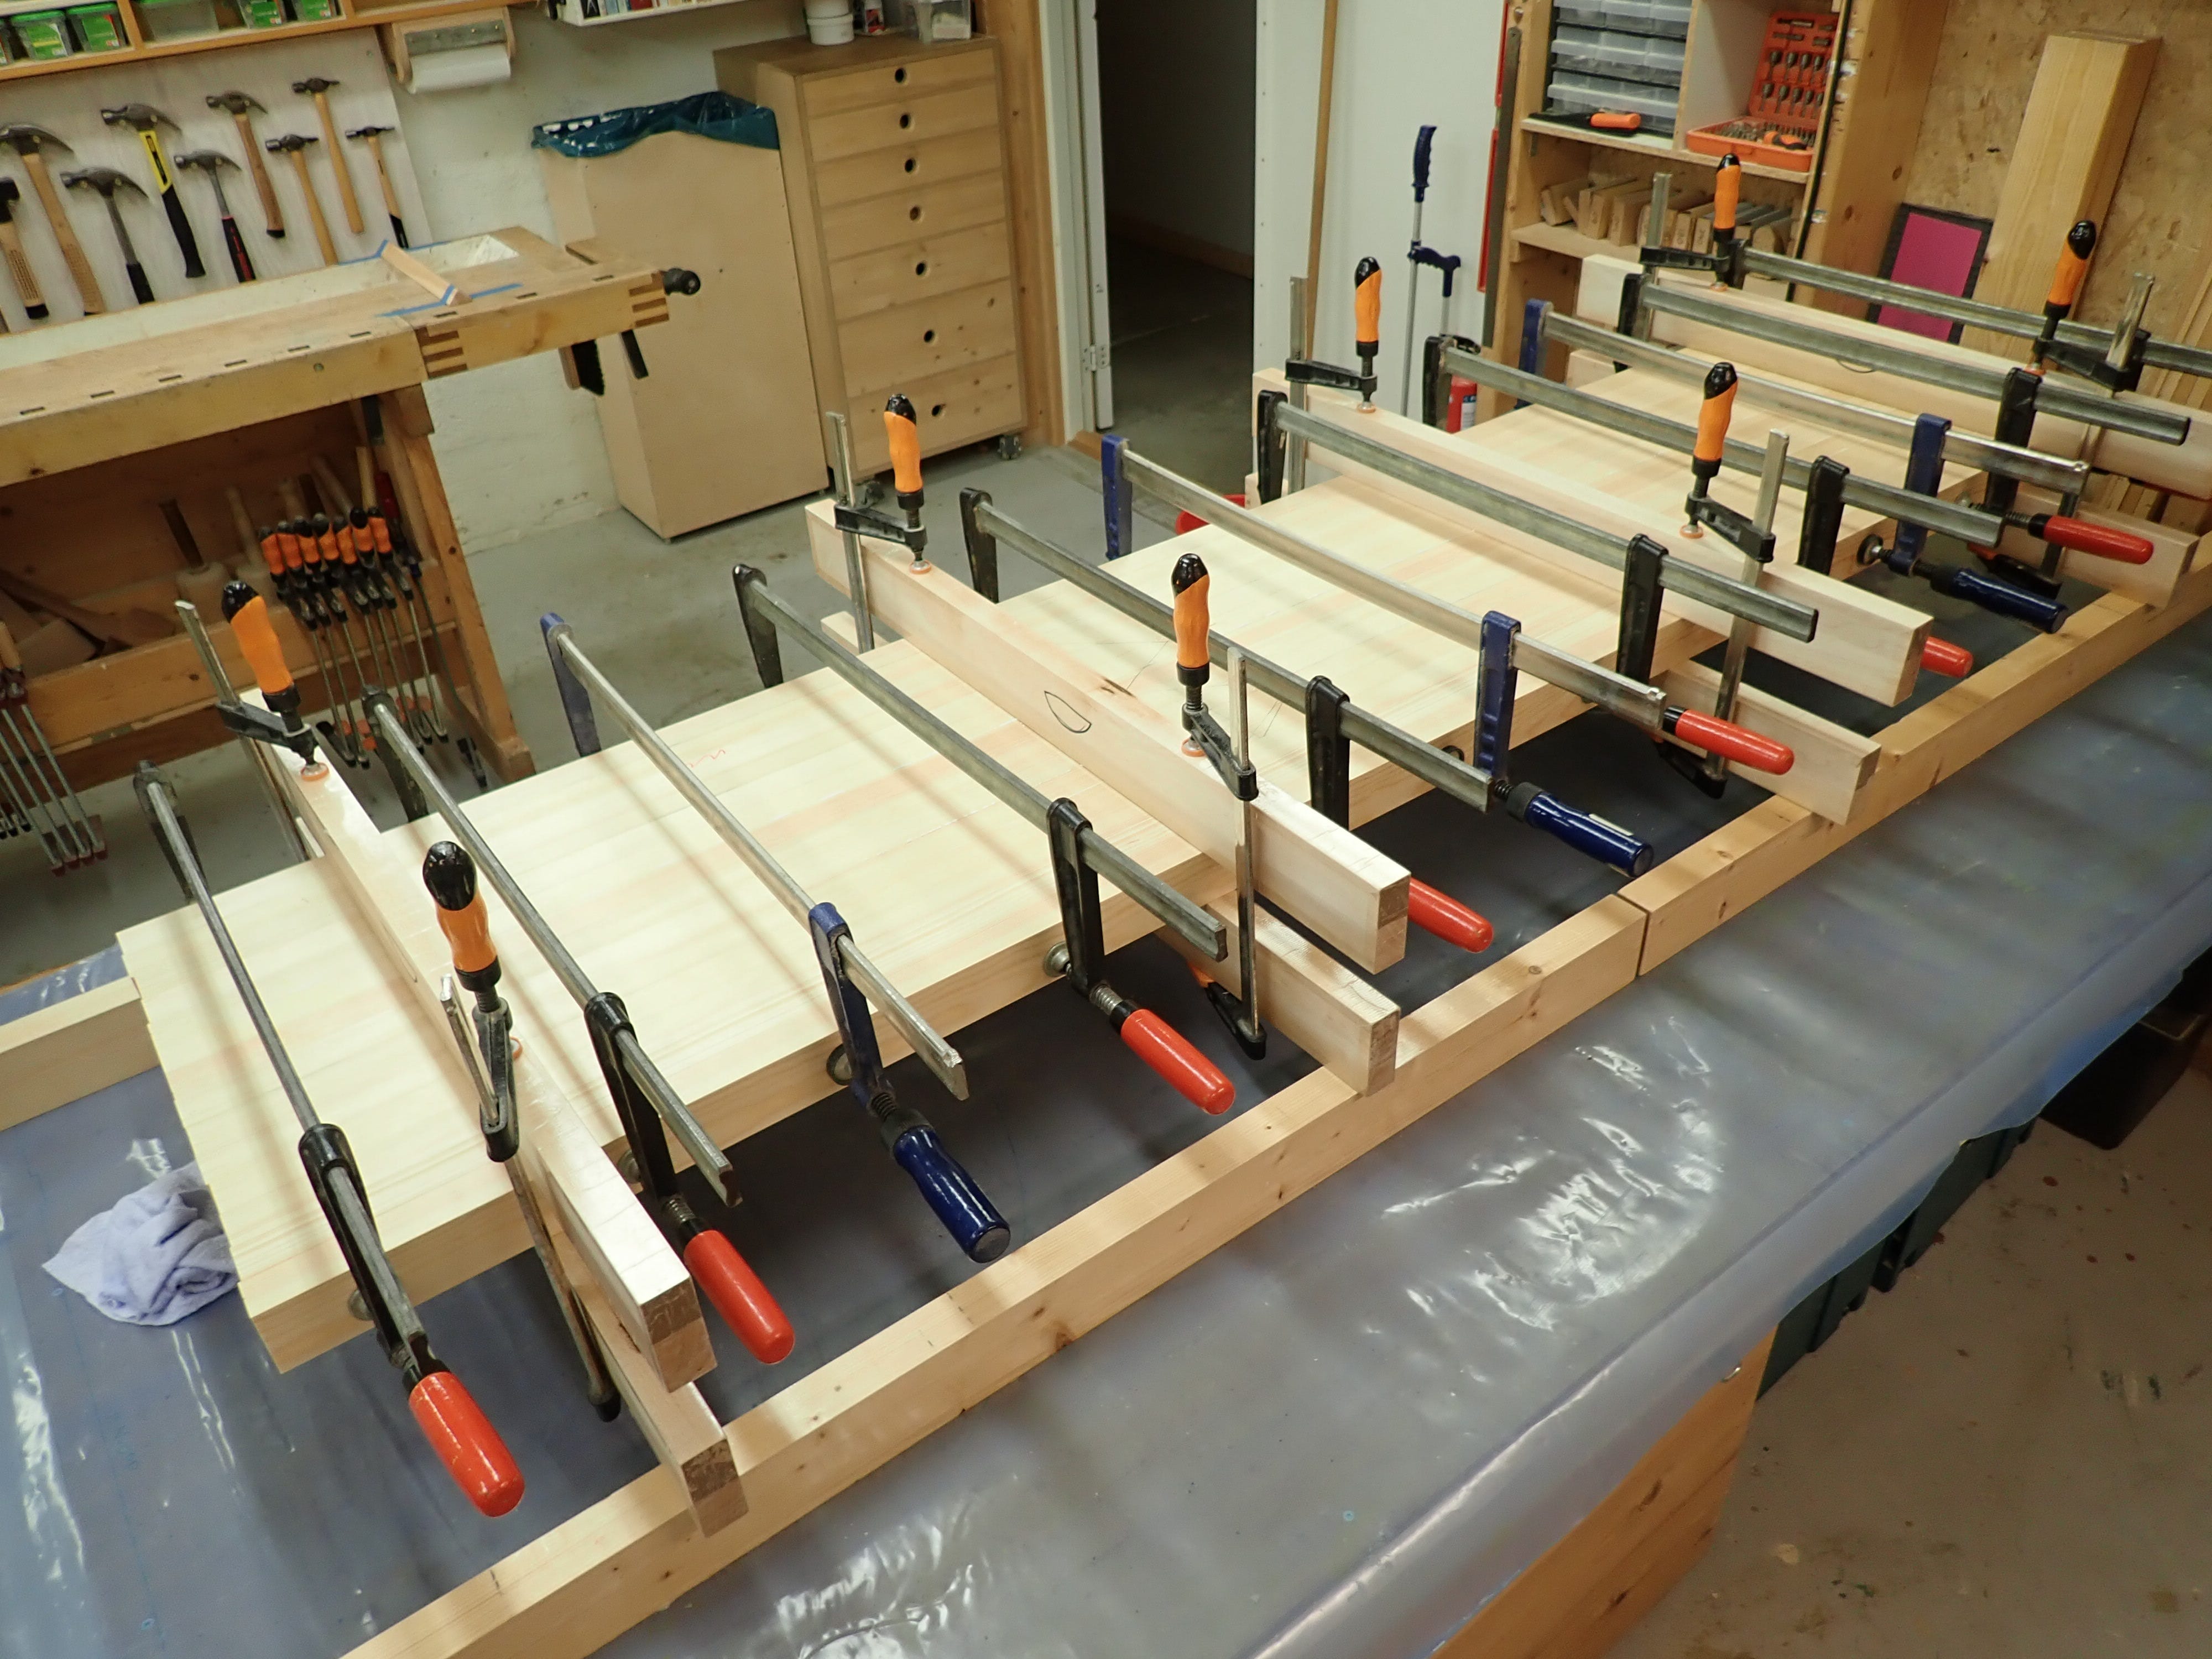
I prefer using many clamps moderately tightened and thick clamping cauls to distribute the clamping forces over a wide area, so as to achieve an even clamping pressure. Harmonious balance is my goal.
As for spreading the stickiness …
… I squirt a suitable amount from the bottle …
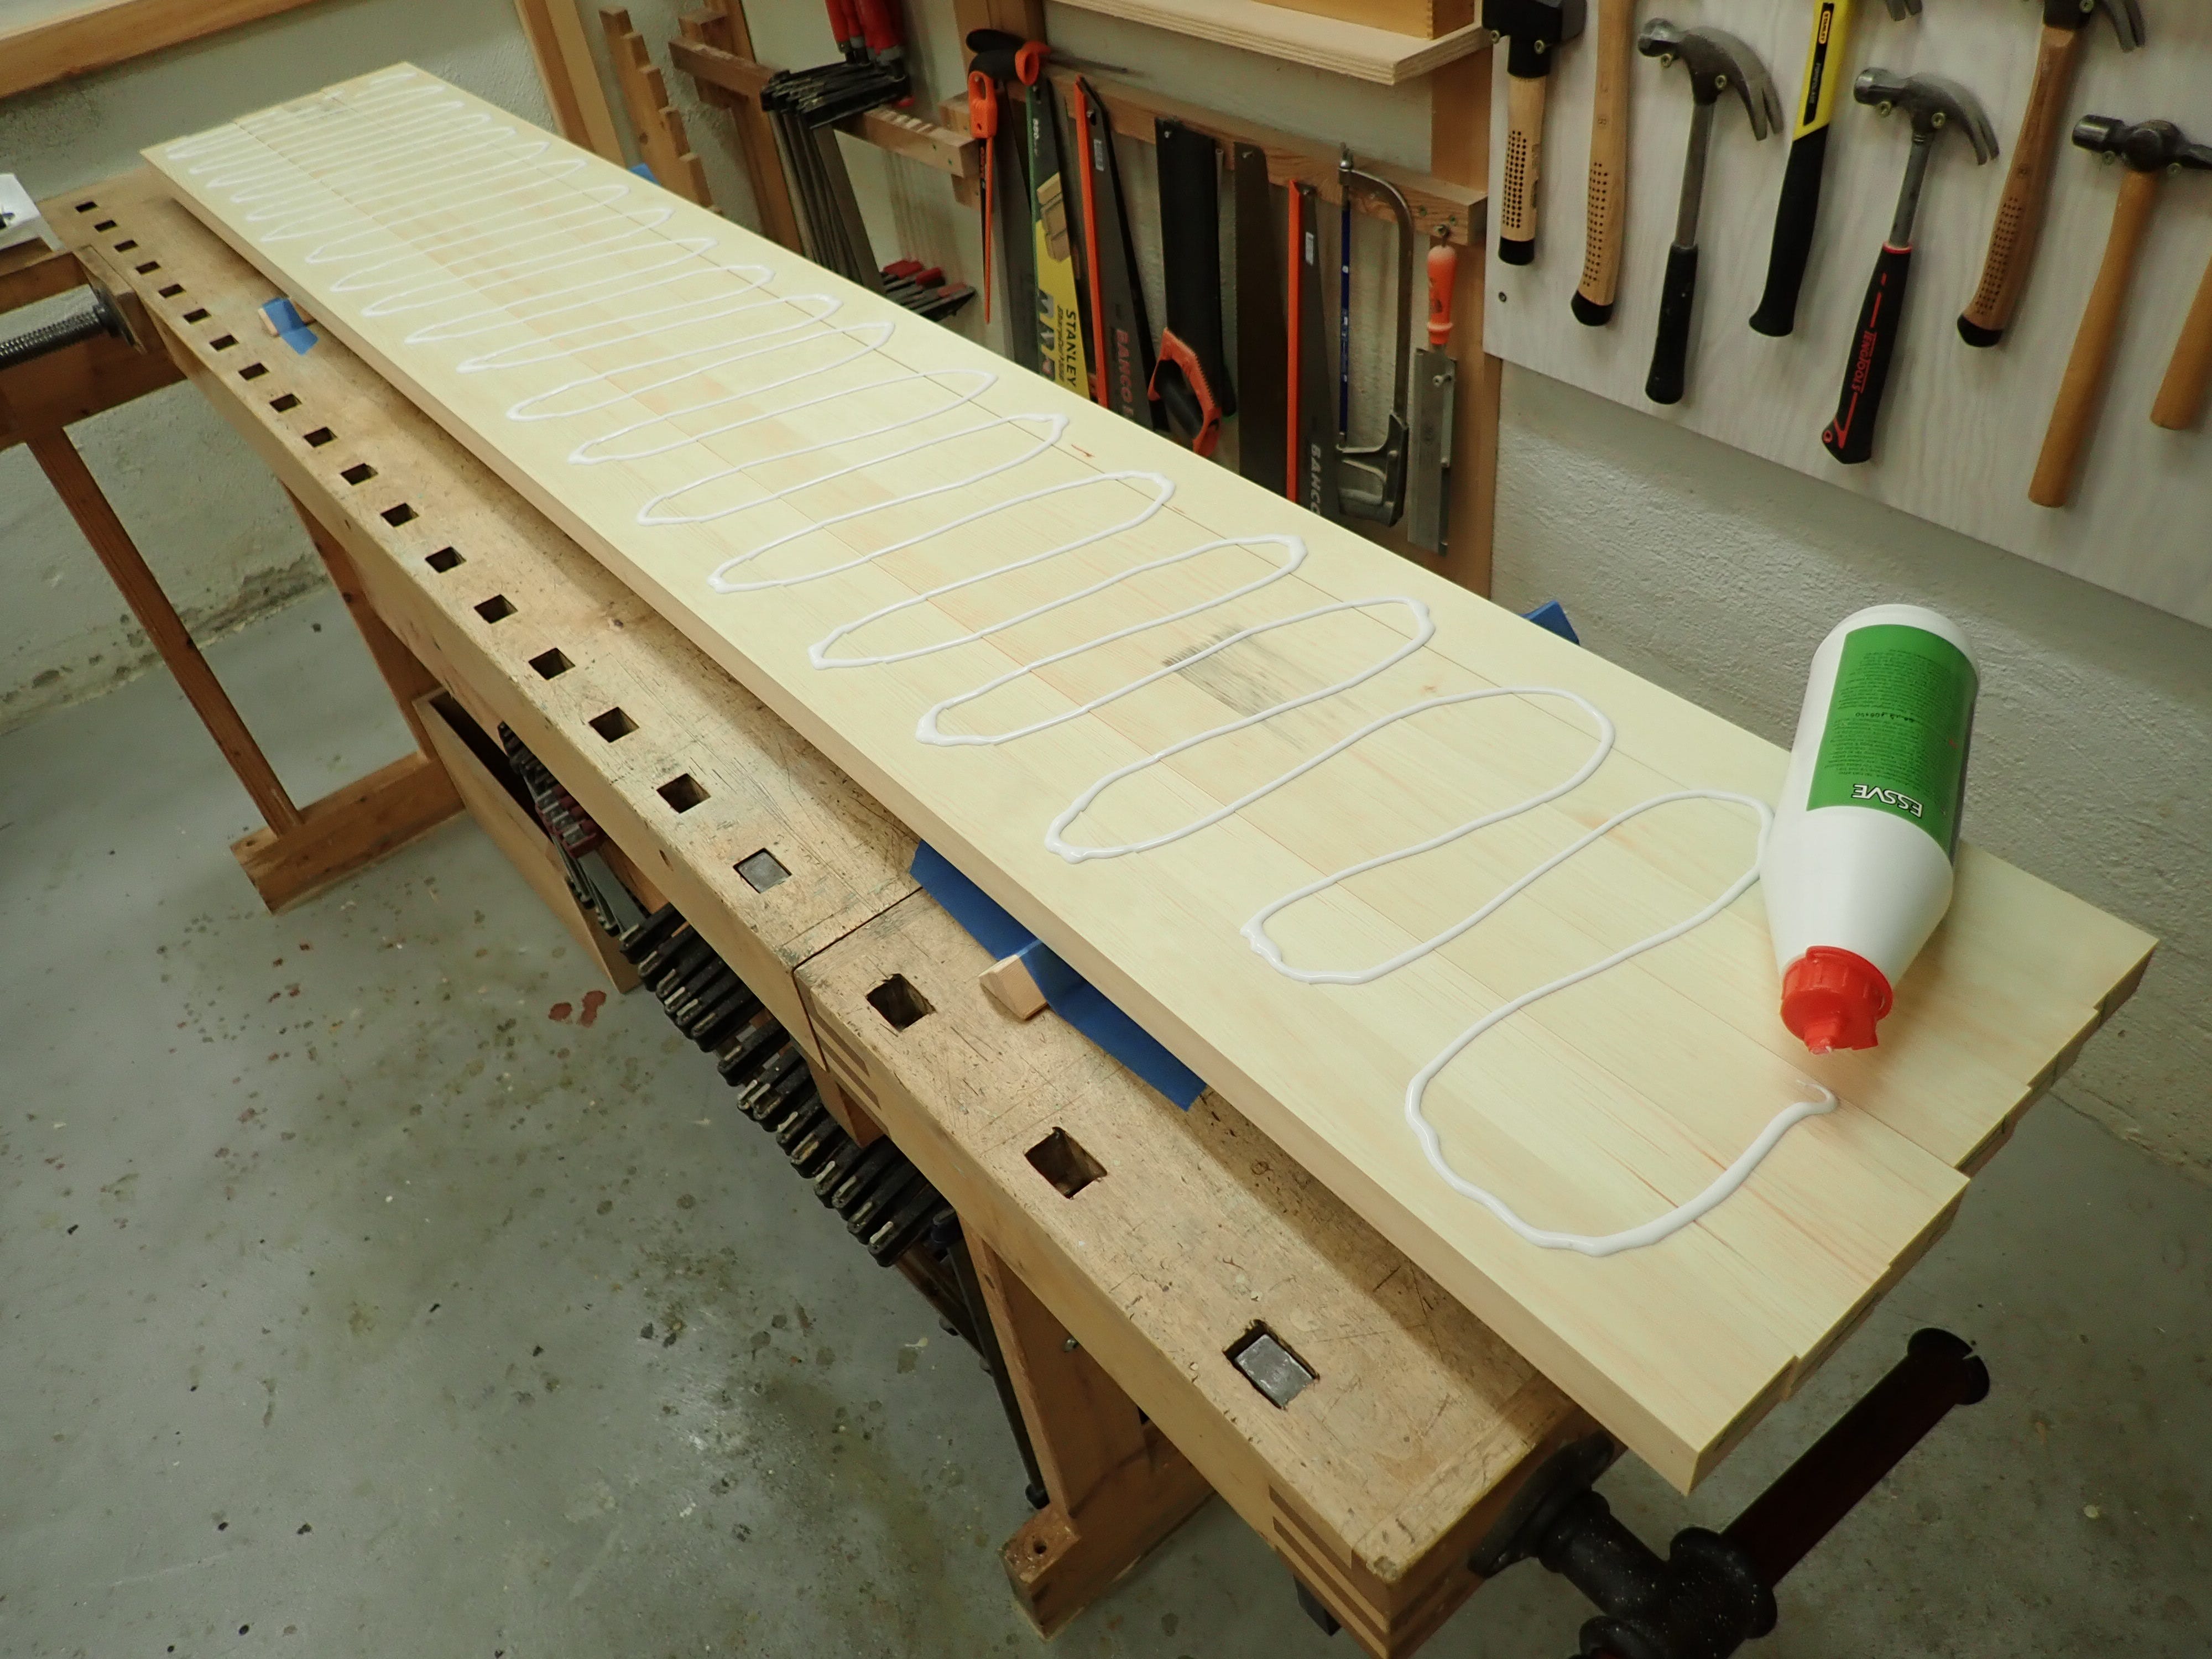
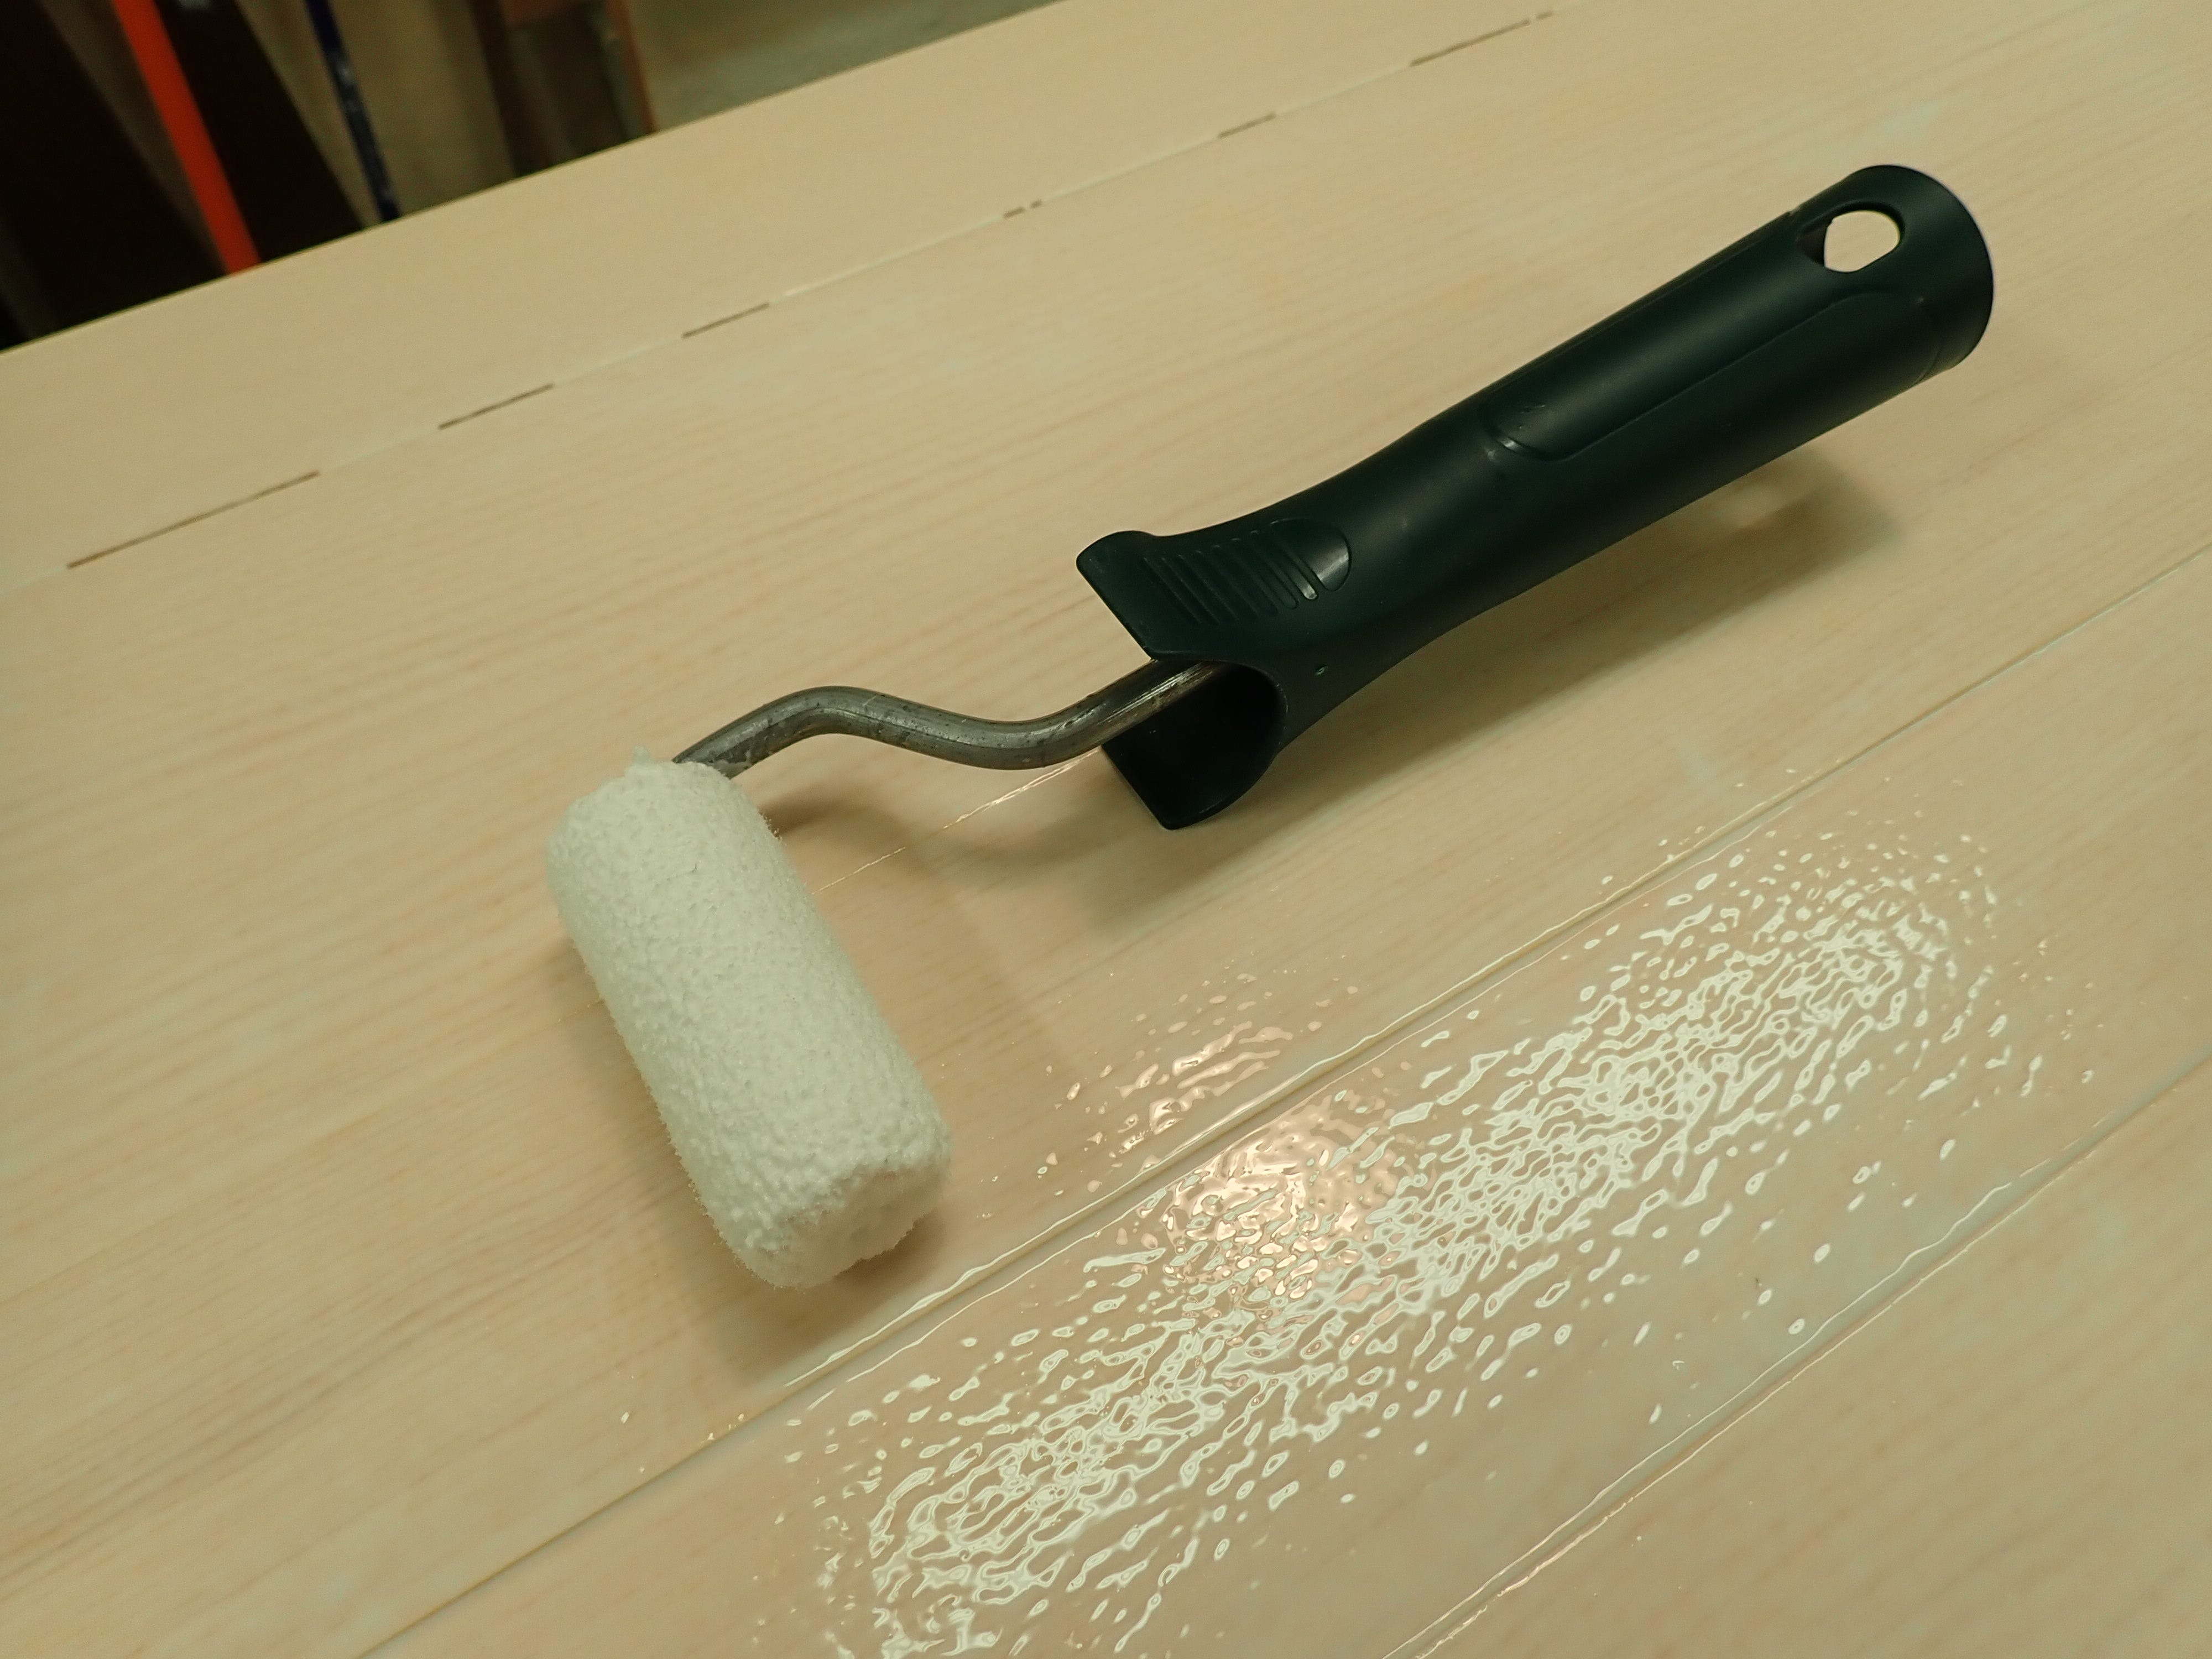
… and distribute it with a small paint roller. When done, plop the roller in a bucket of warm, soapy water so you can clean it and reuse it several times.
Keep your stacks of sticks clearly (pyramid-)marked, either on the end-grain or (preferably) on their more visible face-side so you won’t get confused when the glue is spread and the clock is ticking — glue-ups can be stressful; there is no shame in doing a dry run to make sure you’ve got everything at hand before you commit to the deed.
If all goes well you should end up with a more form-stable piece of wood that is more akin to quarter-sawn that flat sawn. I usually allow for a couple of millimetres extra on the width, and 3 or 4 on the thickness so I have some leeway to joint and square the new, laminated face and edge before thicknessing to final dimensions.
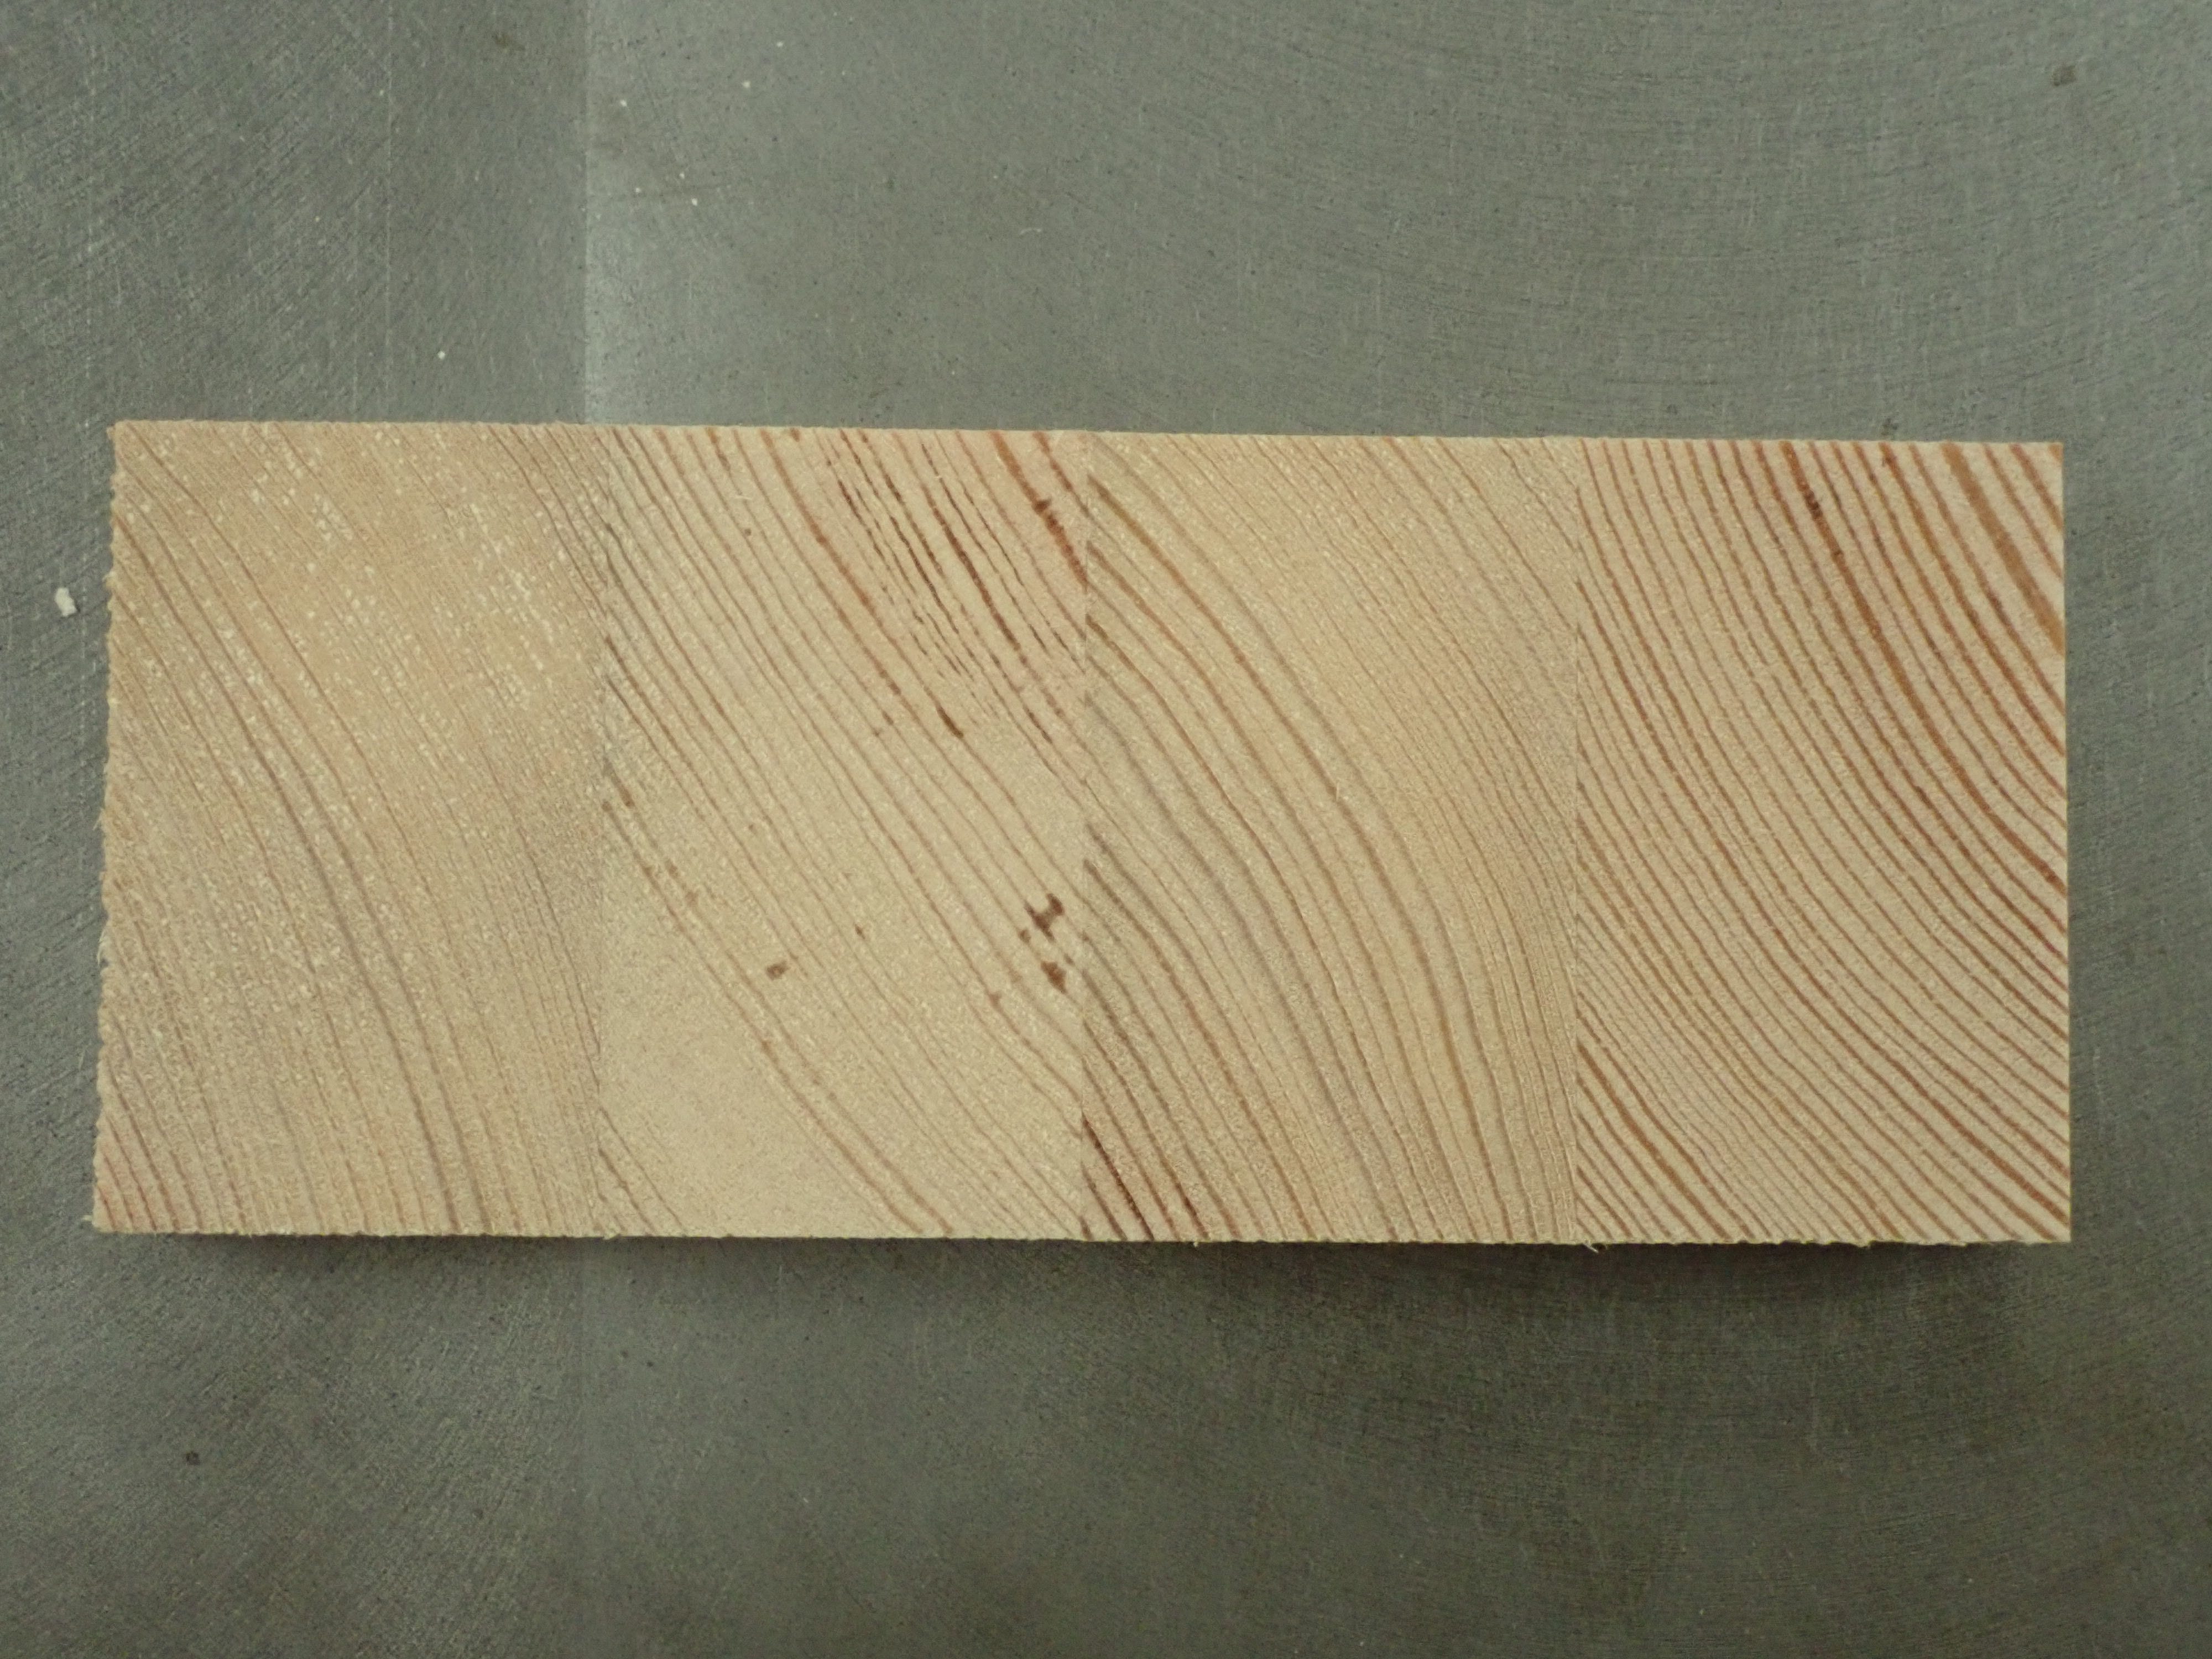
This way, you are not limited by the commercially available sizes, but are free to make whatever dimensions you need.
***
Perfect timing for this post. I was just thinking about some cauls but hadn’t thought of the convex edge. Good idea.
What kind of glue do you use - “wood glue outside” if I translate correctly?