


Laminating lumber
and making quarter-sawn wood from flat-sawn boards ... sort of

[ soundtrack : Little Wing · The Jimi Hendrix Experience ]
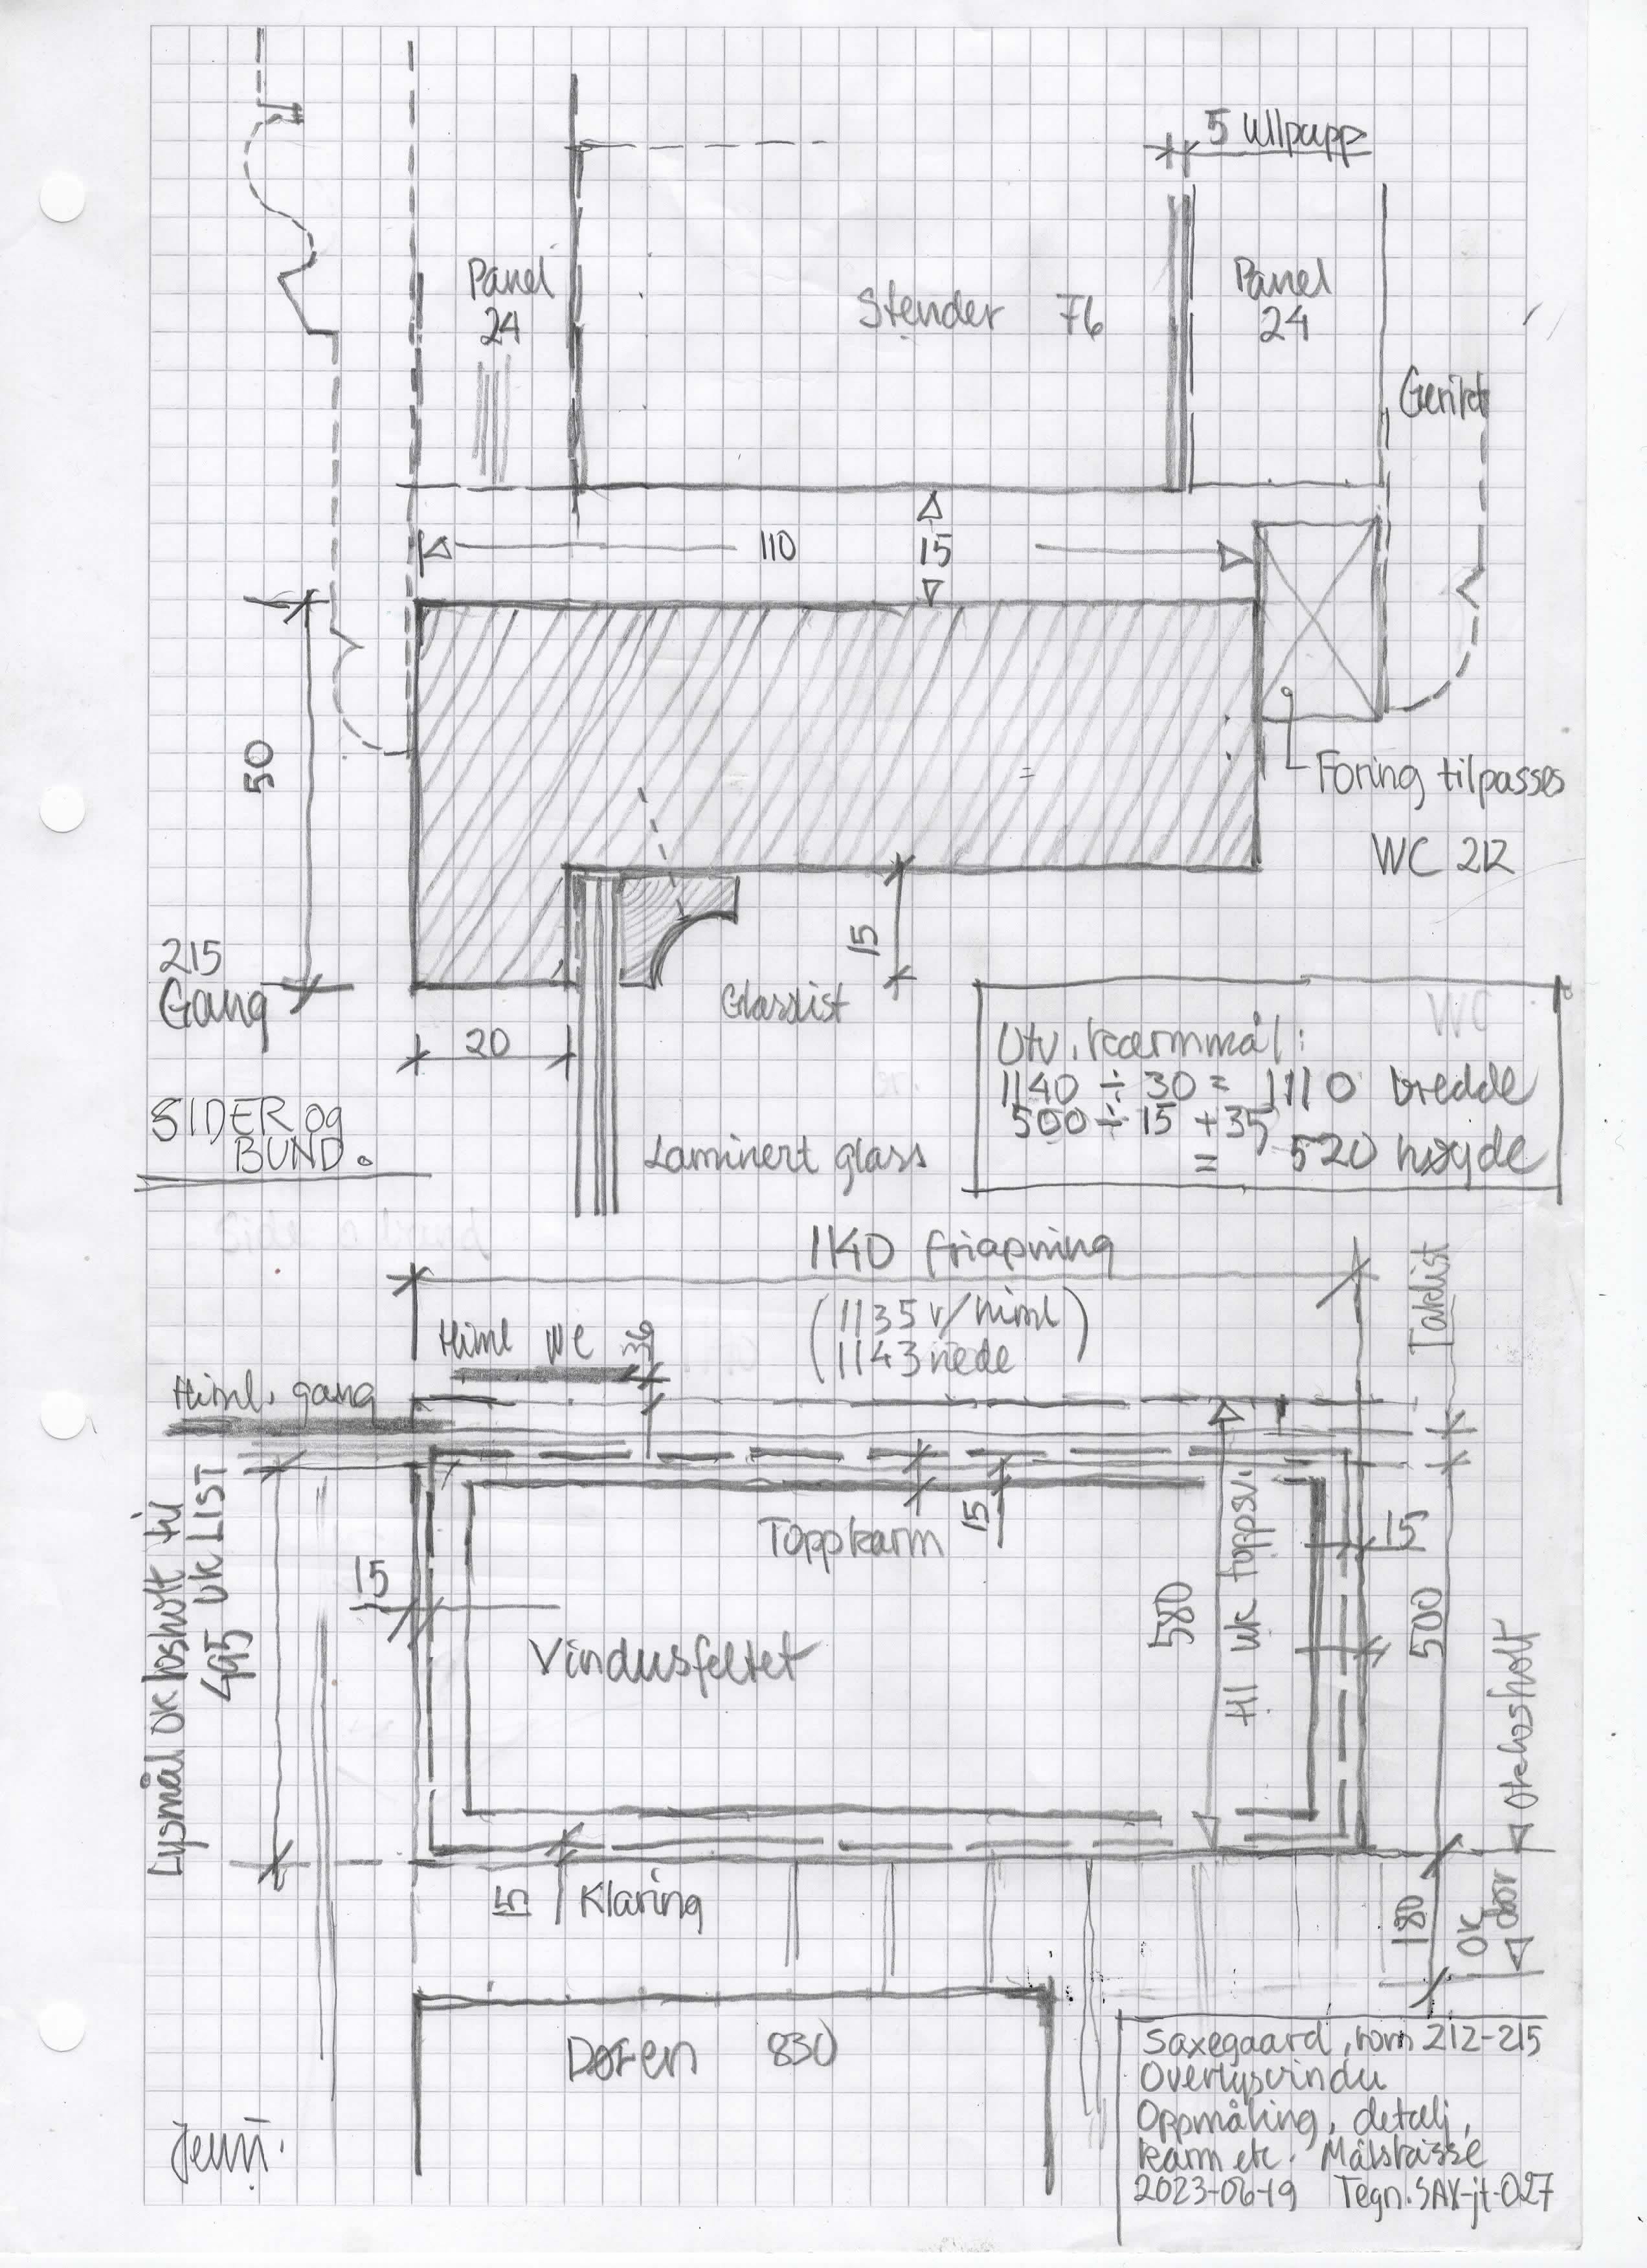
This week I’m making a fairly small, very simple window for a big old house; just a laminated pane of glass fixed directly to the casement with a small cove trim. It’s to be painted and situated inside the house, over a bathroom door, so as to let in some daylight. Of course I could just have gotten the necessary dimensions straight out of a common plank, but where’s the fun in that?
I had some leftover bits of 1½” by 10” of the right length that I wanted to use up. These wide boards almost always have some drying cracks running somewhere in the middle, on the bark (outer) side, as did mine. First I split them down the middle to reduce the cupping …
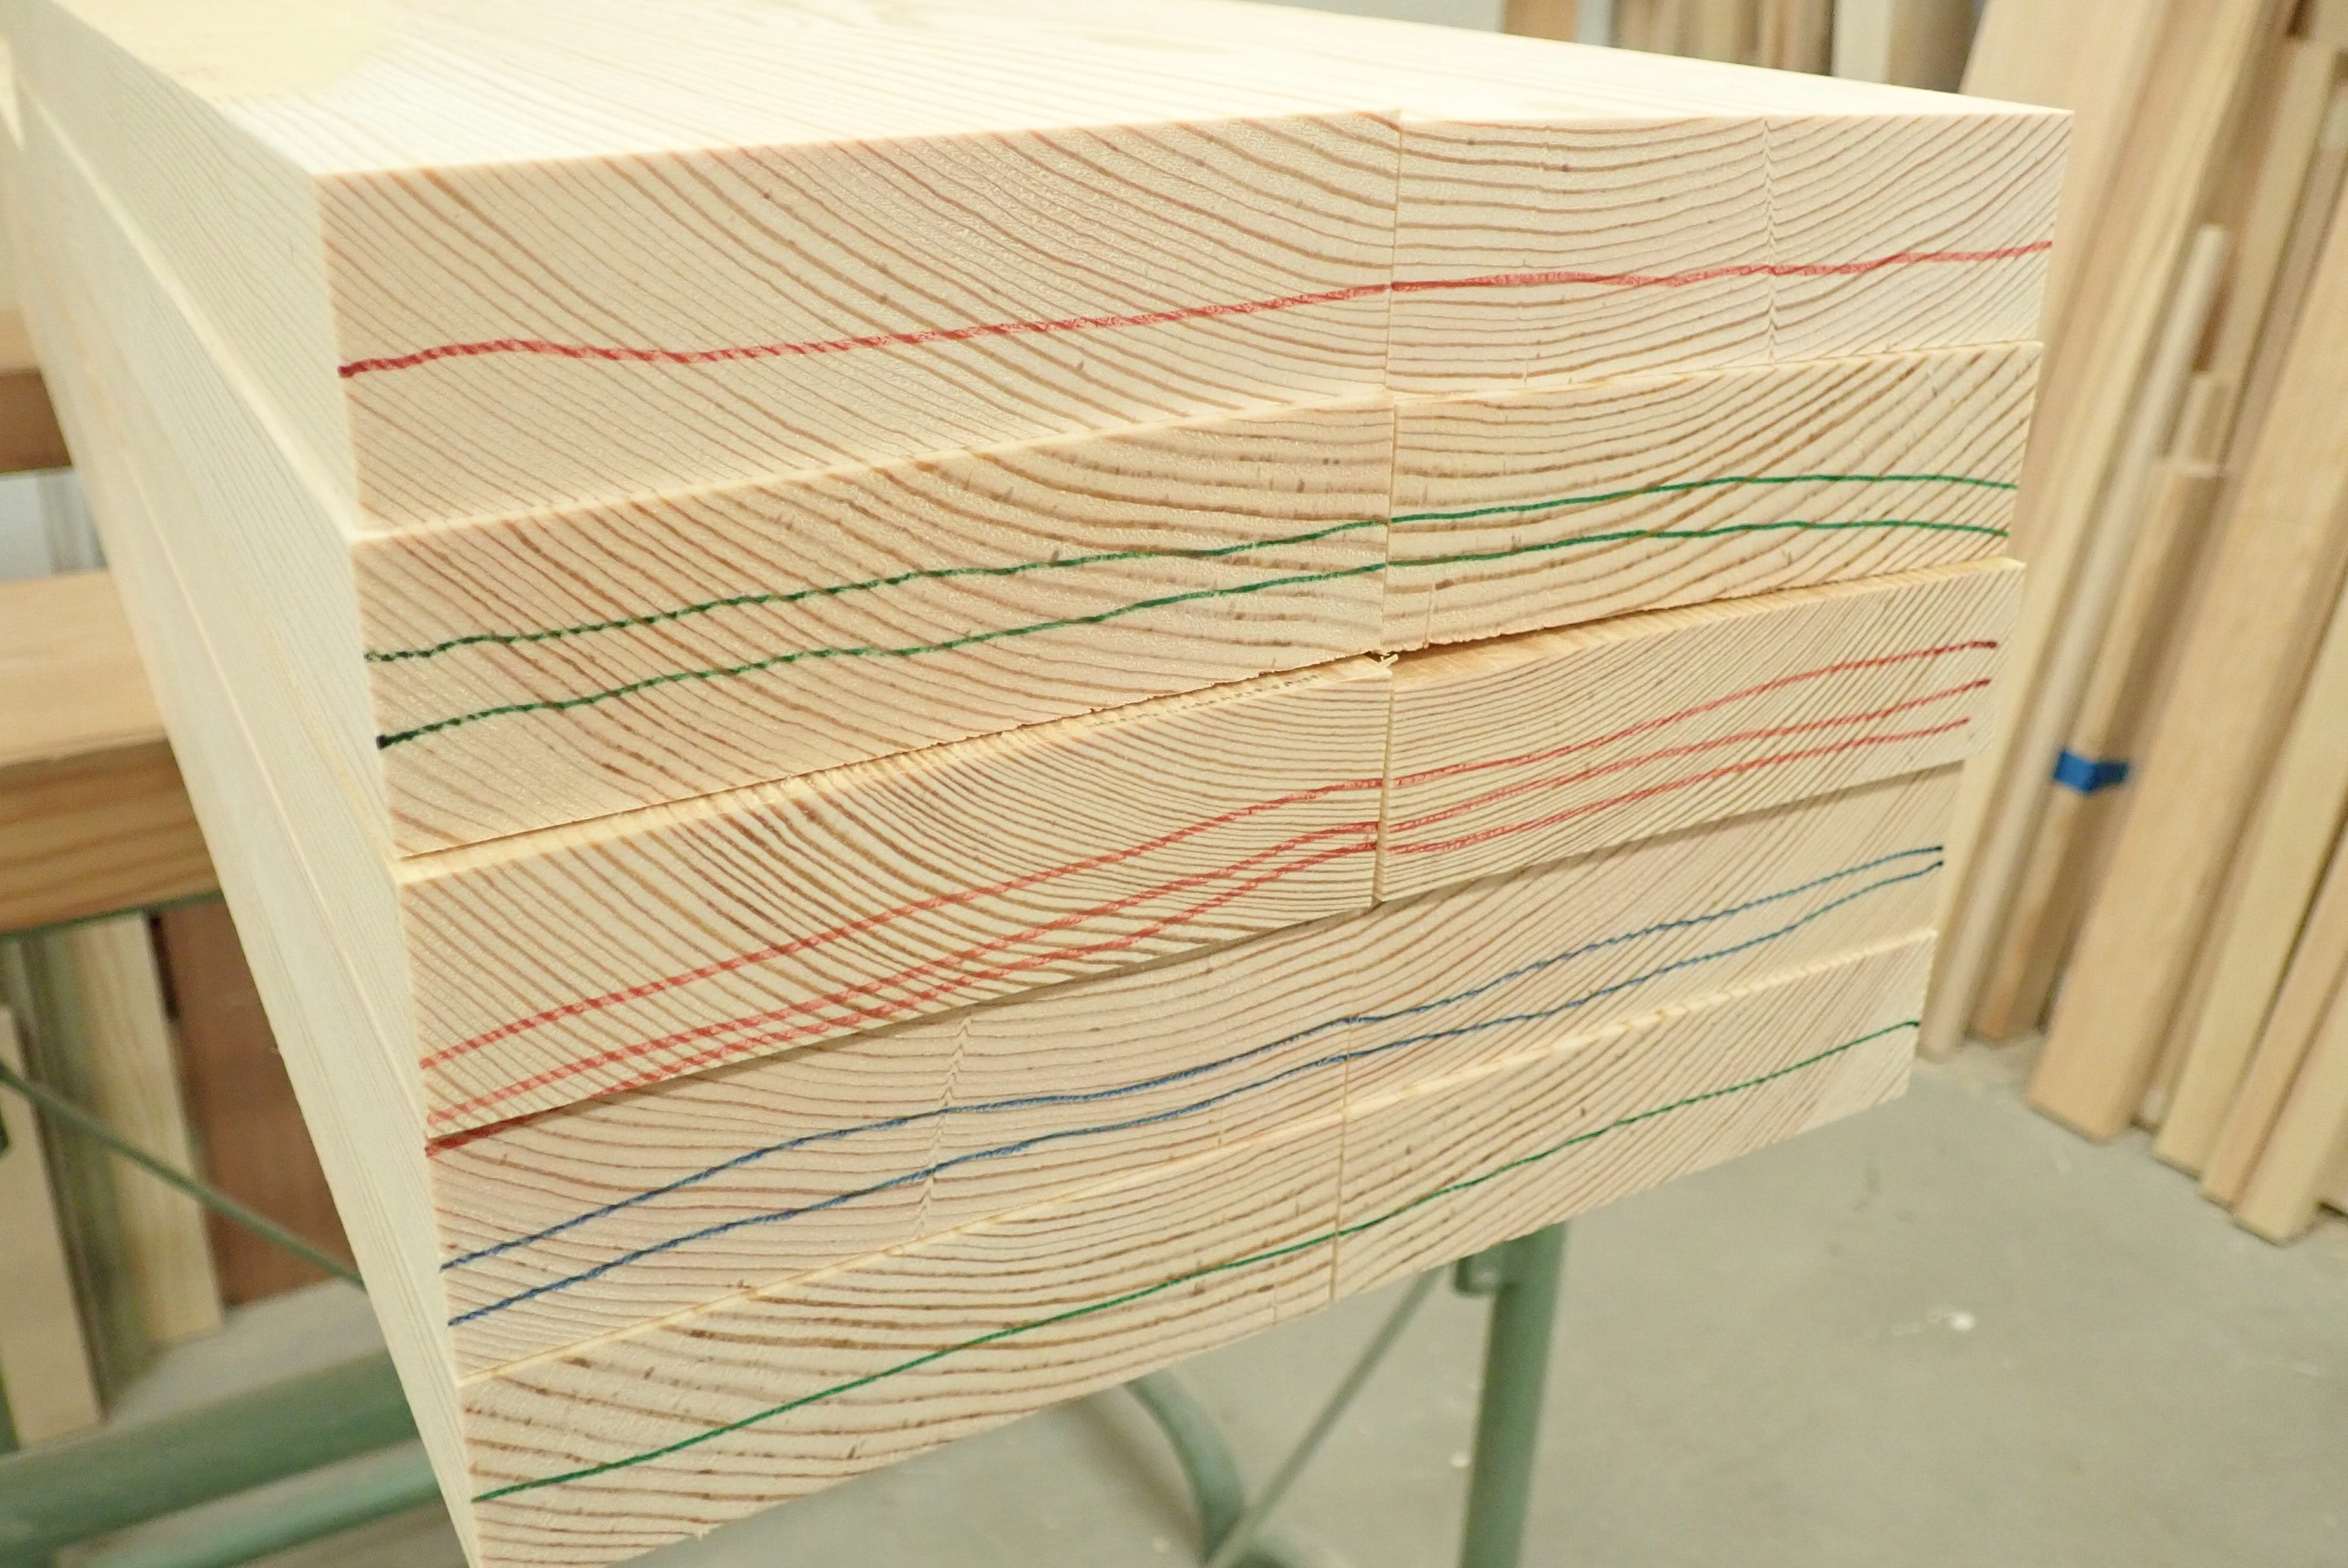
… before I gave them a ‘colour code’ so that I later, when I had cut them into strips, could recognize which board they belonged to. Wood is like humans: of variable qualities. Tight-grained resinous pine will be much more dimensionally stable than the fast-grown, sap-woody sort. If you glue two too dissimilar pieces of wood together they will not be comfortable in each others company and you might well see some unfortunate results. ‘Like with like’ — for greatest harmony.
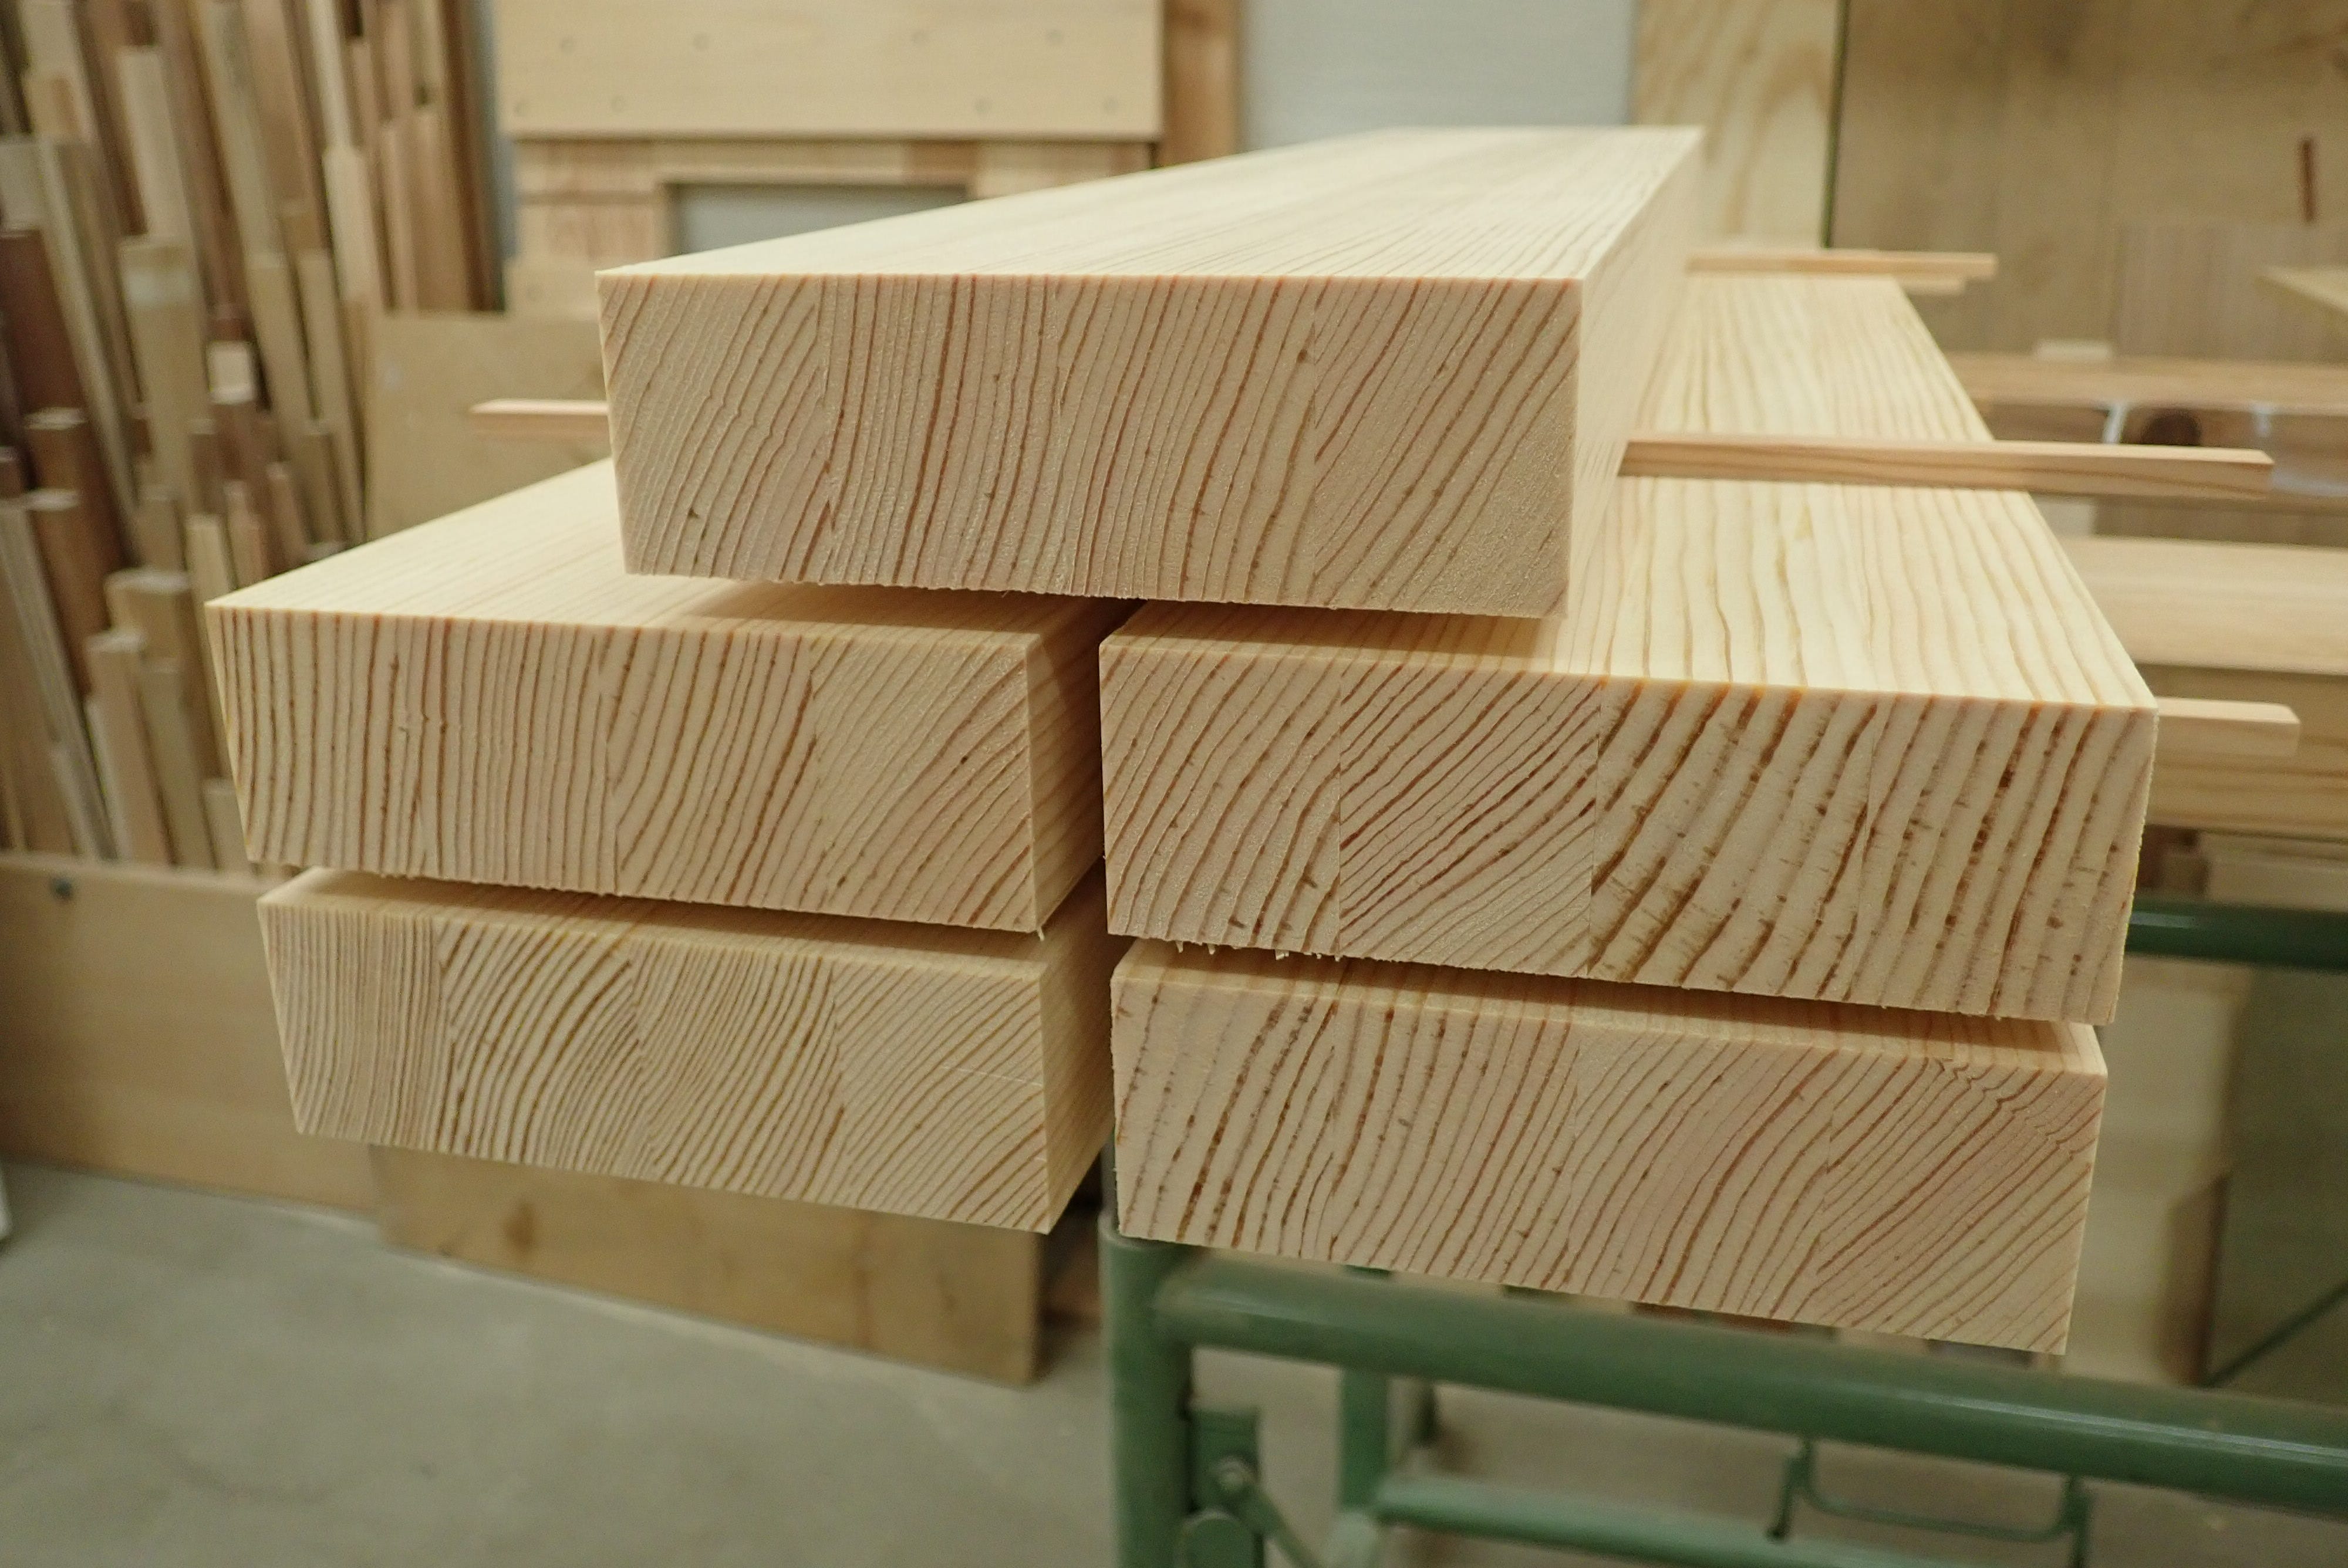
After jointing face & edge and slipping the half-breadth boards through the thicknesser to desired dimension, I ripped them into strips with 2 mm added on each side; over-measure for future planing.
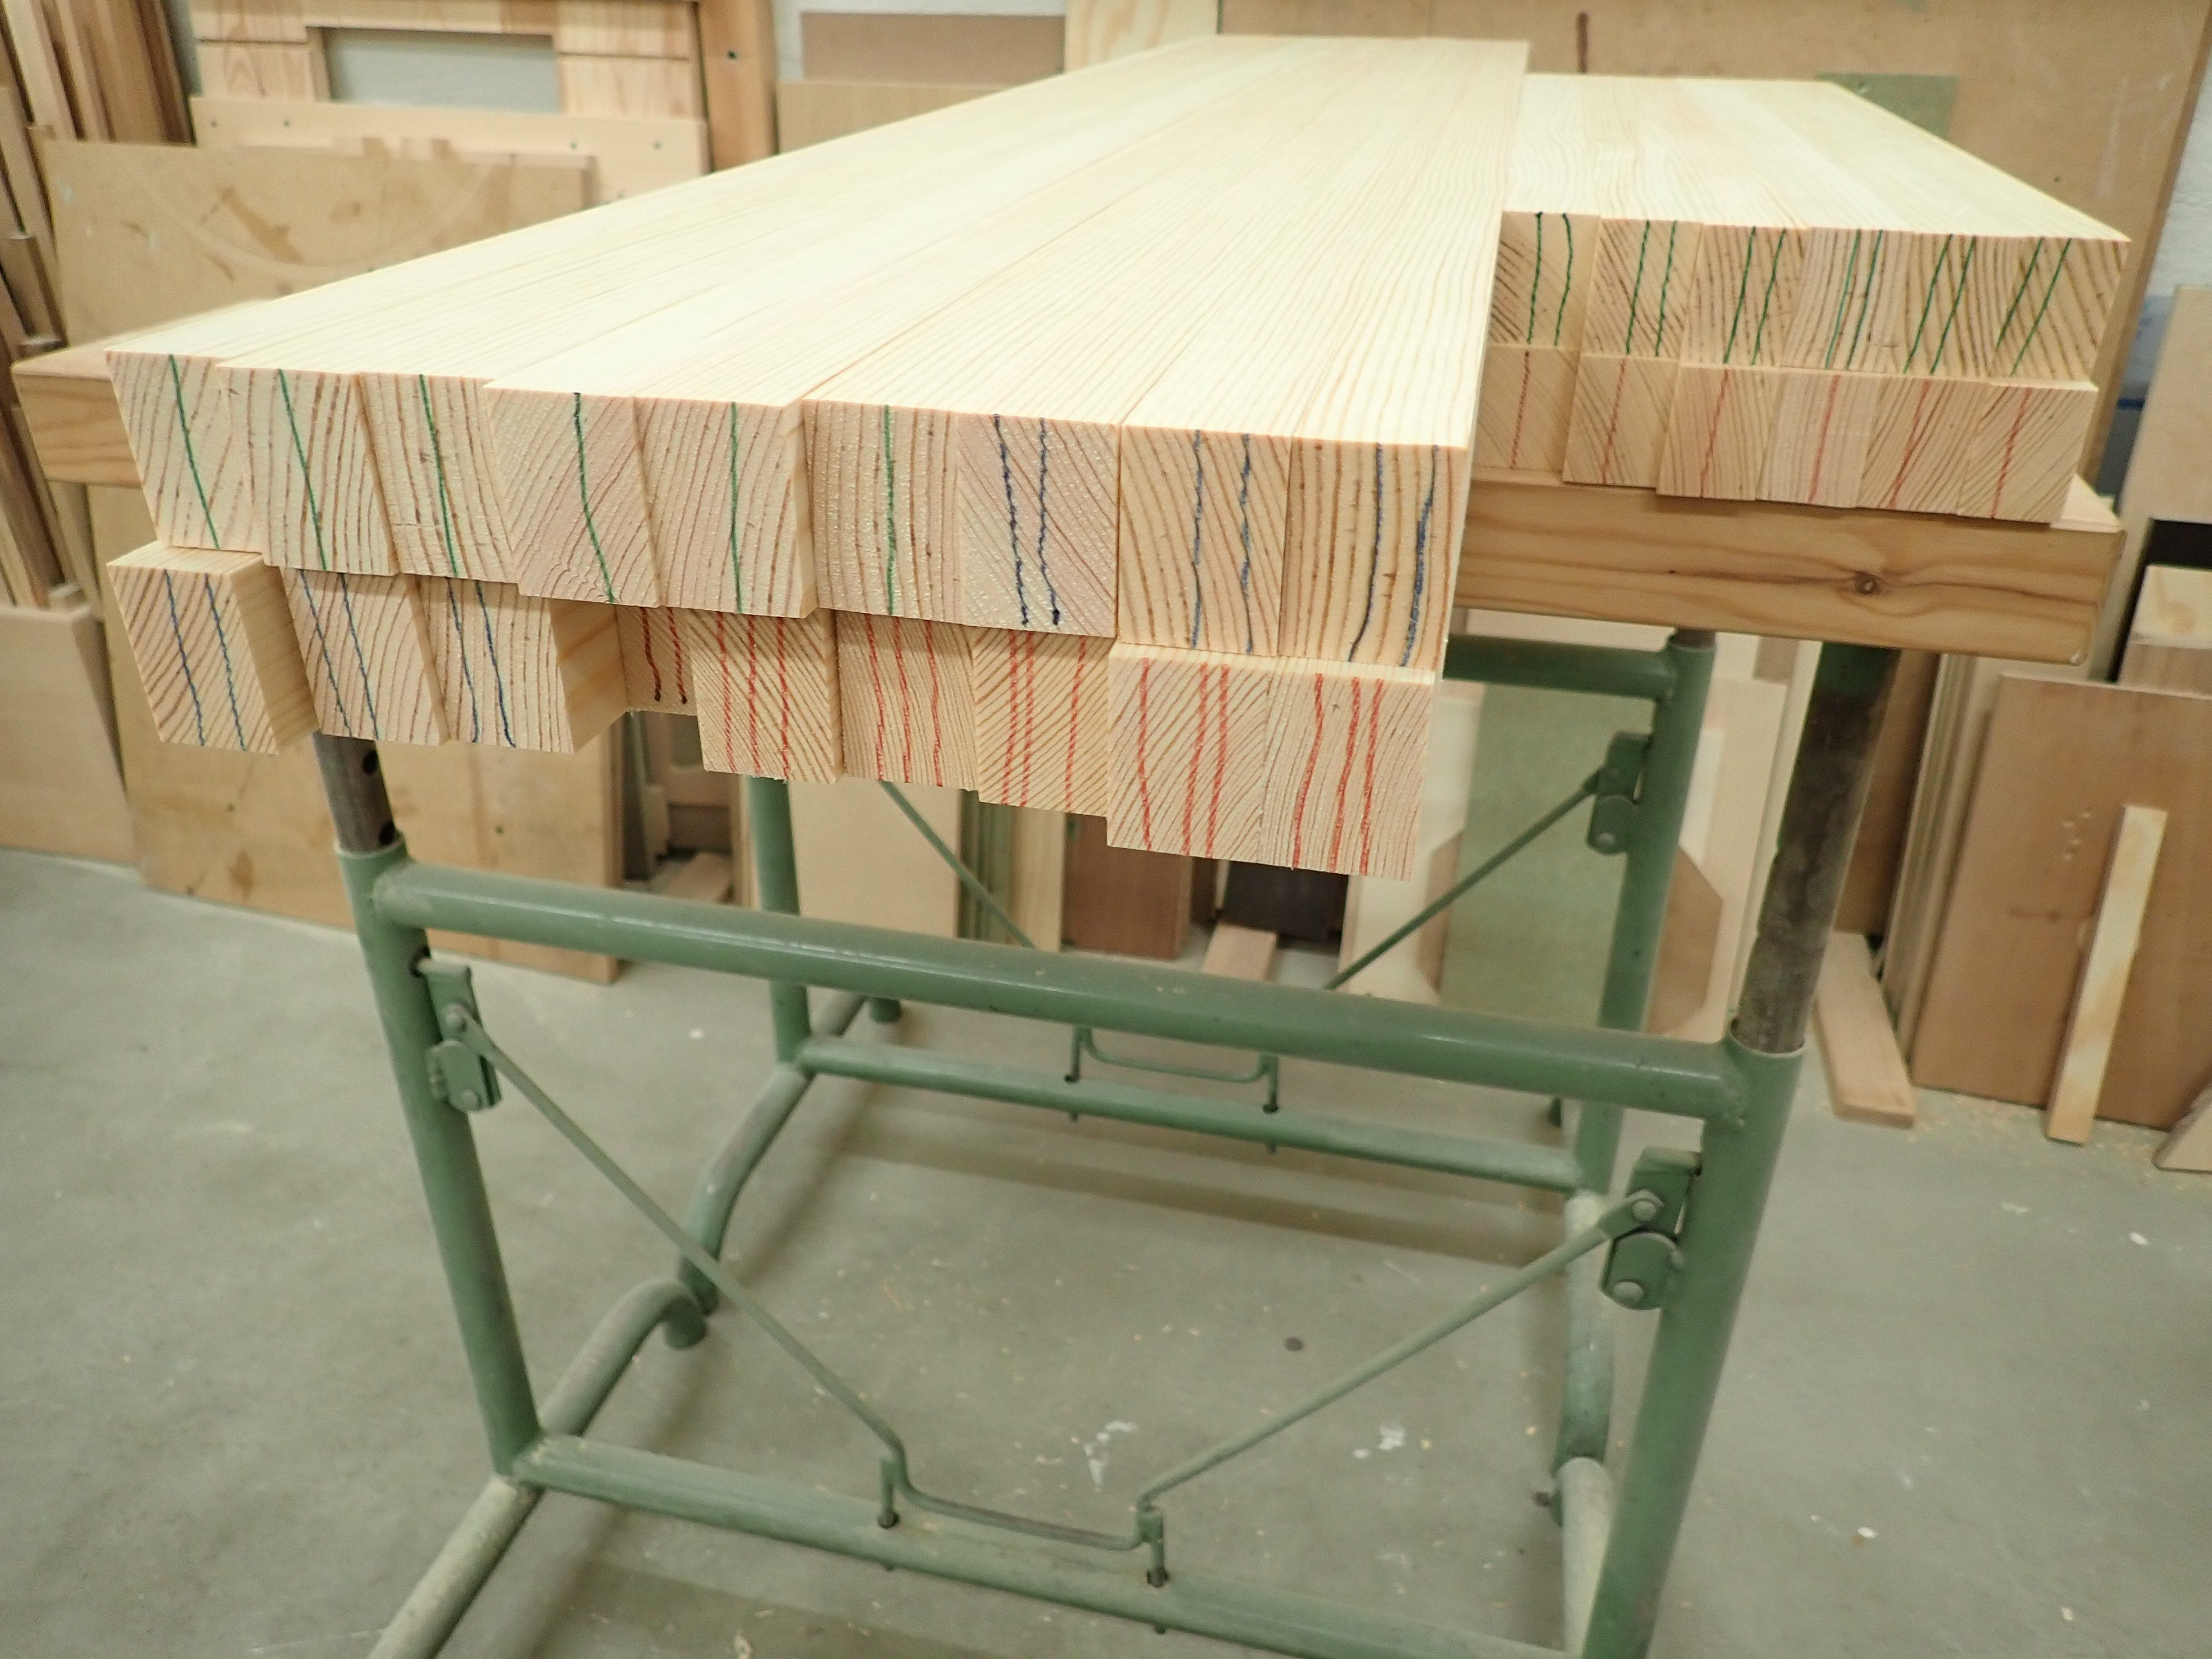
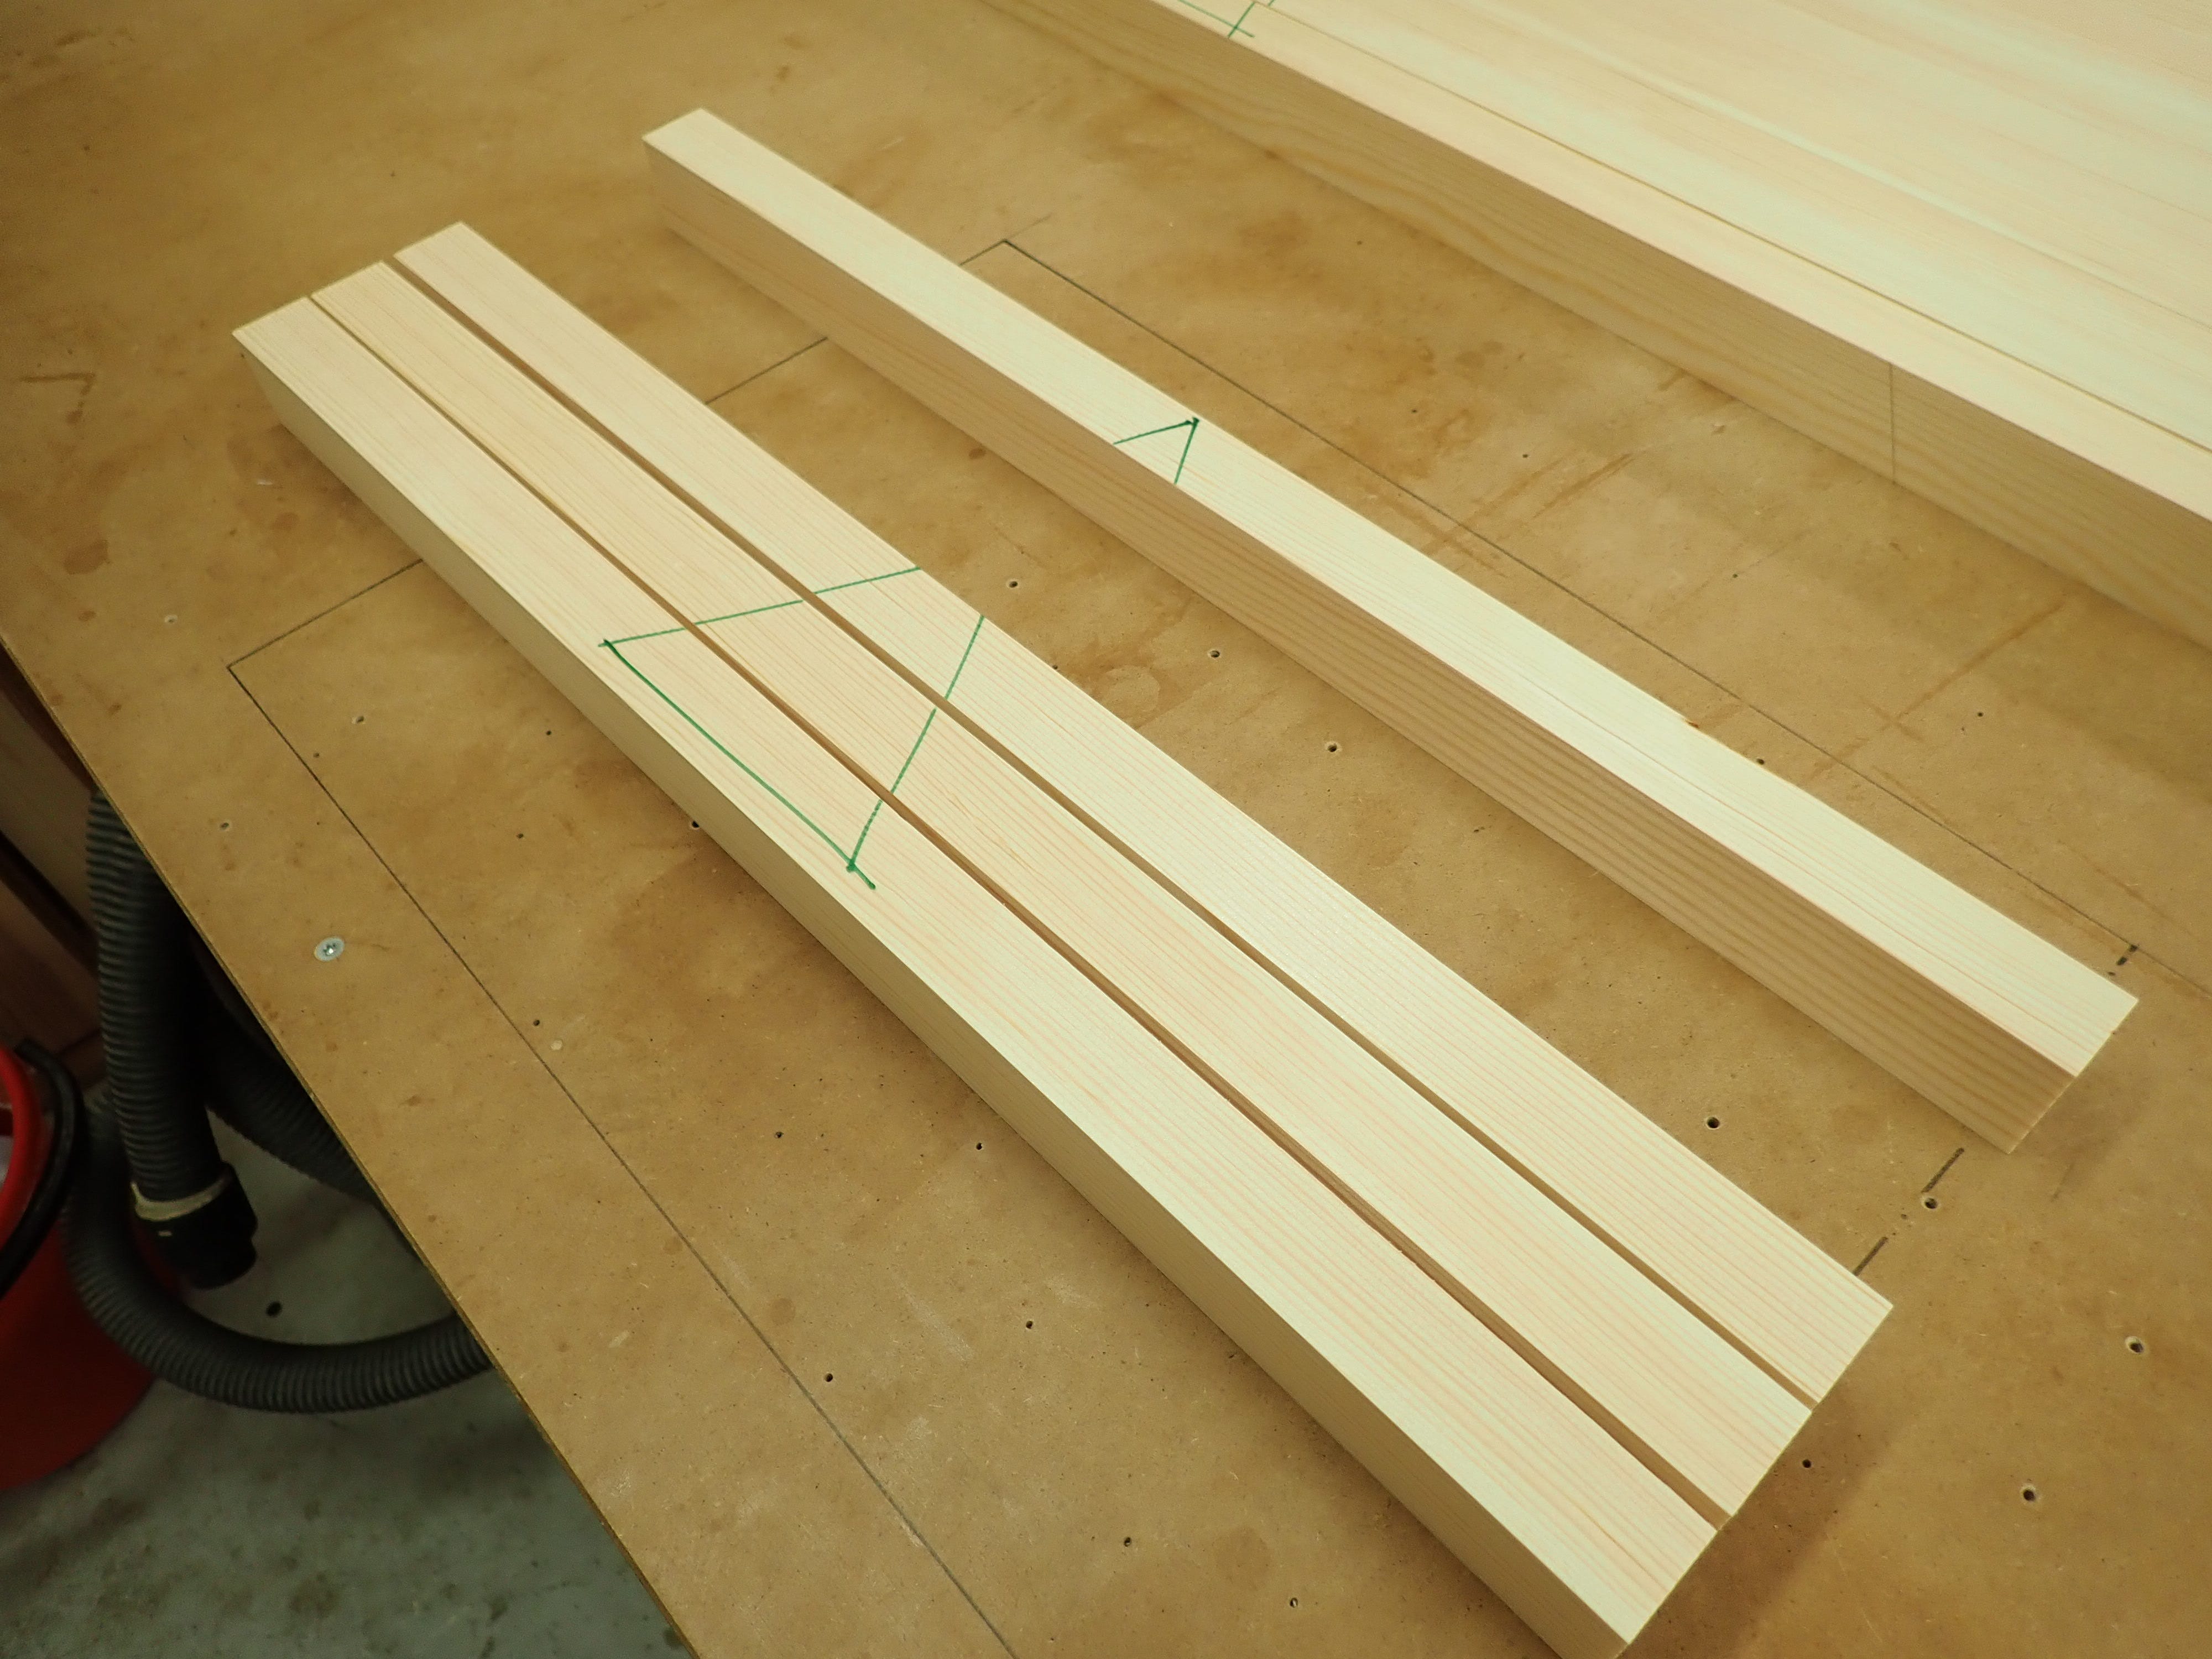
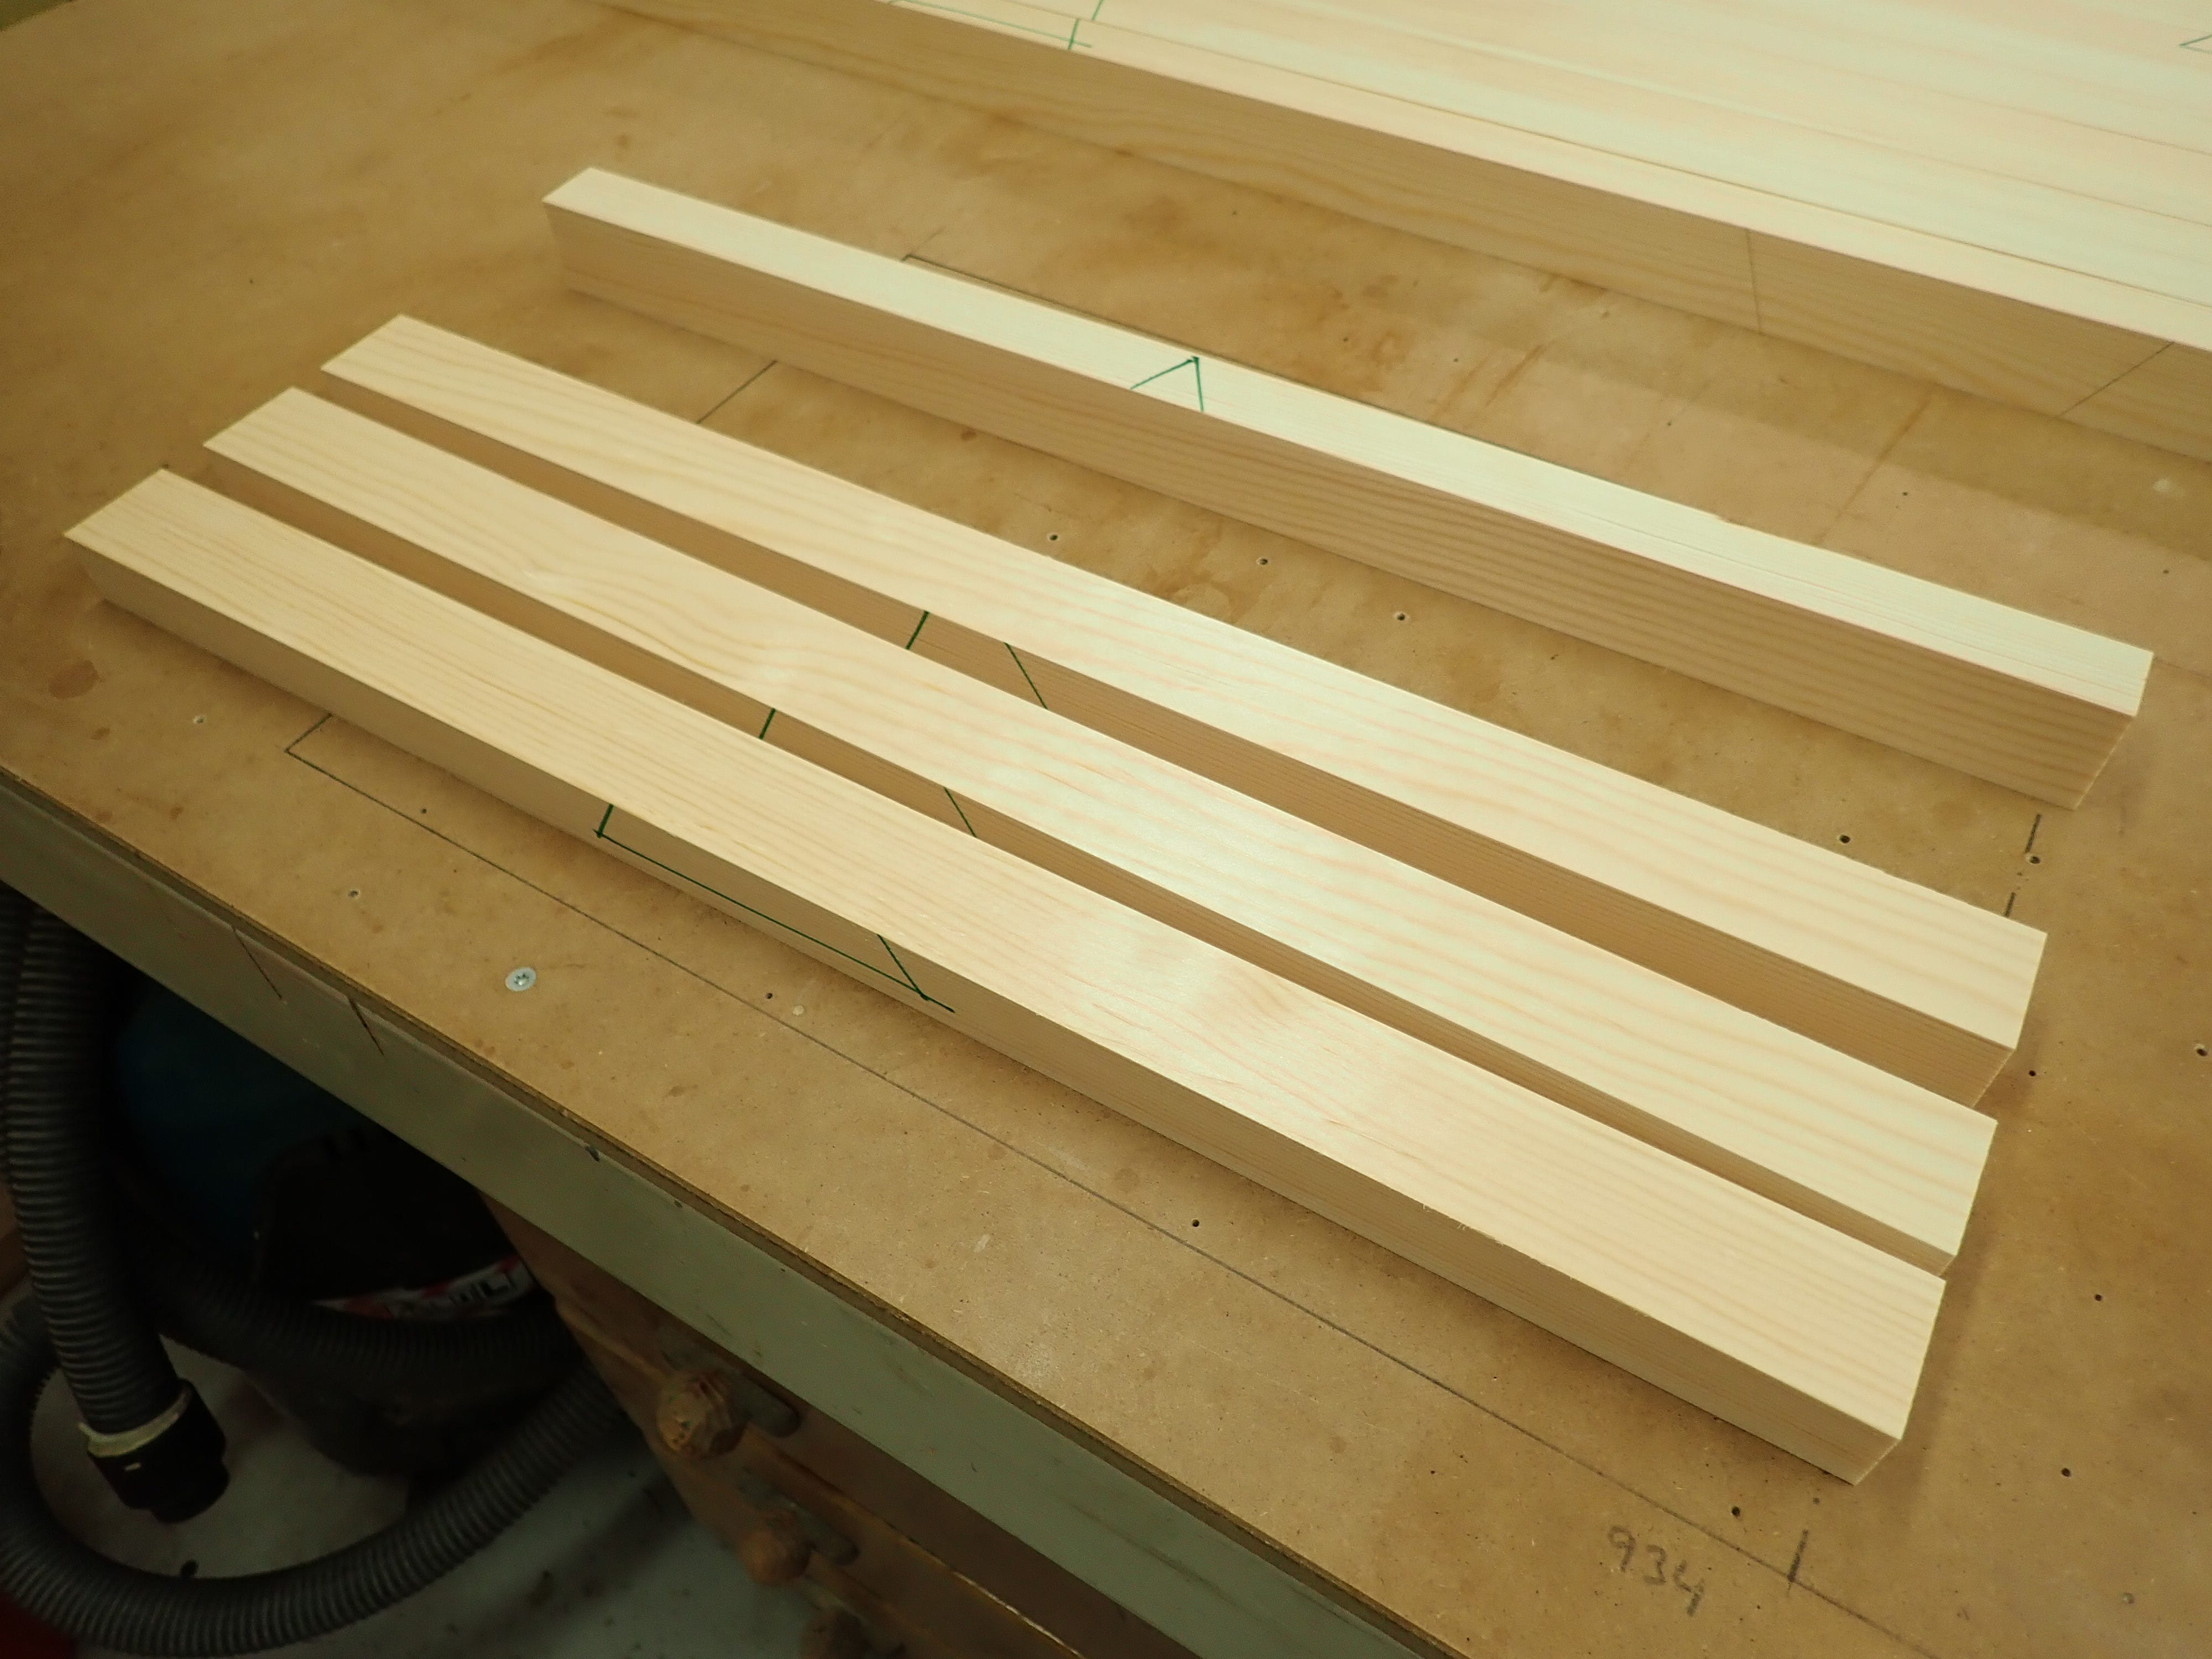
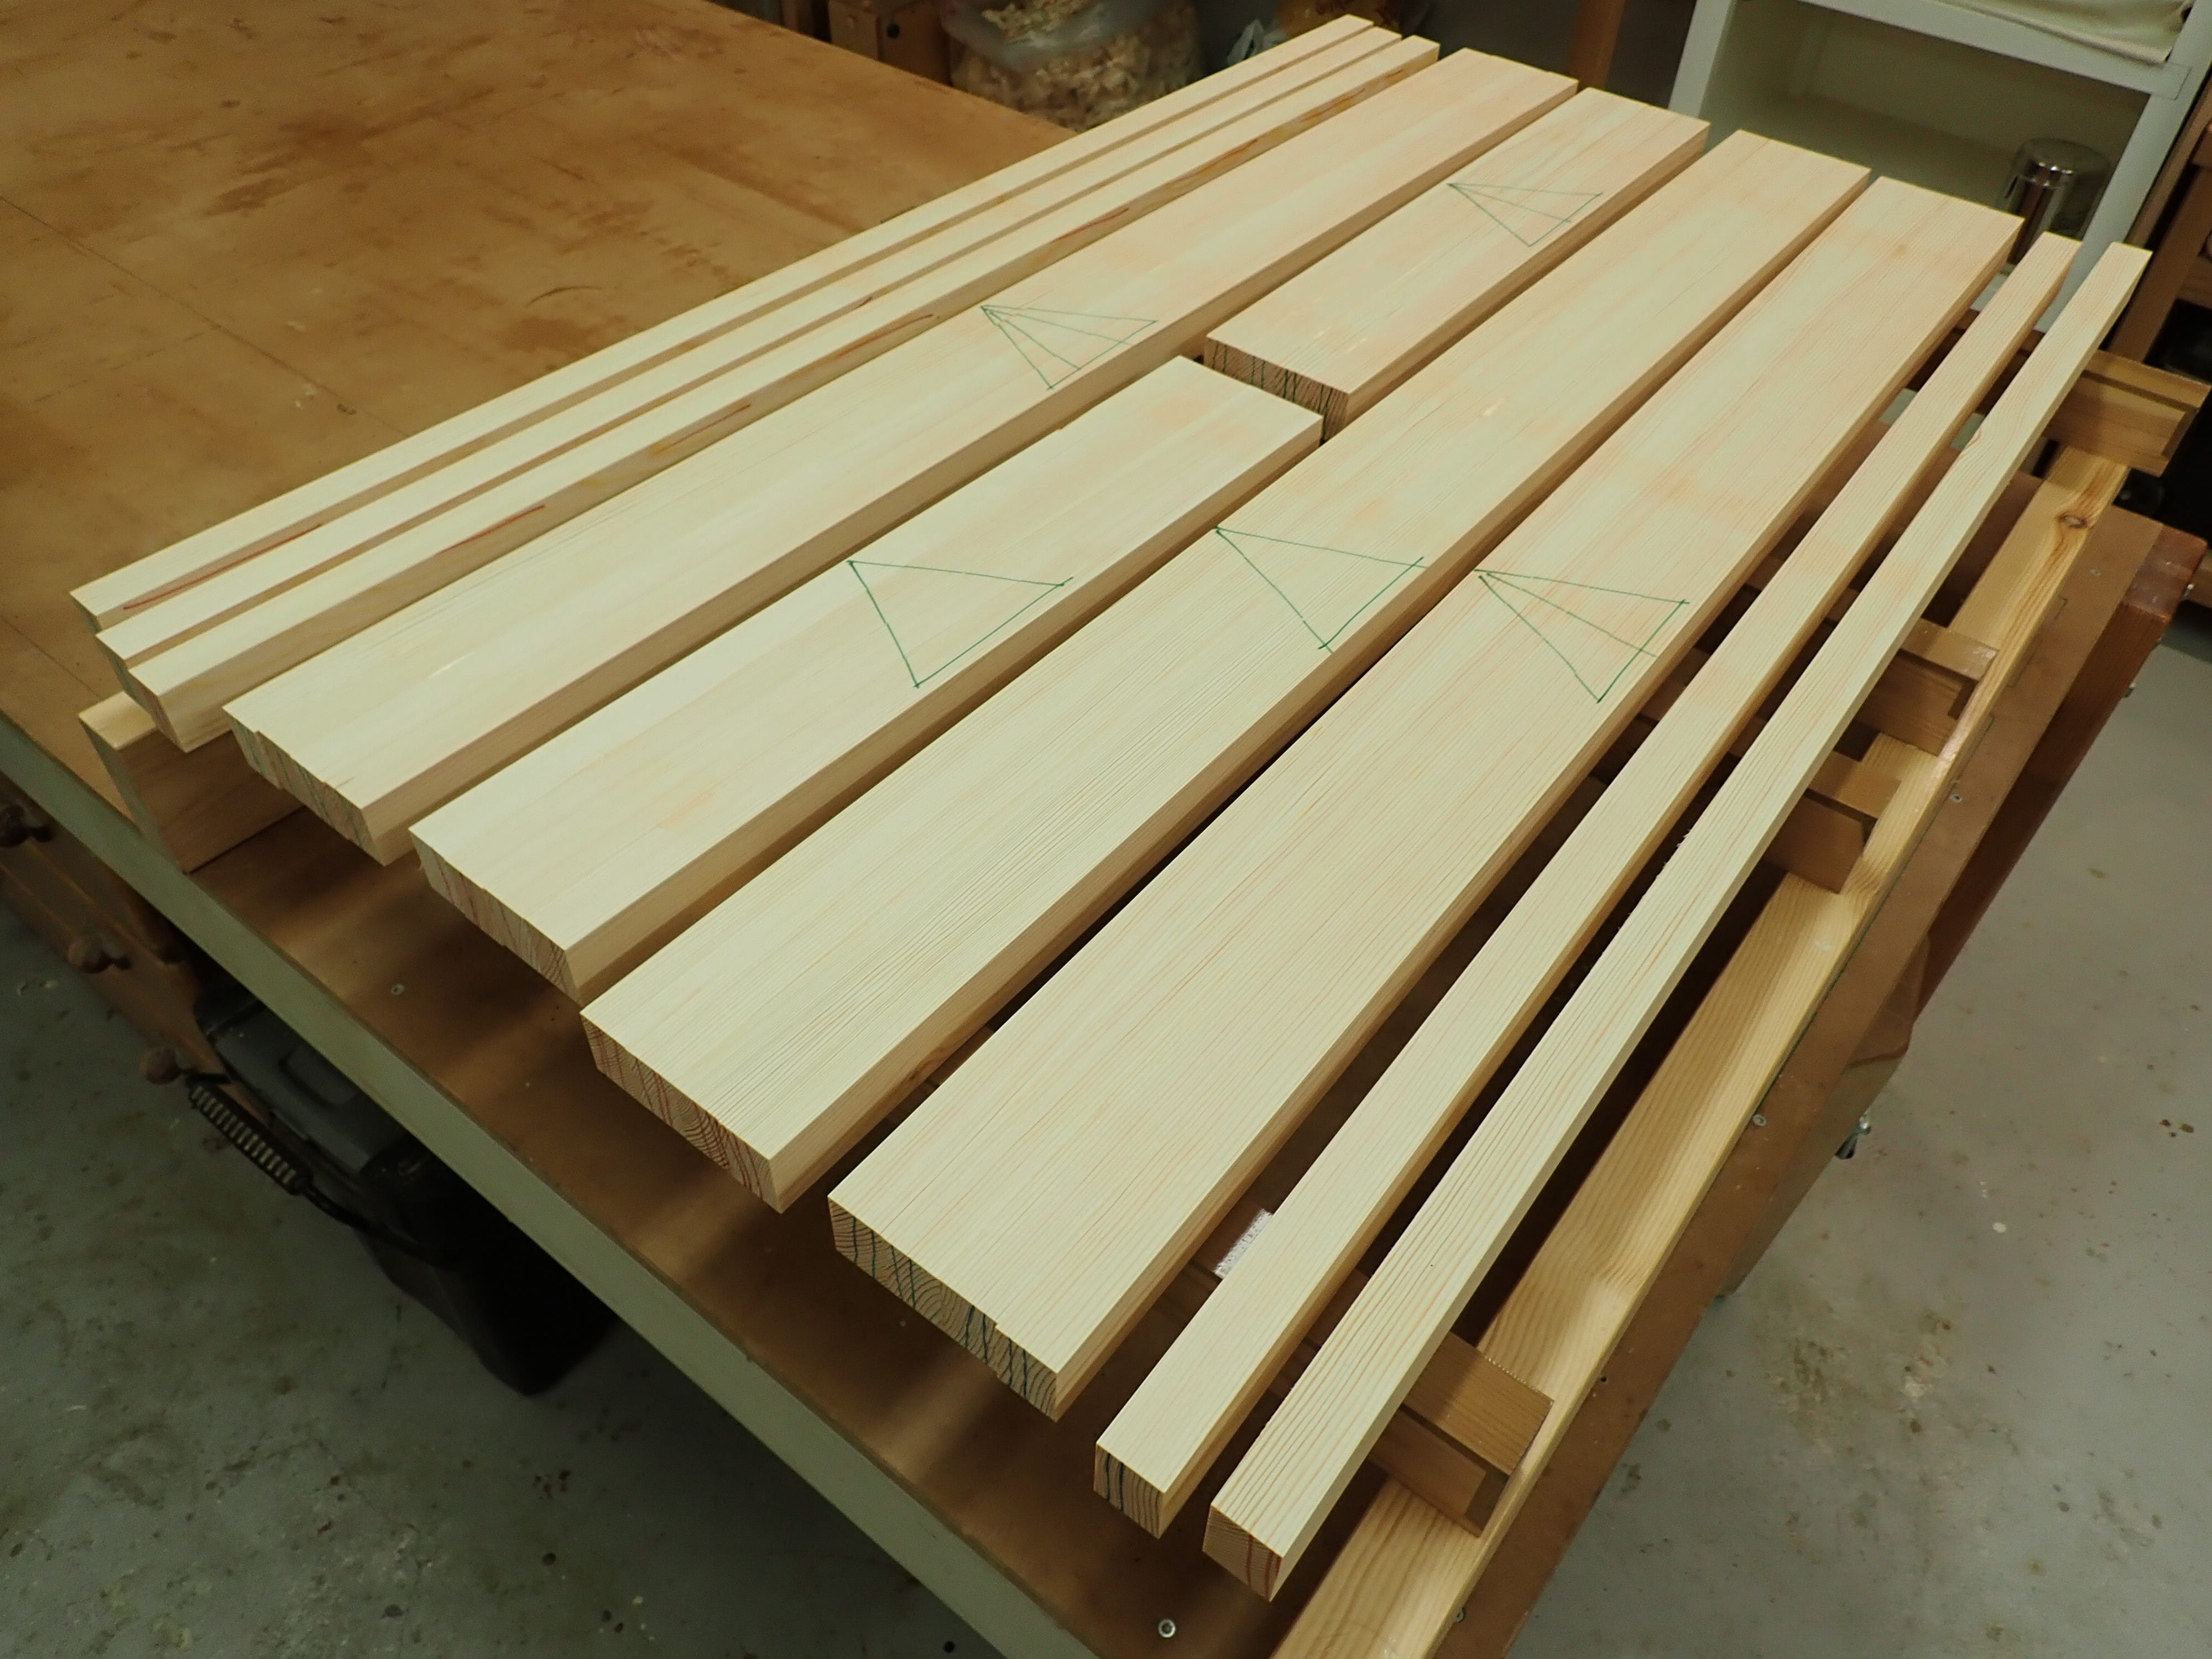
Next: reassembly …
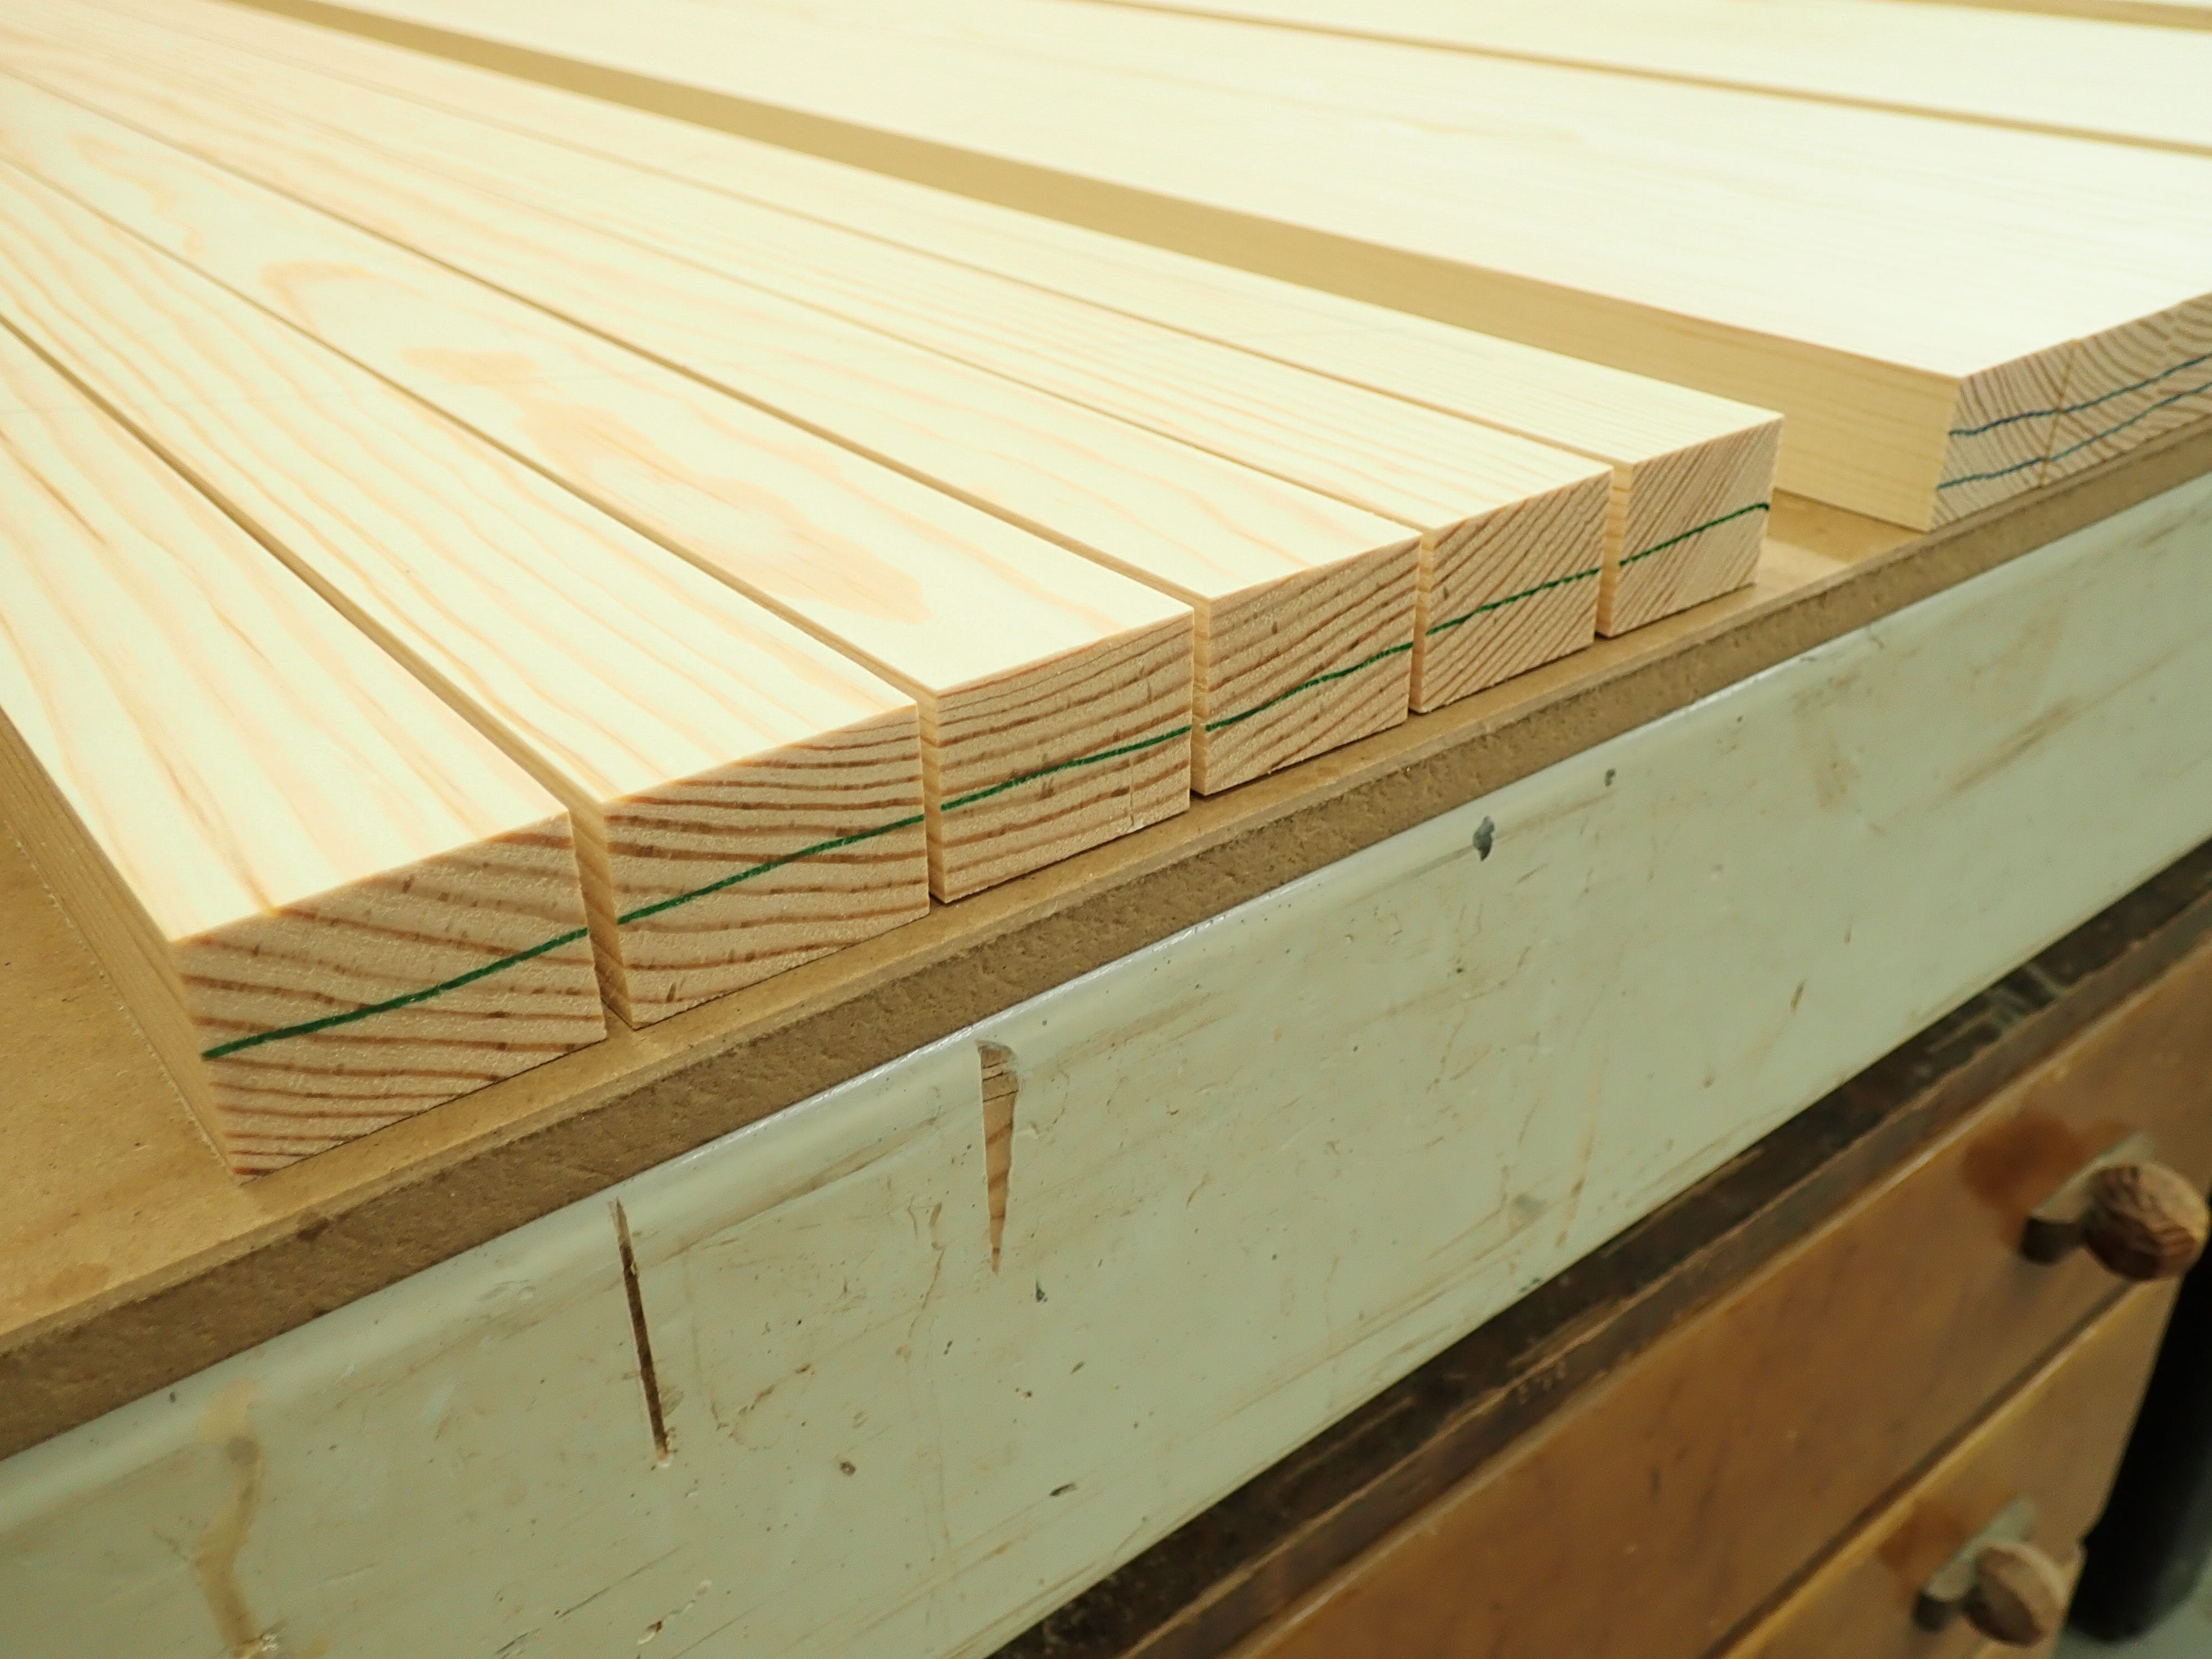
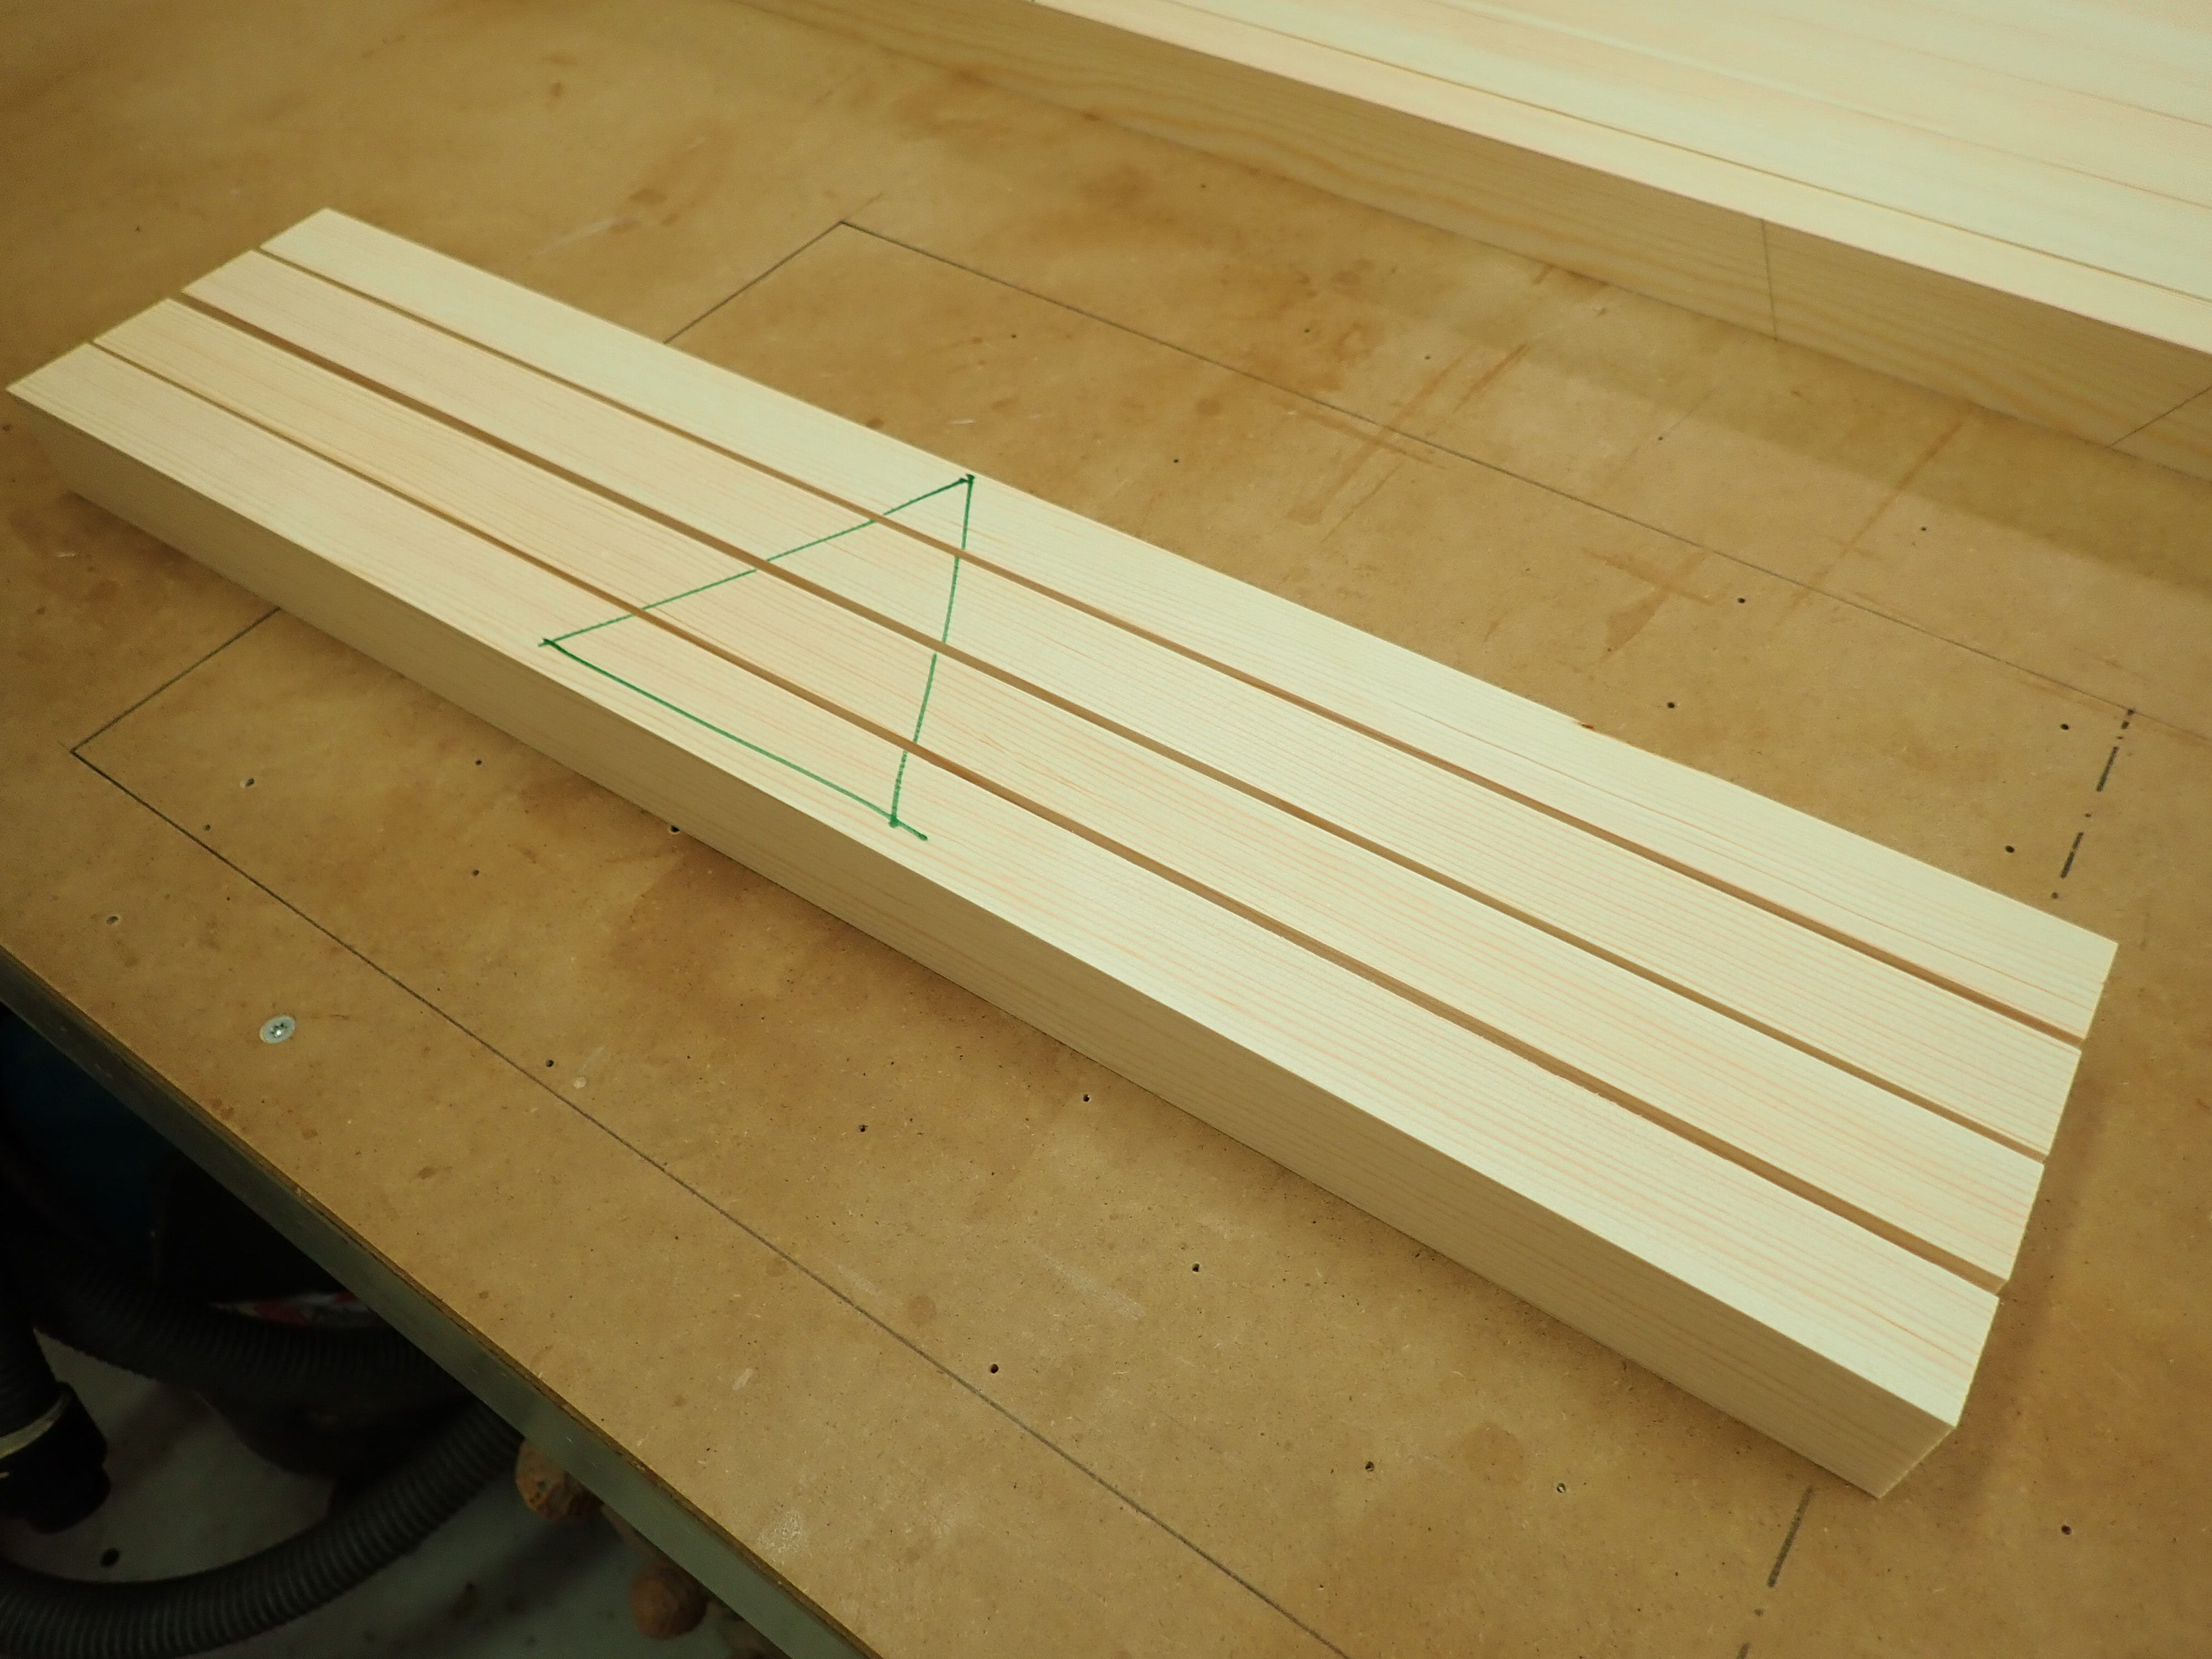
… and selection. Each board yielded 6 strips. I would need 4 per piece, so I could discard the 2 worst ones. I aim to assemble a balanced glue-up; preferably with strips from the same board, and with growth rings oriented harmoniously. This is not always possible, compromises will have to be made.
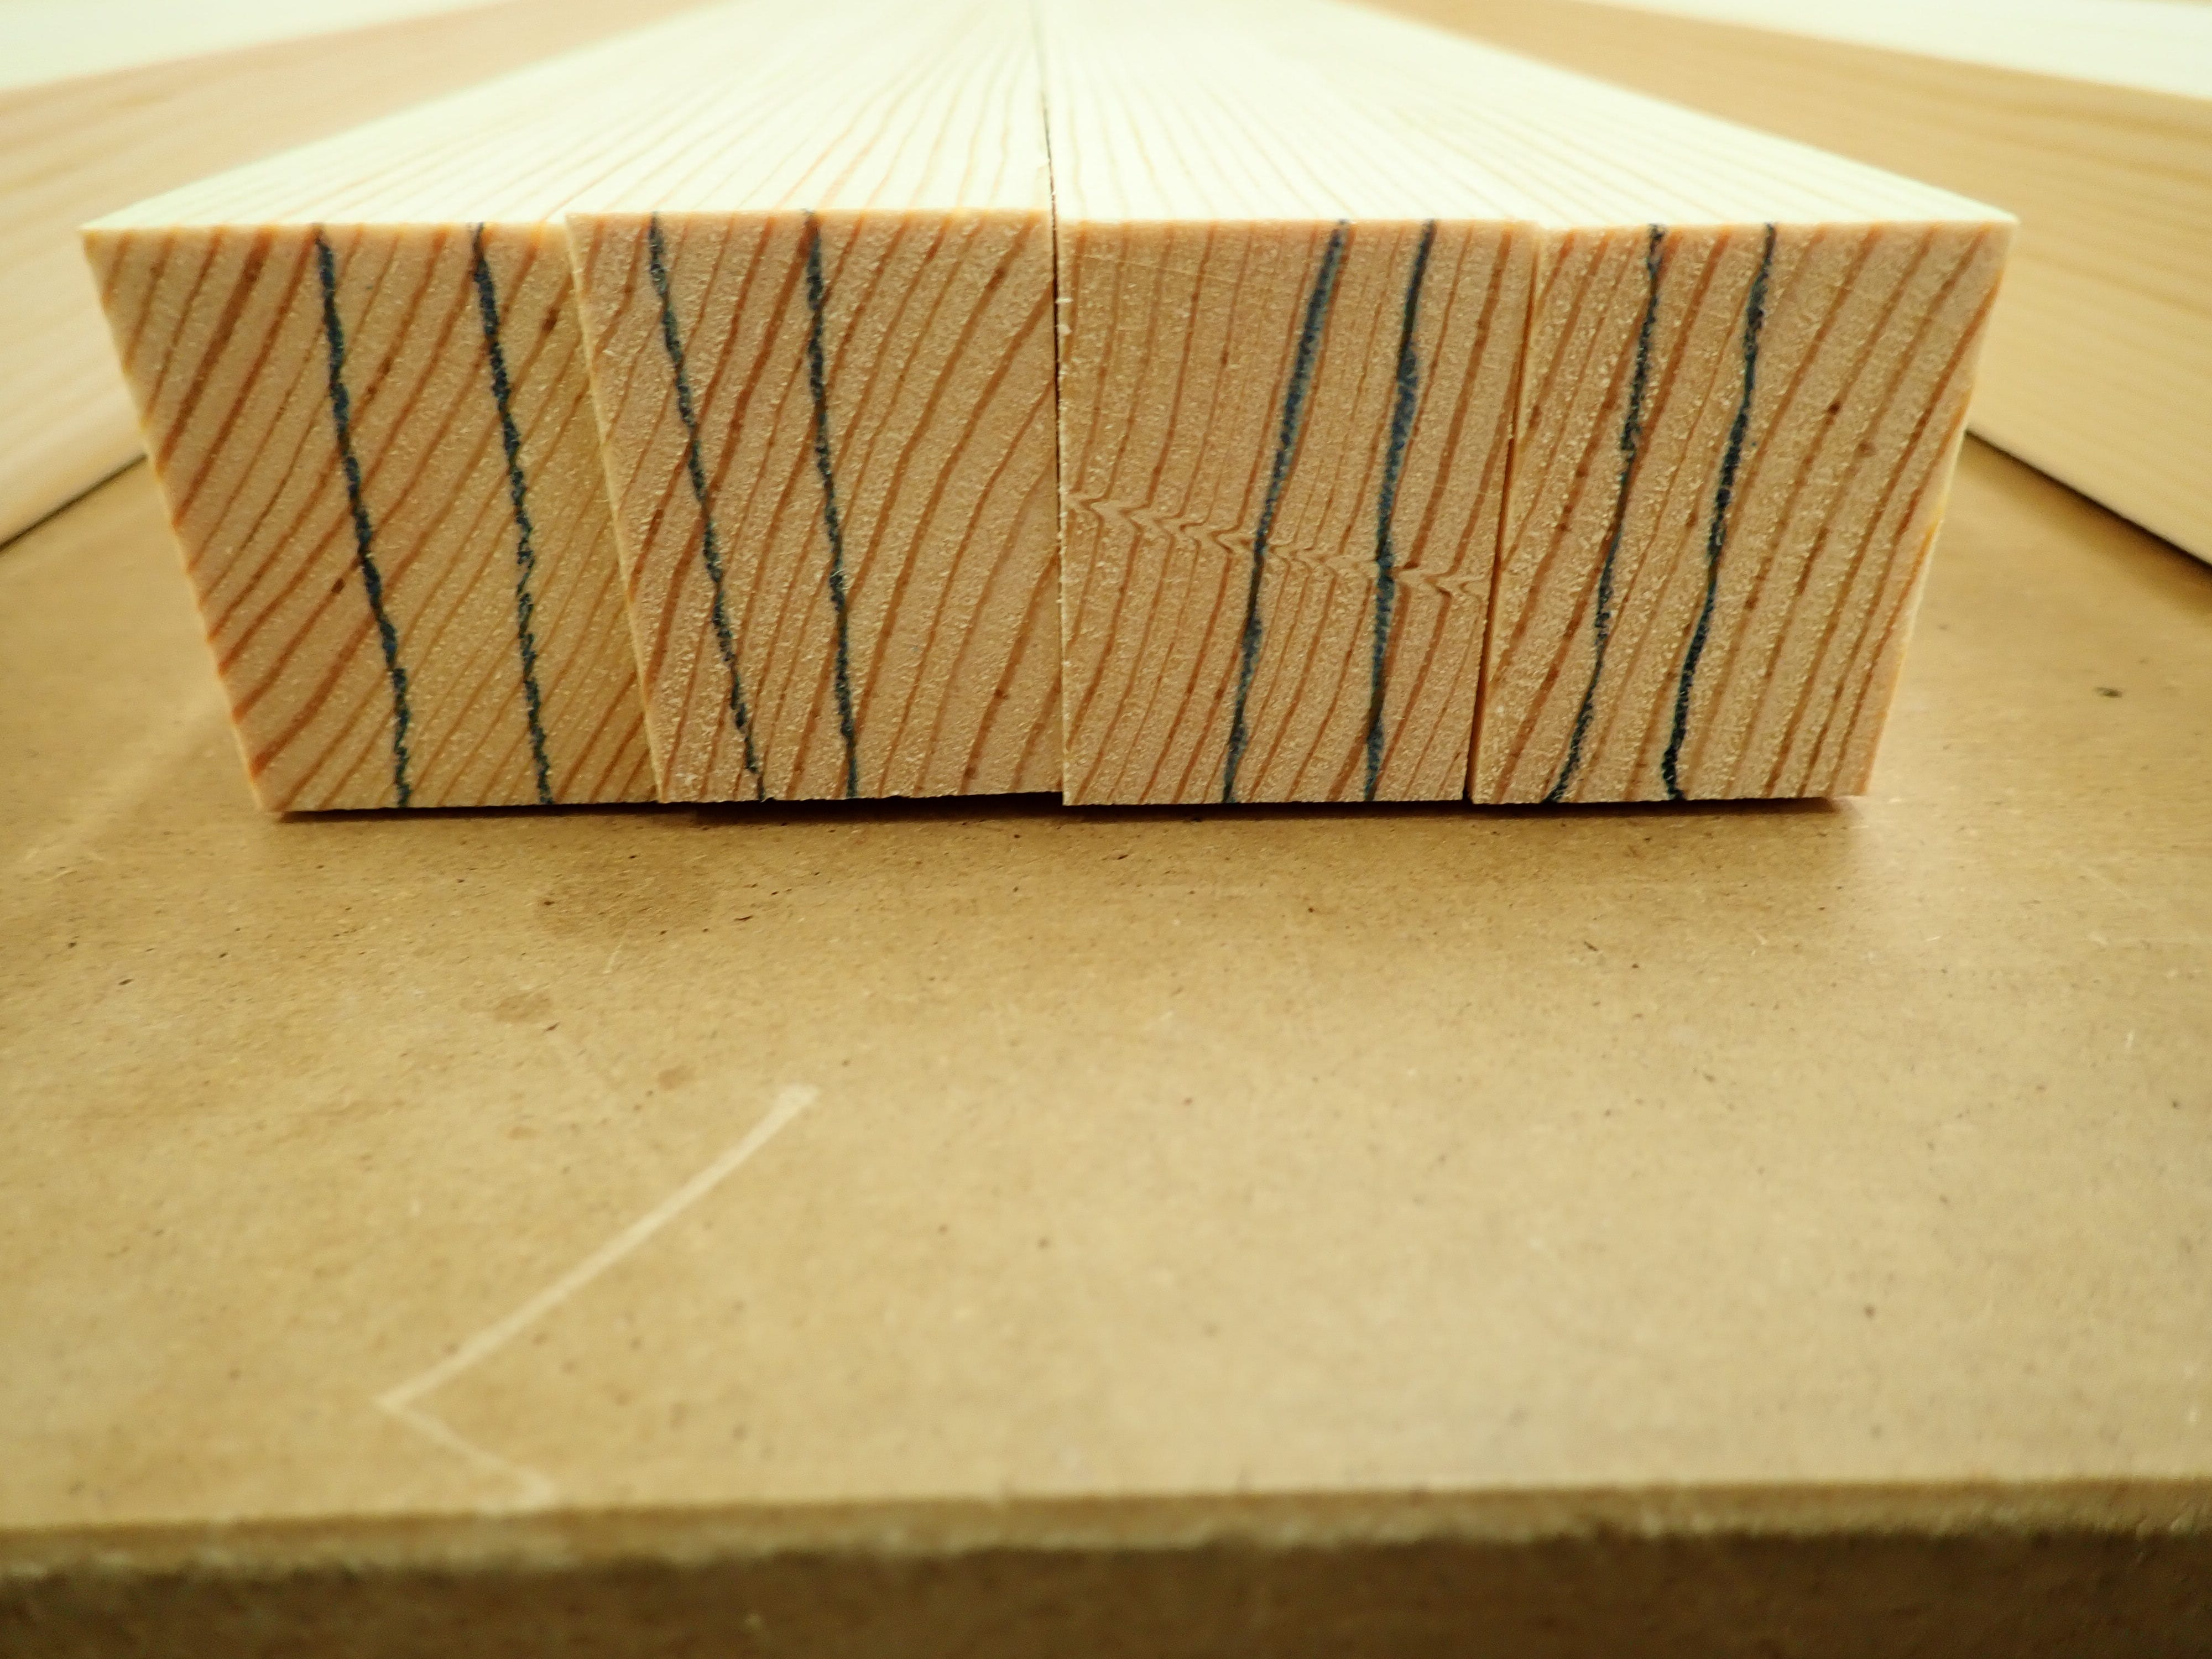
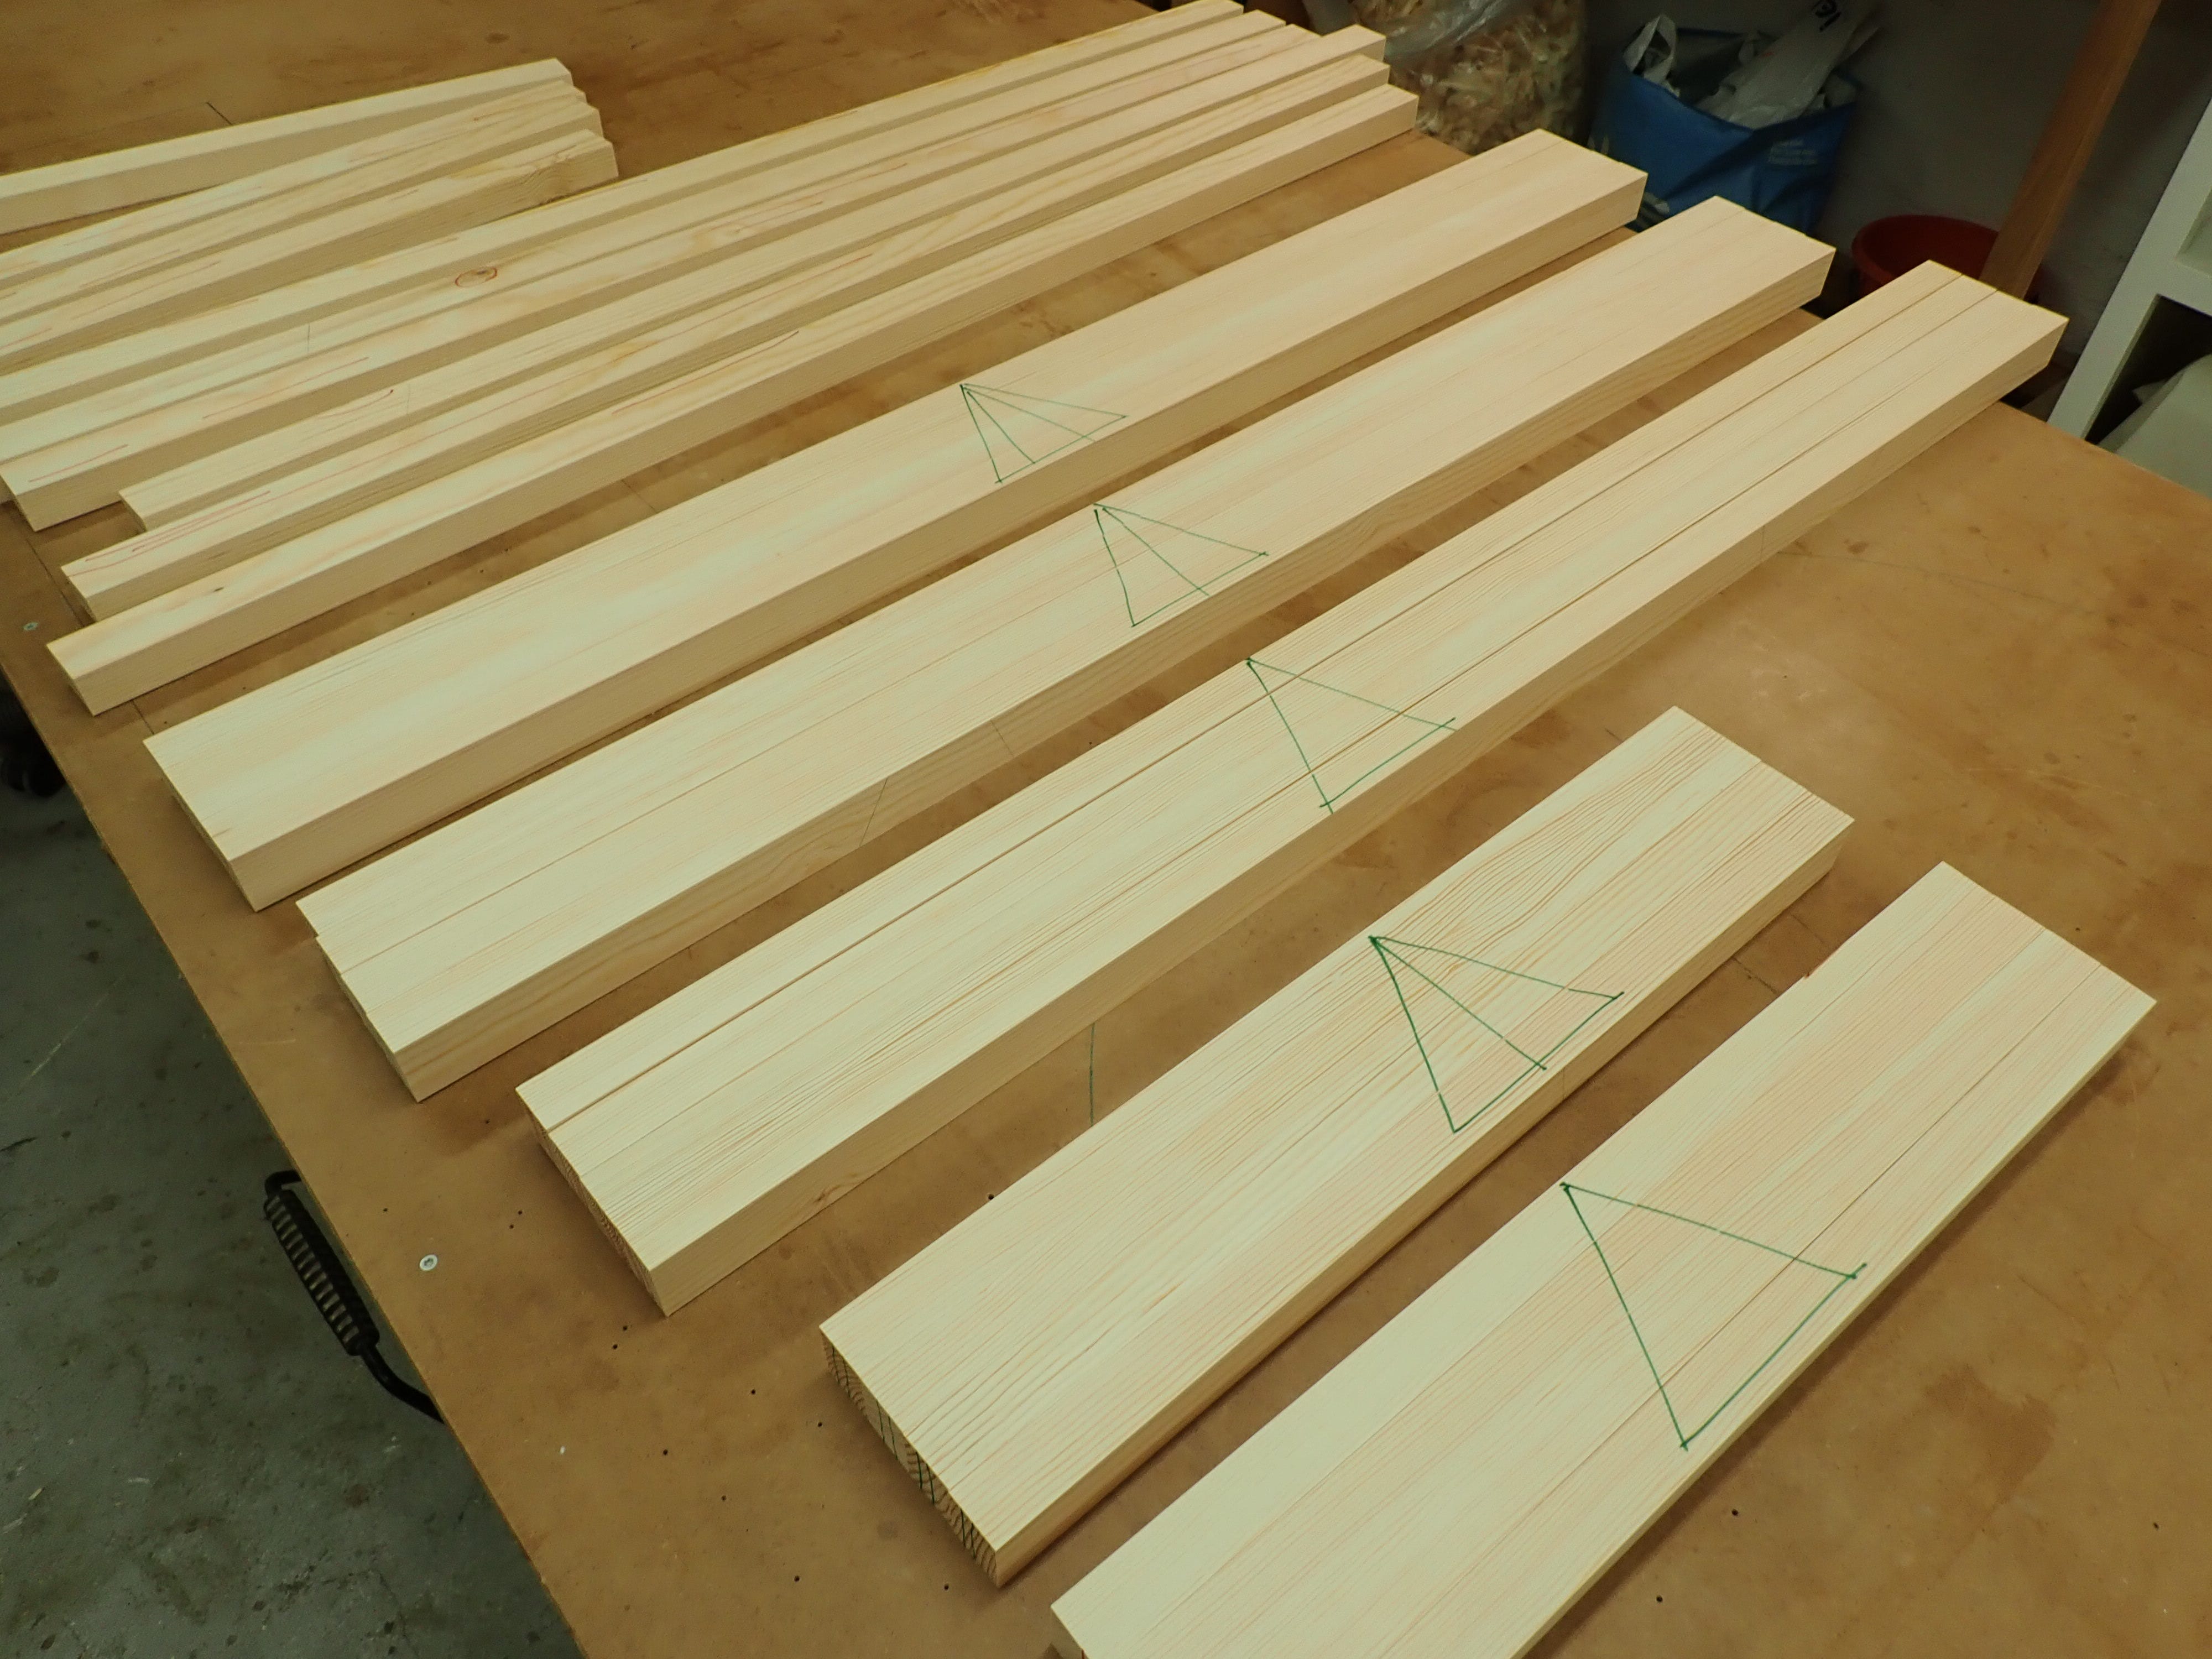
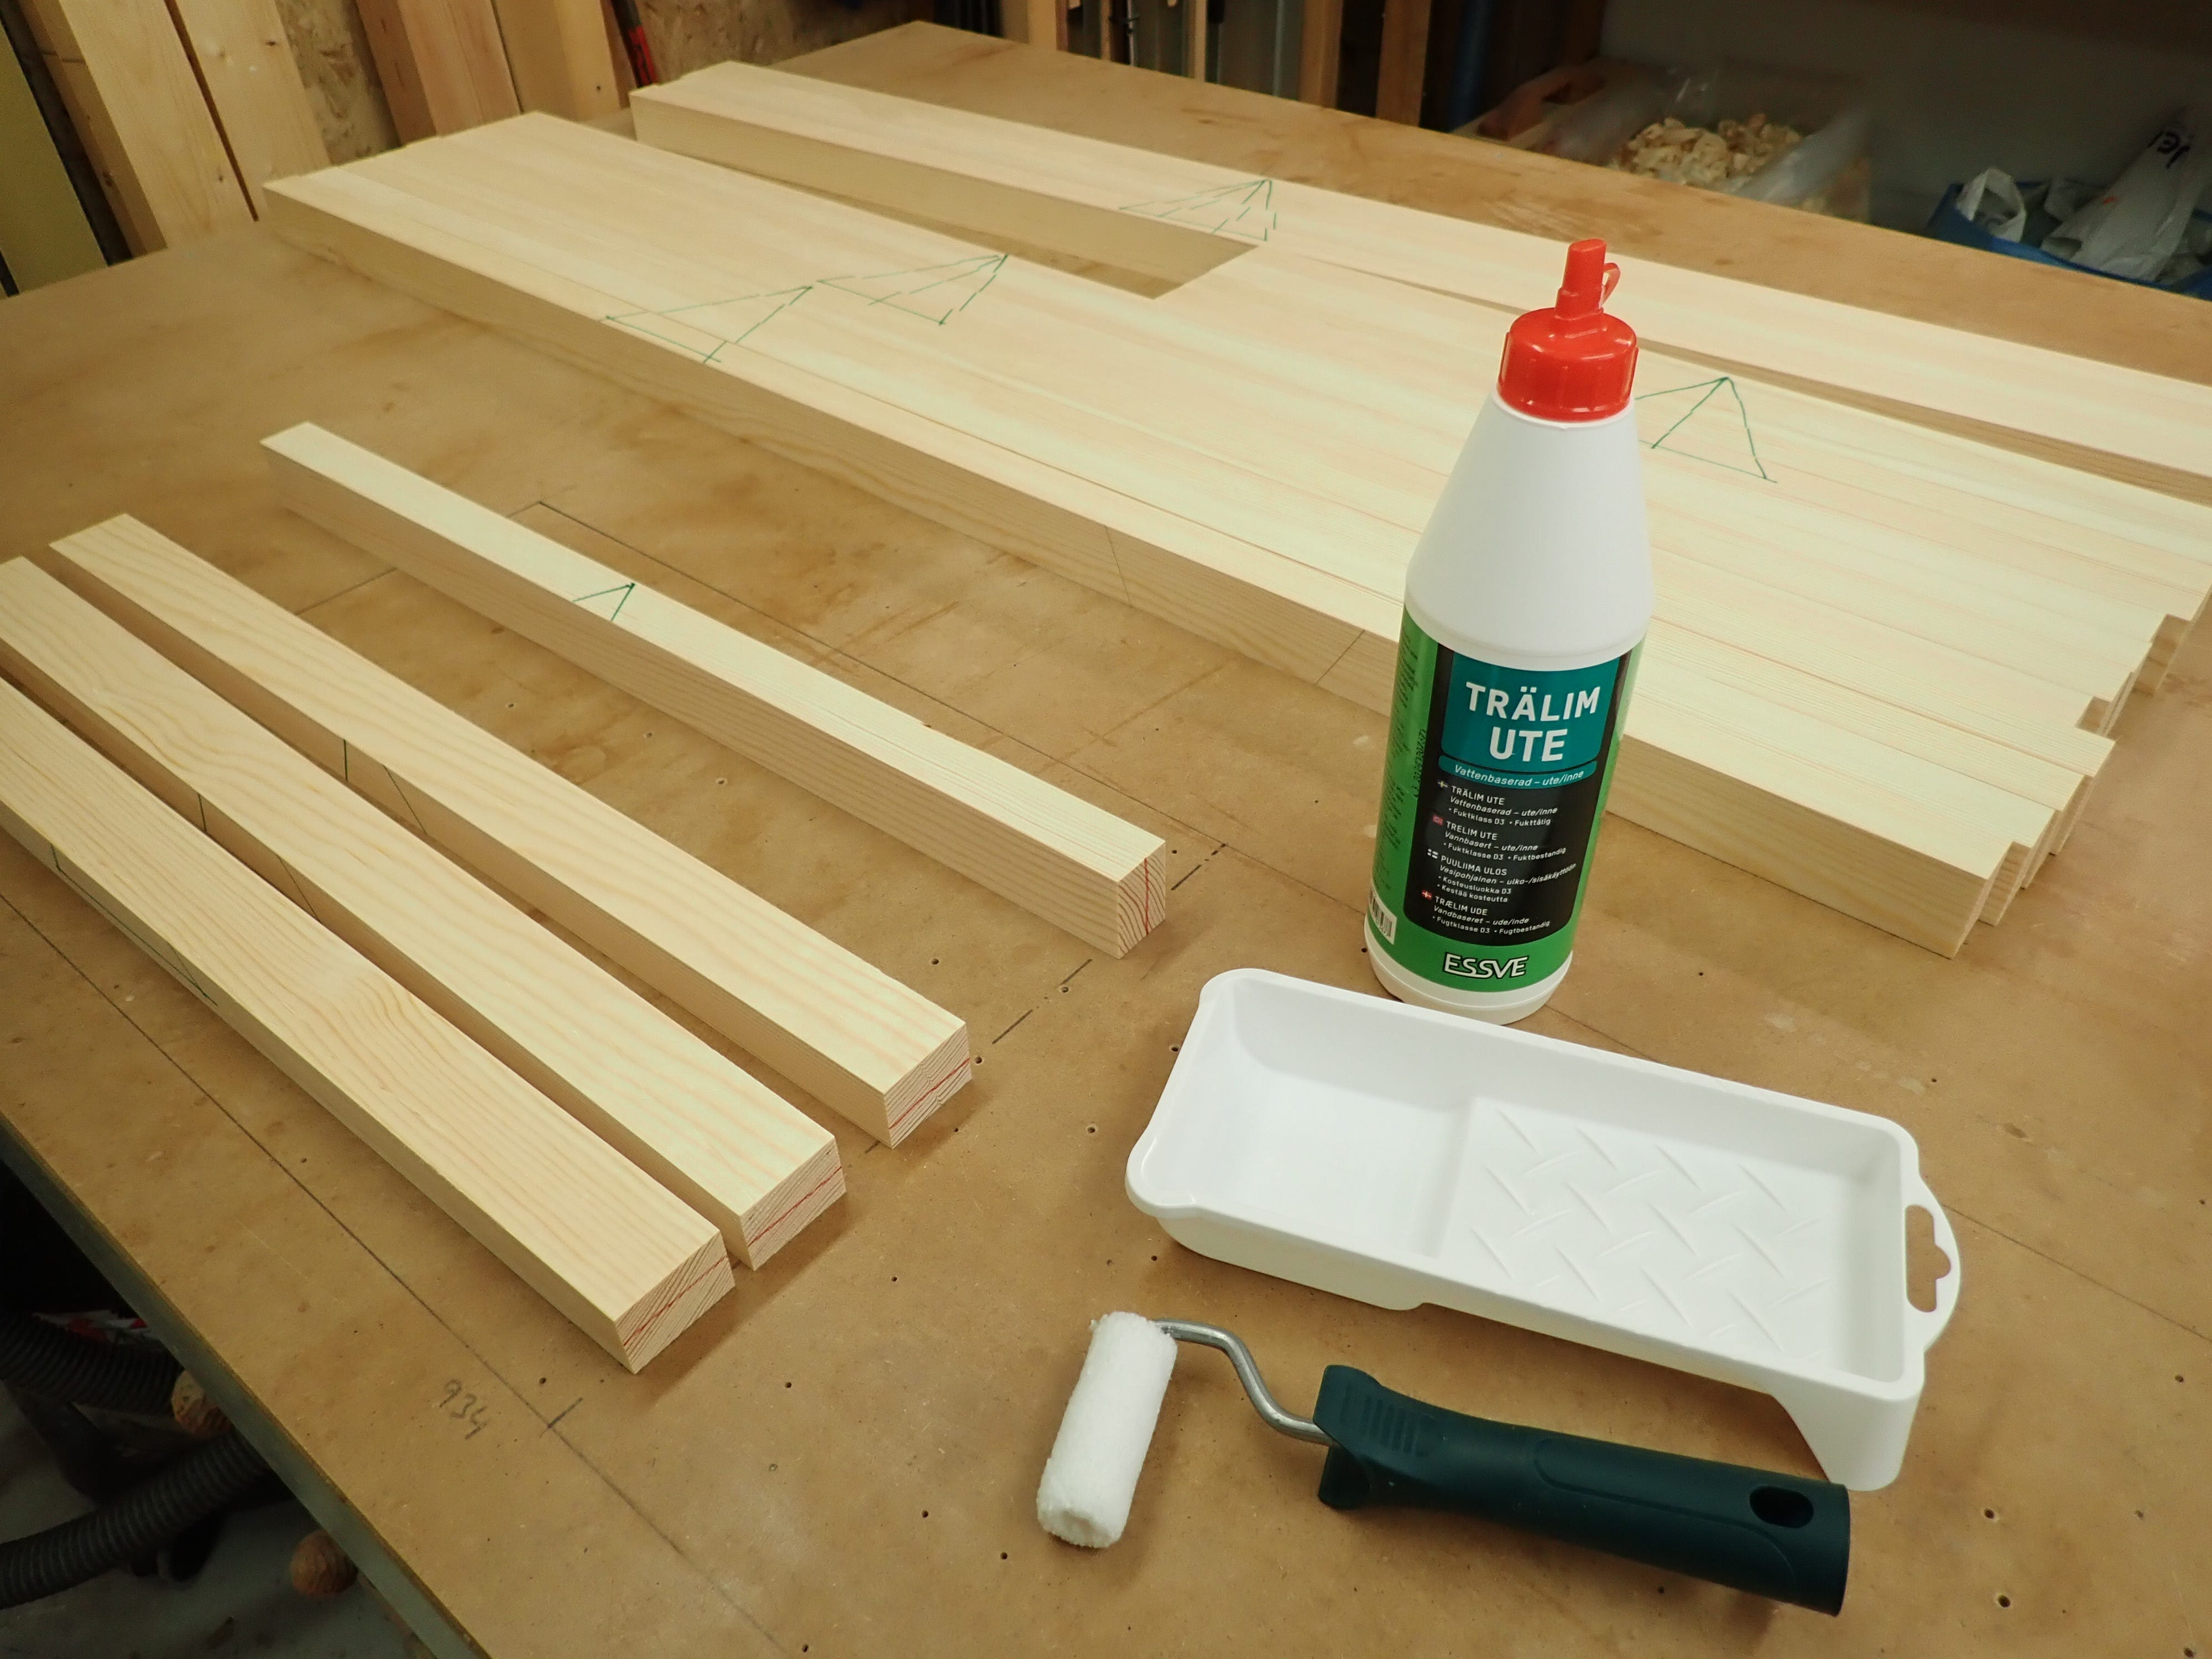
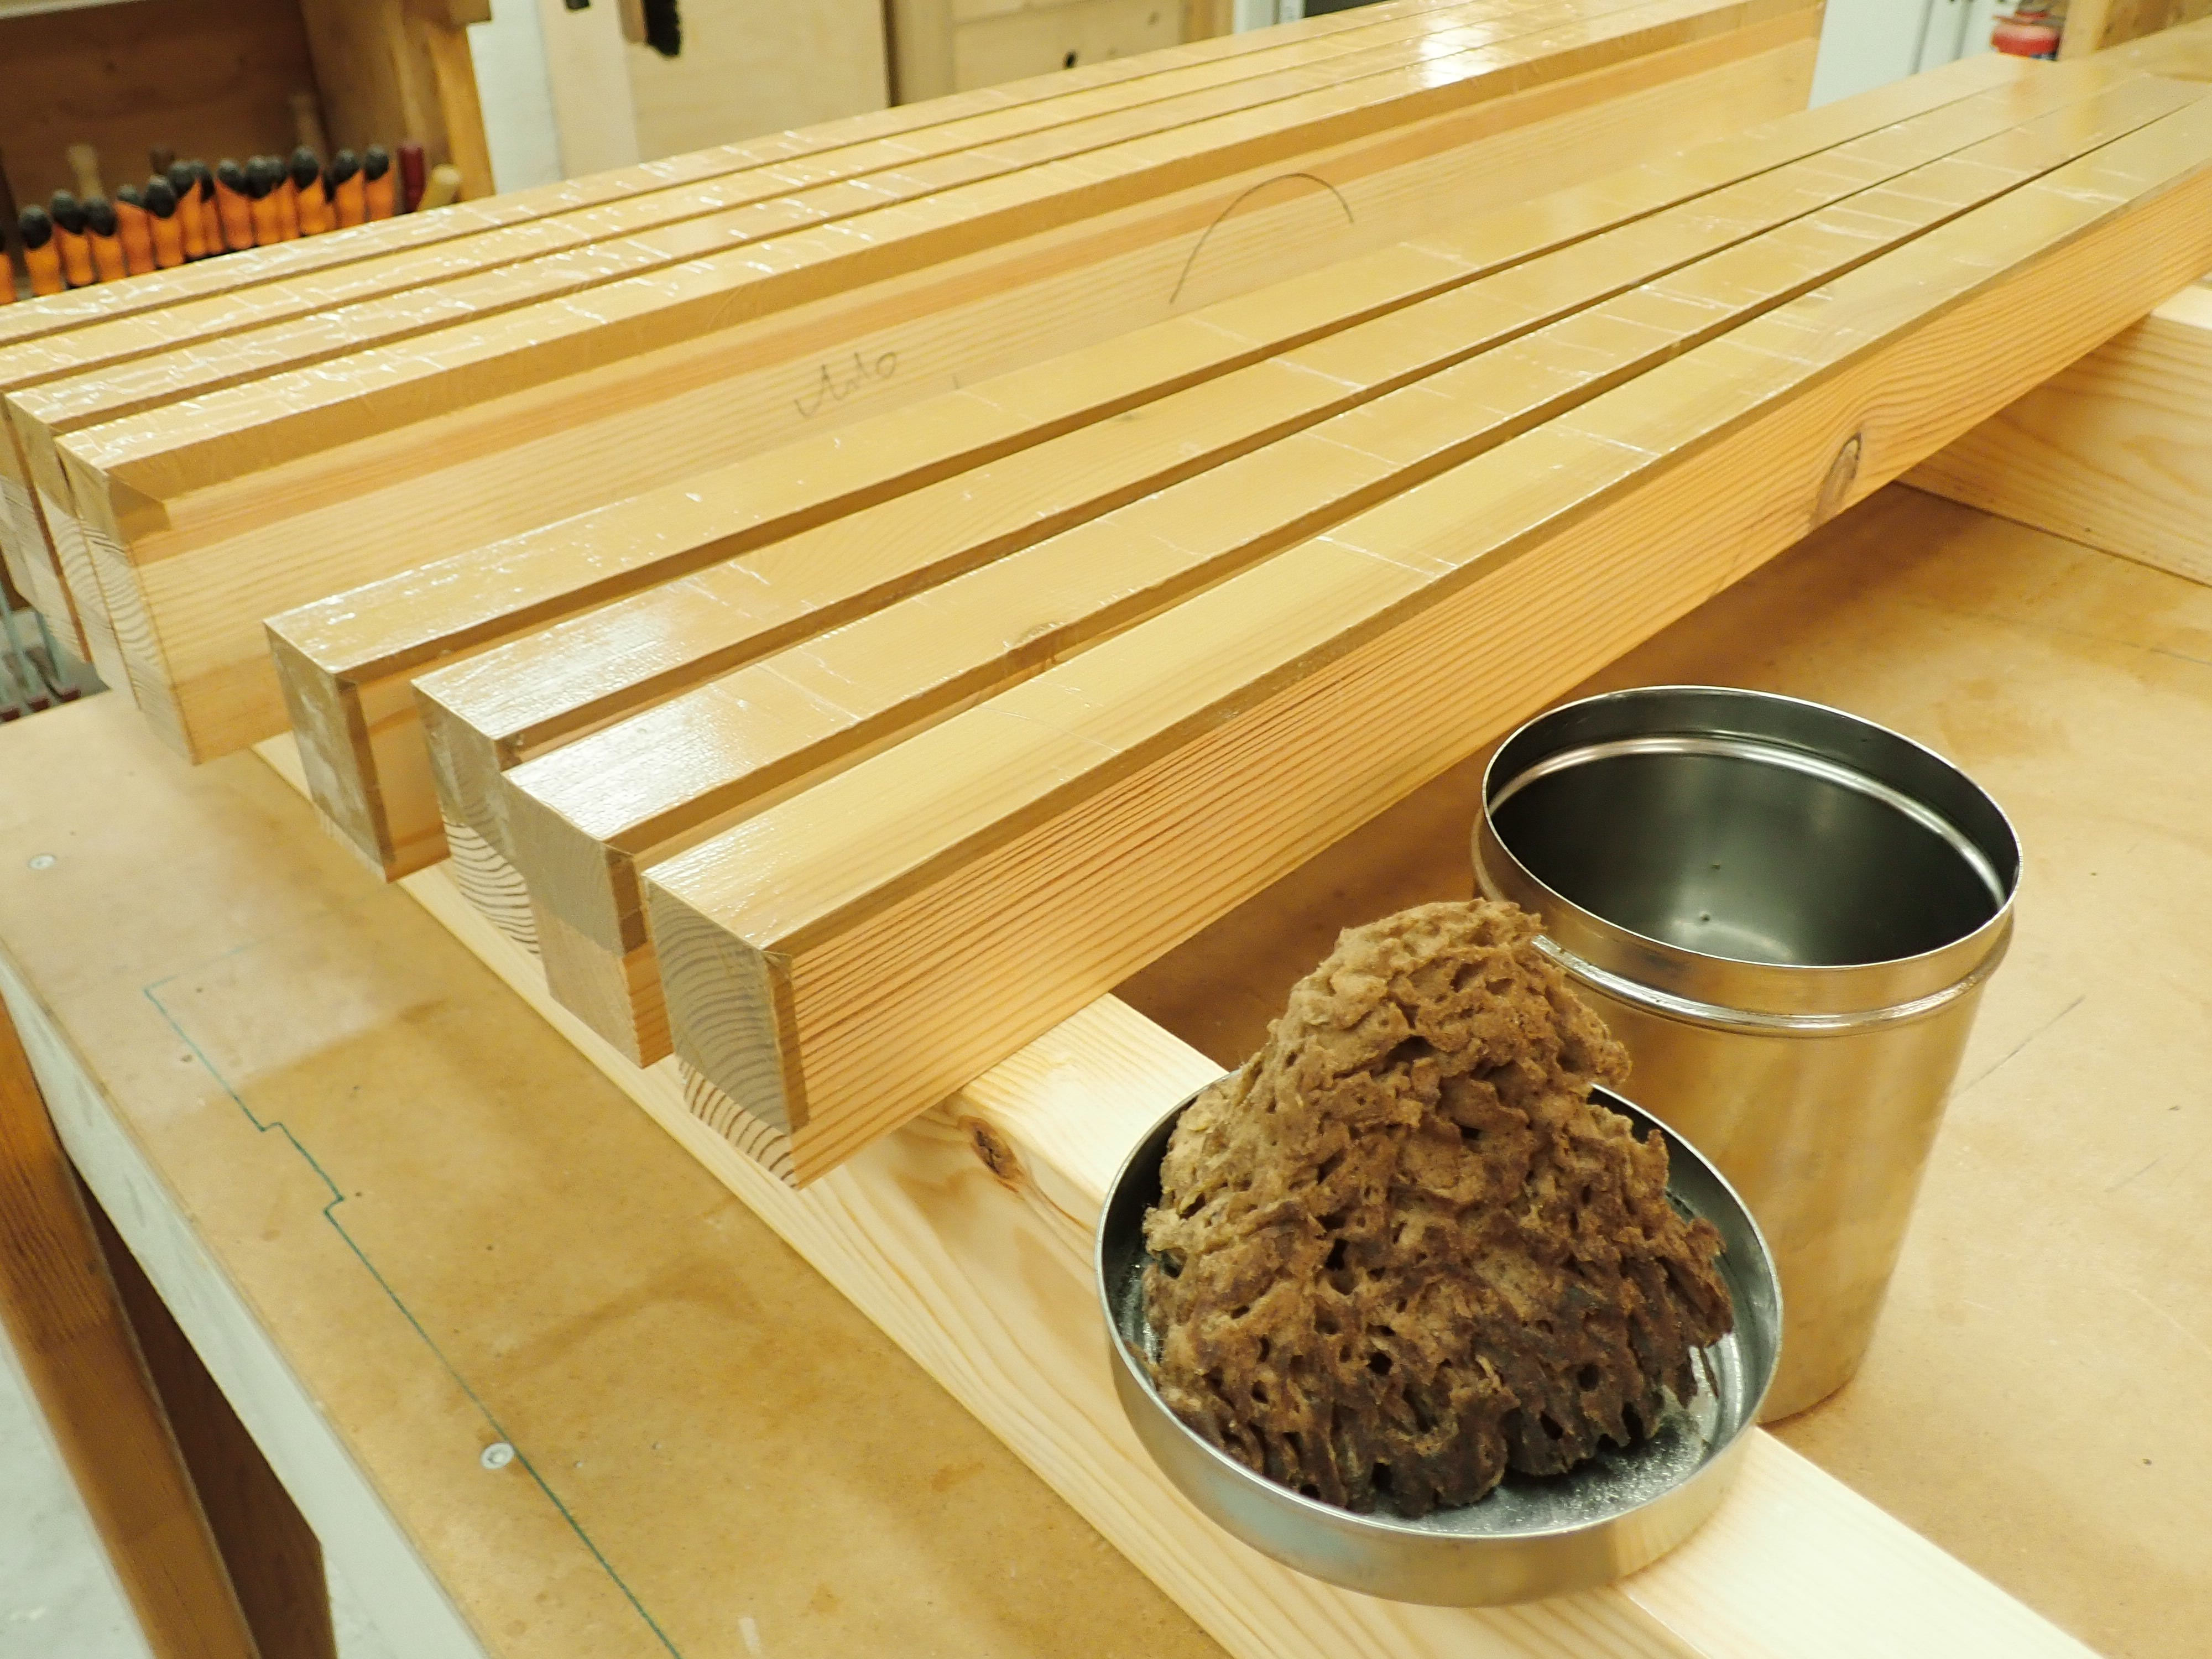
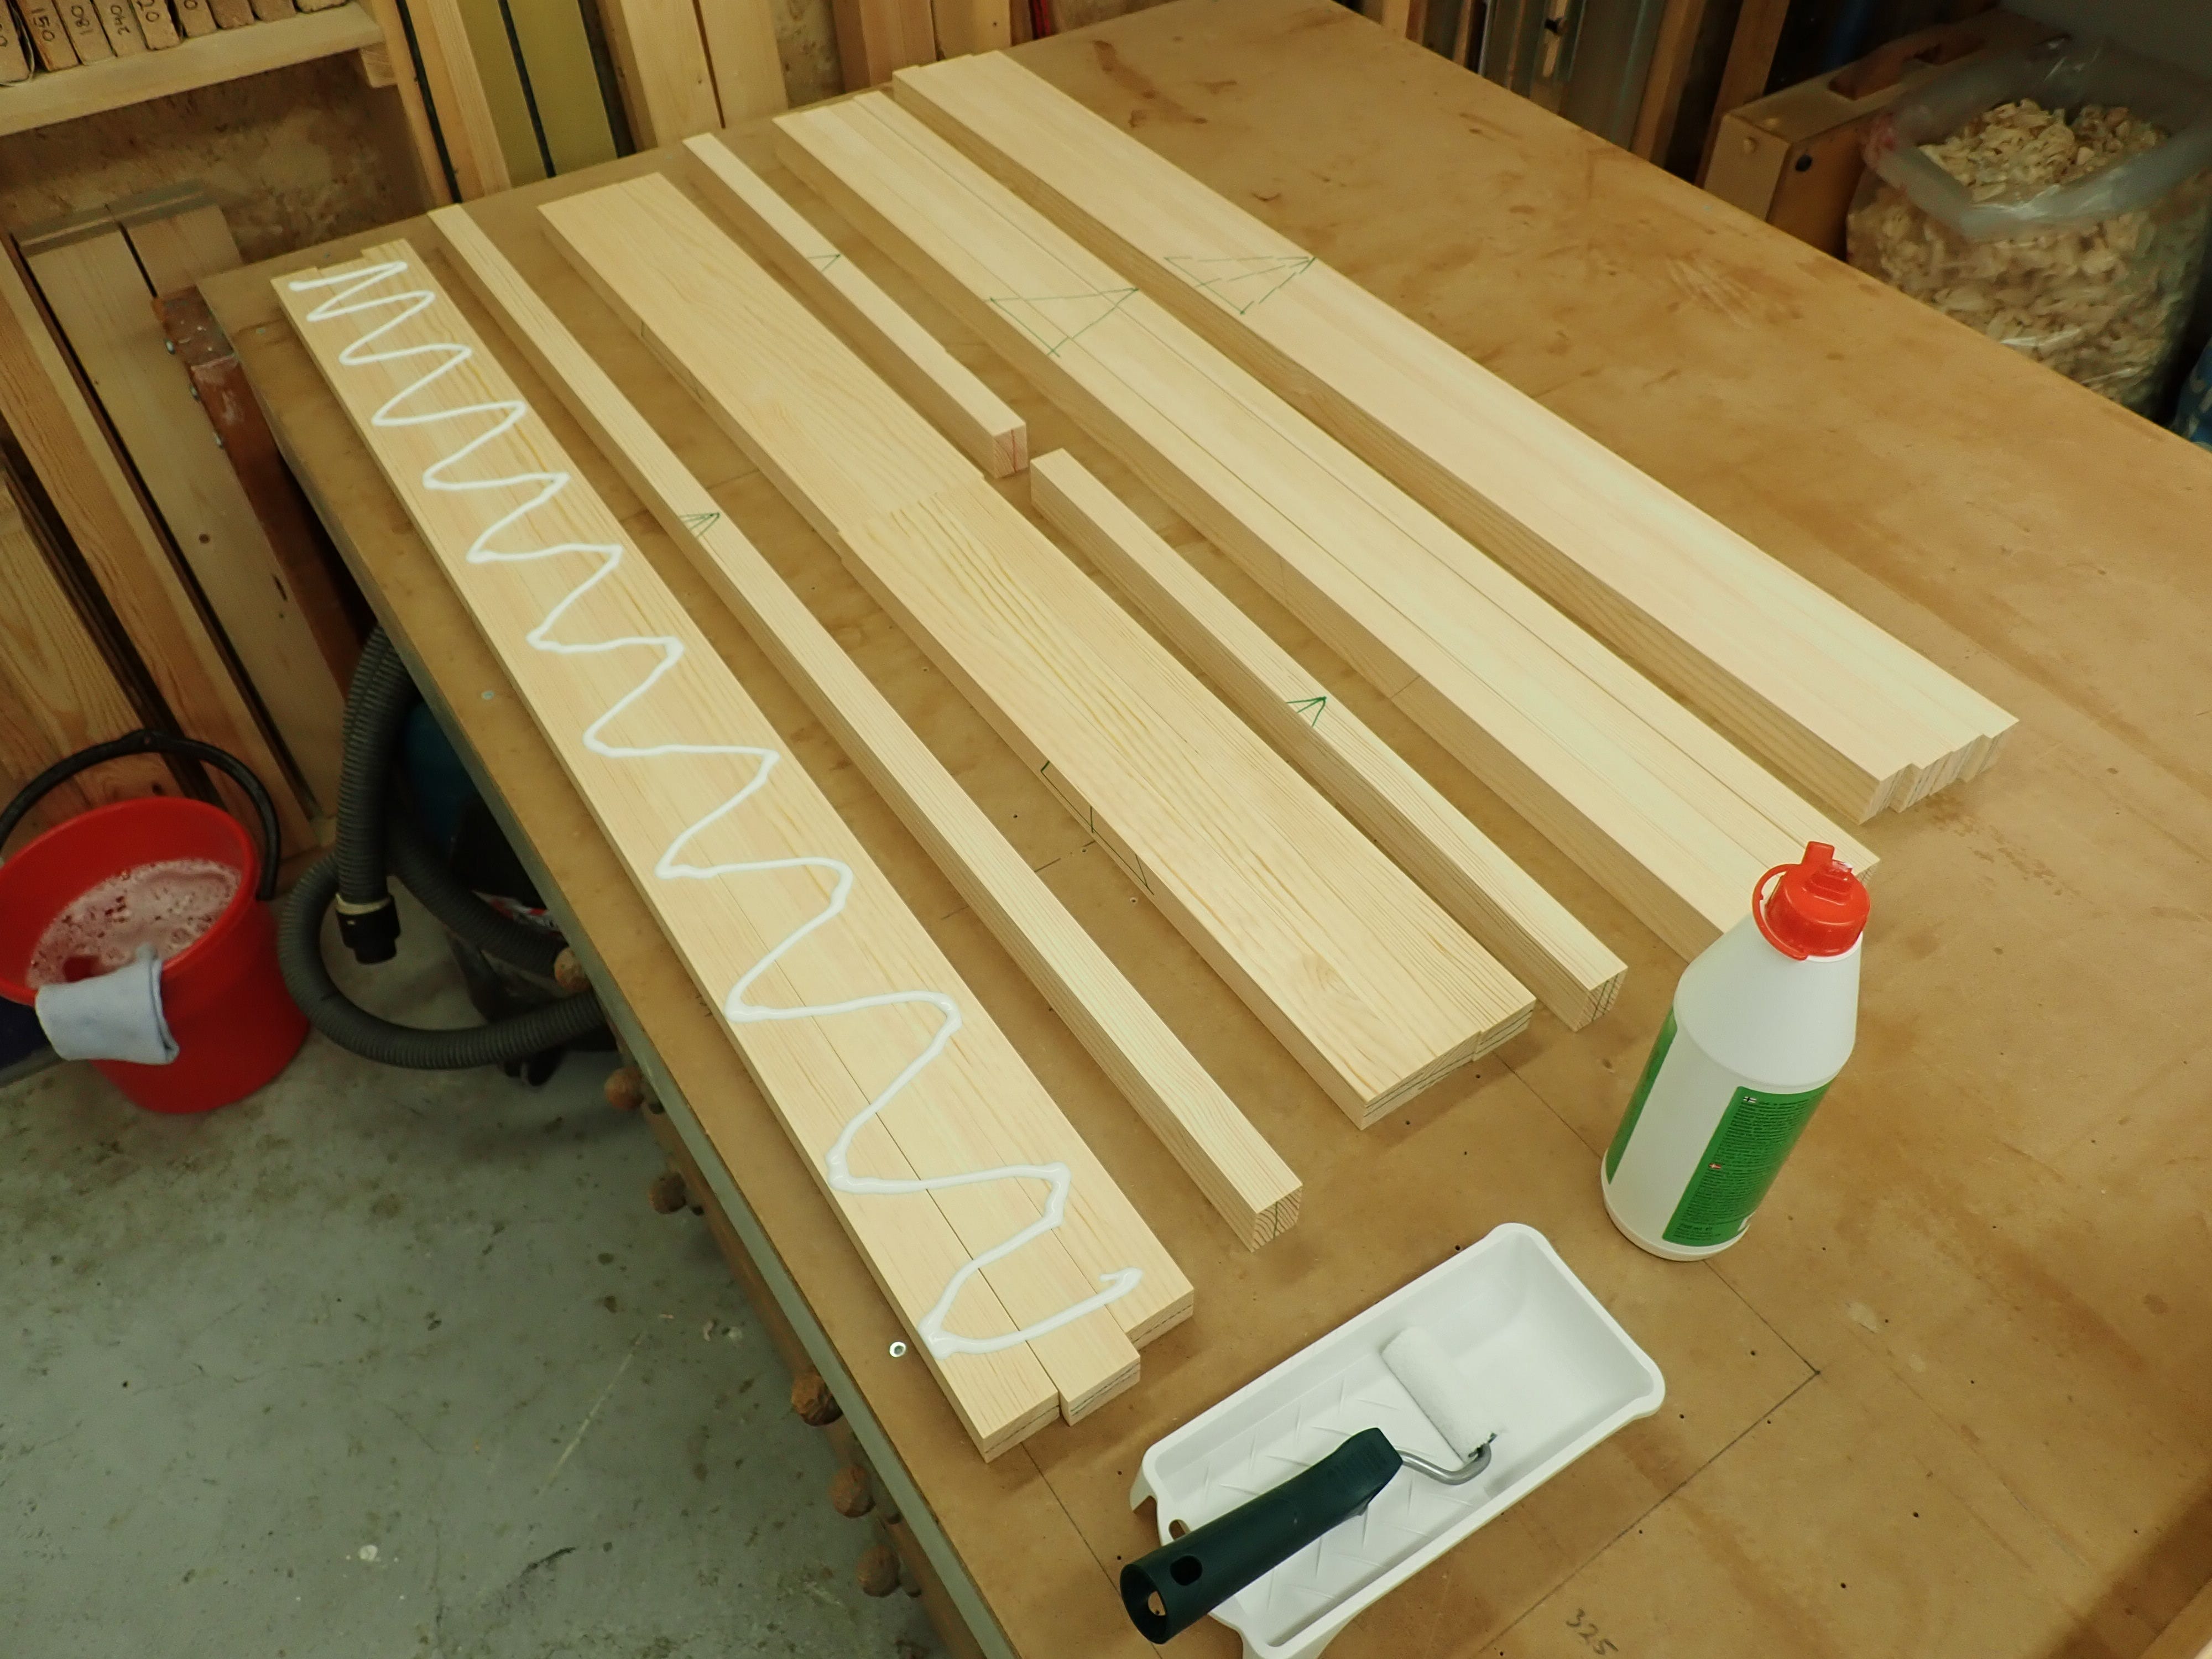
The selected and assembled strips (‘lamina’?) are given their ‘pyramid marks’ to avoid confusion during the glue-up.
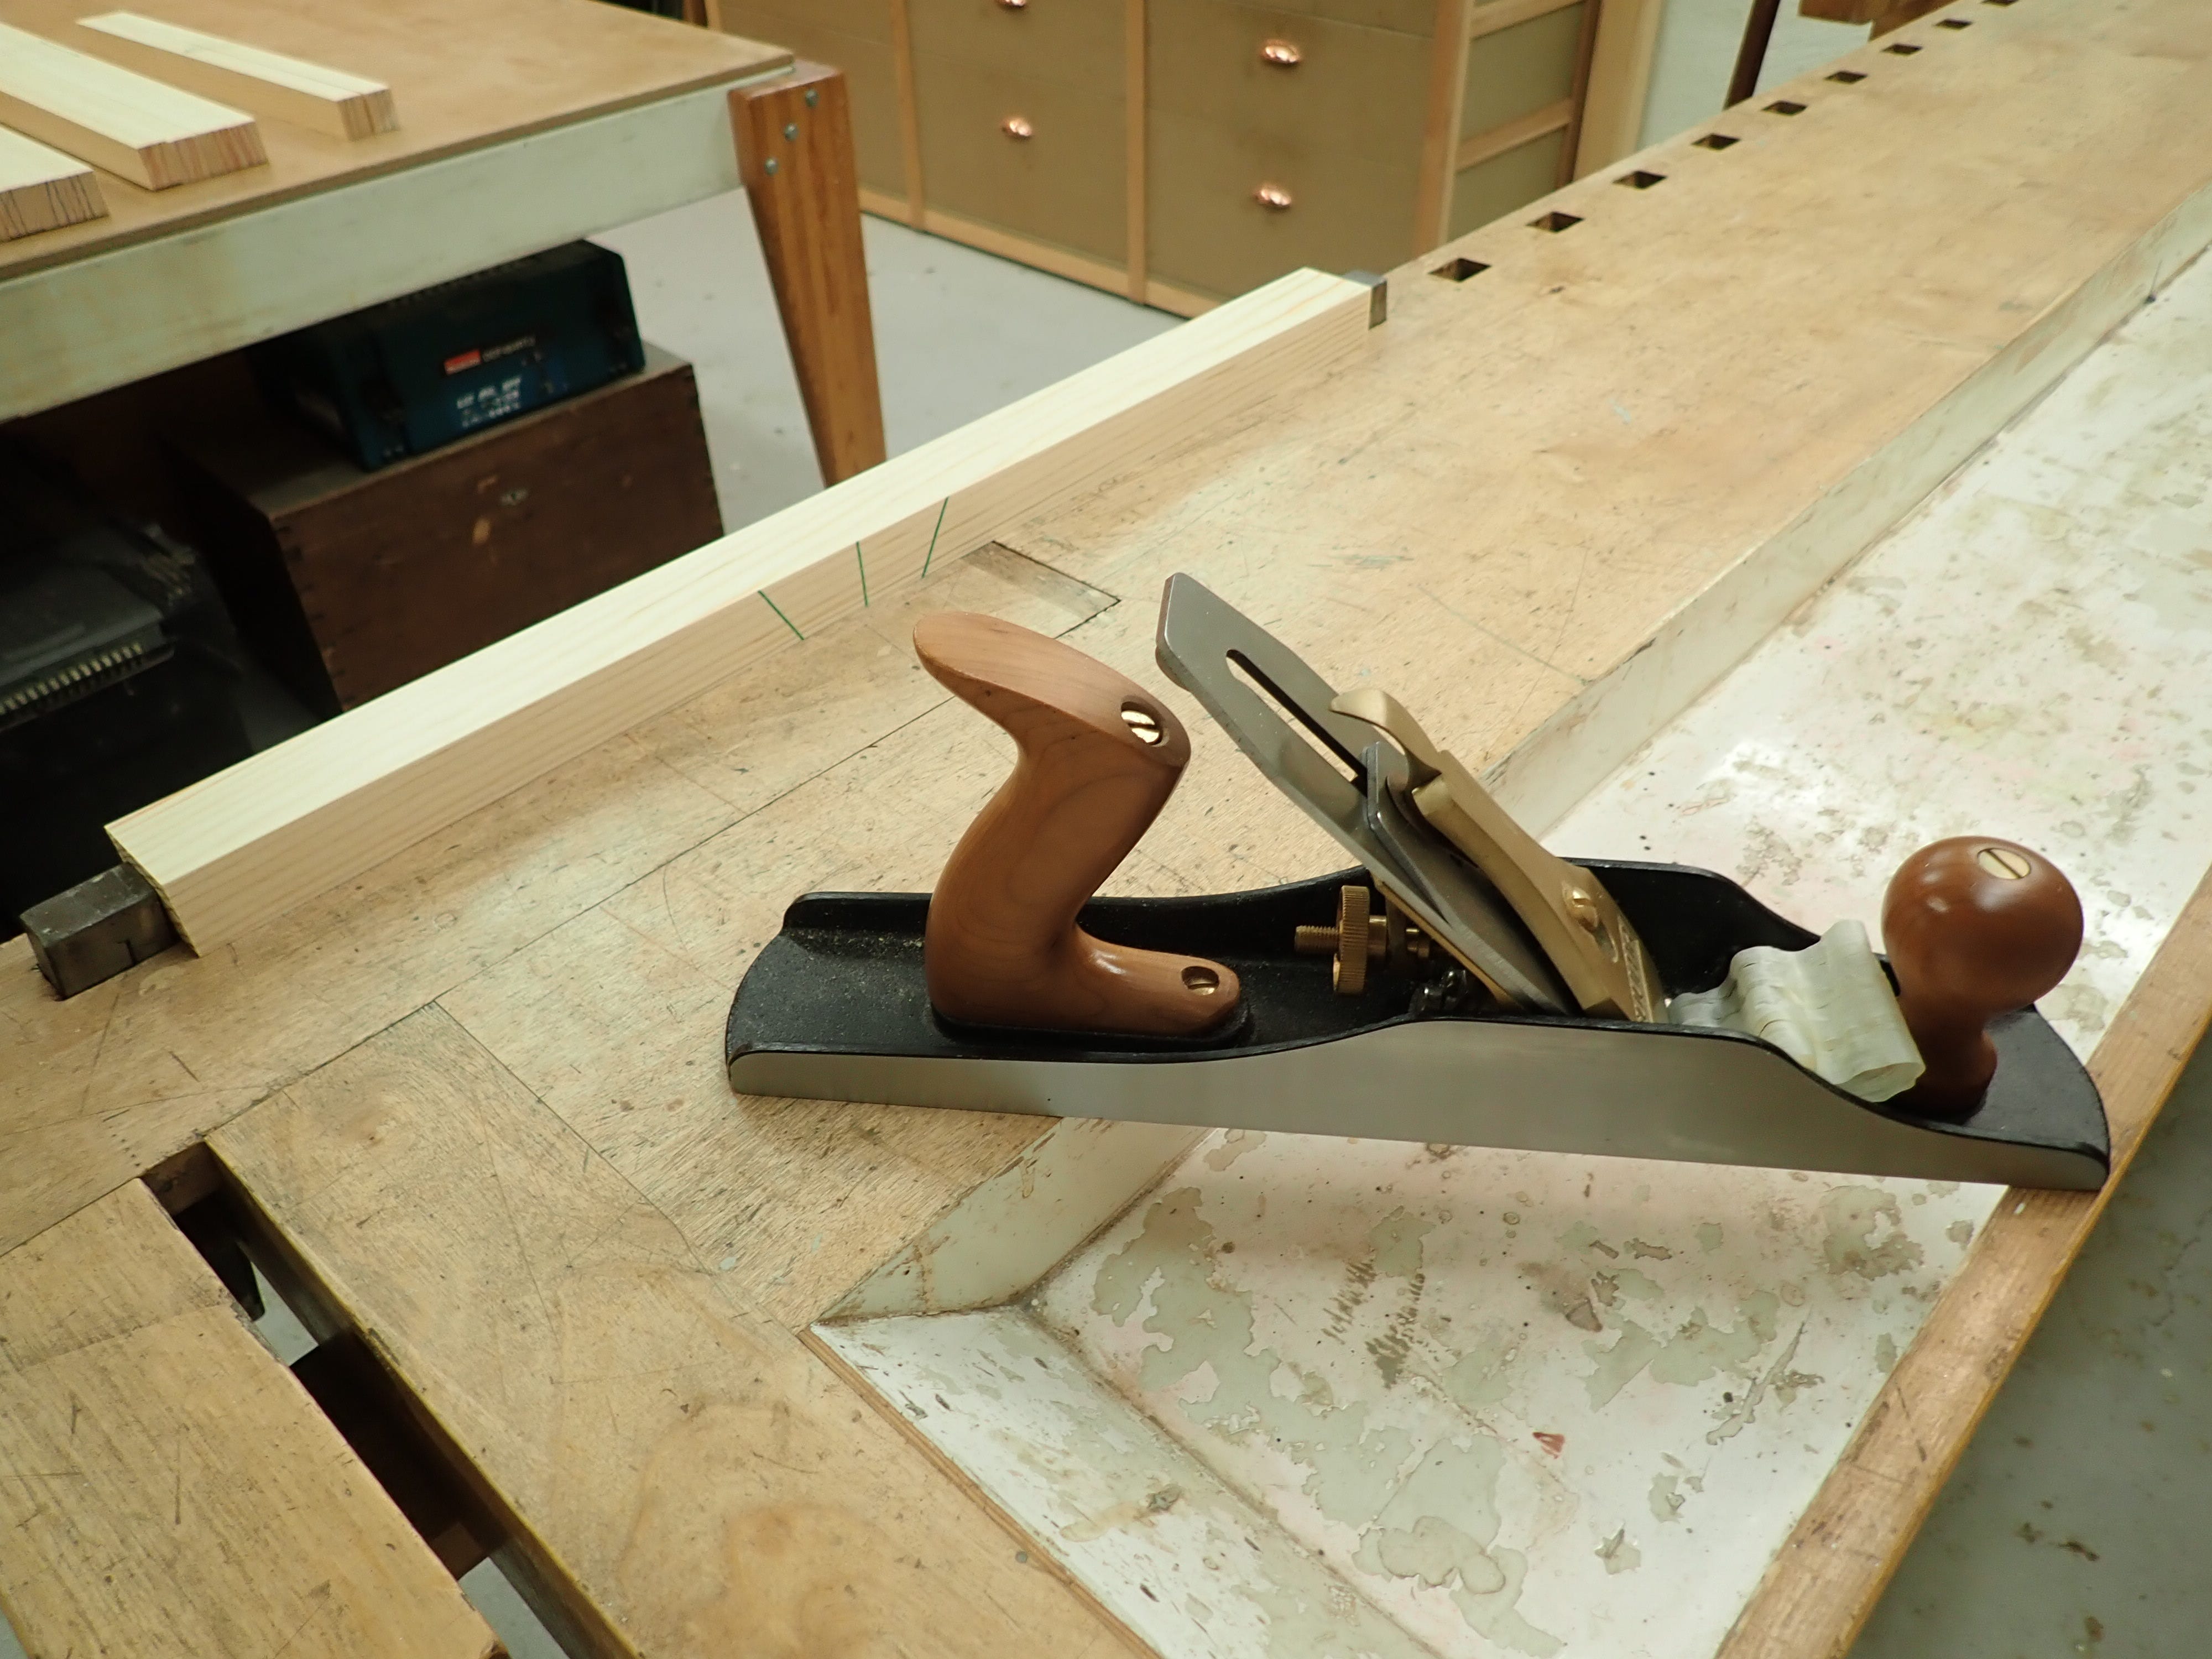
For optimal glue adhesion you can give the mating surfaces a kiss from a freshly honed plane. This will slice the wood’s pores right open and leave a fresh surface yearning for molecule-on-molecule attraction.
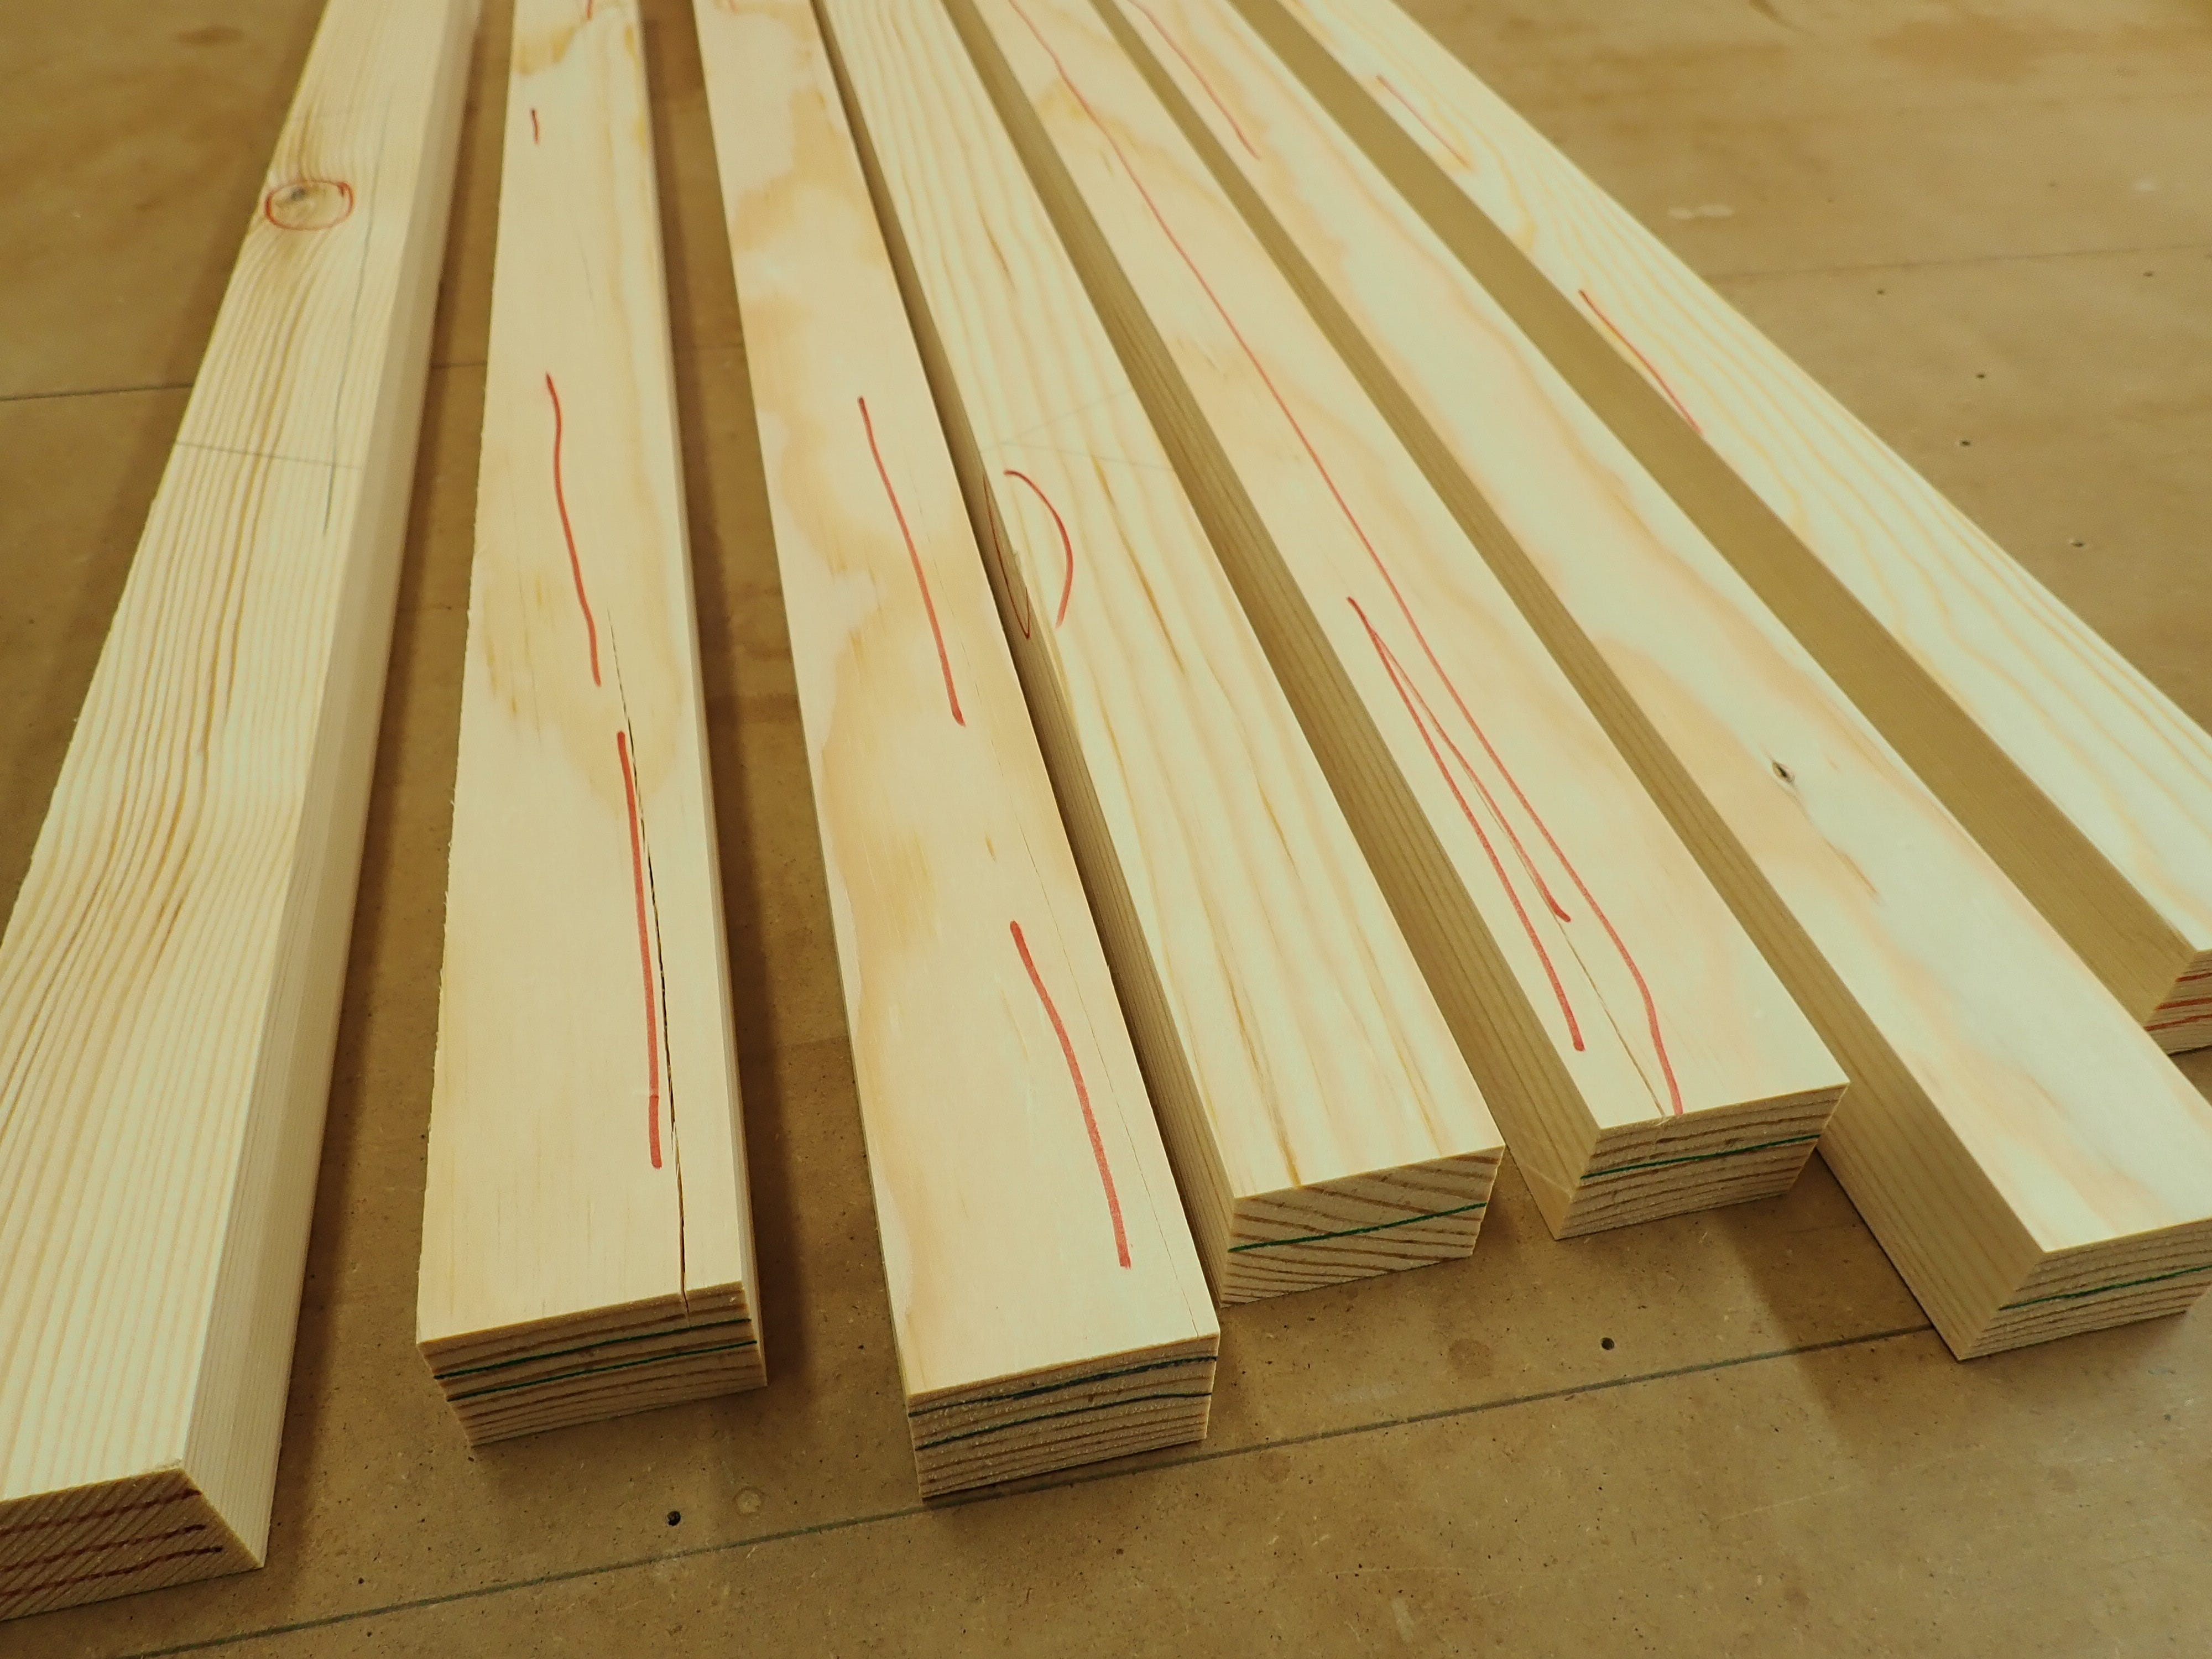
The discarded strips have their defects marked with red and can be used for ‘secondary purposes’ in the shop — ‘helping materials’ if you will; for jigs, shop fixtures … where top quality stuff would be wasted. We were taught at school: “It’s a sin to use better quality materials than the job requires!”
The actual glue-up always follows the same old, familiar steps:
Remove top (or bottom) strip from line-up:
Rotate rest of pieces so glue-side faces up:
Ready?
No! Not yet. You need to get your clamps and cauls in order. If I’m doing a complicated or non-standard glue-up I like to do a dry run to check that I’ve got everything I need at hand. No need for that this time; this is a walk in the park. I’ll glue all the pieces in one go, so I’ve set up some sticks like so:
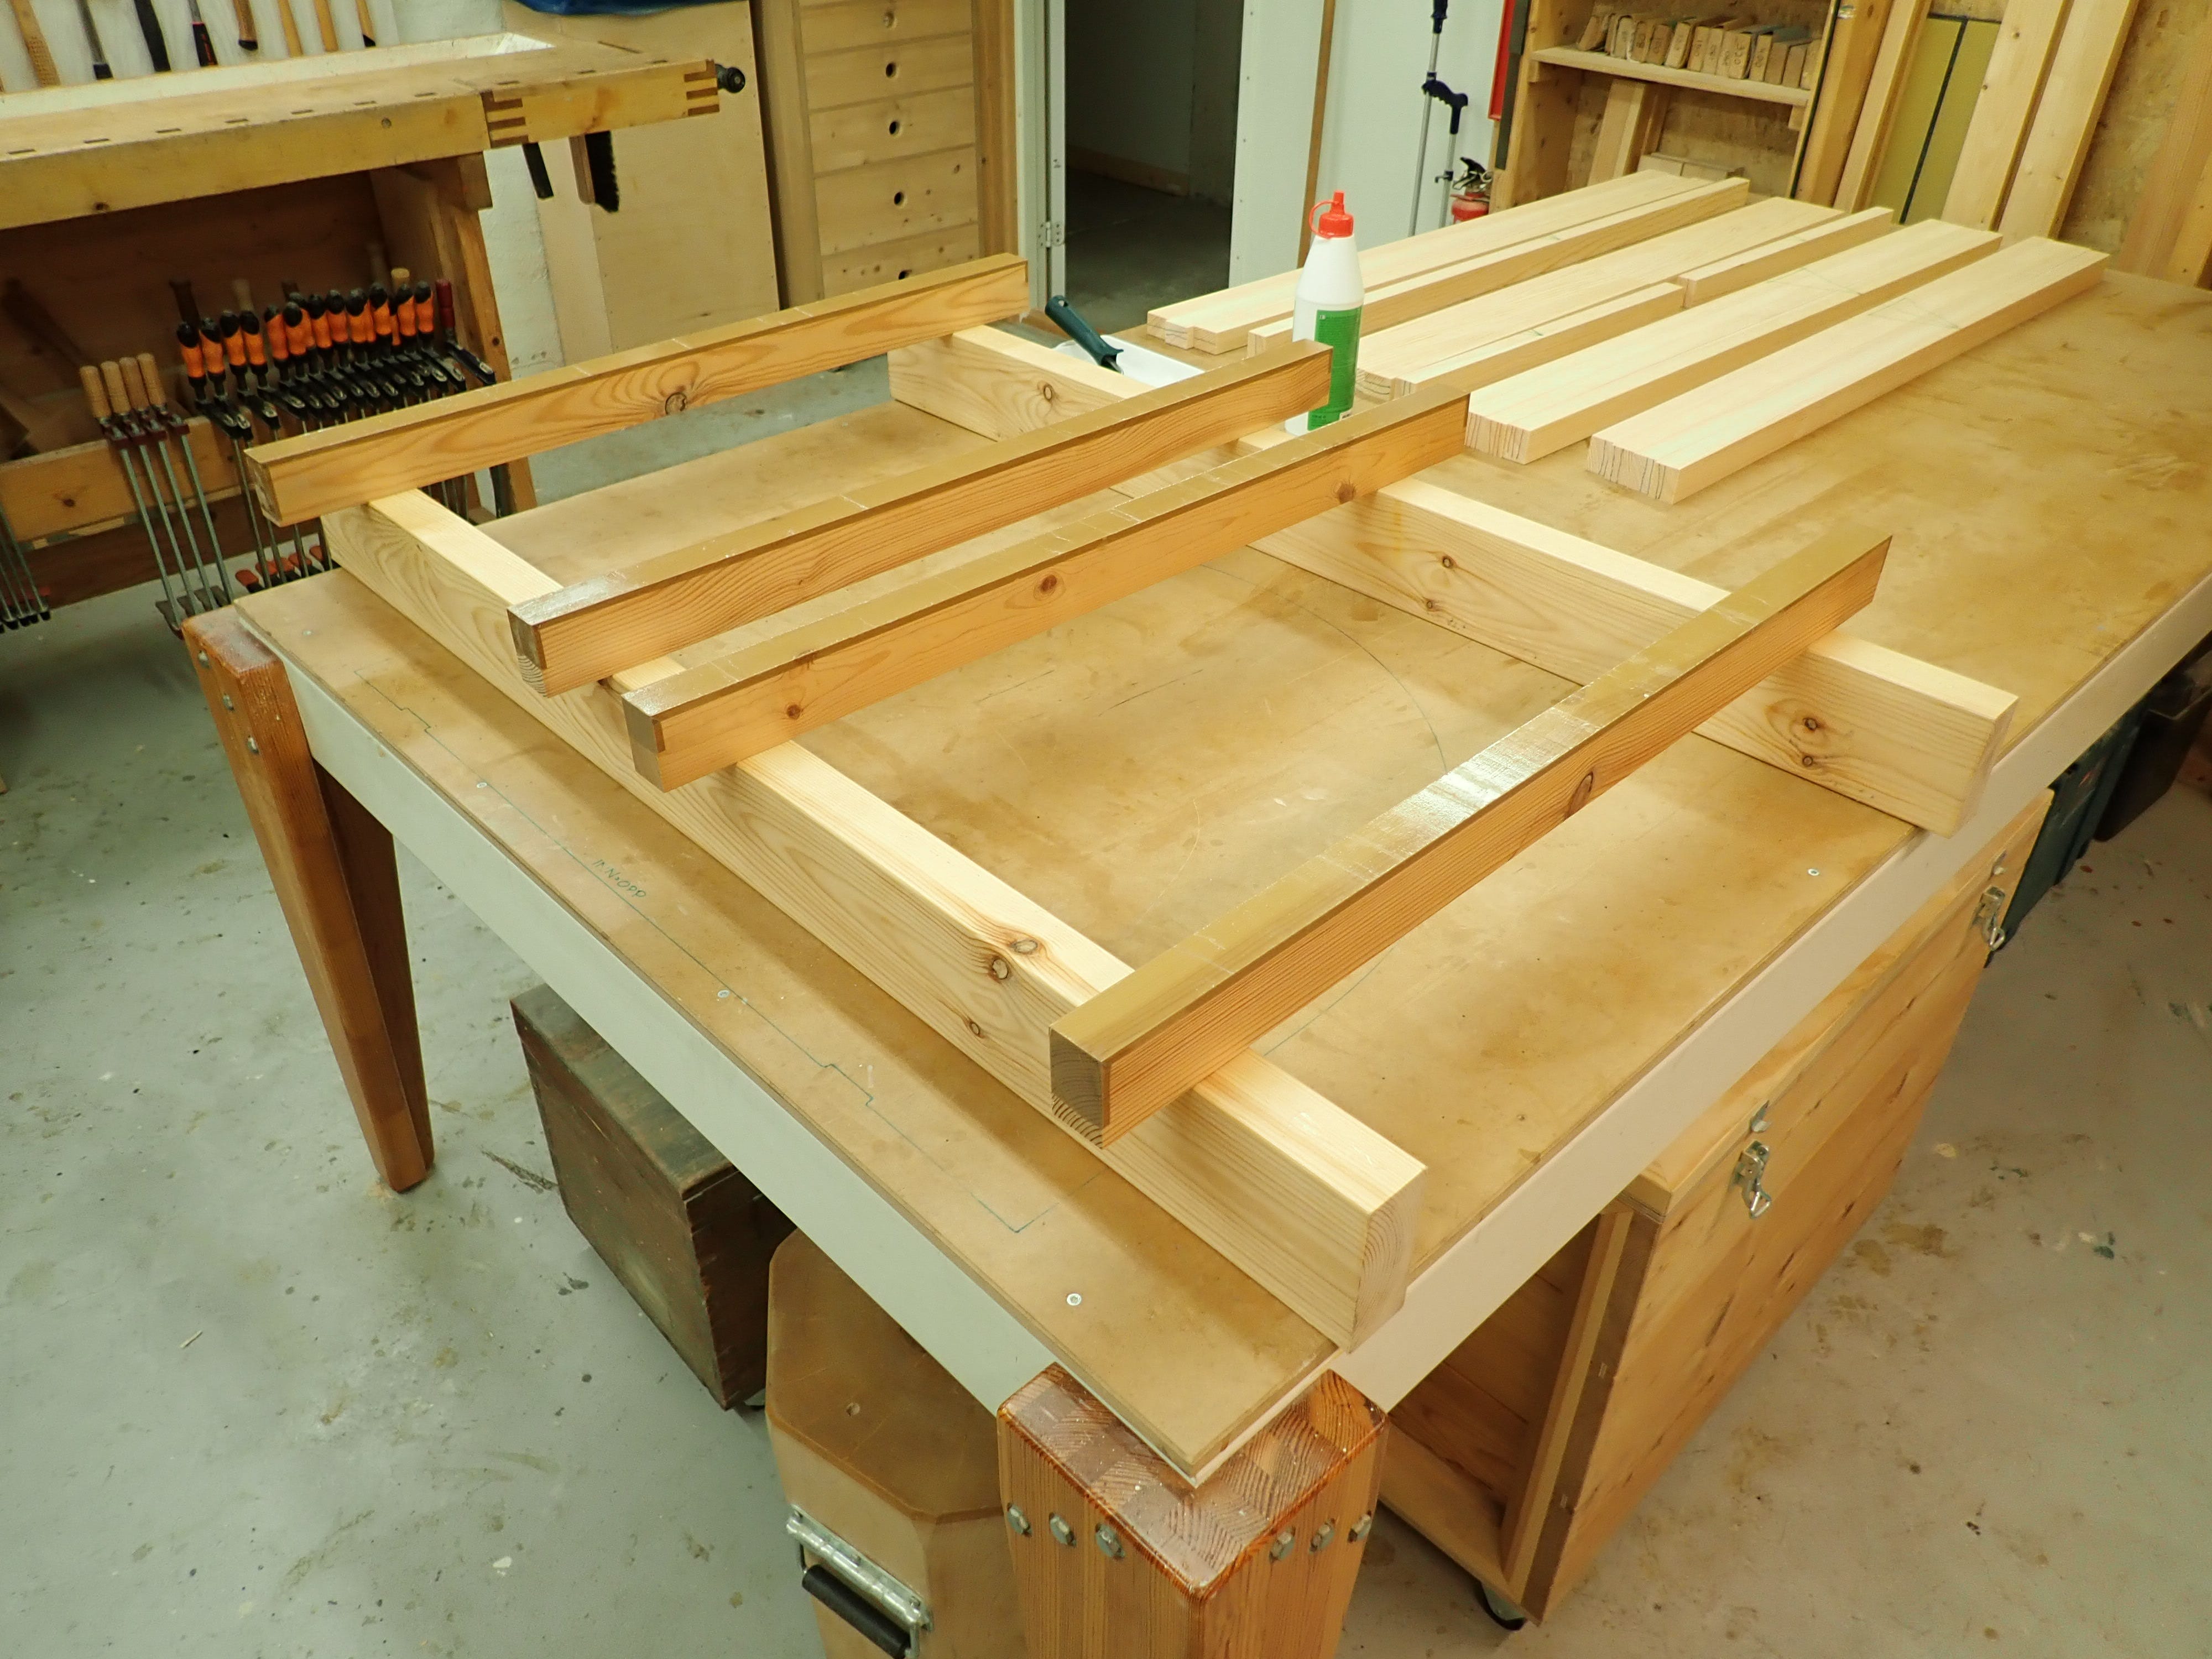
My clamping cauls have a layer of packing tape that I give a light lick of vaseline oil to keep the glue from sticking.
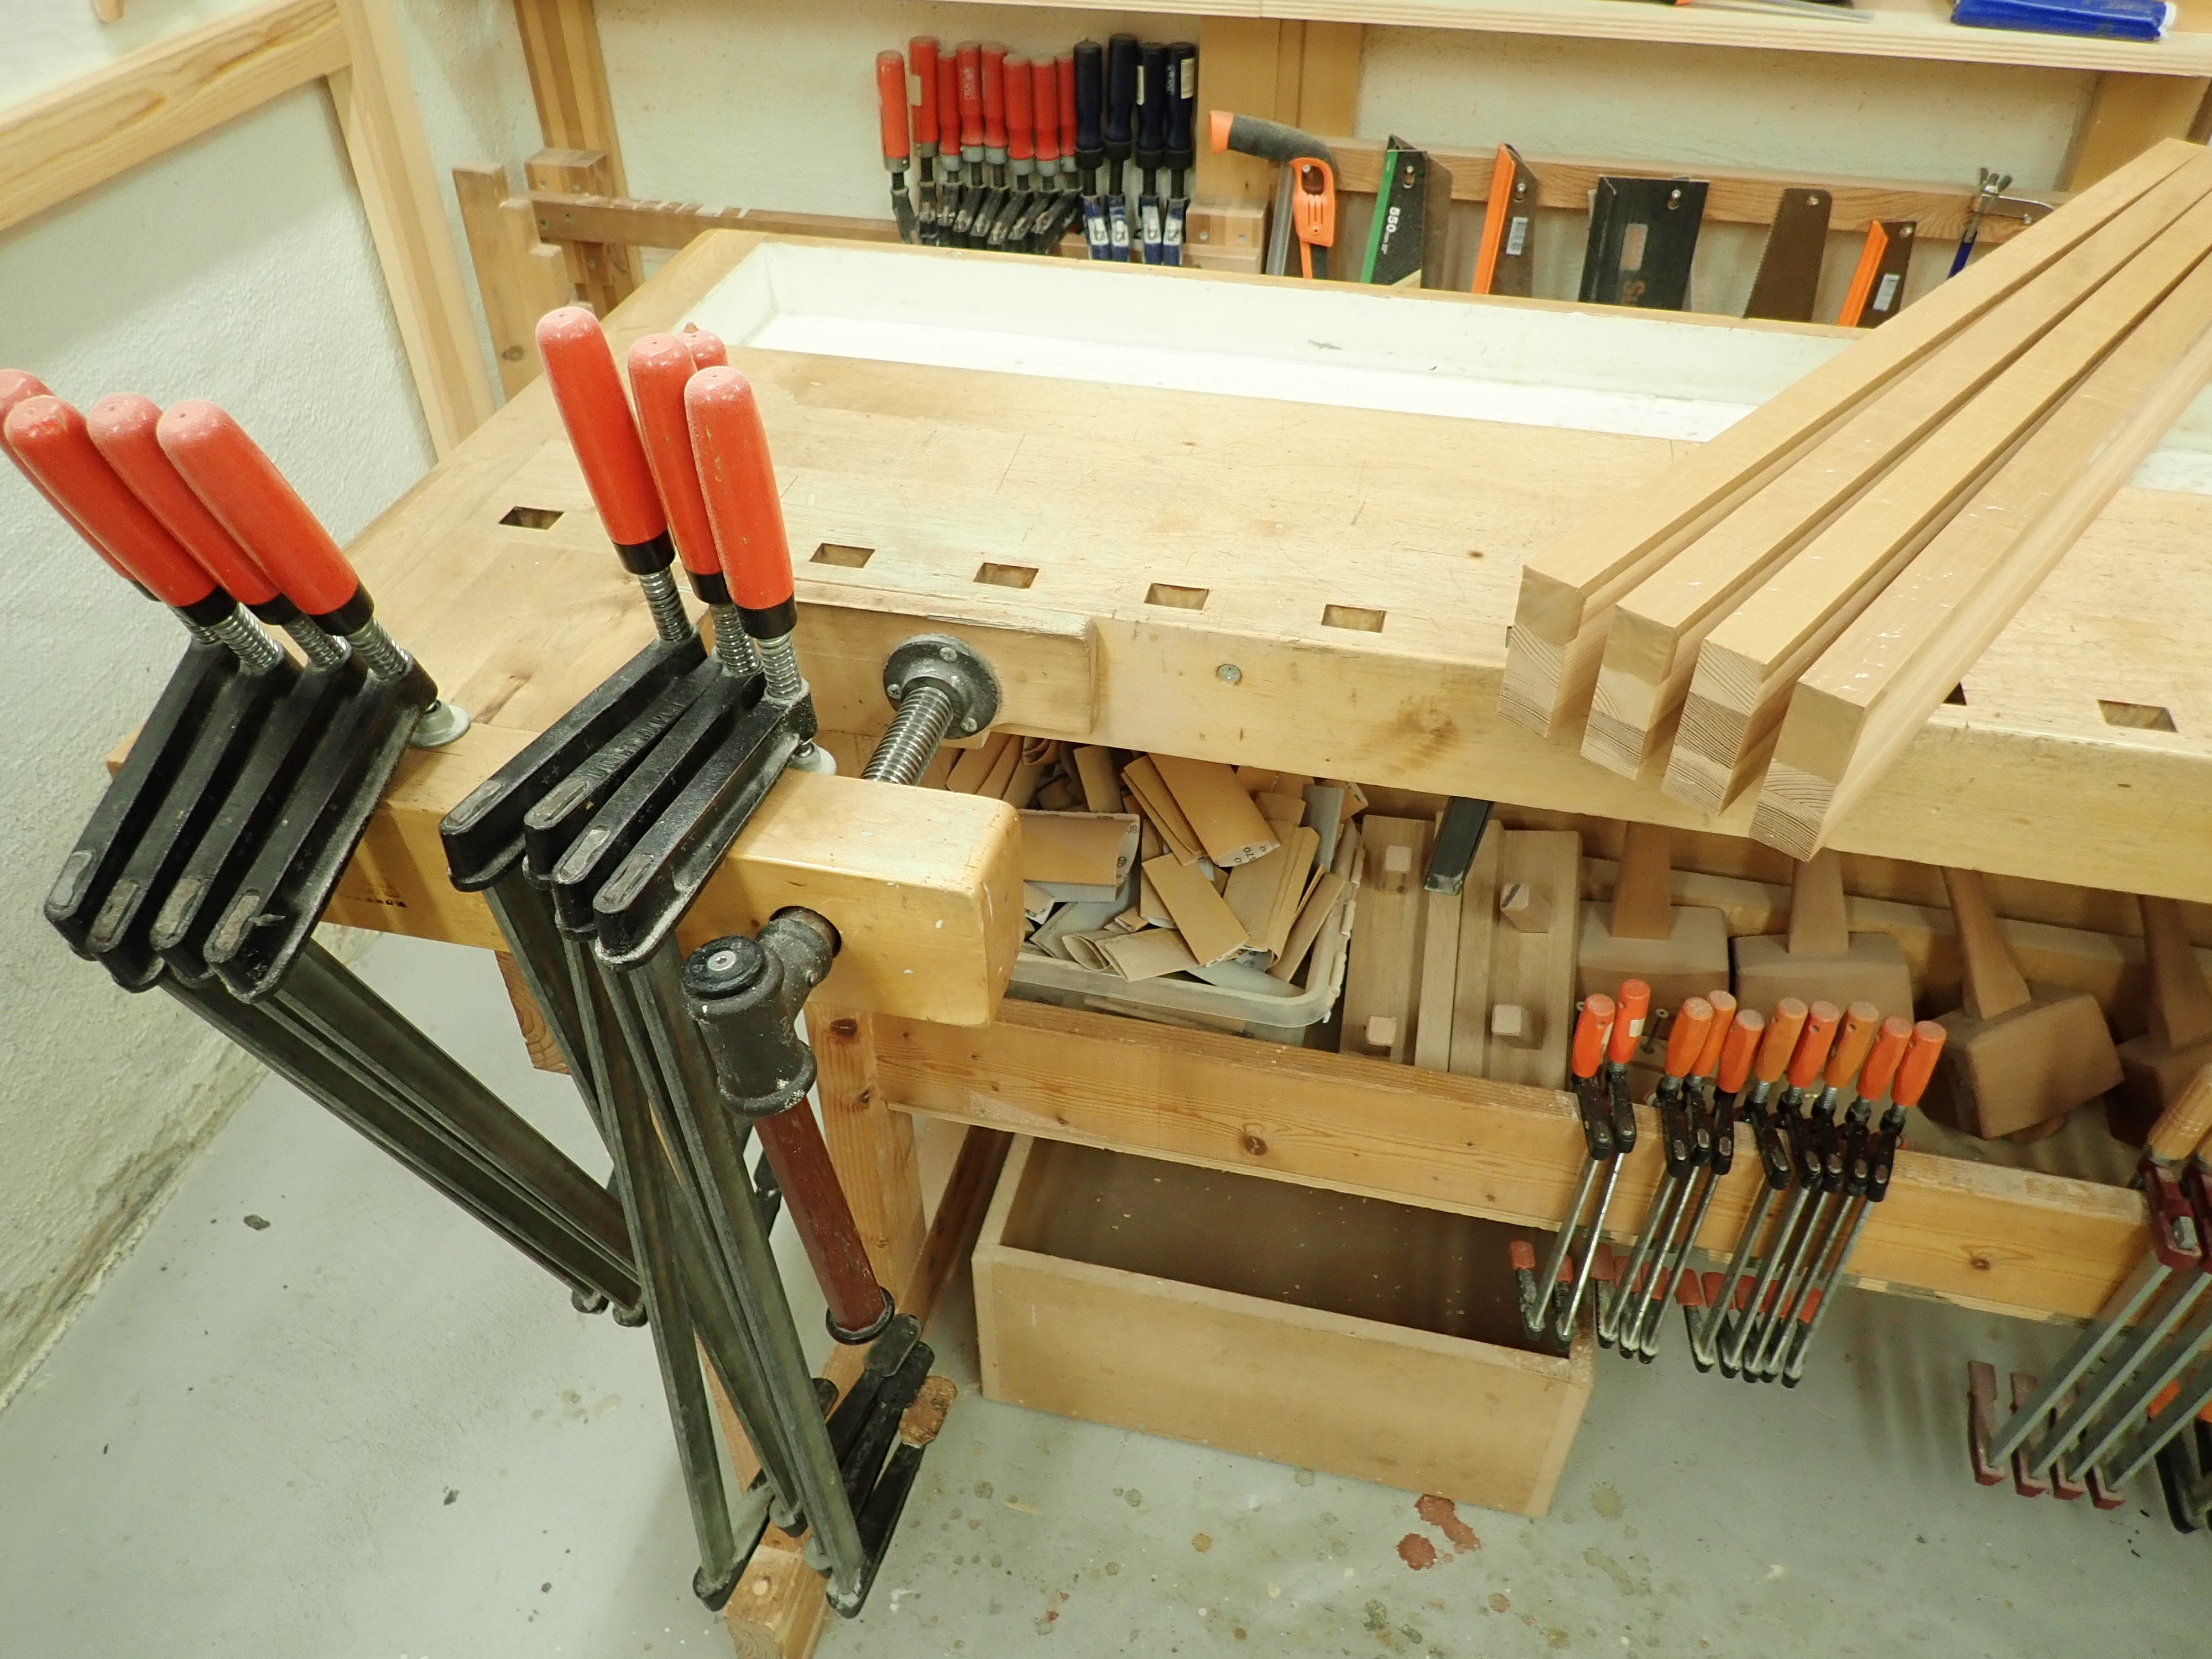
My favourite 60cm/2ft. German Bessey clamps are ready …
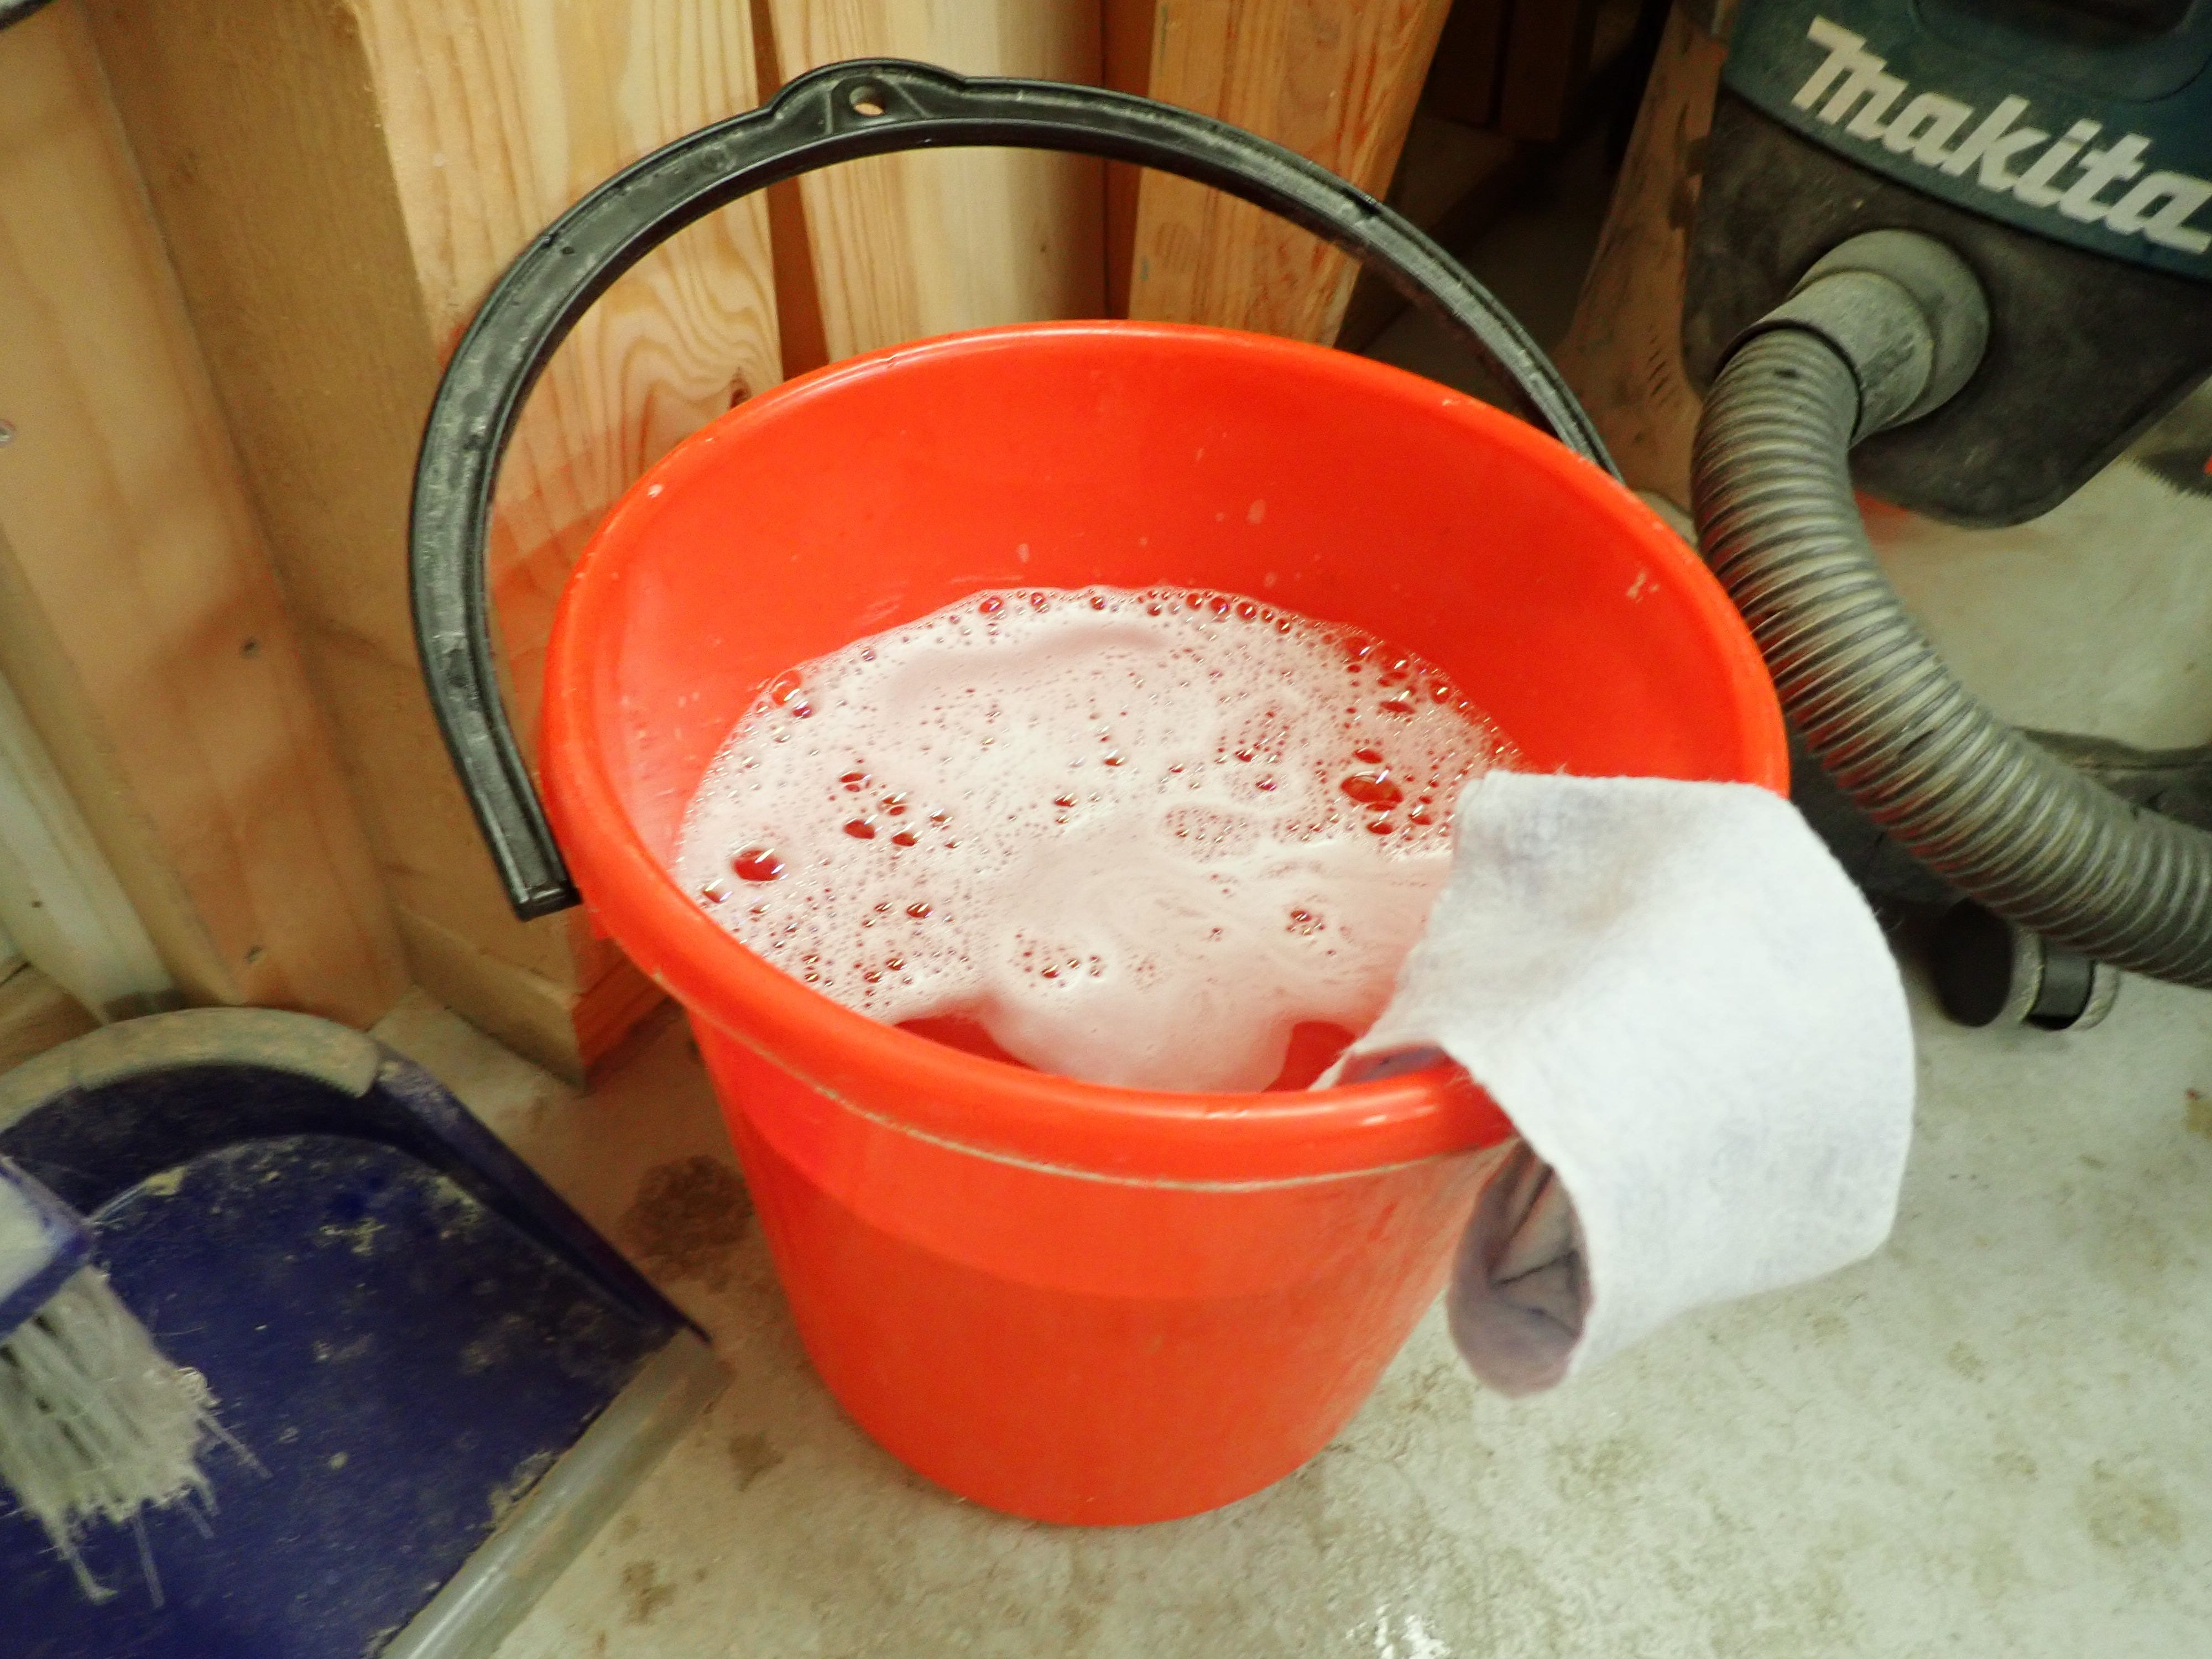
… and let’s not forget the glue-bucket with warm, soapy water and a cleaning rag.
OK. Now we are ready … GO!
I used 7 minutes spreading the glue before I could start clamping up. Open time for this PVAC-glue is approx. 10 mins. First, I apply pressure to the ‘keeping-things-flat-cauls’. The cauls on the underside are straight, but the top ones have a slight camber (as indicated by ‘smiley’ mark on their sides — hard to see on photo) so they apply pressure in the middle of their span first.
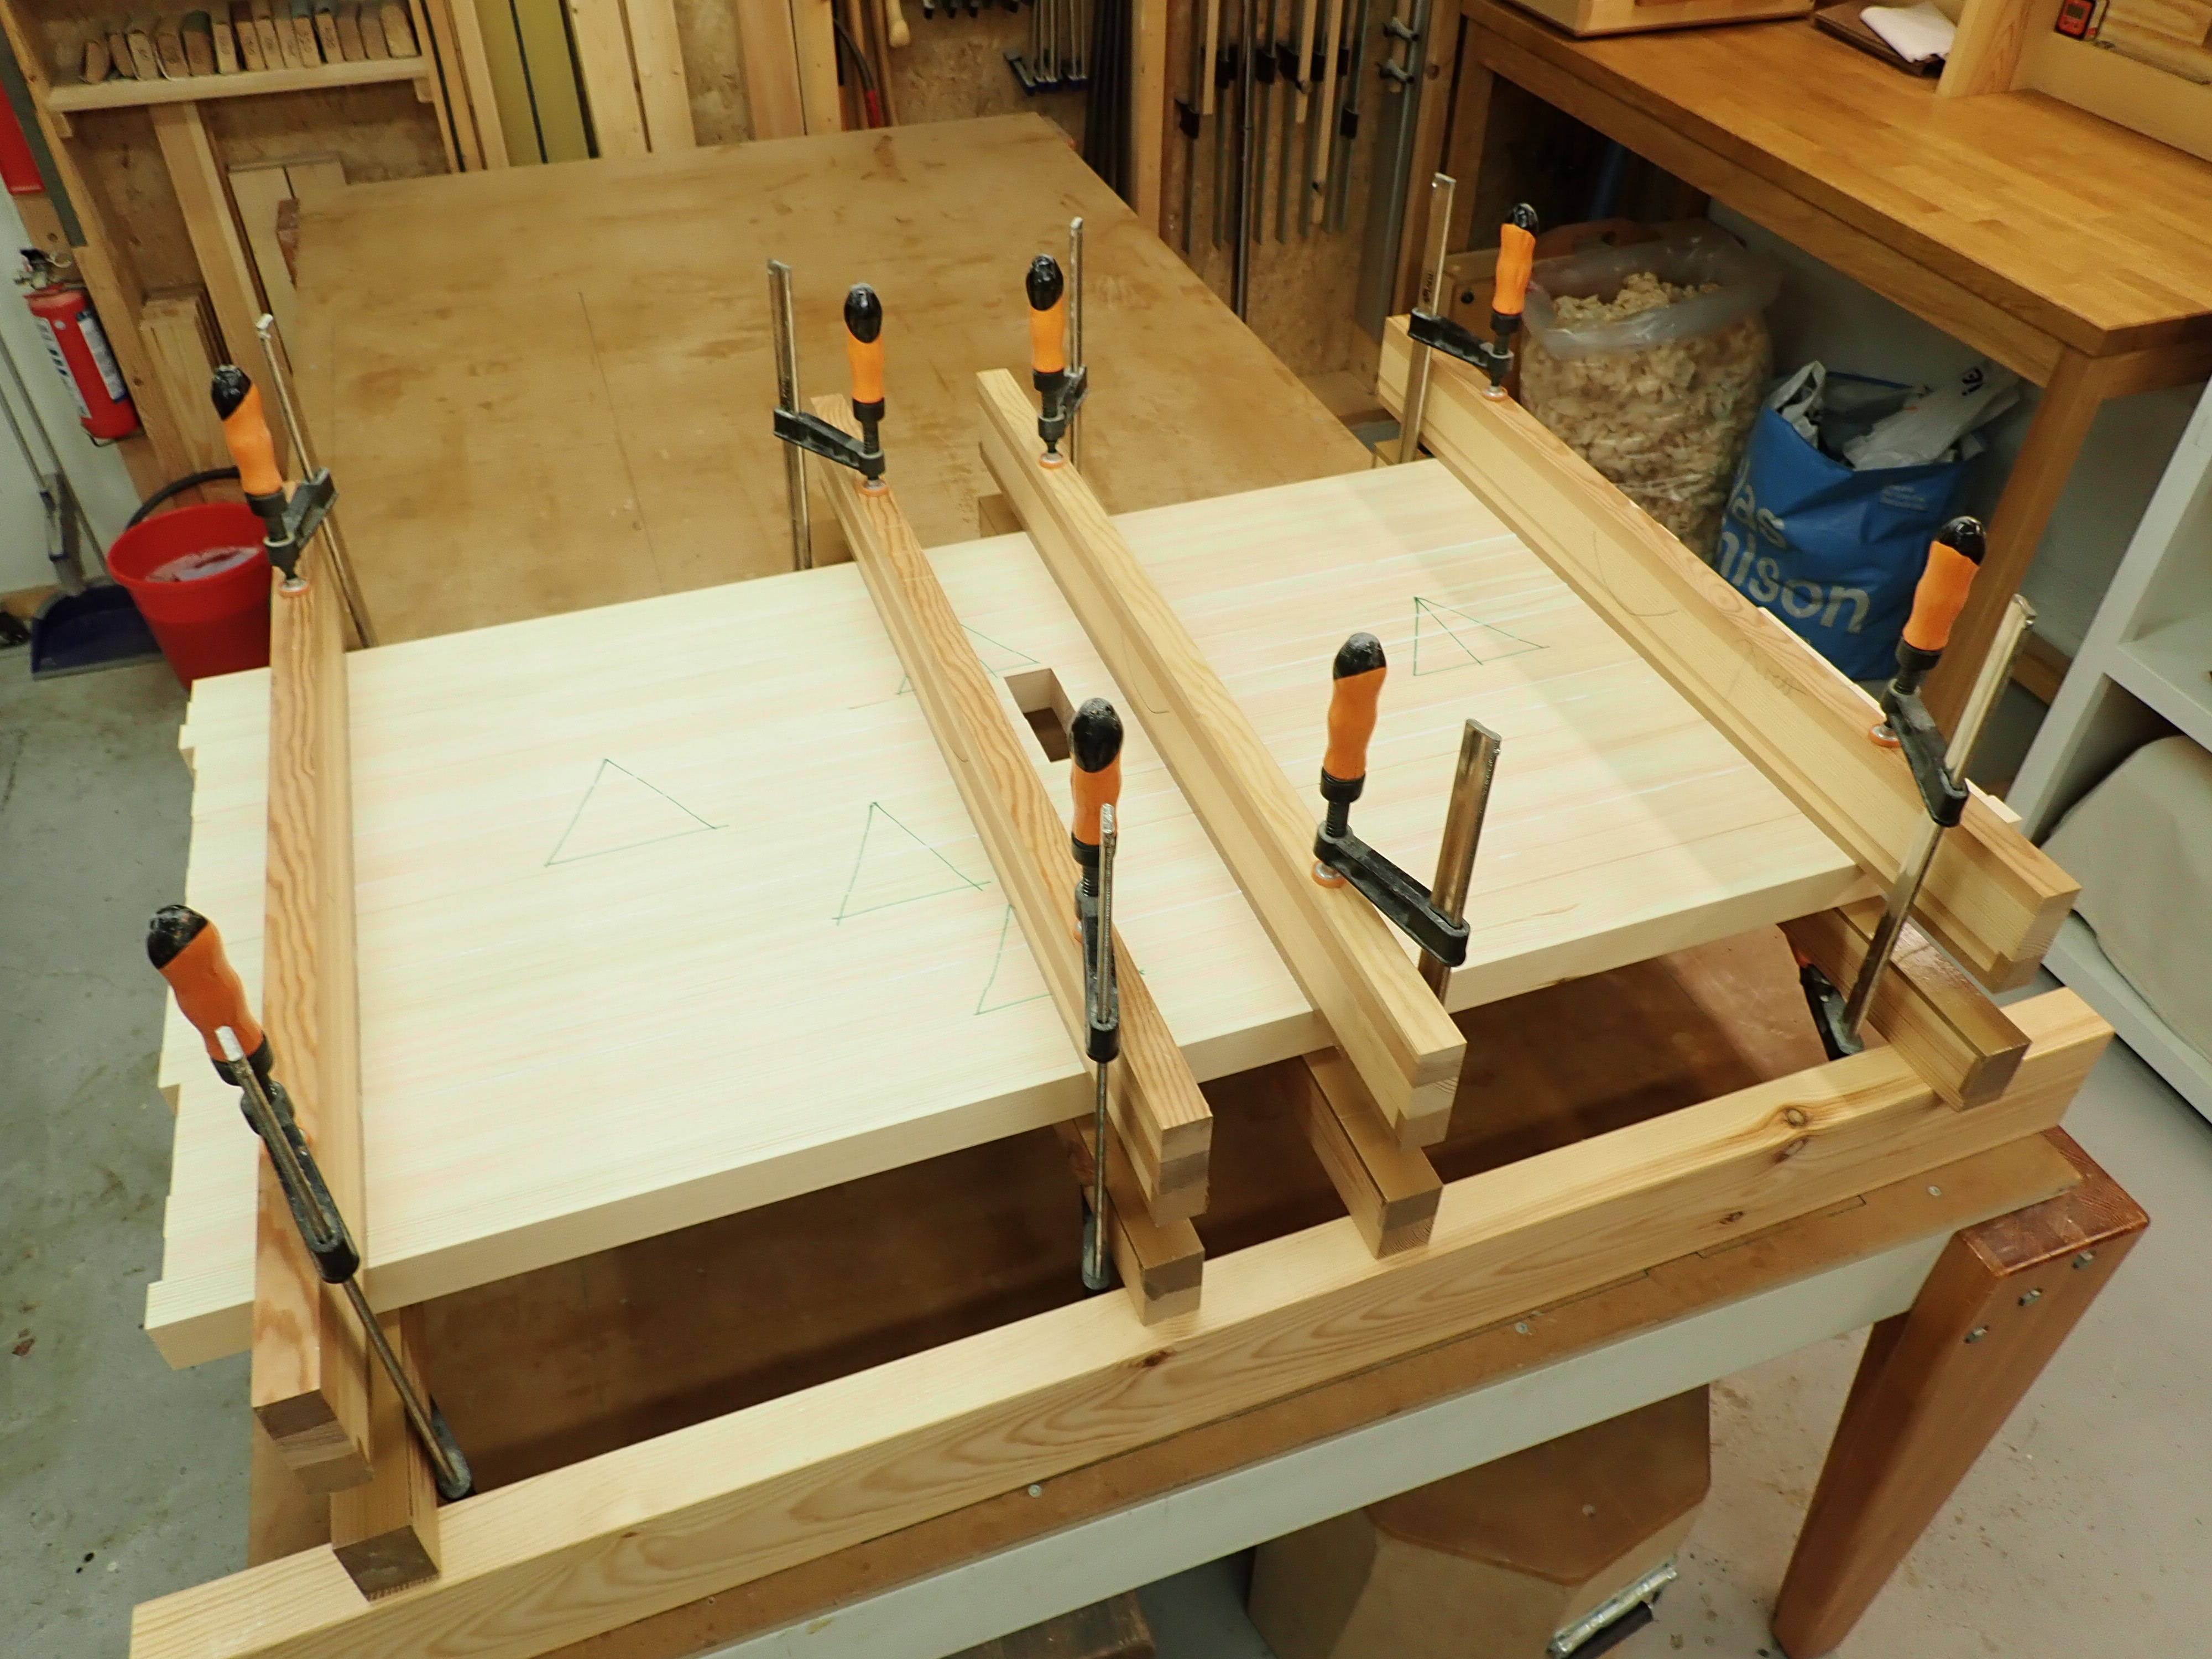
Then it’s time for the compression clamps. It’s better to use many clamps with moderate pressure than to wring the living daylights out of a measly few.

Although the clamping time is nominally (on the bottle!) 30 minutes I prefer to do my glueing at the end of the day and leave them overnight.
Next day: loosen the pressure and put away clamps. I used the discarded strips as clamping cauls to help spread the compression forces and to avoid marring the edges on the actual work-pieces.
I like to scrape off the glue squeeze-out …
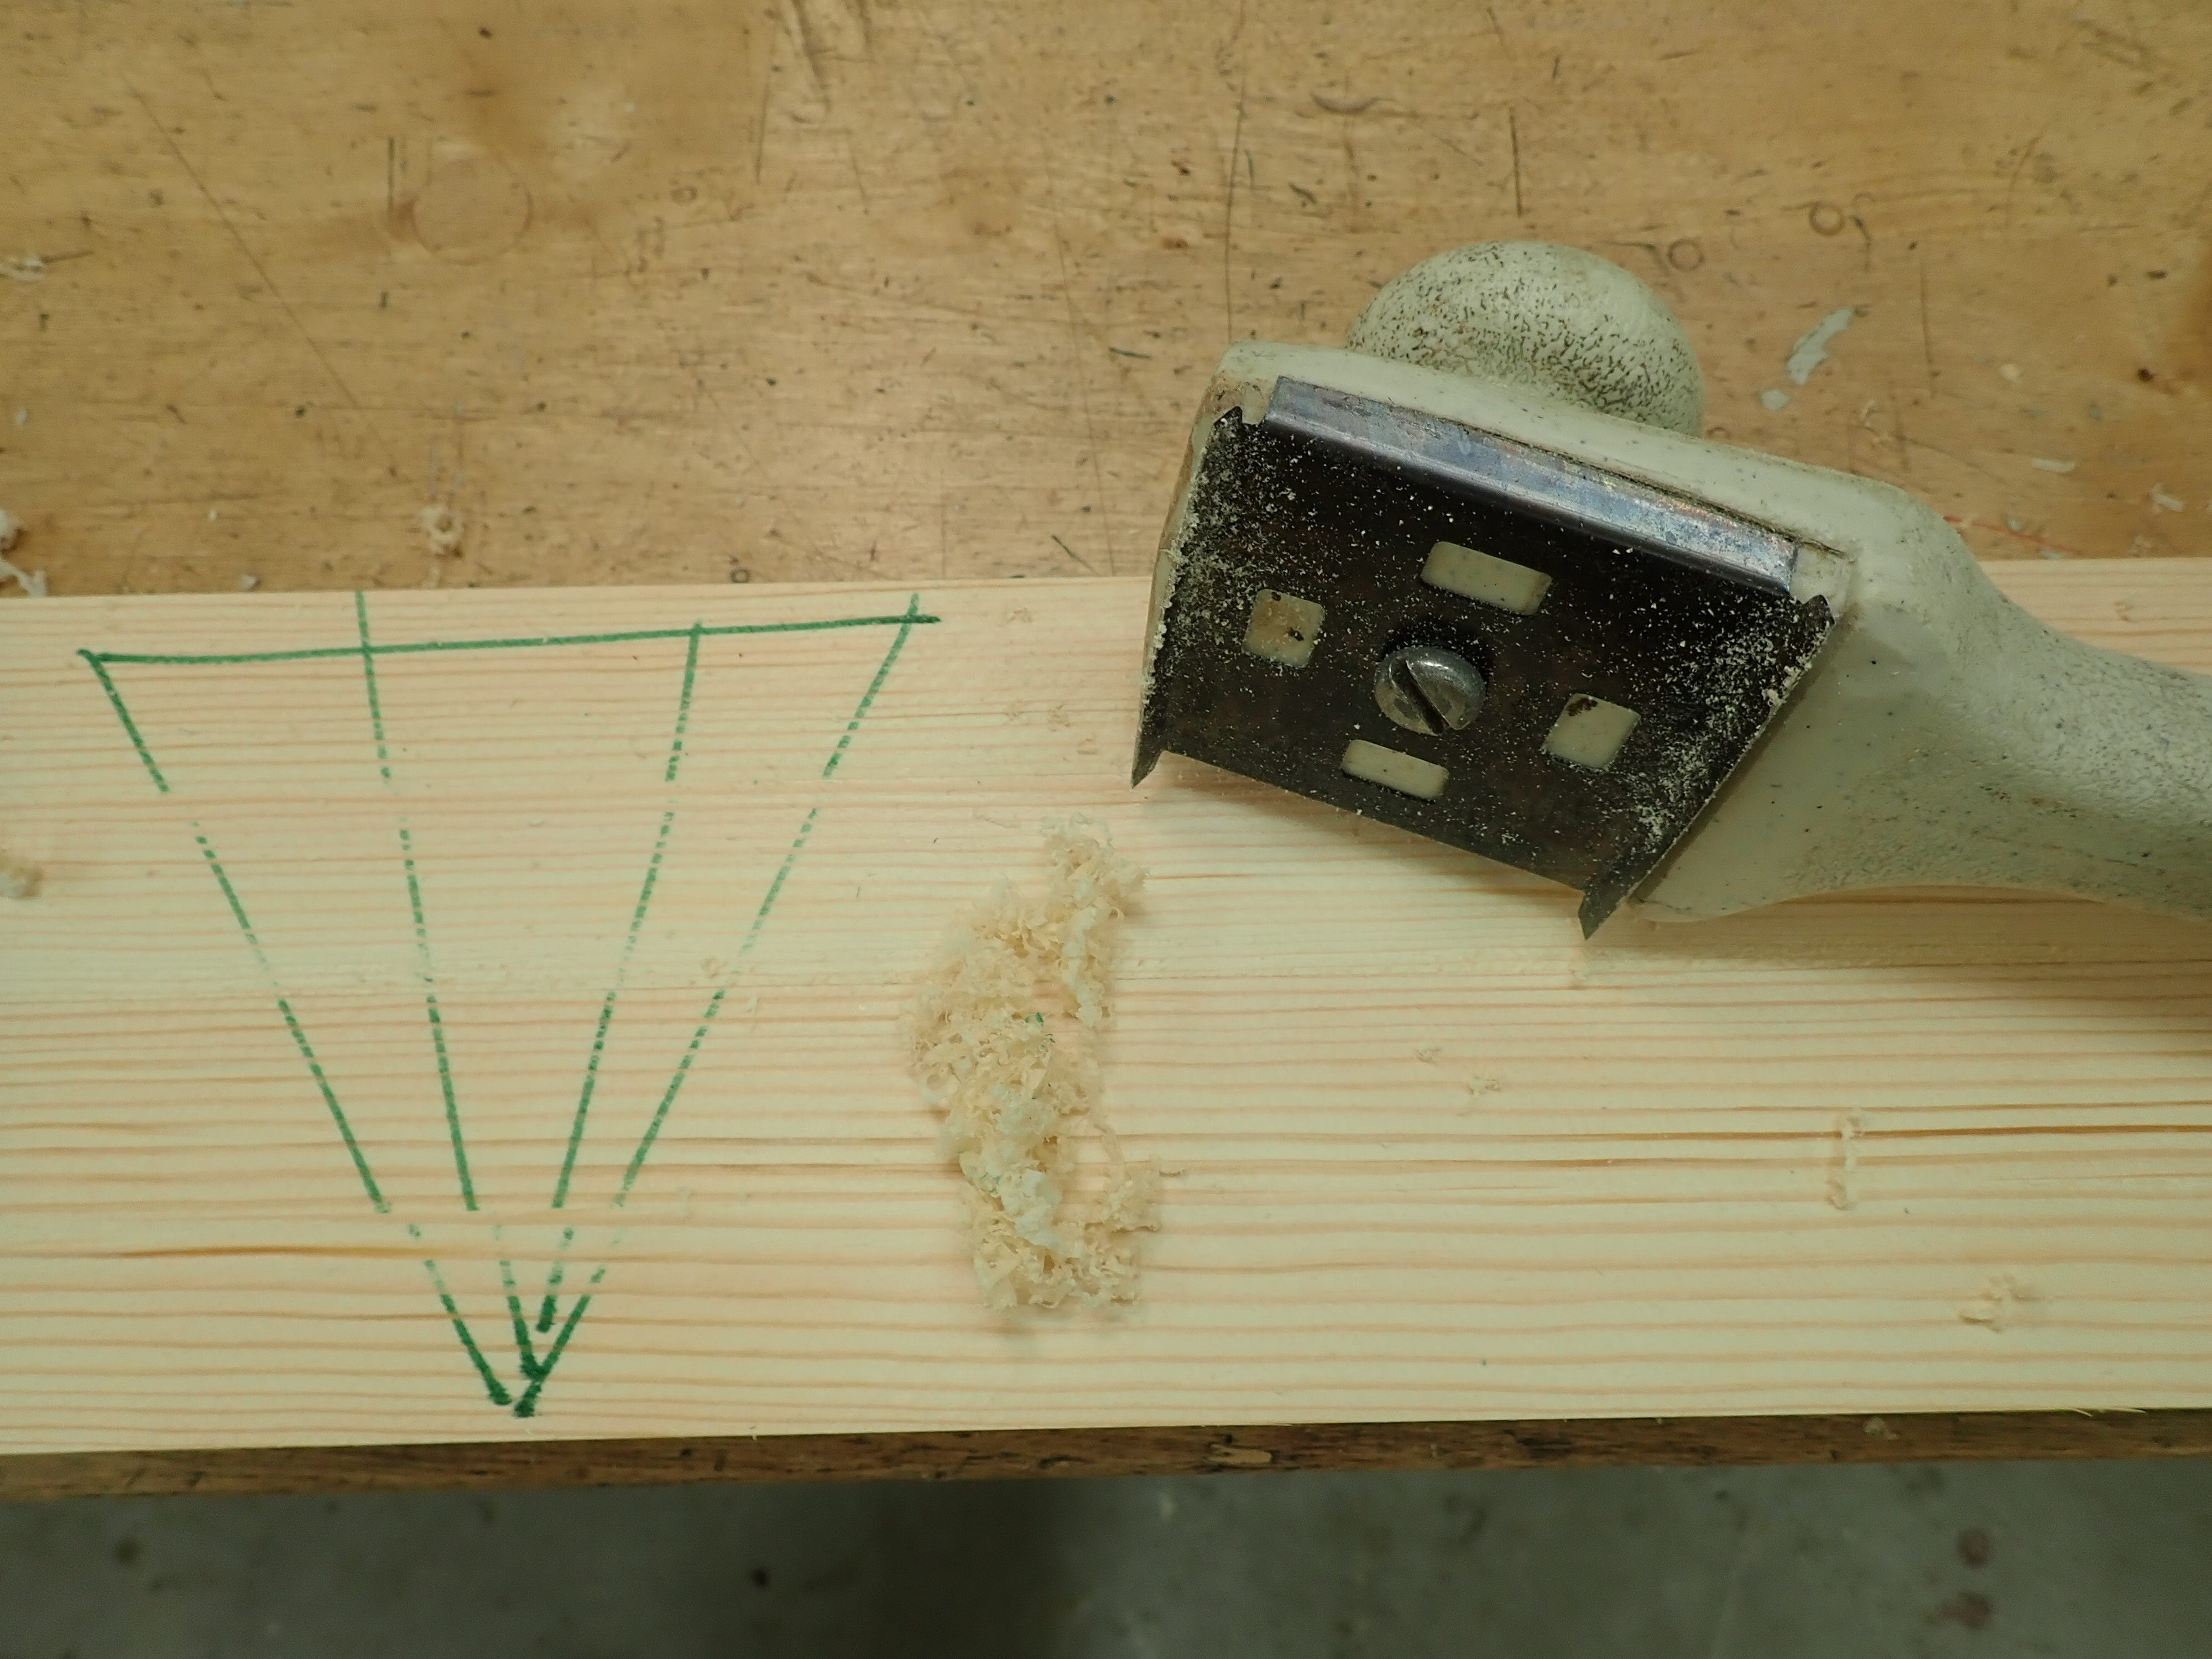
… before planing to final dimensions.
Much ado about nothing? Perhaps. The advantages of this technique are twofold as I see it:
It allows you to make something approximating quarter-sawn wood out of flat-sawn boards. This makes the new, composite dimension less prone to cupping (more form-stable) and just about halves the seasonal swelling/shrinkage (more dimensionally stable). In addition, the various stresses always present inside a larger piece of wood will be ‘dissipated’ by being ripped into smaller sections. For these reasons, the resultant laminated lumber will be more stable than its ‘au naturel’ brethren. This can be beneficial for instance when making door stiles; long pieces that need to keep their shape in order for the door to shut gap-tight and for the lock’s deadbolt to find its mortise smoothly.

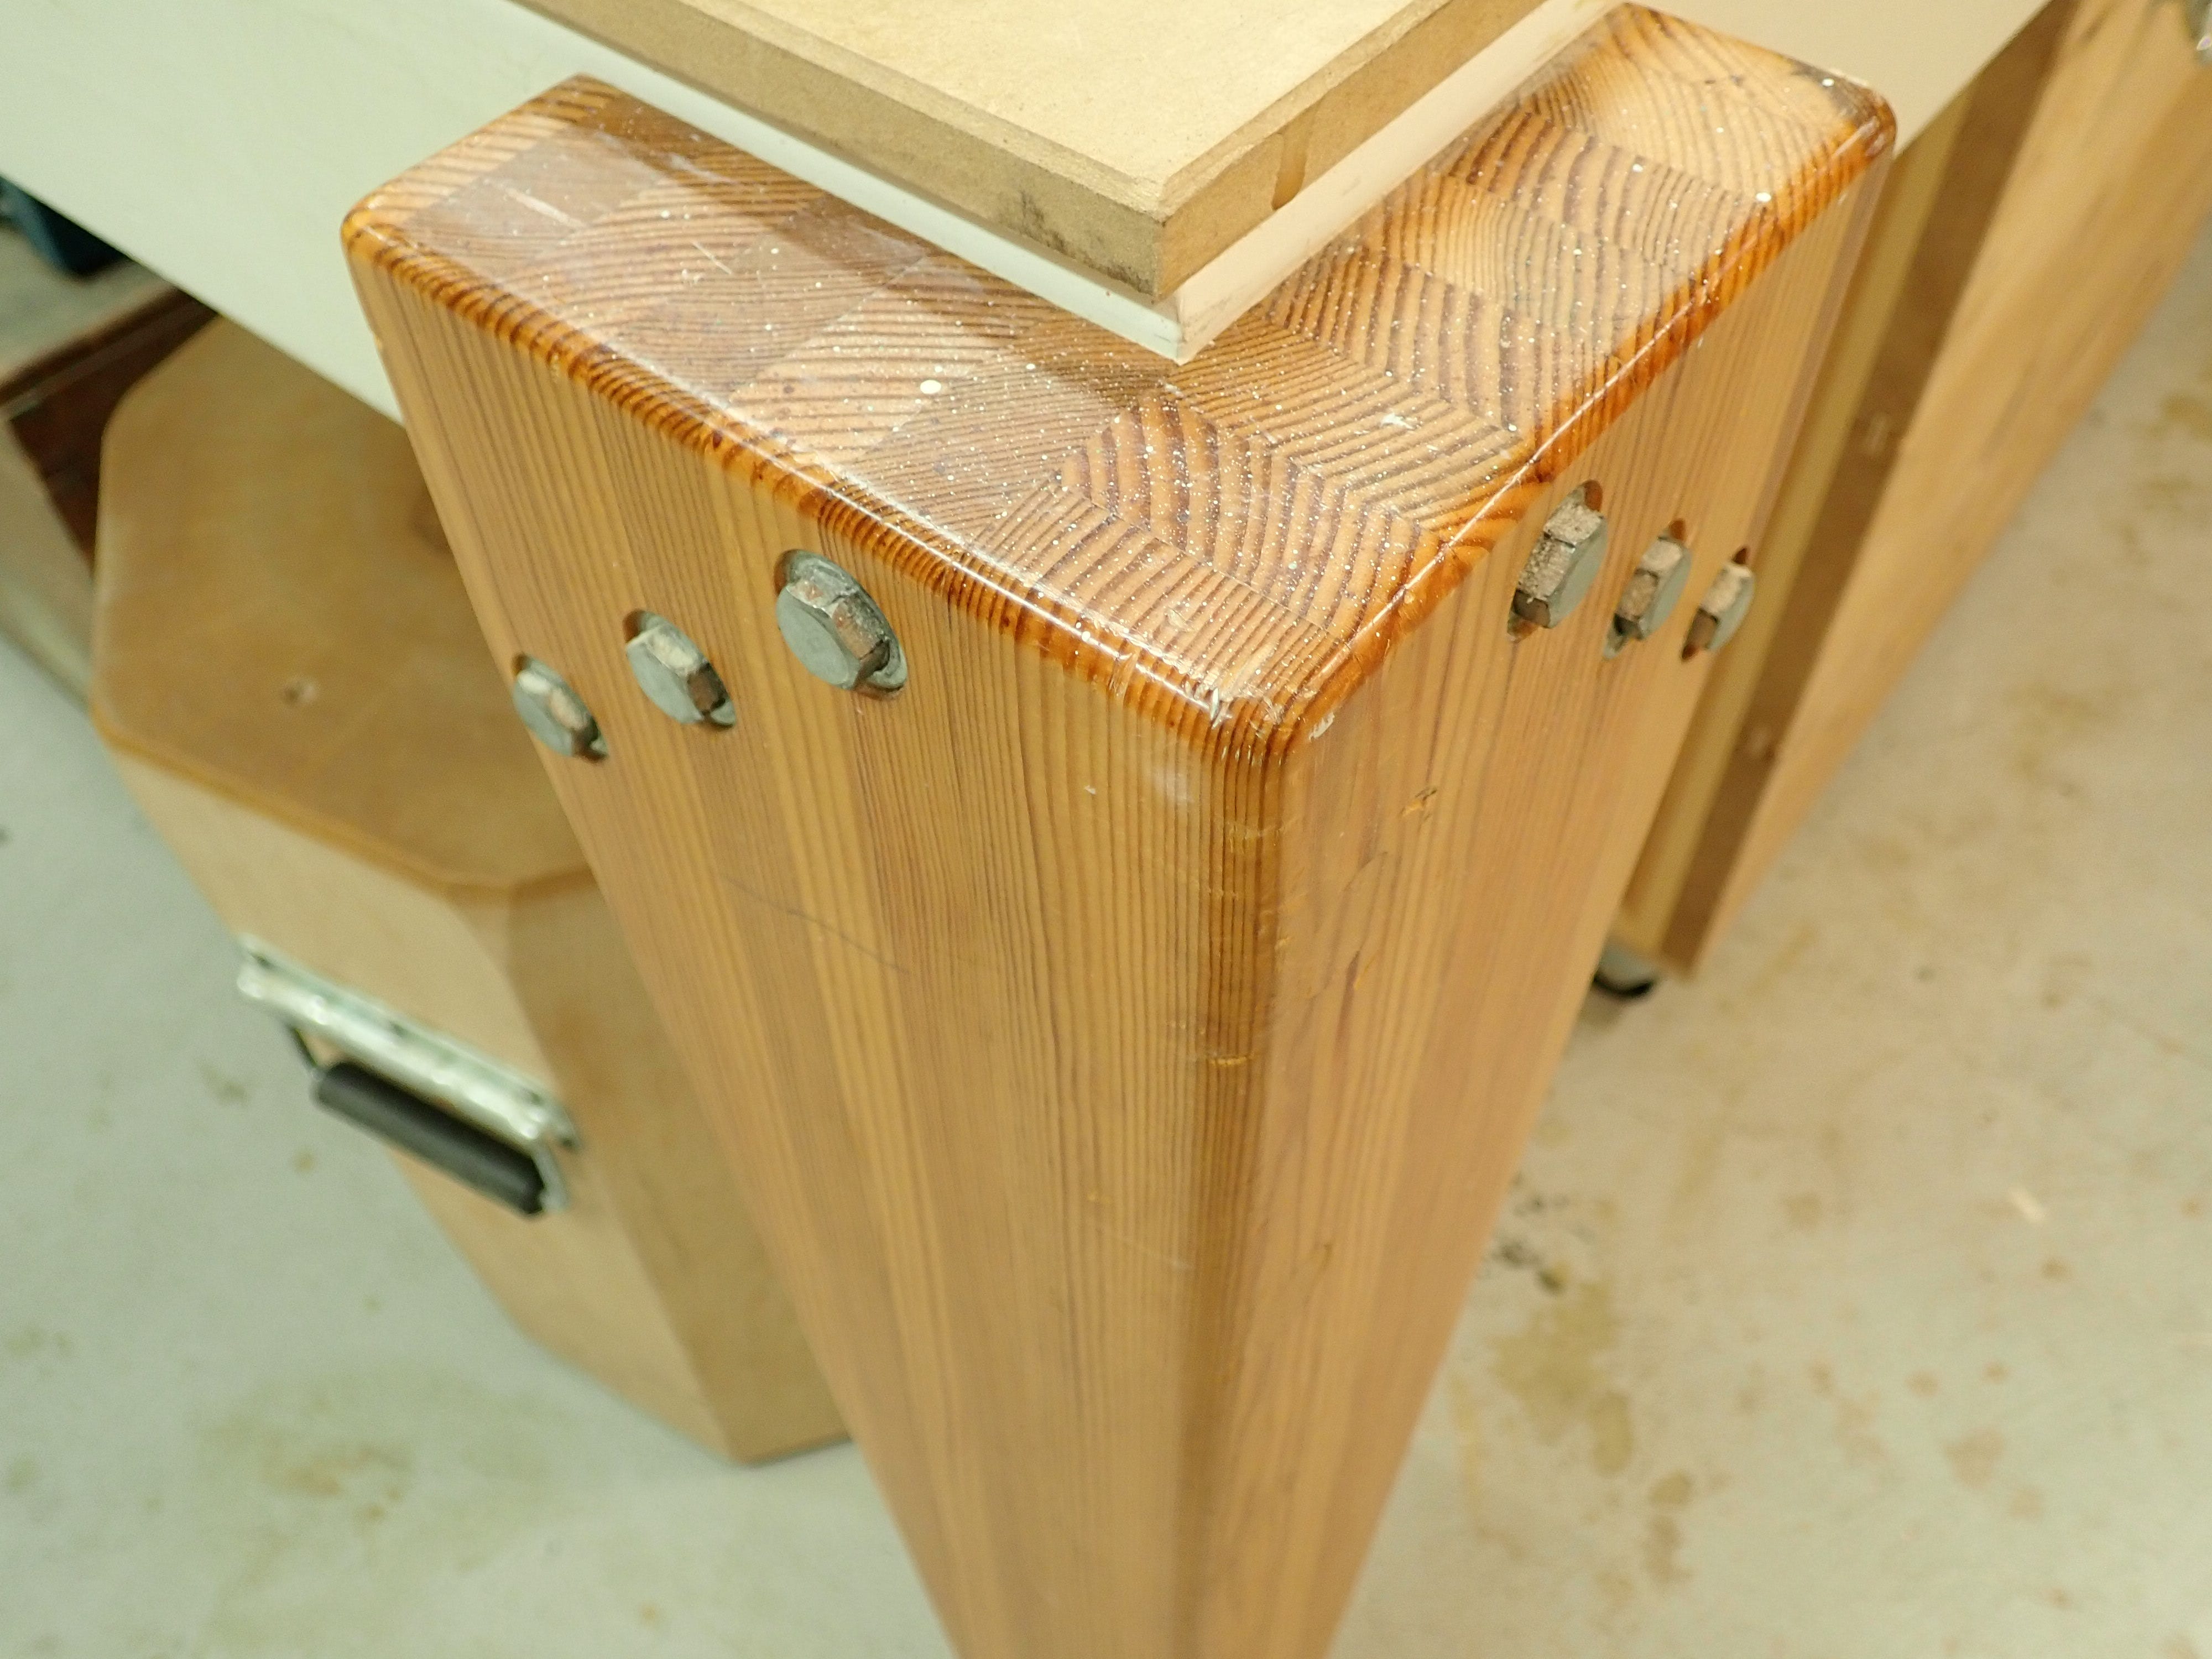
Secondly, it’s a way to use those inferior pieces of wood with cracks and knots that would otherwise become the world’s most expensive firewood. With some clever juggling, these defects can often be hidden in the lamination so that the finished article looks at least half-way presentable — the legs of my building table are made of ‘discards’. Good enough for shop use.
Good luck!
That makes sense. Thank you!
Fascinating. When selecting which strips to use, is it true that you focus more on grain orientation than on cracks/checks and knots? And then you orient the strips to hide the checks/knots? If so, is that because the grain orientation is more important structurally than those checks and knots?