

Annual Shop Maintenance
Changing the abrasives on my sharpening plates

[ soundtrack : Rammstein - ‘Dicke Titten’ ]
Is there an English word for the week between Yule and New Year? Winterval? Whatever it’s called, I usually use it to laze around, do a bit of shop maintenance and perhaps a little hobby project if I can be bothered.
But first, because the weather was so crisp and bright, I took a walk down to town and over to the old Fortress where I found this charming chap:
When I got home it was just time for a coffee and a quick dram before going down to the shop. As my regular readers will have gathered from previous posts, I sharpen my plane irons and chisels using self-adhesive abrasives stuck to glass plates; what is often called ‘the Scary Sharp-system’ — a truly silly name. I usually change the abrasives once a year, whether it’s necessary or not. It’s not that they’re worn out (tho’ some of them are a bit scuffed and worse for wear), I just like to face the new working year with fresh grits and they’re quite inexpensive, so …
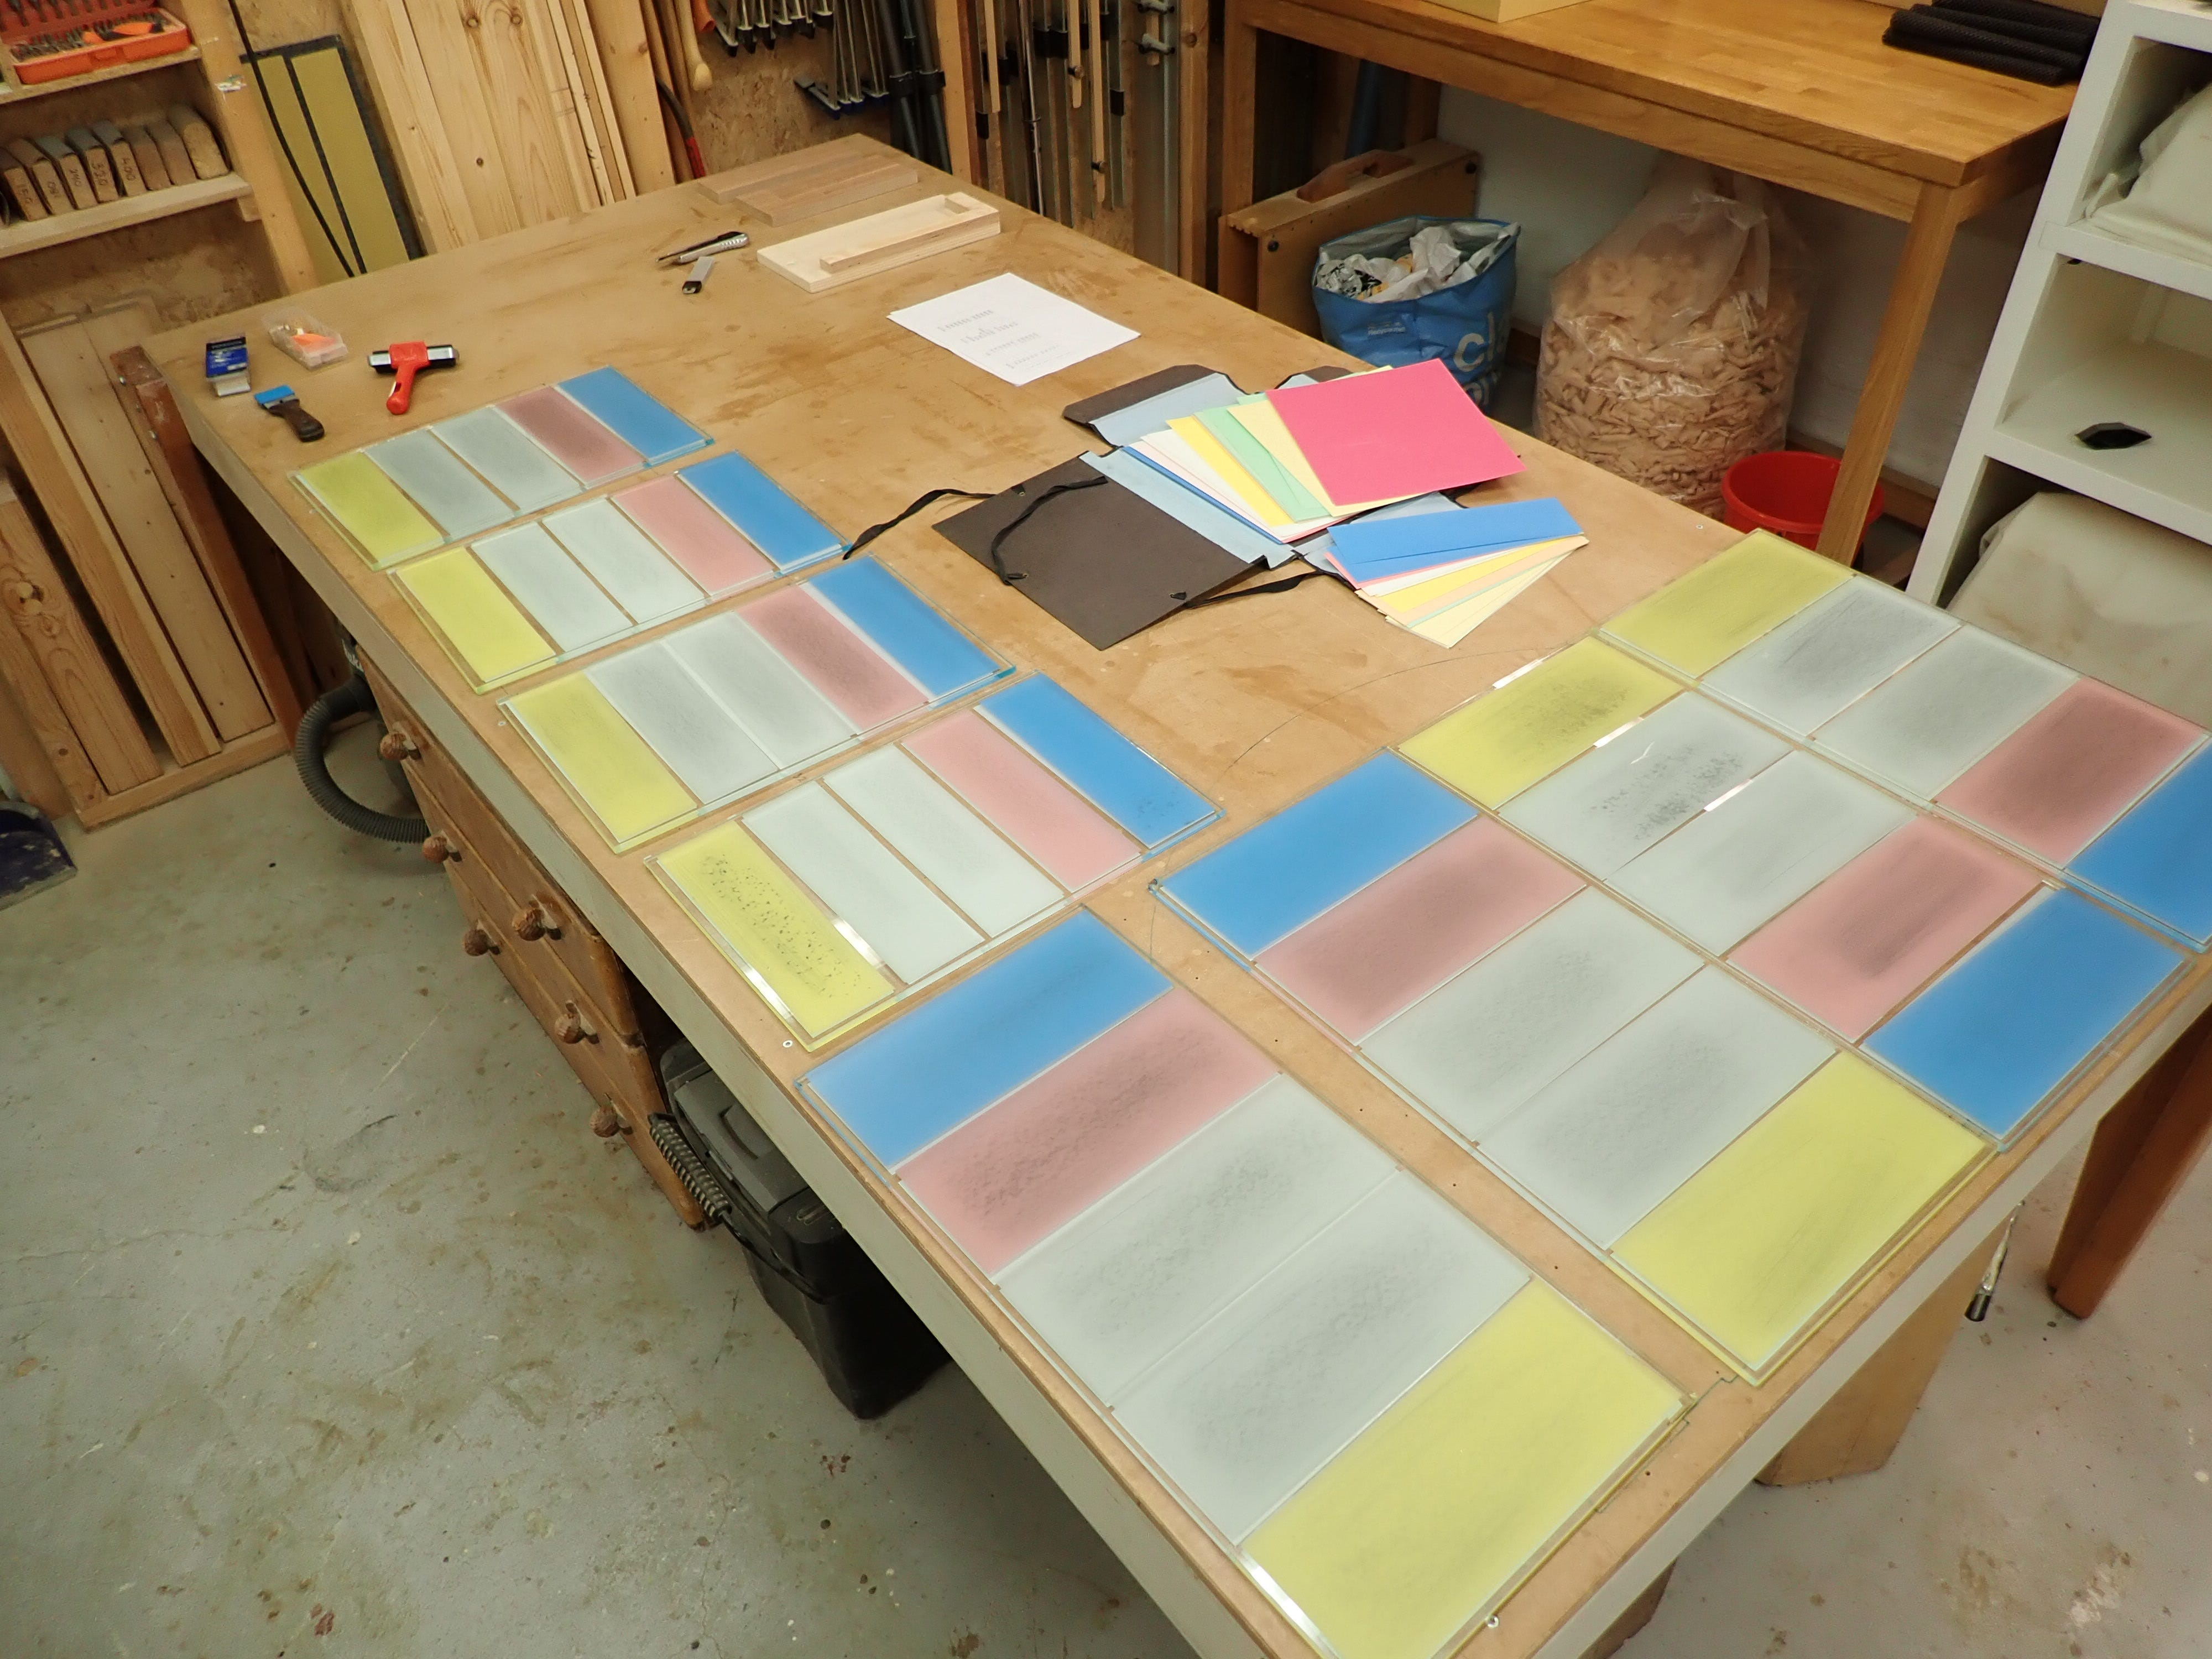
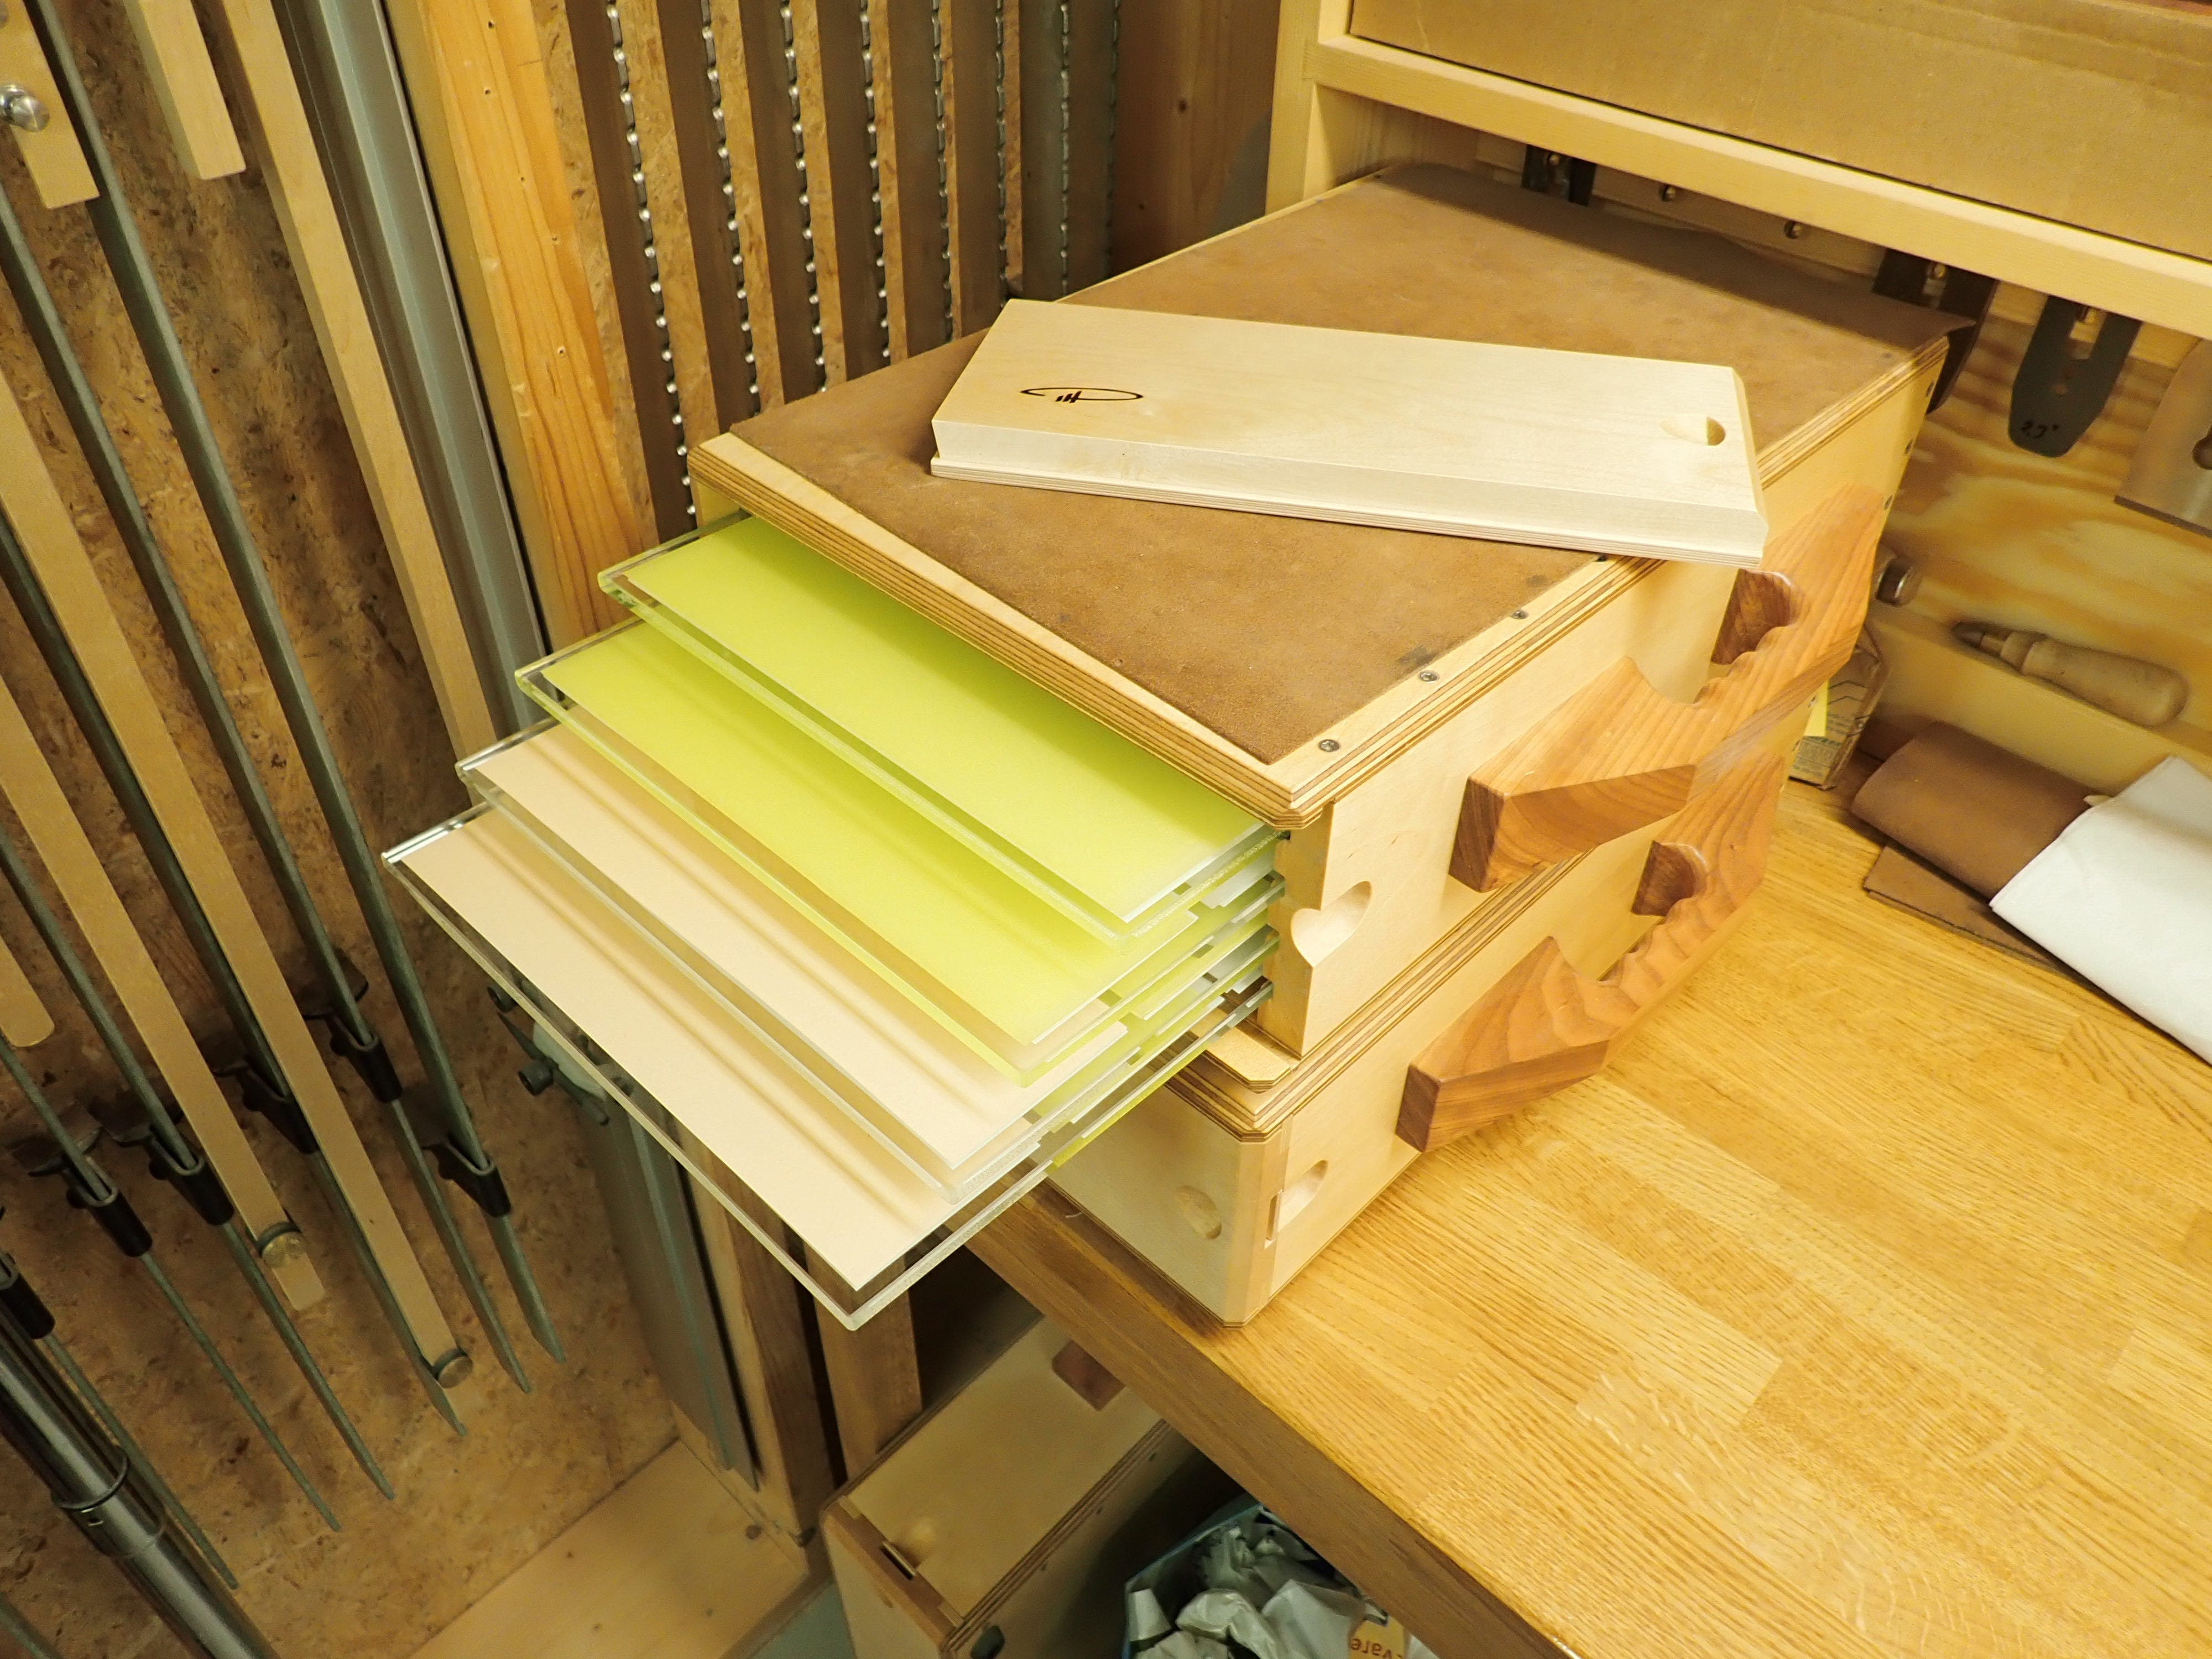
The abrasive sheets measure approx. 230 x 280 mm (depending on manufacturer). I divide some of them in two (giving 280 x 115 mm — for plane irons) and some of them into three (280 x 76 mm — for chisels). I have 4 small and 4 big plates of glass, each with a coarse and a fine side — 5 grits per side. An abundance of potential sharpness, equal to 80 oversized honing stones!
If you’re wondering why on earth I bother with this number of different grits, I refer you to my post about sanding and its point about sanding successively through the grits. The same logic applies to abrasive material removal of metal — only even more so.
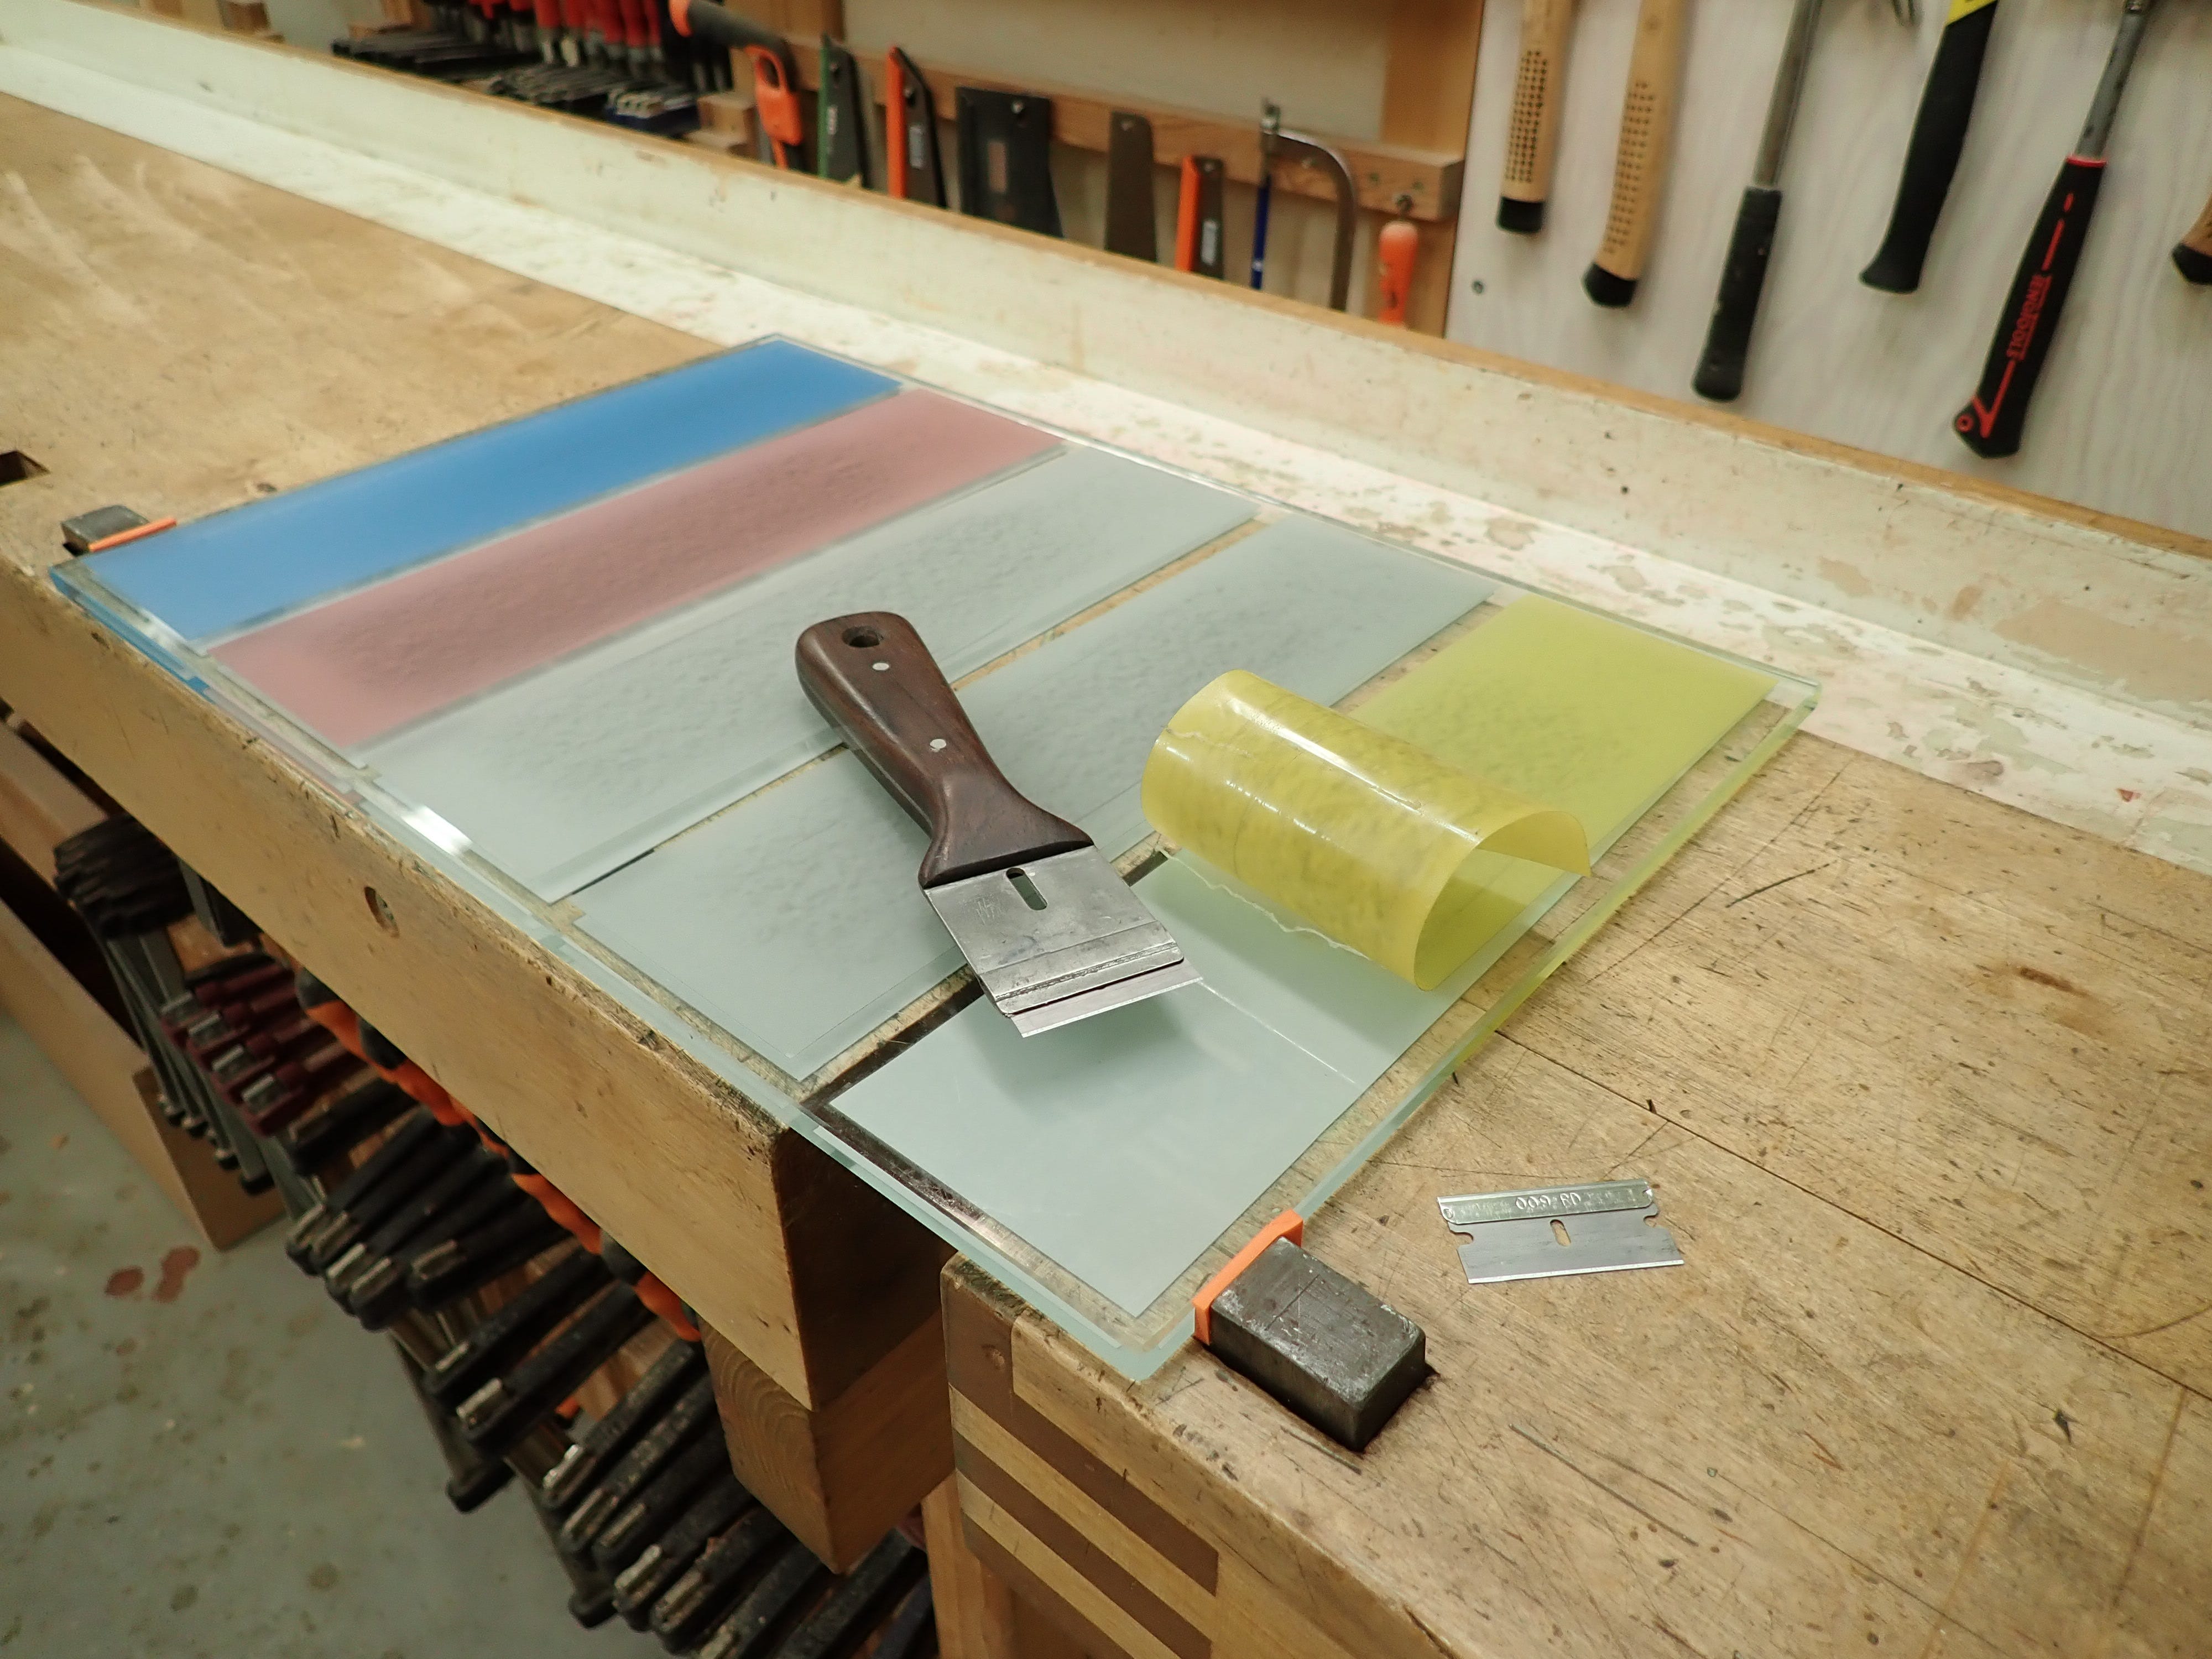
Here’s how I go about changing the abrasives: First, I peel off the old ones using my one-sided razor-scraper.
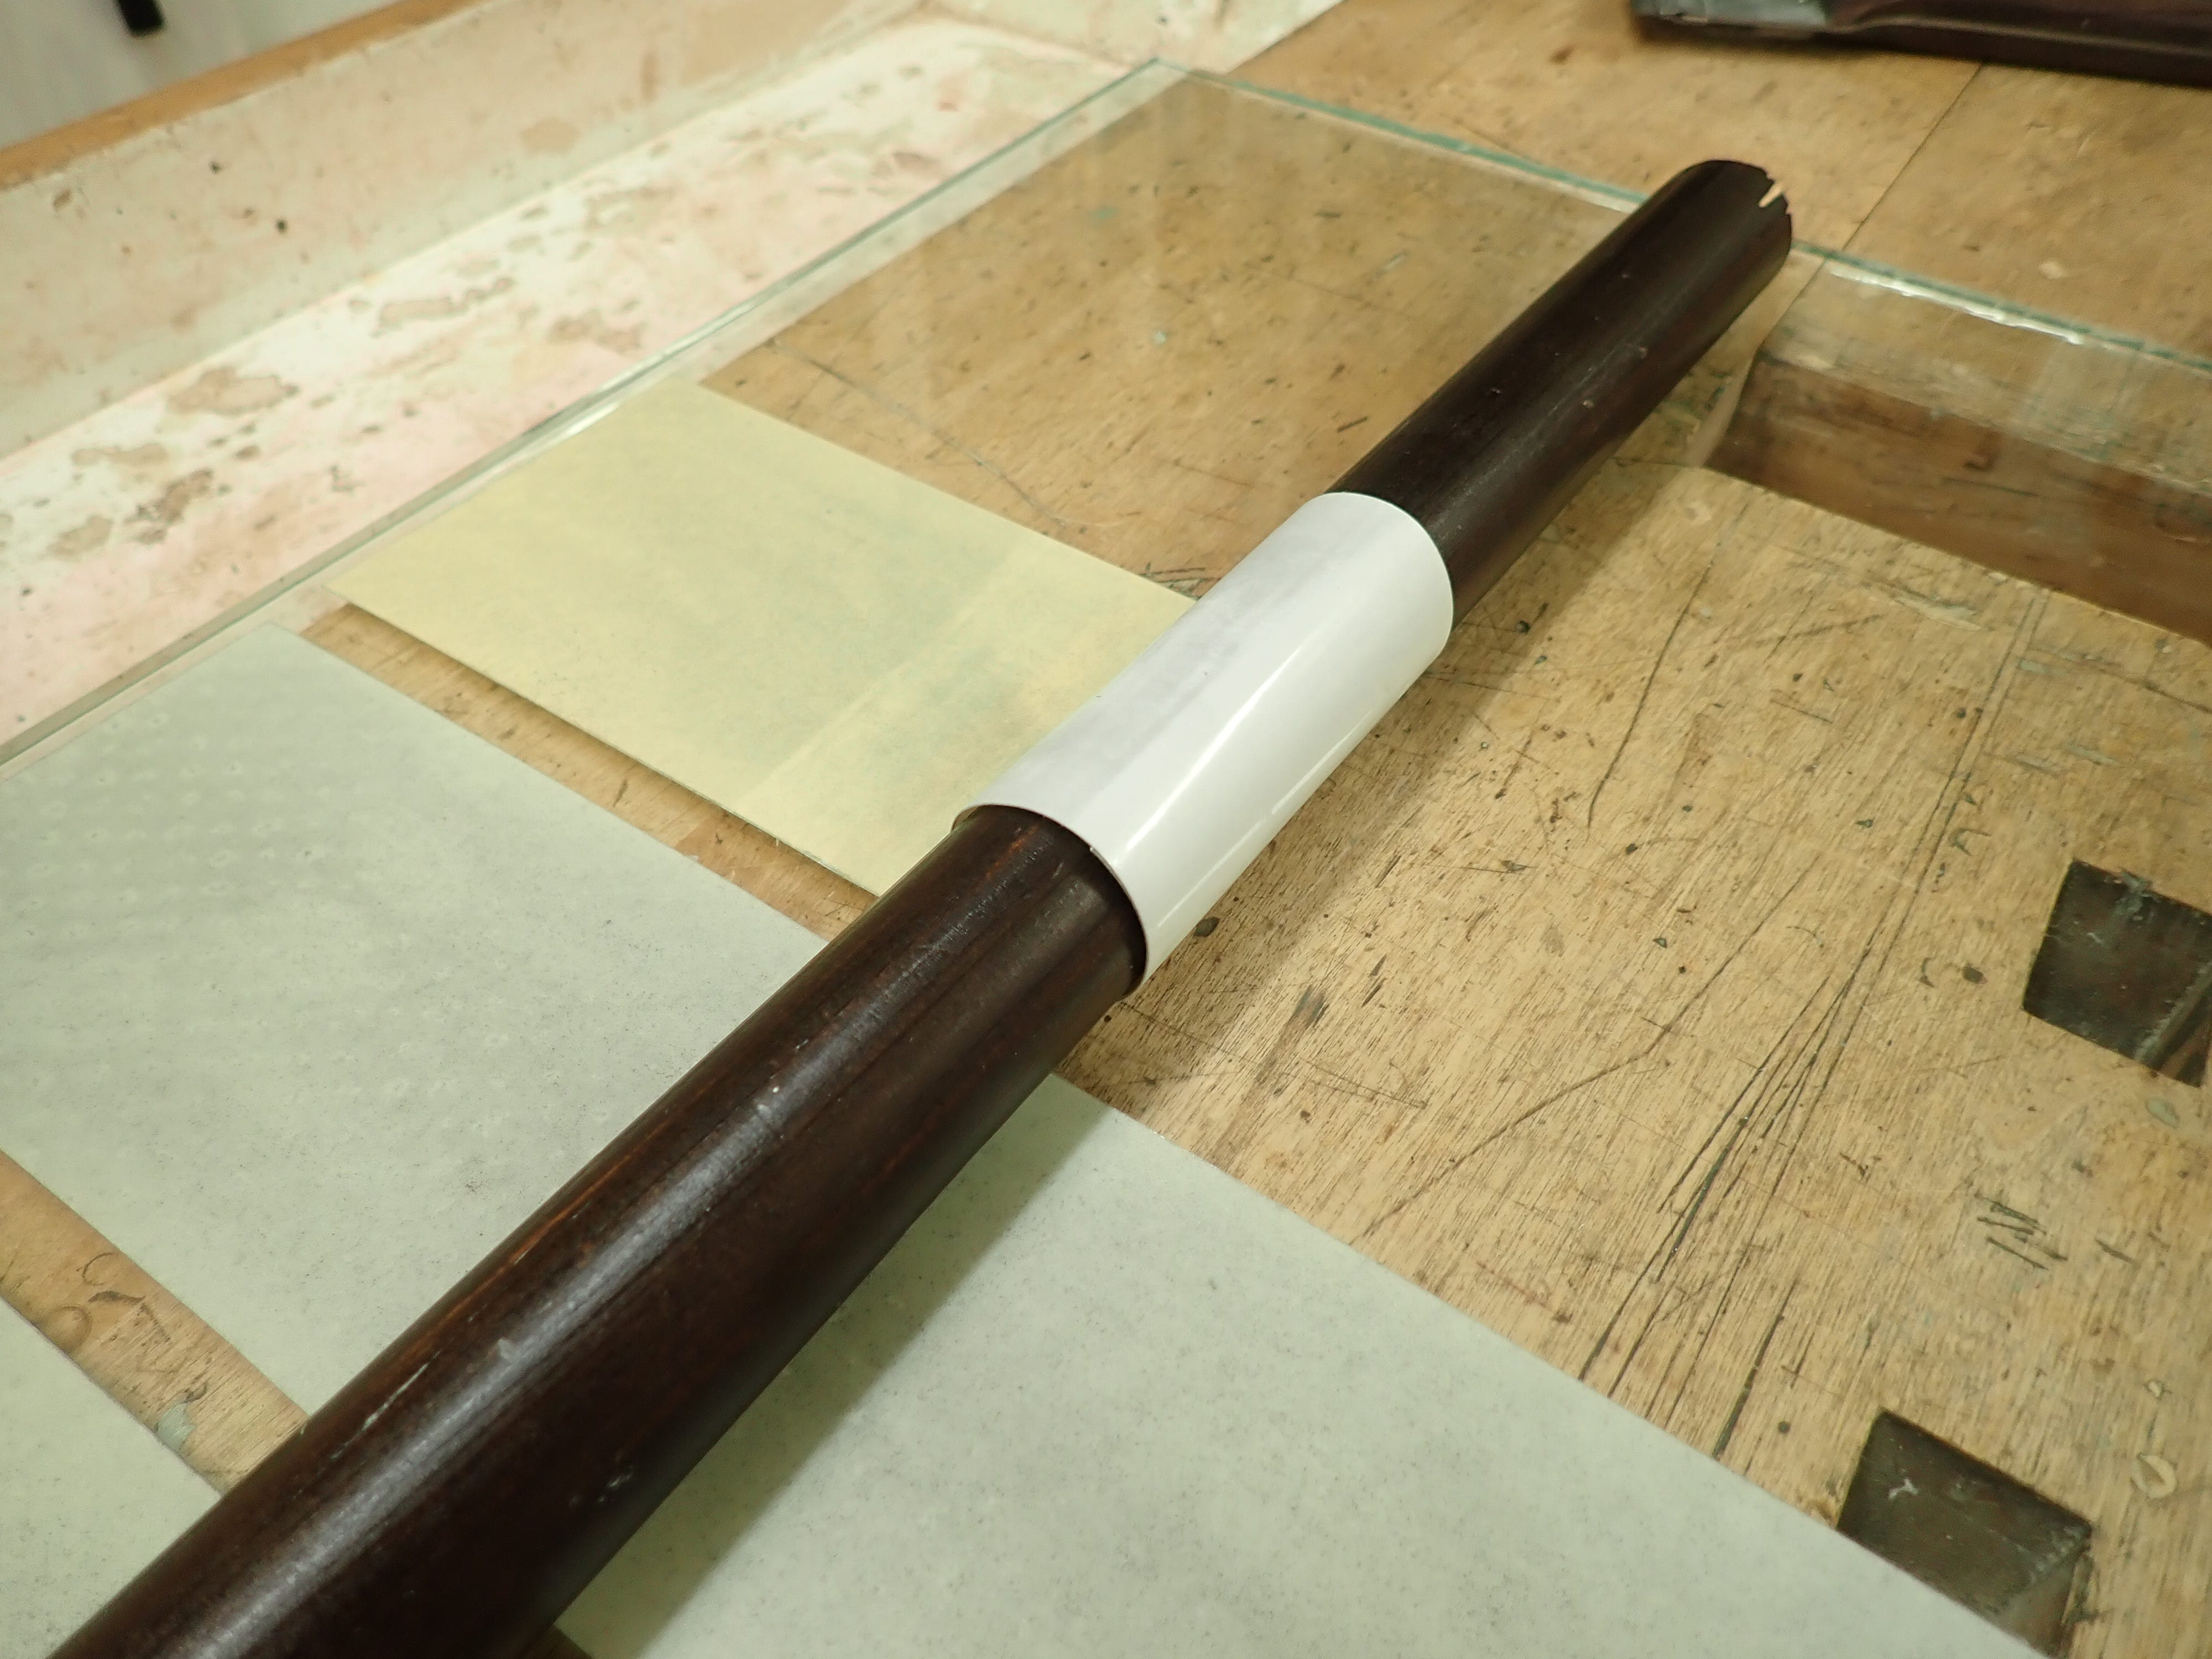
I save my thumbs from a lot of cramp-inducing ‘pinching, pulling & peeling’ by using a bit of a broomstick to roll the plastic off. Doing this slowly seems to leave less glue residue.
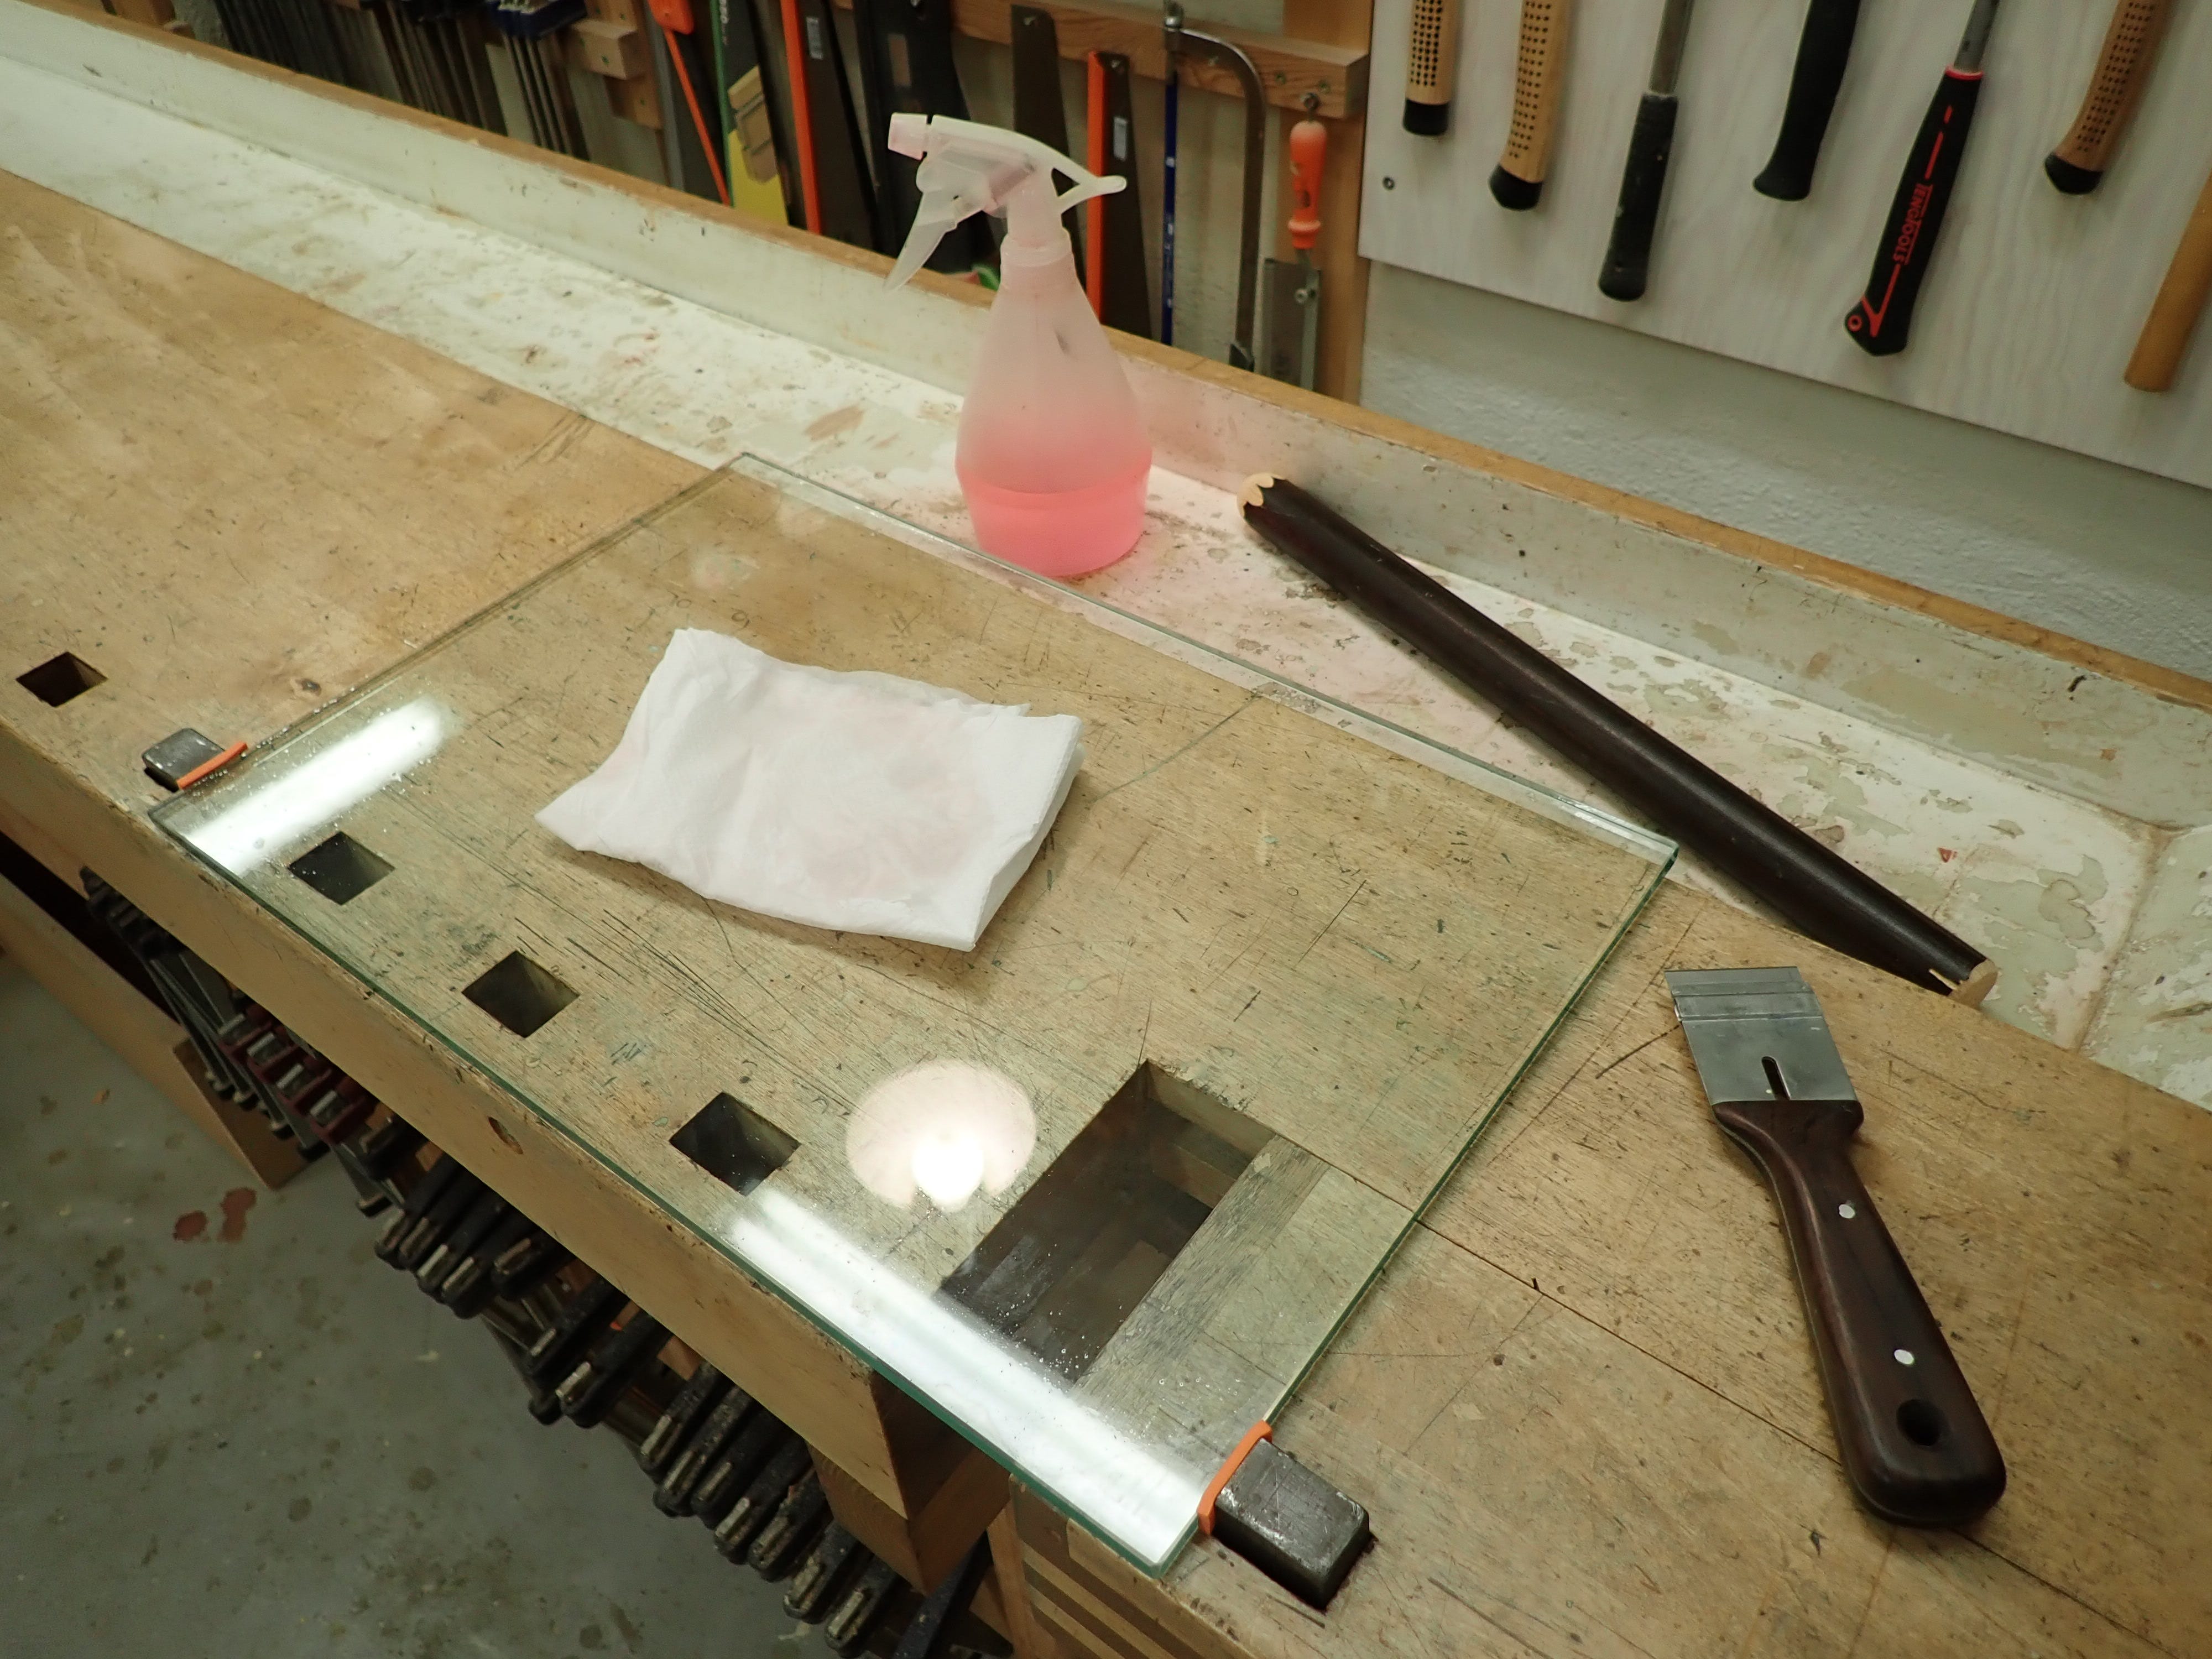
Then I use the scraper, paper towels and denatured alcohol to clean off whatever’s left of the sticky-snot-like glue residue.
When that’s done I’m ready to cut the new sheets to size.

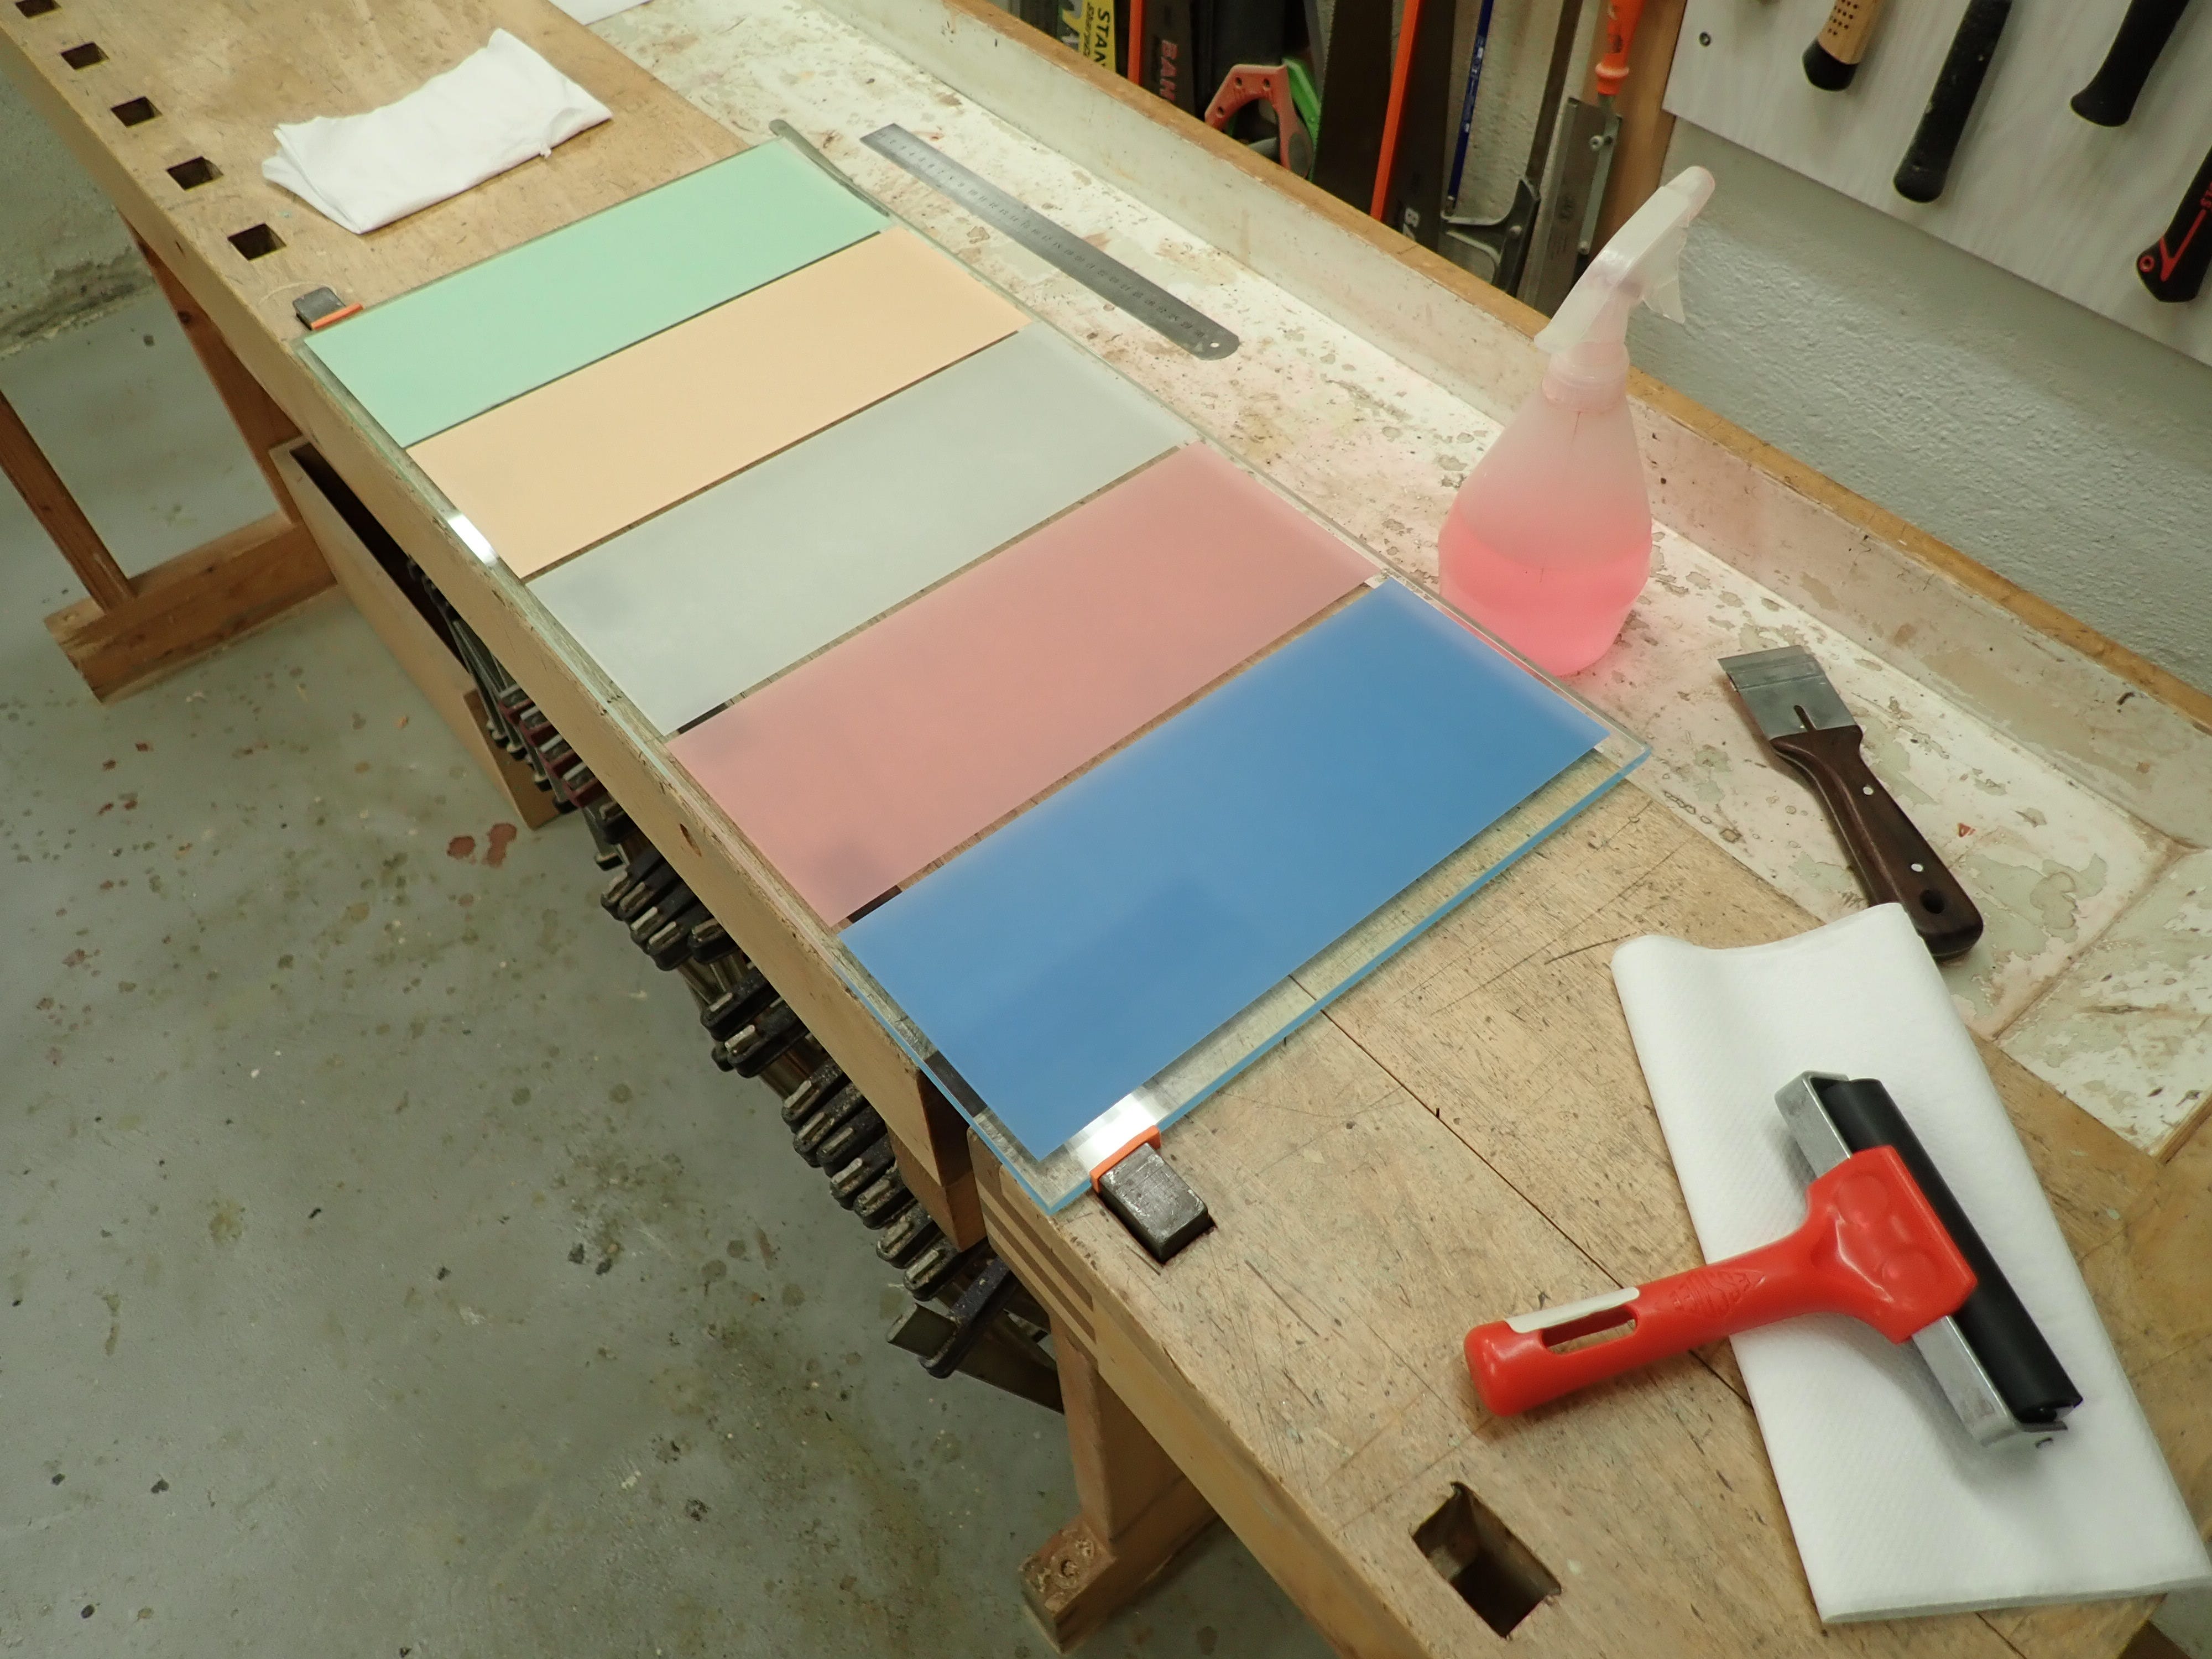
The abrasives are ‘colour-coded’ — sort of. Some of the colours used change from one year to another, and there are a couple of indistinguishable shades of white, so I’ve found that the best way to keep track of which is what is to use the product number gleaned from a small sticker on the backing paper.
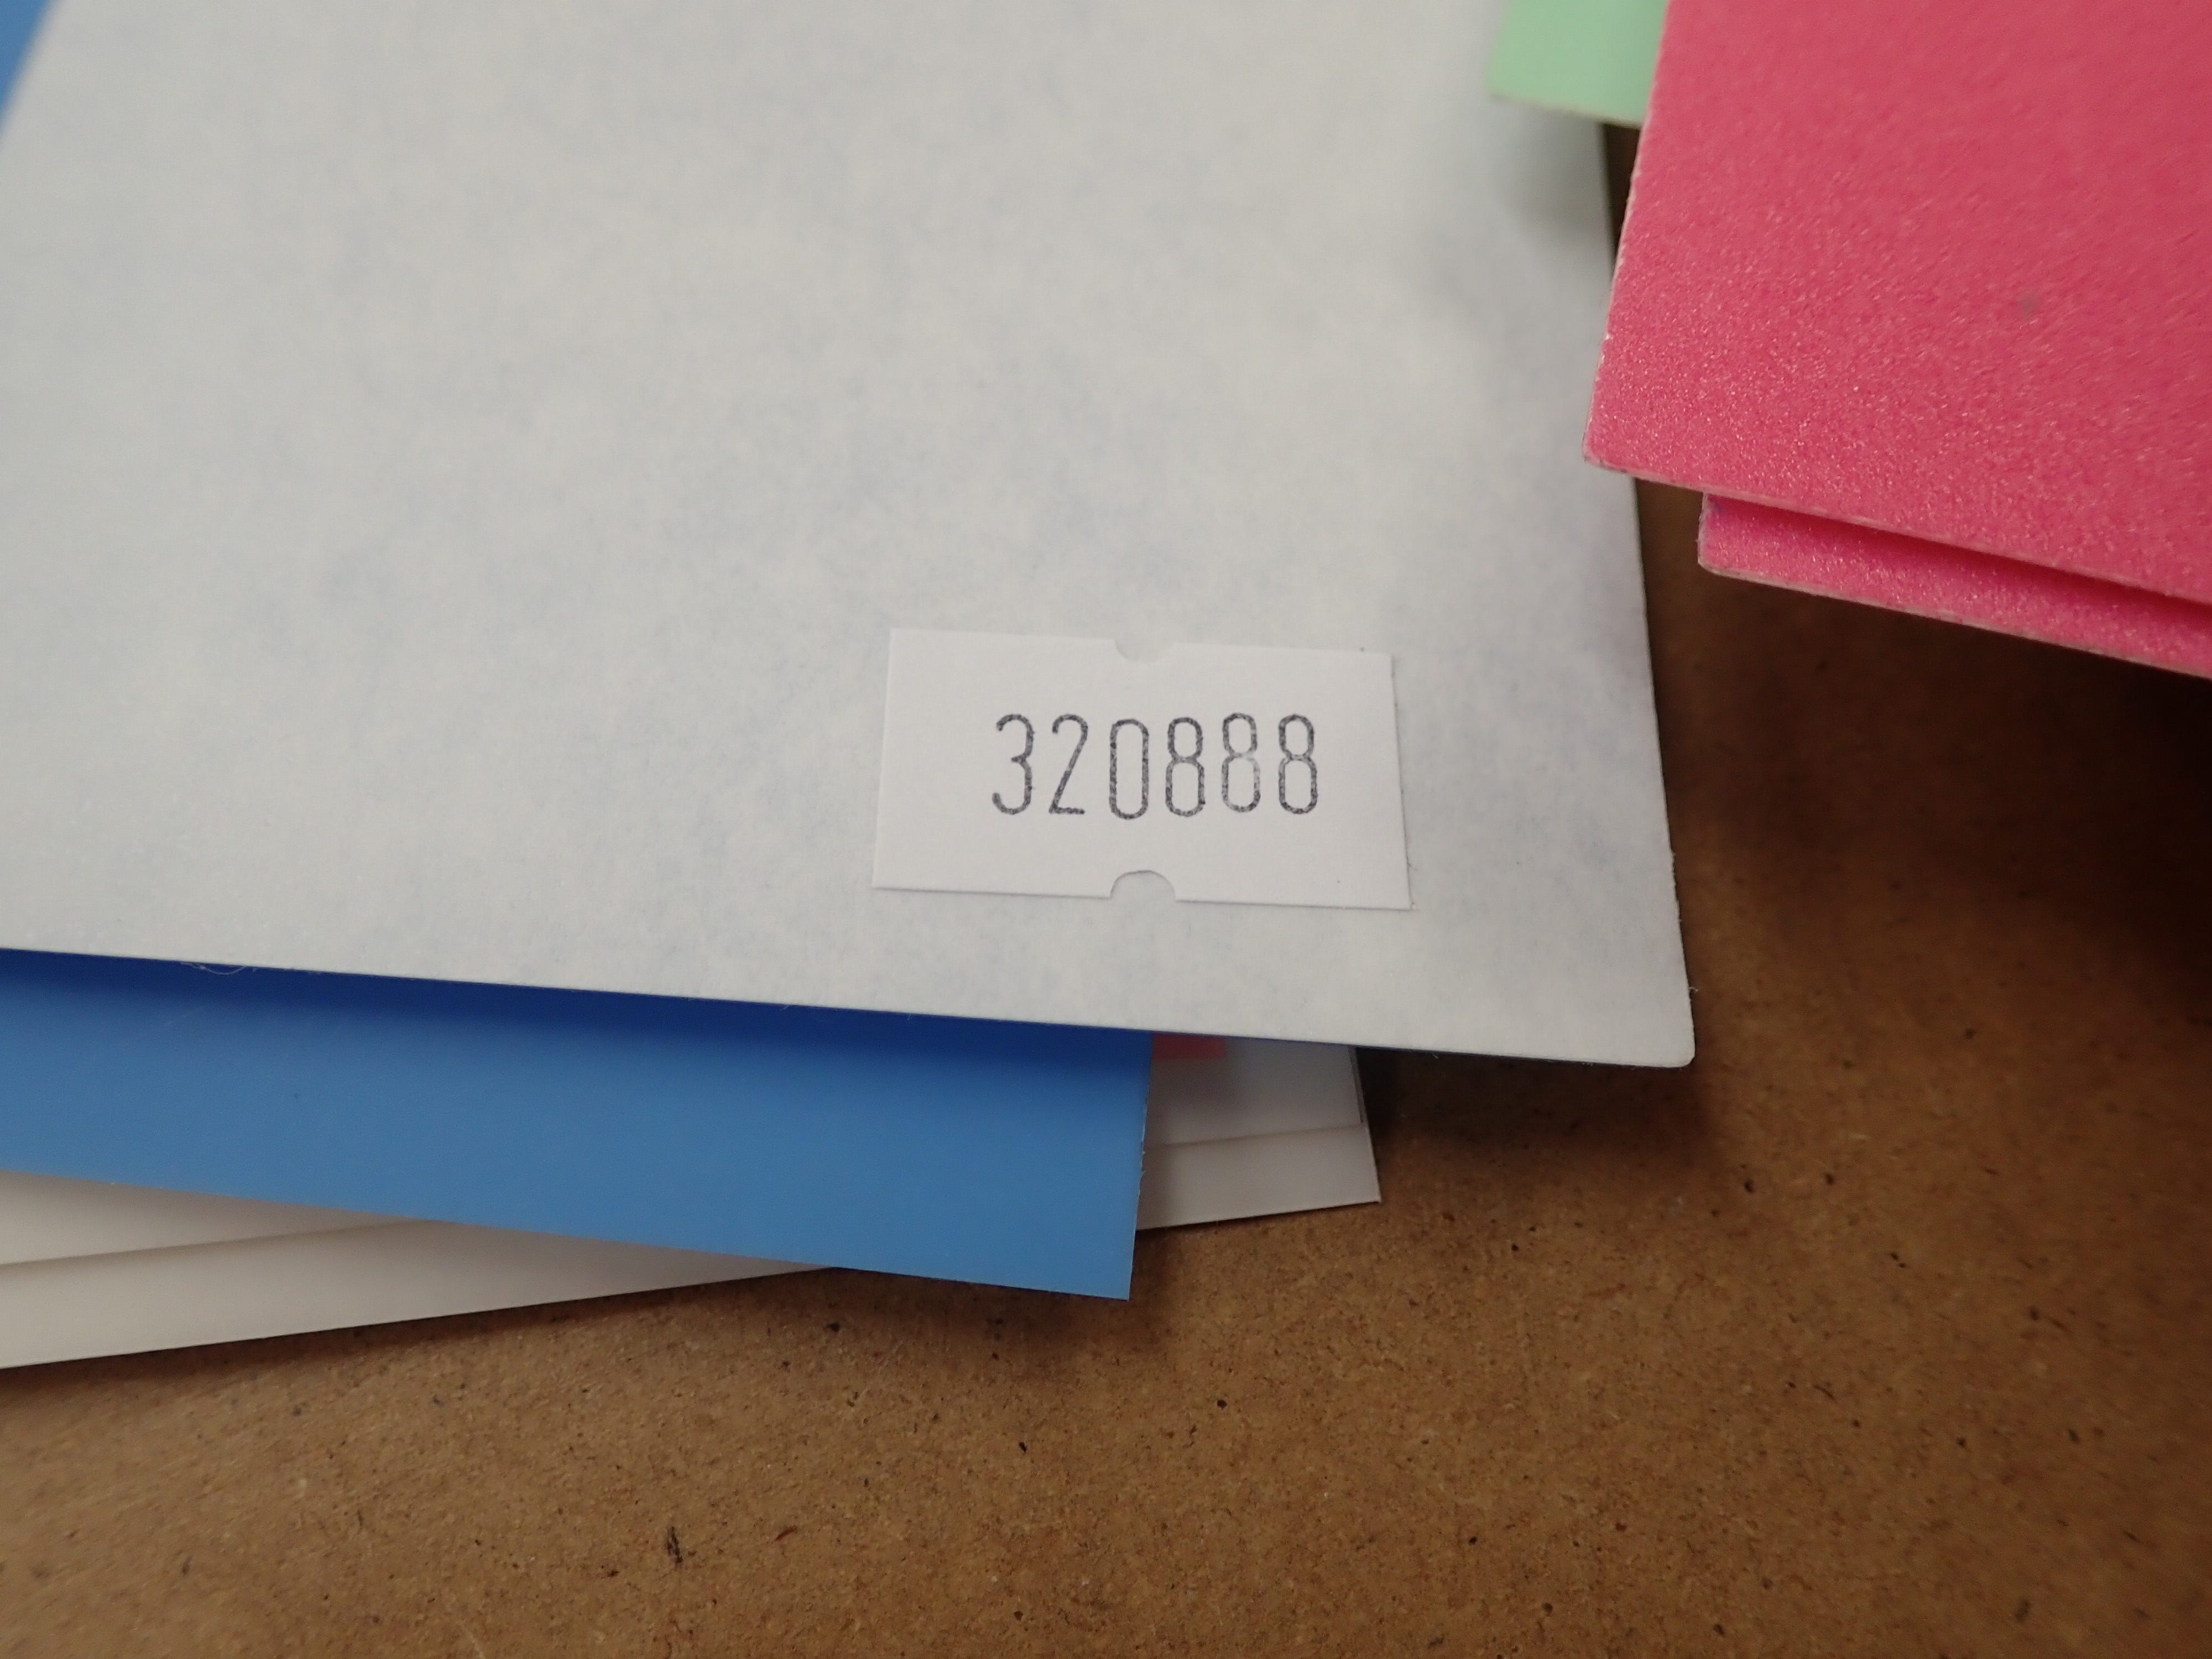
3M also produces this kind of self-adhesive abrasive, and theirs have the grit size printed on the transparent sheets.
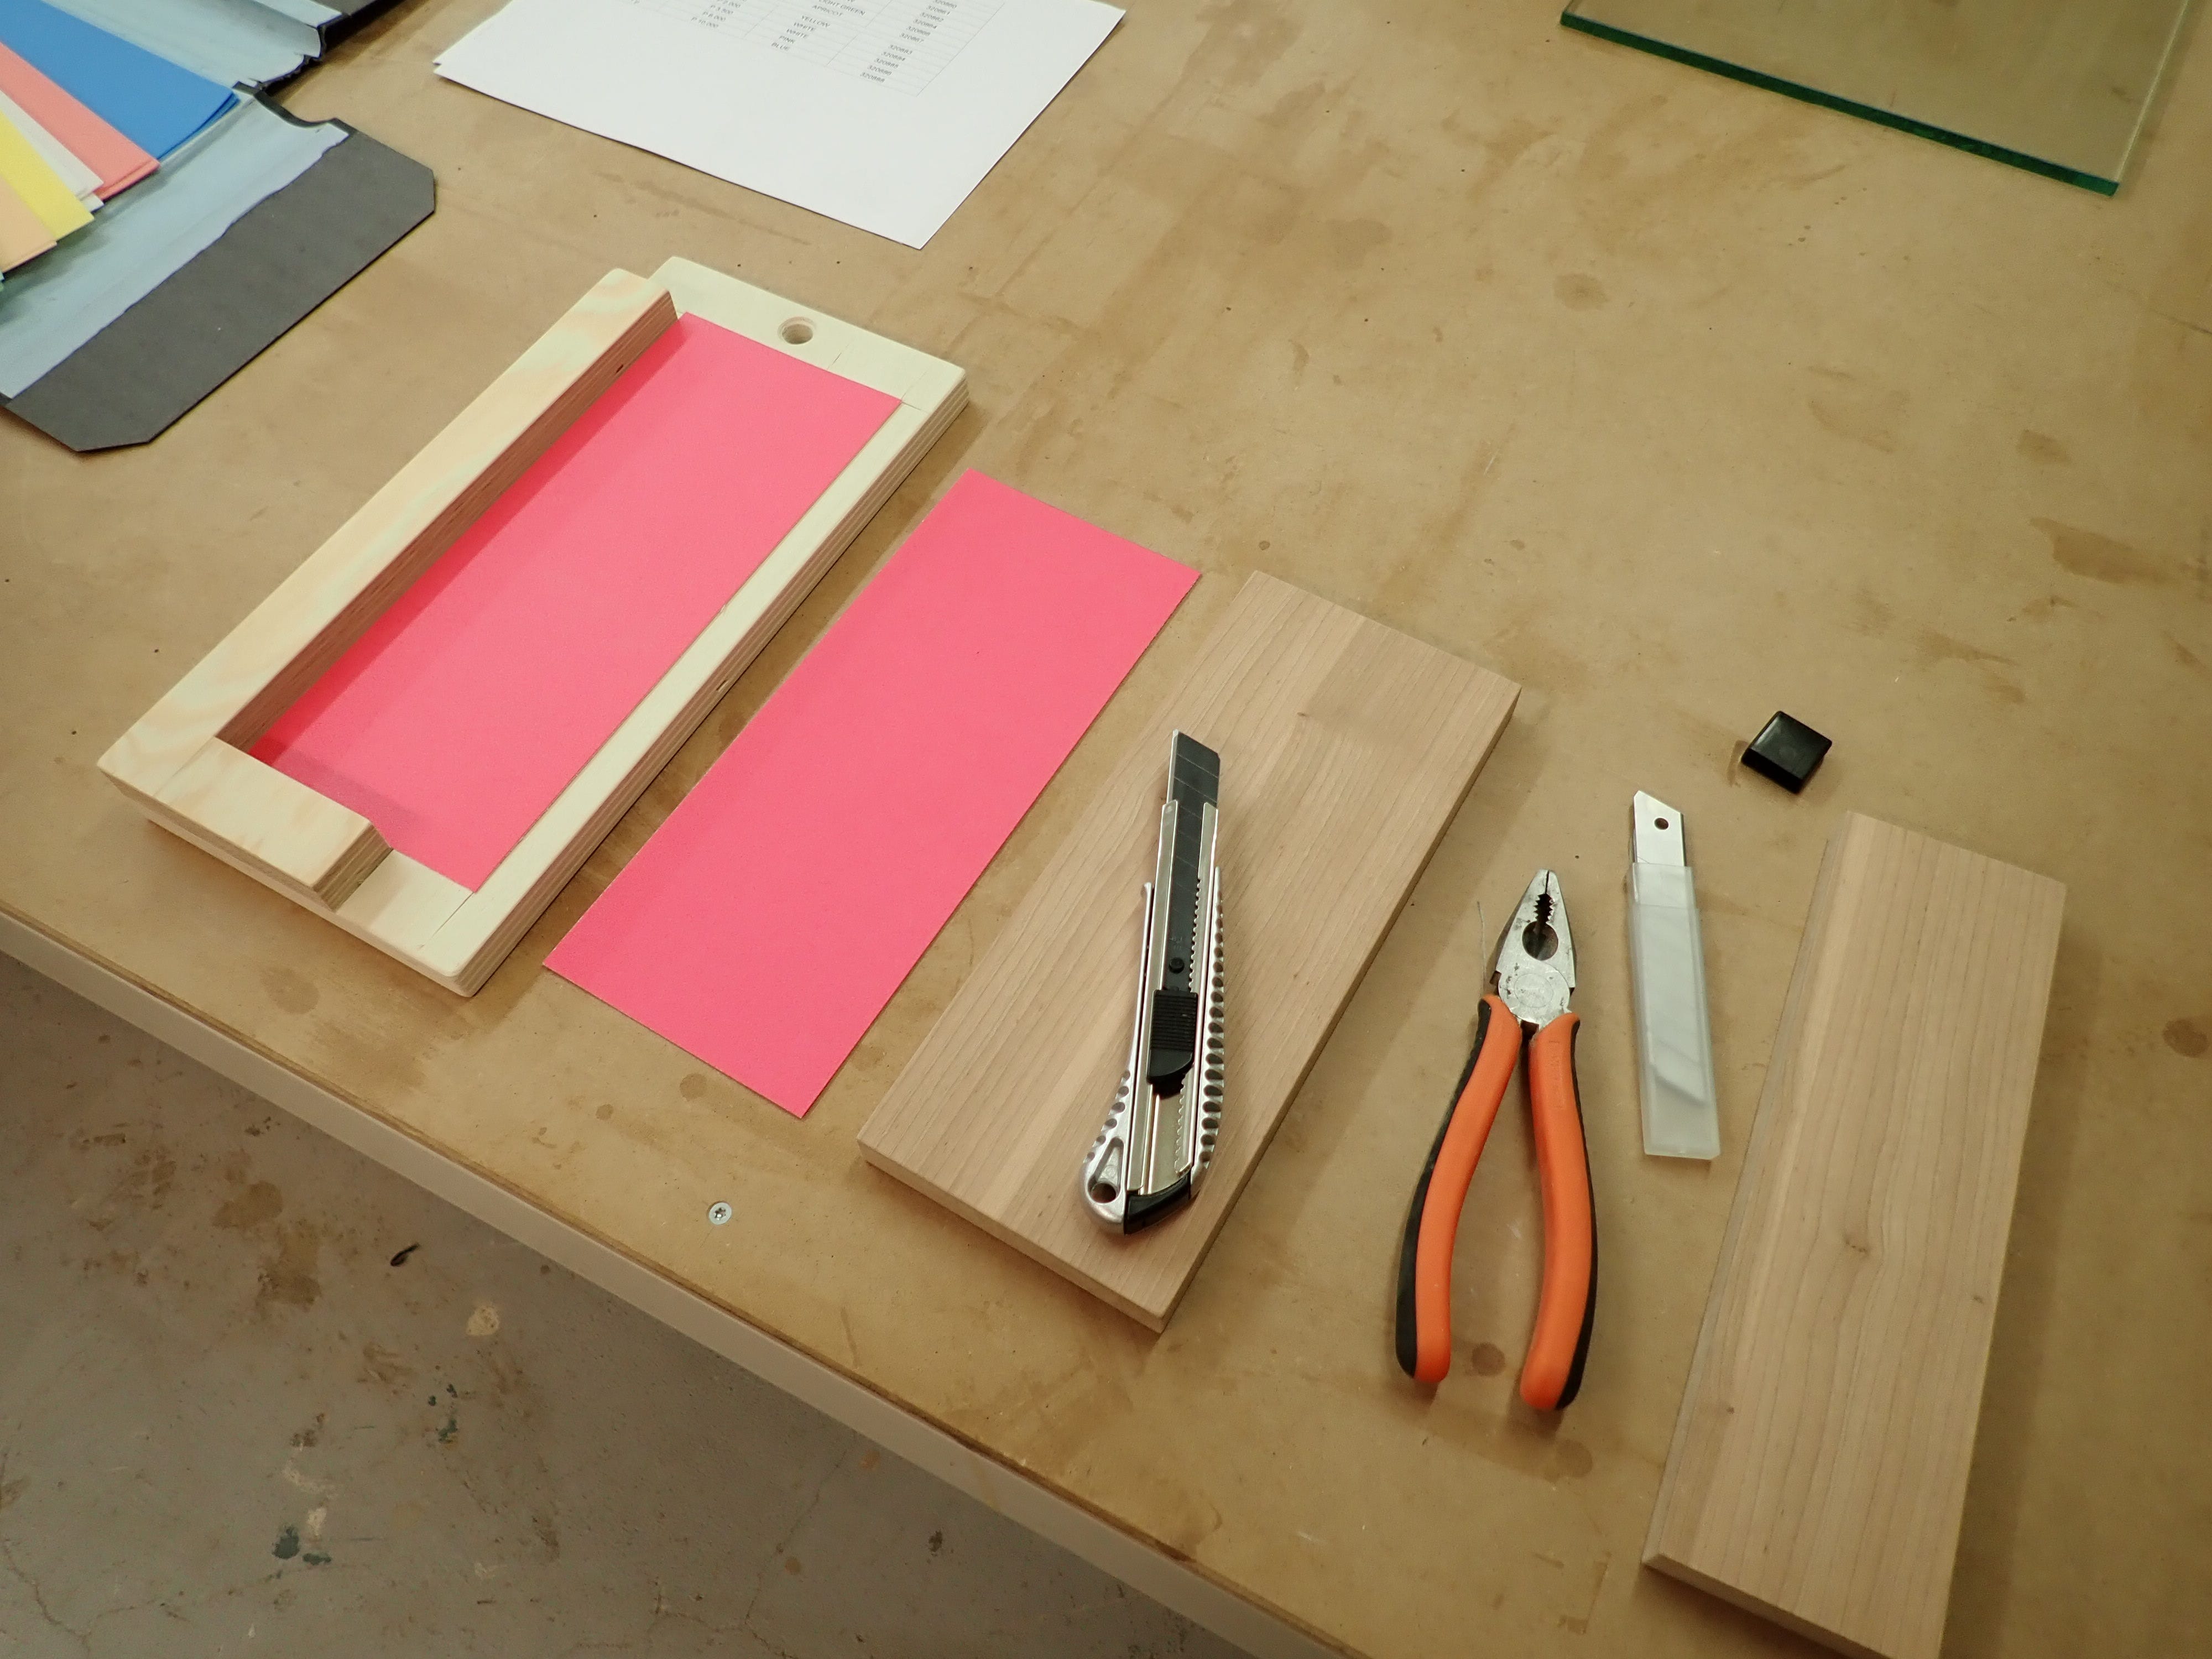
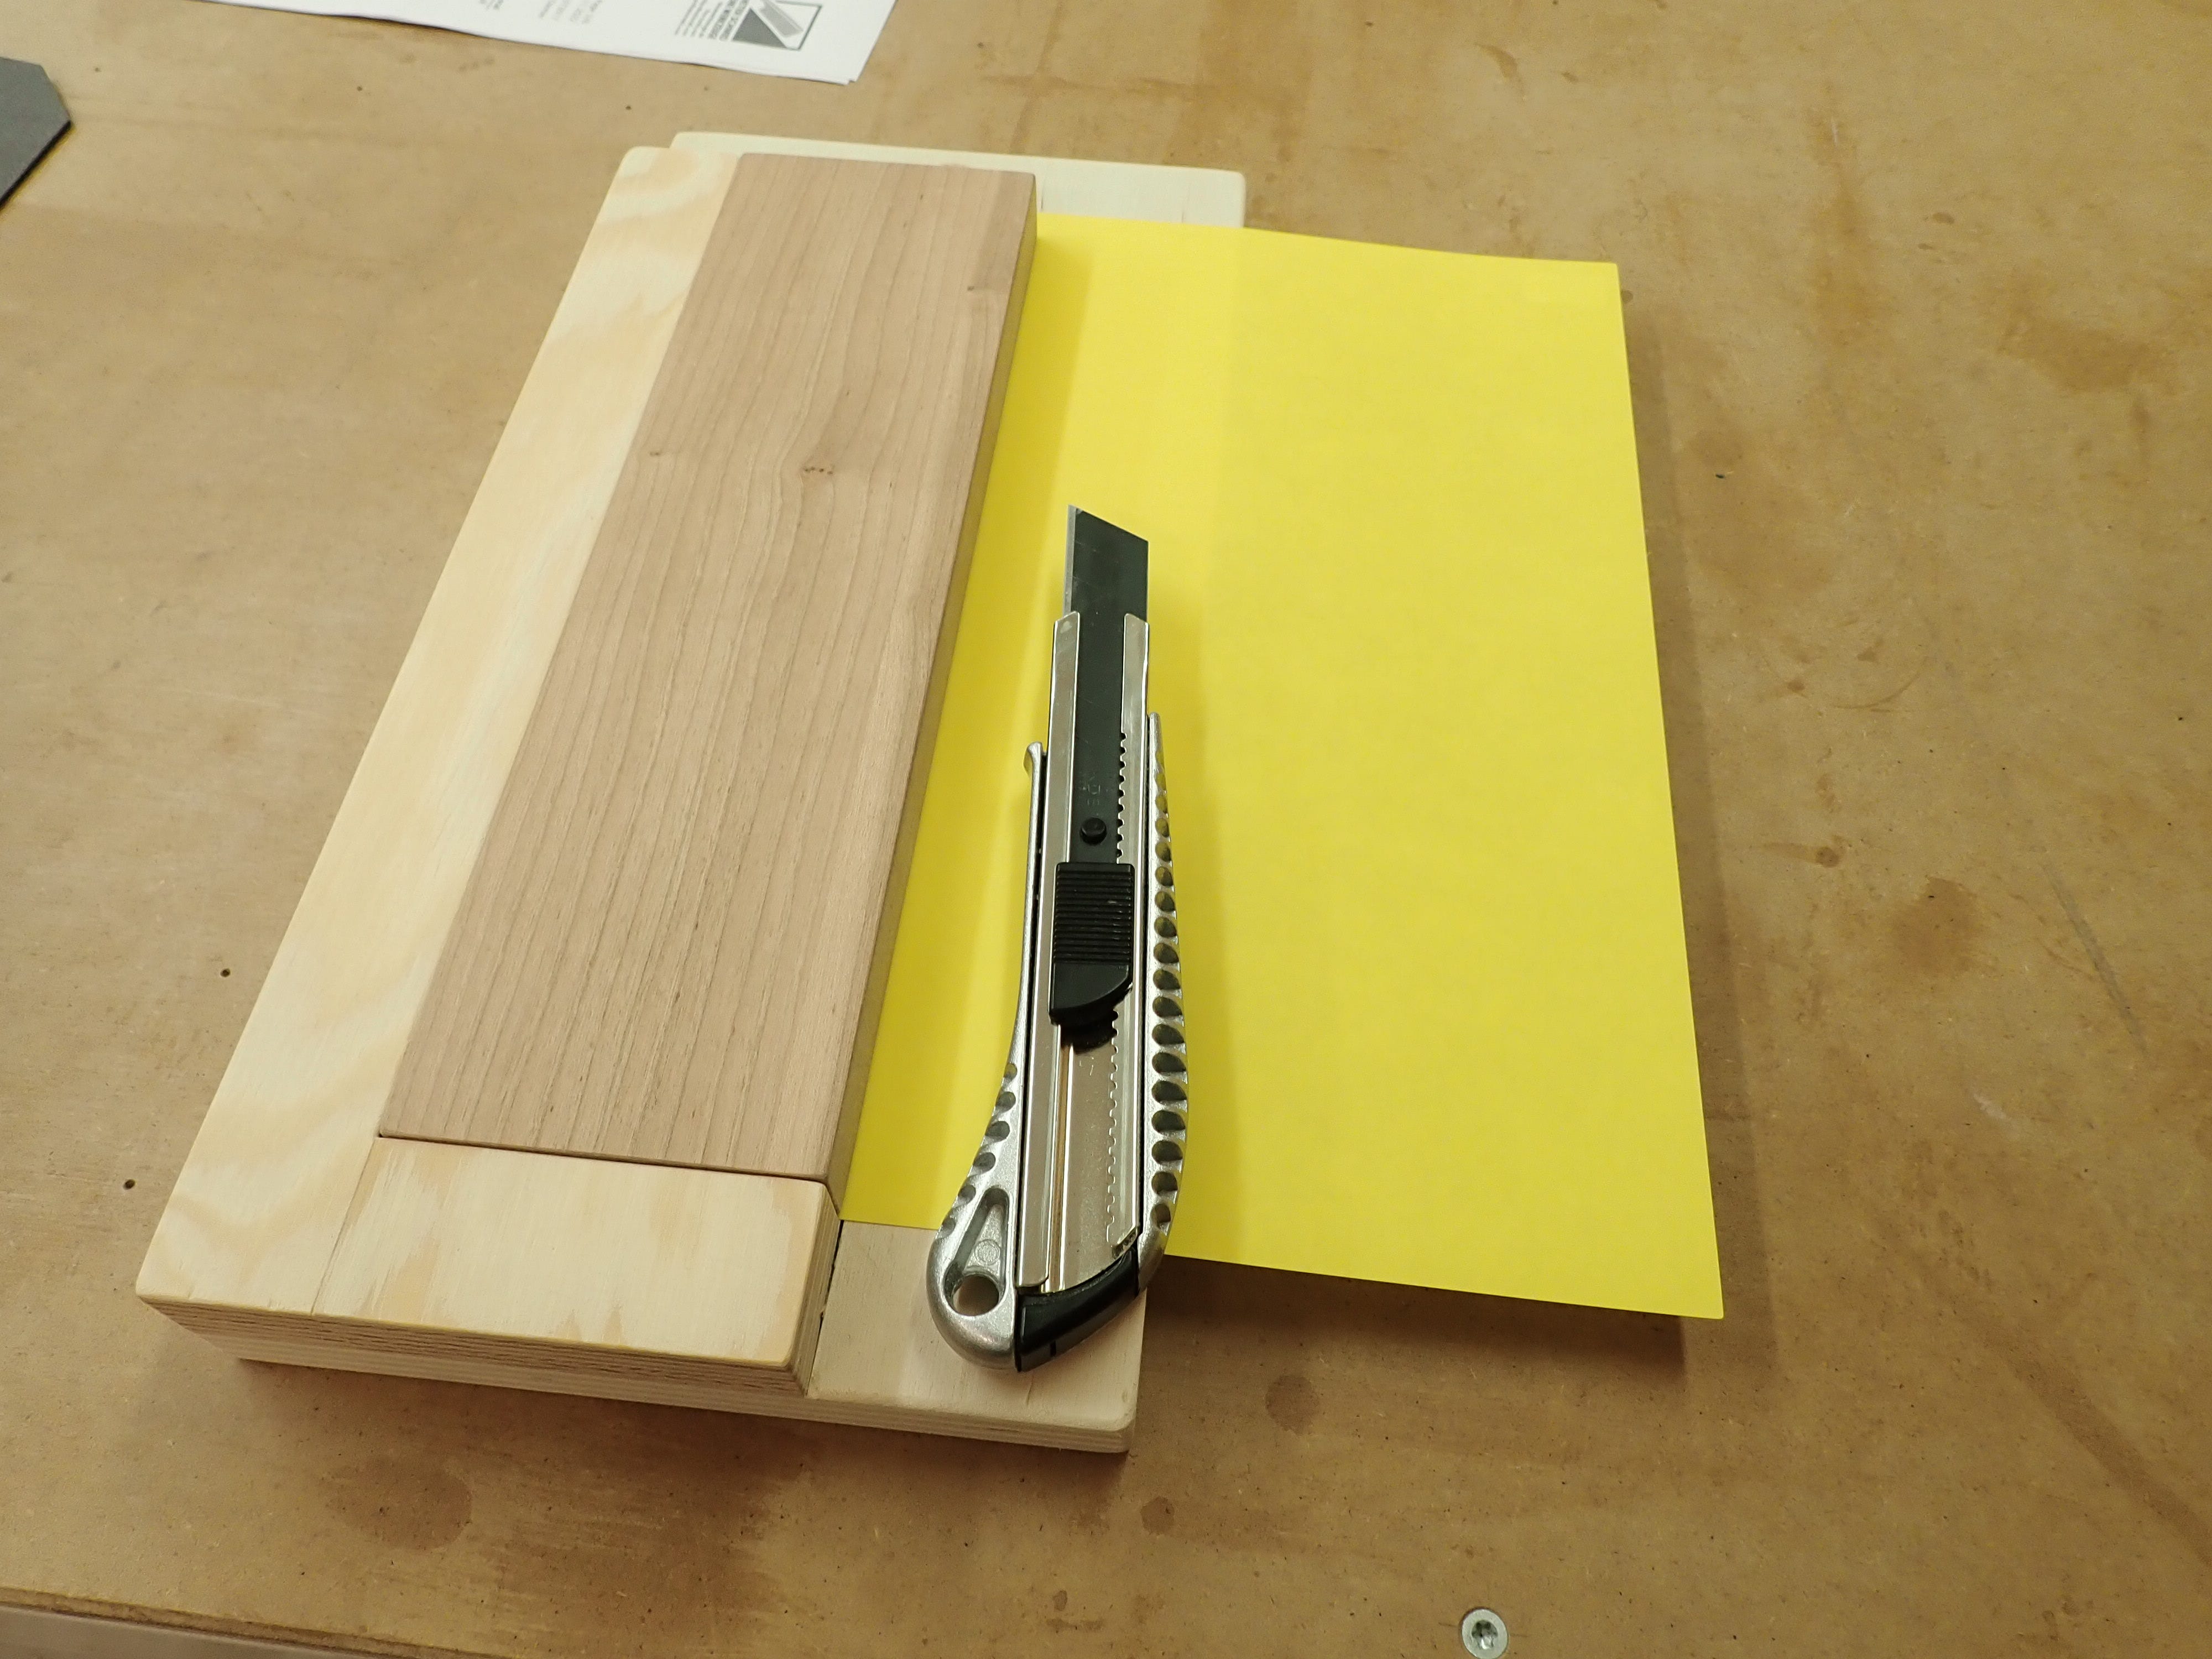
For cutting the sheets to size I’ve made a simple cutting jig with two differently sized templates:
When the sheets are divided I like to lay them out on the glass to see that I’ve got what I need before I proceed.
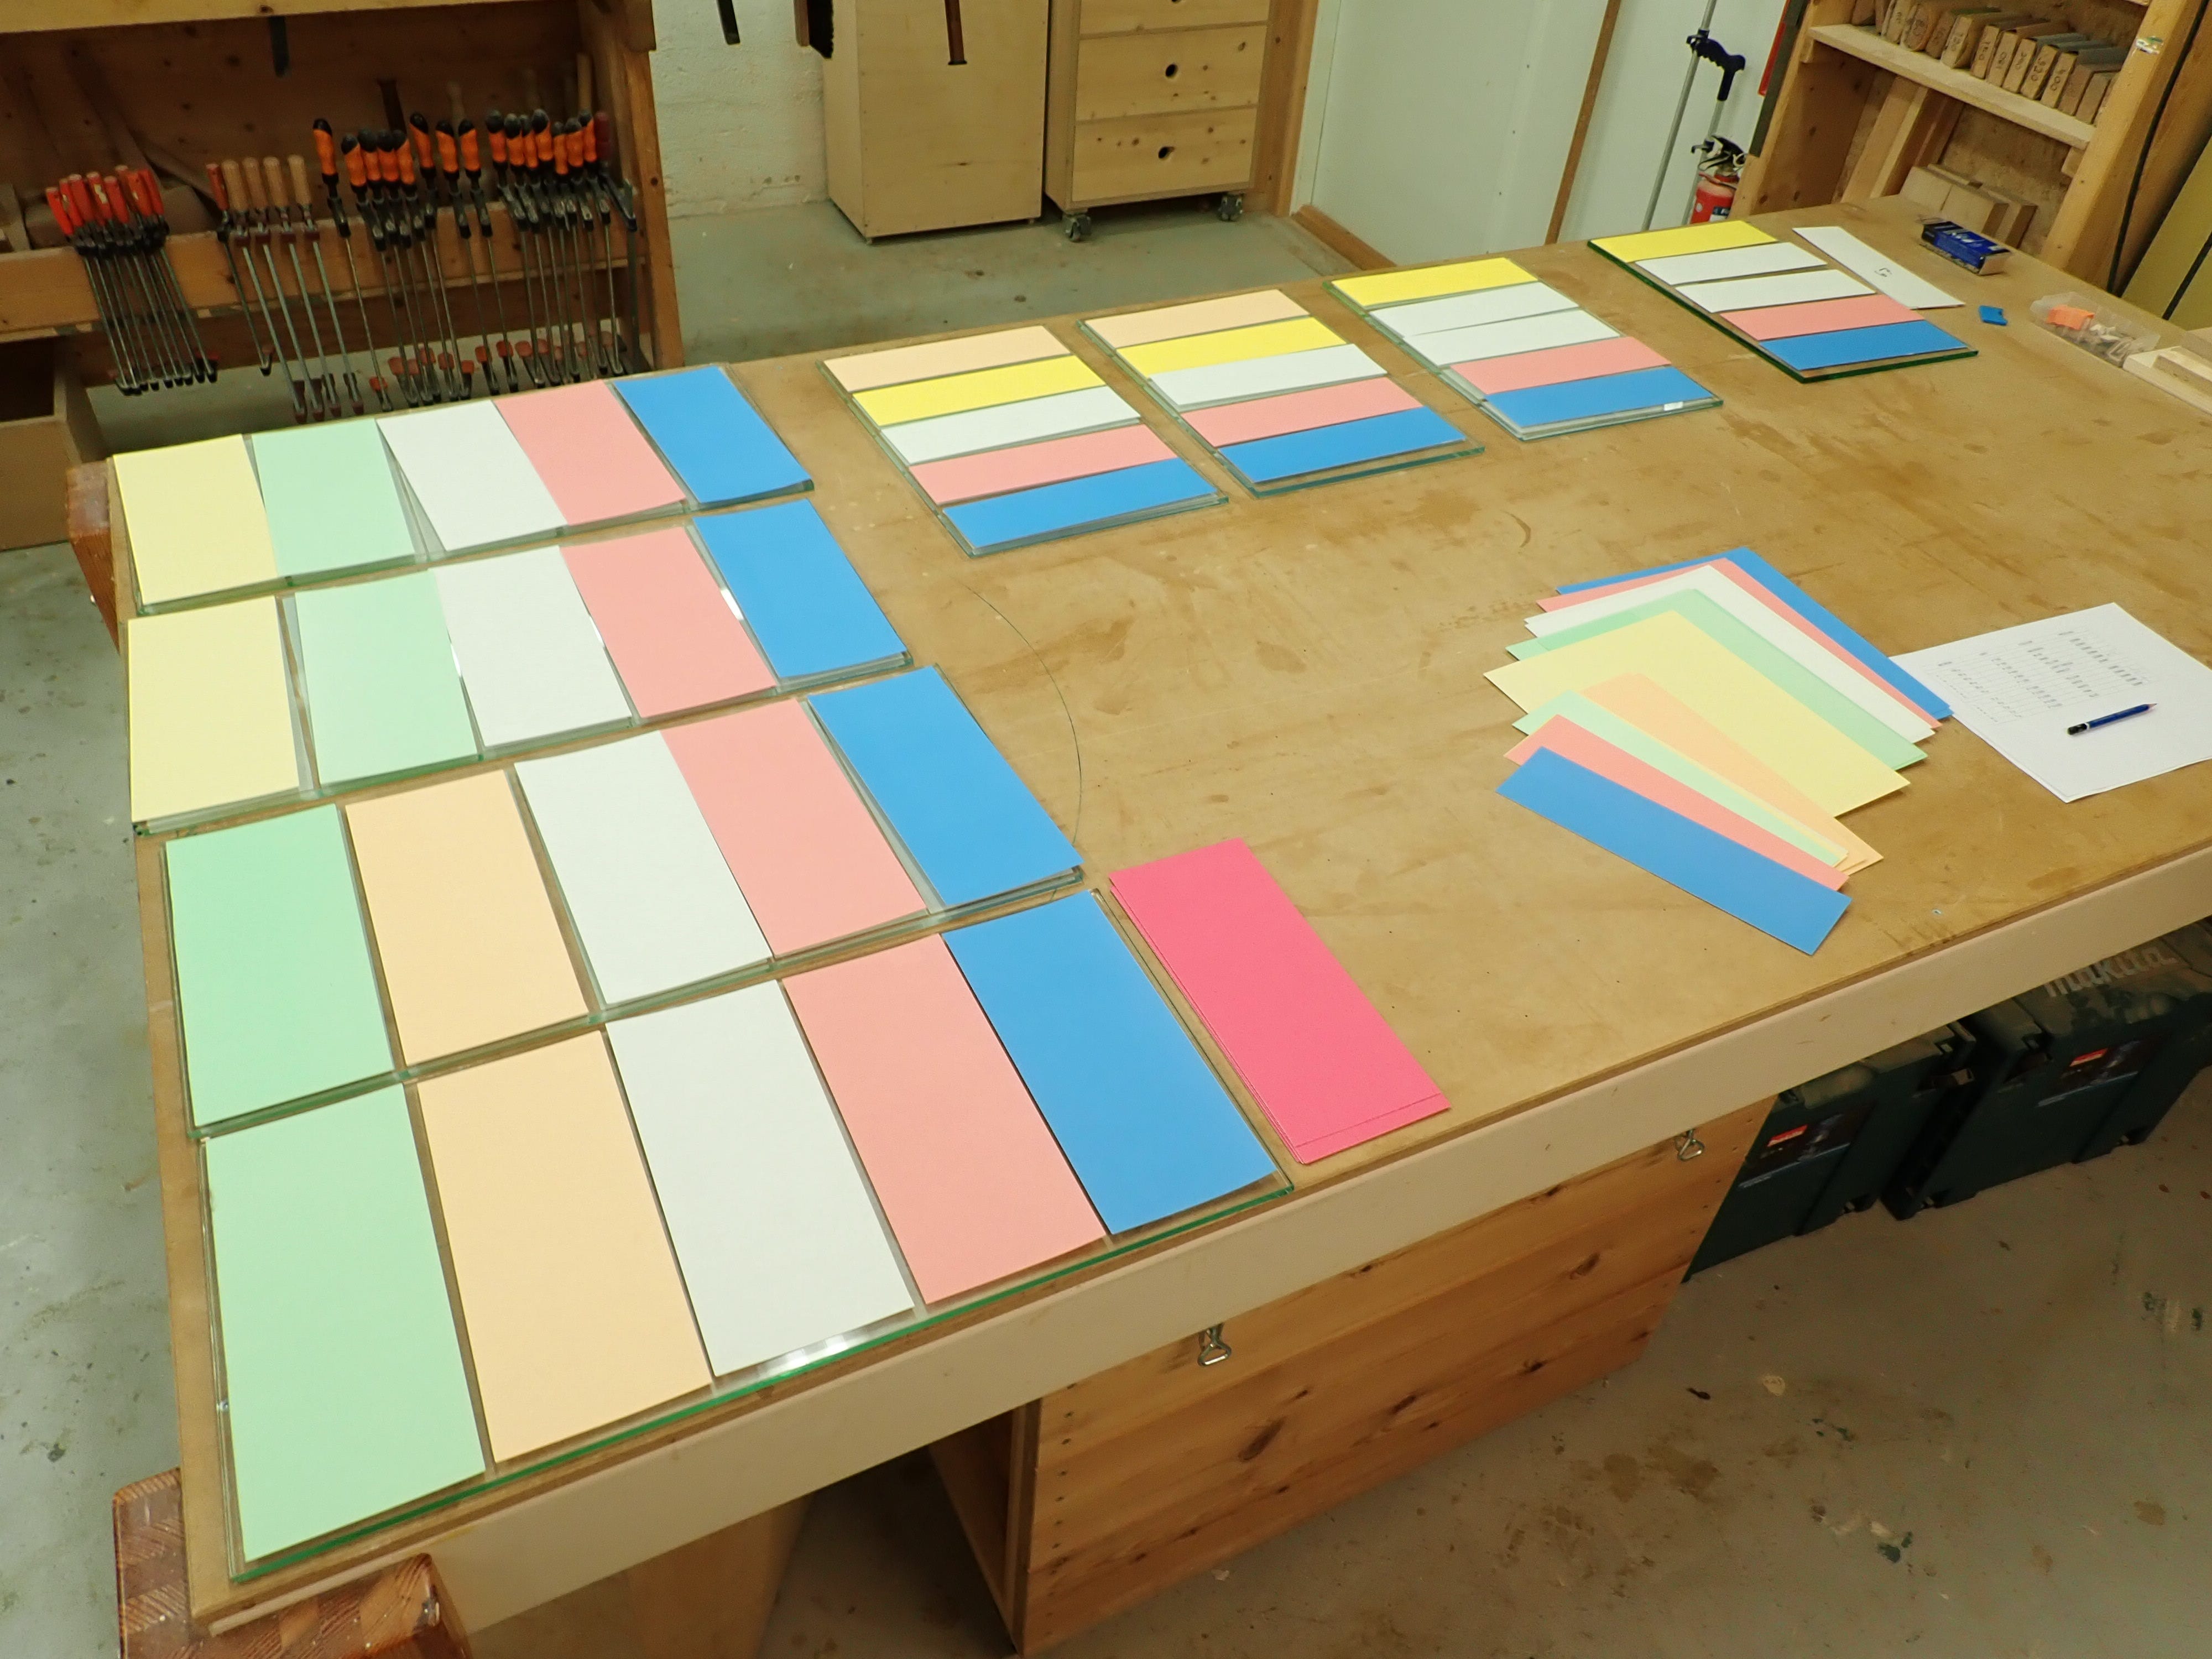
This year I’m running a bit low on some of the grits, so I’ll have to switch things around a bit, but I was going to do that anyway. Honest! I’ve only been using this sharpening method for three years or so, so I’m still experimenting and finding out how I prefer to configure the glass plates. Up until now I’ve had 10 grits on each glass: 5 coarse on one side and 5 fine on the other. This way I could explore which grits I actually found suitable, over time. Now that I’ve developed some preferences, I’m narrowing it down a bit.
When it comes to fitting the new abrasives to the glass; everything in place!
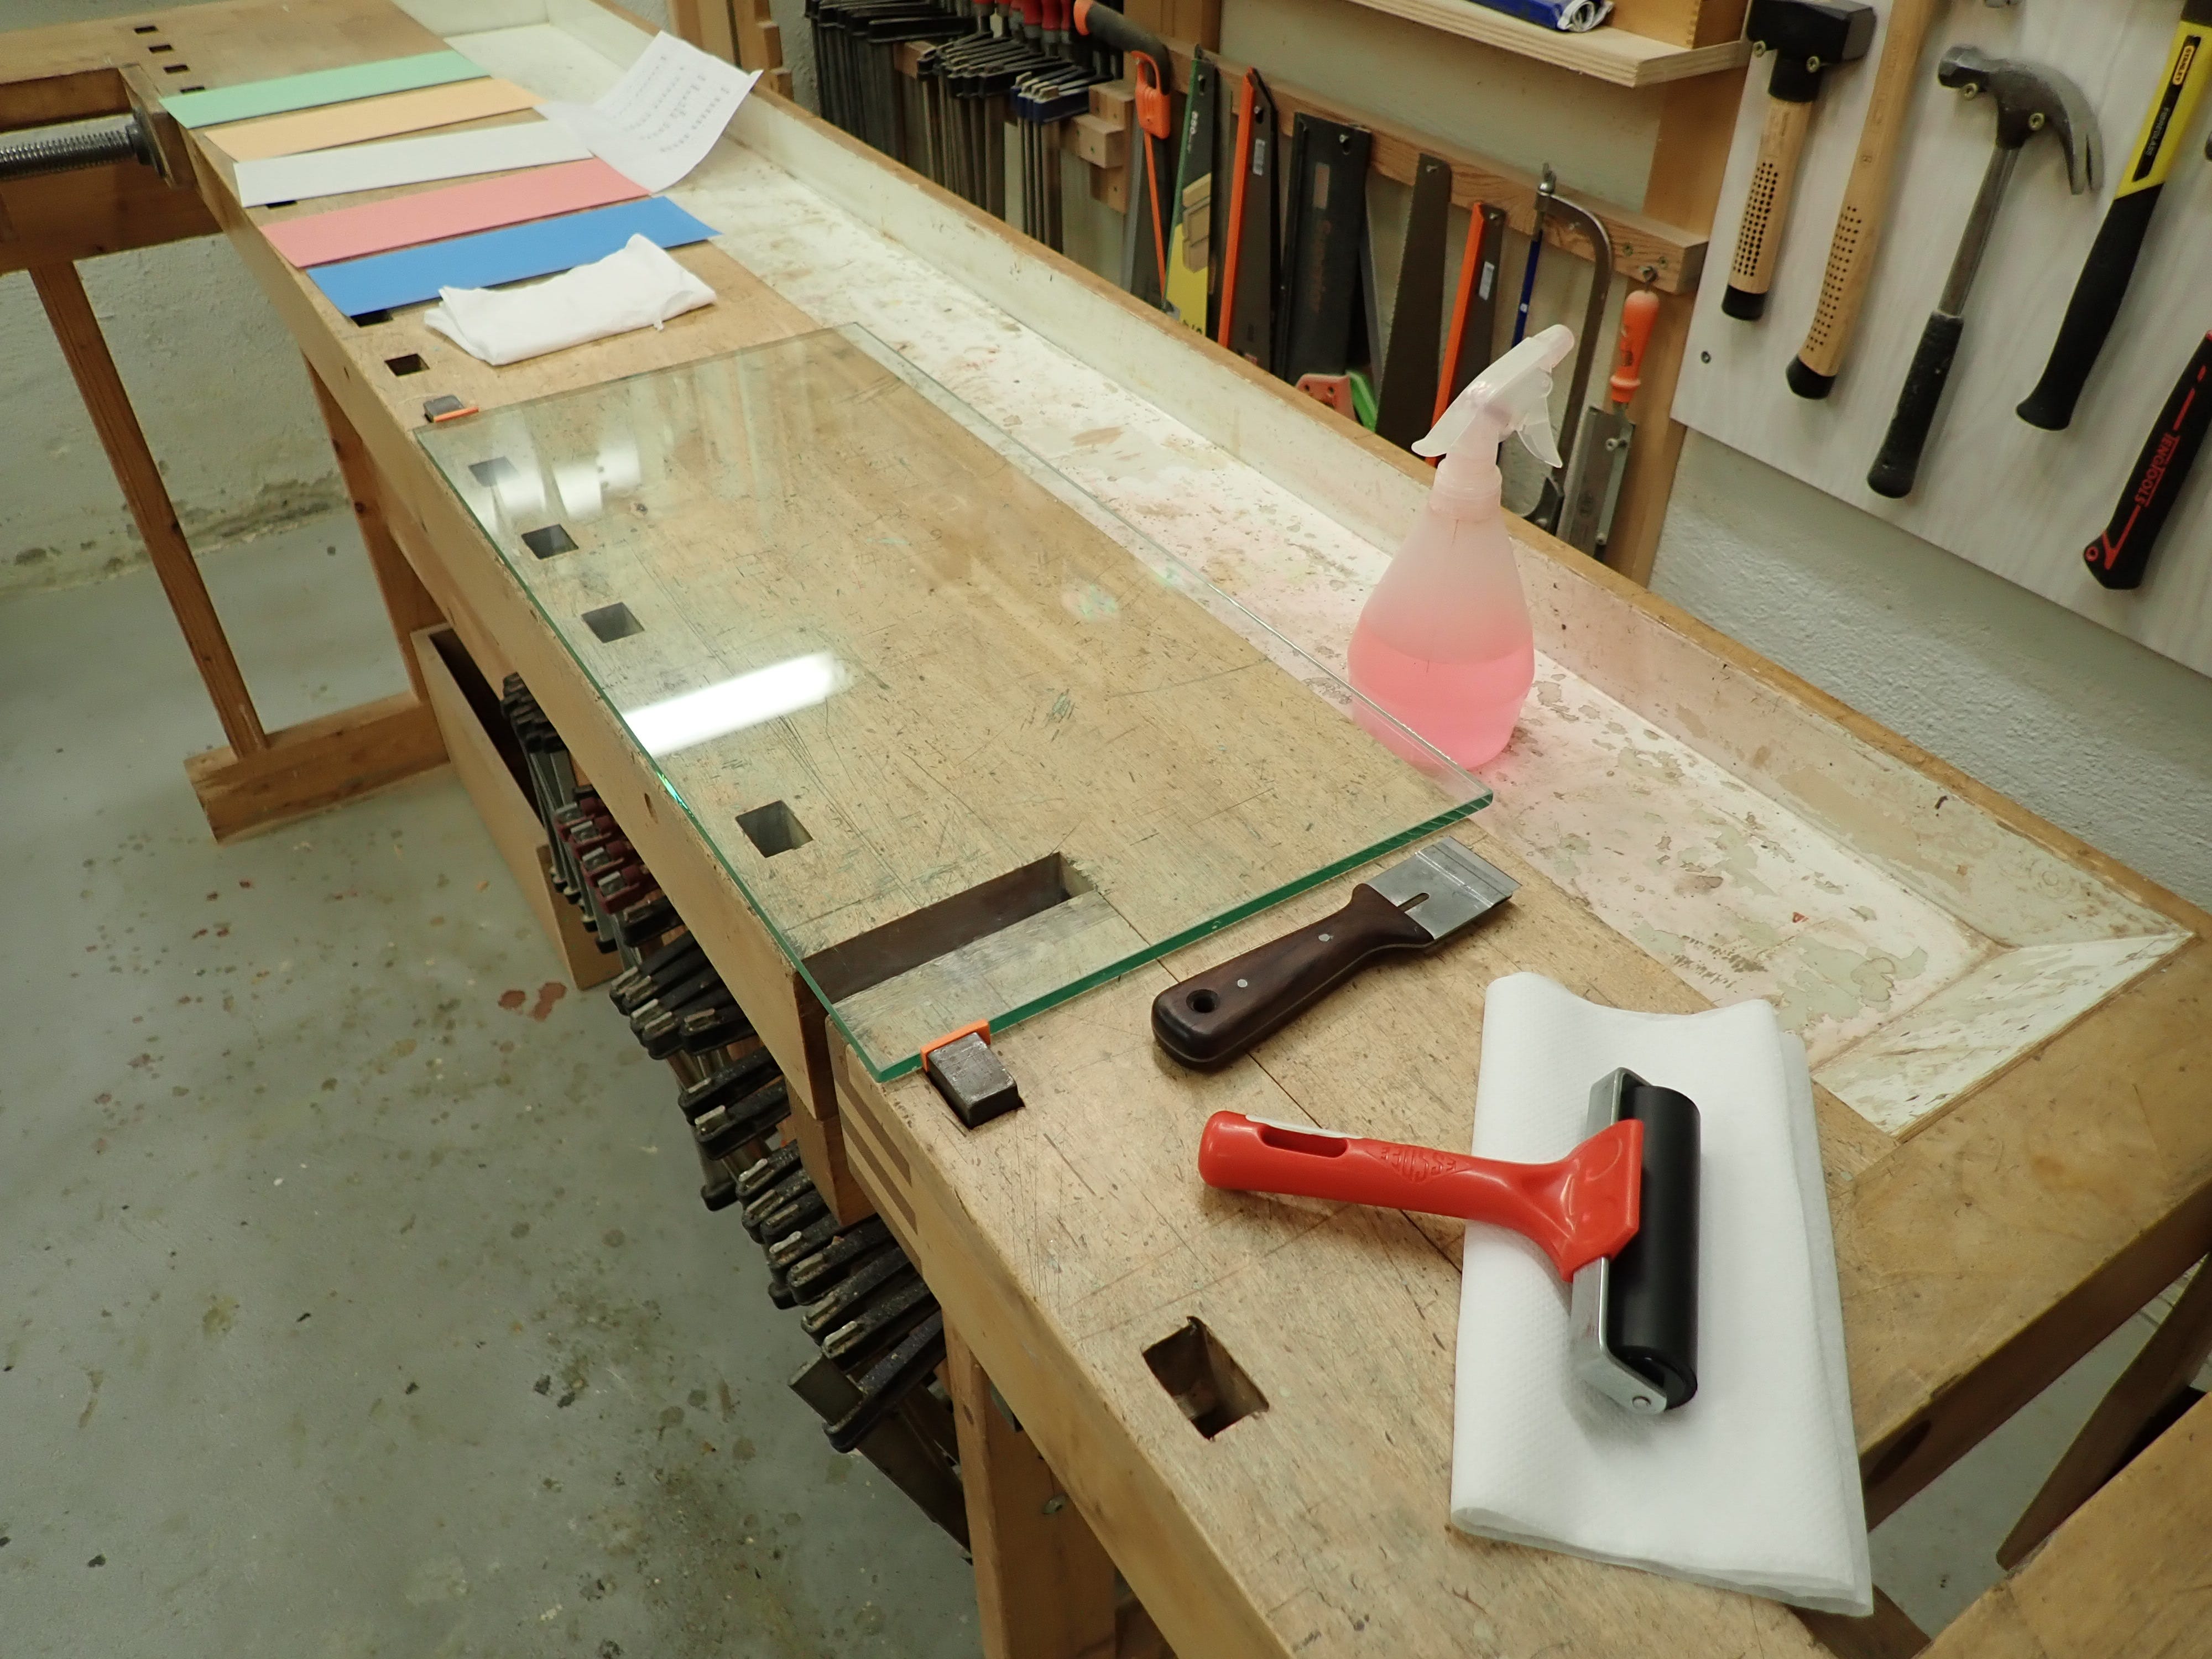
I give the glass a second wipe-down and inspect it to make sure it’s clean. You do not want any debris stuck under the abrasive (forearms and shirt dust free?) Then I peel the backing paper off and gingerly align the abrasive with its ‘slot’ on the glass. I start by attaching the outer edge of the short side, rubbing it down with a finger, keeping the rest of it well clear of the glass; if the adhesive grabs hold before you’re ready you’ll not get it lose again without spoiling it. Then I use a roller to press it down as I move it forward. This would have been much better described with a photo or a video, but I needed both hands! The result should look something like this:
It is also possible to affix the abrasives wet, like you would the decals on a plastic model airplane. This method lets you slide the abrasives around until you are satisfied with their placement; then you roll / squeeze out the water before letting it dry. I did this the first time and it’s a safe and forgiving way of doing it, but now I confidently lay them down dry — much quicker.
Today I spent about three leisurely hours stripping, cleaning and mounting next years abrasives. Then I slid the plates back into their dust-free, little boxes before I went up and wrote this.
Why, yes! I do feel rather smug.
***
Great article. I often use a similar product: self adhesive diamond lapping film (used to polish hard drive heads) to sharpen my chisels and plane irons. I have Japanese water stones and some coarse DMT diamond plates in the shop, but I seem to always want to work with the film. It works great.
Thanks Walter,
1. how thick are your glass sheets,
2. is your sand paper wet &. Dry sandpaper?
3. Do you use water when honing?
Cheers David