


[ soundtrack : ‘If ye love me’ - Thomas Tallis – The Gesualdo Six ]
***
This post is too long for email — open in browser for full length.
***
This post was prompted by a young, aspiring woodworker who asked my advice: He had sanded his latest masterpiece as smooth as a baby’s bottom using a random orbital sander (sorry about that simile), but when he applied some stain it highlighted a multitude of previously invisible, small curliques, or “pig’s tails”.
Why-oh!-why?
Sanding. The most tedious task in woodworking. It makes dust that settles on everything; it makes your nose run, making you sneeze and it fills your lungs to your detriment. I seriously dislike sanding and try to do as little of it as possible, but once in a while it has to be done and anything worth doing is worth doing well, so let me share my two cents on sanding, or abrasive material removal (and if anyone should quietly wend their way to the doors marked ‘exit’ I fully understand … and sympathize).
Let me start with some general observations in order to circle in on the nature of this particular beast: Some tools split wood like a wedge; as a splitting axe or a froe. Other tools remove chips by cutting like a knife, a gouge or a scorp. A chisel will chop, slice or pare and a plane will shave. A saw will either cut like a multitude of knives (crosscut) or like a plethora of small planes (ripcut). A scratch stock, a scraper plane or a ziehklinge will … erm .. scrape. But sandpaper will abrade. Different ball game altogether. Not cricket. Not even tennis. Miniature golf, maybe?
Abrasion is a messy process combining micro-cutting, scratching and scraping. Who knows what really goes on down there on the nitty-gritty level? Let’s pretend it’s all on a need-to-know basis and that I do not need to know.
Let me instead proceed by stating some practical facts that I hope will be as self-evident as Euclid’s axioms:
Coarse sandpaper makes deep scratches and removes much material.
Fine sandpaper makes shallow scratches and removes little material
And here we can already understand where the young adept went wrong: his final, fine sanding did not remove enough material to eliminate the deep scratches made by the initial, coarse sandpaper. I’ve tried to illustrate this schematically, like so:
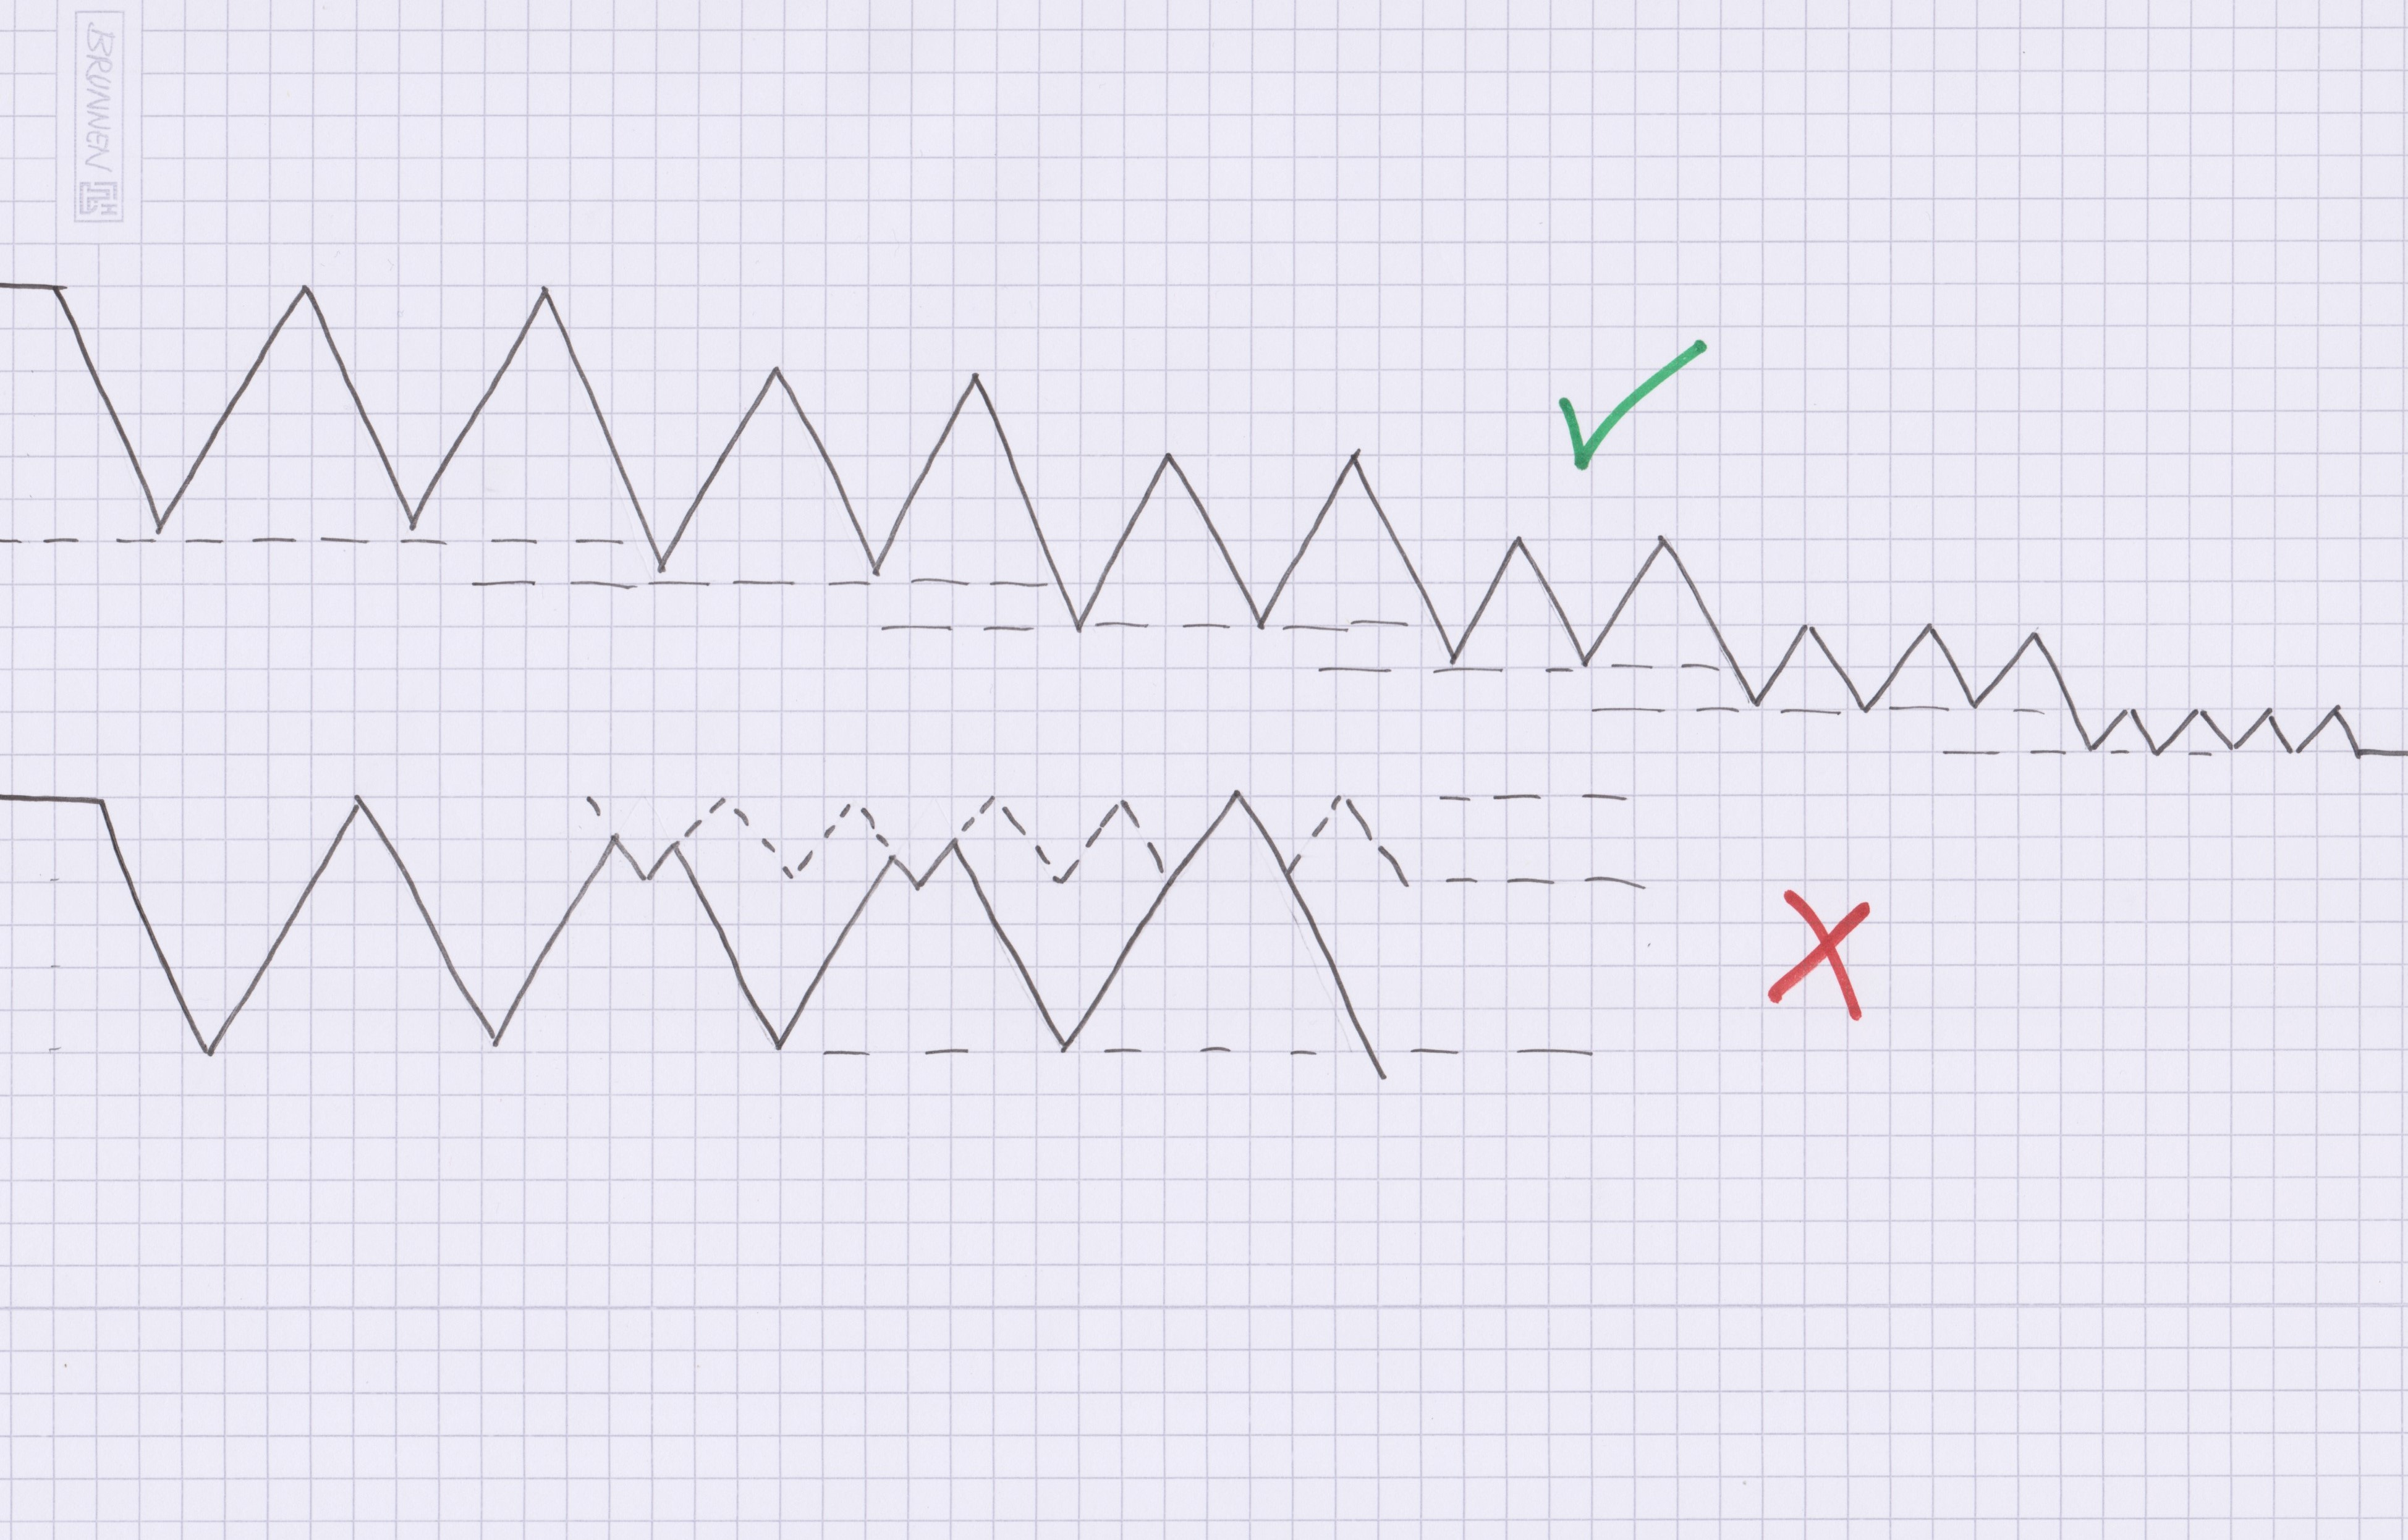
The solution is to sand successively through the grits — but not more of them than you need to! Remember: sanding is shitty work; as little as possible, please! In practical terms this means that you start with as fine a grit as possible and finish with as coarse a grit as acceptable. That sentence sounds wrong, but it’s not. Read it again!
For example: My jointer/thicknesser-combo has a segmented, spiral cutterhead that leaves a pretty smooth surface for its kind. If I were to improve it by sanding I would start with 120 or 150 grit. When practical, I prefer to hand plane the surfaces coming off the planer — ‘giving them a lick-over’. Then I only need to smooth over the plane’s ‘licks’ with a fine paper like 320-grit or so.
How finely do you need to sand a surface? It depends on what you’re making and the intended surface treatment / coating. Doors & windows to be painted with 1 primer and 3 healthy coats of alkyd-oil paint need only a scrubbing with 80 or 100-grit. Finer work to be painted, perhaps with thinner coats of a more delicate paint will benefit from a going over with 120-grit. A thickness of lacquer will cover most 180-scratches comfortably, but a lean coat of politur (shellac), oil or whatever-concoction you’ve cooked up in your alchemist’s garret might require an even finer surface treatment. These finer points I can not teach you through words — you’ll have to experiment and find out for yourself.
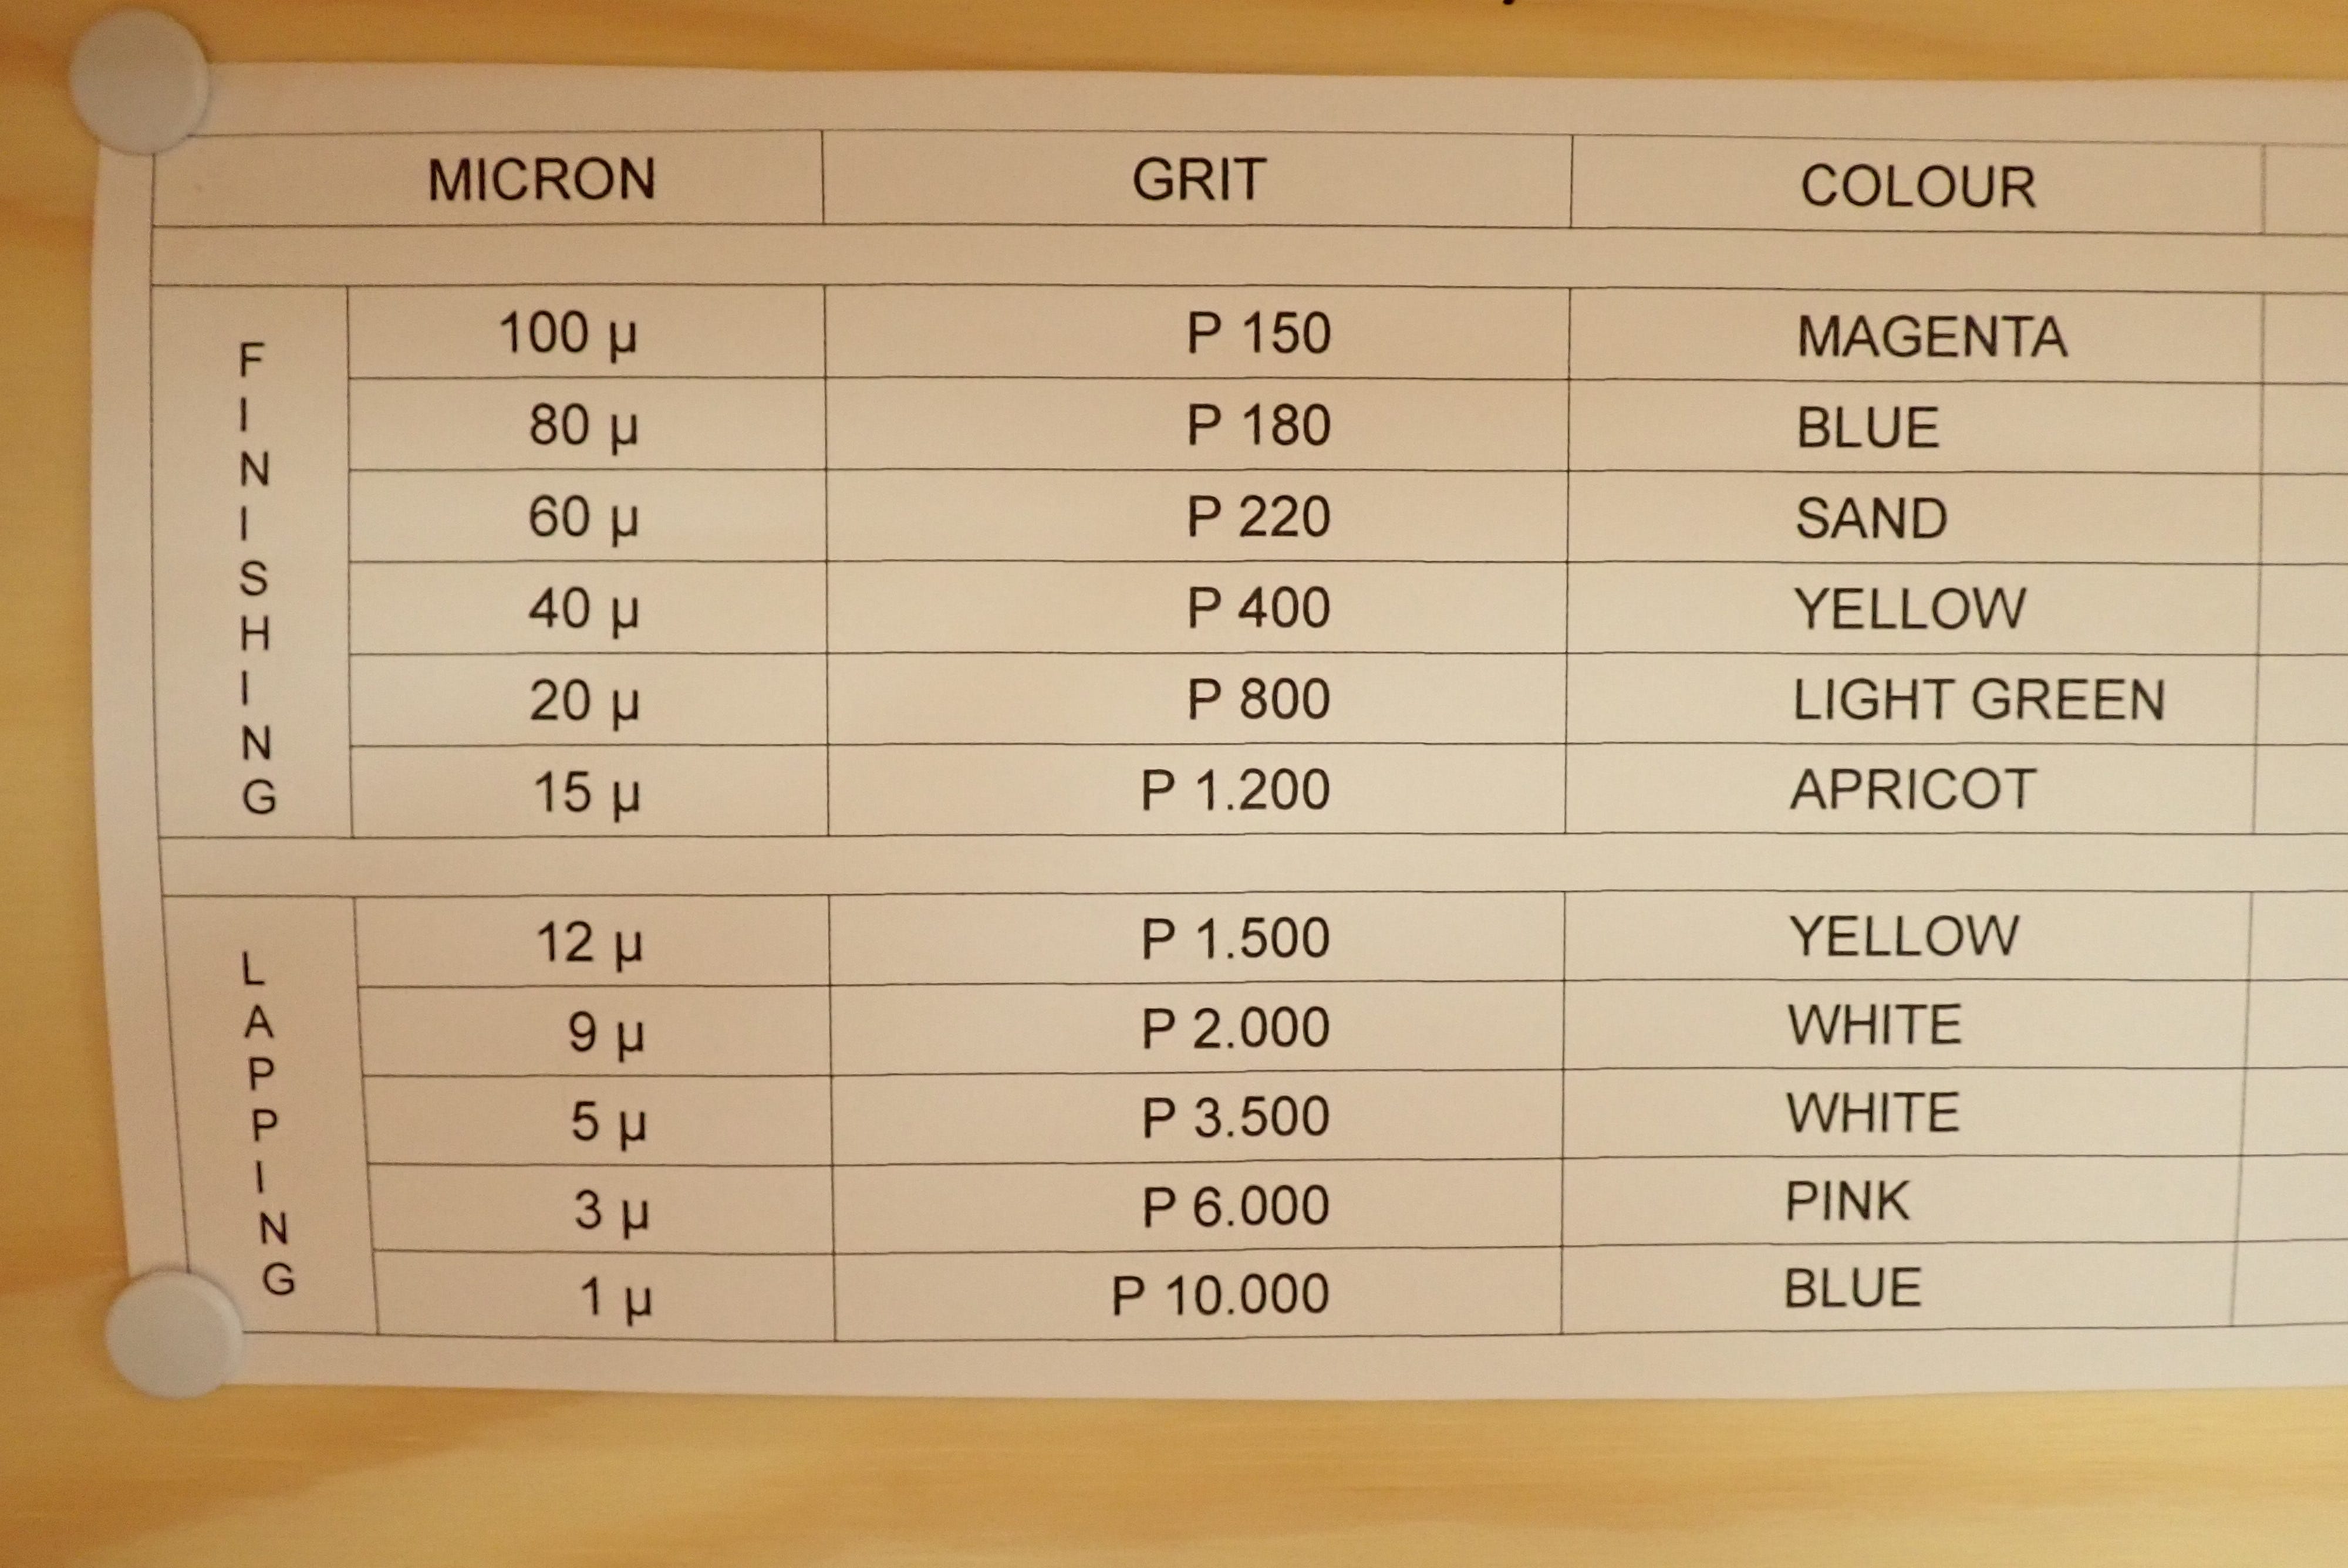
Speaking of grits & grades: Excepting the customary holdouts (CAMI-standard) the world either uses the FEPA-standard (the ‘P-scale’) or Microns (1 micron (1μ) = 1/1000 mm). Here’s my honing bench cheat sheet showing the correlation:
So … what does all this entail for practial woodworking?
Sand in the direction of the grain when possible. By machine (broad-band or long-band machines) or by hand: long-grain scratches are much less visible. When hand-sanding corners where grain-directions converge: circular sanding (but not with coarser paper than necessary so as to avoid tell-tale cross-grain scratches!) I have a random orbital sander but haven’t used it for years; It seems I can do just fine without, but it is useful for tearing off thick layers of old paint, fitted with 40- or 60-grit papers.
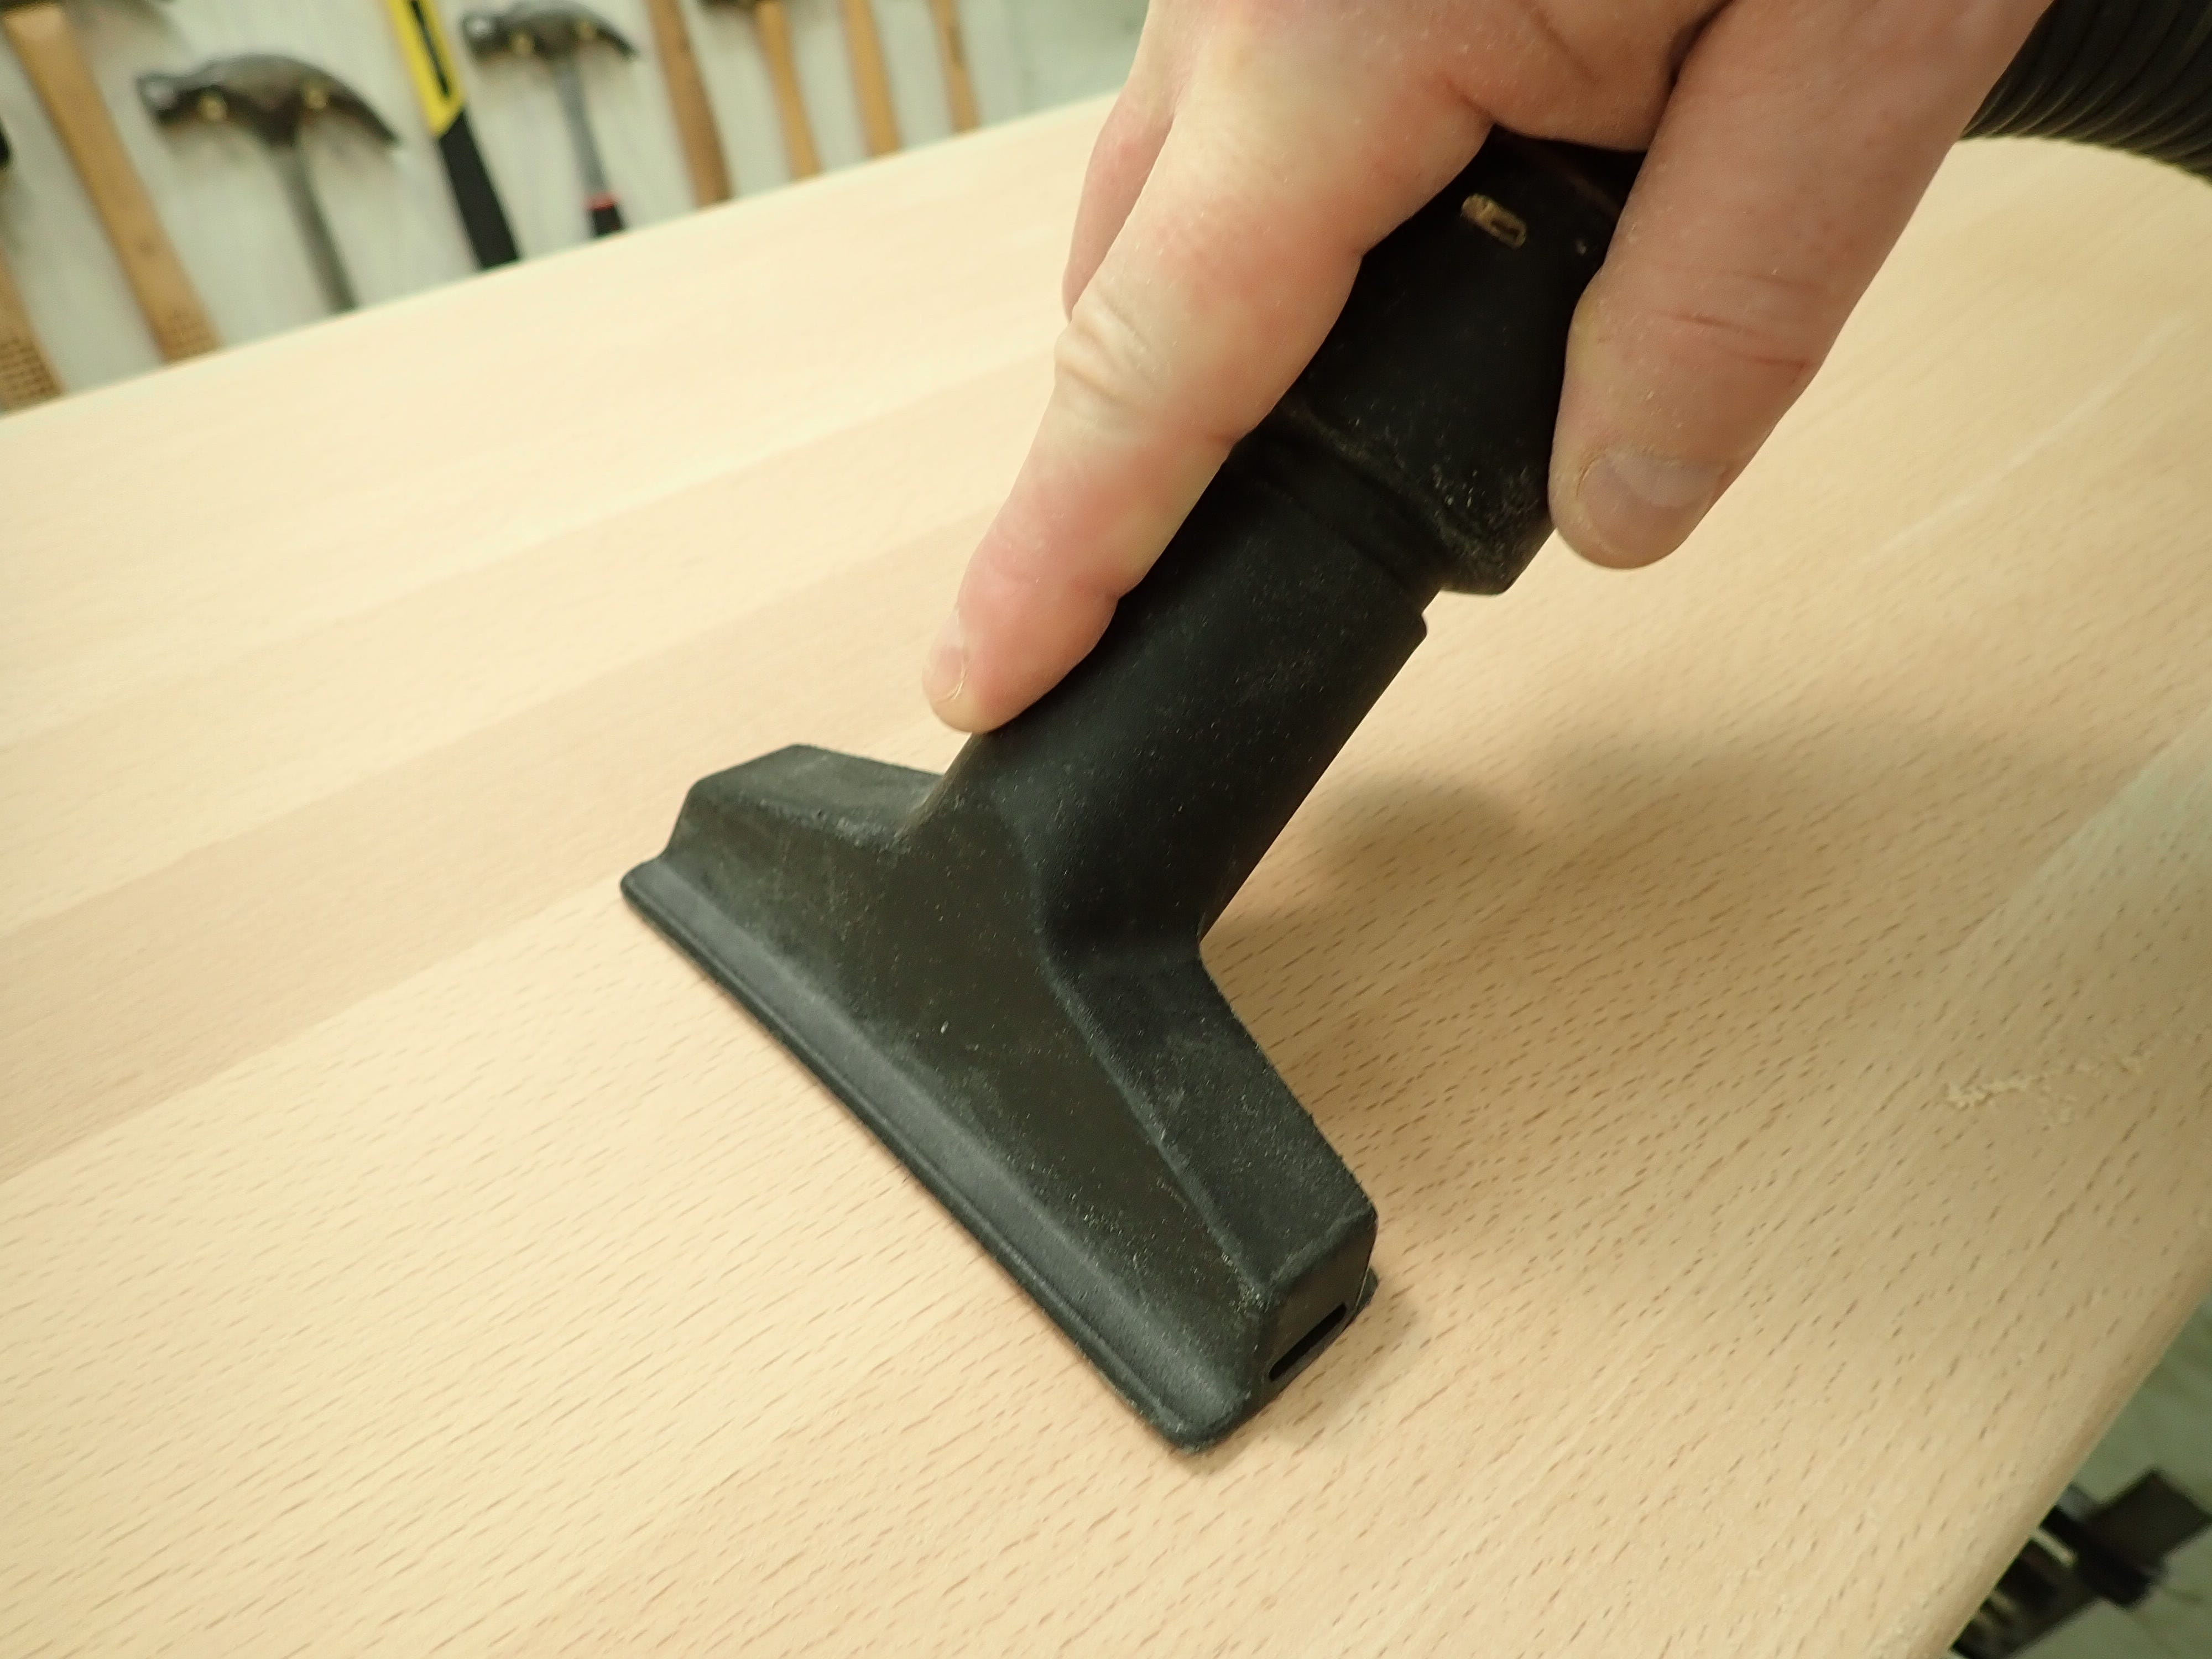
Good dust collection is essential! Sanding dust should ideally be collected by suction as soon as it’s made. My tolerance for dusty shops has plummeted with age. Where I previously would send the dust flying with a flick of my bench brush, I now dutifully vacuum it up.
The finest wooden surface available to humanity is made by passing a finely honed plane iron steadily over a yielding piece of wood. Honed, sharp steel is able to slice through wood leaving the wood cells open to ‘electro-chemical bonding’ with any suitably ‘polarized’ substance, be it glue or any other manner of coating (… that’s another post right there: “Glue & paint — how does it stick? Perhaps not the way you think!“) Sanding will produce a scratched-up surface with pores clogged by dust. This is not necessarily a problem, but it is still a fact.
‘The finest wooden surface available’ will seldom — but sometimes! — be a realistic option. Oftentimes, a very refined surface is not required. If you’re not building Steinways, why not leave the slightly scalloped, handplaned surface or the sawn and chiselled end-grain? There is no shame in toolmarks; they are the craftsman’s signature. We’re not making iPhones, we’re working wood.
Let me finish with sharing some everyday snippets of my sanding regime.
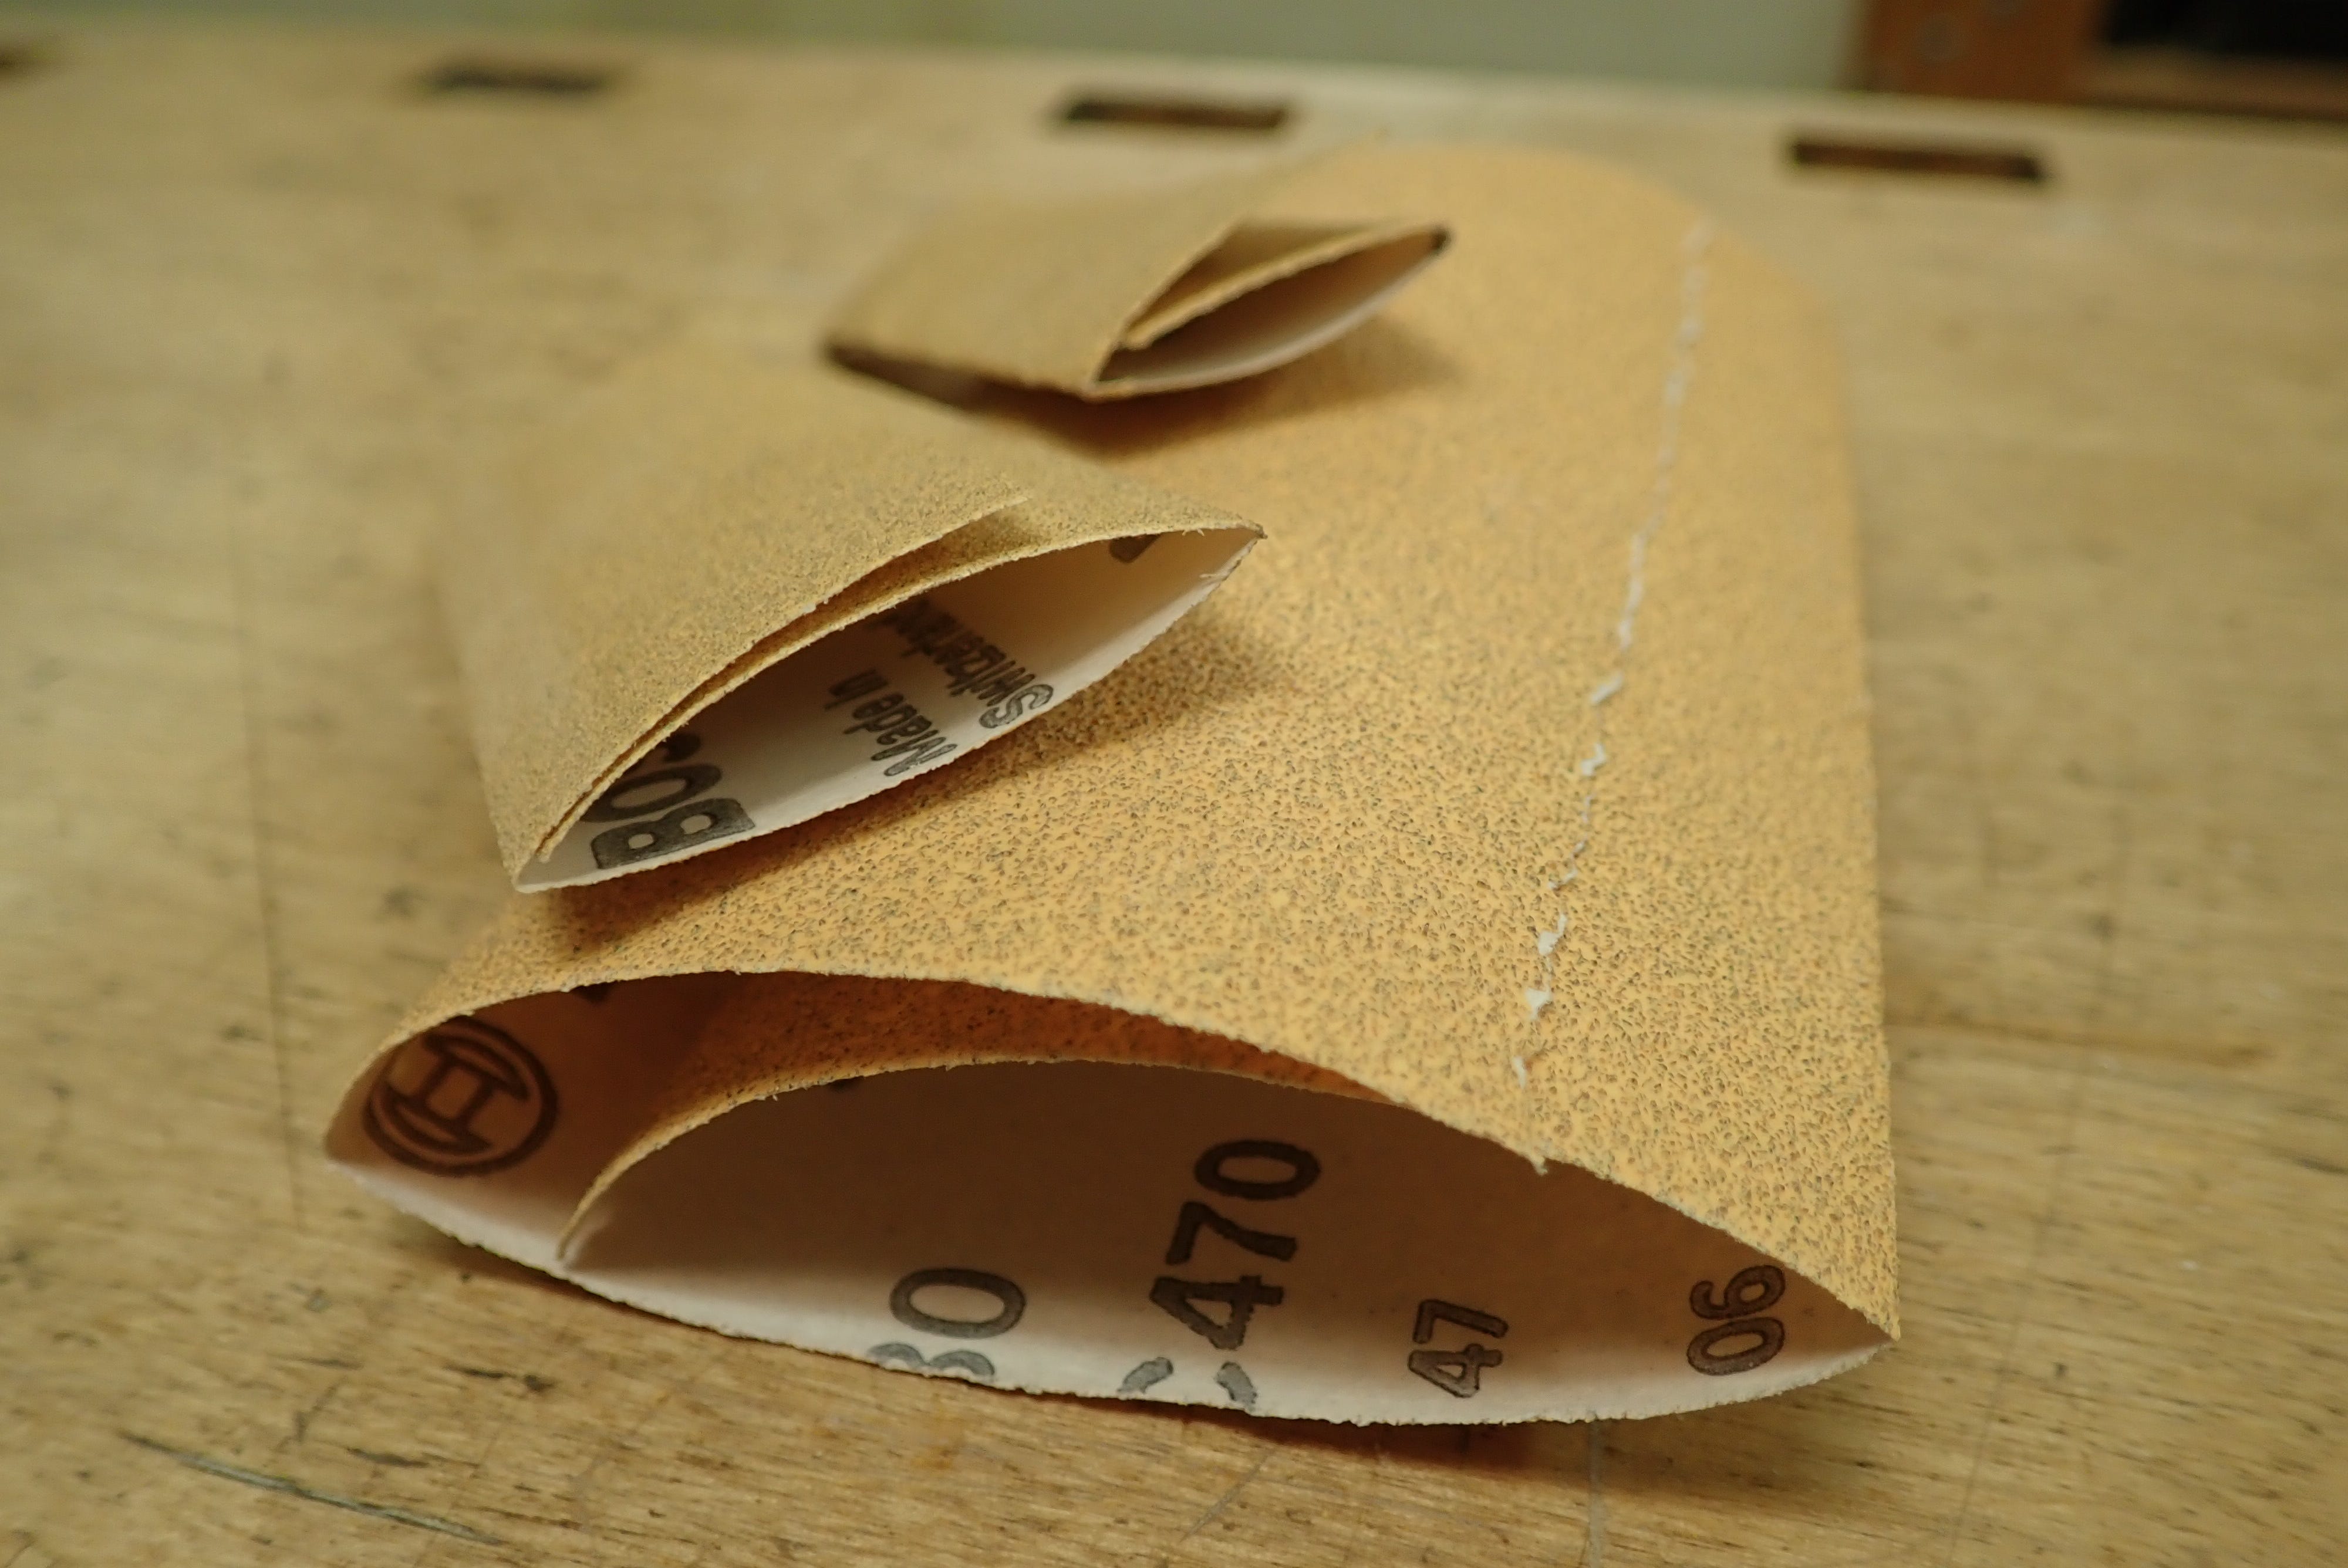
I buy paper-backed sandpaper in 5-metre rolls. They work out at a quarter of the price of using sanding discs (‘Abranet’ et alia) for hand sanding.
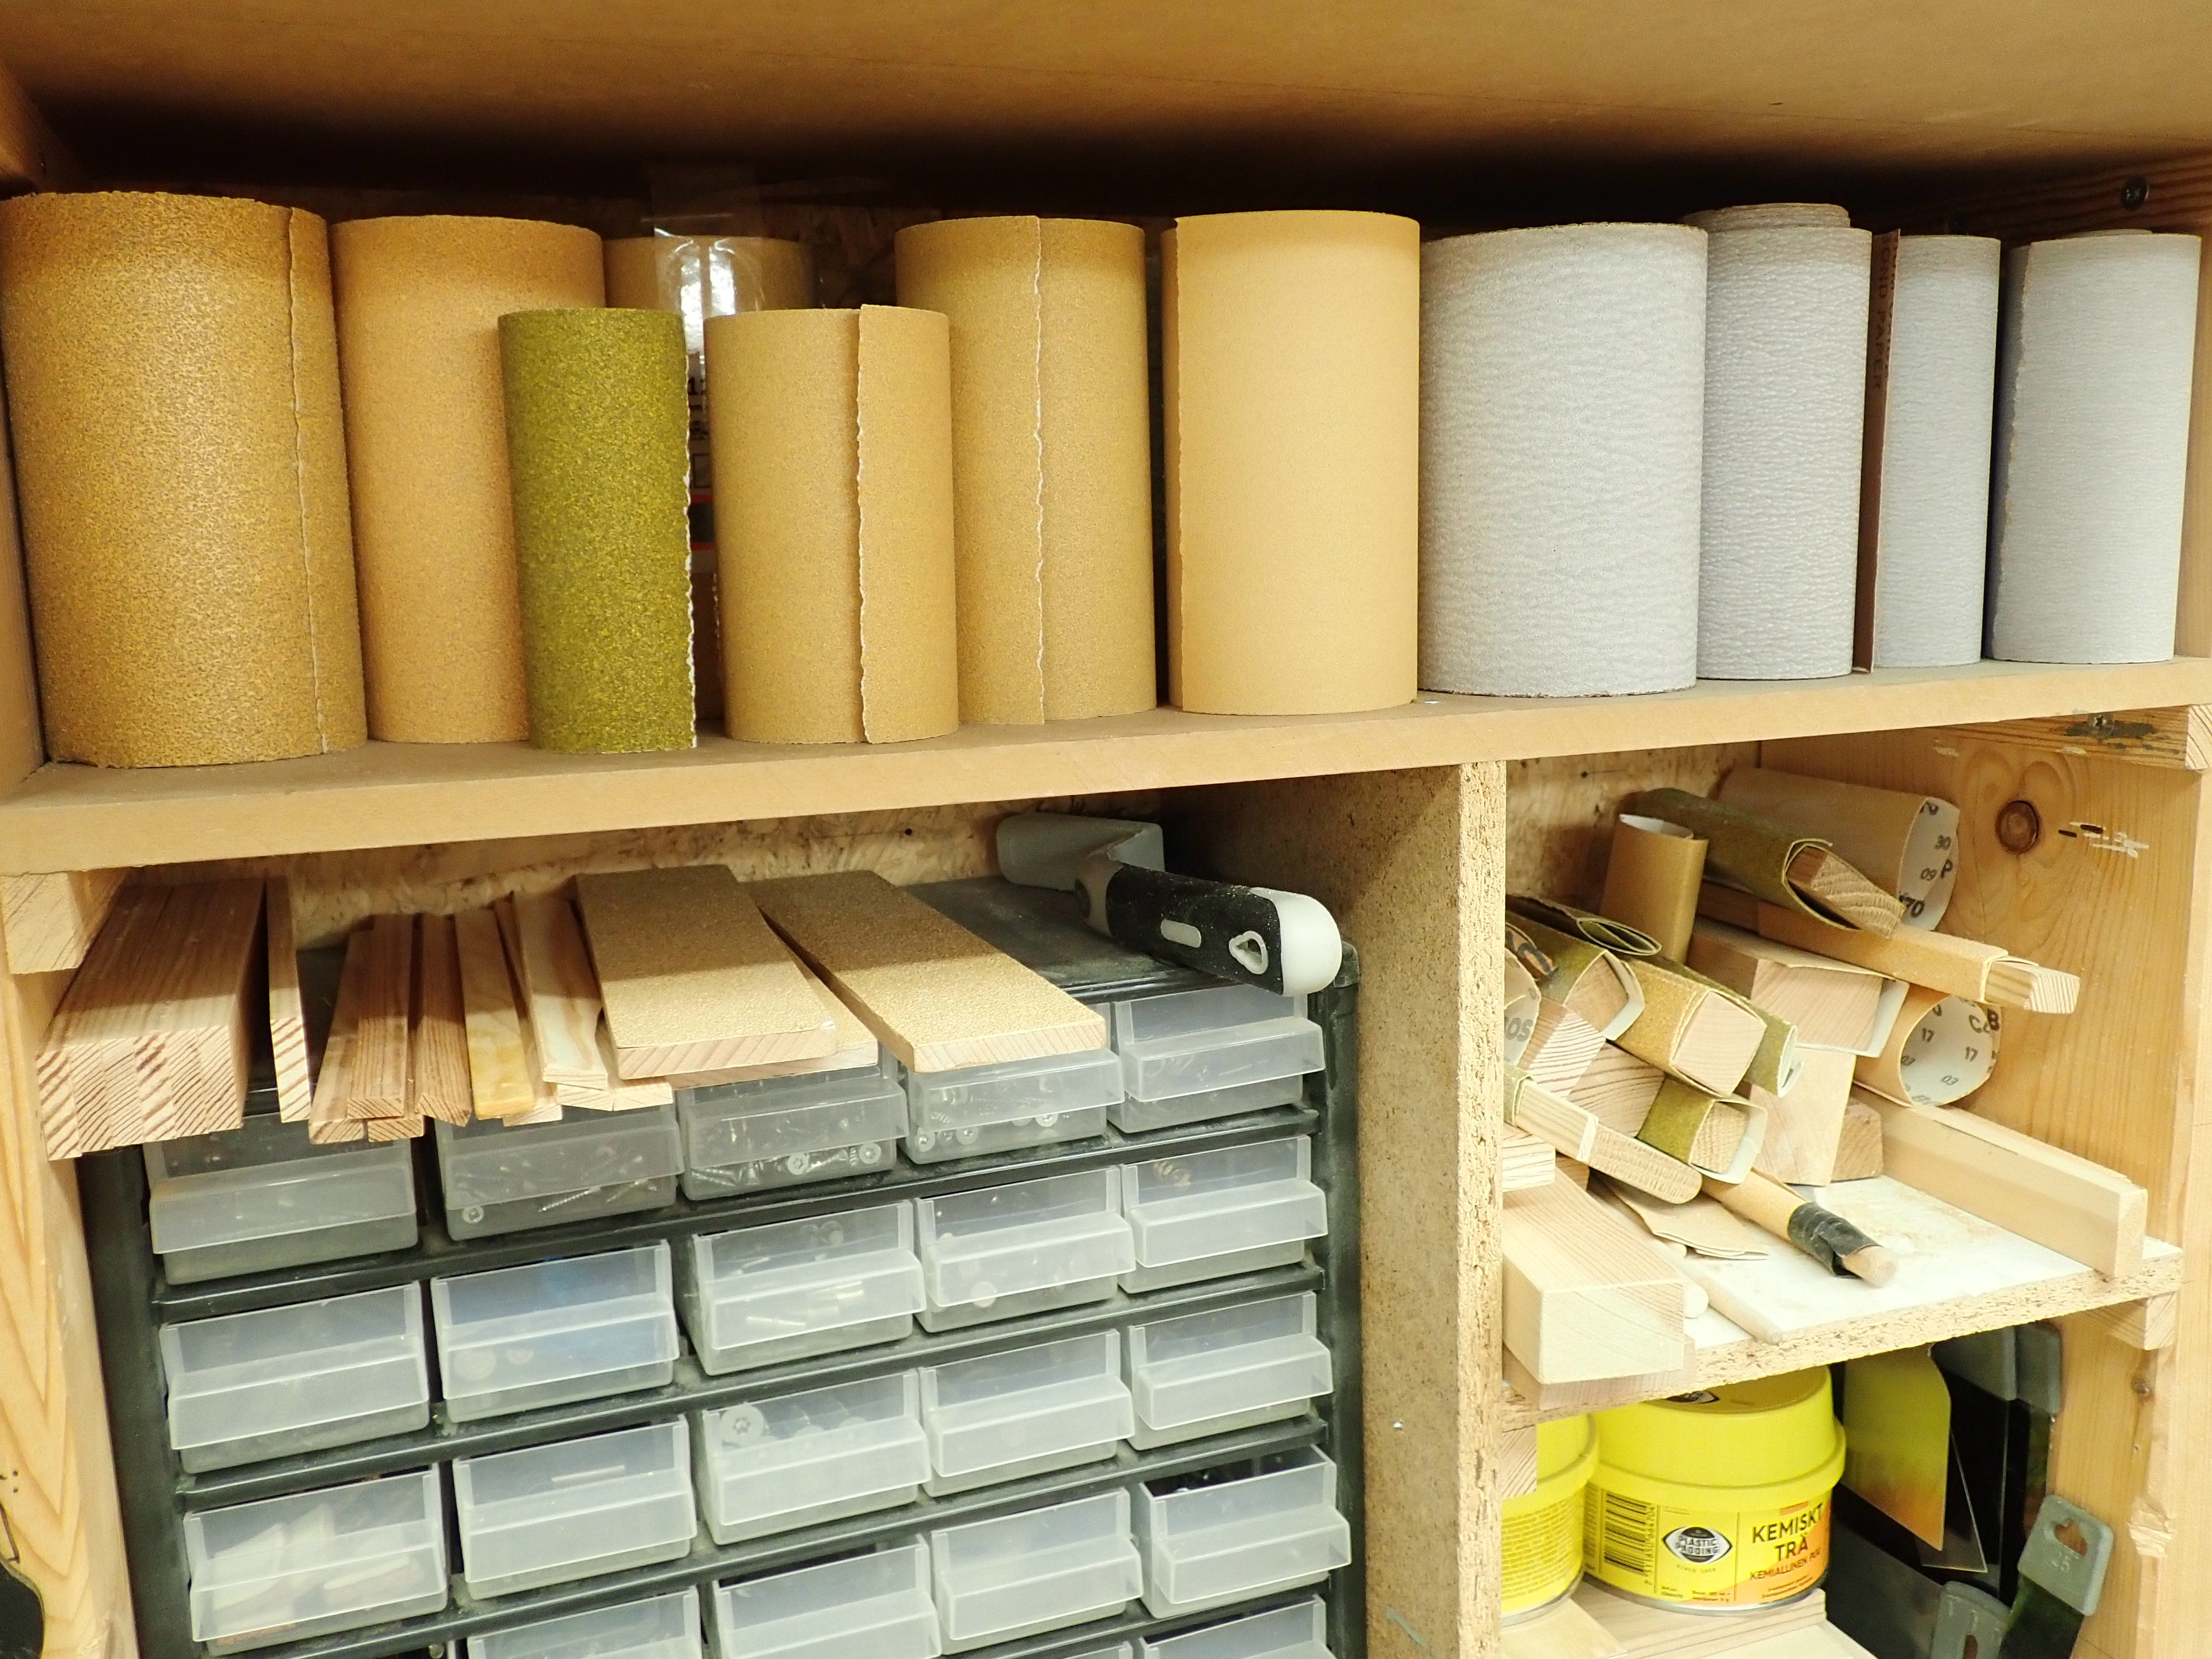
I mostly tear the paper to length over the front edge of my bench.
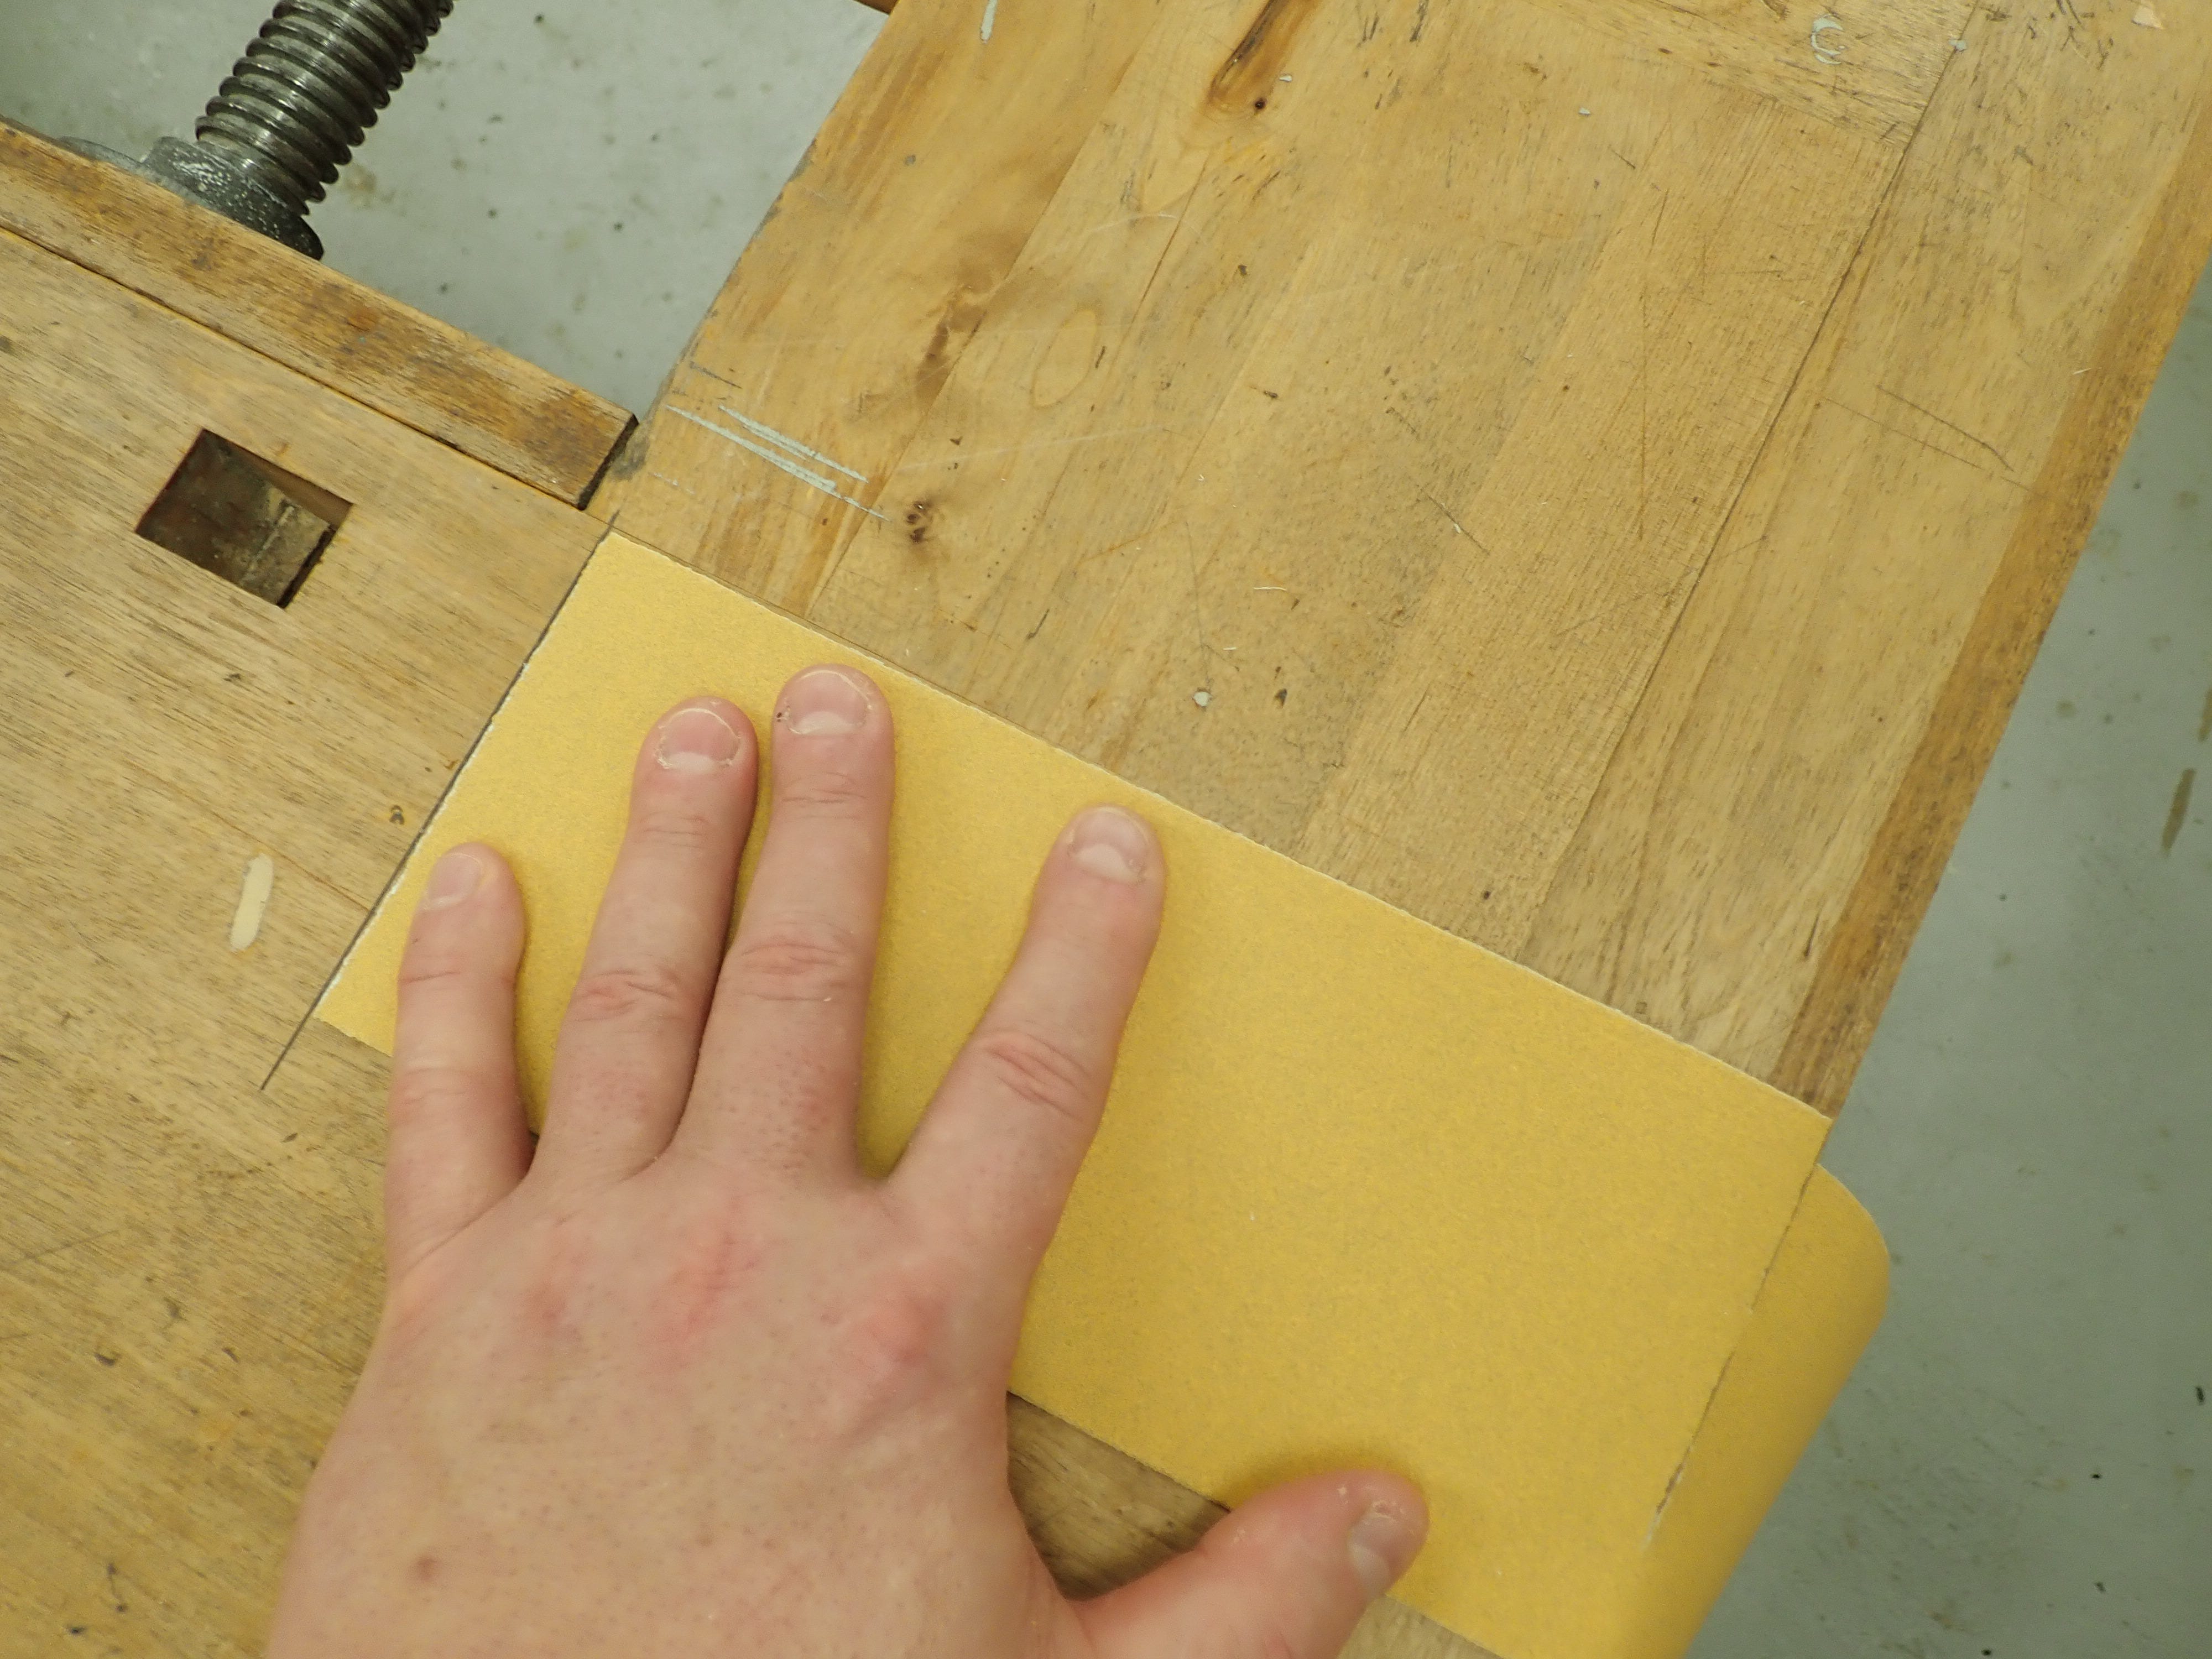
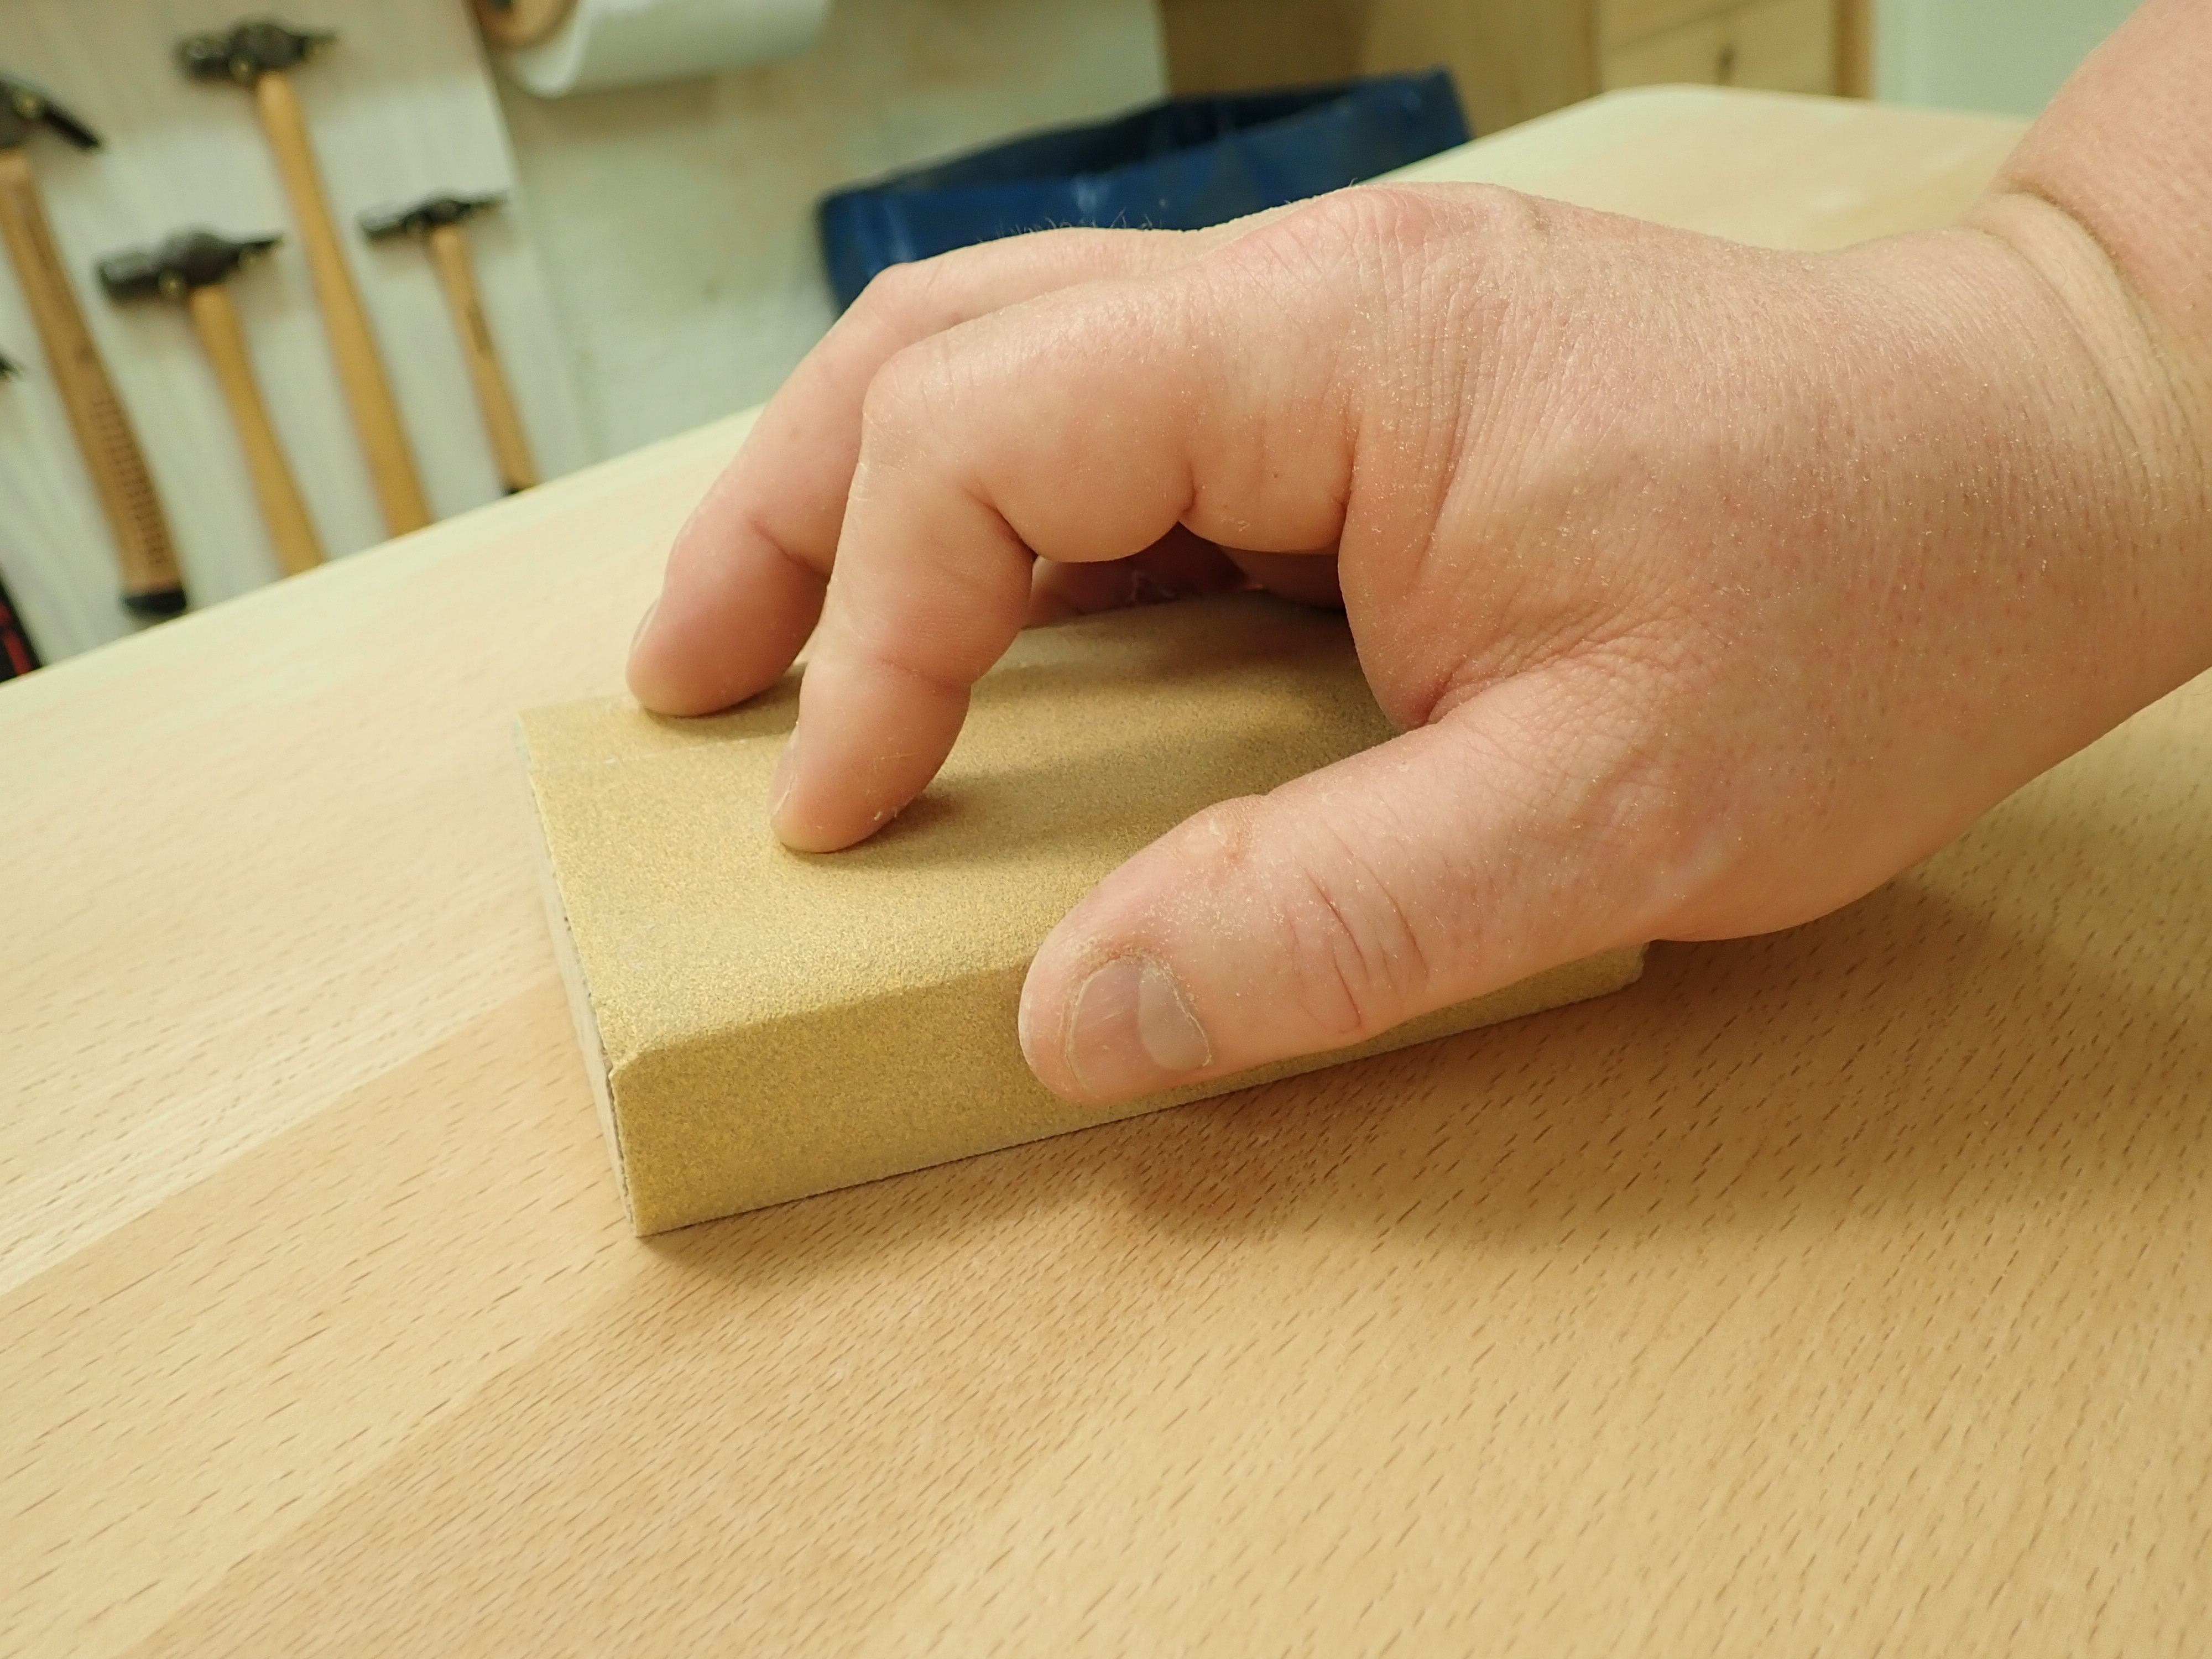
I have a mark on my bench that gives me the right ‘sanding-block-length’.
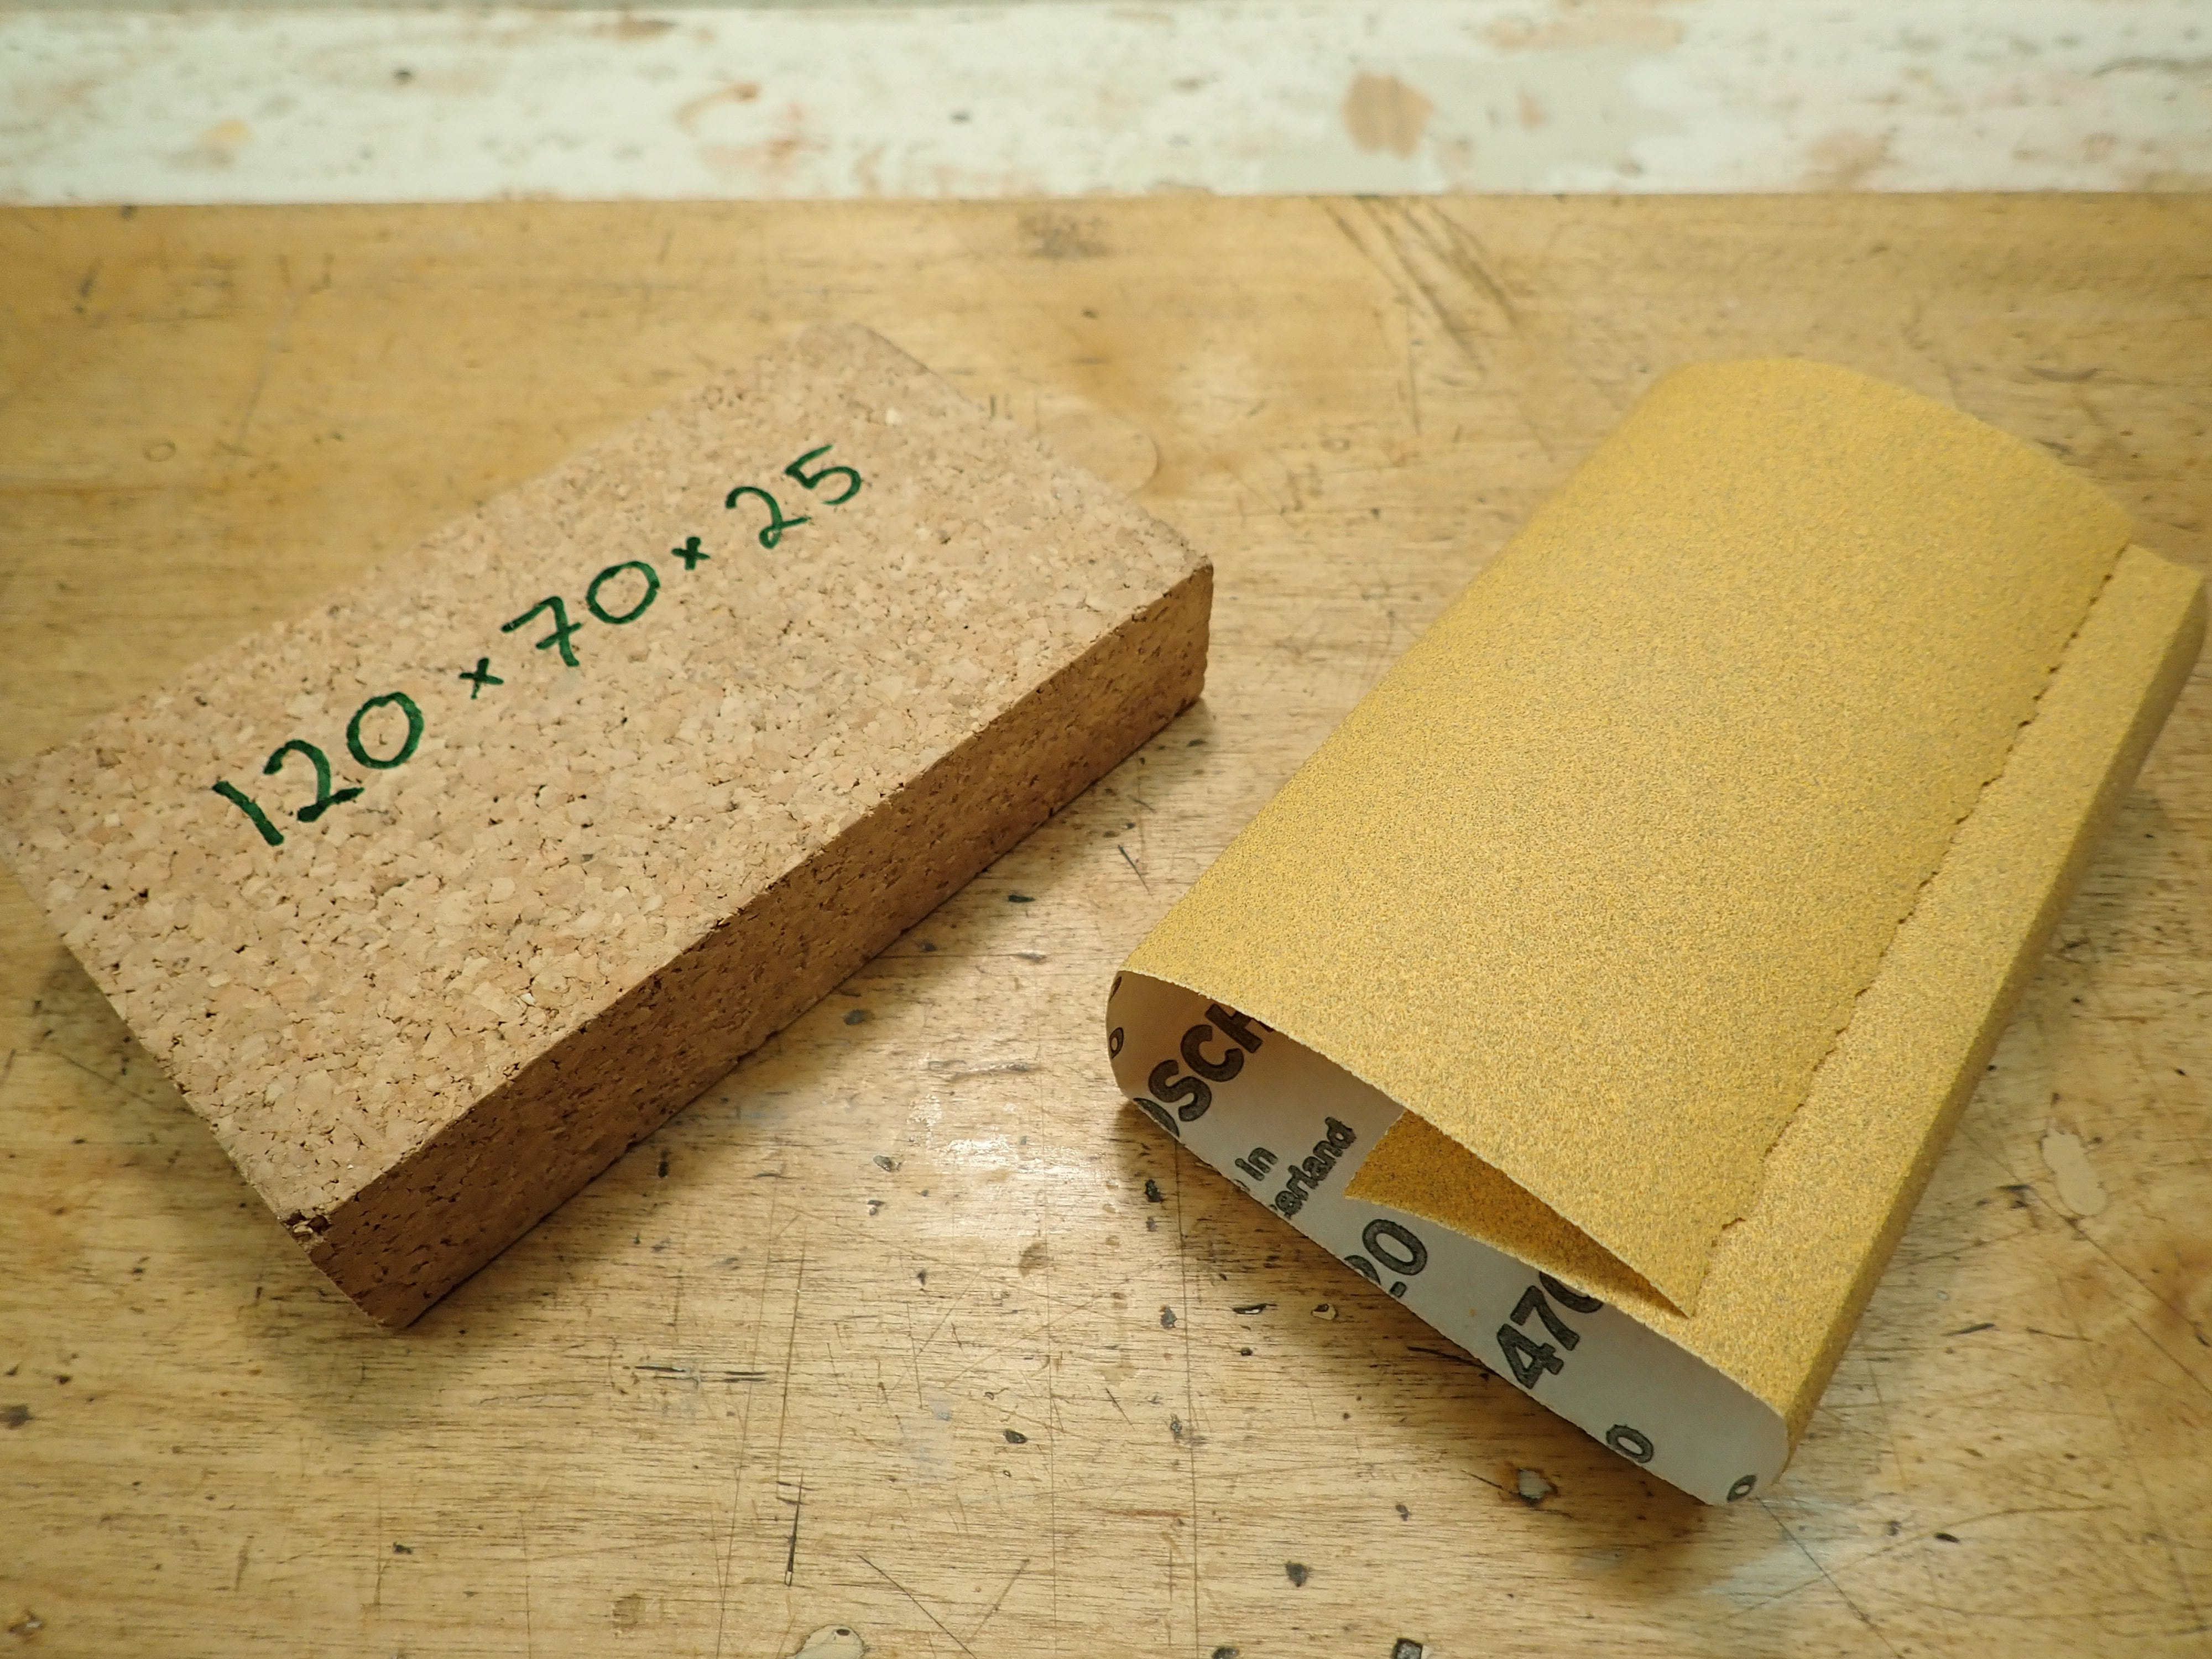
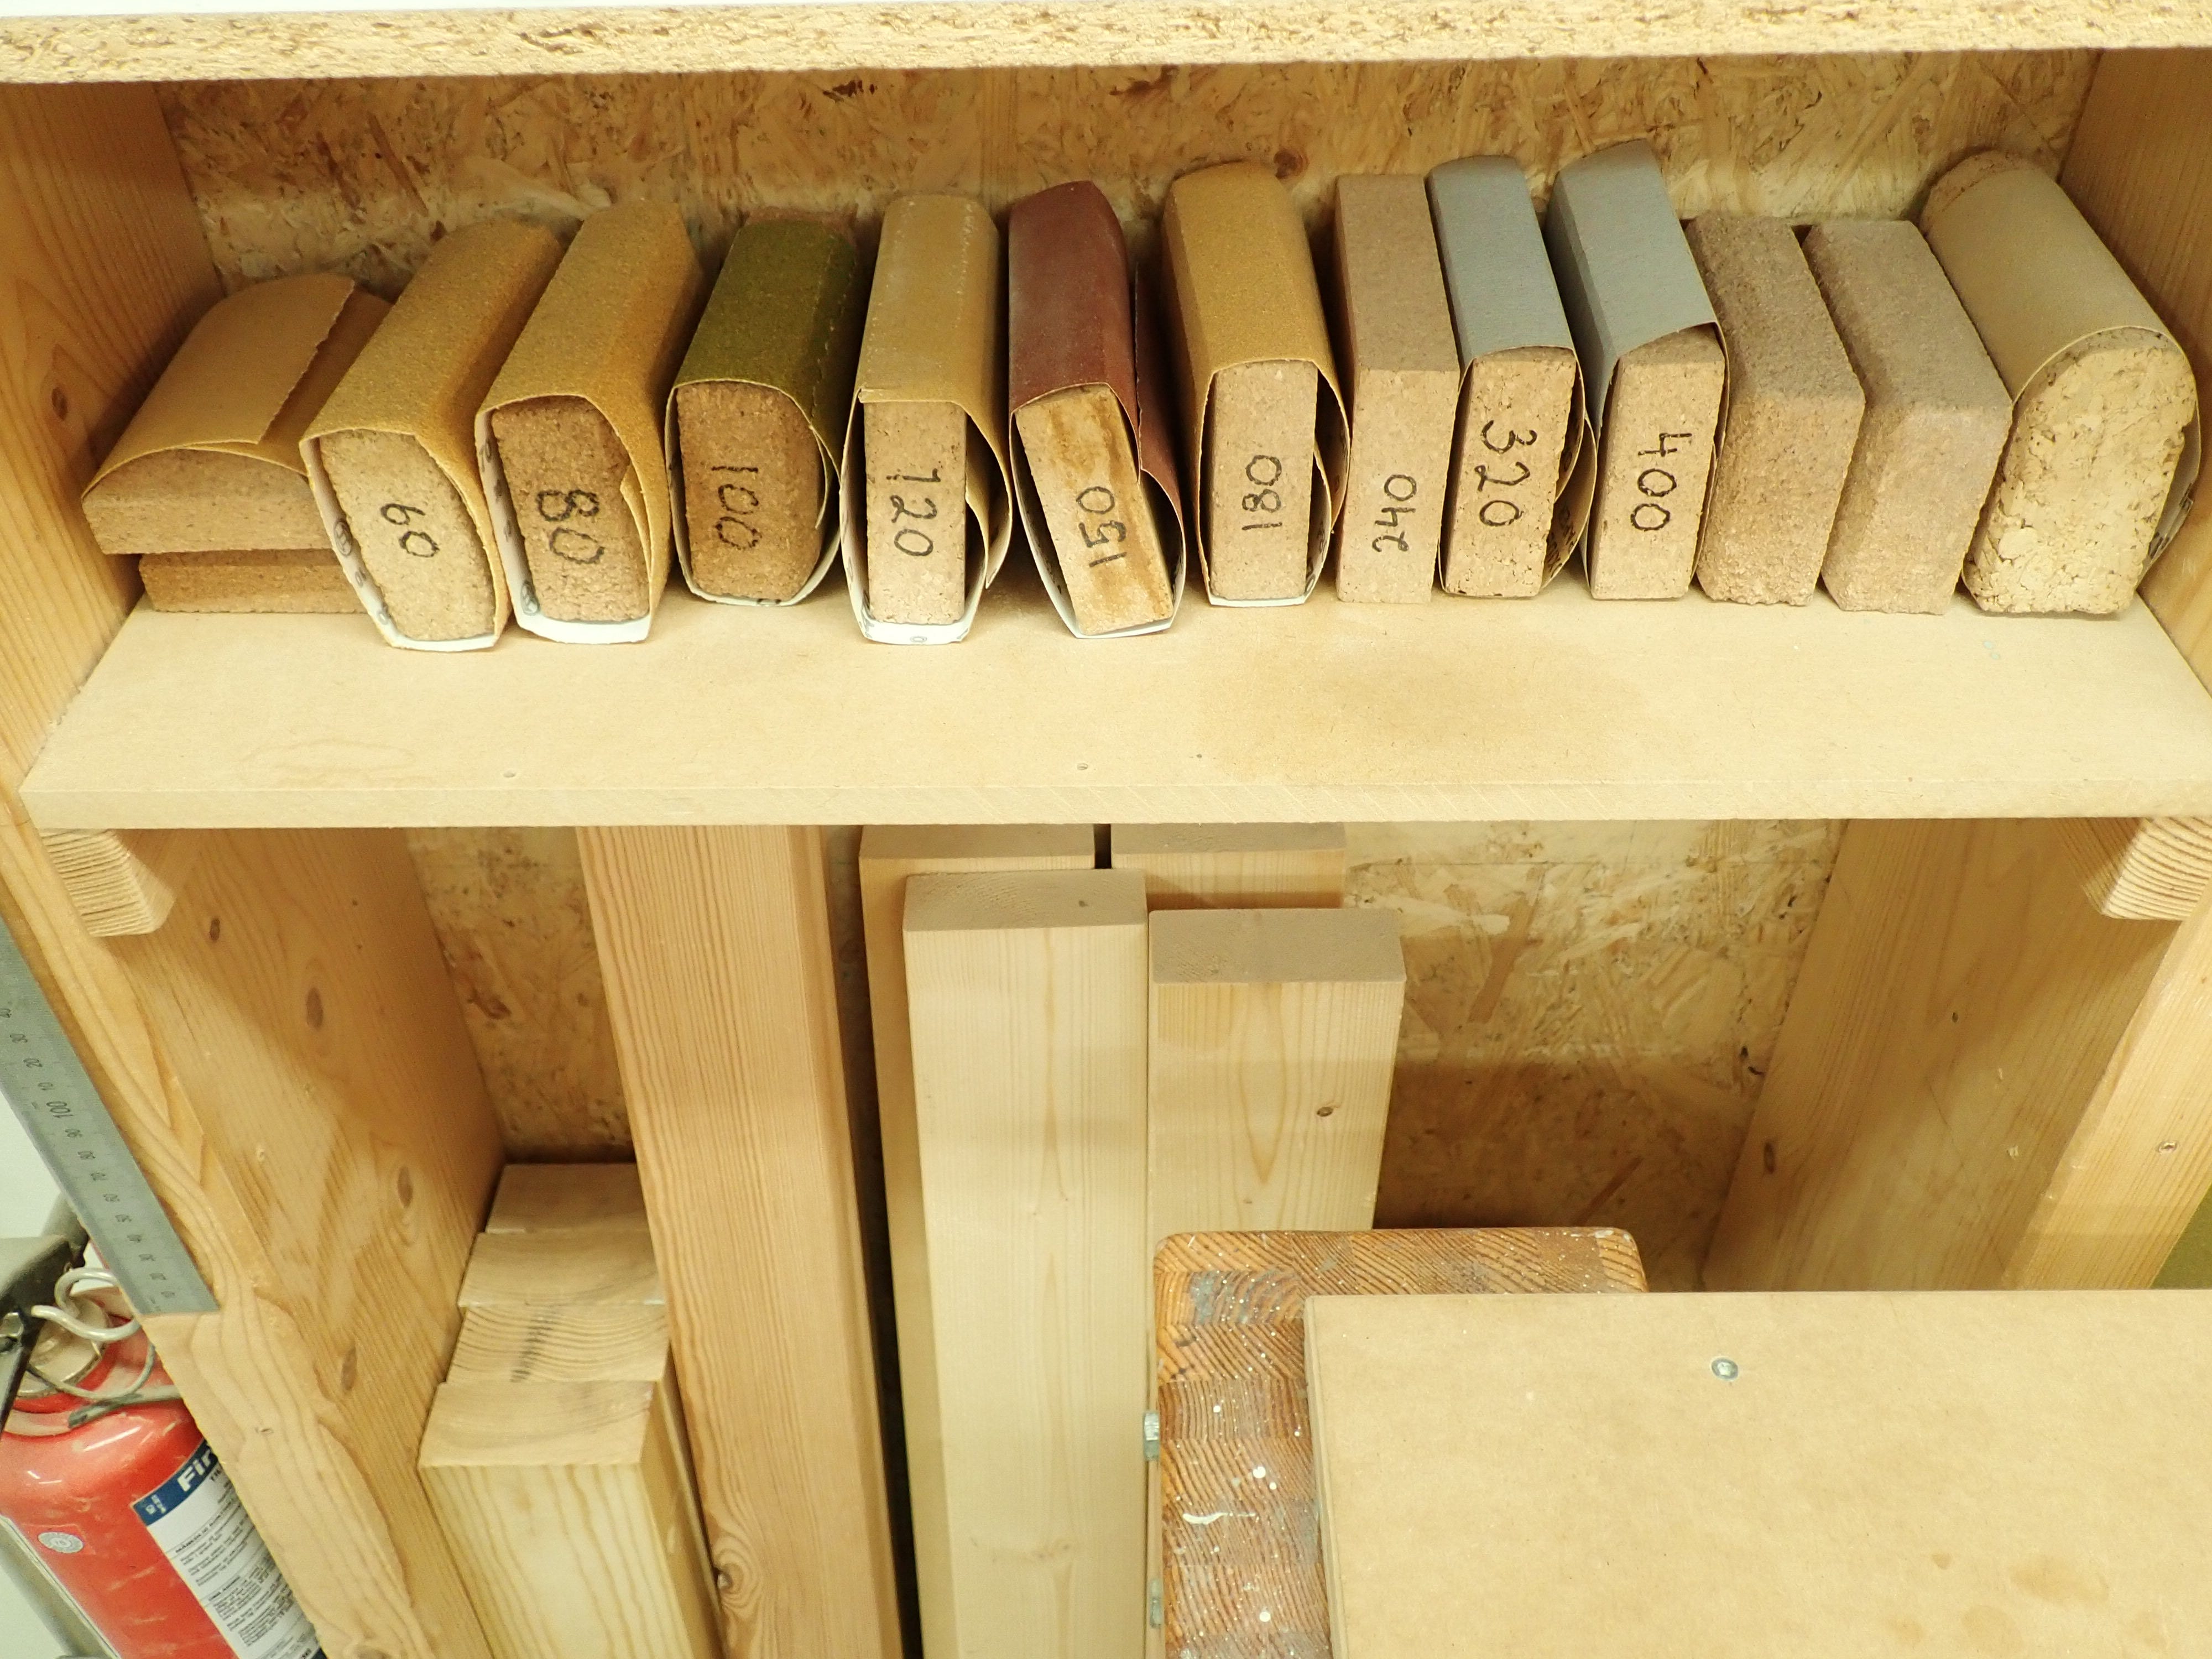
I prefer traditional cork sanding blocks, specifically the ones having the measurements pictured above. They’re just the right size and the relative thinness (25mm) lends a certain give to the block that’s just what you want sometimes. I have seen complicated and expensive plastic sanding blocks with ‘ingenious’ ways of tucking and fastening the sandpaper; some even have internal dust extraction channels that hook up to a vacuum hose. I hope you are familiar with the word ‘gimmick’ and the expression “there’s one born every minute”?
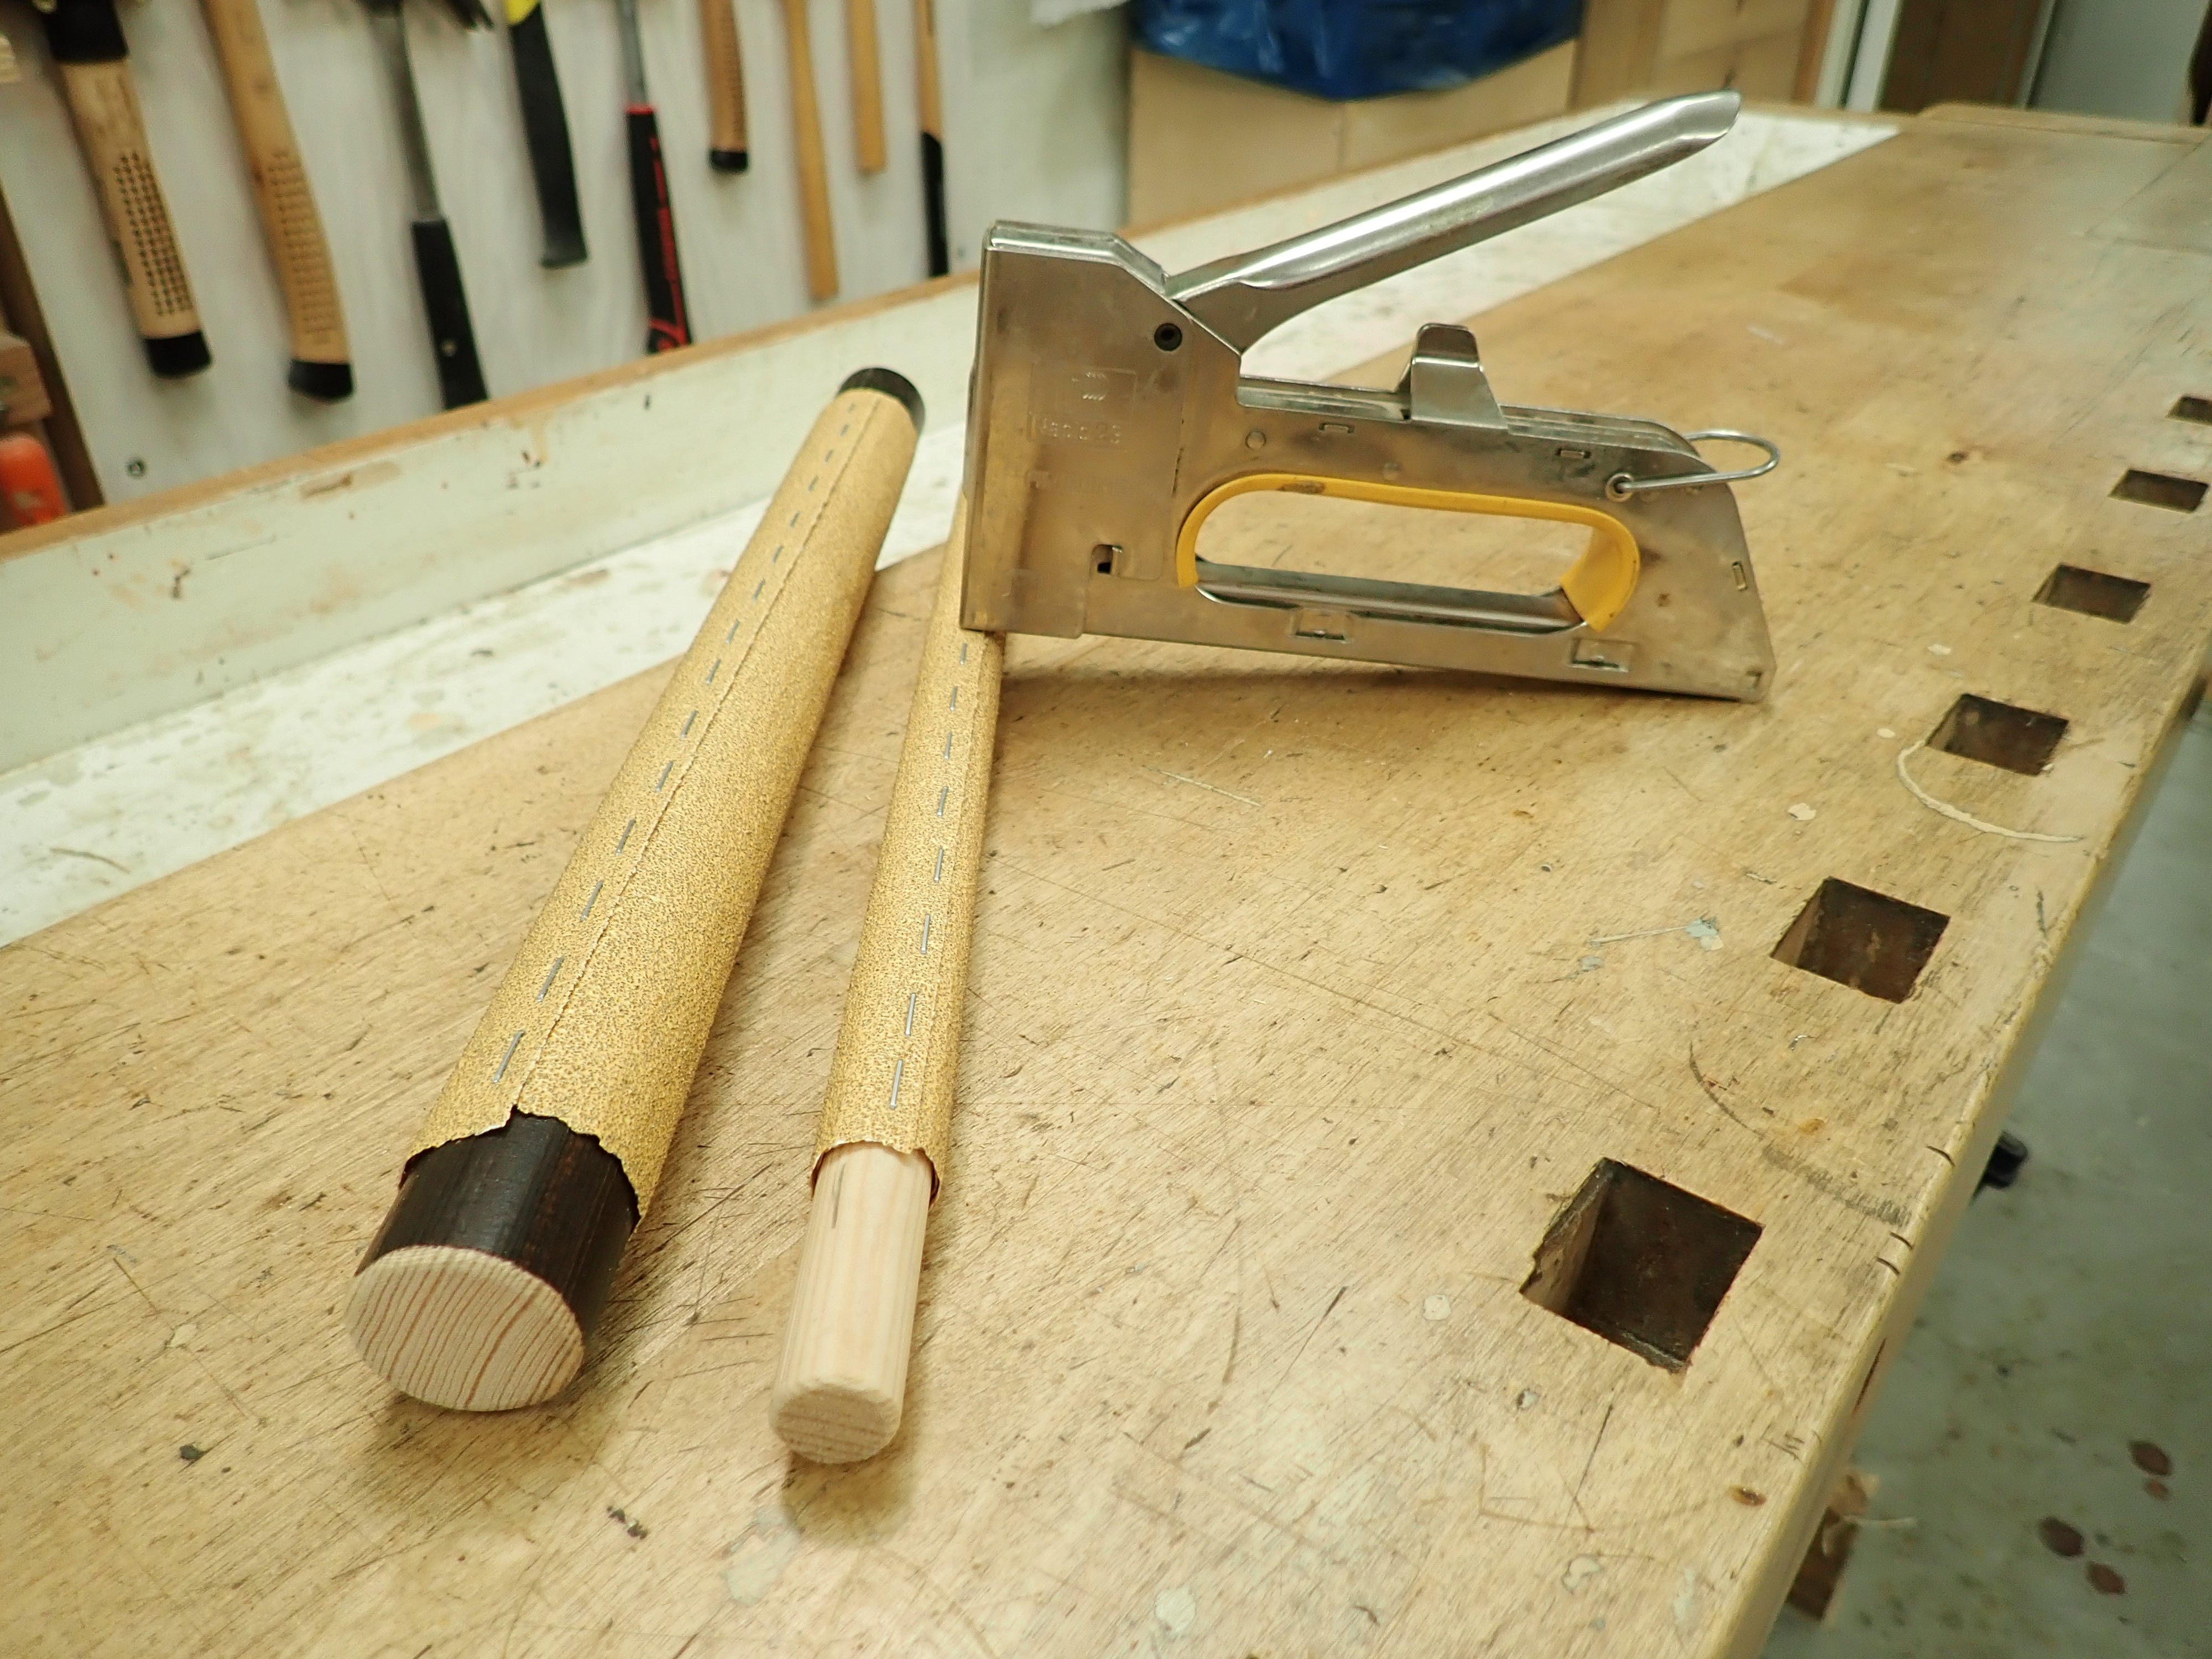
I also keep a selection of variously shaped, improvised, smaller sanding ‘blocks’ for special applications …
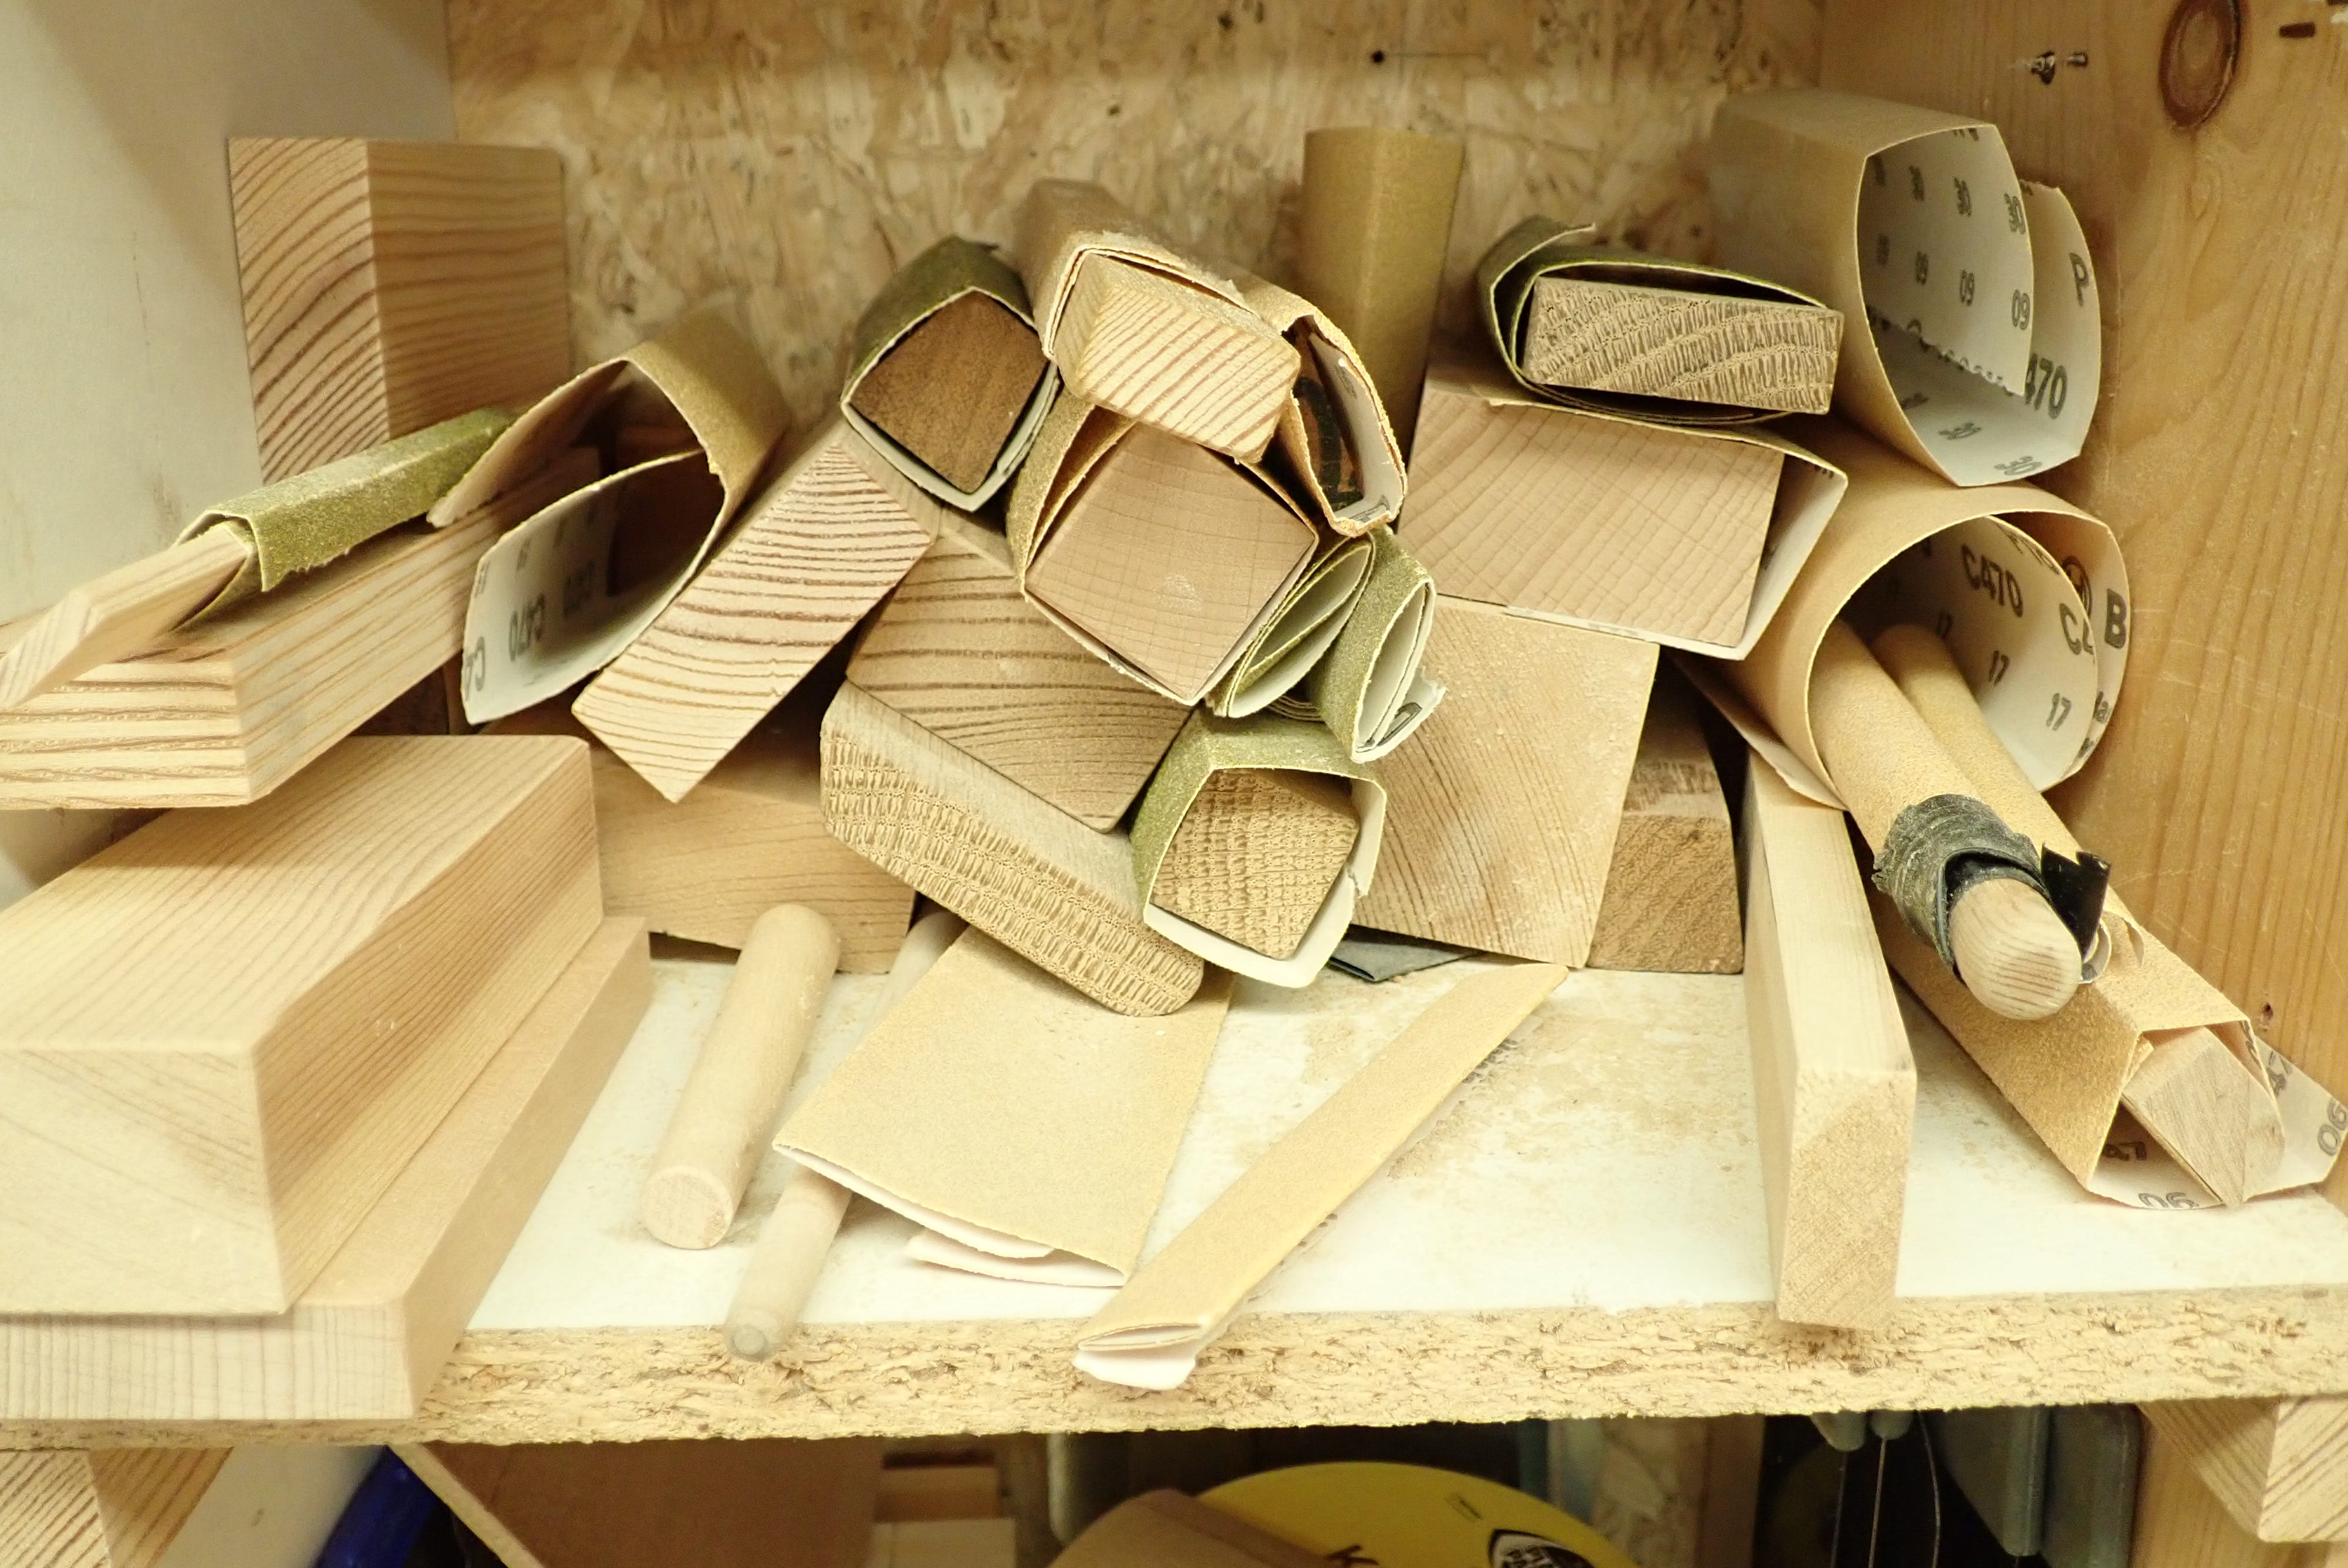
… some tapering, some round for sanding coves:
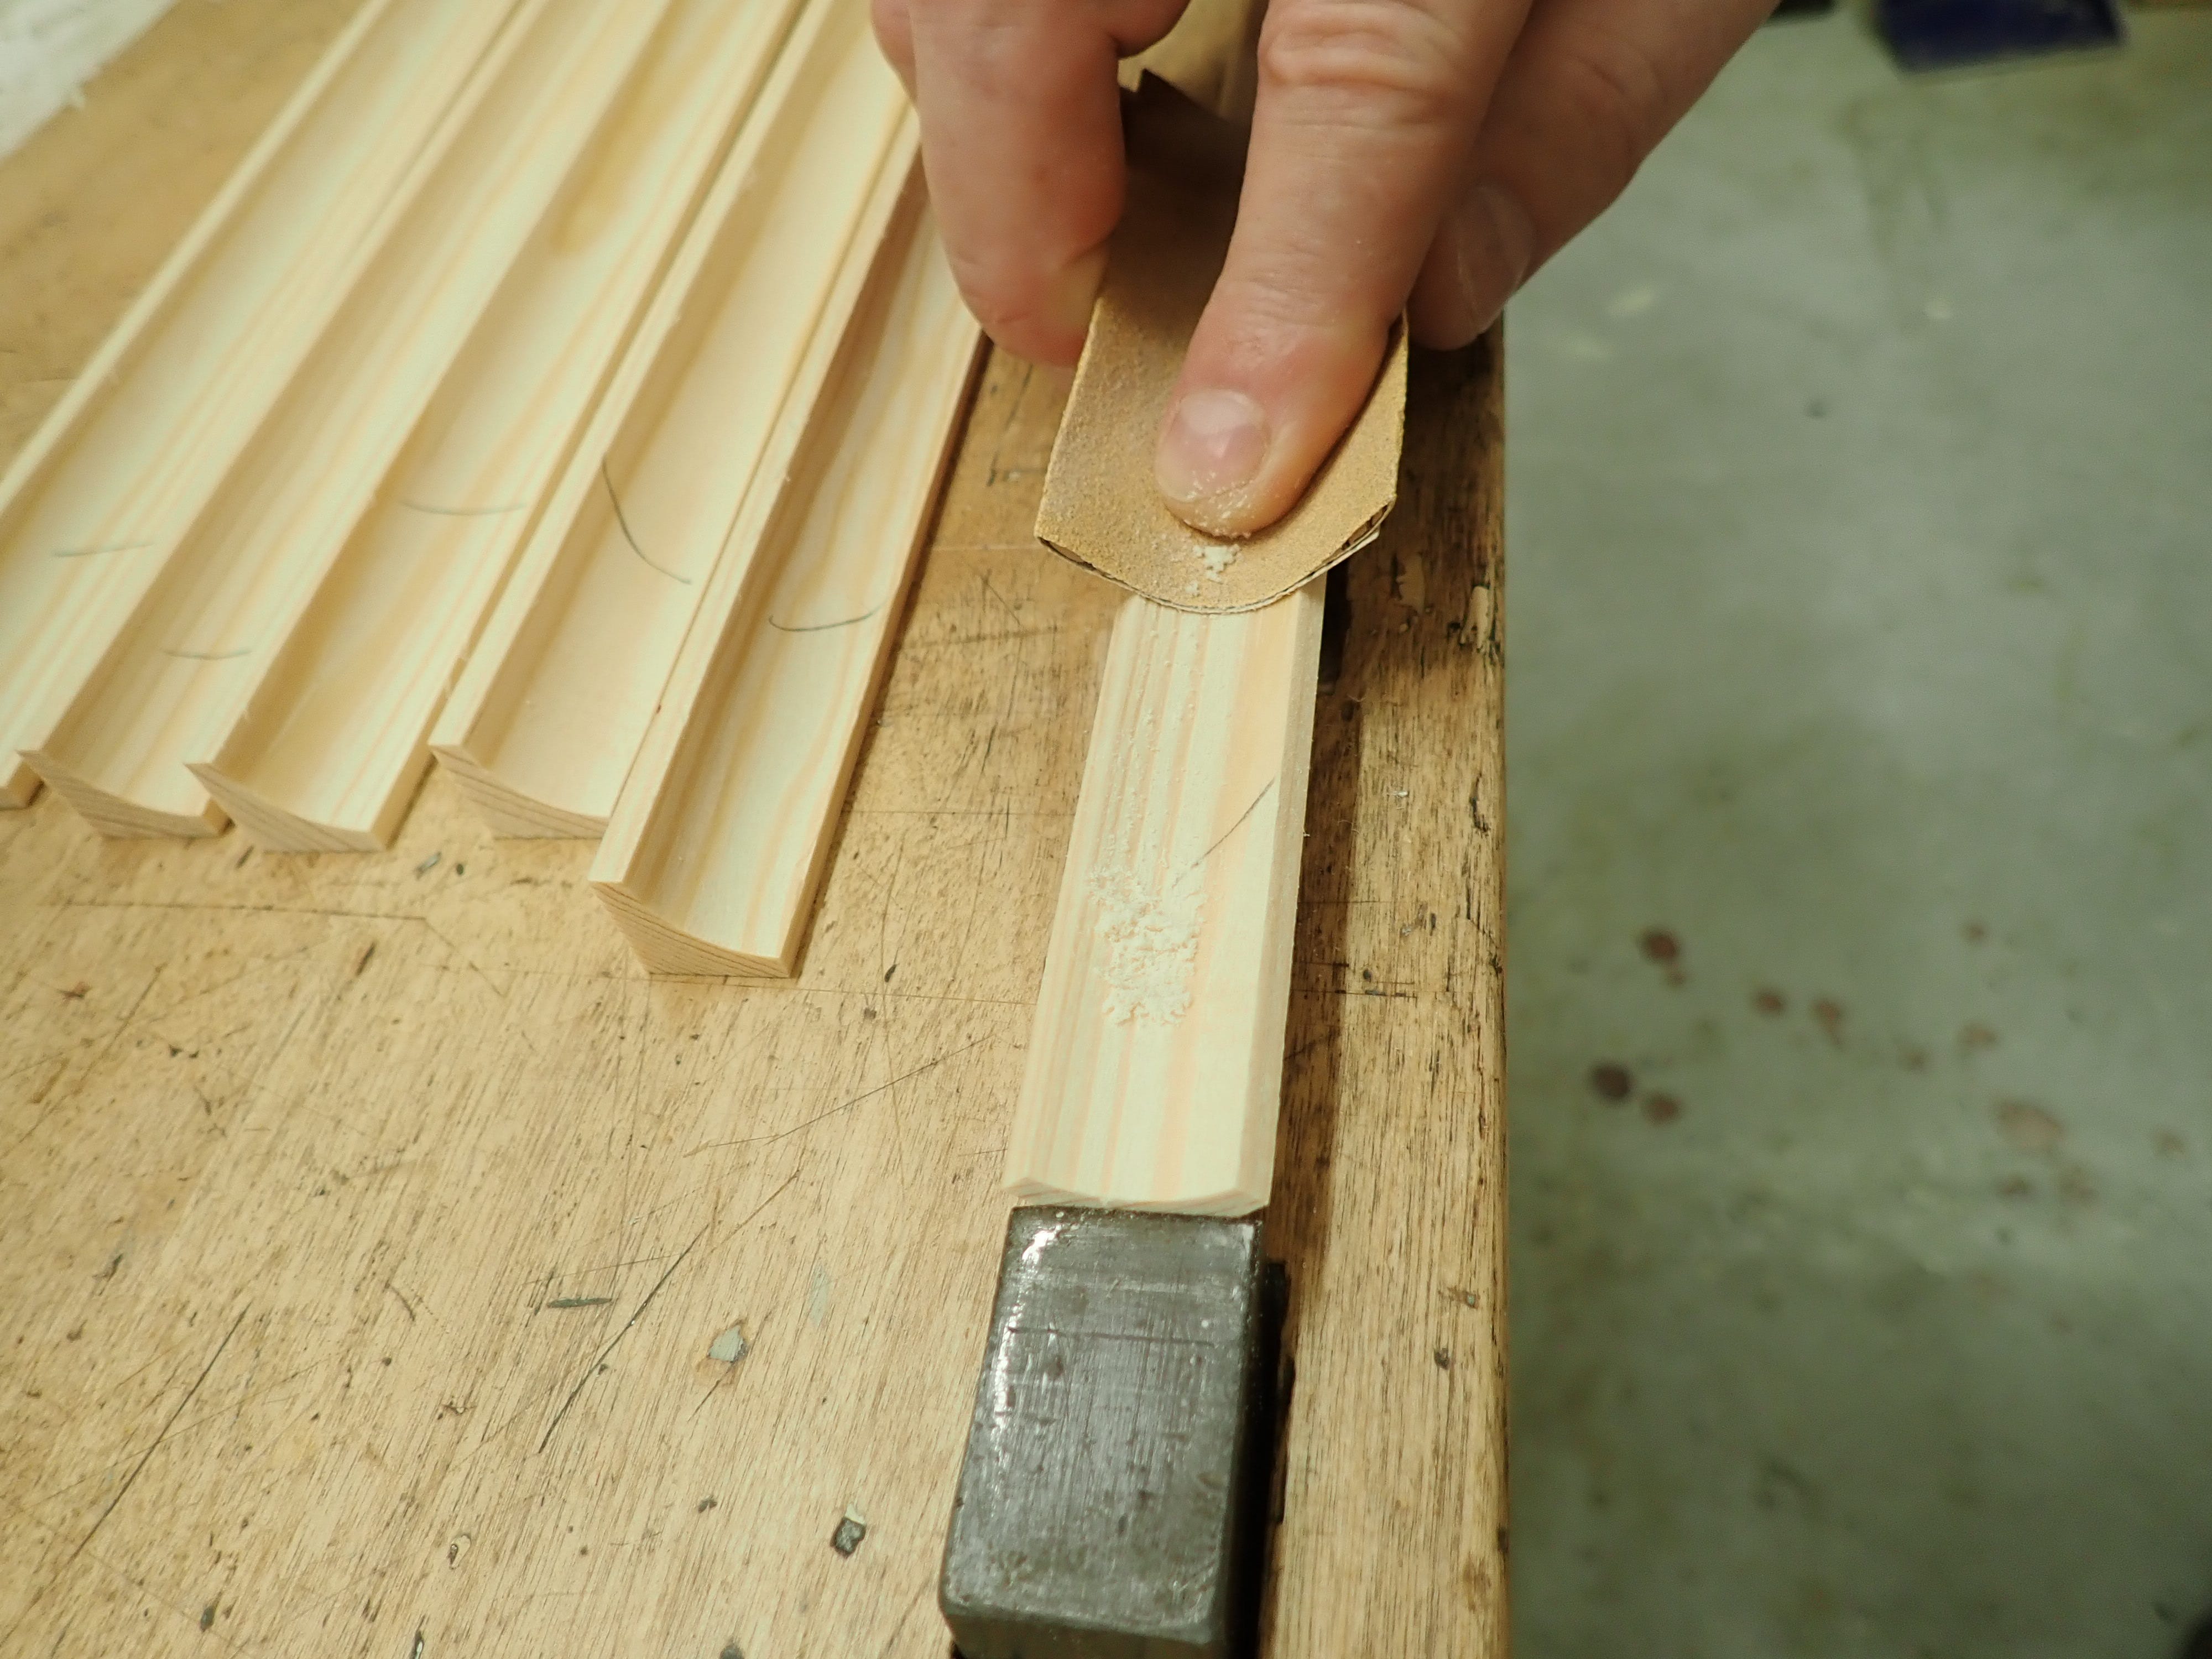
When folding a piece of sandpaper around a small block I sometimes use a sturdy pair of scissors to get a clean cut at just the right length.
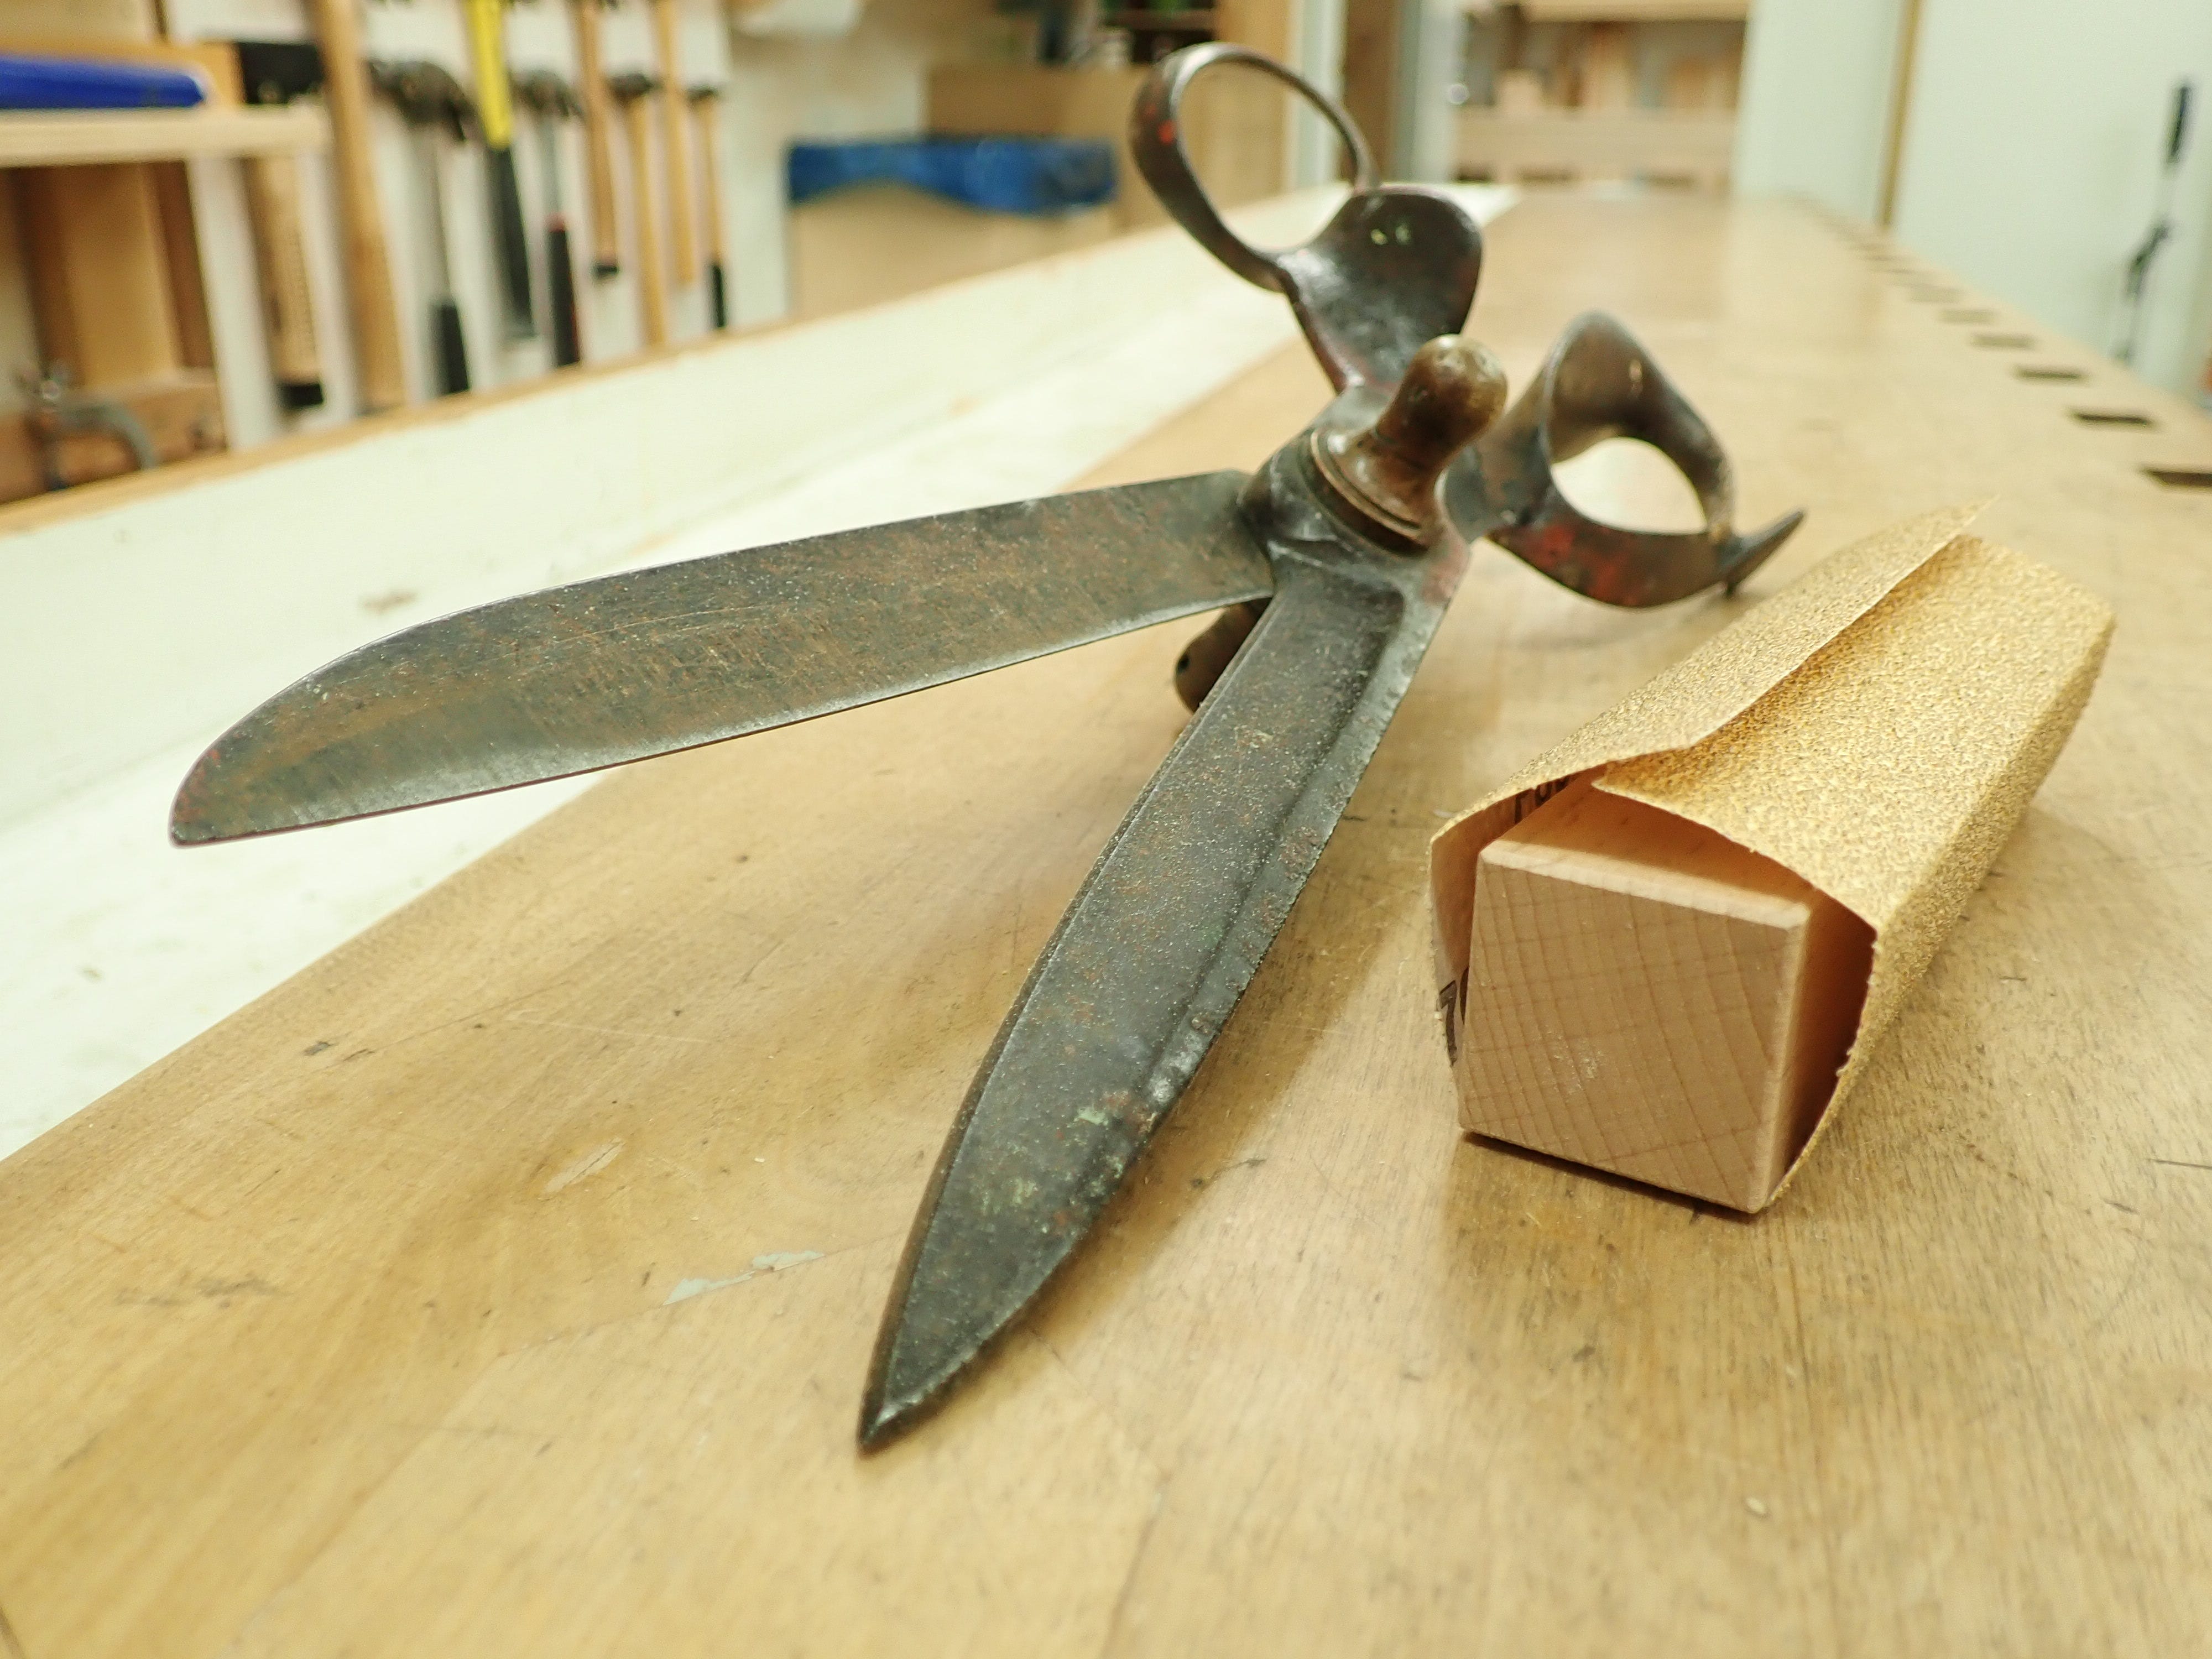
The woman who gave me these scissors said to me, as she rested the weight of them in my outstretched hand; “With these one can easily snip fingers.“
Every other year or so I make a batch of sanding ‘paddles’ or overgrown emery boards, if you will. I glue a stack of them and trim them when needed.
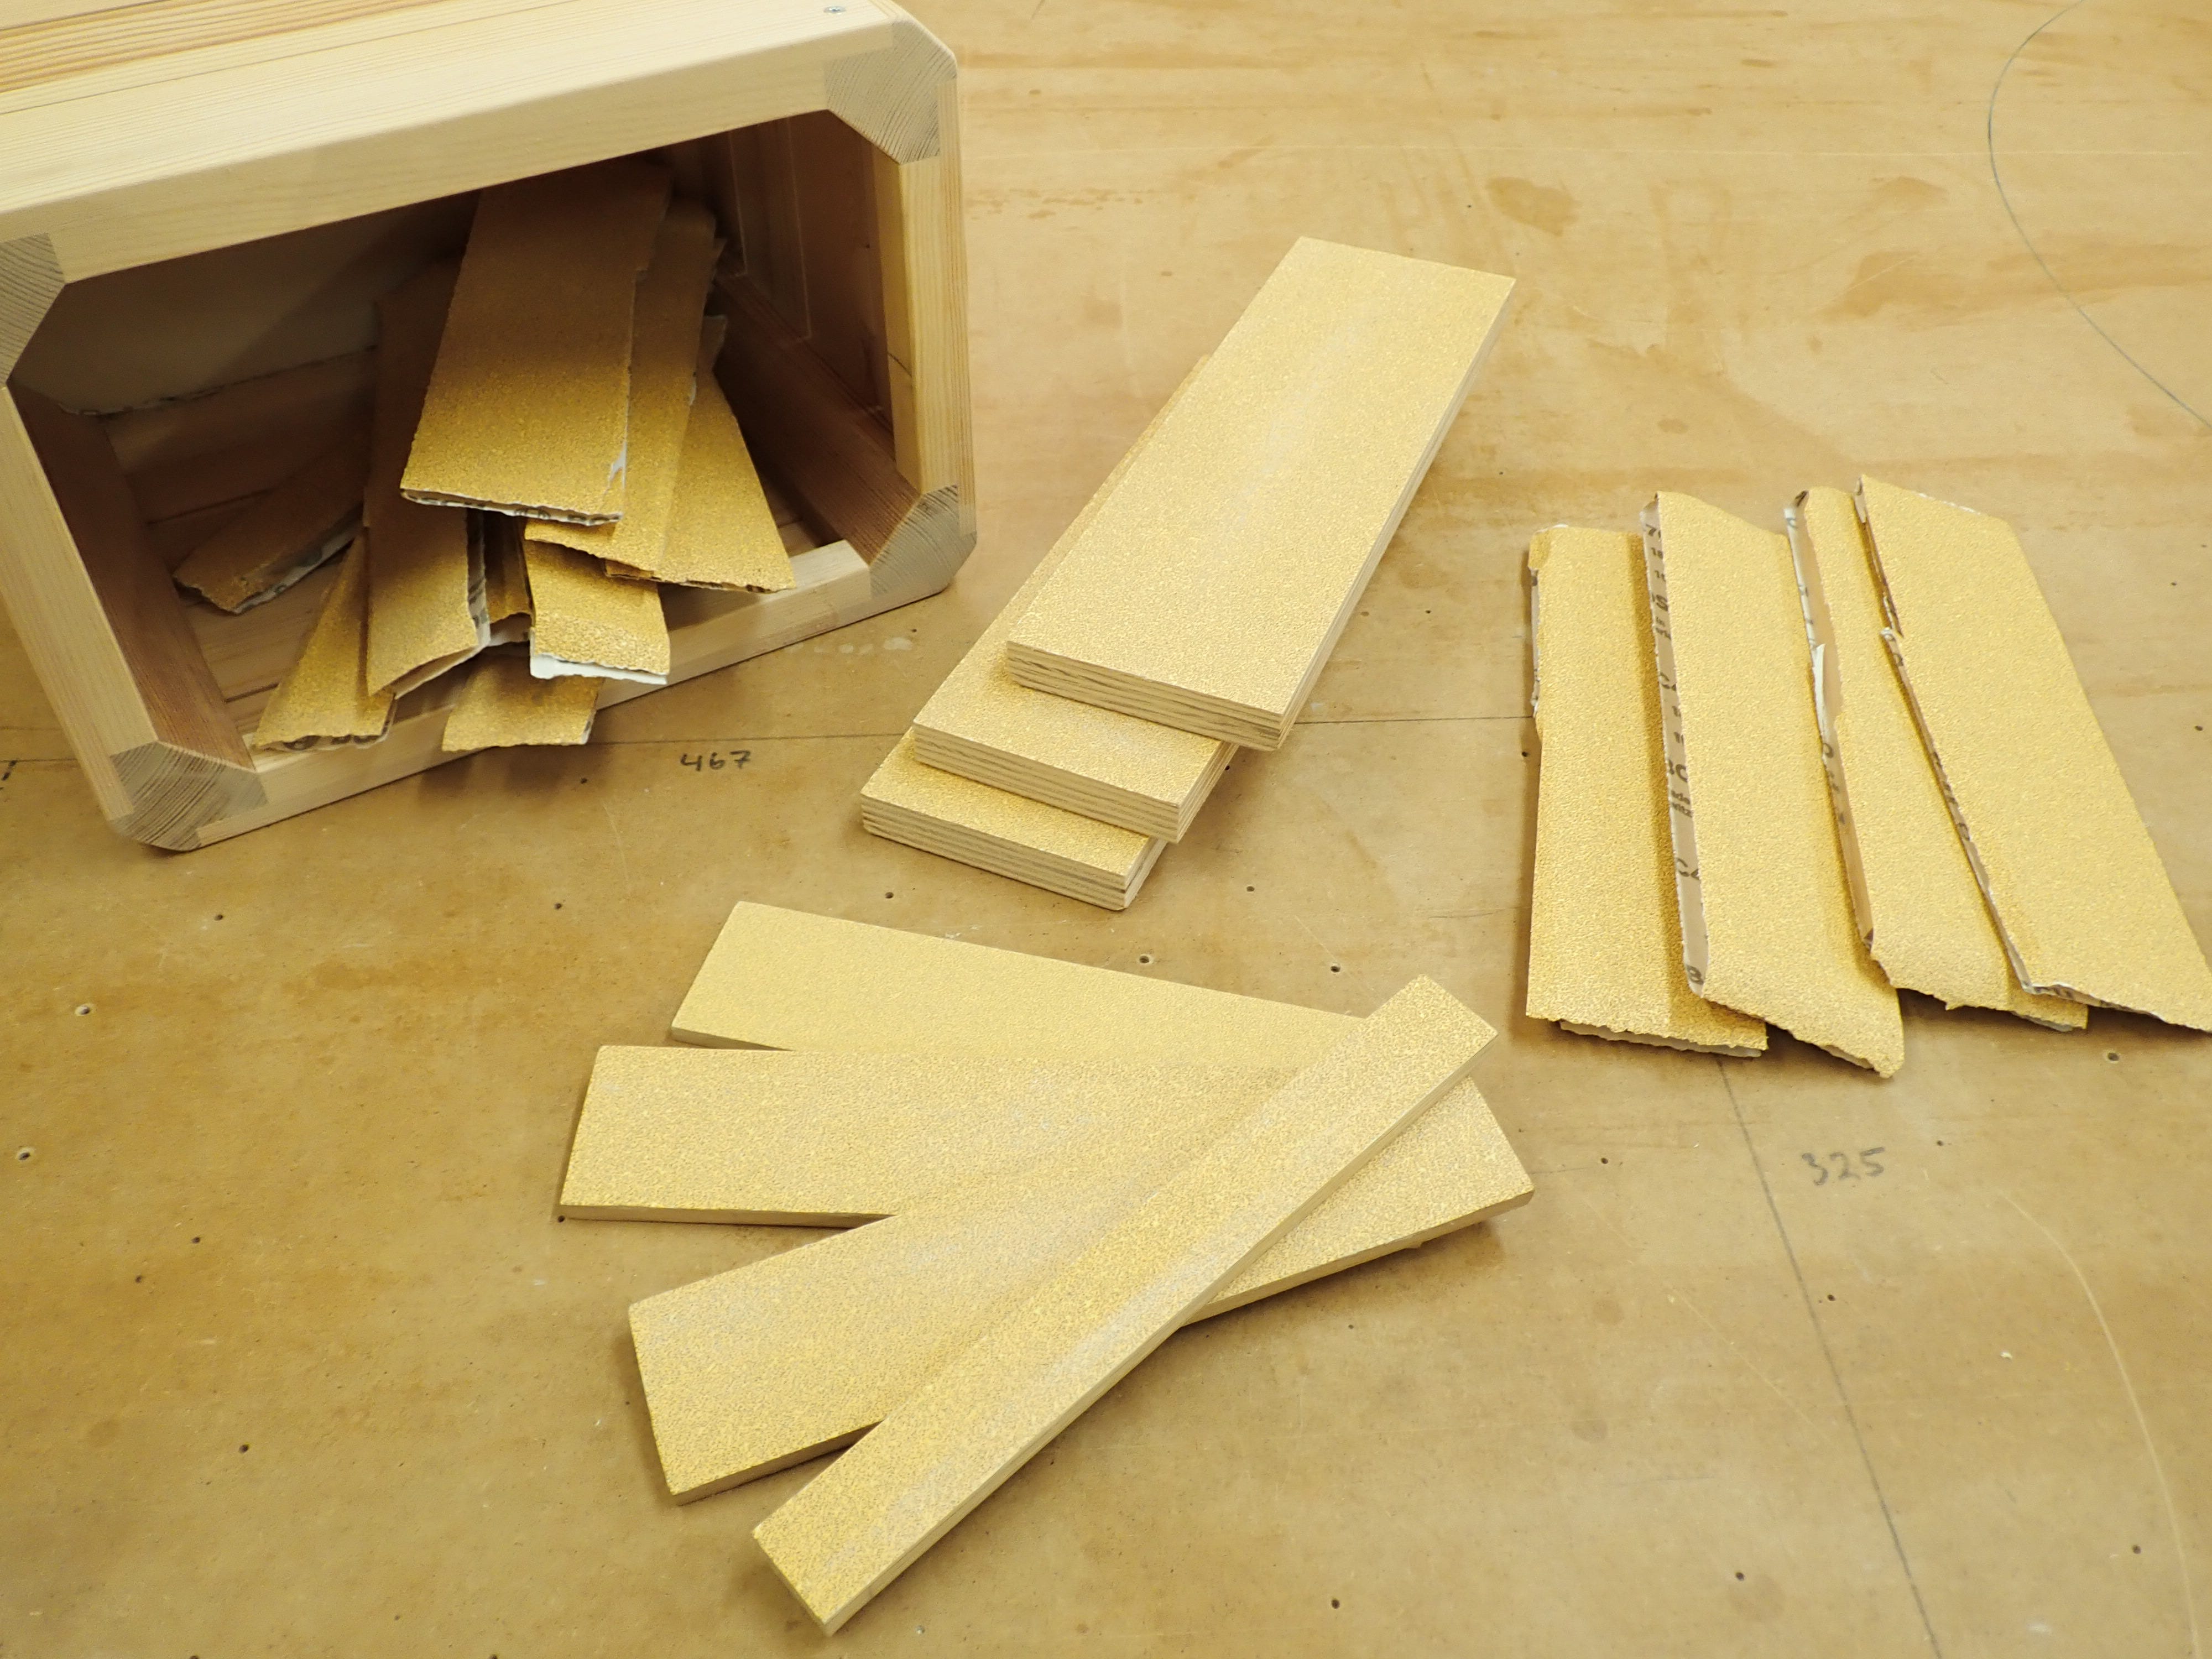
They are very useful for taking a tenth or two off a tenon, or other minor adjustments.

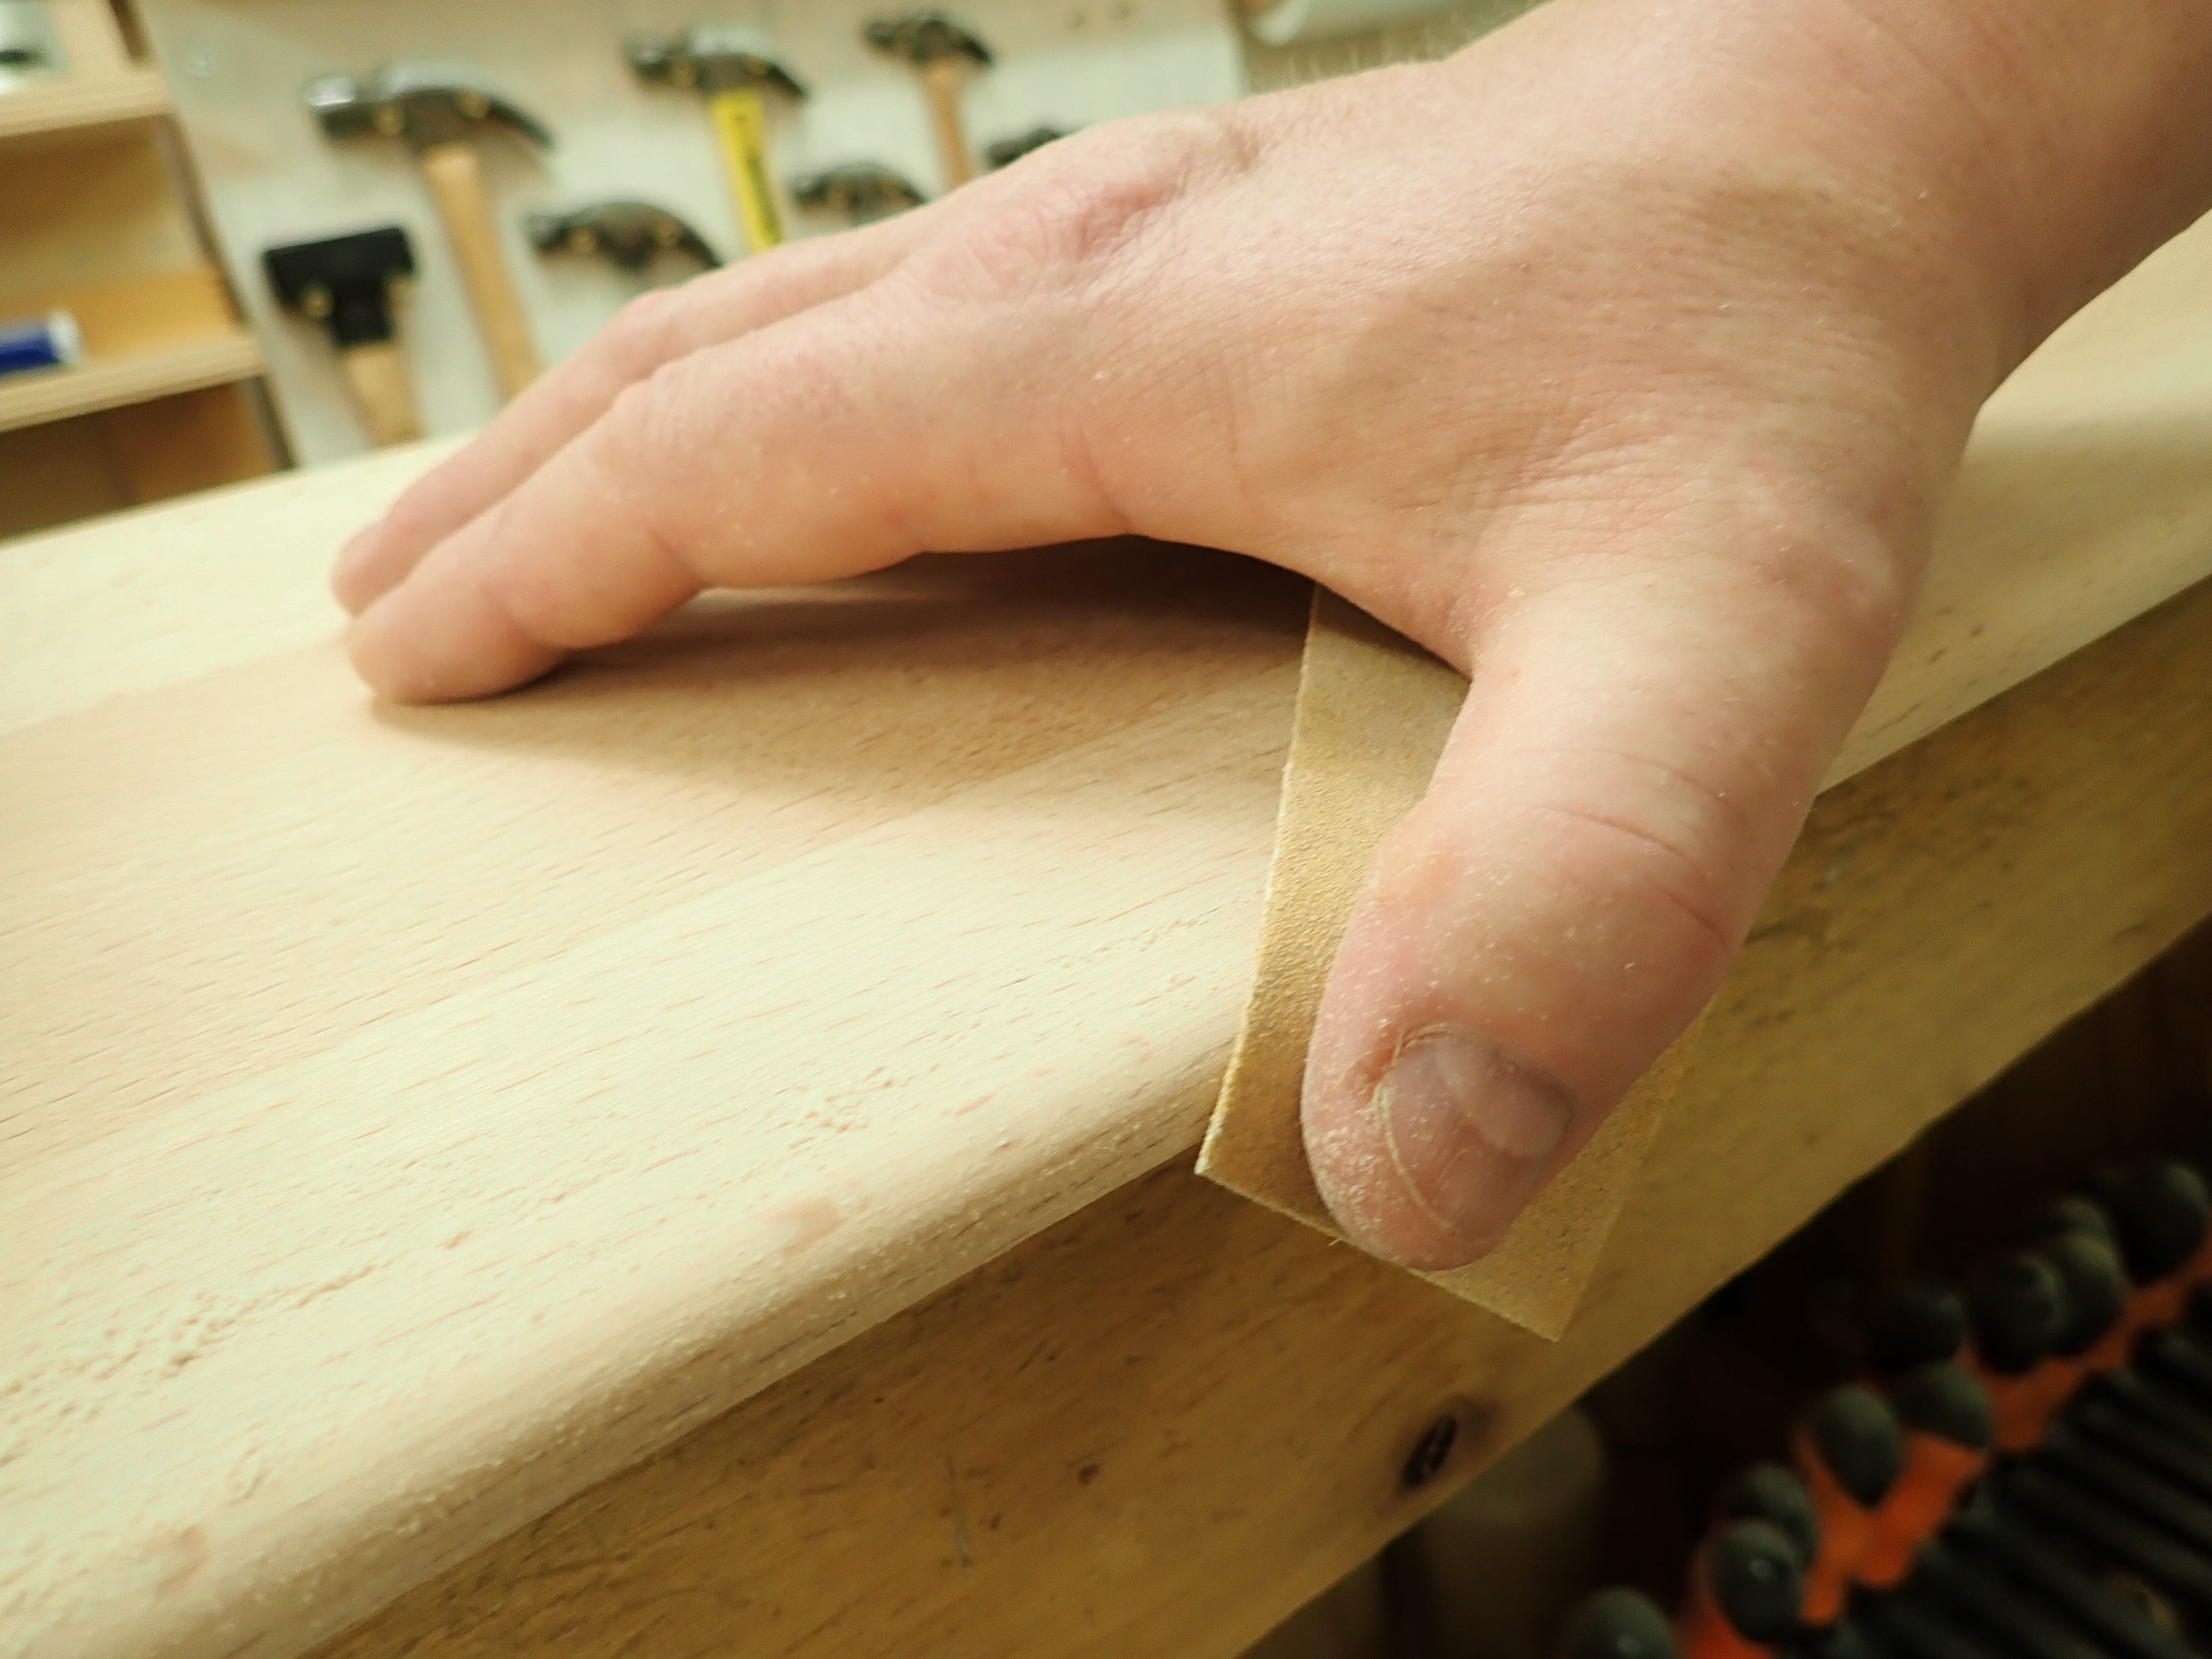
After sanding various profiles and shapes I’ve come to realize that my fingers are the most pliable and versatile ‘sandpaper-holders’.
No gadget beats practised dexterity.
I never thought I’d have that much to say about such a tedious subject.
Come to think of it; that’s a pretty good definition of a nerd, or anorak as I prefer to be identified as.
***
I had to read the coarse/fine sentence about three times. Thanks for a good article.