


Frame & Panel
a variation on a very old theme

[ soundtrack : Sonne - Rammstein ]
***
This post is too long for email — open in browser for full length.
***
That wood will shrink and expand across its grain is just as inevitable as death and taxes. Unless the wood is housed in a climate-controlled environment like a museum or a house with HVAC, it will wax and wane with the seasons. I’ve posted about this topic before, so I won’t get into the details here.
There are basically two traditional strategies if you want to cover larger surfaces with widths of solid wood: You can use panel-boards, where the wood’s movement is absorbed by the tongue-and-groove on each board, or you can use one or more floating panels housed in a frame, where the panel’s shrinkage and expansion is hidden in the depth of the dado/housing/trench.
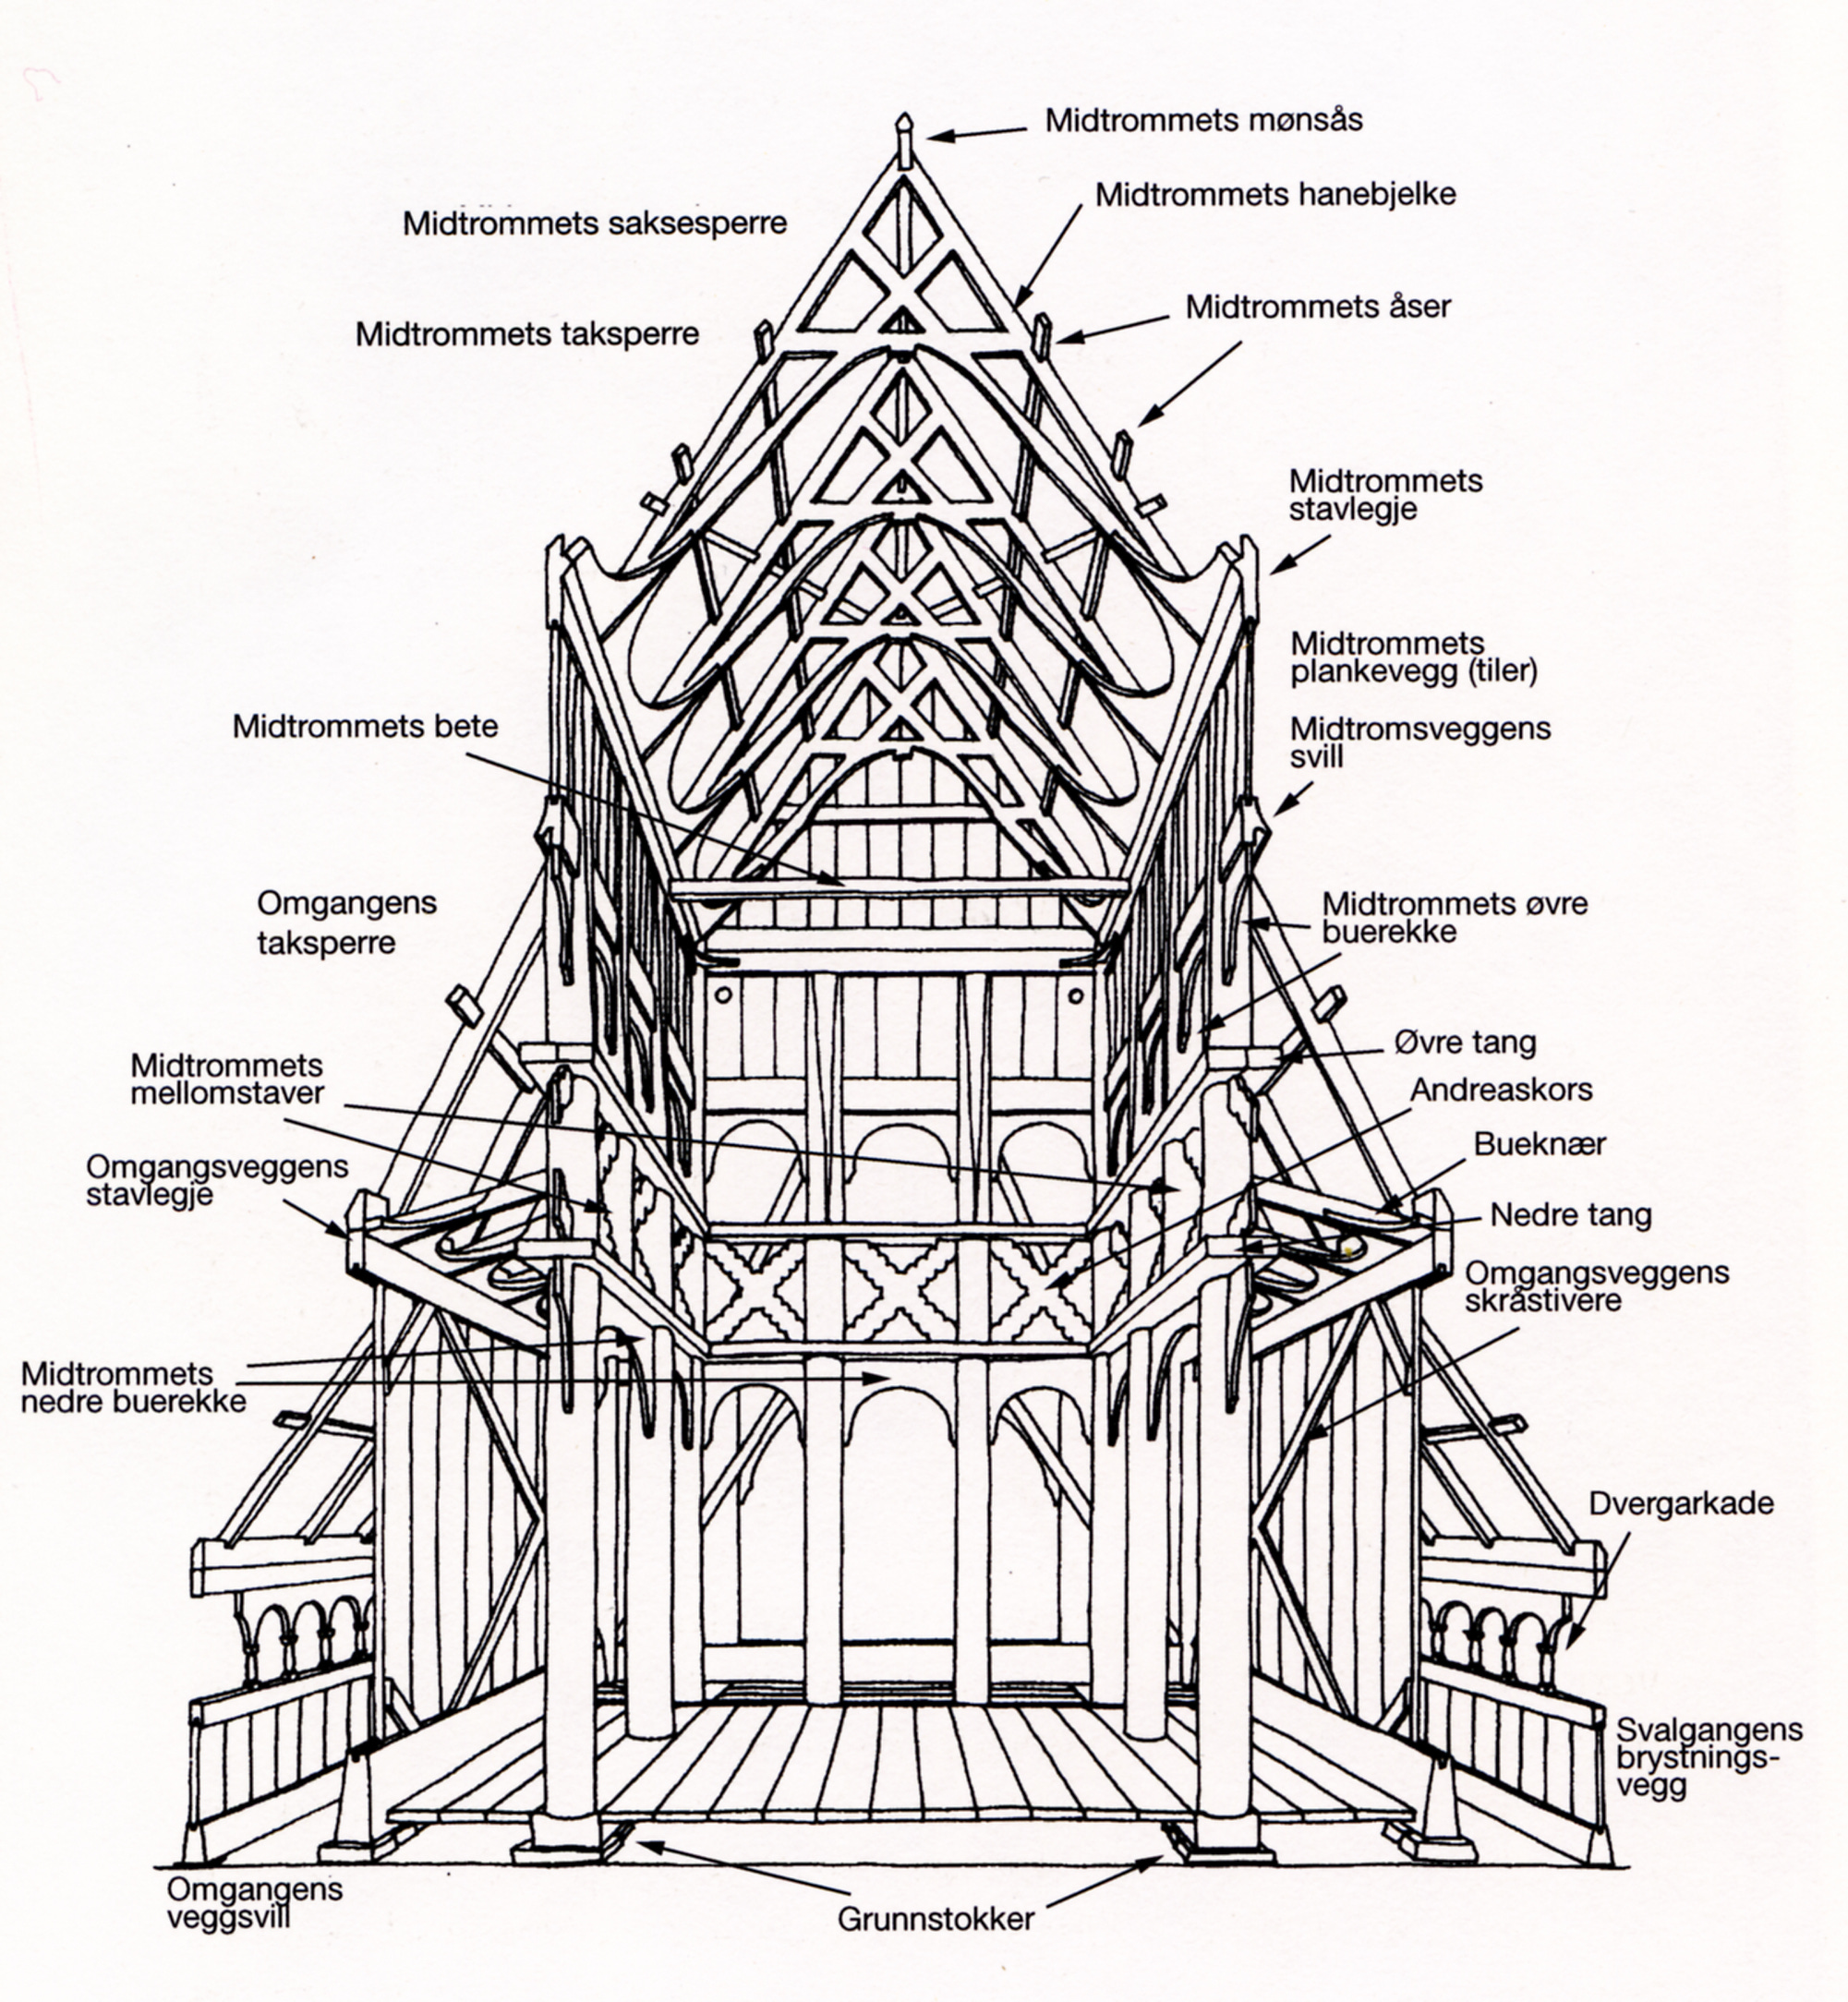
The furniture maker’s frame and panel construction grew out of the carpenters’ timber framing, where a heavy tenoned & mortised framework would be filled in with any manner of available materials; usually brick & mortar or wattle & daub, but sometimes also wooden staves or planks, when it is usually called post-and-plank. My forebears used the innfill-planks vertically when they built the outer walls of the stave churches a thousand years ago.
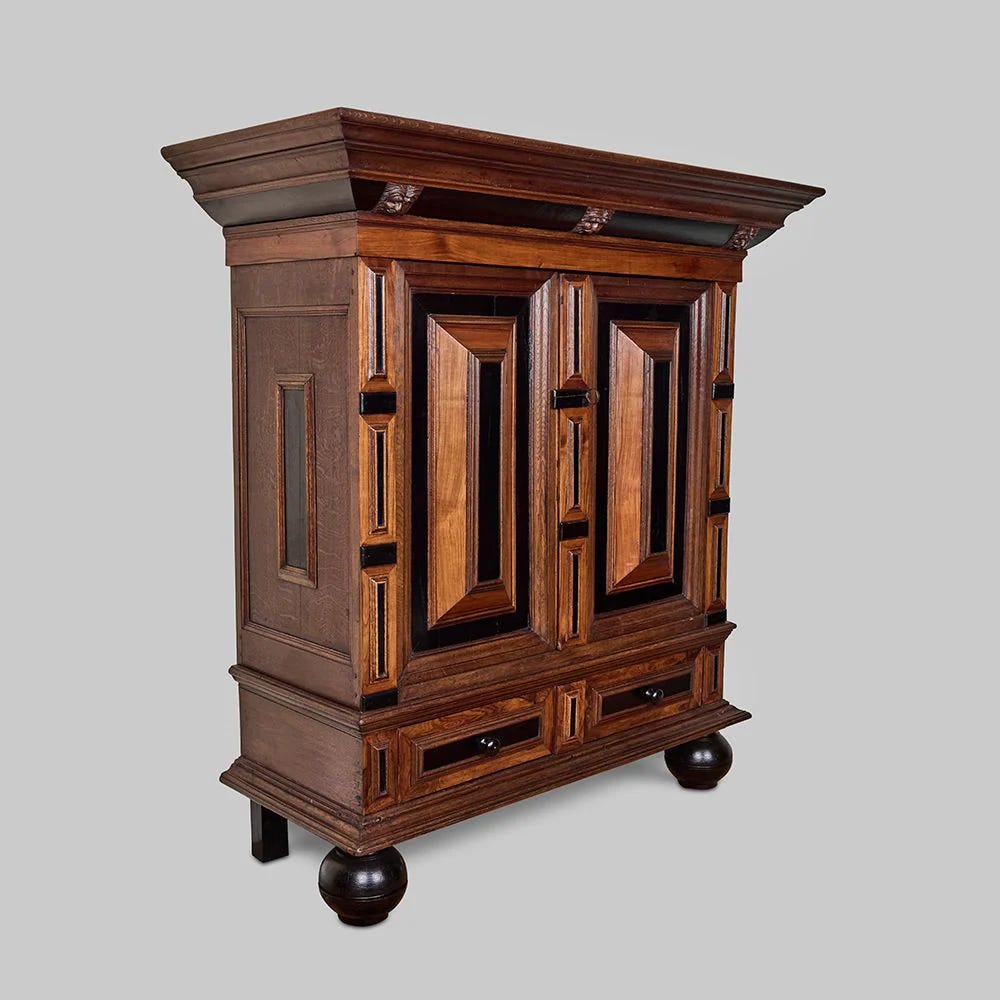
This basic idea - of filling in a frame - was adapted for furniture making during the 15th century in Europe, particularly in Florence. This method allowed for the use of thinner, more stable panels, revolutionizing furniture design. Crossing the Alps we find the technique in the Low Countries a century or so later, used to build magnificent baroque & renaissance furniture for the prosperous burghers and merchants of the new city-states.
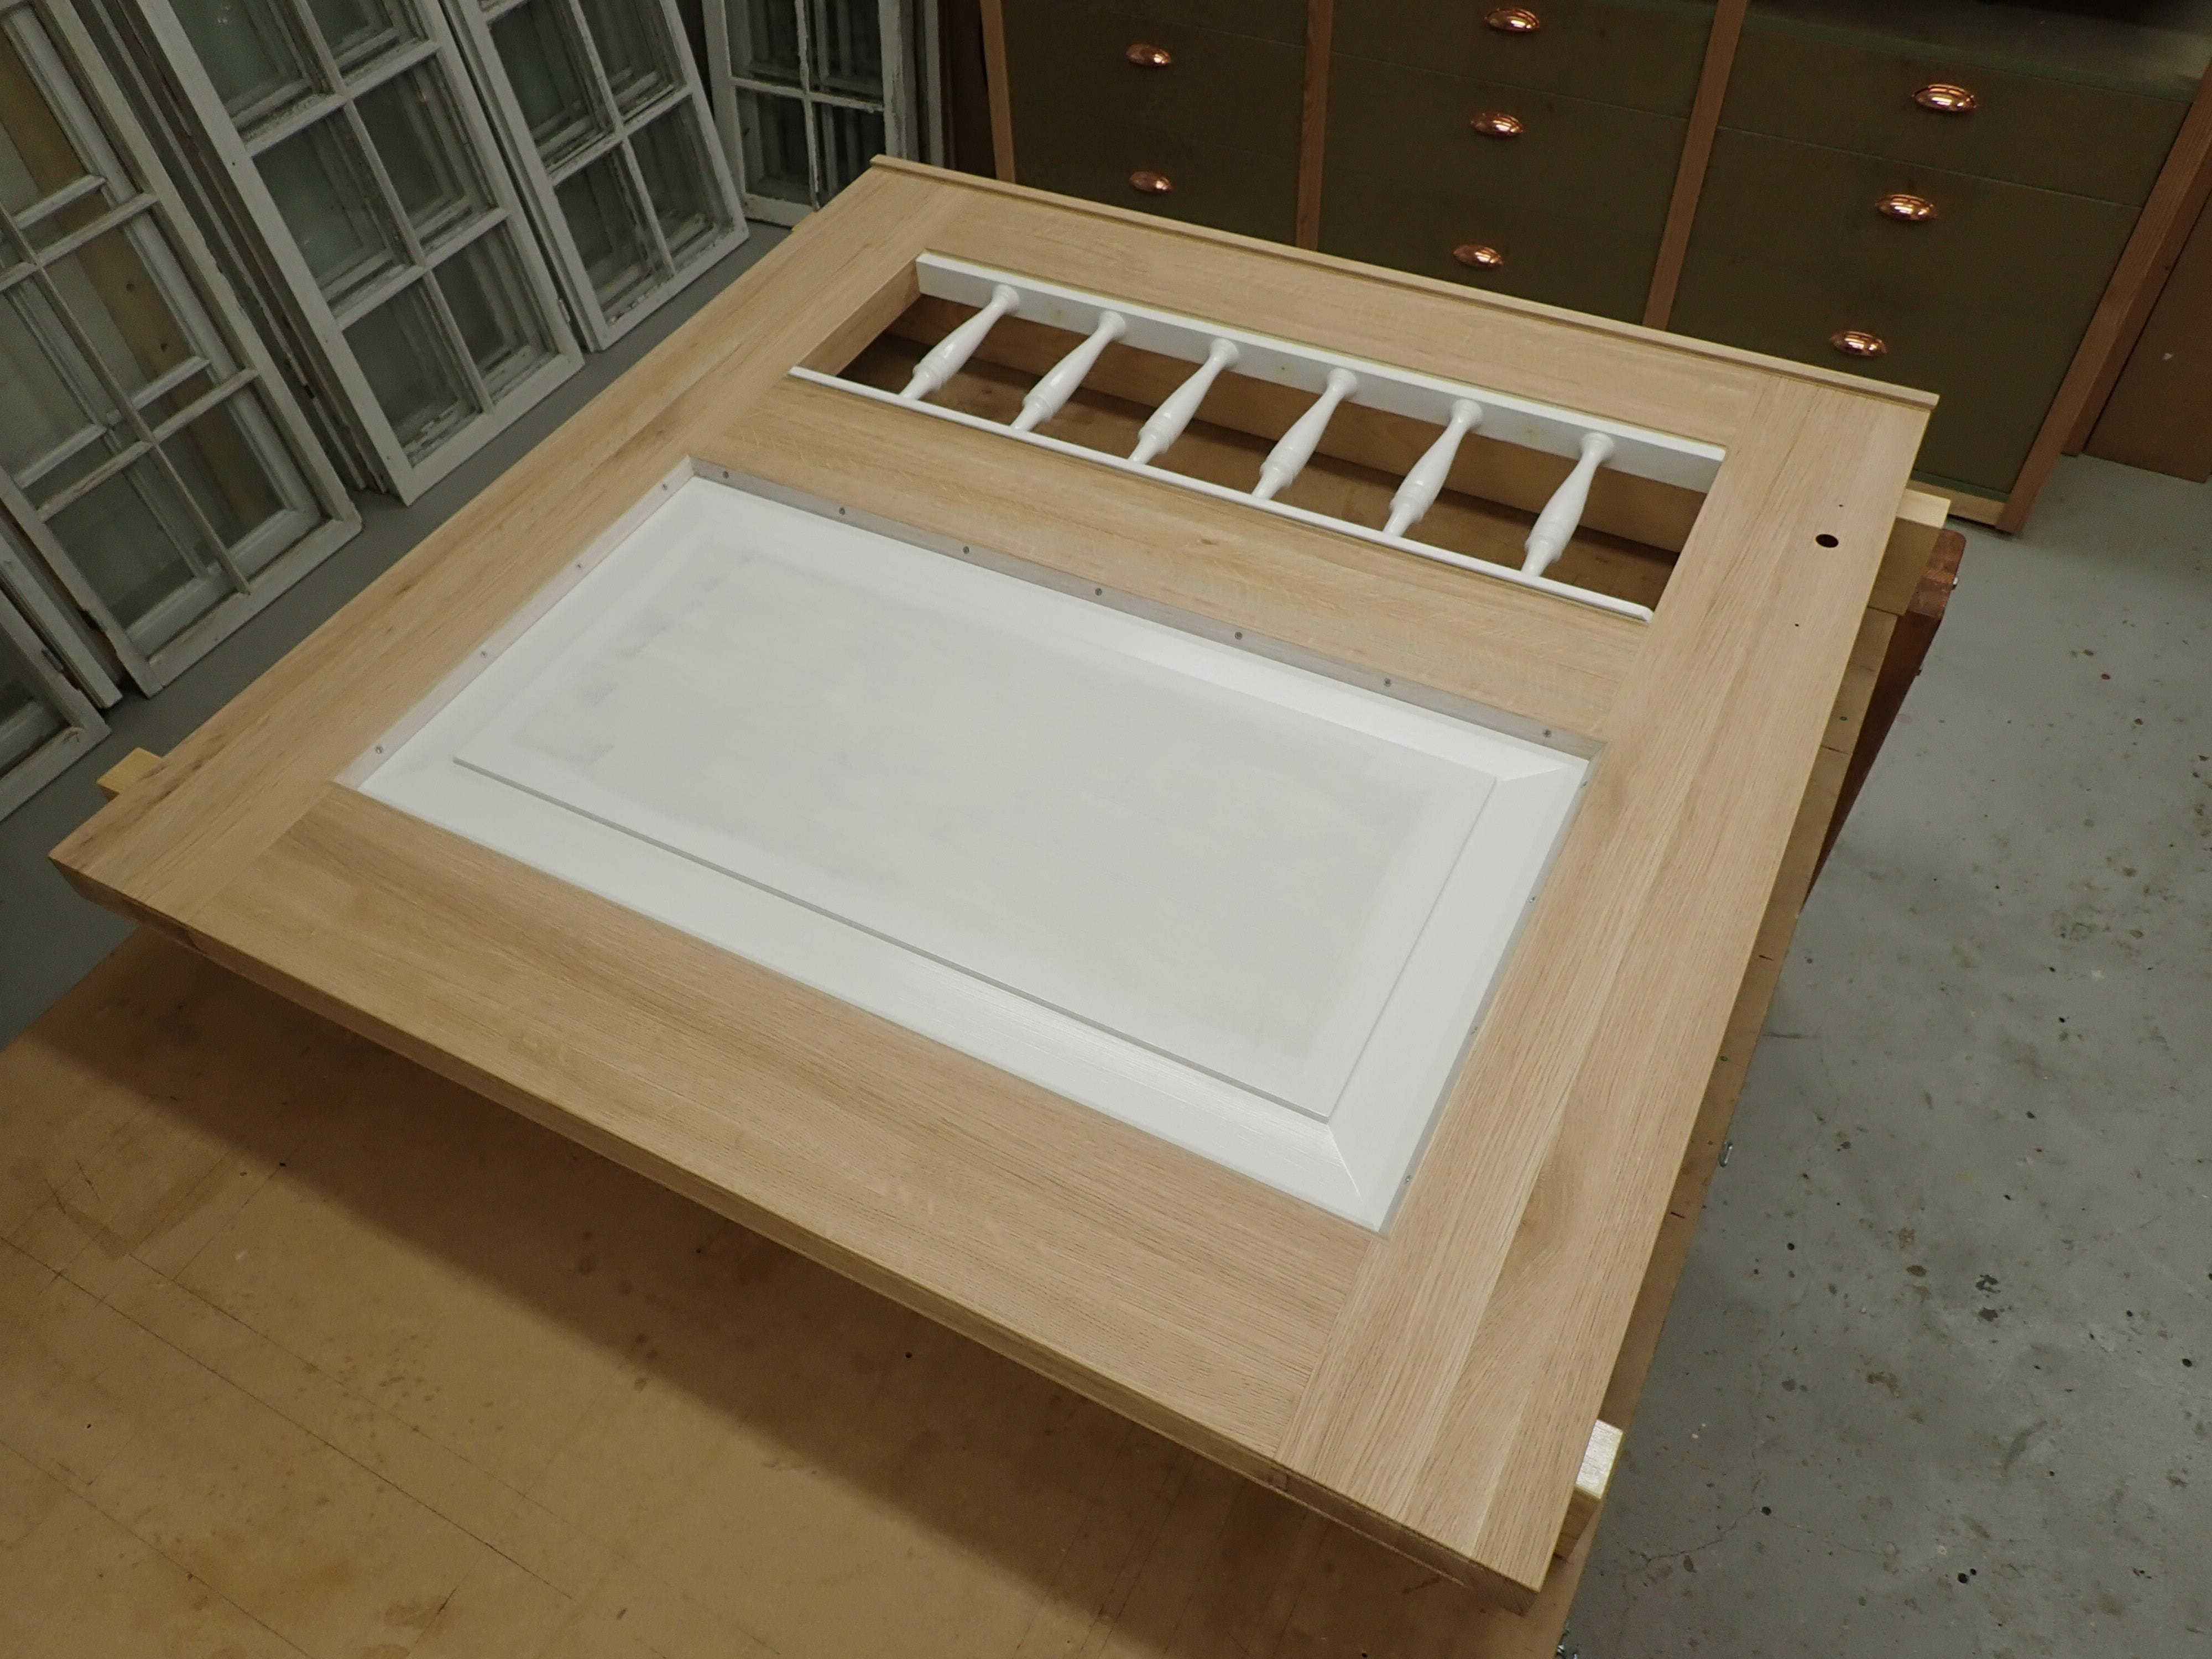
Frame & panel has been used to build carcasses and doors for cabinets and cupboards, for wainscoting and for full-size doors. Since the panels are often decorated, if only by a bevel/frieze running around the edges (of the ‘raised panel’), it’s important to keep it centered in its frame, so it doesn’t look lopsided.
I usually do this by sawing a little notch that will fit the head of a finishing nail, as shown here on an old, left-over panel from a small cupboard:
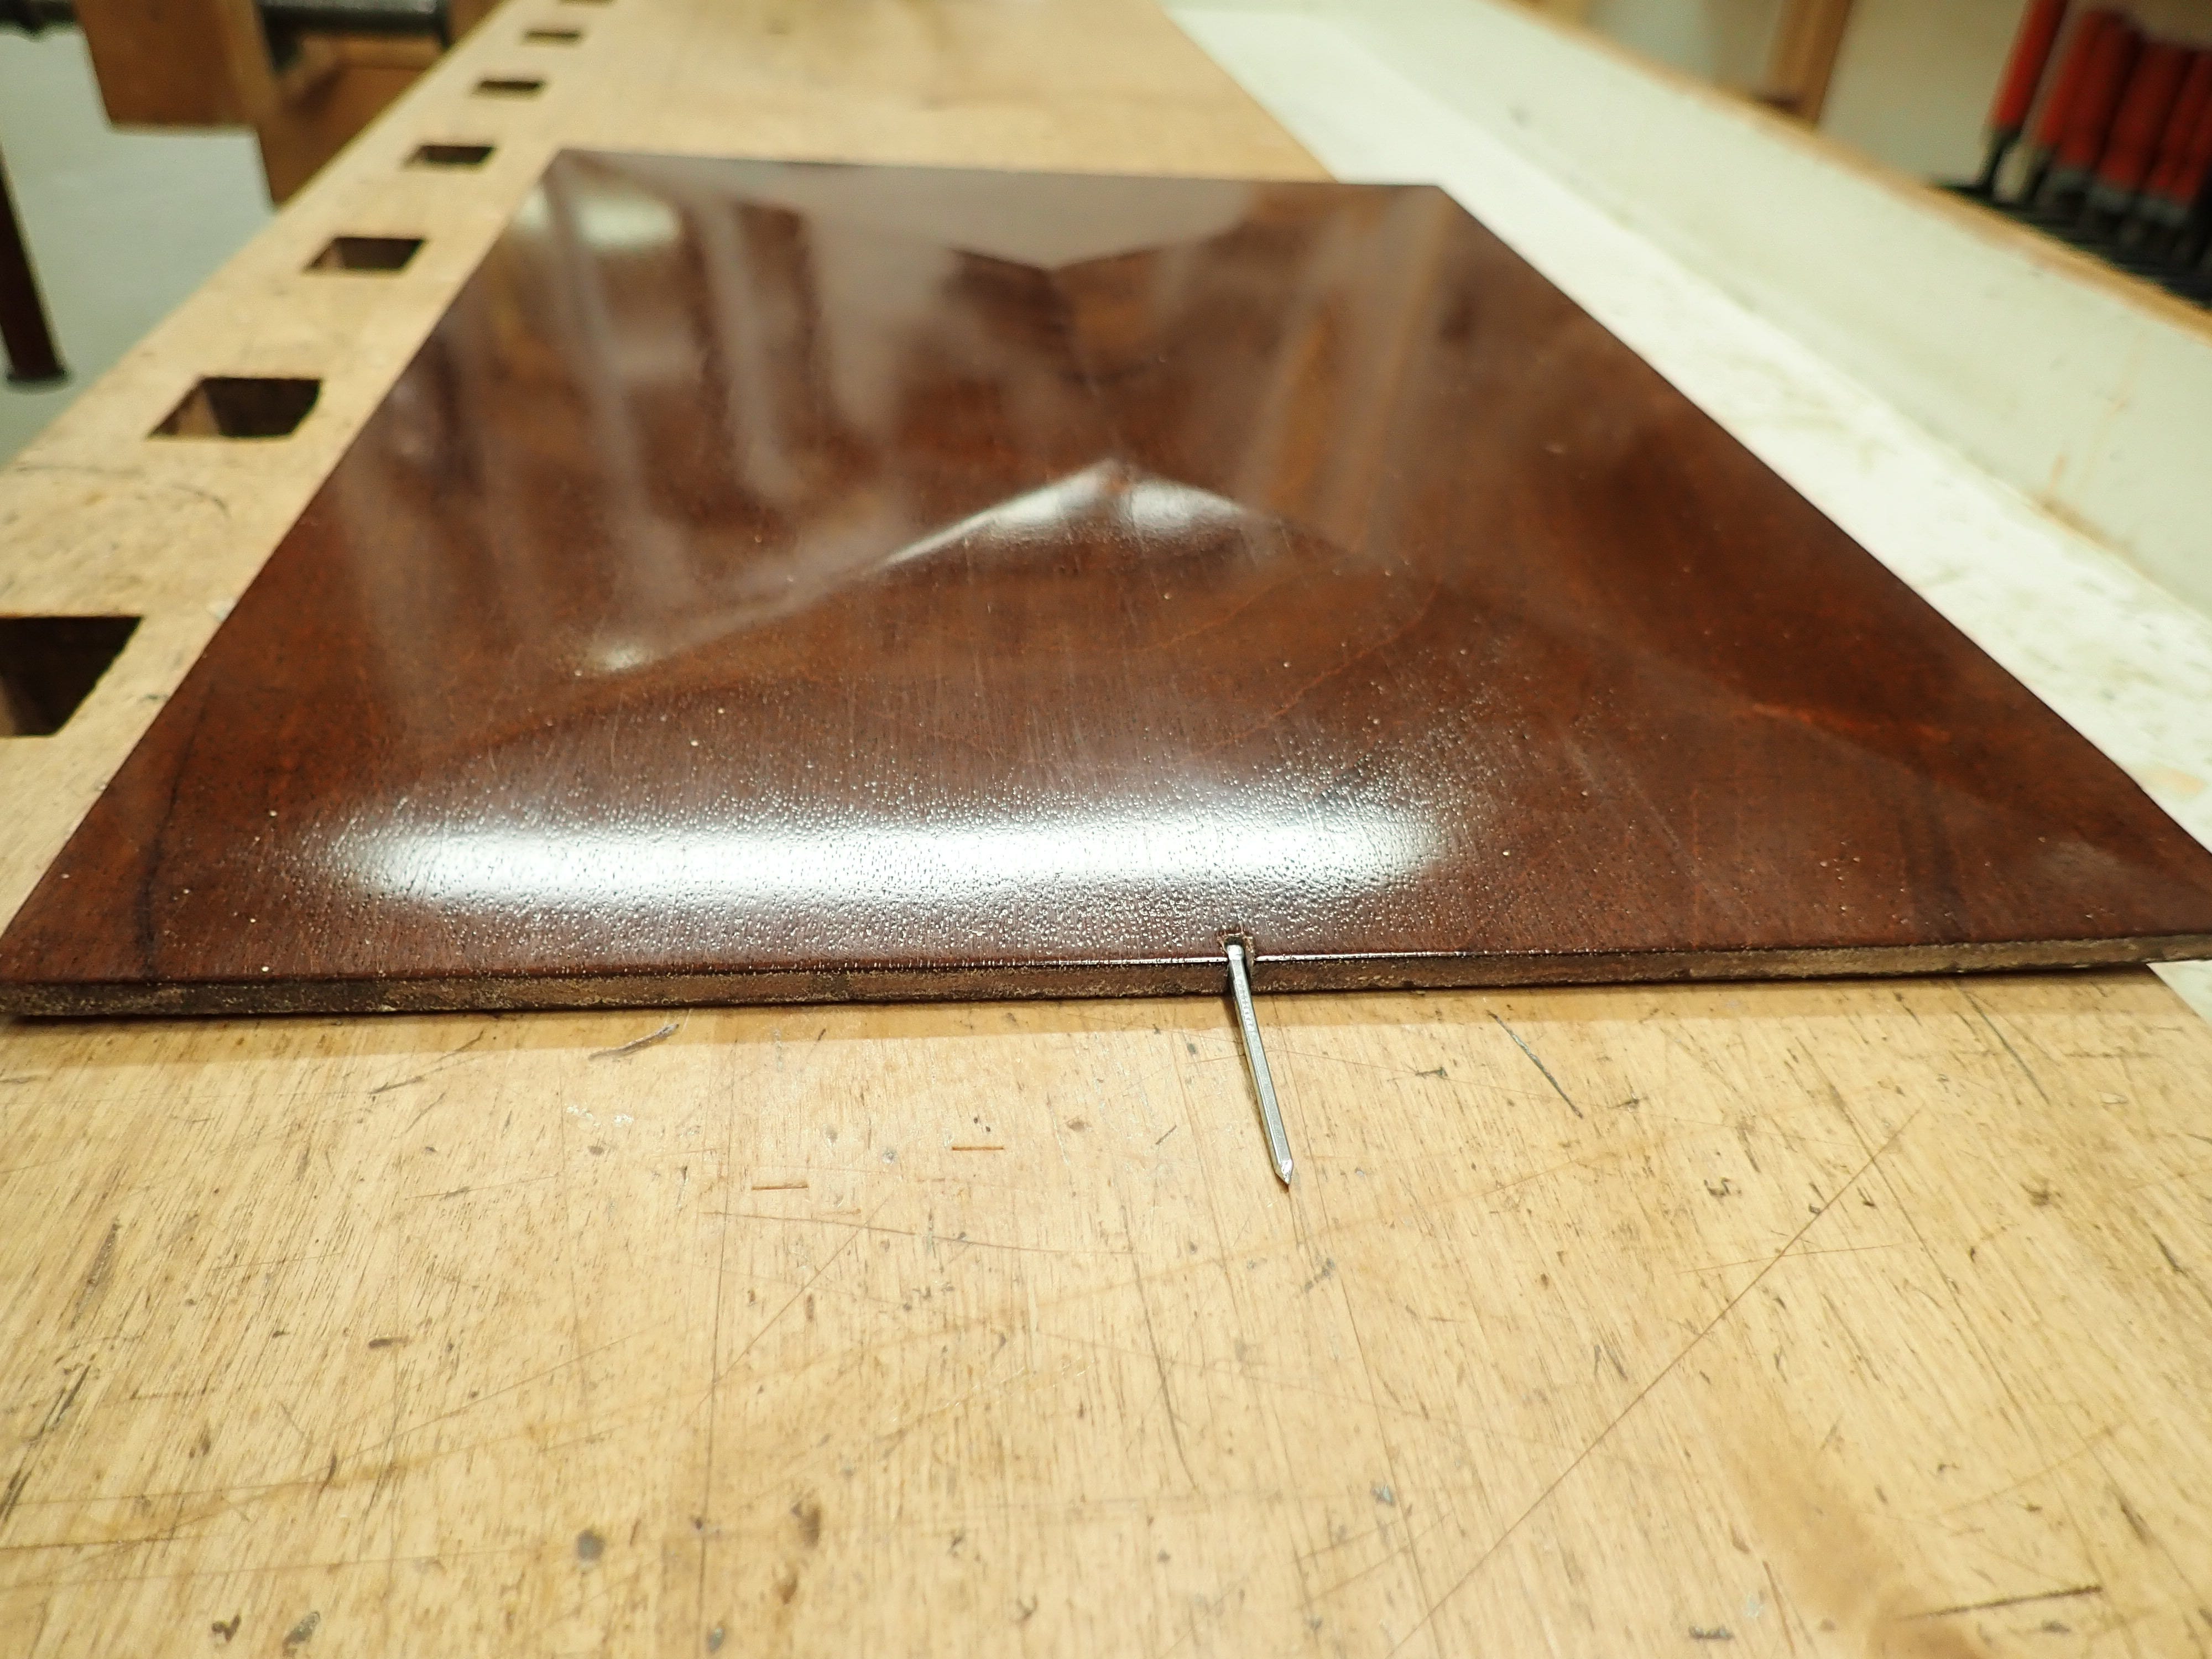
The nail goes in a pre-drilled hole down in the dado on the rail (use a nailset), so the panel is held fast in the middle and left free to expand and contract on each side. Because the panel will move with the seasons, you’d do well to finish it before installation. If you don’t and it shrinks after installation, it will reveal unfinished wood down each side. Also: if finished in situ, the paint/lacquer might wick itself into the dado, between the frame and panel, and act as a glue, restraining the panel, making it crack and split instead of moving freely — there’s a reason it’s called a ‘floating panel’.
You don’t need to worry about wood movement along the grain (vertically); both panels and stiles are long-grain and will hardly move at all. Still, leave a millimetre clearance above and below so the mid-rails won’t pinch the panels if they want to expand a bit (they are still cross-grain in this orientation).
So … panel & frame is a very useful construction technique, invented to accomodate wood’s hygroscopic tendencies; very well suited for furniture and interior doors, but not for exterior doors. The rainwater tends to find its way down into the dados where it will invite its ugly friends Mould and Rot to a cellulose-party — together they’ll wreck the place! Unless the doors are sheltered by a porch or generous eaves, it’s better to use a more weather-proof solution for exterior doors.
One solution could be to forego the floating panels entirely; Below are my ‘woodshed & shitter doors’ being ferried over to the Cabin in the Mountains. They have standing oak panelling so the rainwater can run right down them and off — the threshold also of oak, naturellement.

Another solution could be to substitute the solid wood panel for a dimensionally stable sheet of engineered wood, like MDF or plywood. I don’t have a lot of confidence in ‘waterproof’ MDF, but I have used it once for a garden gate — making sure it was well sealed with epoxy and paint.
Before the holidays I began a small job; making copies of a pair of gate posts:
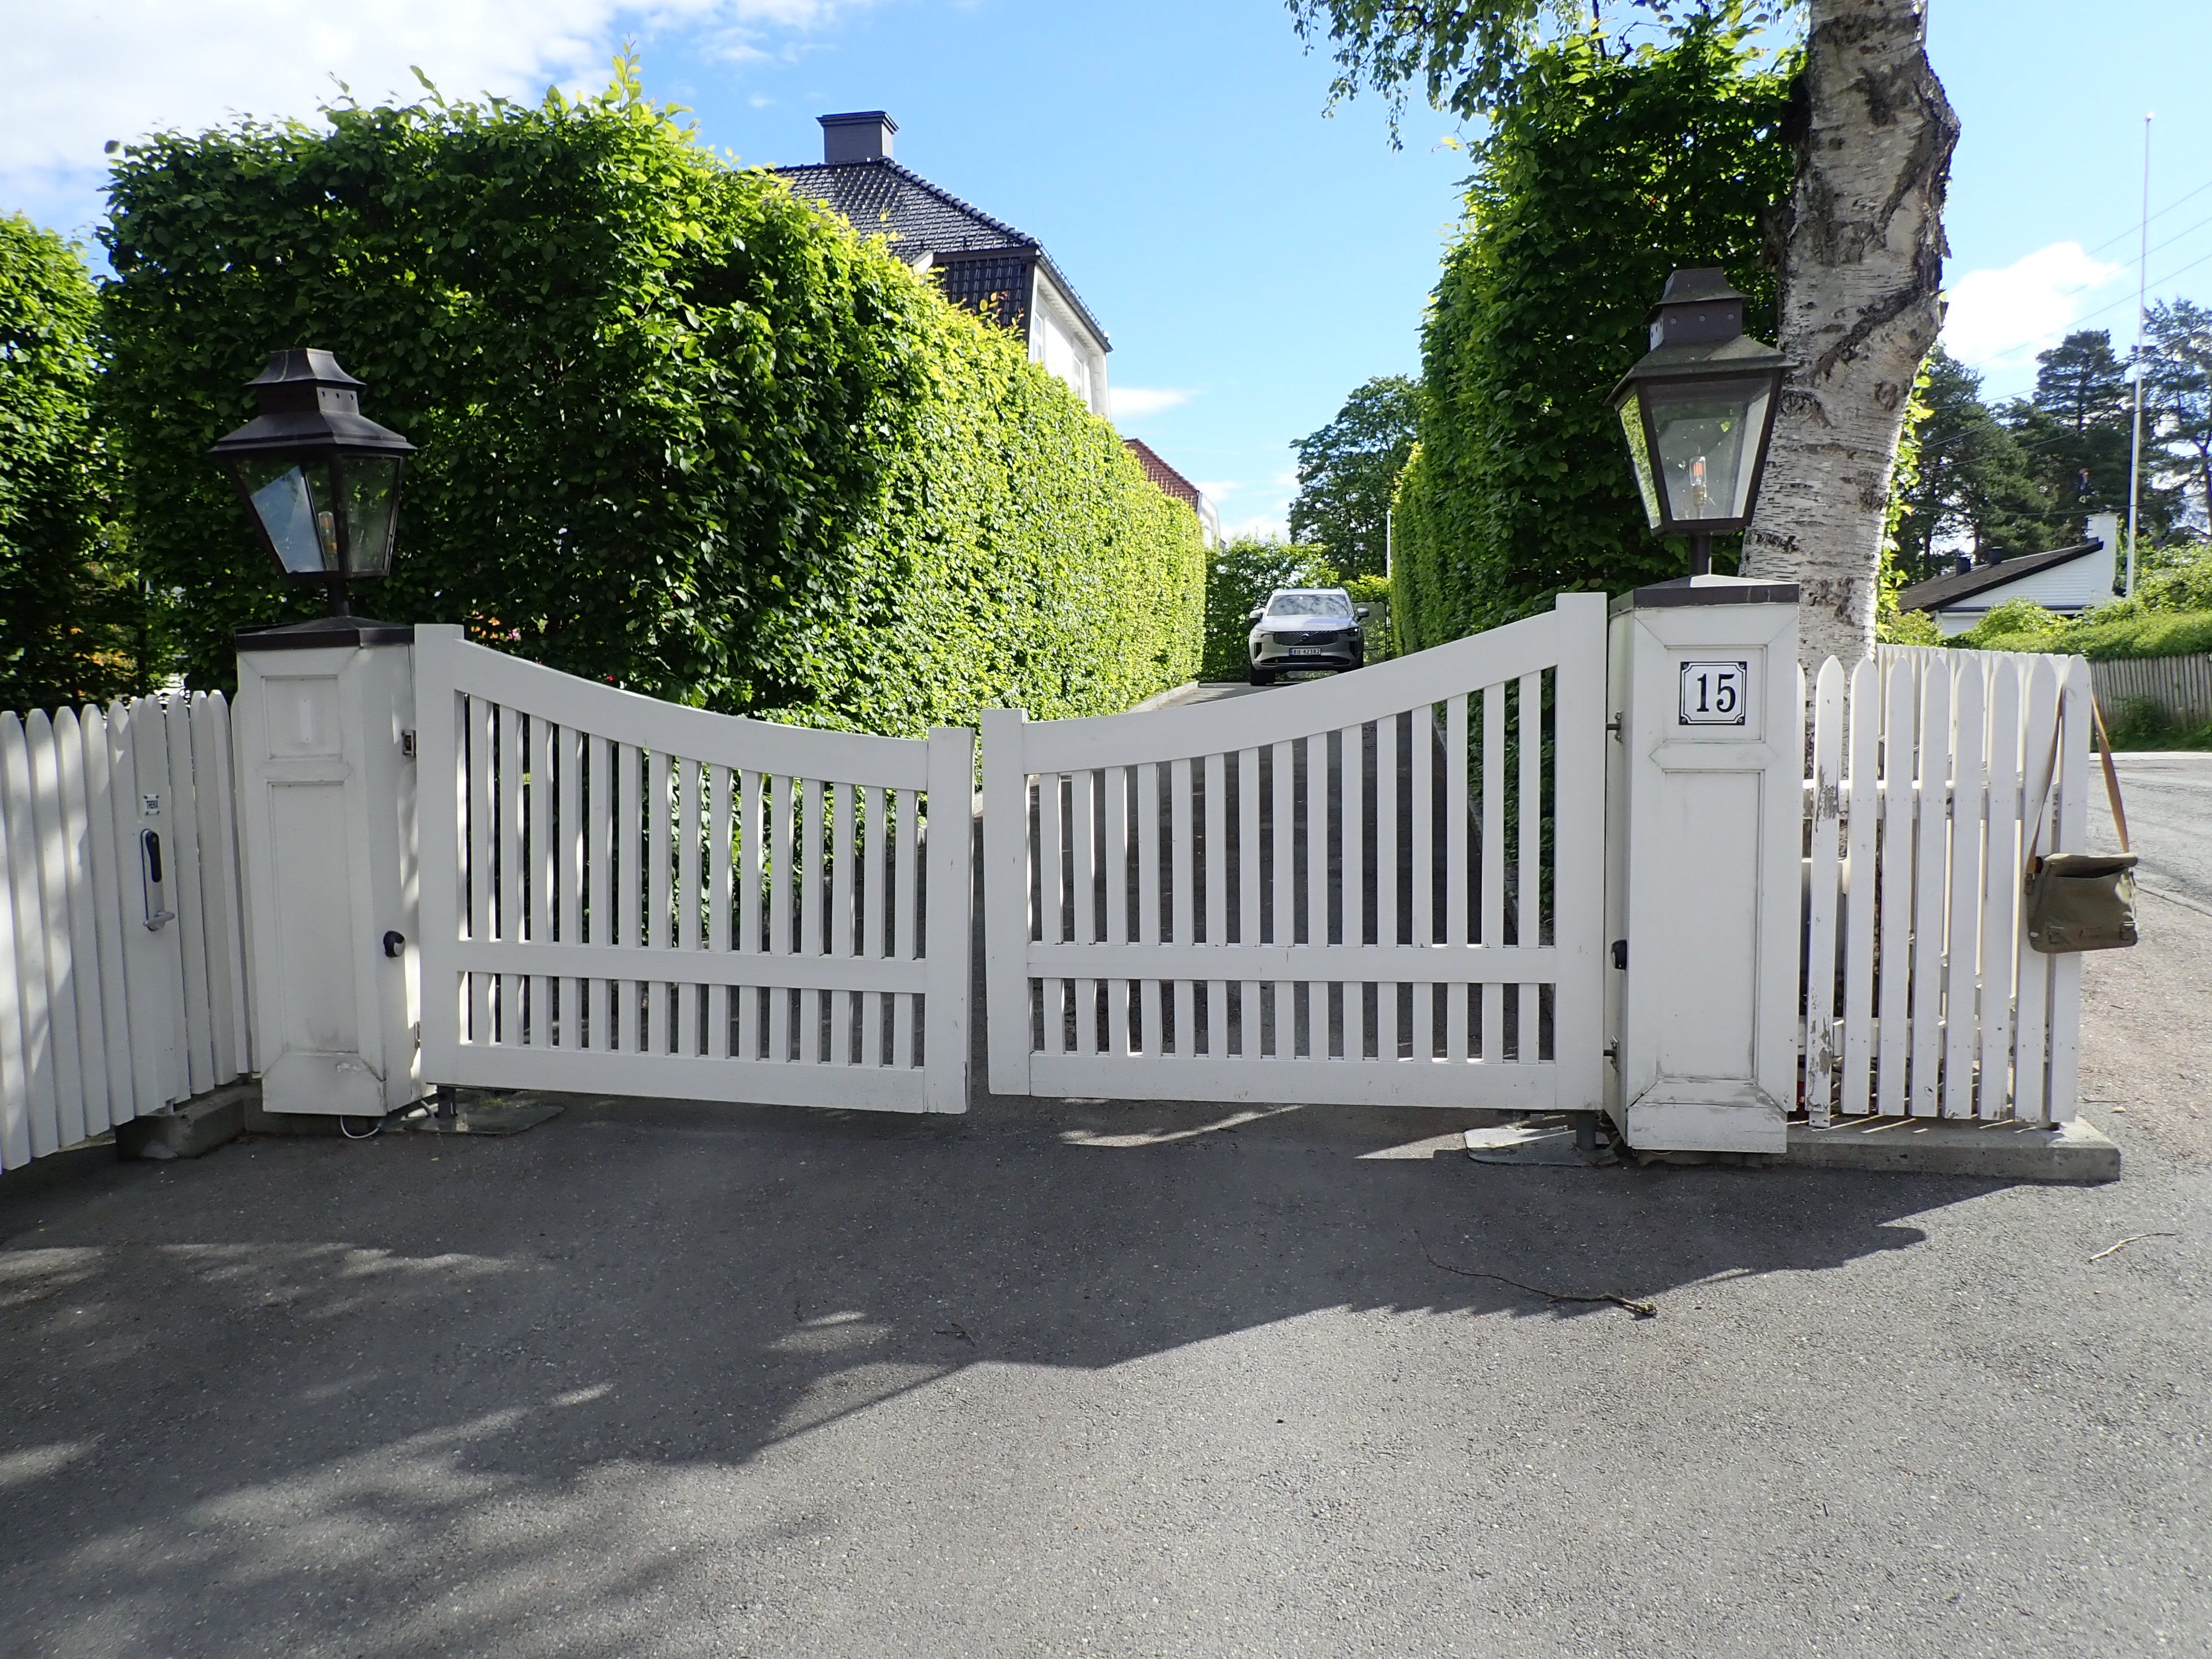
The originals were amateurishly made (carpenters!) by stapling 20mm pine ‘fake frames’ onto a sheet of 20mm solid wood (more pine) with crudely cut mitres in a poor imitation of panel & frame construction. What are the chances rainwater would find its way between these two layers of unpainted softwood? Debil!
Notice how the left gate is drooping? It’s because the upper hinge has let go of the post … but the reason for this is that the kids living there have climbed over the gate because the small ‘pedestrian gate’ (?) you can see to the left is ‘sticky’; it swells tight in wet weather so the kids are unable to pull it open, so they climb the main gate instead — at its lowest point, maximizing the racking leverage. A couple of judicious passes with an electric planer would have fixed that. Instead, I get a nice little job.
The original gate posts are rubbish, tho’ …
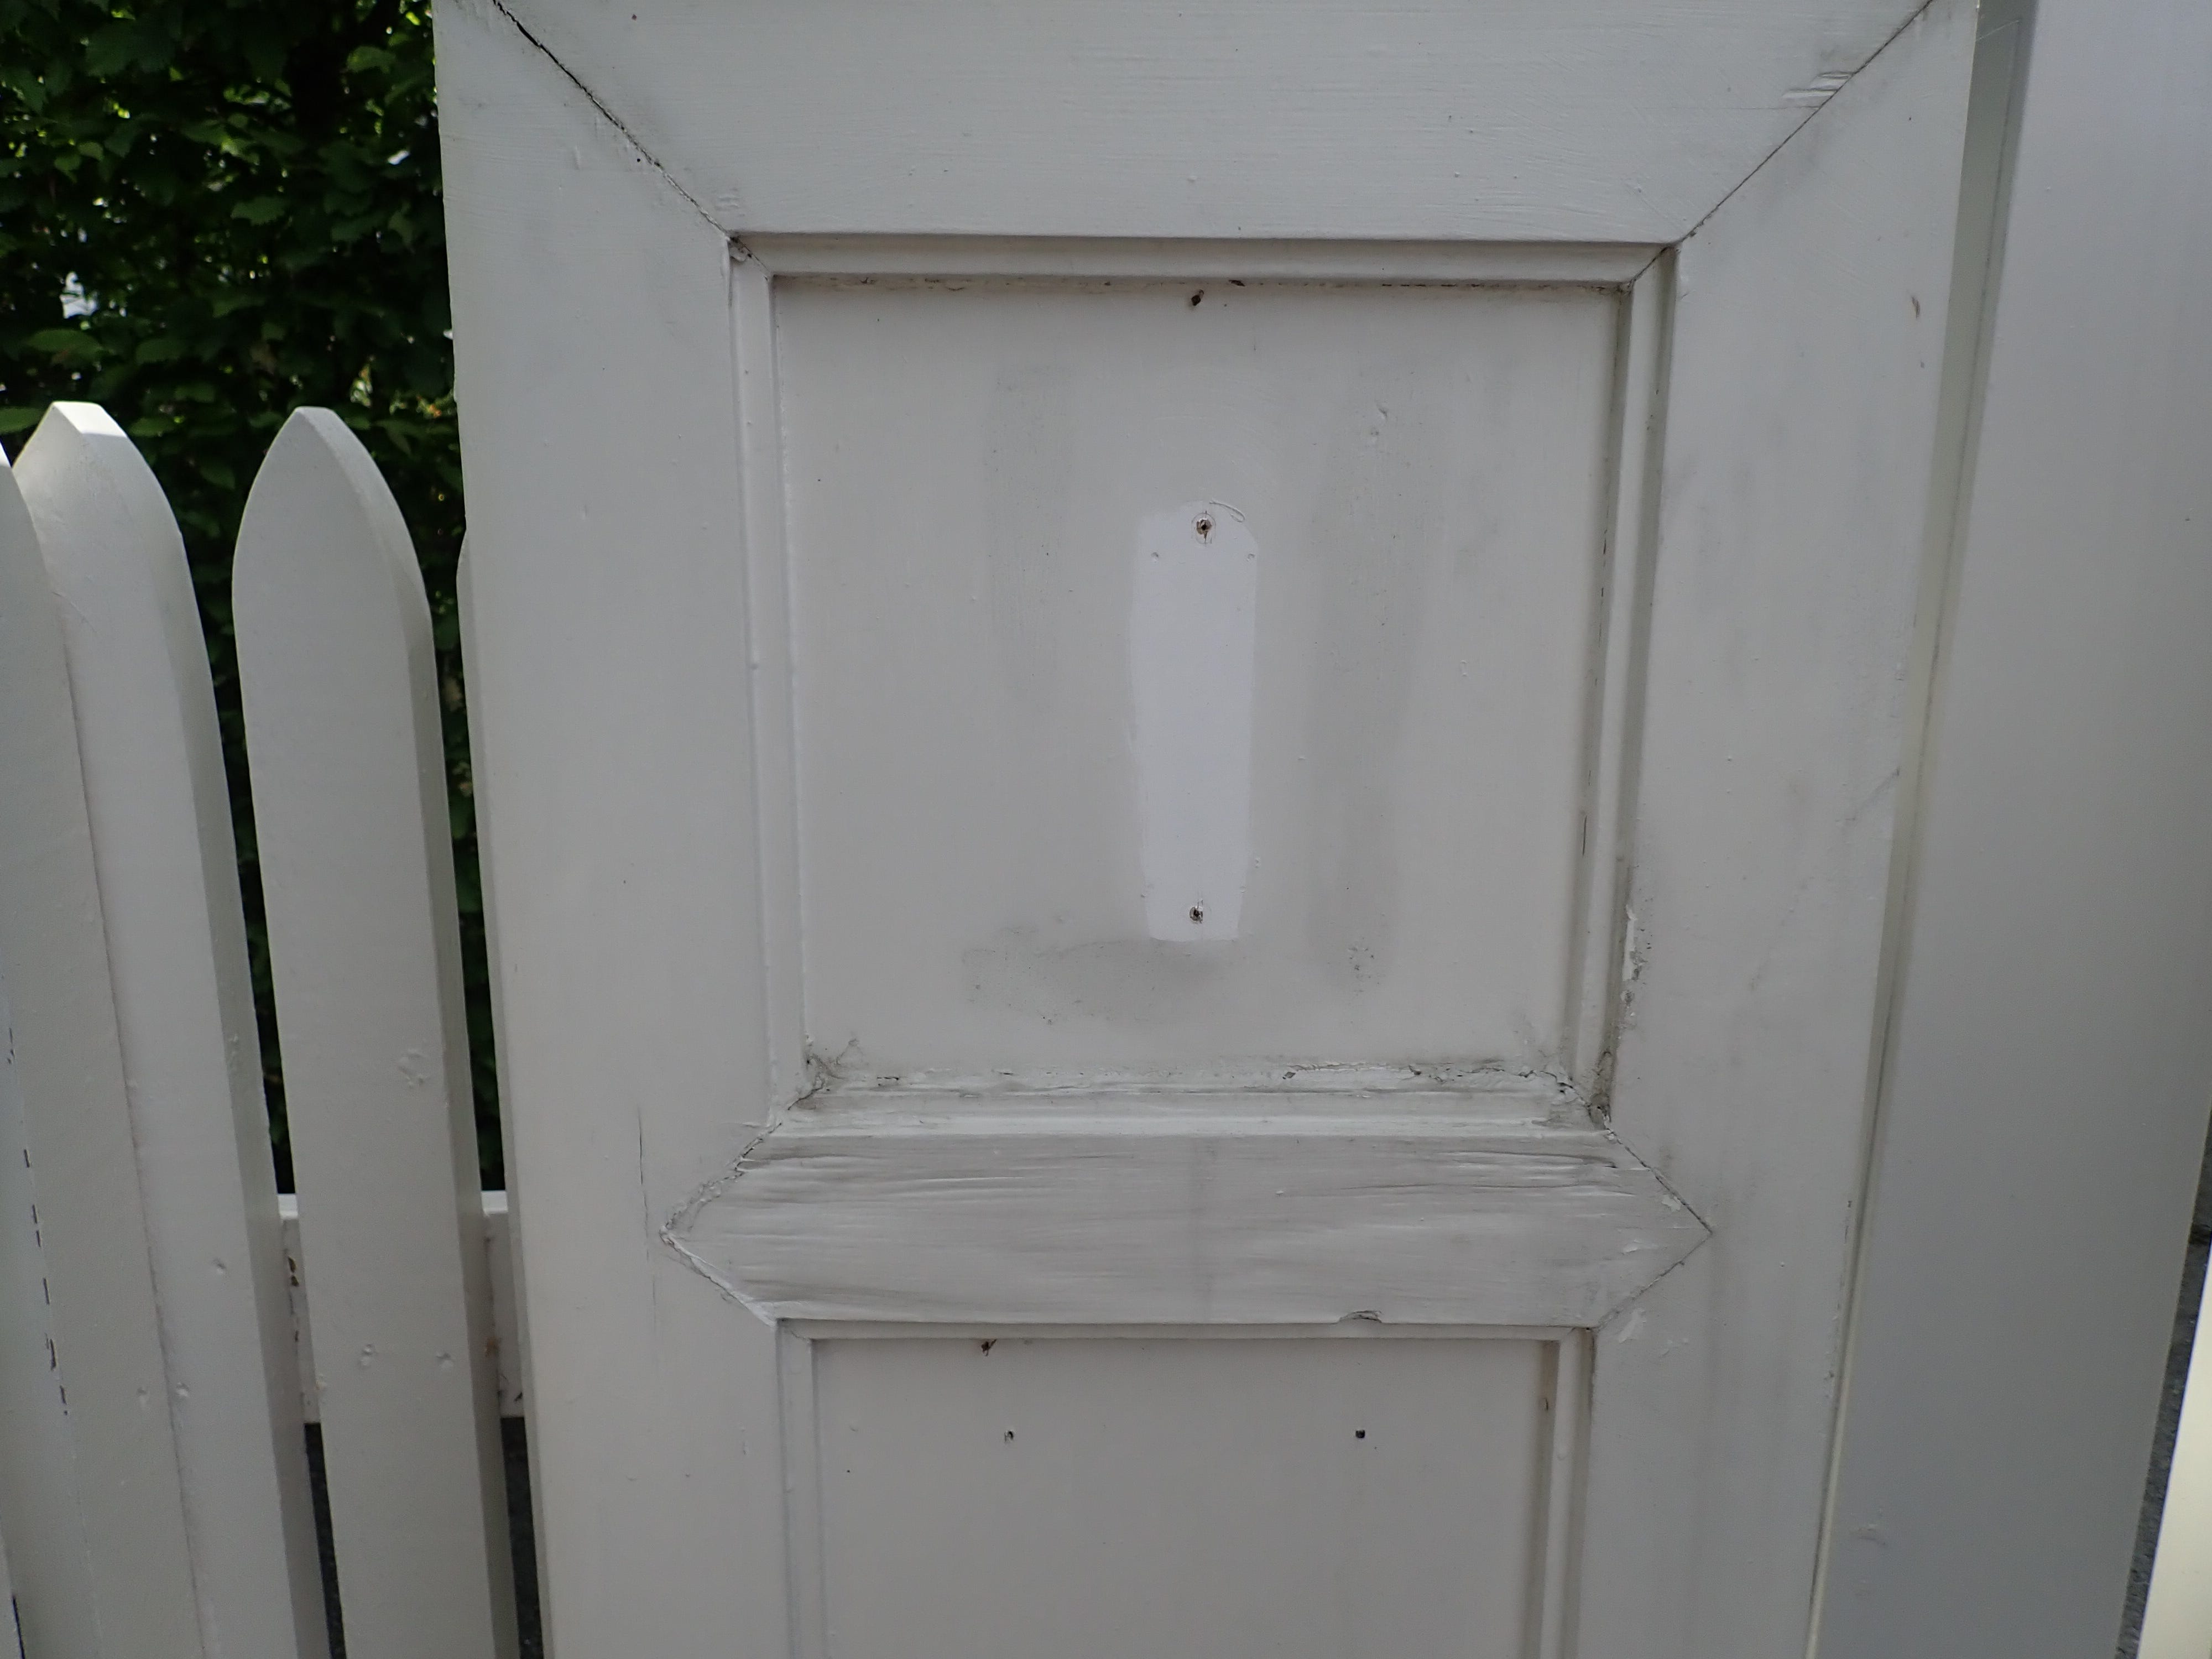
The visible ‘panel & frame’ posts are just wooden covers for the structural concrete posts inside. We will anchor the gate’s hinges directly to the concrete when we install the new posts, so the new wooden covers will not carry any structural loads, they only need to look good and be durable.
I’m making them of American white oak and a new (to me) sort of weather-proof plywood; it’s 22 mm poplar ply that’s been pressure-treated (with some copper solution judging by its greenish hue). They claim it’s good for 15 years outdoors, but I’m sceptical. Besides: What is 15 years in the scheme of things? My stuff should last for generations, if not centuries. 15 years … harrumph! The best I can do is make sure all edges are saturated with penetrating oil, sealed with epoxy and coats of paint, and that they are not exposed to the weather. I think I might coax some decades out of the poor poplar-wood yet.
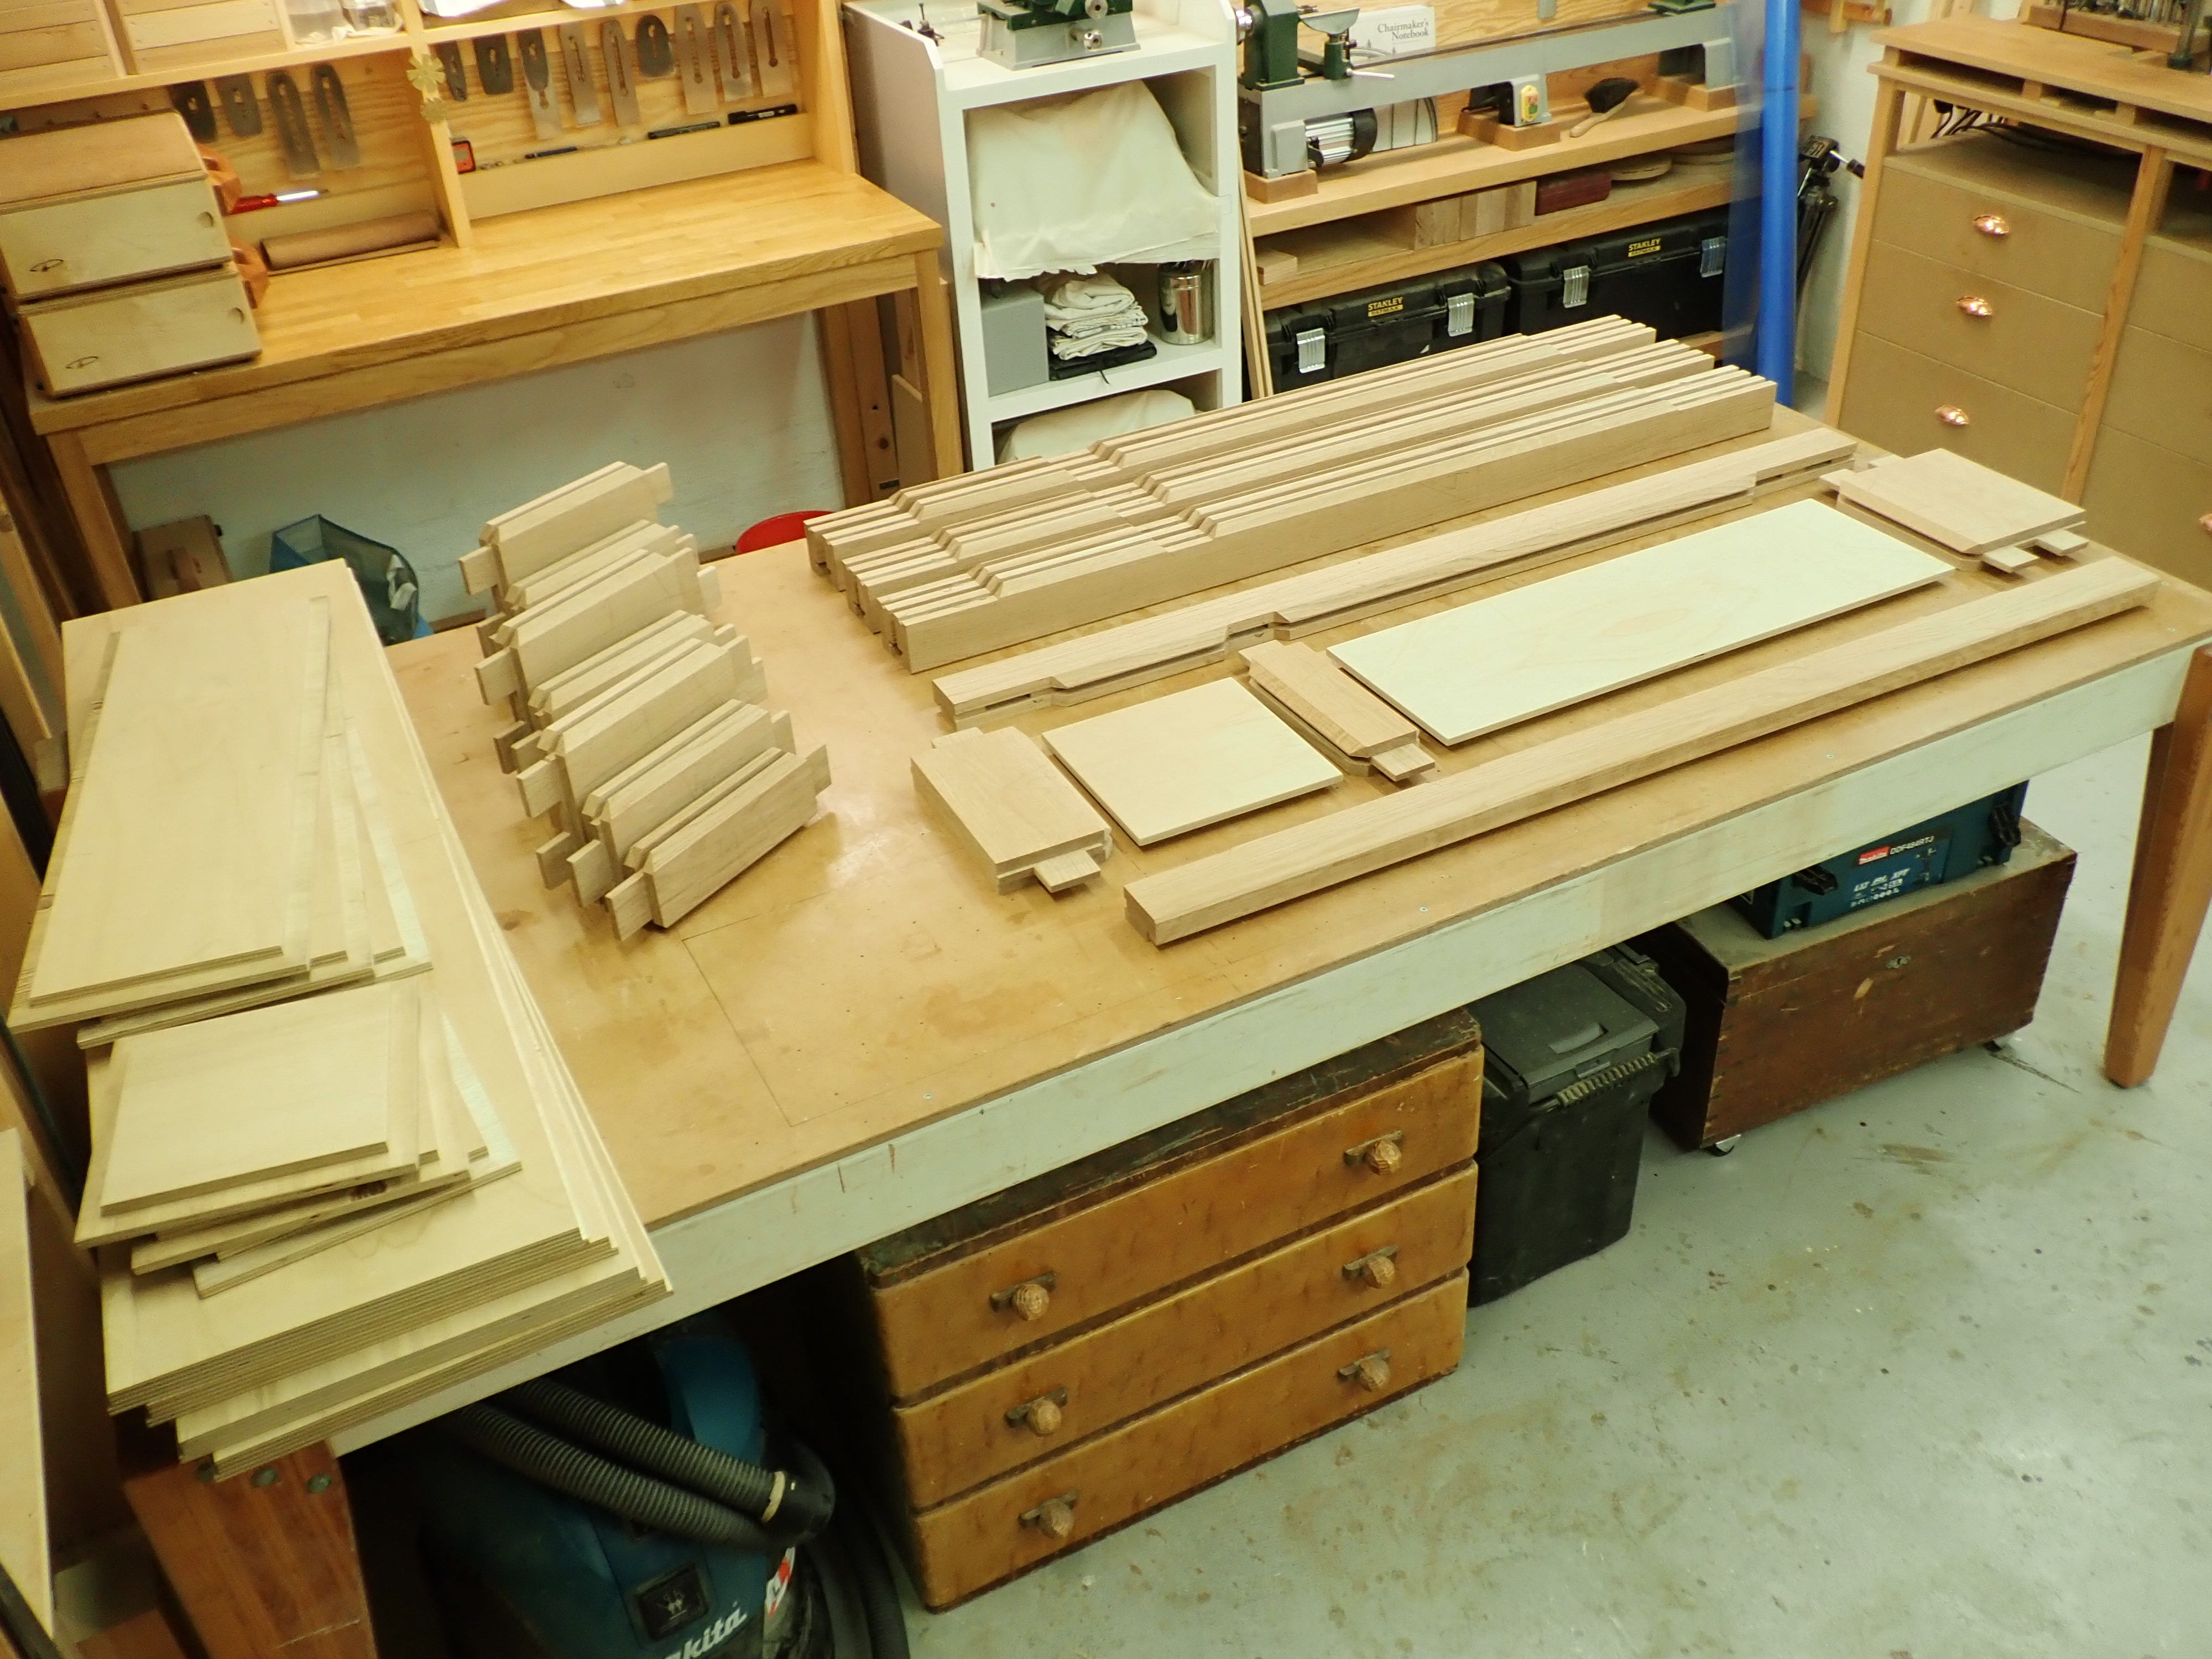
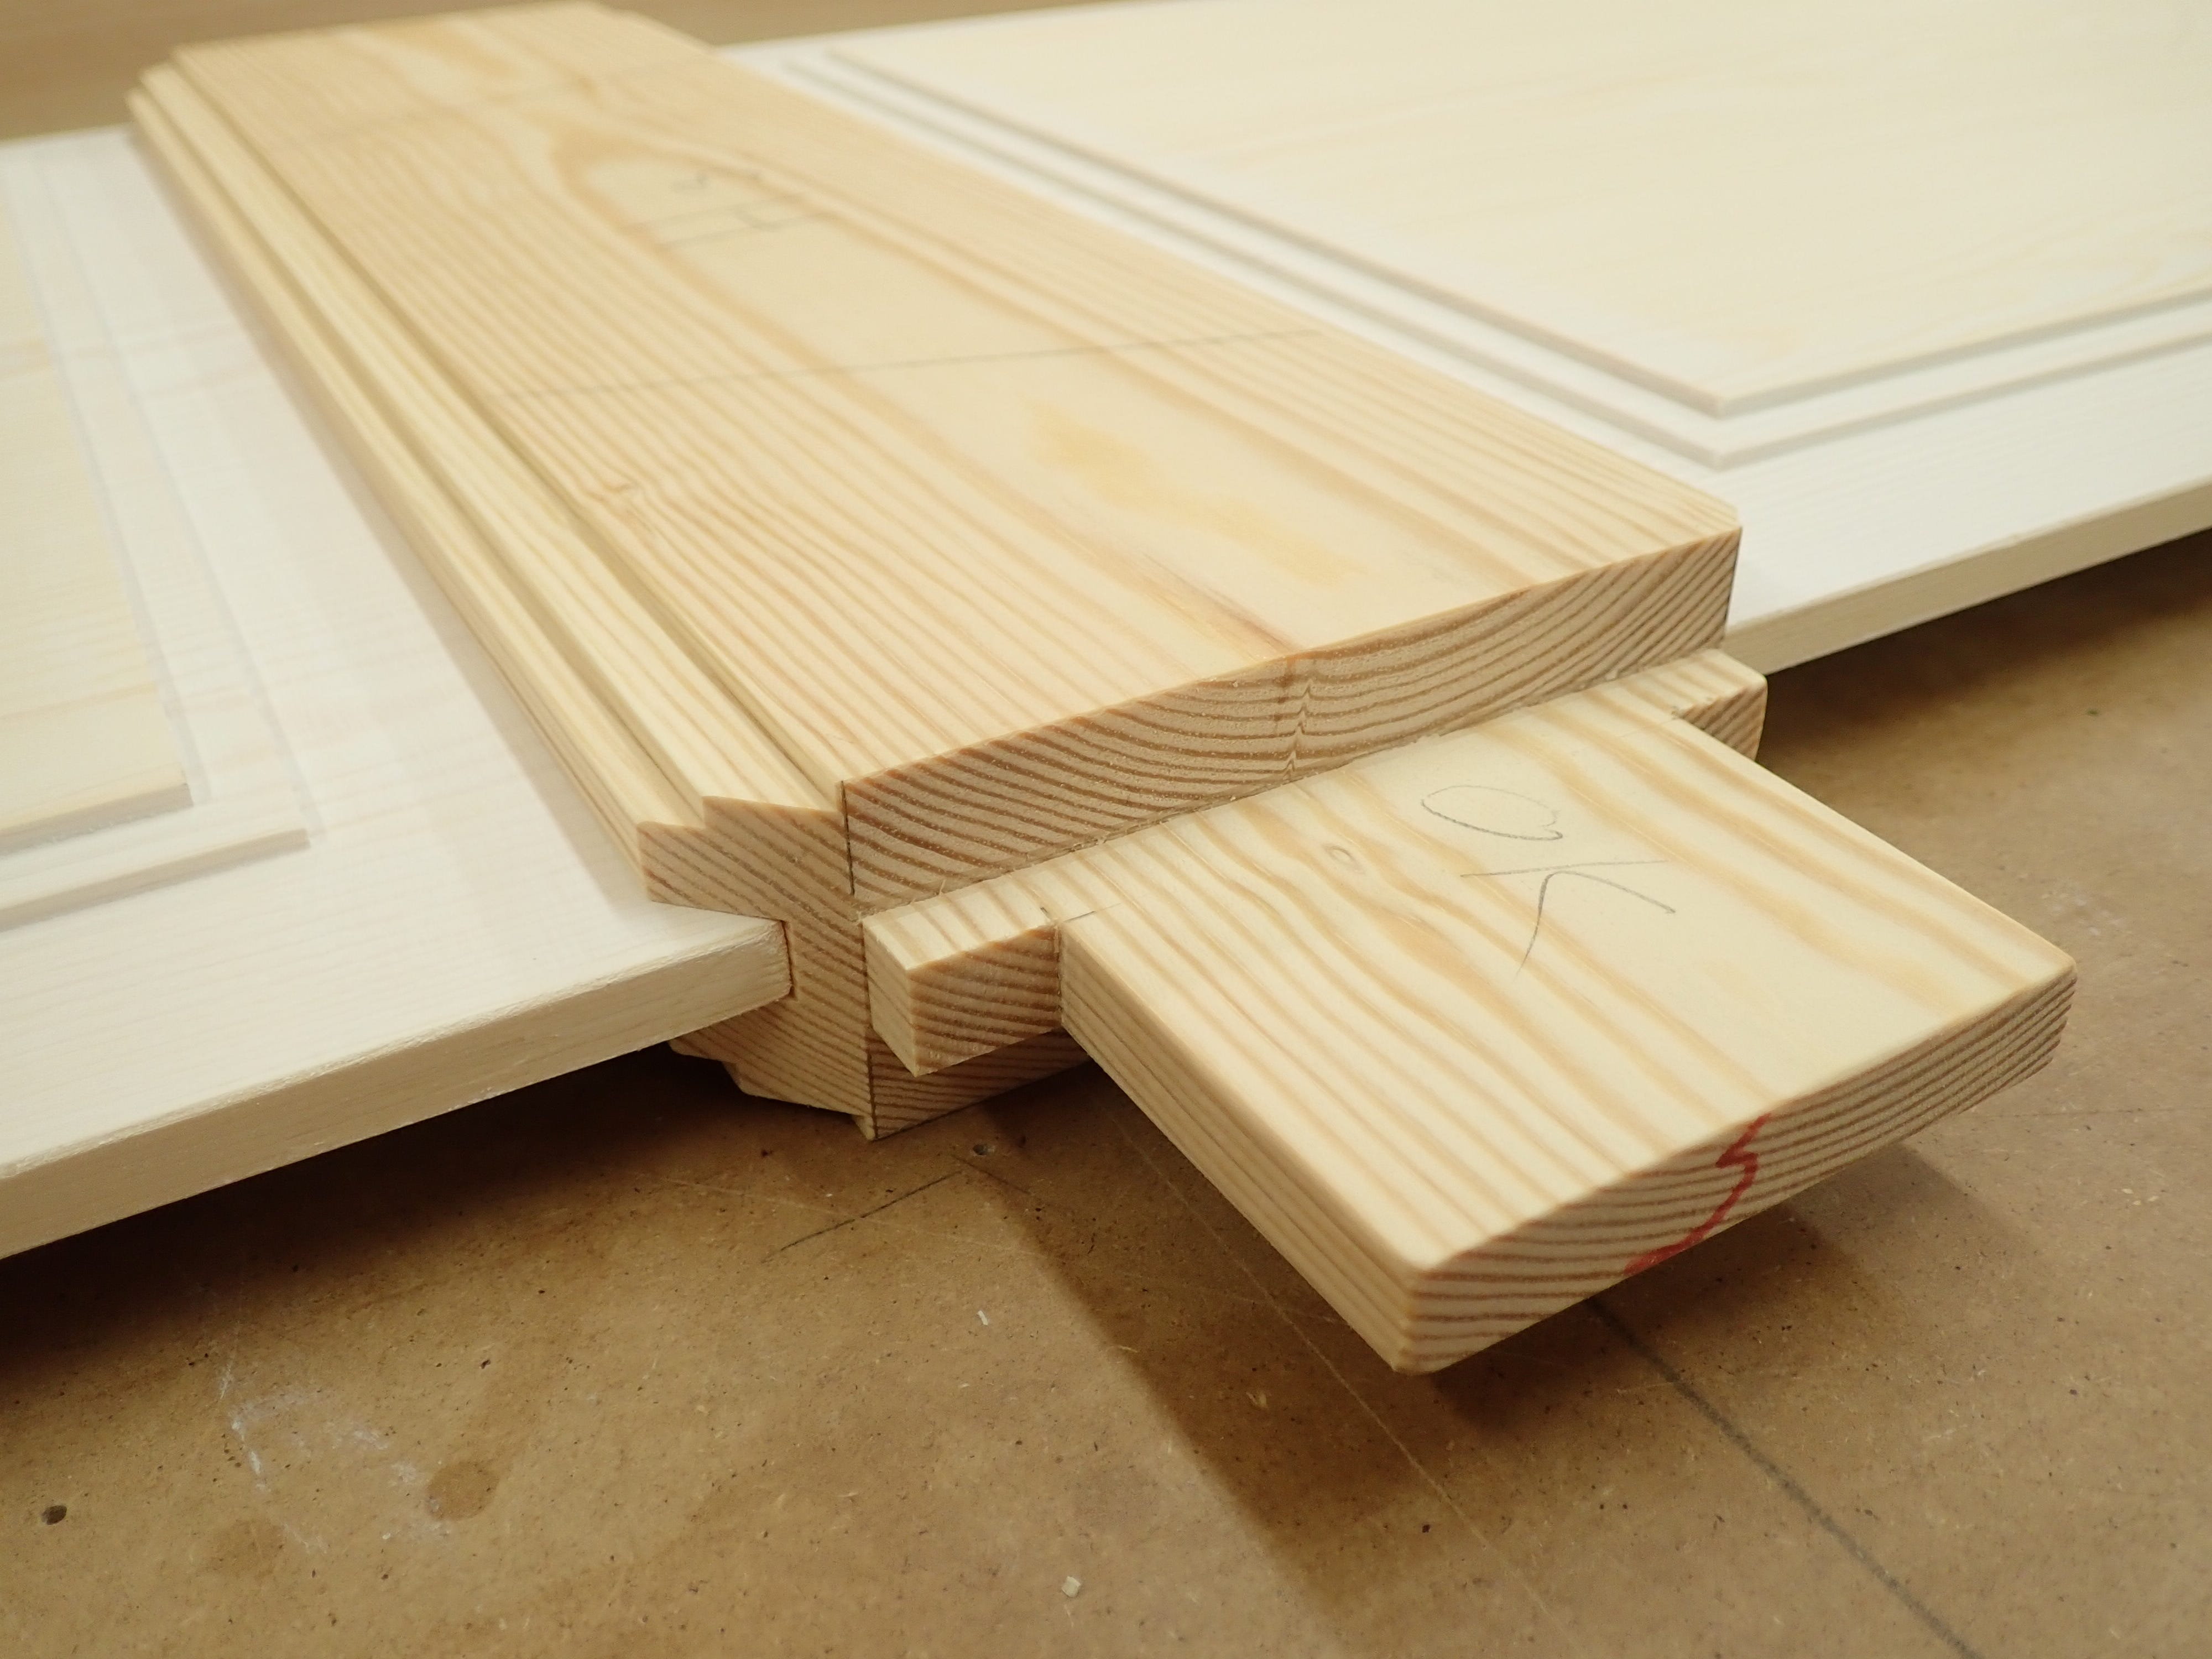
In Norwegian I would call this sort of thing a ‘tappet ramtreskonstrusjon med faste gjæringer og innlimte kryssfinérfyllinger’ which translates to ‘tenoned frame construction with fixed mitres and glued-in plywood panels’.
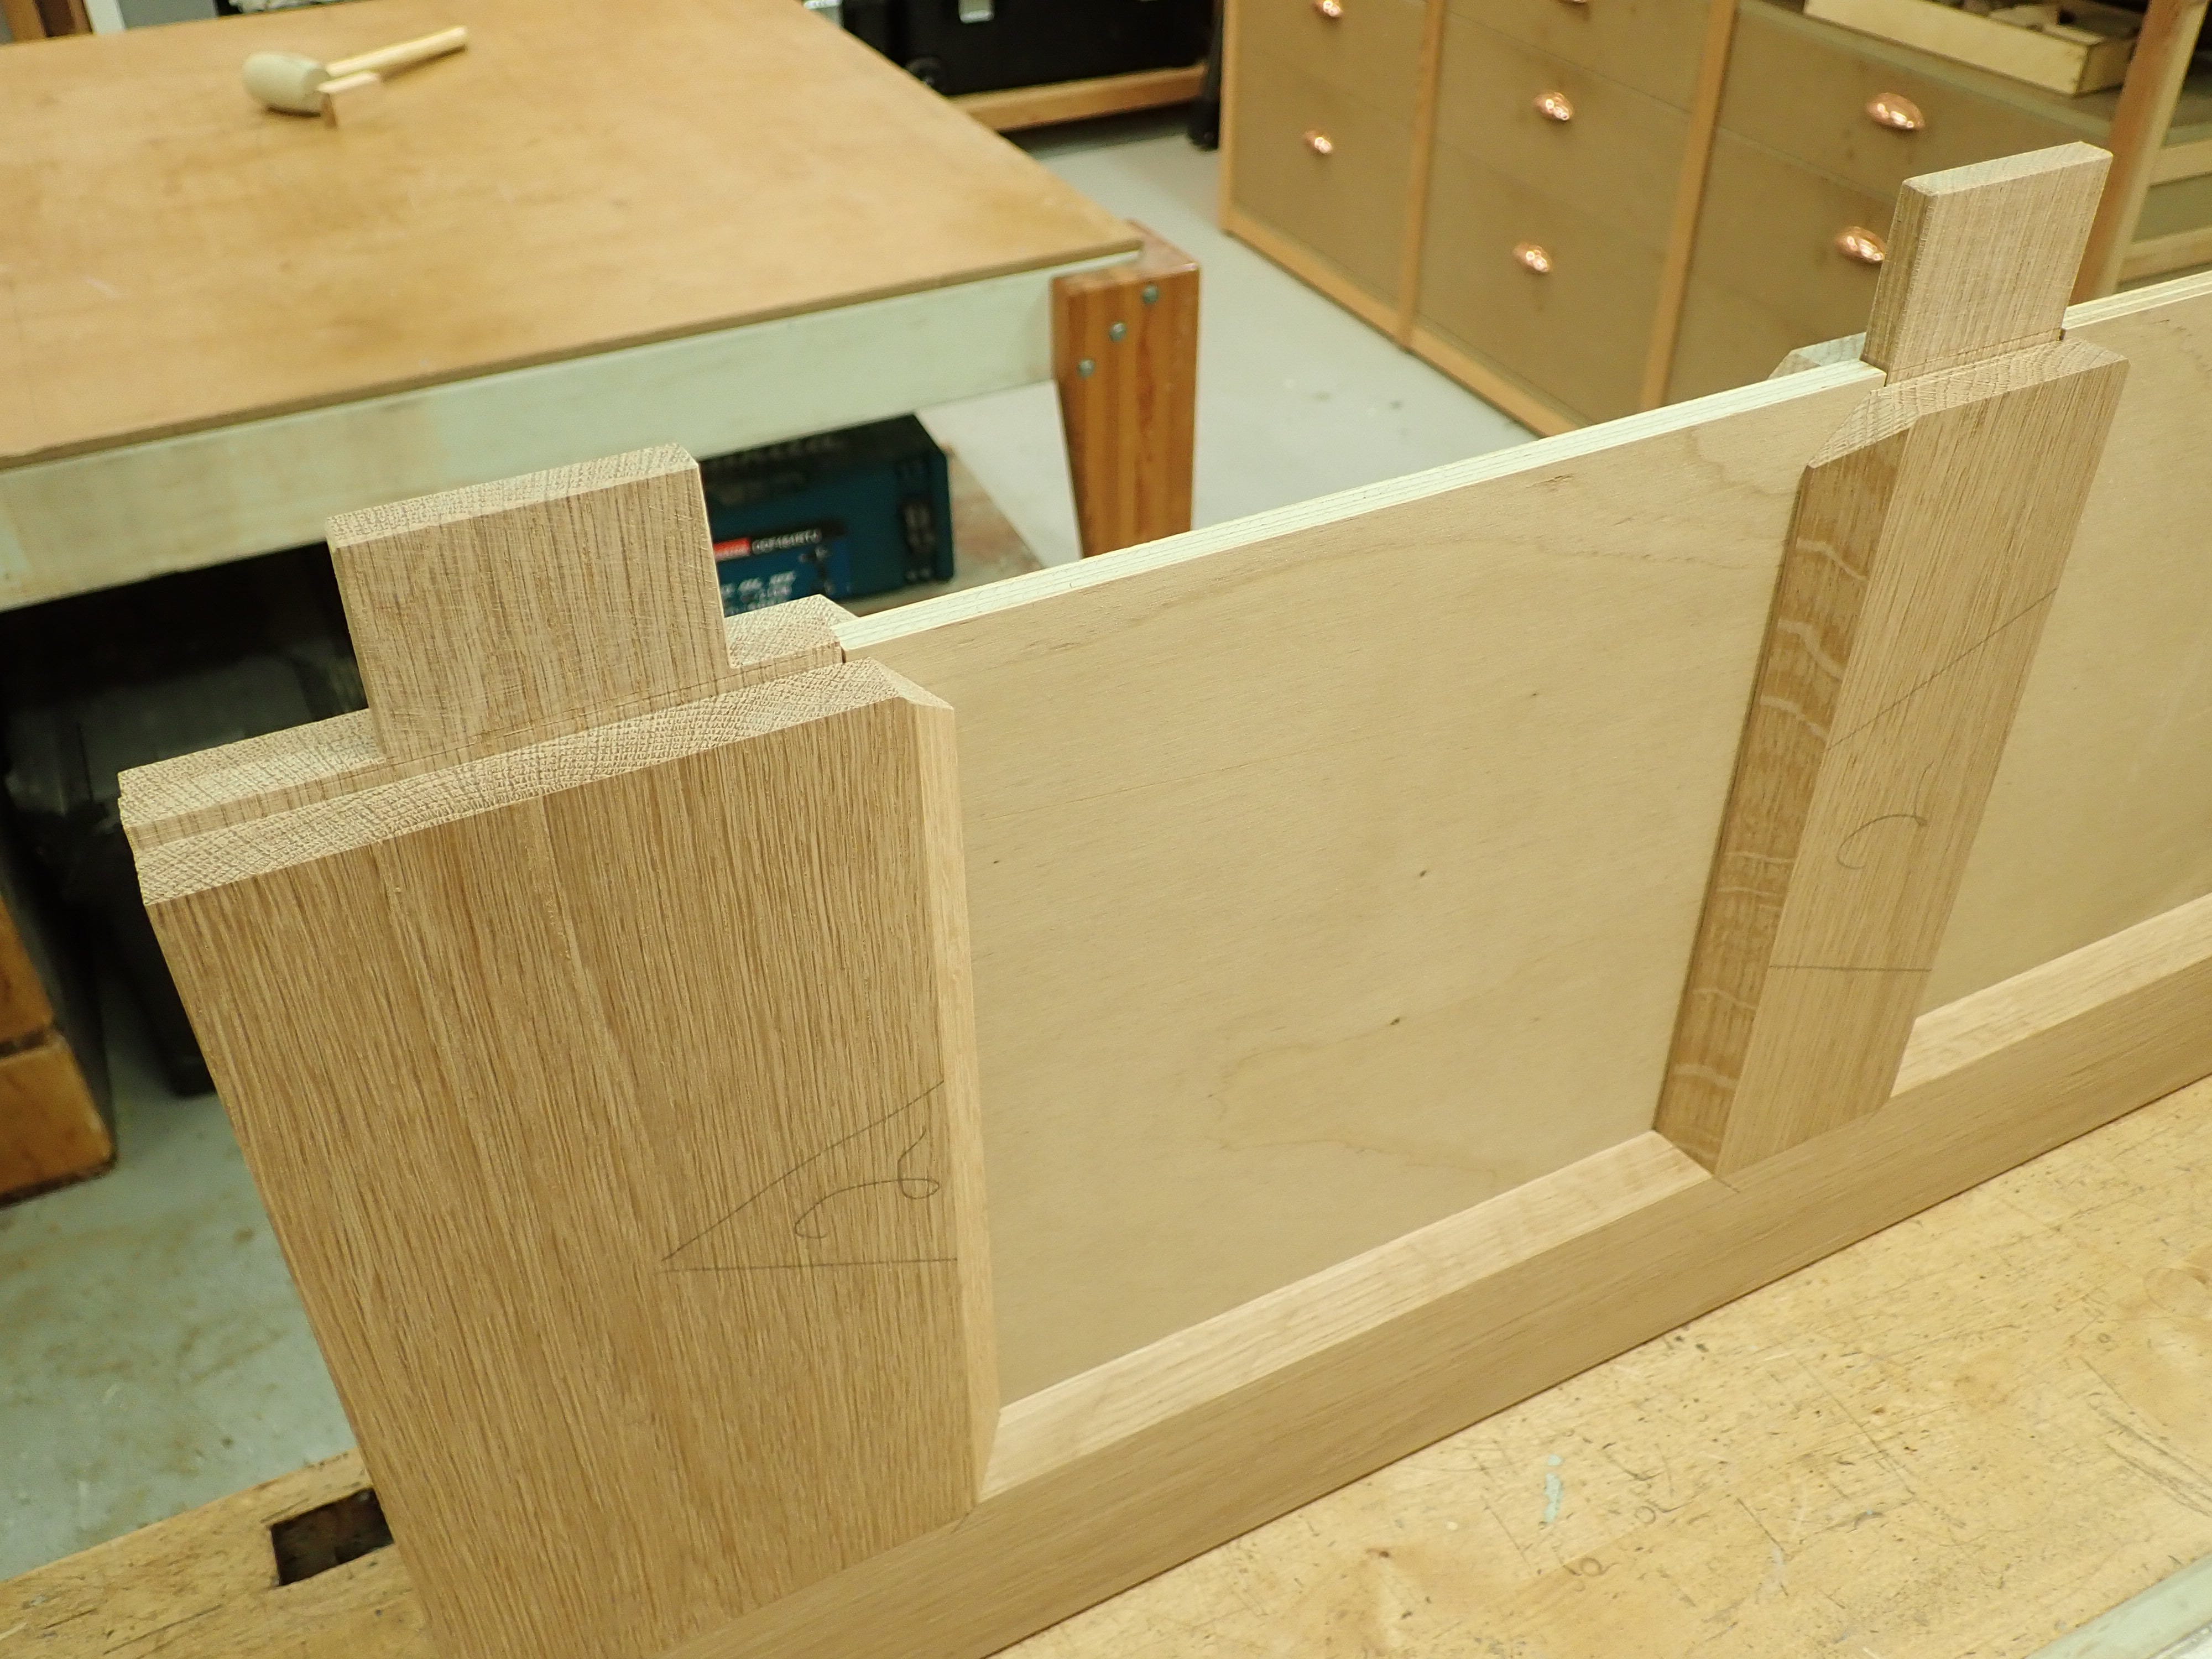
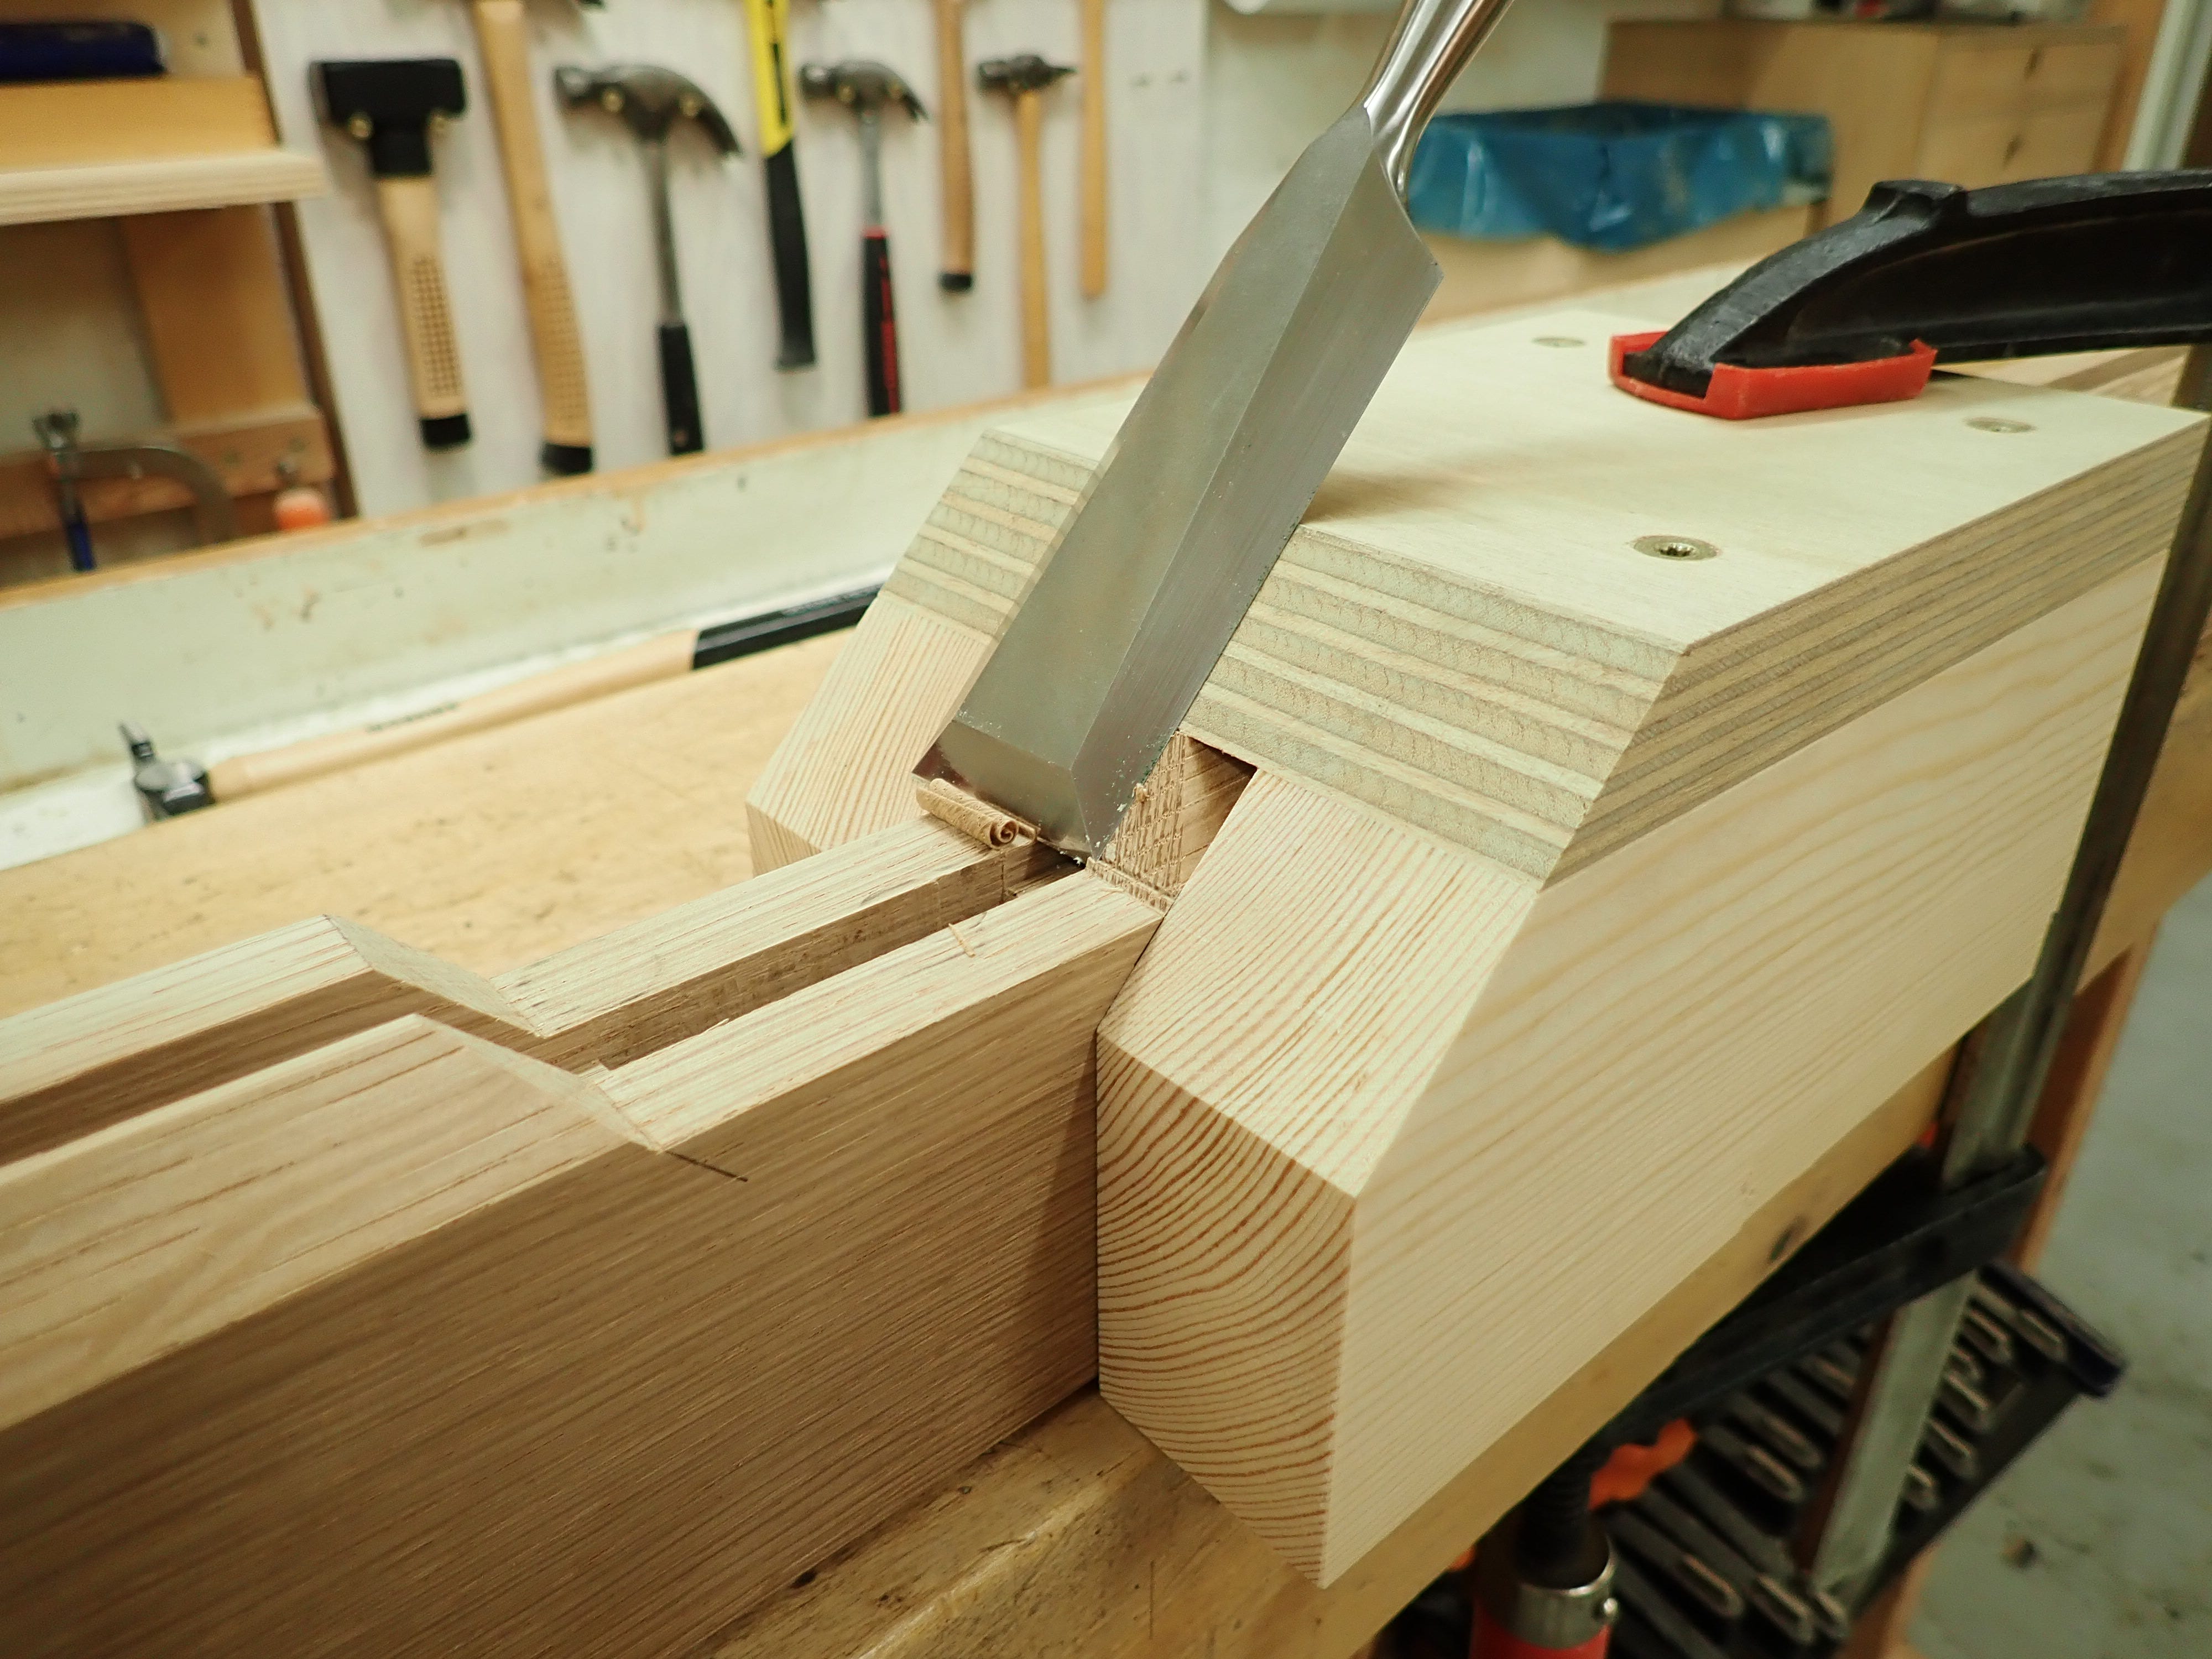
The fixed mitres can be a challenge to get precise and tight; I cut them on my table saw, blade tilted, erring on the snug side, adjusting like so if necessary:
In the days before gluing up, I’ve primed the plywood panel-edges with ‘grounding oil’ to stop them absorbing the glue (and so avoiding a starved glue joint). I use epoxy with a slow hardener to give myself time to apply glue to all surfaces, making sure to saturate the thirsty oak endgrain.
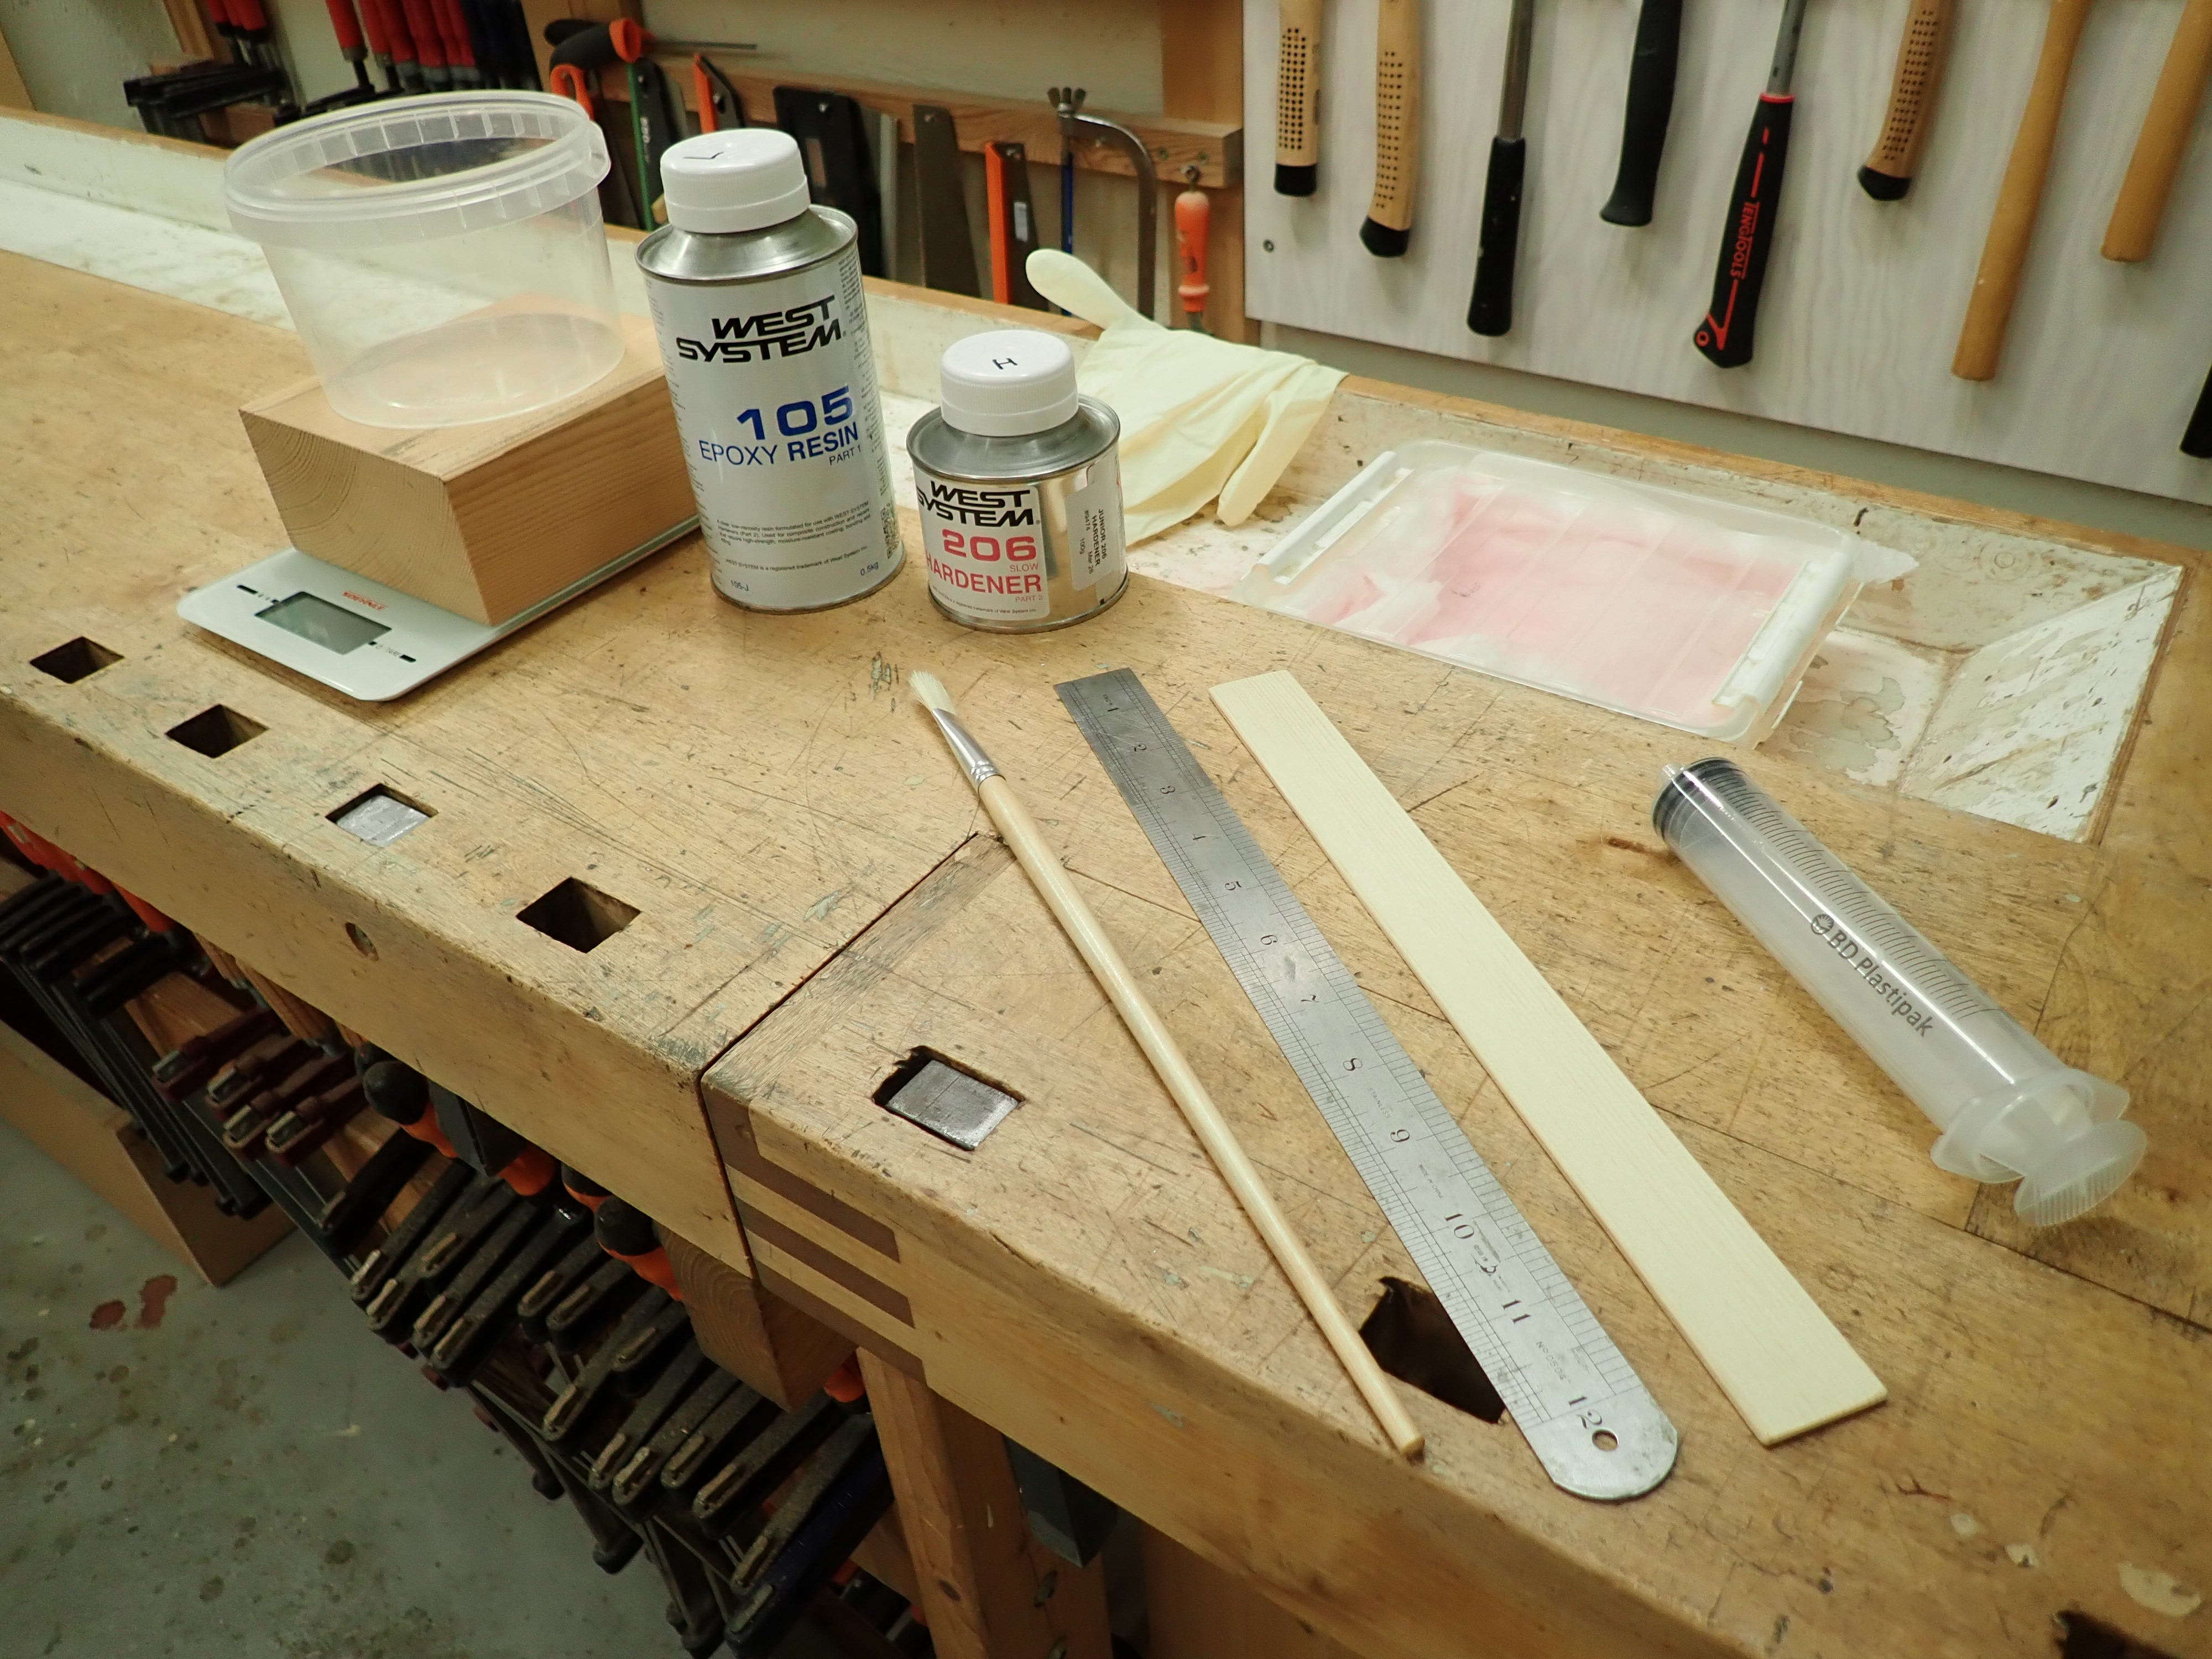
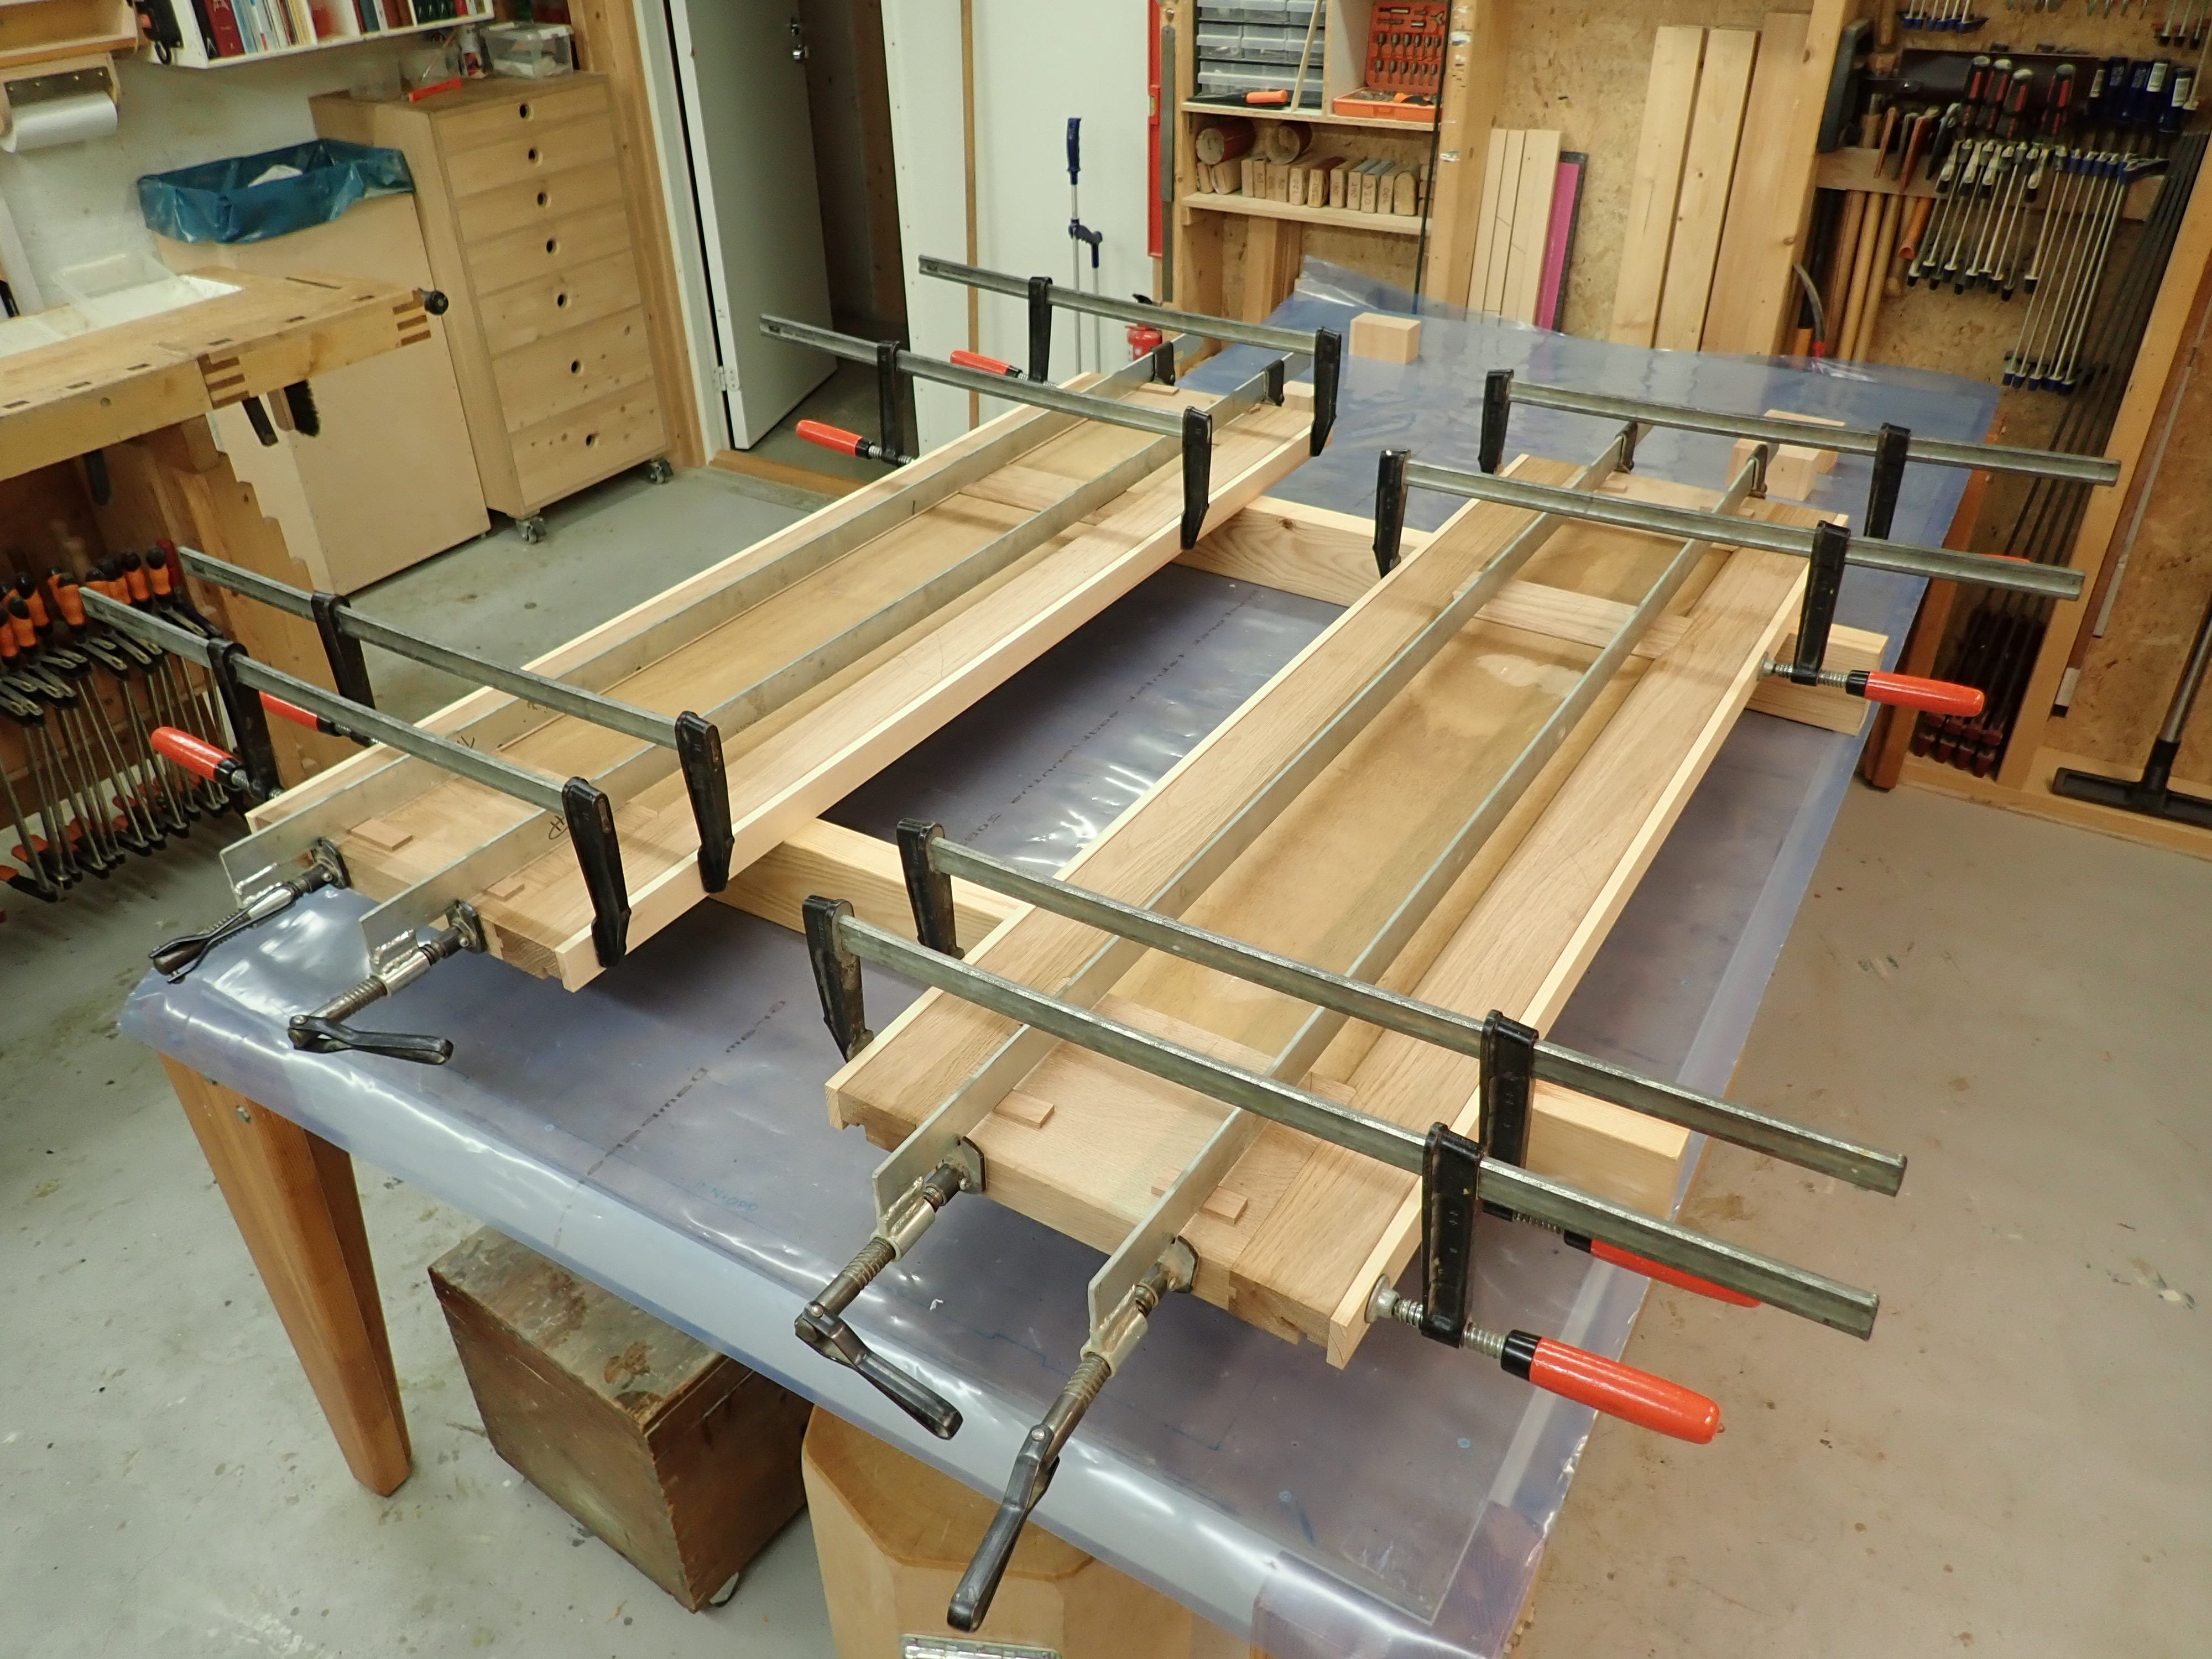
I apply glue to all mating surfaces, and to speed up that process I use a big syringe to do the initial distribution before I spread it out with a cheap brush.
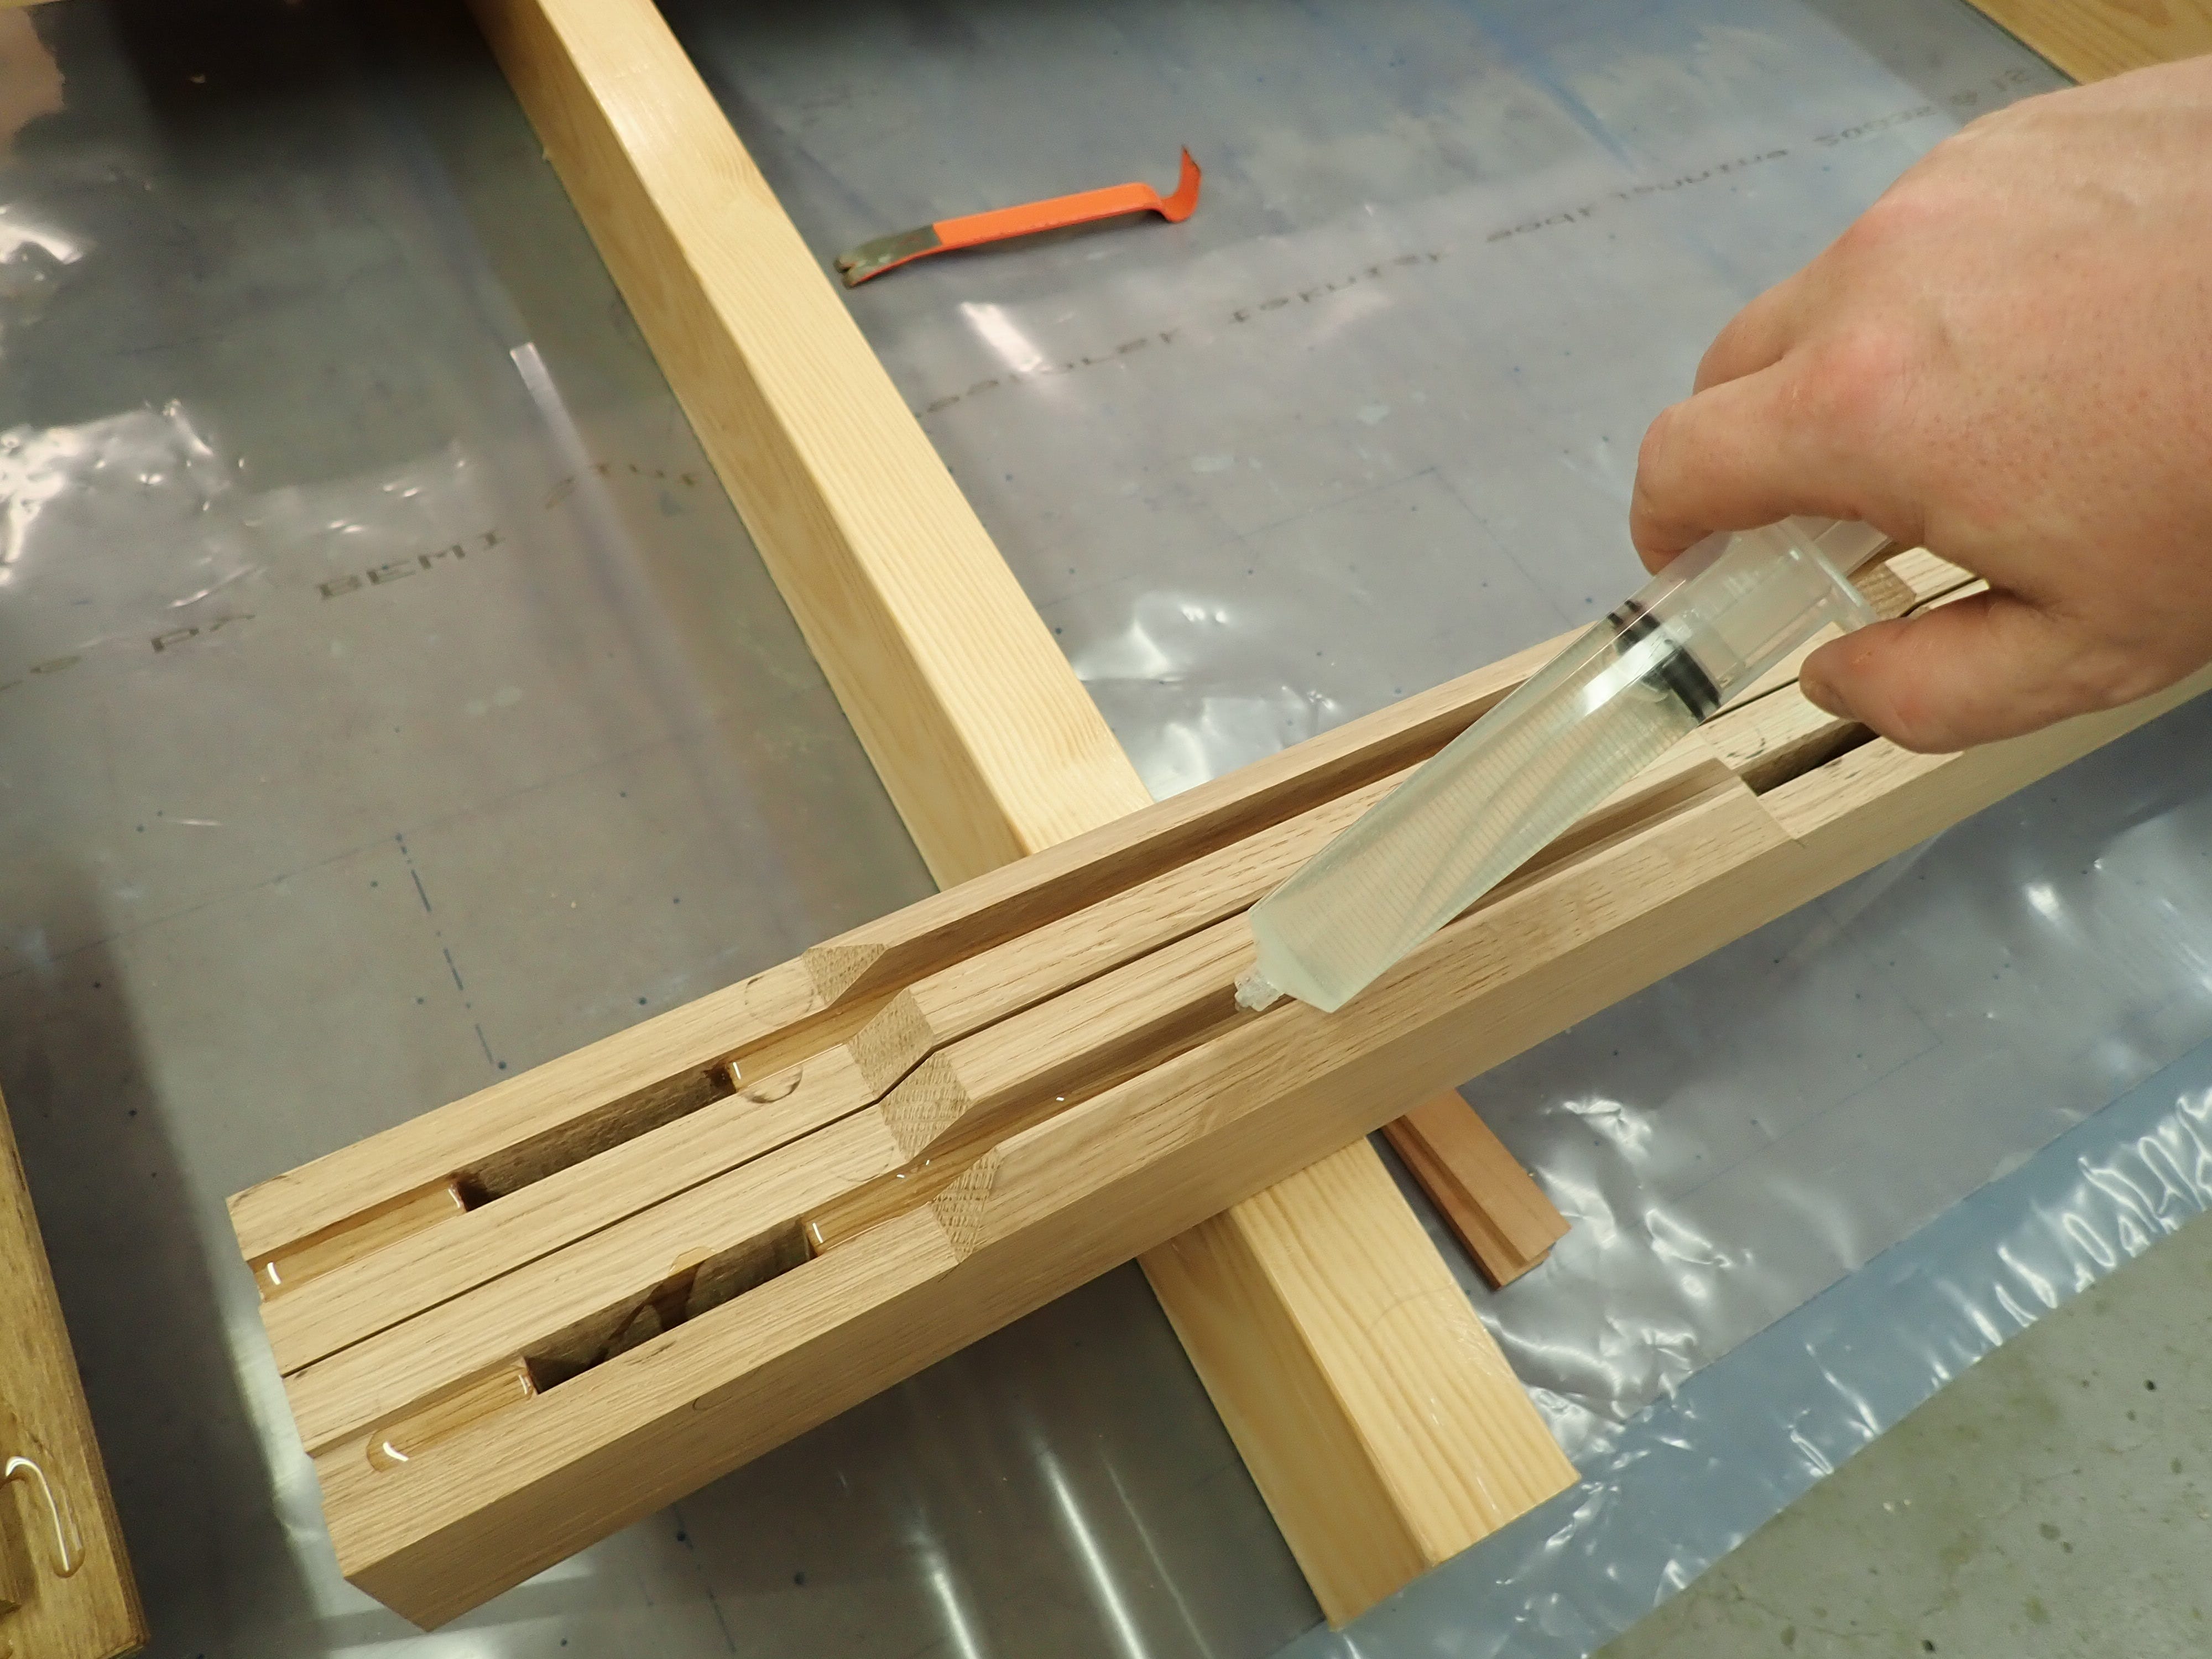
The wide rails tend to make the glue-up sort of ‘self-squaring’ (if cut true :-)
And that’s one way to make a more weather-proof version of the old frame & panel combo. Almost everything I make is just a variation on an old theme — always the same, just tweaked a bit to suit the situation.
***
This sentence brought a smile to my face. It reminds me of the craftsmen and -women I work with, this is how they think: "My stuff should last for generations, if not centuries. 15 years … harrumph!" Glad I found your work.
What an informative description of your process, and I especially liked your finish nail as the midpoint anchor in a floating panel. The precise details described and your innovative solutions are extremely helpful – we all need reminders of things that are sometimes overlooked — and then we pay dearly later on. Lots of effort in the making of the project, and also in sharing the steps: much appreciated.